Upgrade to Pro — share decks privately, control downloads, hide ads and more …

Fleet Inspection Photos: What Drivers Should Ca...

Avatar for AUTOsist AUTOsist
October 22, 2026
0

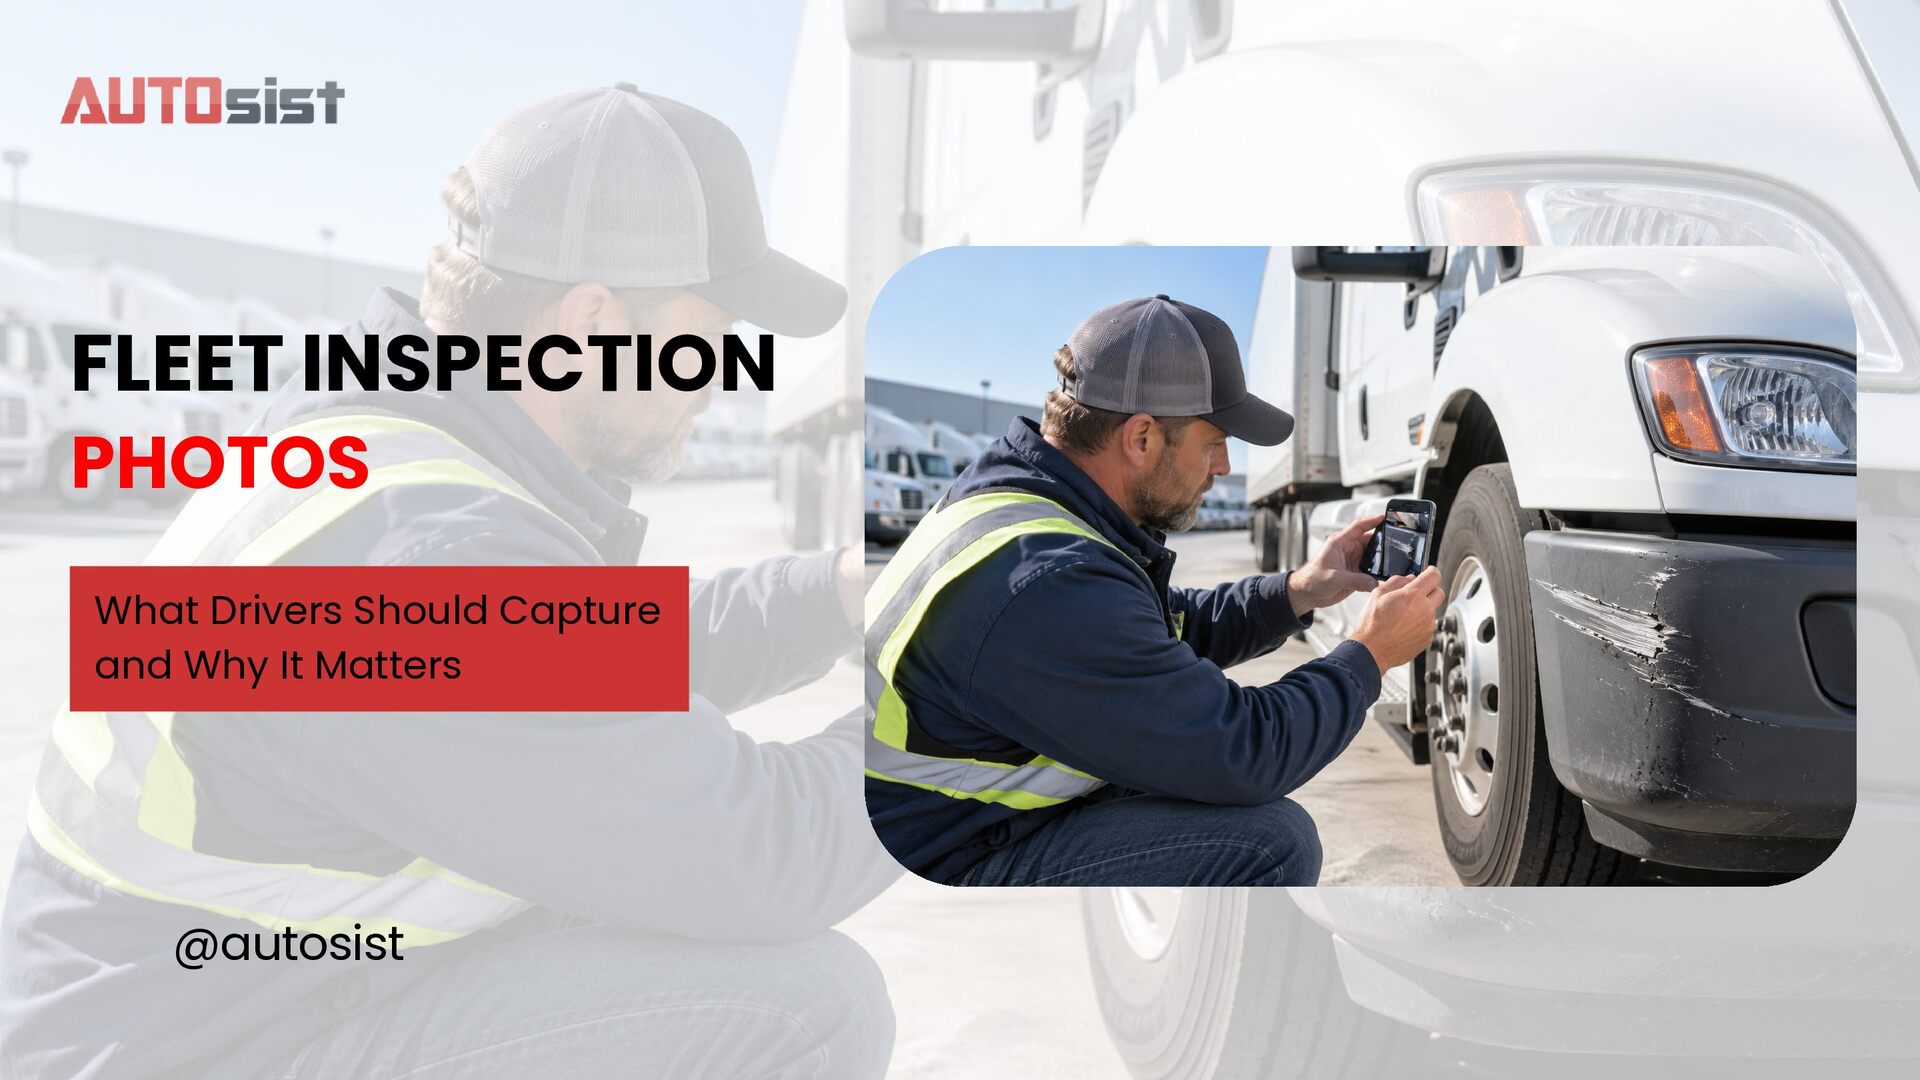
Fleet Inspection Photos: What Drivers Should Capture and Why It Matters

Fleet inspection photos help document safety defects, existing damage, and developing wear during vehicle inspections.

This presentation explains which defects should be photographed, when to use wide and close-up images, what FMCSA actually requires for DVIR documentation, and how photos can support maintenance follow-up, claims, audits, and damage disputes.

It also includes a simple photo workflow that connects inspection findings to the correct vehicle, repair action, and service history.

Read the full guide:
https://autosist.com/blog/fleet-inspection-photos/

Avatar for AUTOsist

AUTOsist

October 22, 2026

Transcript

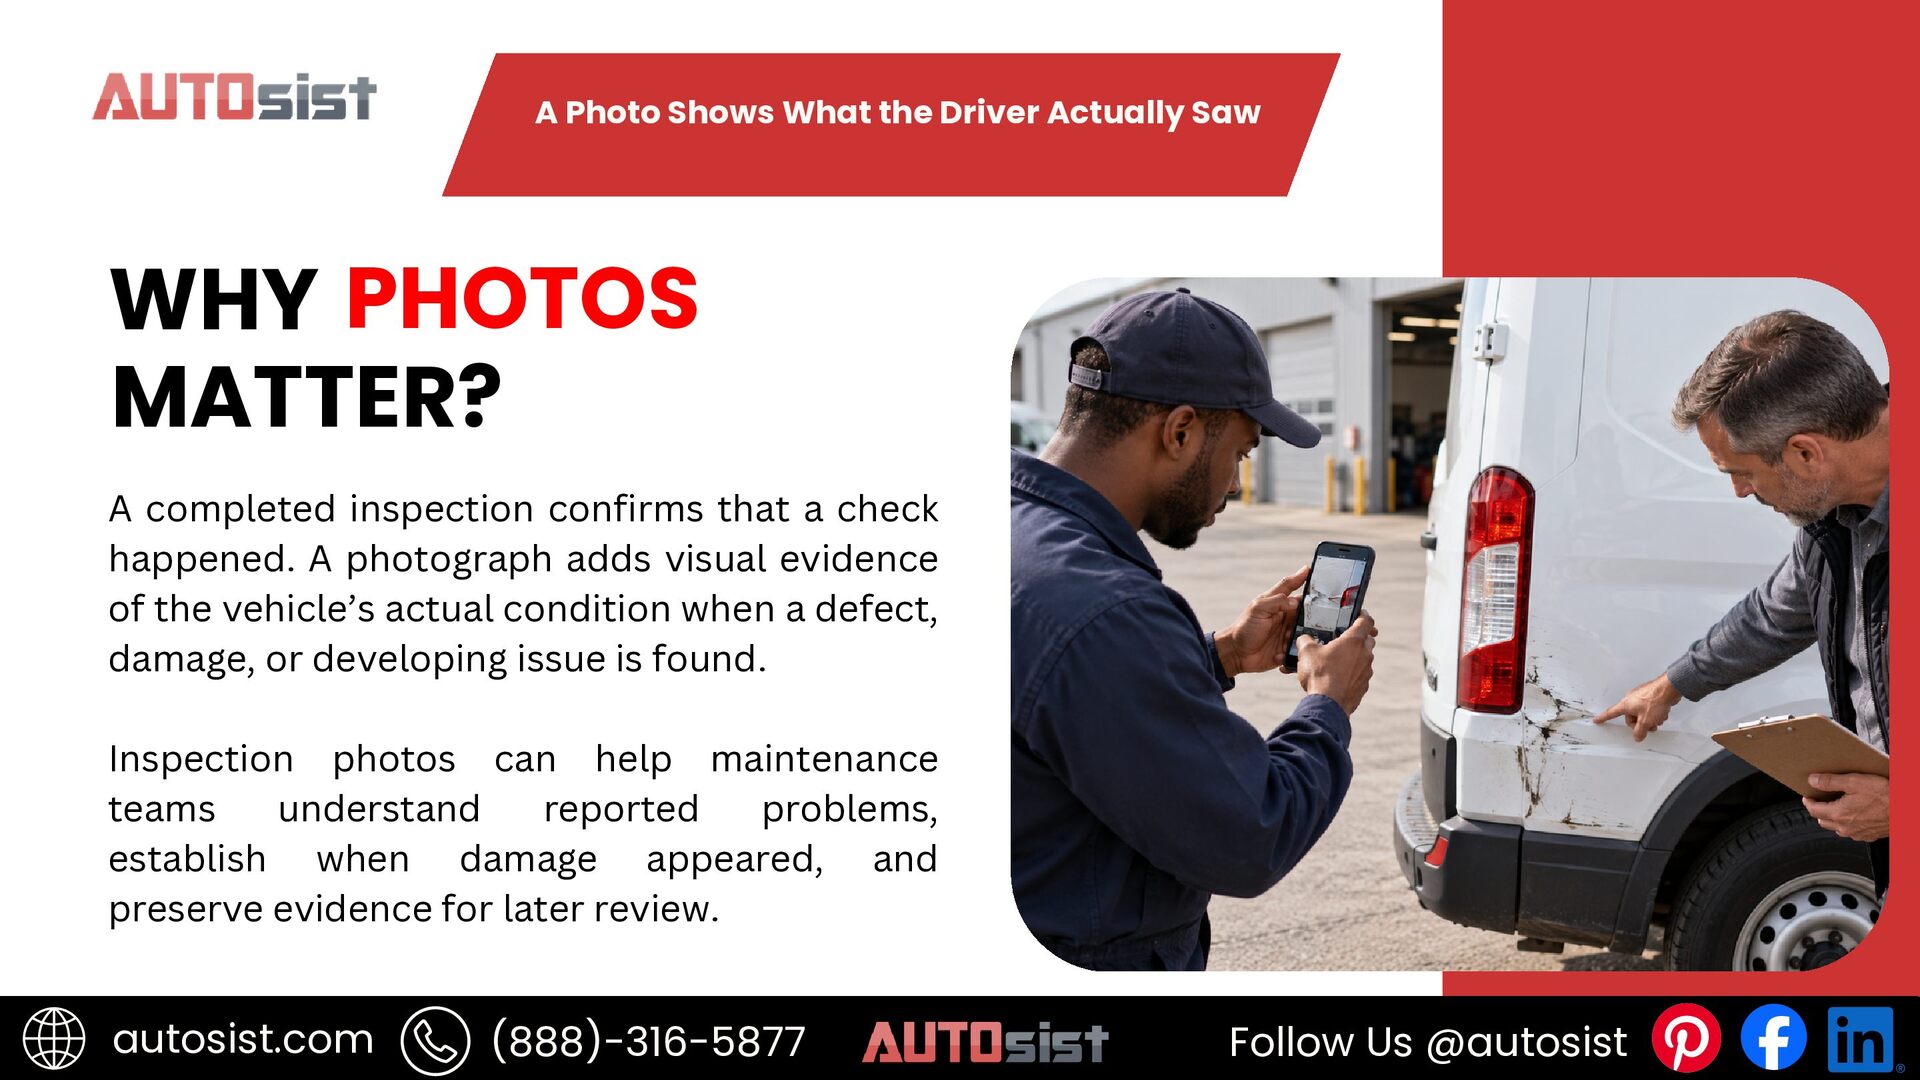
  1. A Photo Shows What the Driver Actually Saw WHY PHOTOS

    MATTER? A completed inspection confirms that a check happened. A photograph adds visual evidence of the vehicle’s actual condition when a defect, damage, or developing issue is found. Inspection photos can help maintenance teams understand reported problems, establish when damage appeared, and preserve evidence for later review. autosist.com (888)-316-5877 Follow Us @autosist
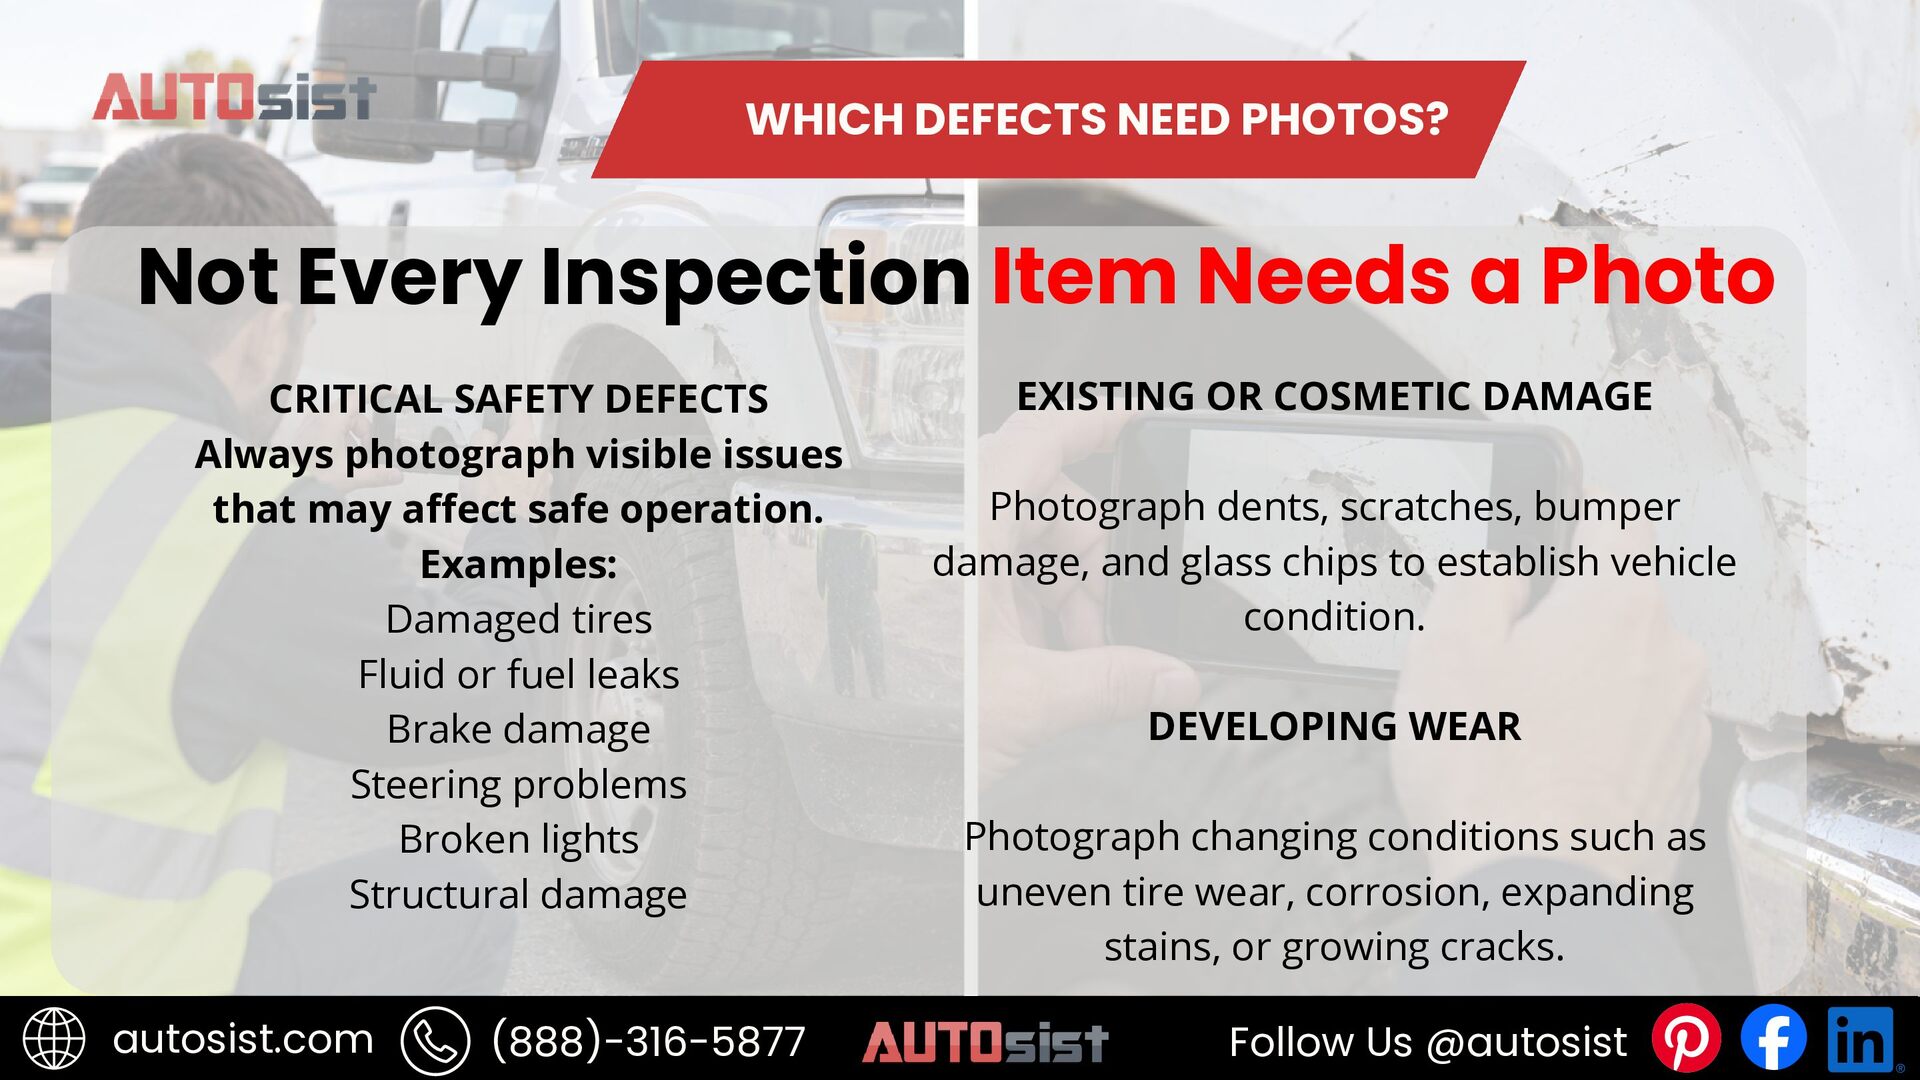
  2. WHICH DEFECTS NEED PHOTOS? Not Every Inspection Item Needs a

    Photo CRITICAL SAFETY DEFECTS Always photograph visible issues that may affect safe operation. Examples: Damaged tires Fluid or fuel leaks Brake damage Steering problems Broken lights Structural damage autosist.com (888)-316-5877 EXISTING OR COSMETIC DAMAGE Photograph dents, scratches, bumper damage, and glass chips to establish vehicle condition. DEVELOPING WEAR Photograph changing conditions such as uneven tire wear, corrosion, expanding stains, or growing cracks. Follow Us @autosist
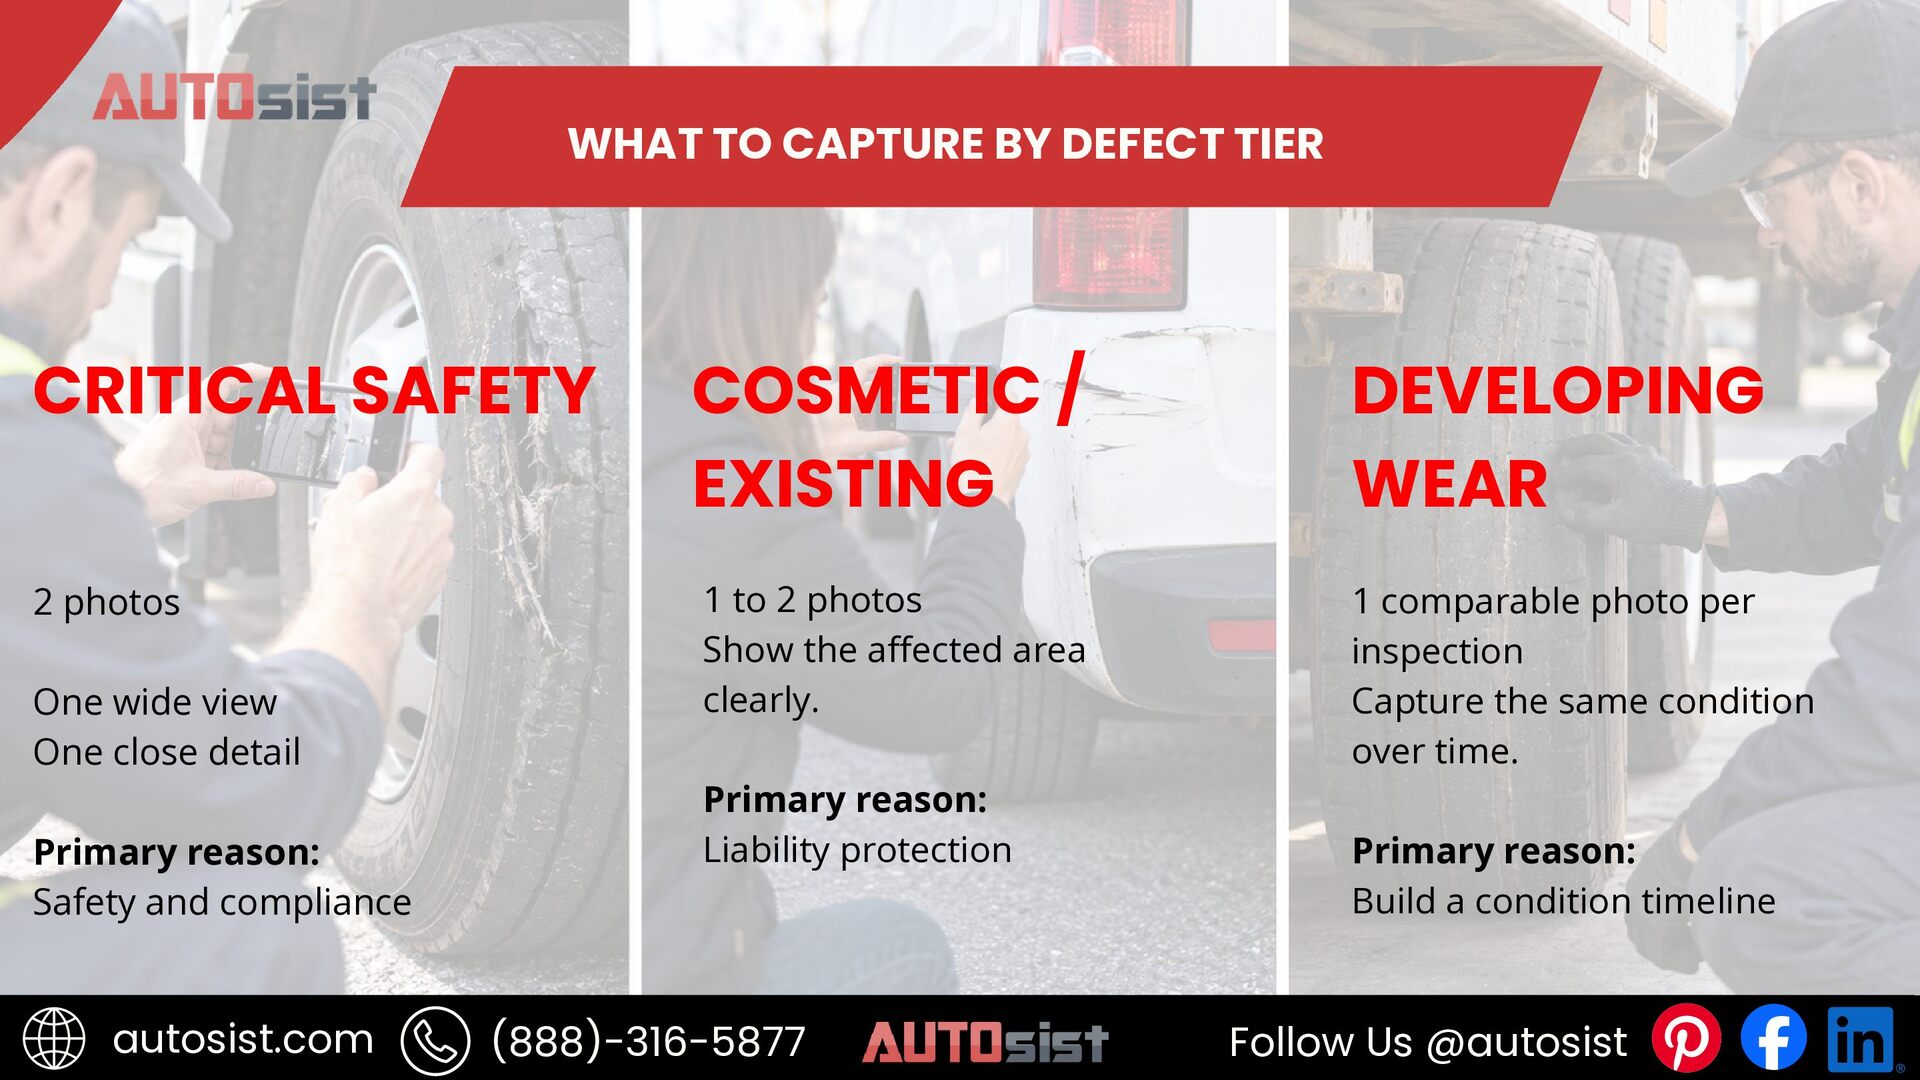
  3. WHAT TO CAPTURE BY DEFECT TIER CRITICAL SAFETY COSMETIC /

    EXISTING DEVELOPING WEAR 2 photos 1 to 2 photos Show the affected area clearly. 1 comparable photo per inspection Capture the same condition over time. One wide view One close detail Primary reason: Safety and compliance autosist.com Primary reason: Liability protection (888)-316-5877 Primary reason: Build a condition timeline Follow Us @autosist
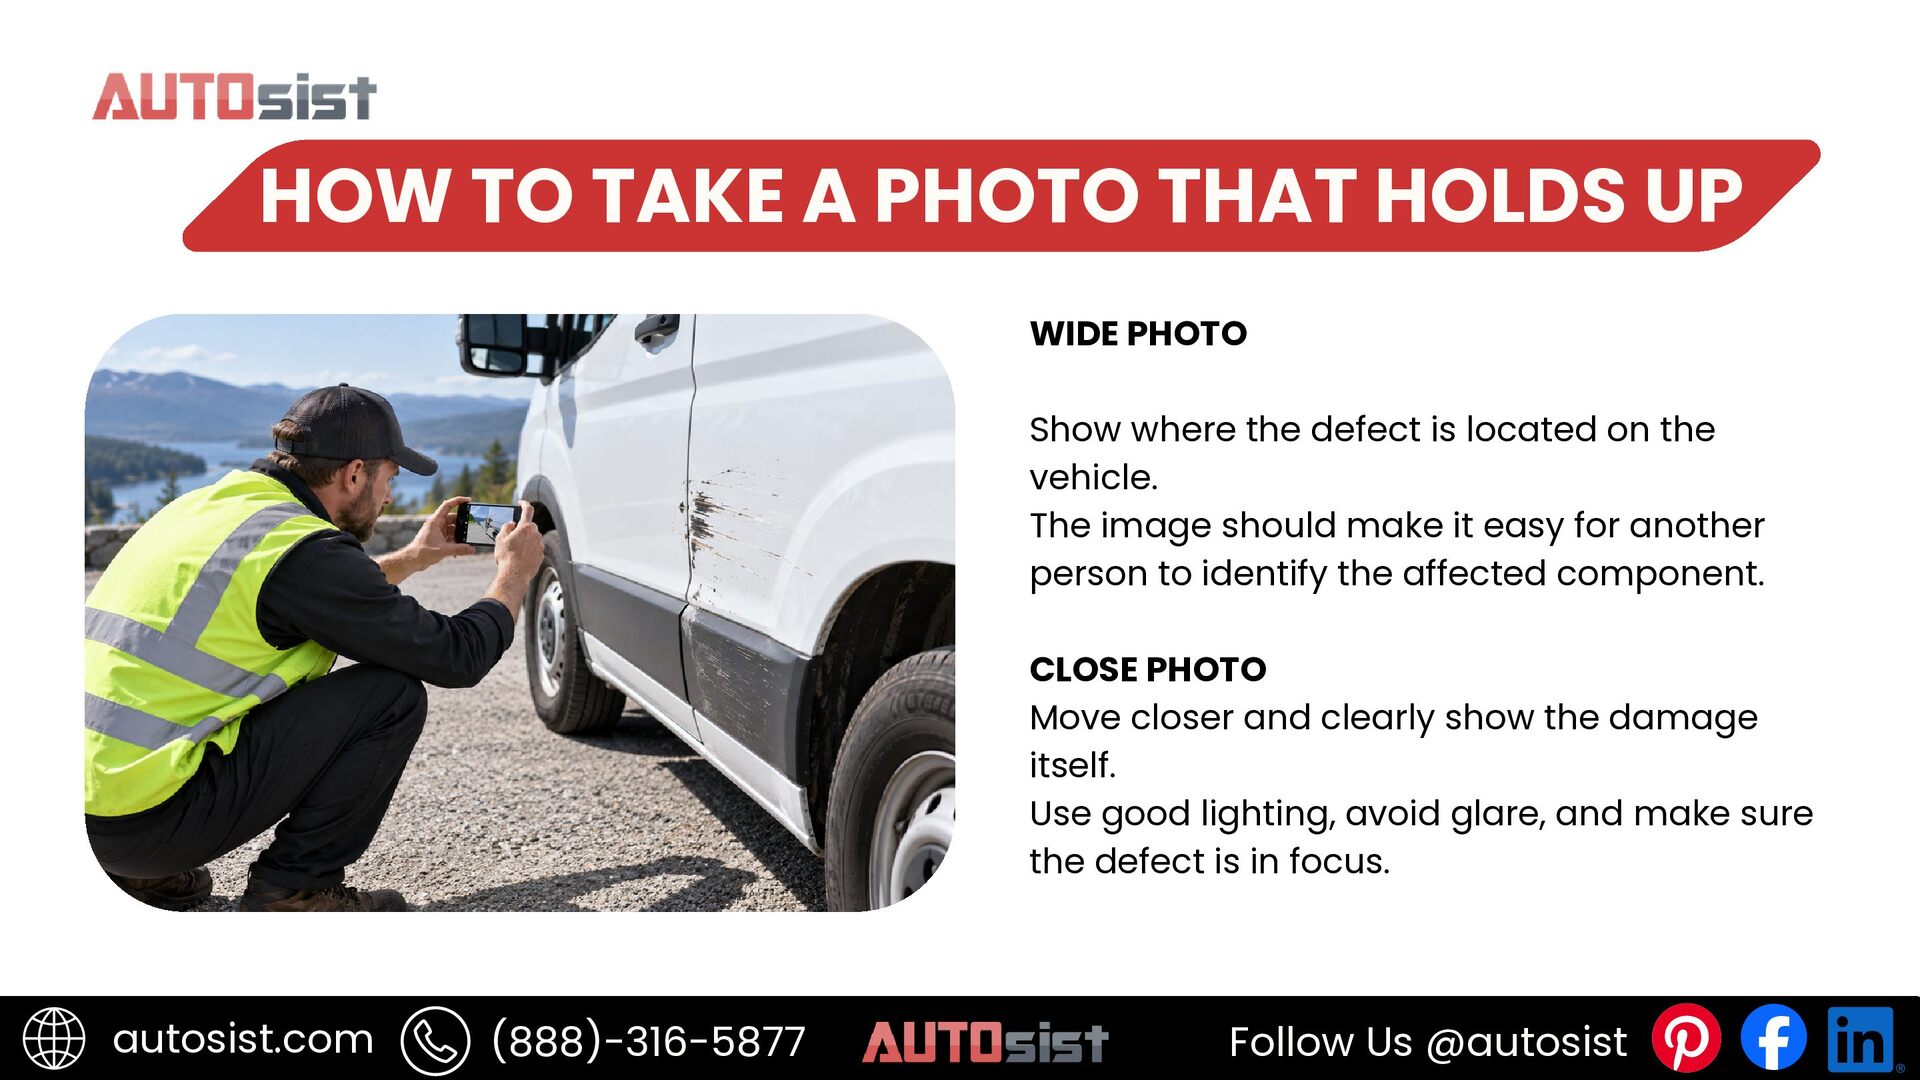
  4. HOW TO TAKE A PHOTO THAT HOLDS UP WIDE PHOTO

    Show where the defect is located on the vehicle. The image should make it easy for another person to identify the affected component. CLOSE PHOTO Move closer and clearly show the damage itself. Use good lighting, avoid glare, and make sure the defect is in focus. autosist.com (888)-316-5877 Follow Us @autosist
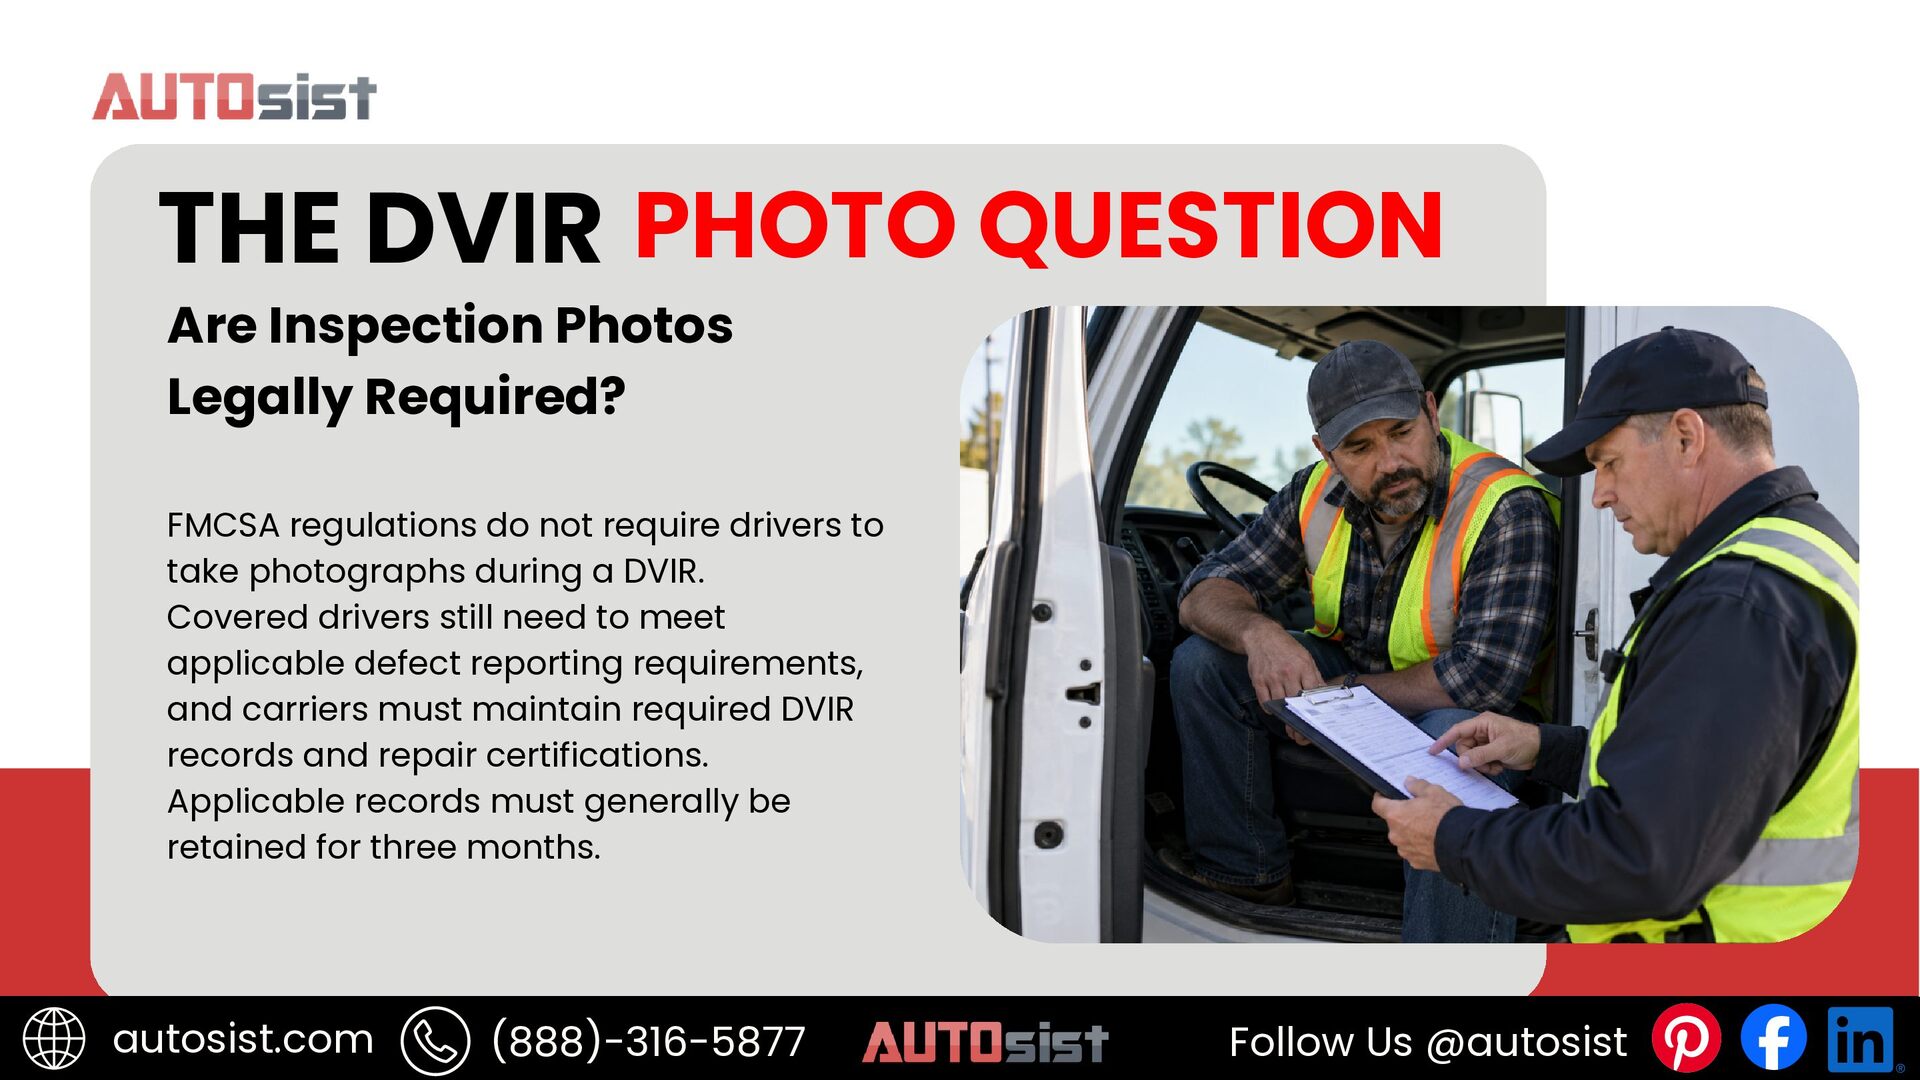
  5. THE DVIR PHOTO QUESTION Are Inspection Photos Legally Required? FMCSA

    regulations do not require drivers to take photographs during a DVIR. Covered drivers still need to meet applicable defect reporting requirements, and carriers must maintain required DVIR records and repair certifications. Applicable records must generally be retained for three months. autosist.com (888)-316-5877 Follow Us @autosist
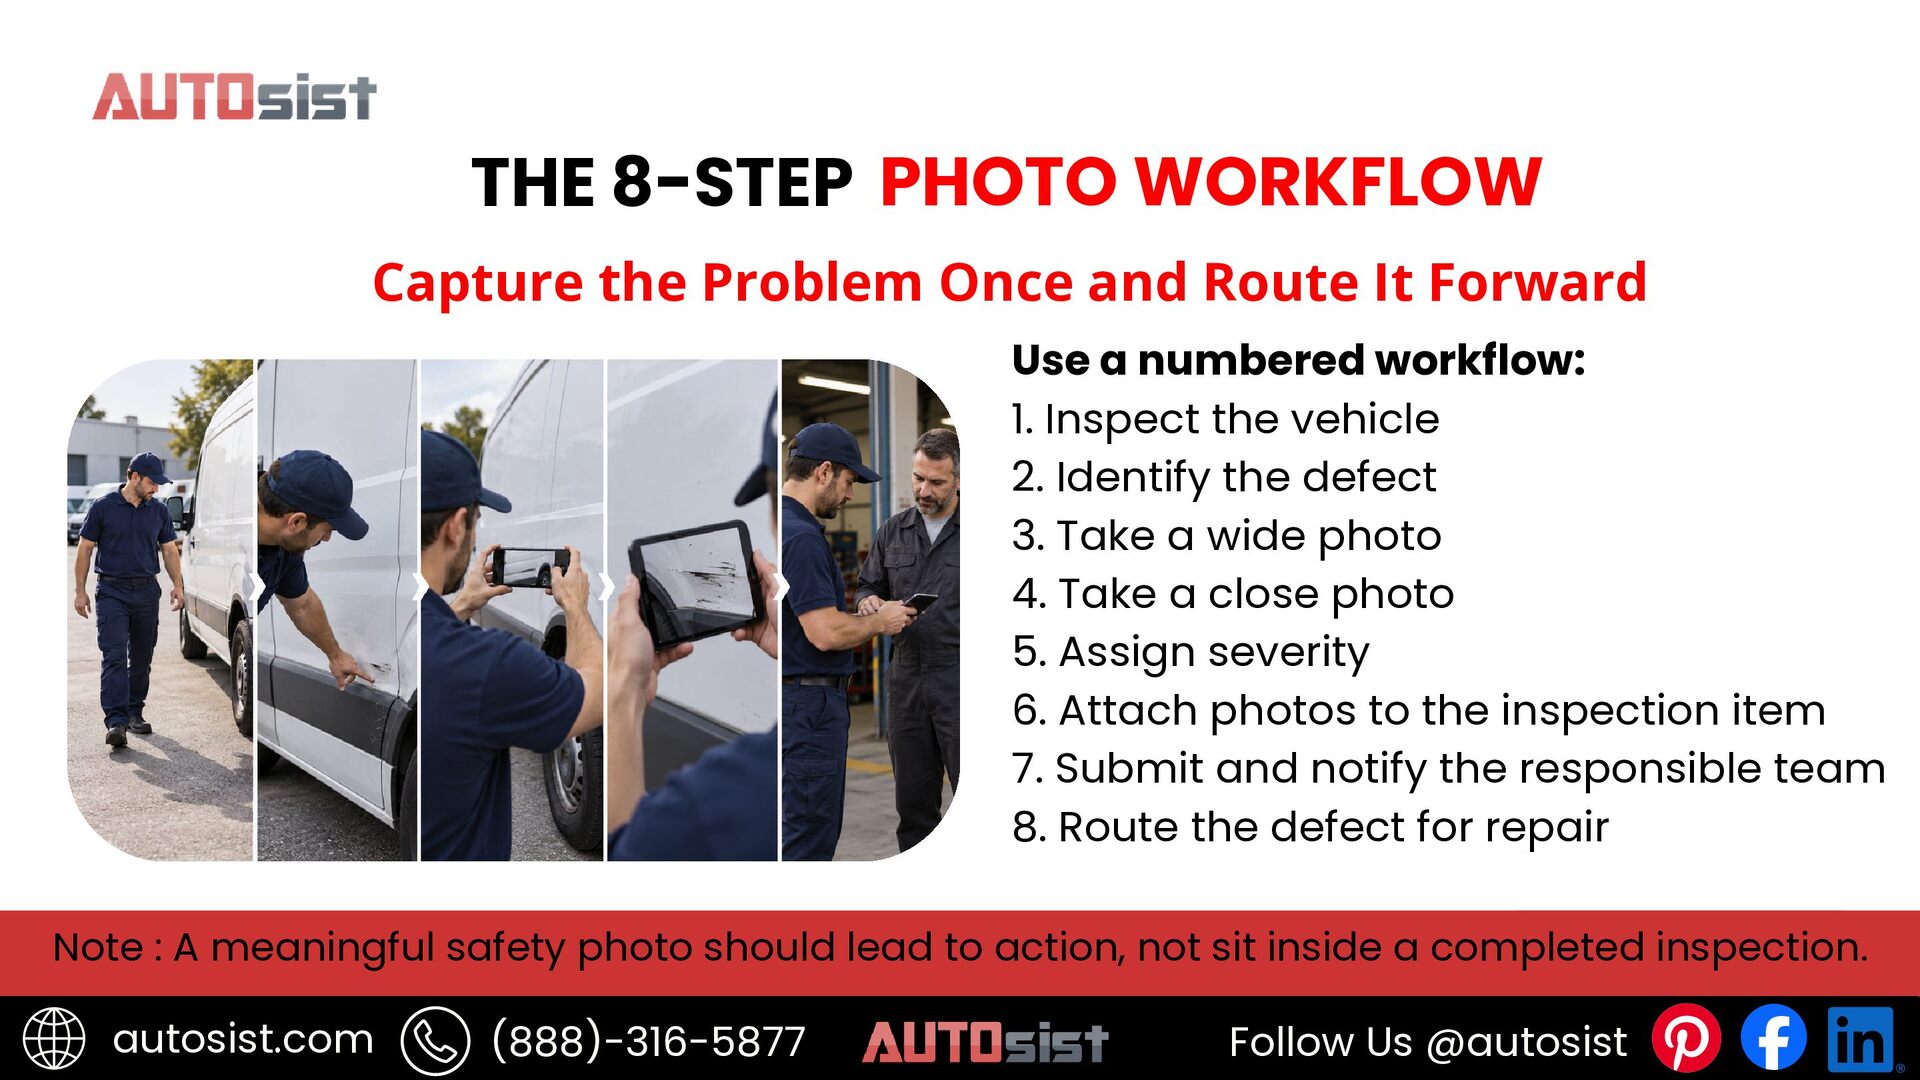
  6. THE 8-STEP PHOTO WORKFLOW Capture the Problem Once and Route

    It Forward Use a numbered workflow: 1. Inspect the vehicle 2. Identify the defect 3. Take a wide photo 4. Take a close photo 5. Assign severity 6. Attach photos to the inspection item 7. Submit and notify the responsible team 8. Route the defect for repair Note : A meaningful safety photo should lead to action, not sit inside a completed inspection. autosist.com (888)-316-5877 Follow Us @autosist
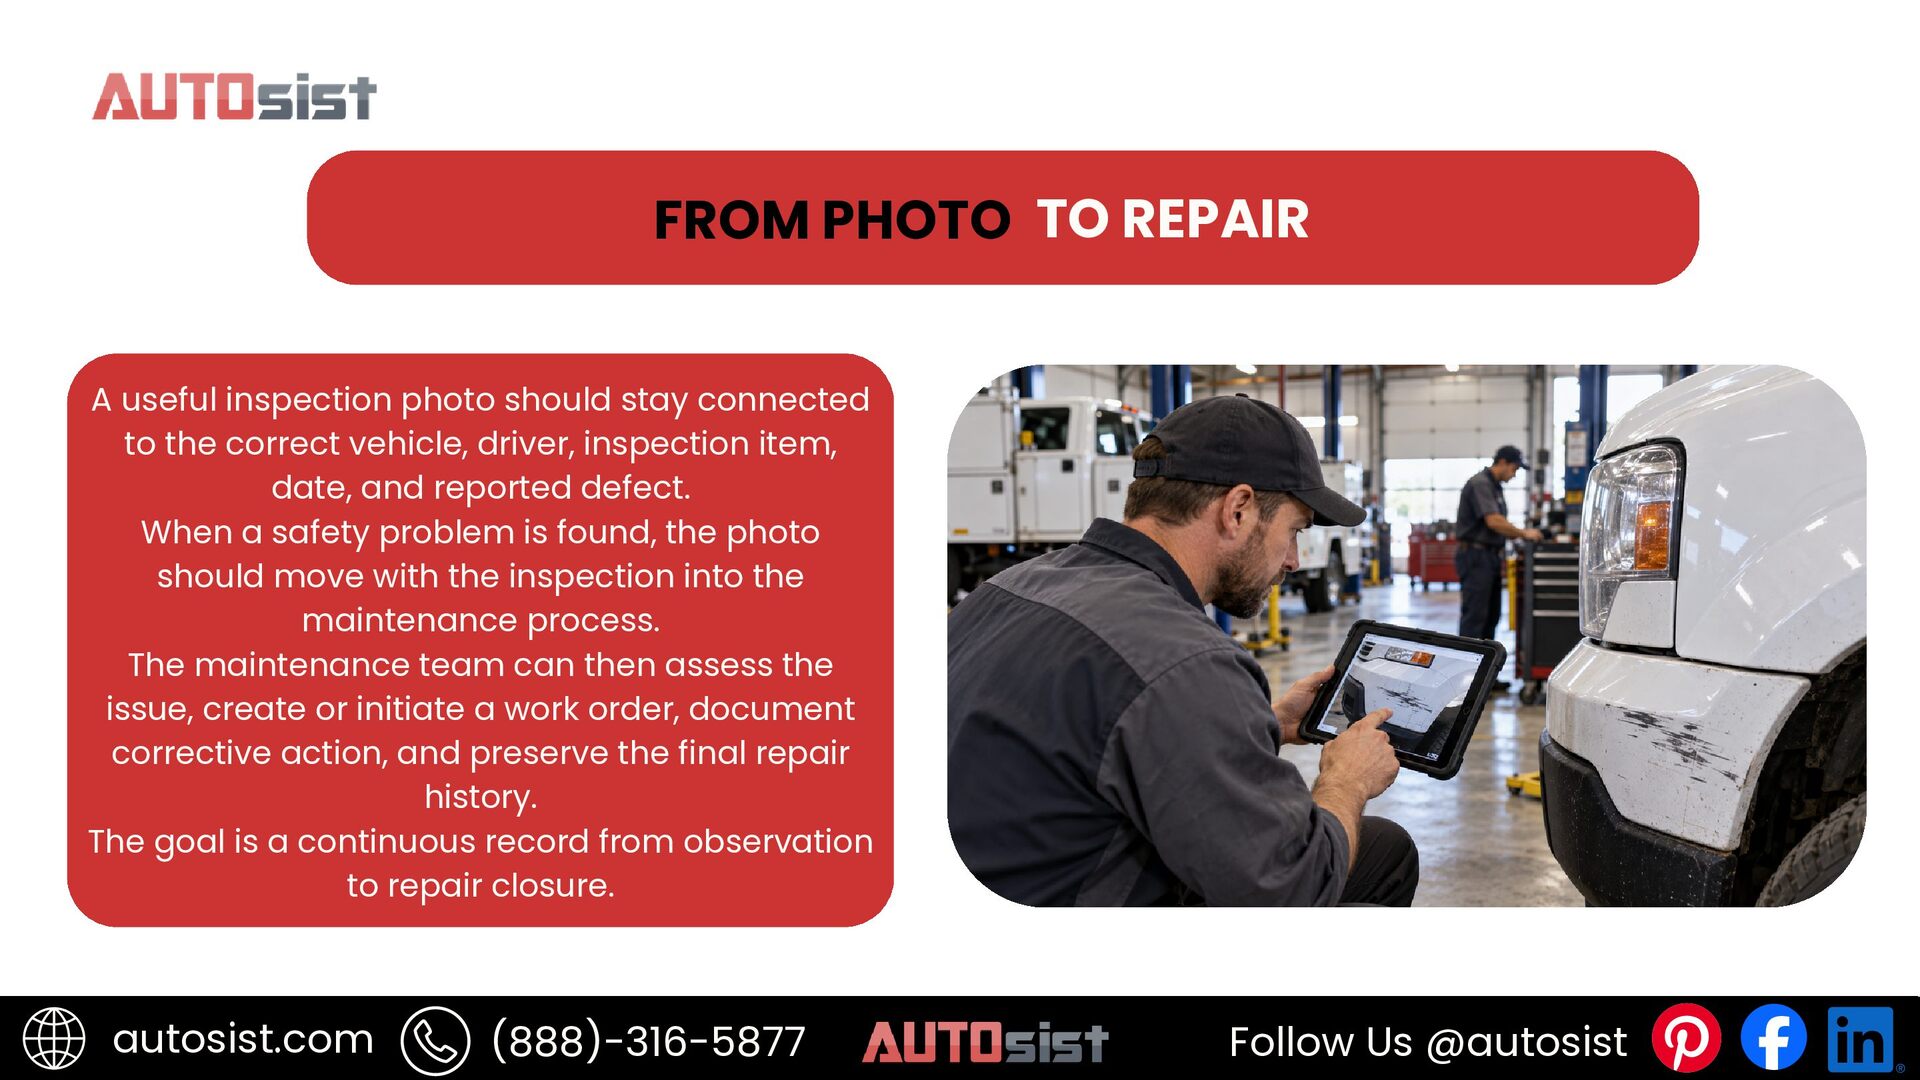
  7. FROM PHOTO TO REPAIR A useful inspection photo should stay

    connected to the correct vehicle, driver, inspection item, date, and reported defect. When a safety problem is found, the photo should move with the inspection into the maintenance process. The maintenance team can then assess the issue, create or initiate a work order, document corrective action, and preserve the final repair history. The goal is a continuous record from observation to repair closure. autosist.com (888)-316-5877 Follow Us @autosist
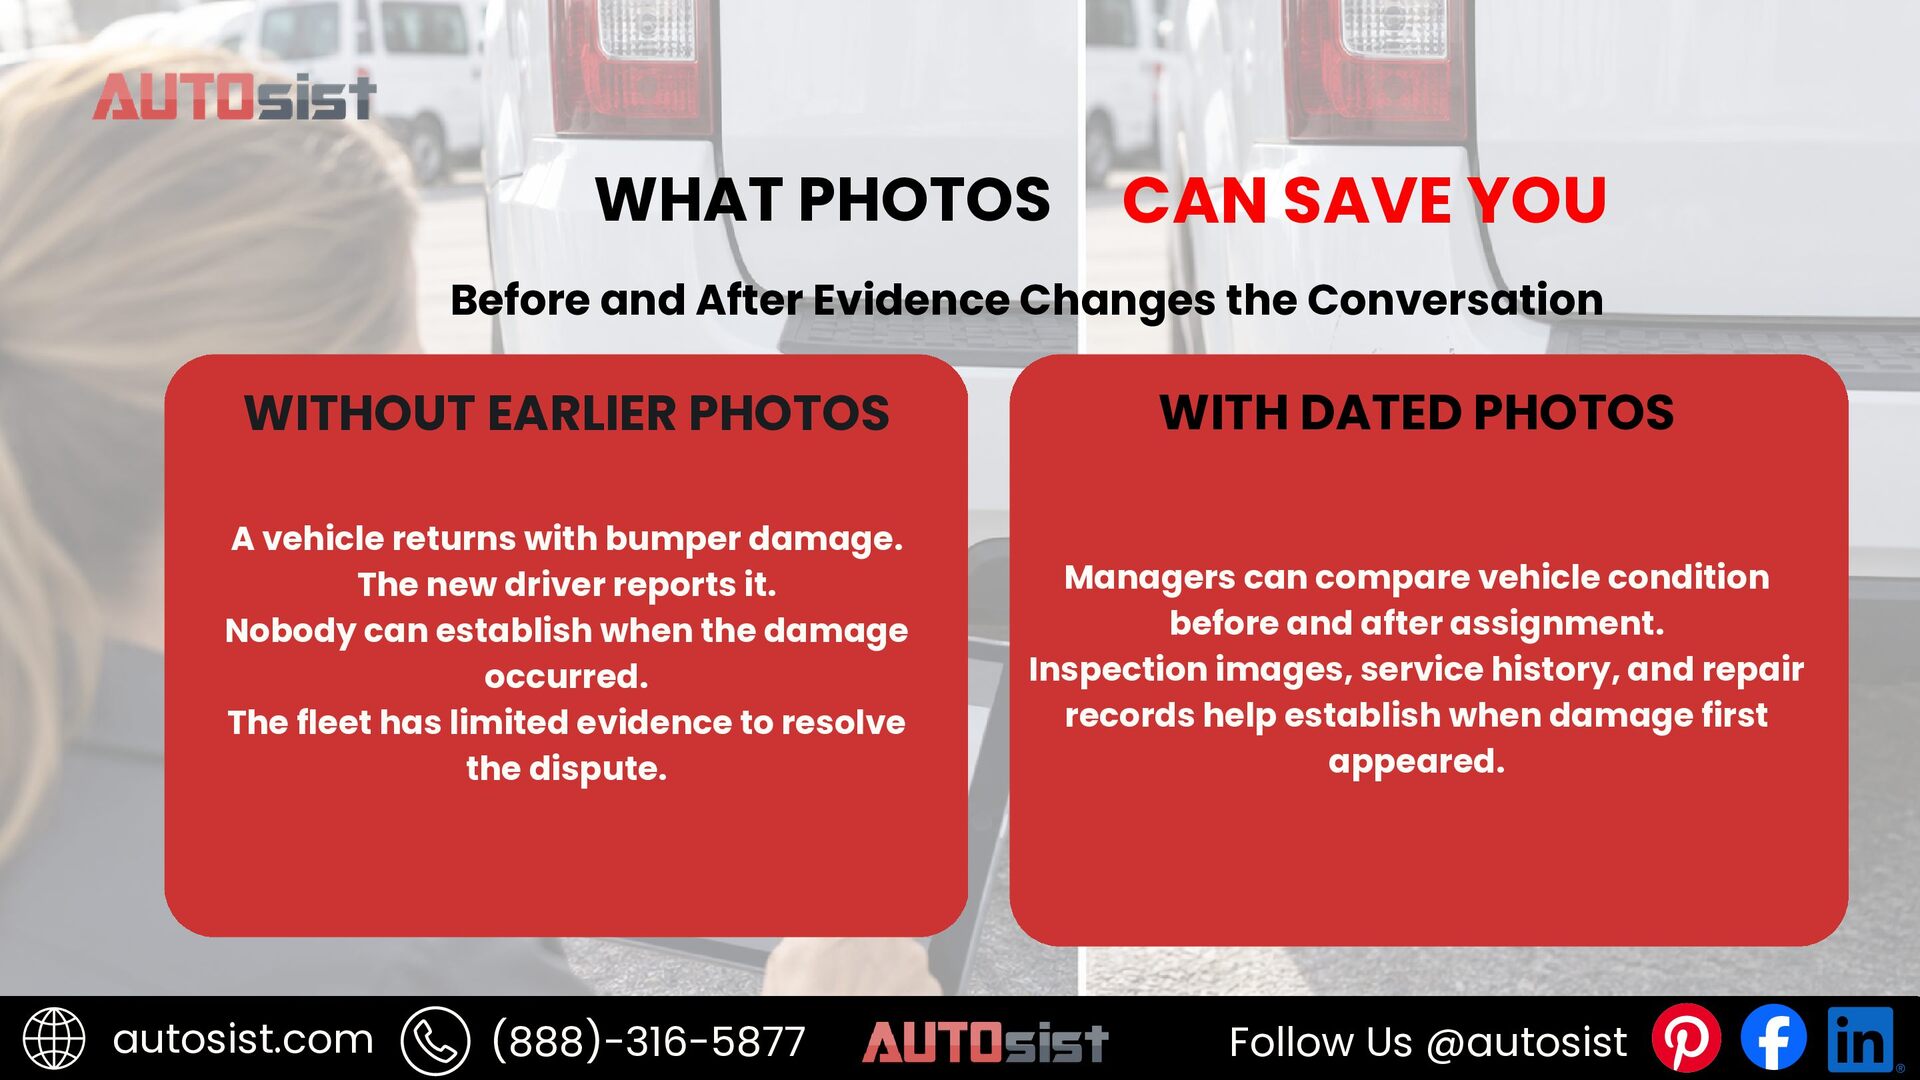
  8. WHAT PHOTOS CAN SAVE YOU Before and After Evidence Changes

    the Conversation WITHOUT EARLIER PHOTOS WITH DATED PHOTOS A vehicle returns with bumper damage. The new driver reports it. Nobody can establish when the damage occurred. The fleet has limited evidence to resolve the dispute. Managers can compare vehicle condition before and after assignment. Inspection images, service history, and repair records help establish when damage first appeared. autosist.com (888)-316-5877 Follow Us @autosist
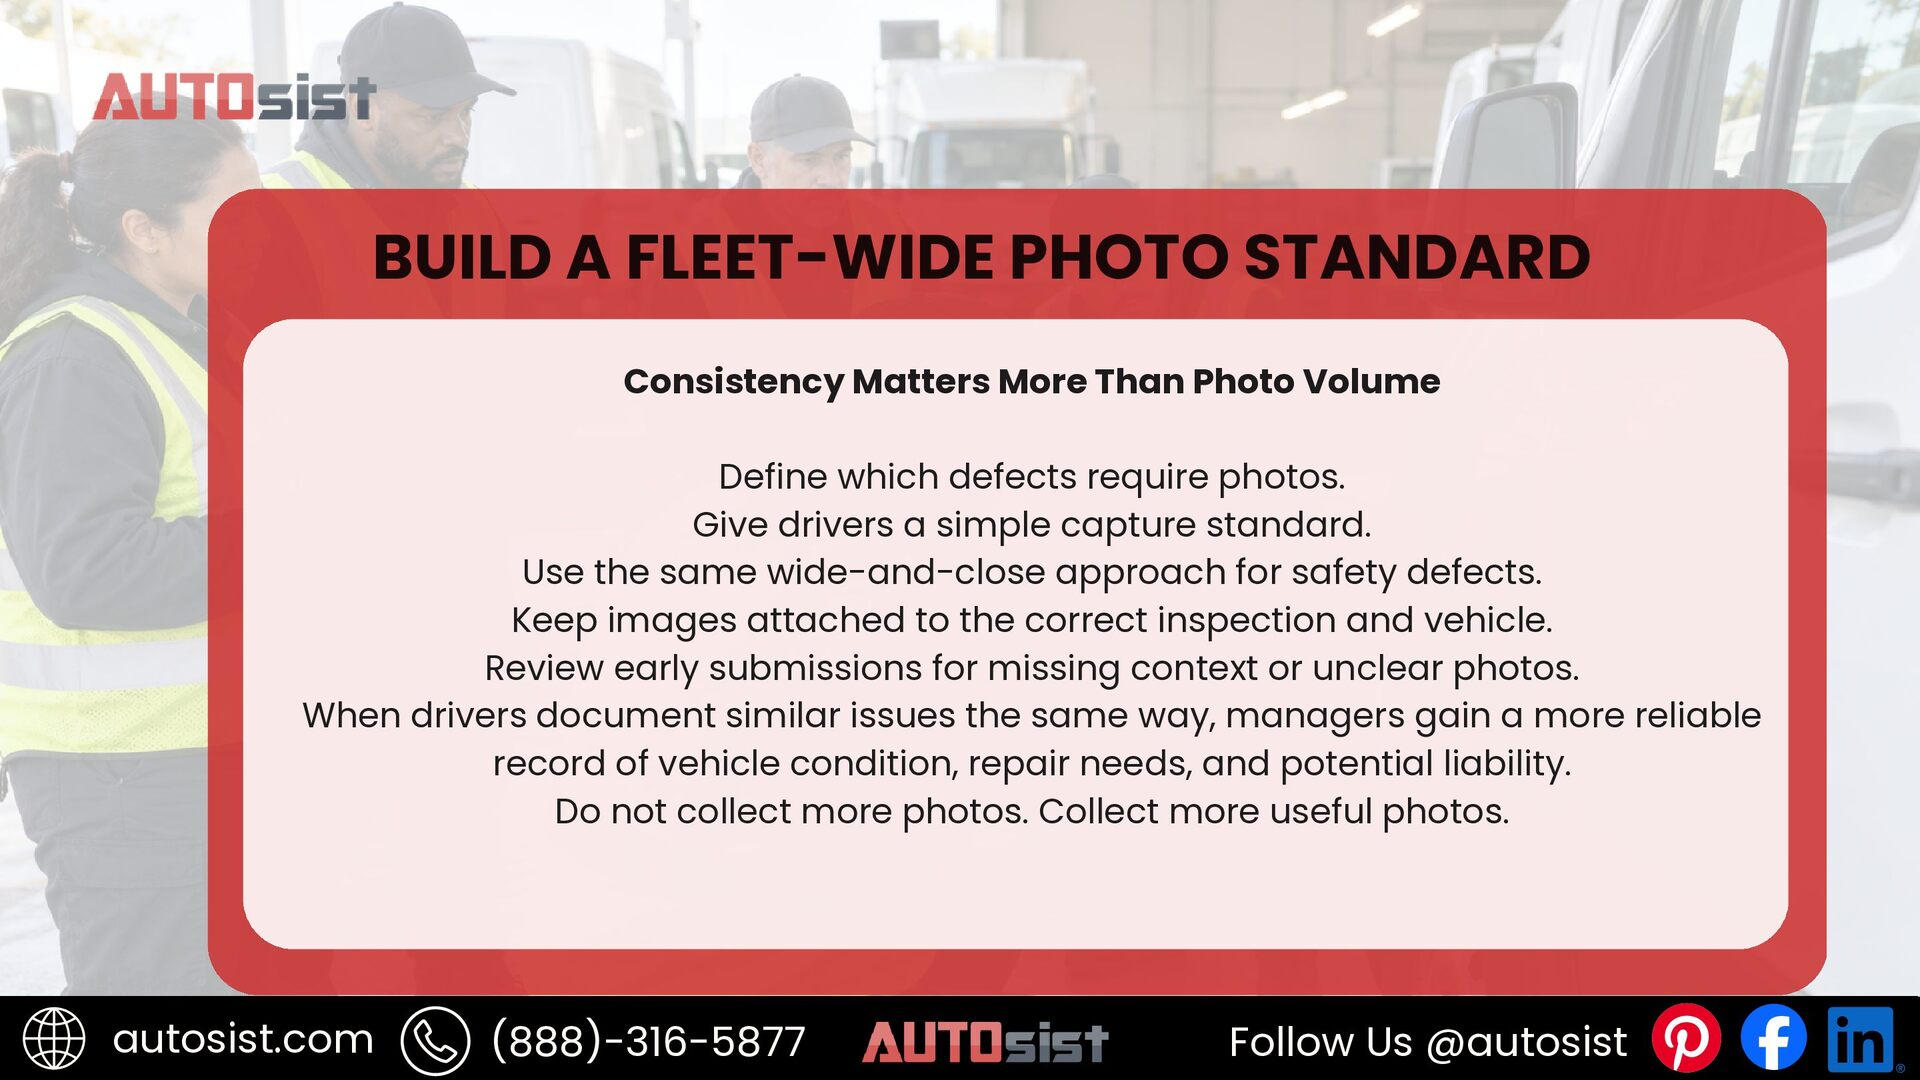
  9. BUILD A FLEET-WIDE PHOTO STANDARD Consistency Matters More Than Photo

    Volume Define which defects require photos. Give drivers a simple capture standard. Use the same wide-and-close approach for safety defects. Keep images attached to the correct inspection and vehicle. Review early submissions for missing context or unclear photos. When drivers document similar issues the same way, managers gain a more reliable record of vehicle condition, repair needs, and potential liability. Do not collect more photos. Collect more useful photos. autosist.com (888)-316-5877 Follow Us @autosist