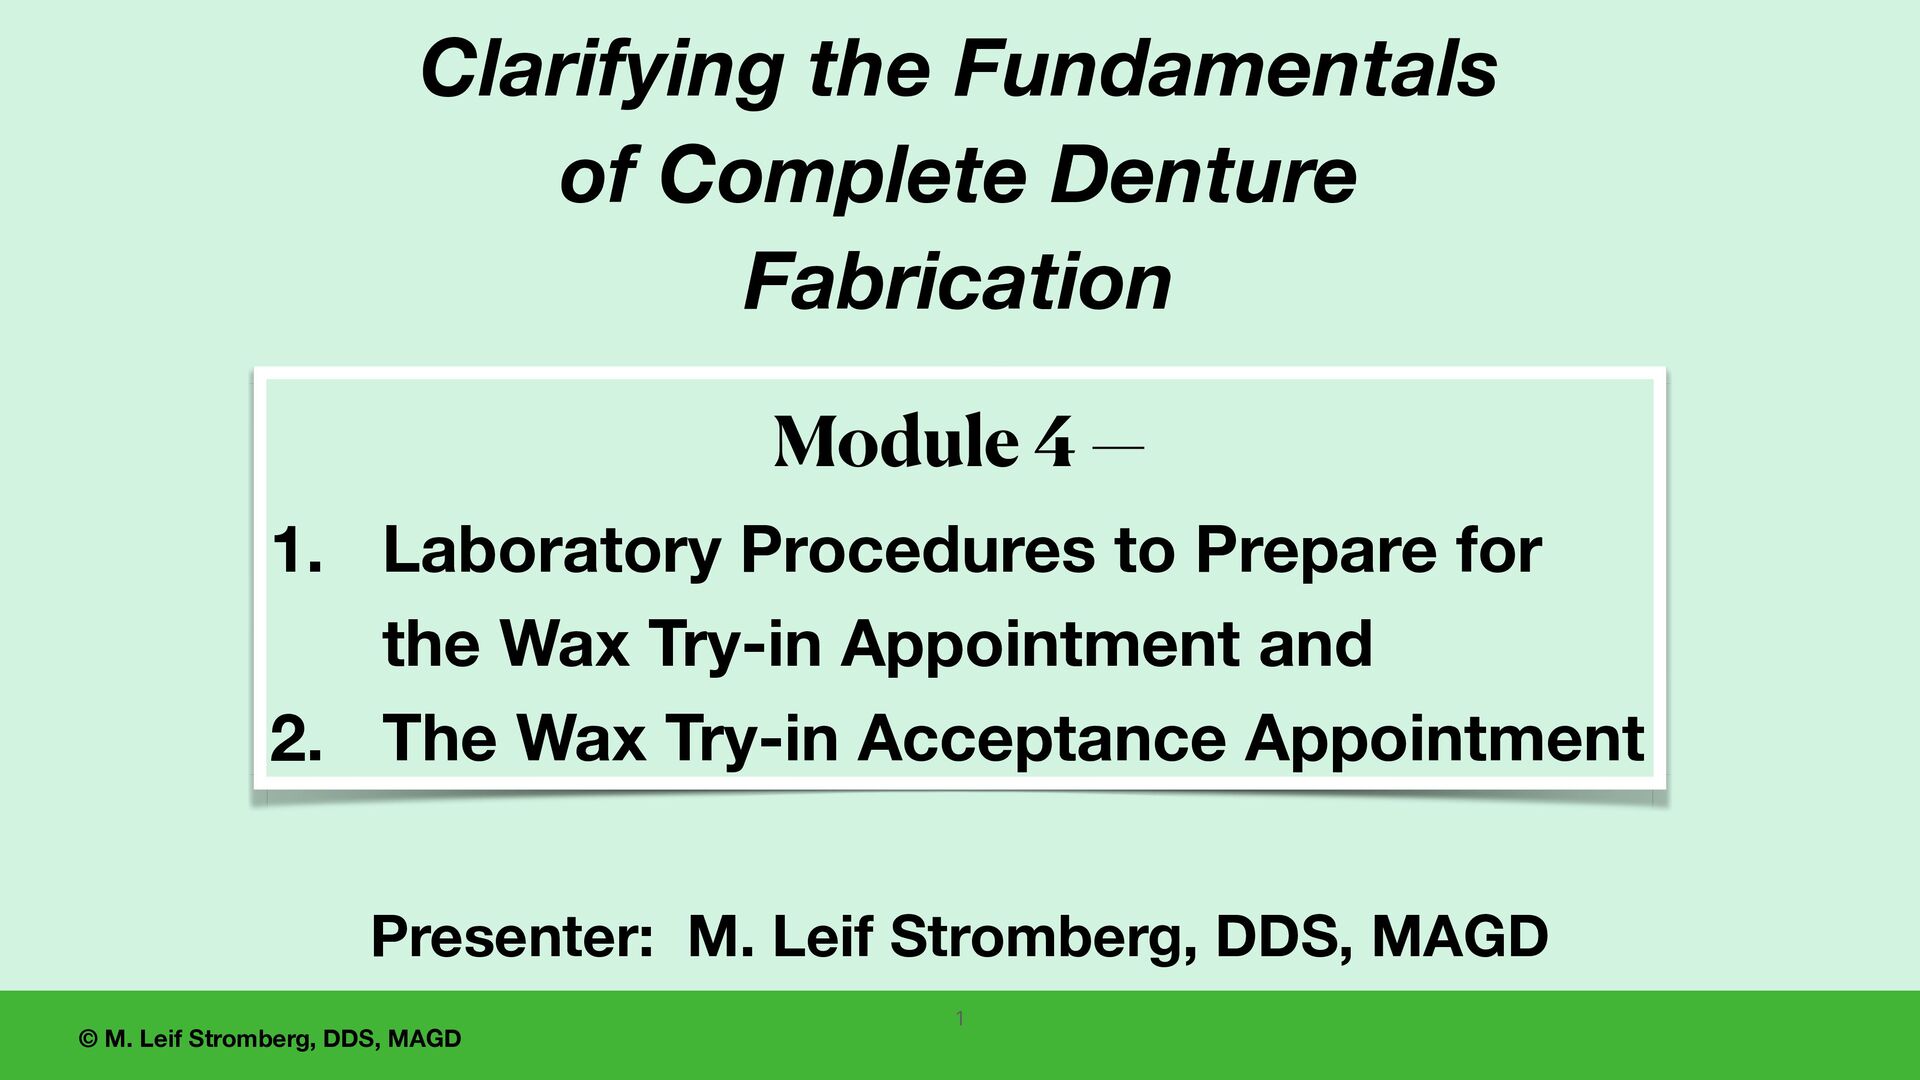
Complete Denture Fabrication 1 Presenter: M. Leif Stromberg, DDS, MAGD Module 4 — 1. Laboratory Procedures to Prepare for the Wax Try-in Appointment and 2. The Wax Try-in Acceptance Appointment
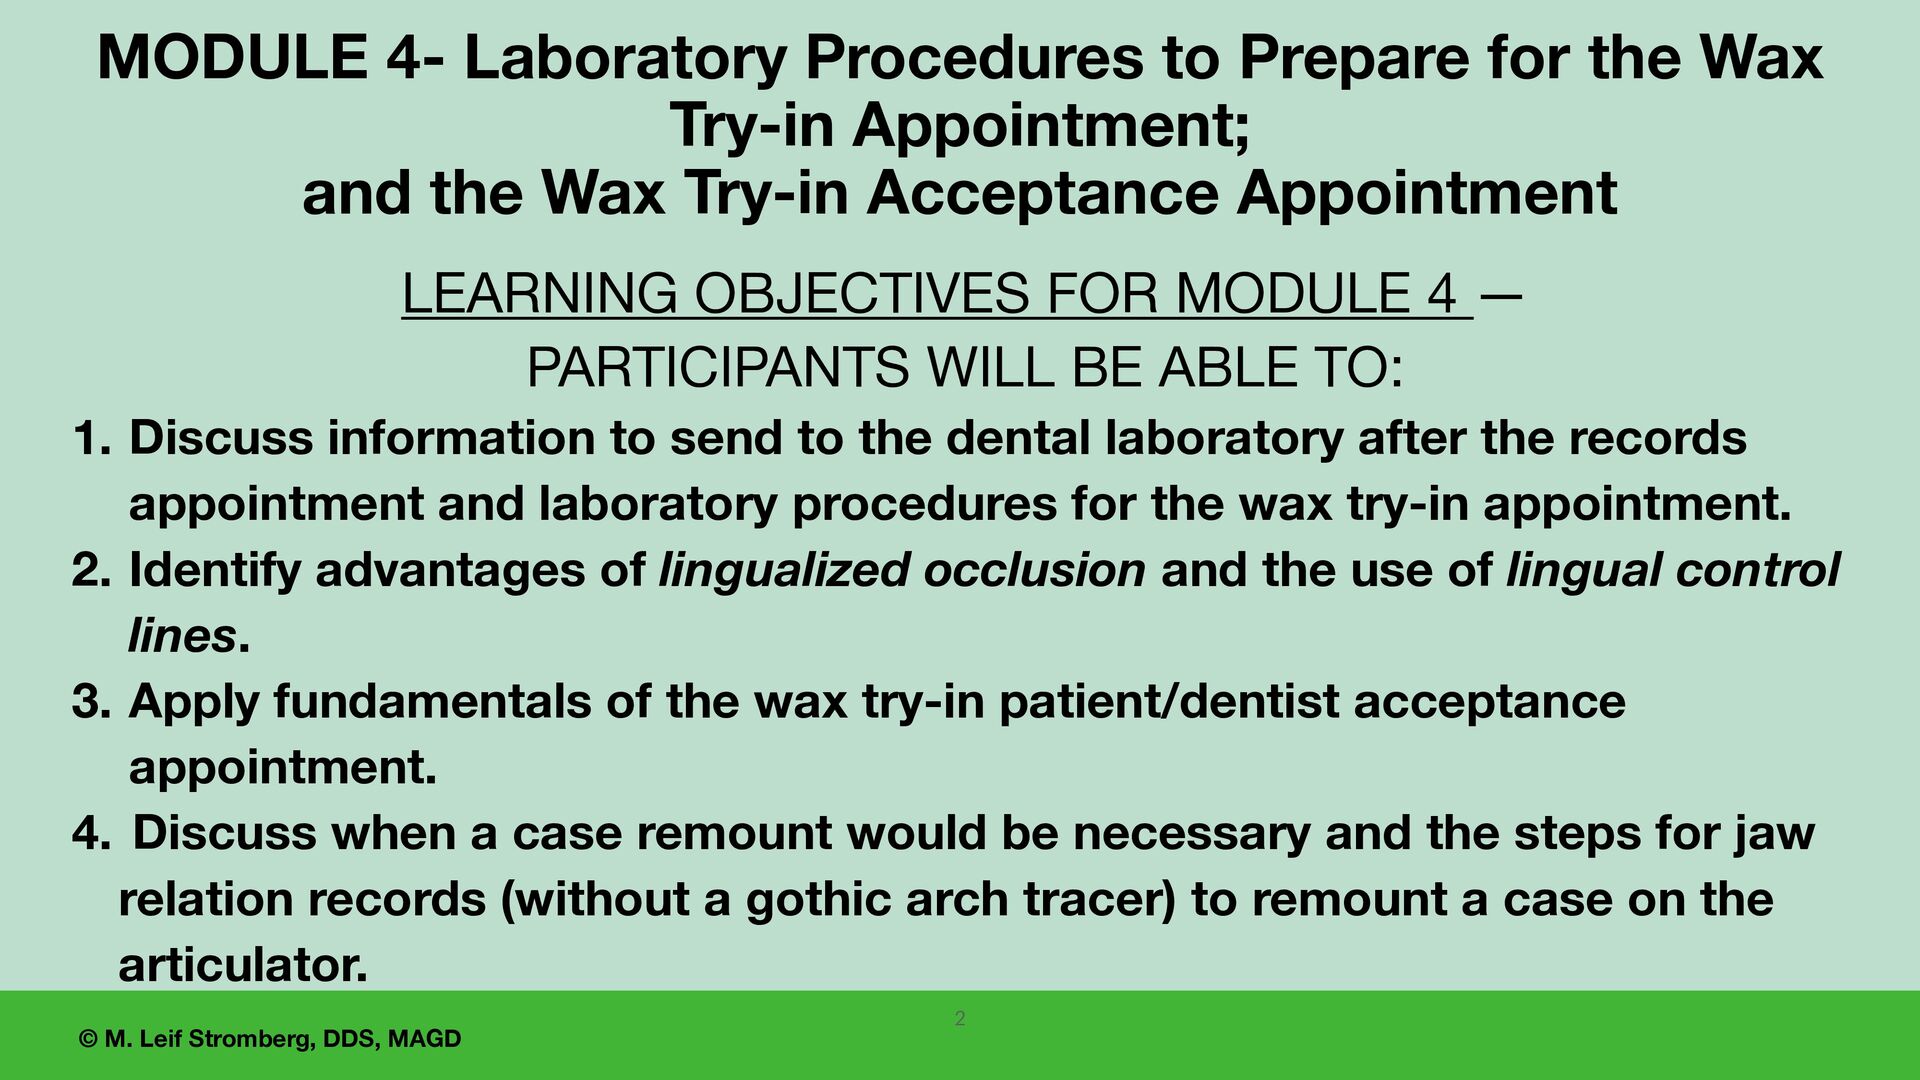
4 — PARTICIPANTS WILL BE ABLE TO: 1. Discuss information to send to the dental laboratory after the records appointment and laboratory procedures for the wax try-in appointment. 2. Identify advantages of lingualized occlusion and the use of lingual control lines. 3. Apply fundamentals of the wax try-in patient/dentist acceptance appointment. 4. Discuss when a case remount would be necessary and the steps for jaw relation records (without a gothic arch tracer) to remount a case on the articulator. MODULE 4- Laboratory Procedures to Prepare for the Wax Try-in Appointment; and the Wax Try-in Acceptance Appointment 2
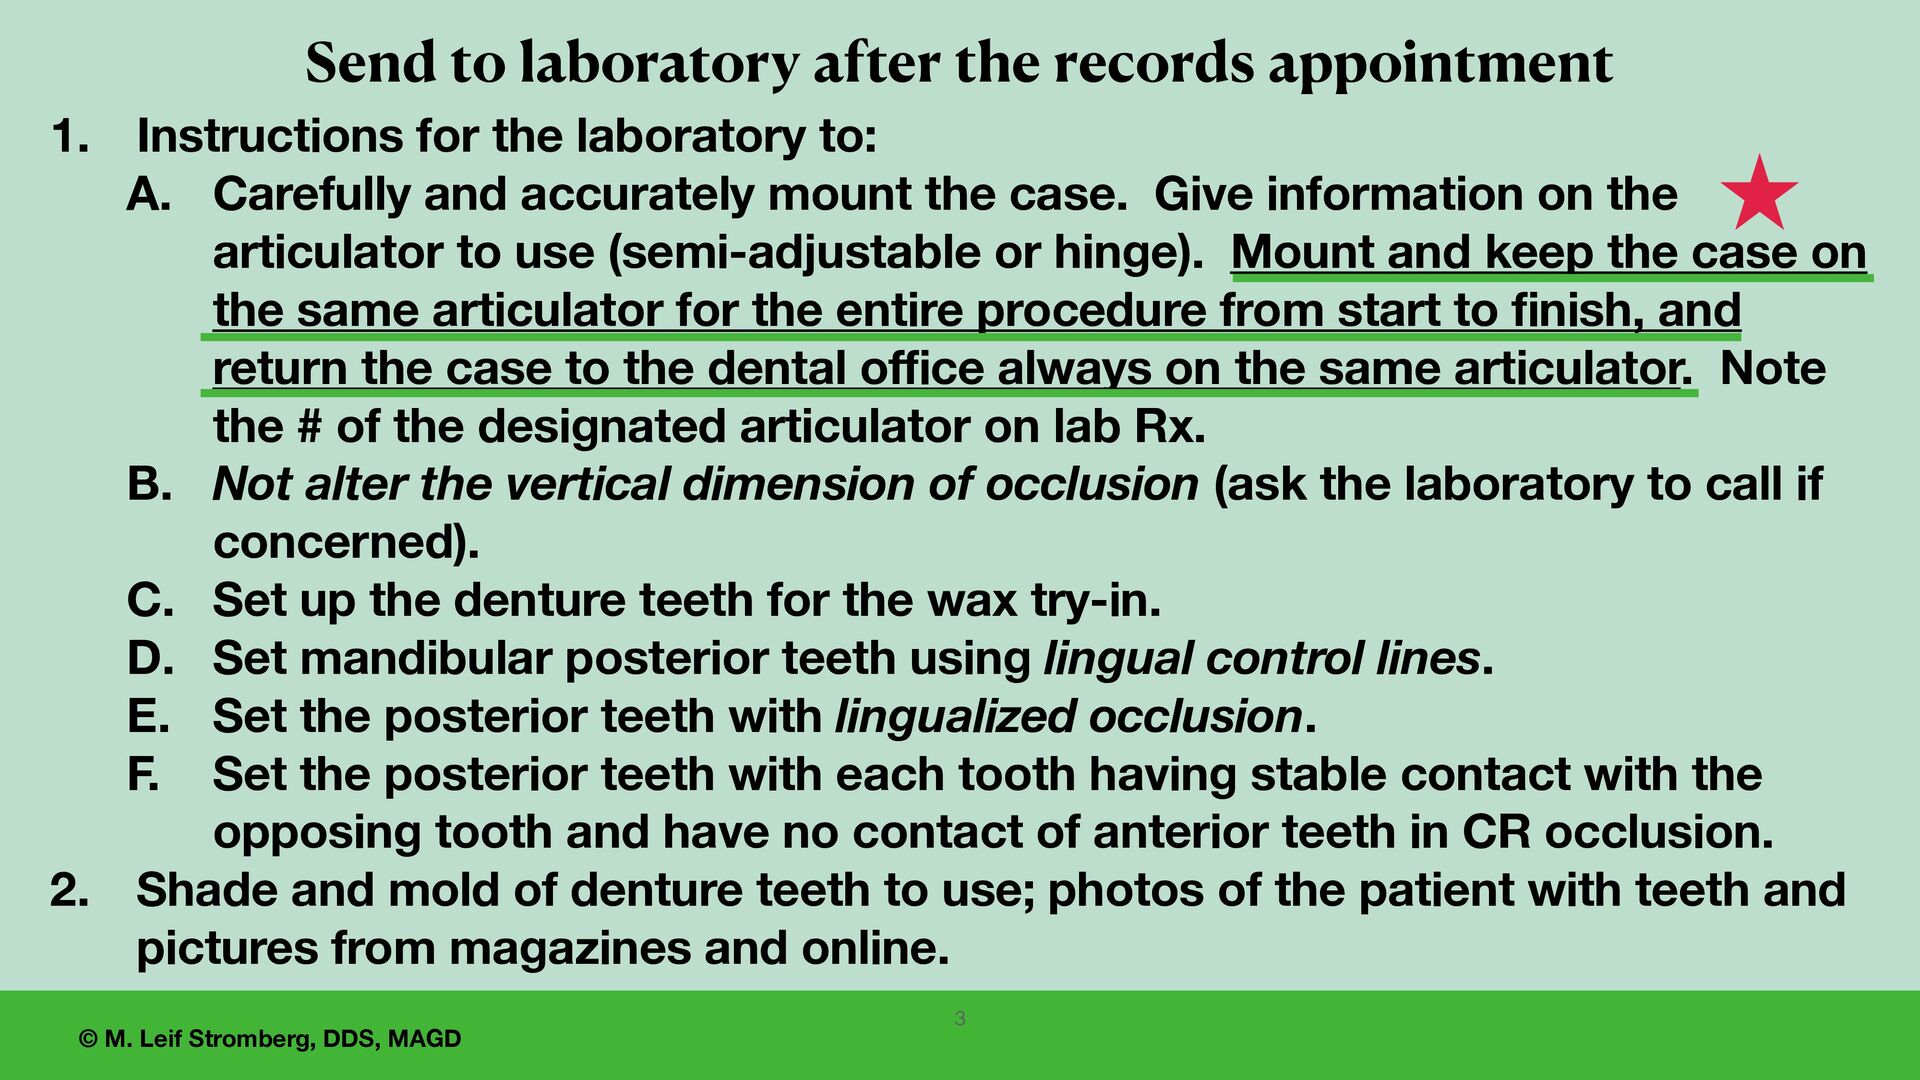
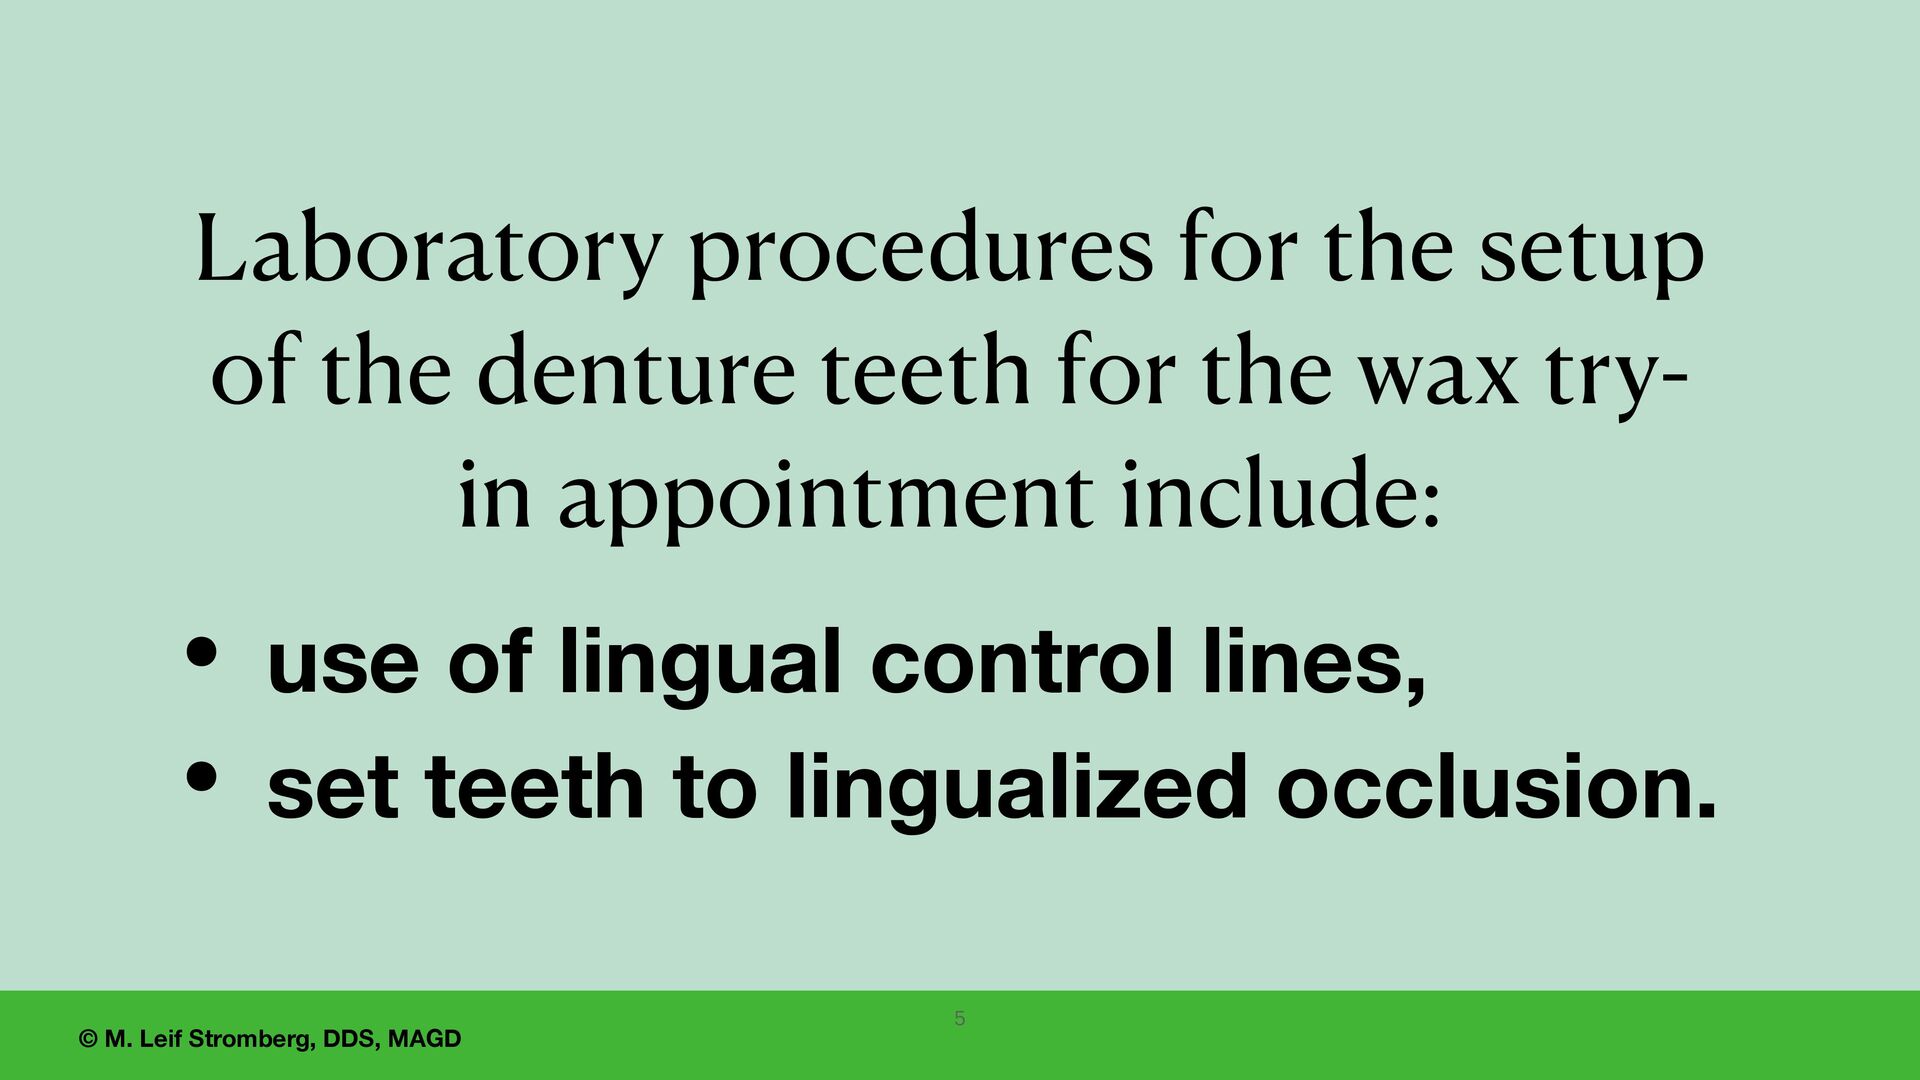
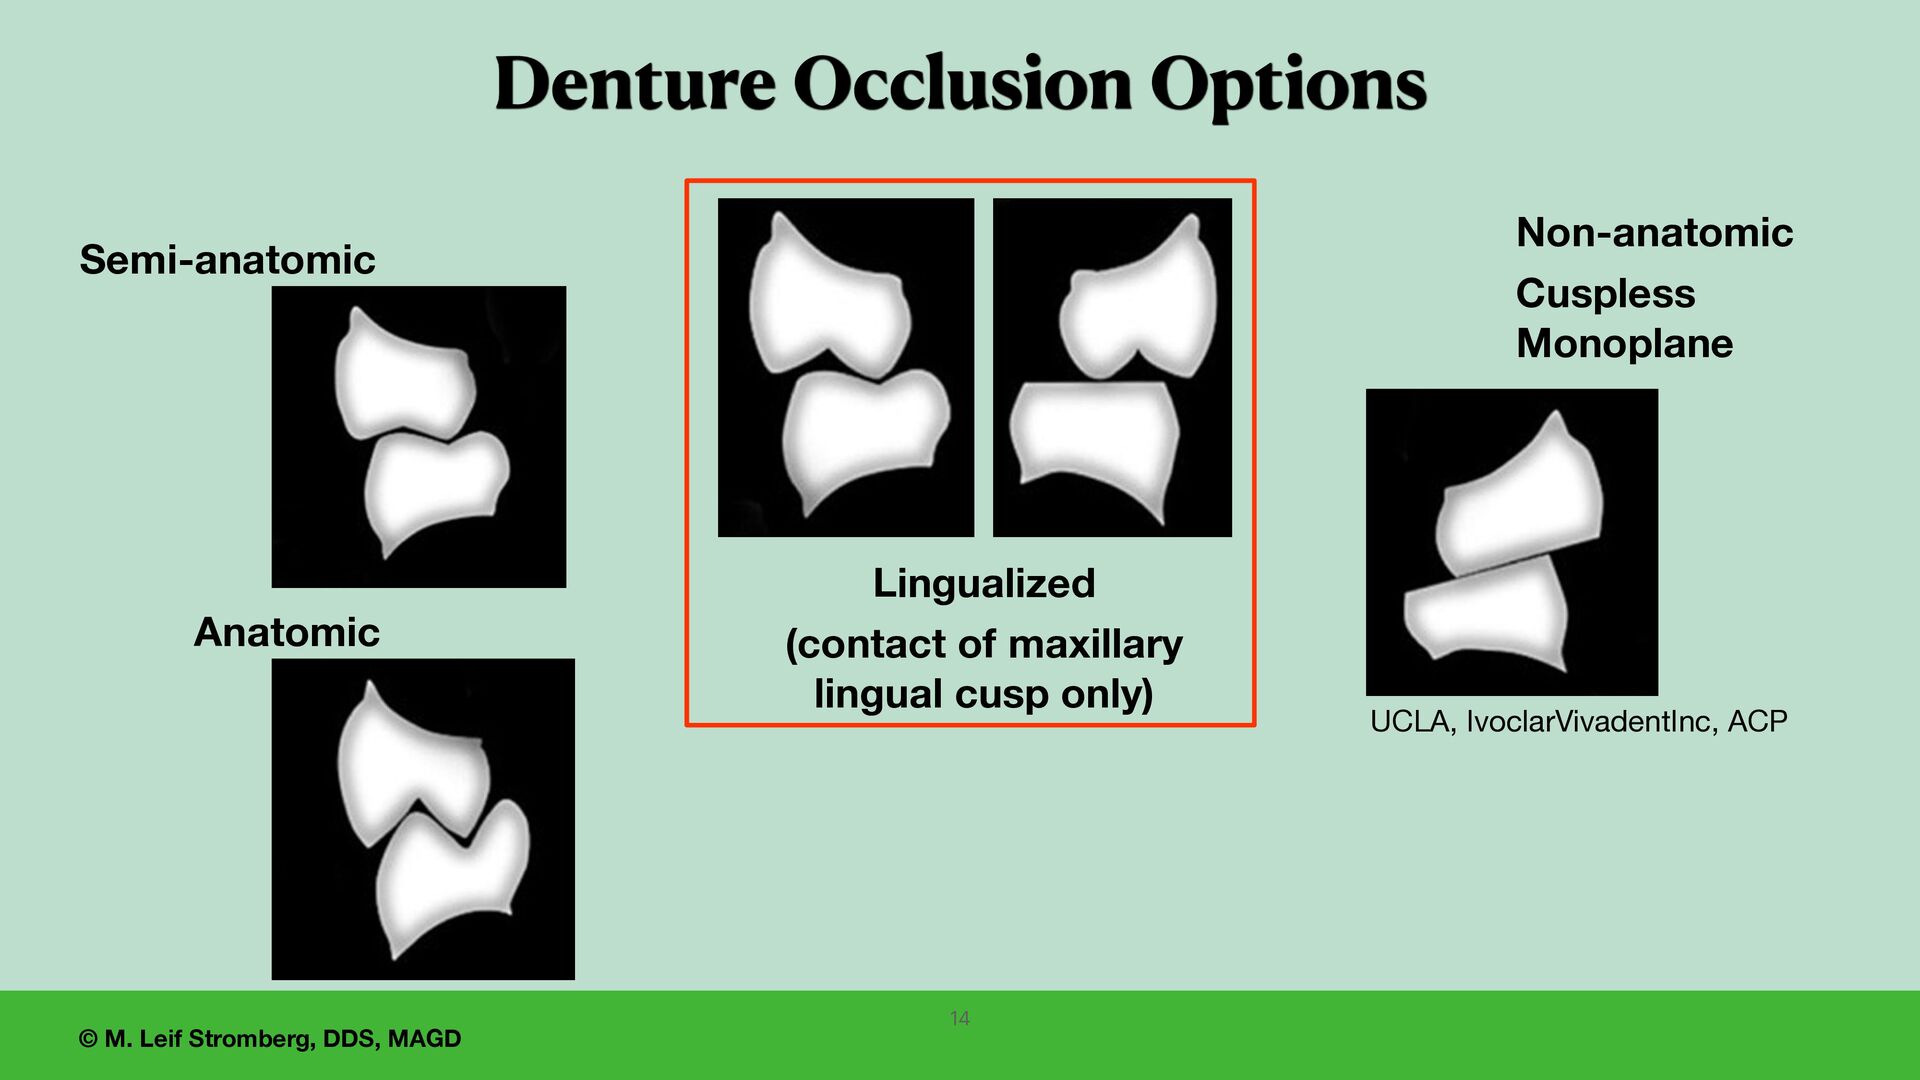
the records appointment 3 1. Instructions for the laboratory to: A. Carefully and accurately mount the case. Give information on the articulator to use (semi-adjustable or hinge). Mount and keep the case on the same articulator for the entire procedure from start to finish, and return the case to the dental office always on the same articulator. Note the # of the designated articulator on lab Rx. B. Not alter the vertical dimension of occlusion (ask the laboratory to call if concerned). C. Set up the denture teeth for the wax try-in. D. Set mandibular posterior teeth using lingual control lines. E. Set the posterior teeth with lingualized occlusion. F. Set the posterior teeth with each tooth having stable contact with the opposing tooth and have no contact of anterior teeth in CR occlusion. 2. Shade and mold of denture teeth to use; photos of the patient with teeth and pictures from magazines and online.
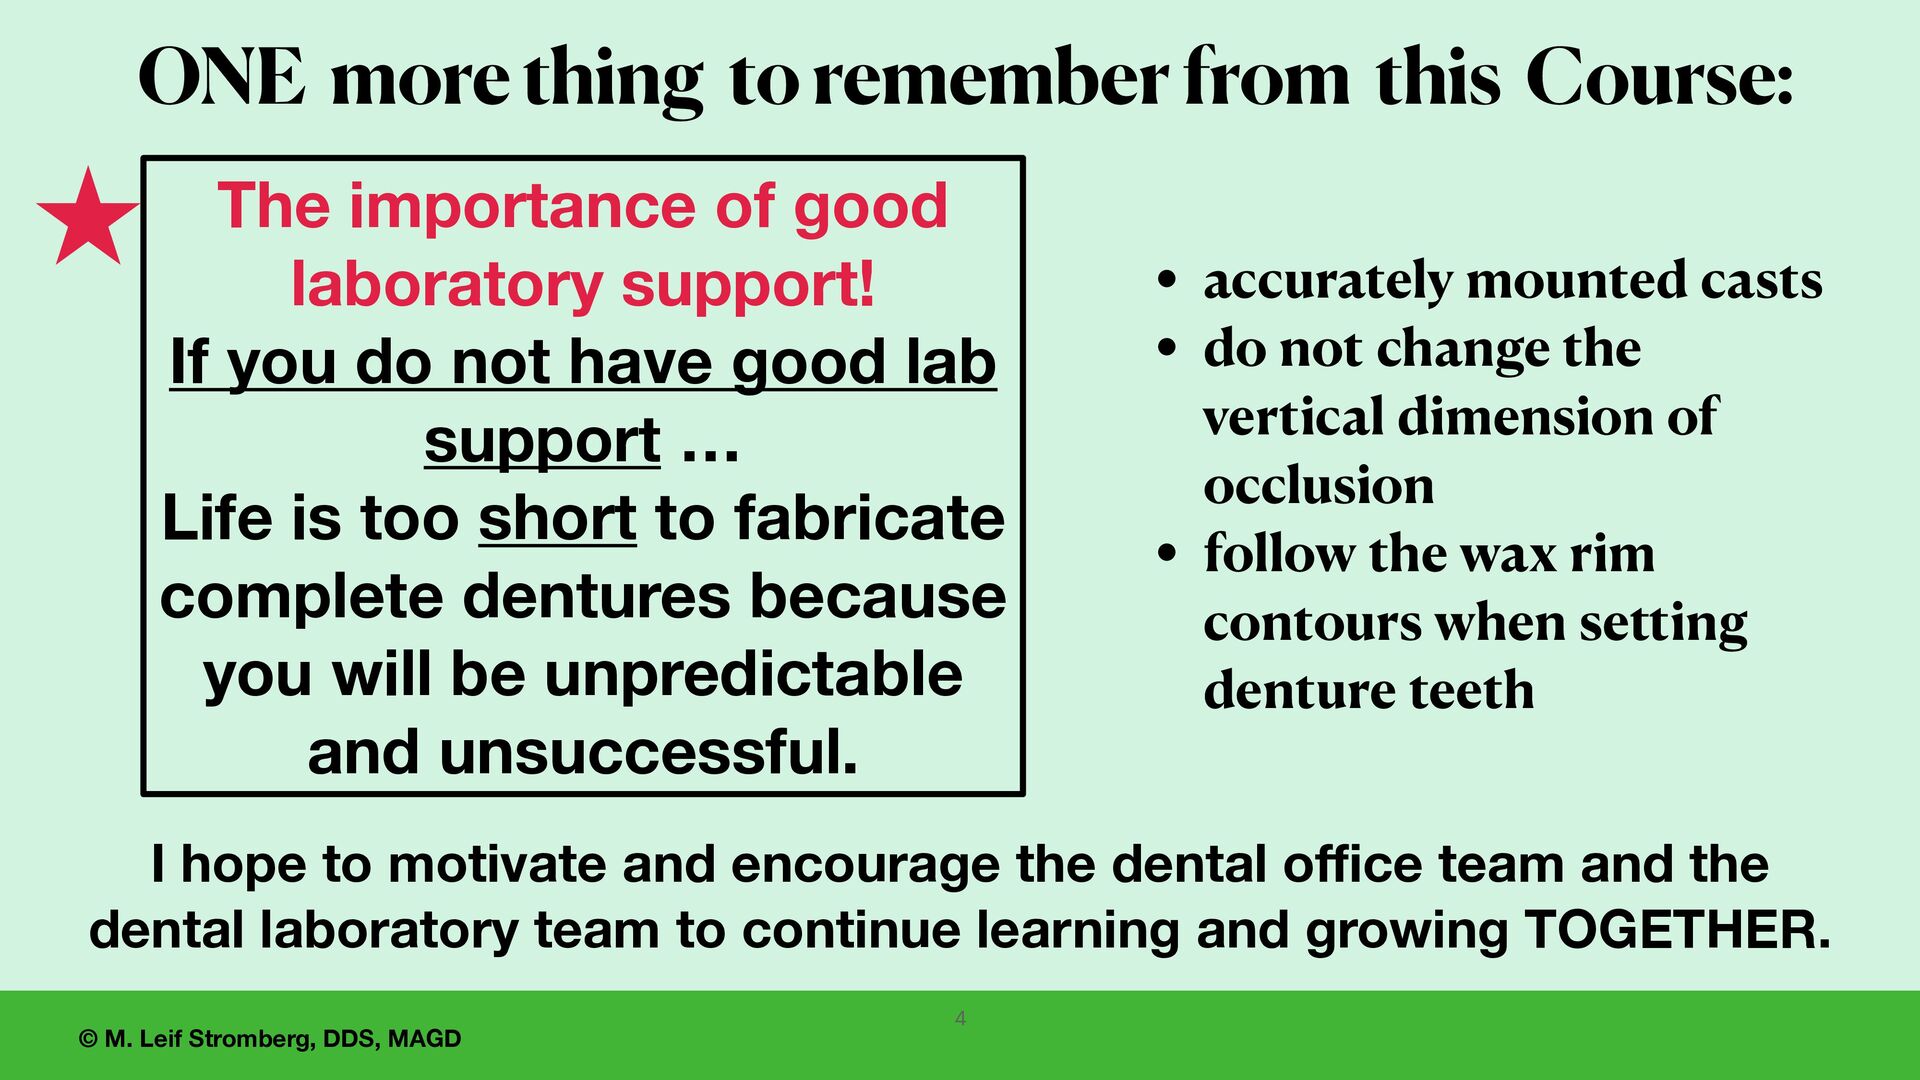
laboratory support! If you do not have good lab support … Life is too short to fabricate complete dentures because you will be unpredictable and unsuccessful. ONE more thing to remember from this Course: 4 I hope to motivate and encourage the dental o ff i ce team and the dental laboratory team to continue learning and growing TOGETHER. • accurately mounted casts • do not change the vertical dimension of occlusion • follow the wax rim contours when setting denture teeth
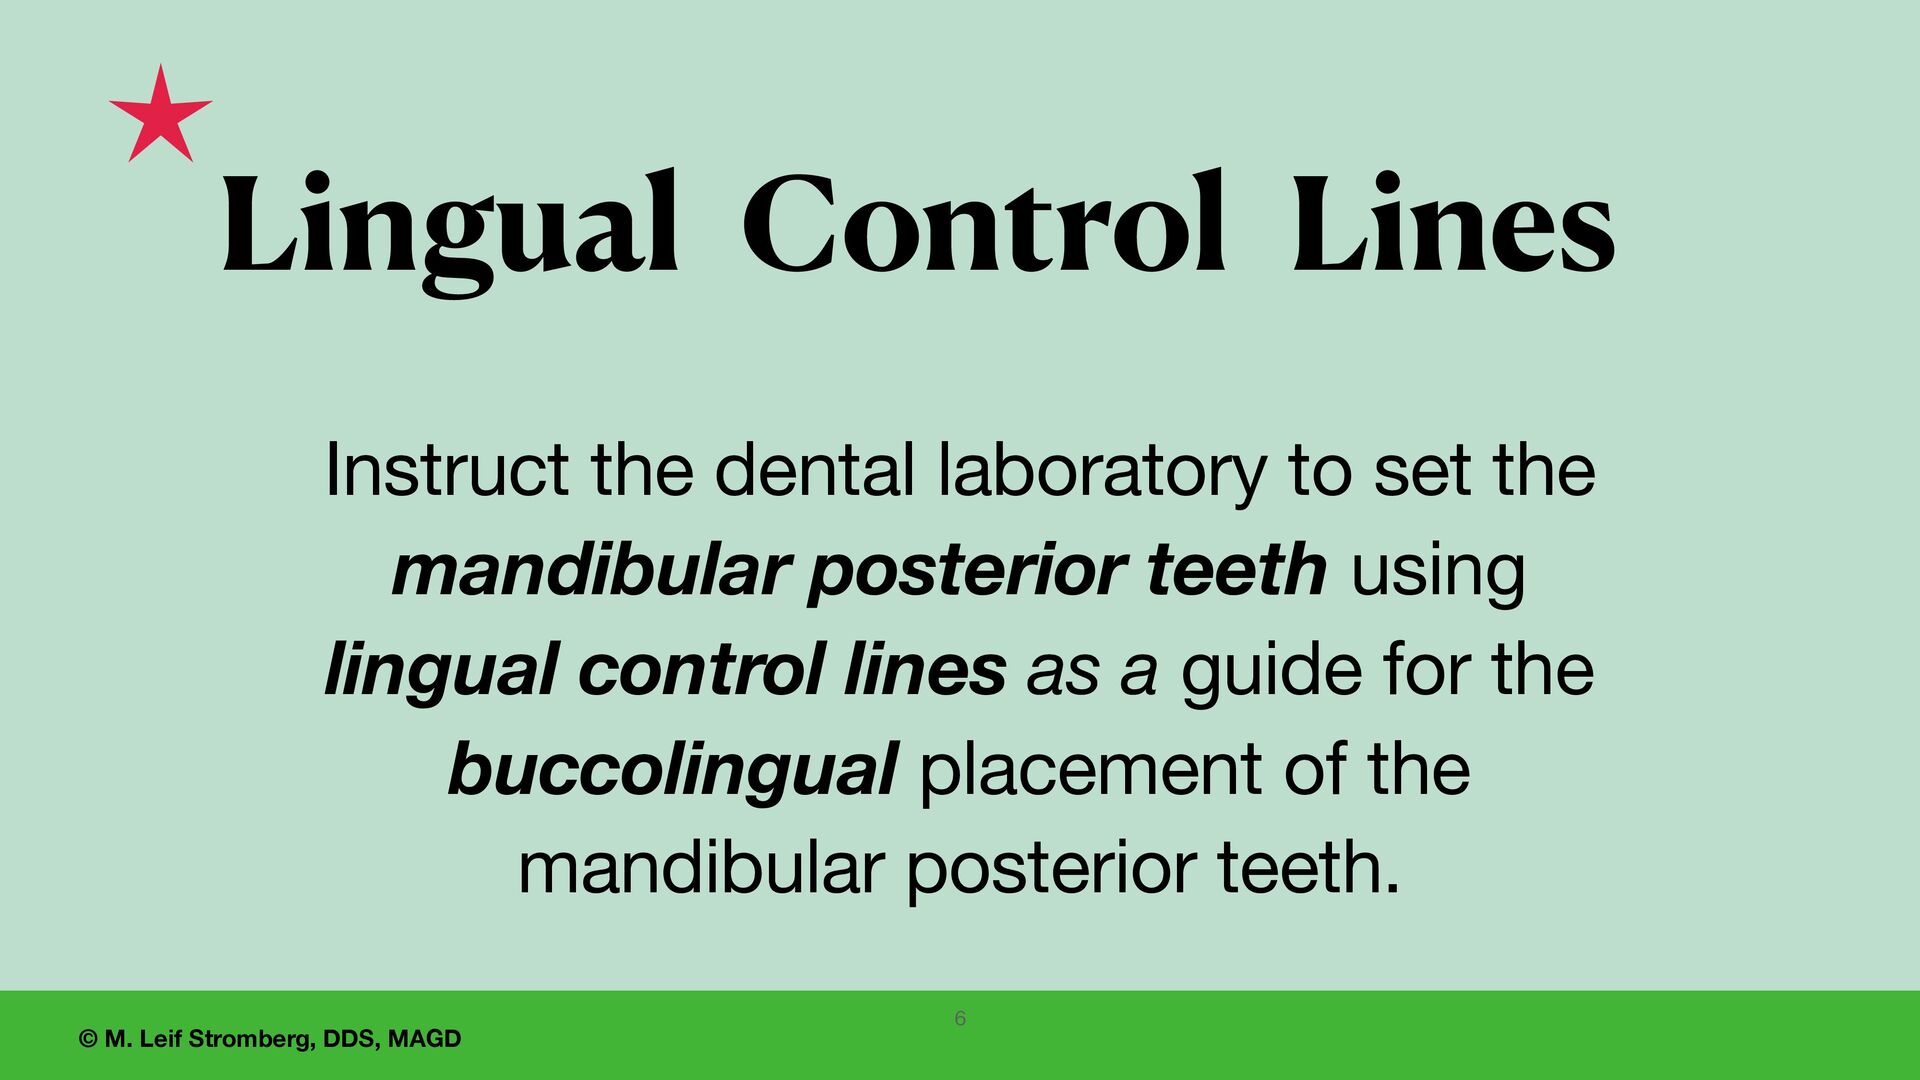
to set the mandibular posterior teeth using lingual control lines as a guide for the buccolingual placement of the mandibular posterior teeth. Lingual Control Lines 6
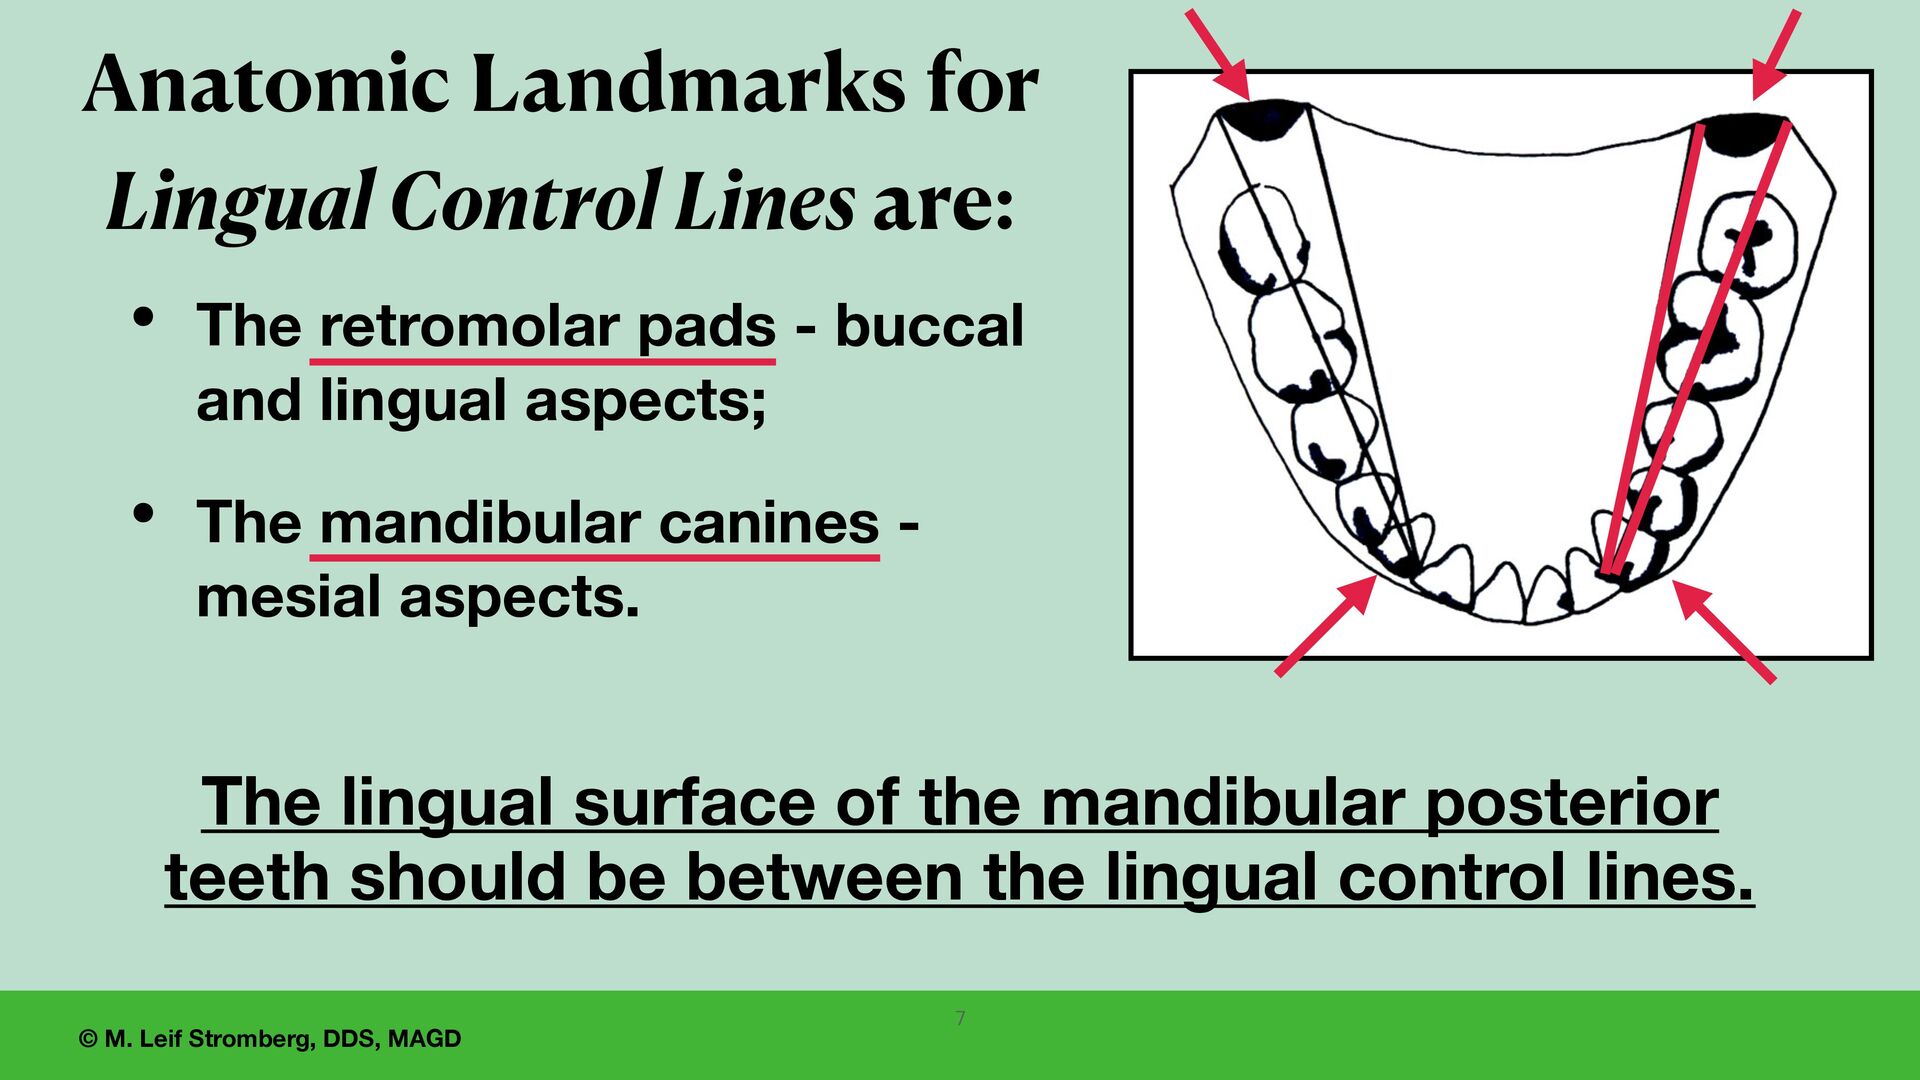
- buccal and lingual aspects; • The mandibular canines - mesial aspects. Anatomic Landmarks for Lingual Control Lines are: The lingual surface of the mandibular posterior teeth should be between the lingual control lines. 7
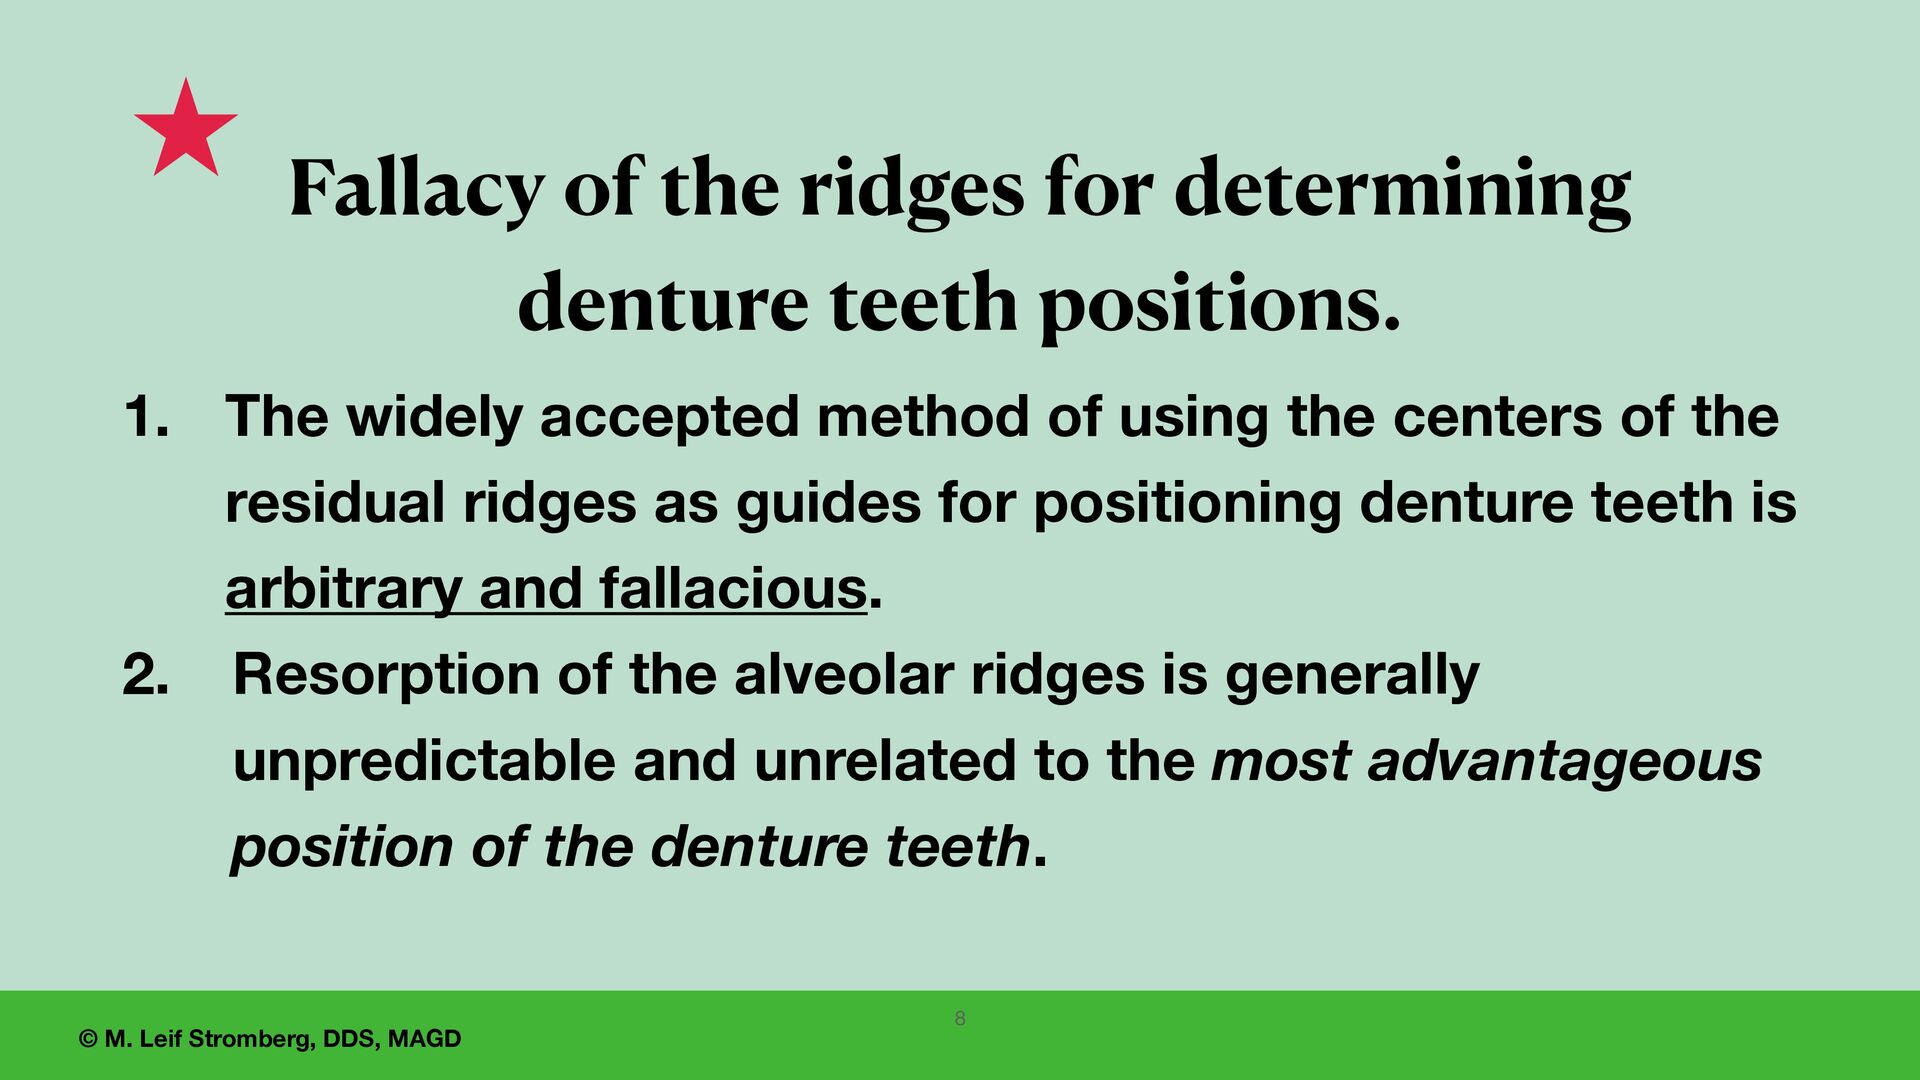
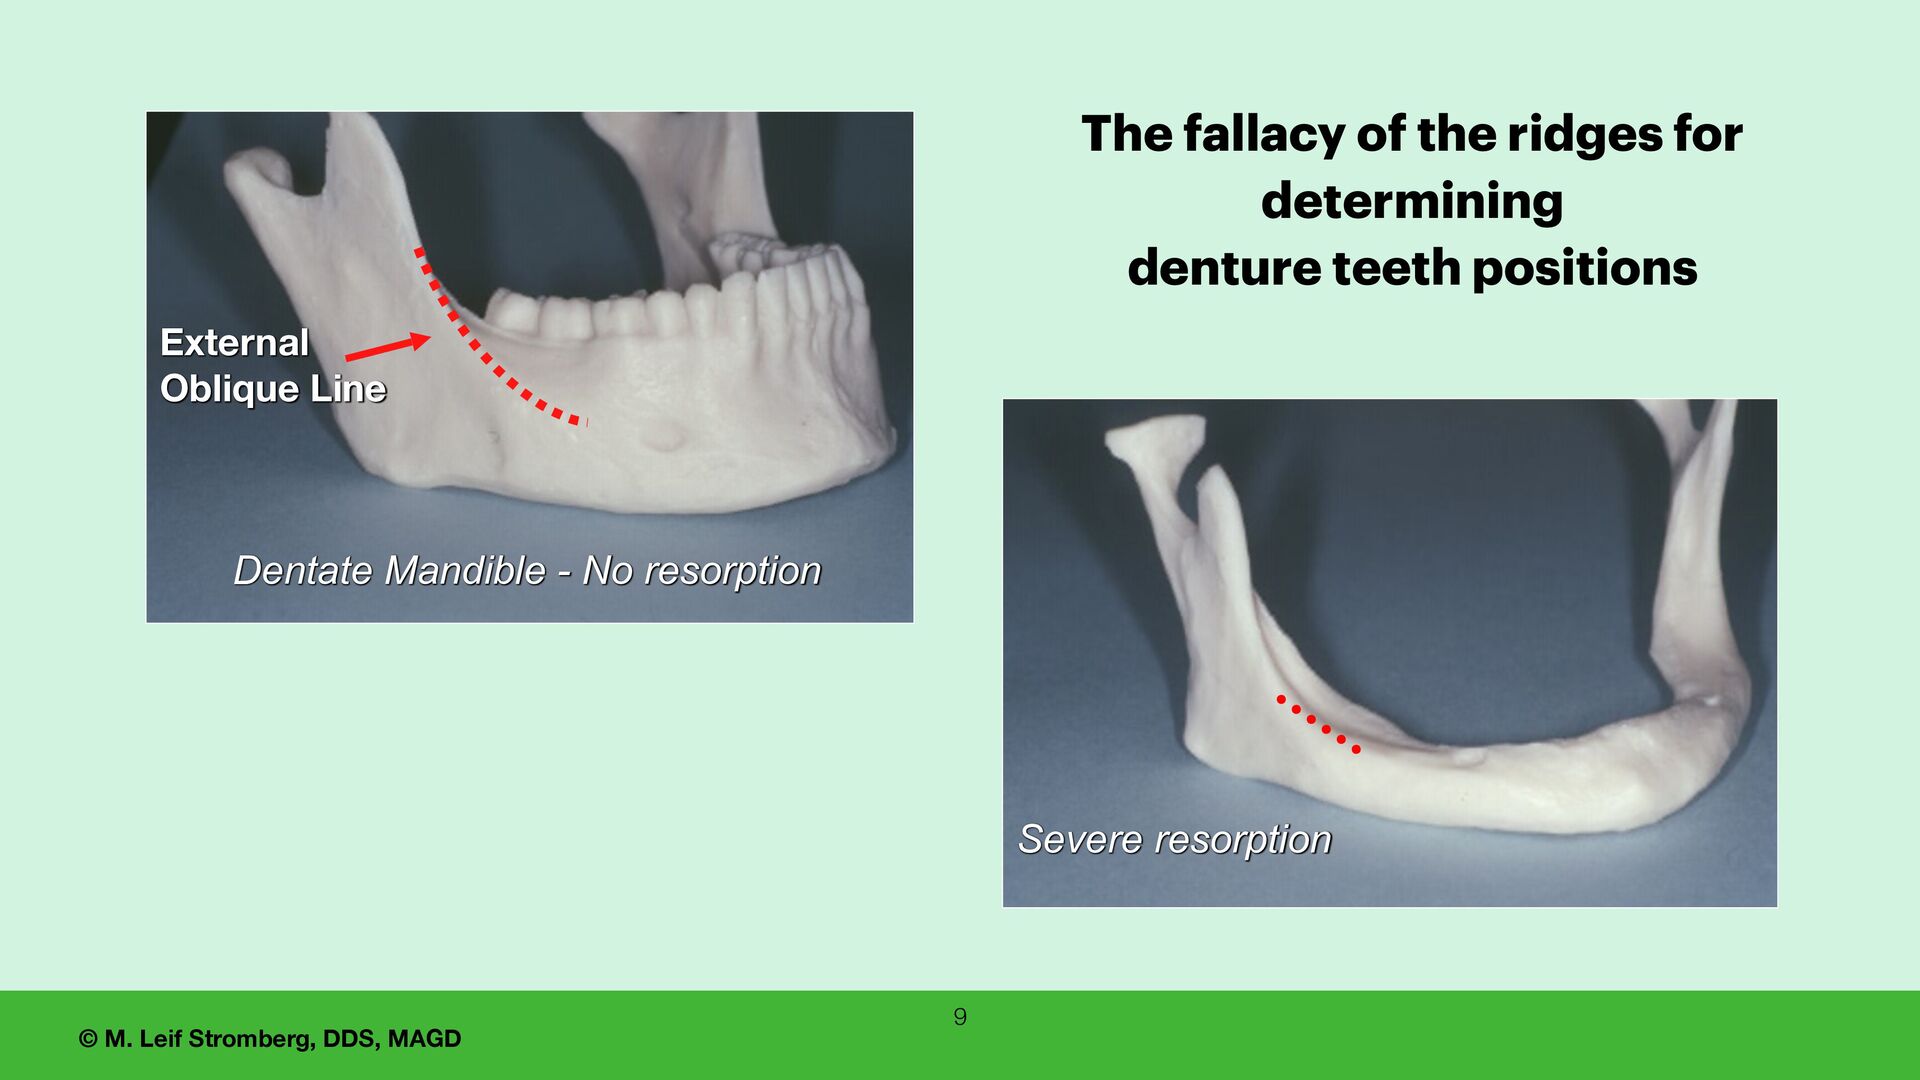
for determining denture teeth positions. 1. The widely accepted method of using the centers of the residual ridges as guides for positioning denture teeth is arbitrary and fallacious. 2. Resorption of the alveolar ridges is generally unpredictable and unrelated to the most advantageous position of the denture teeth. 8
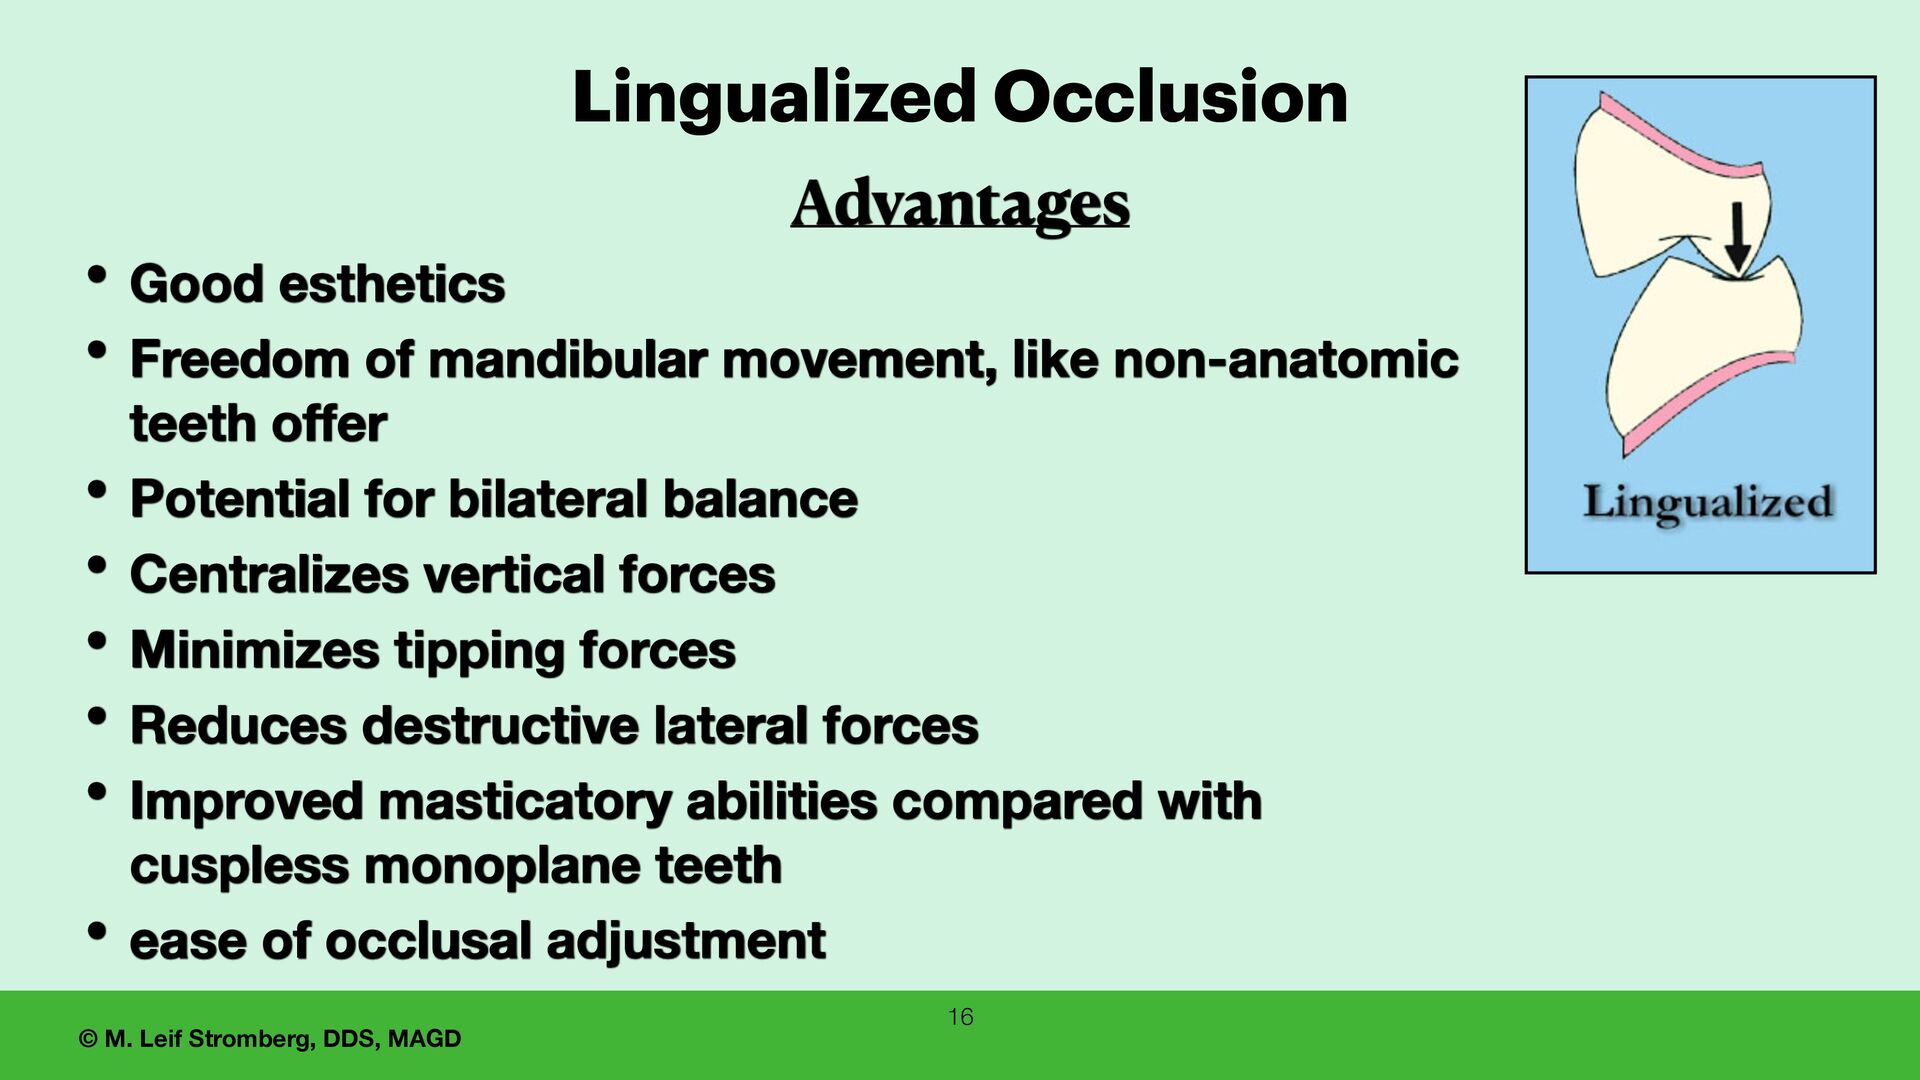
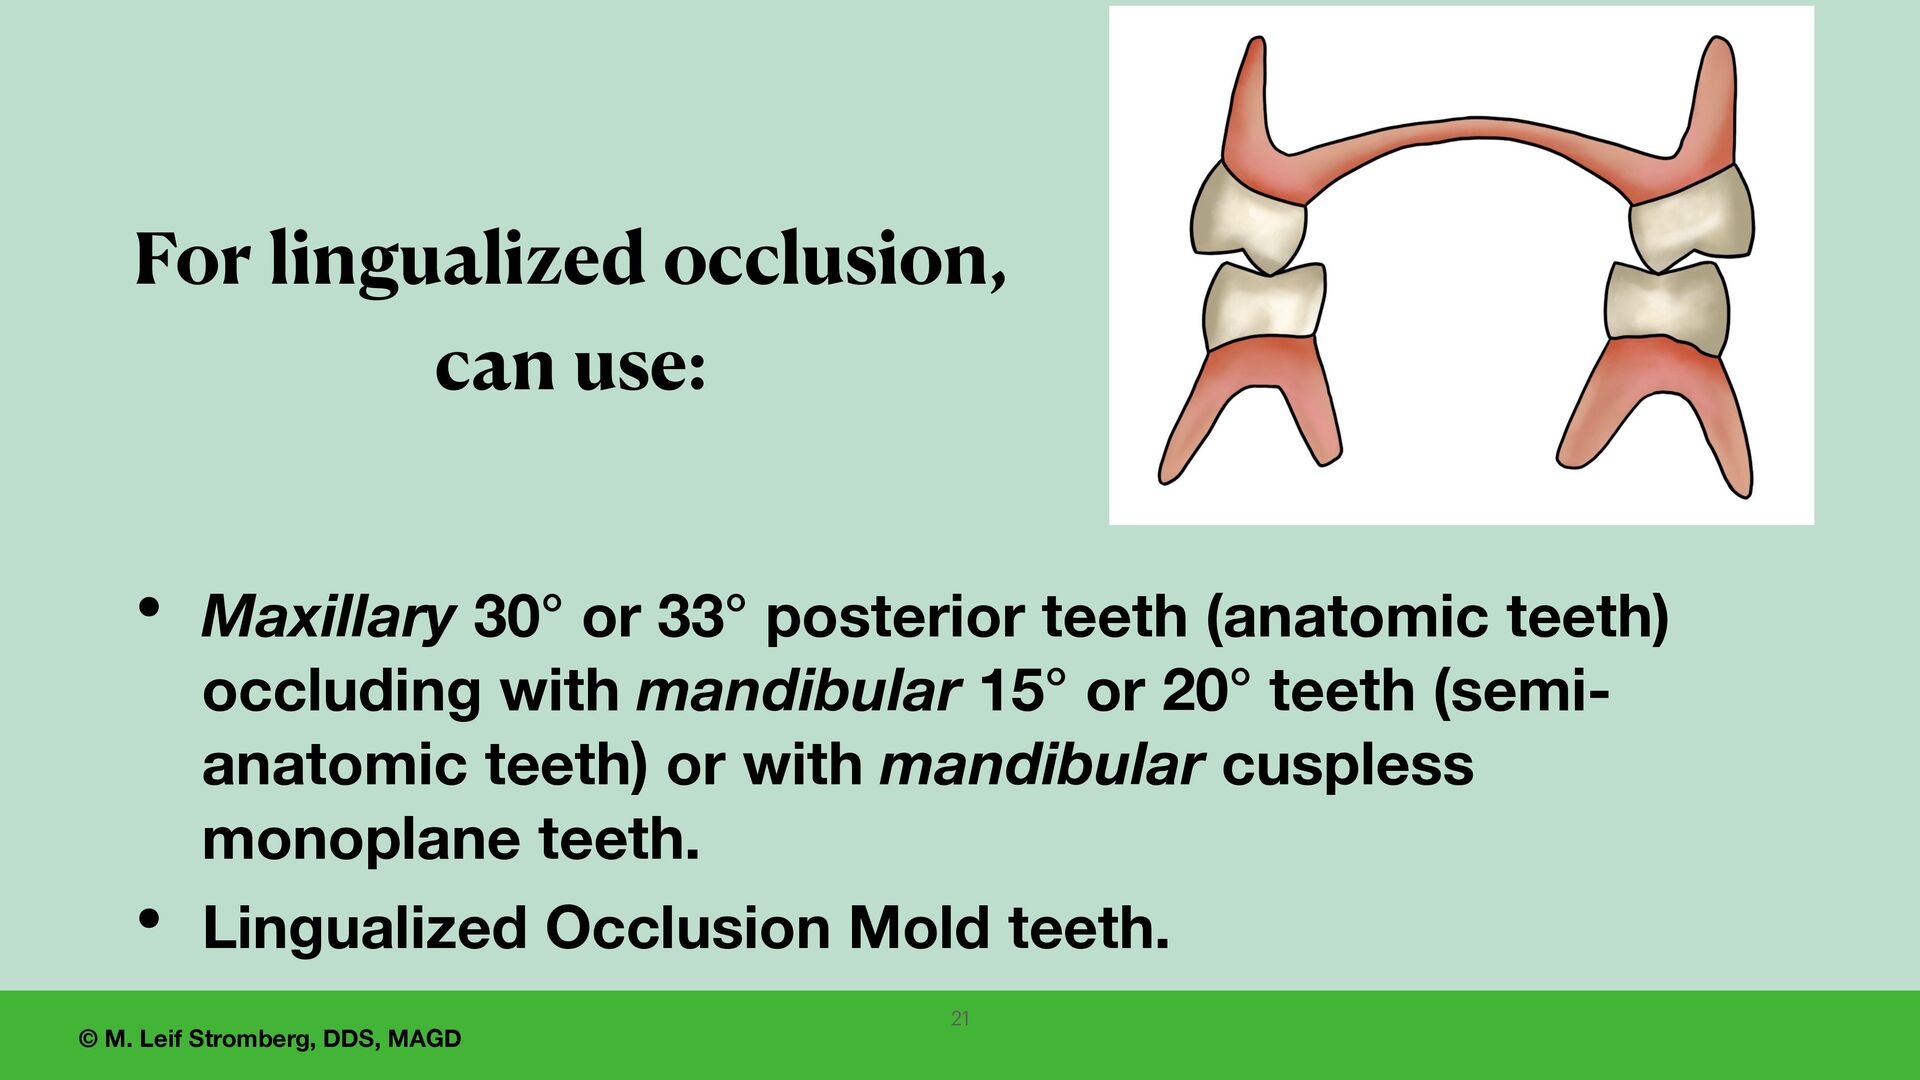
demands • Severe mandibular ridge atrophy • Moveable, displaceable supporting tissues • Previous successful denture with lingualized occlusion • Permits freedom of mandibular movement for Class II patients Lingualized Occlusion Indications for use
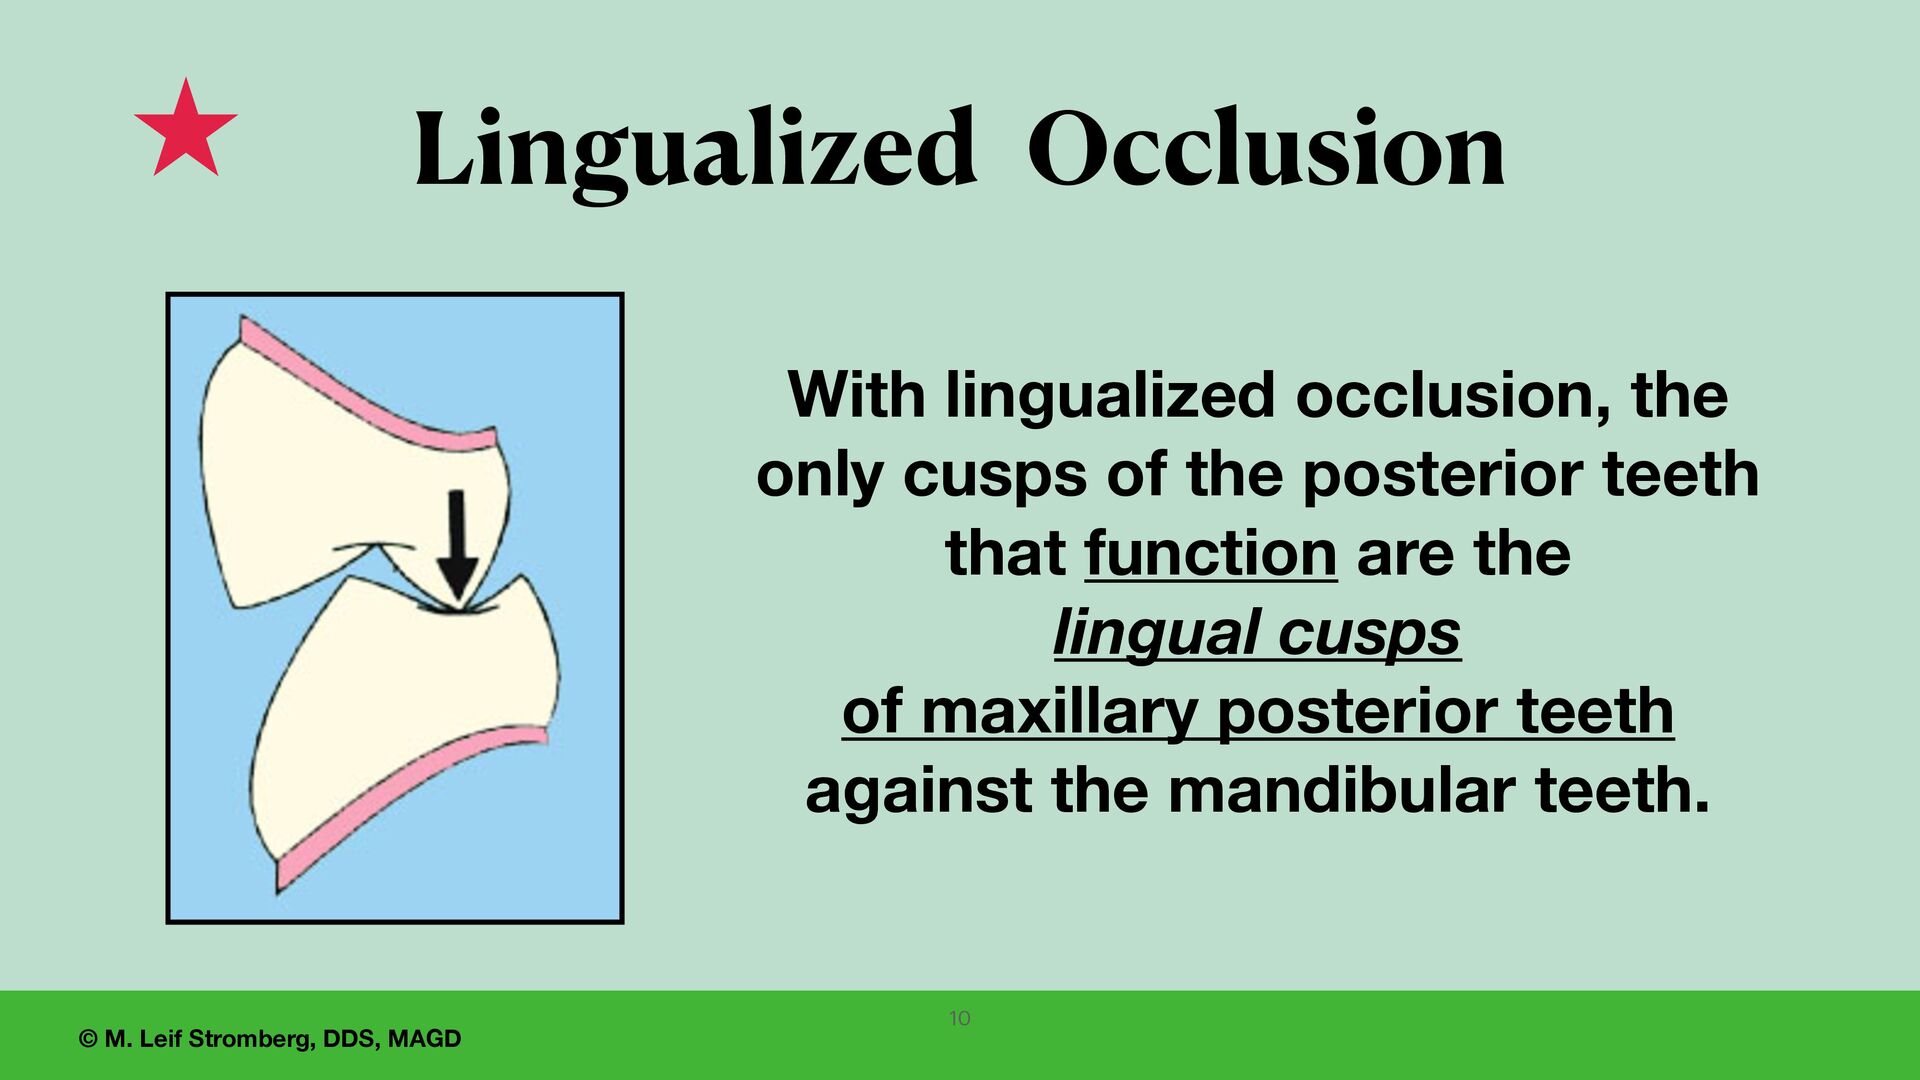
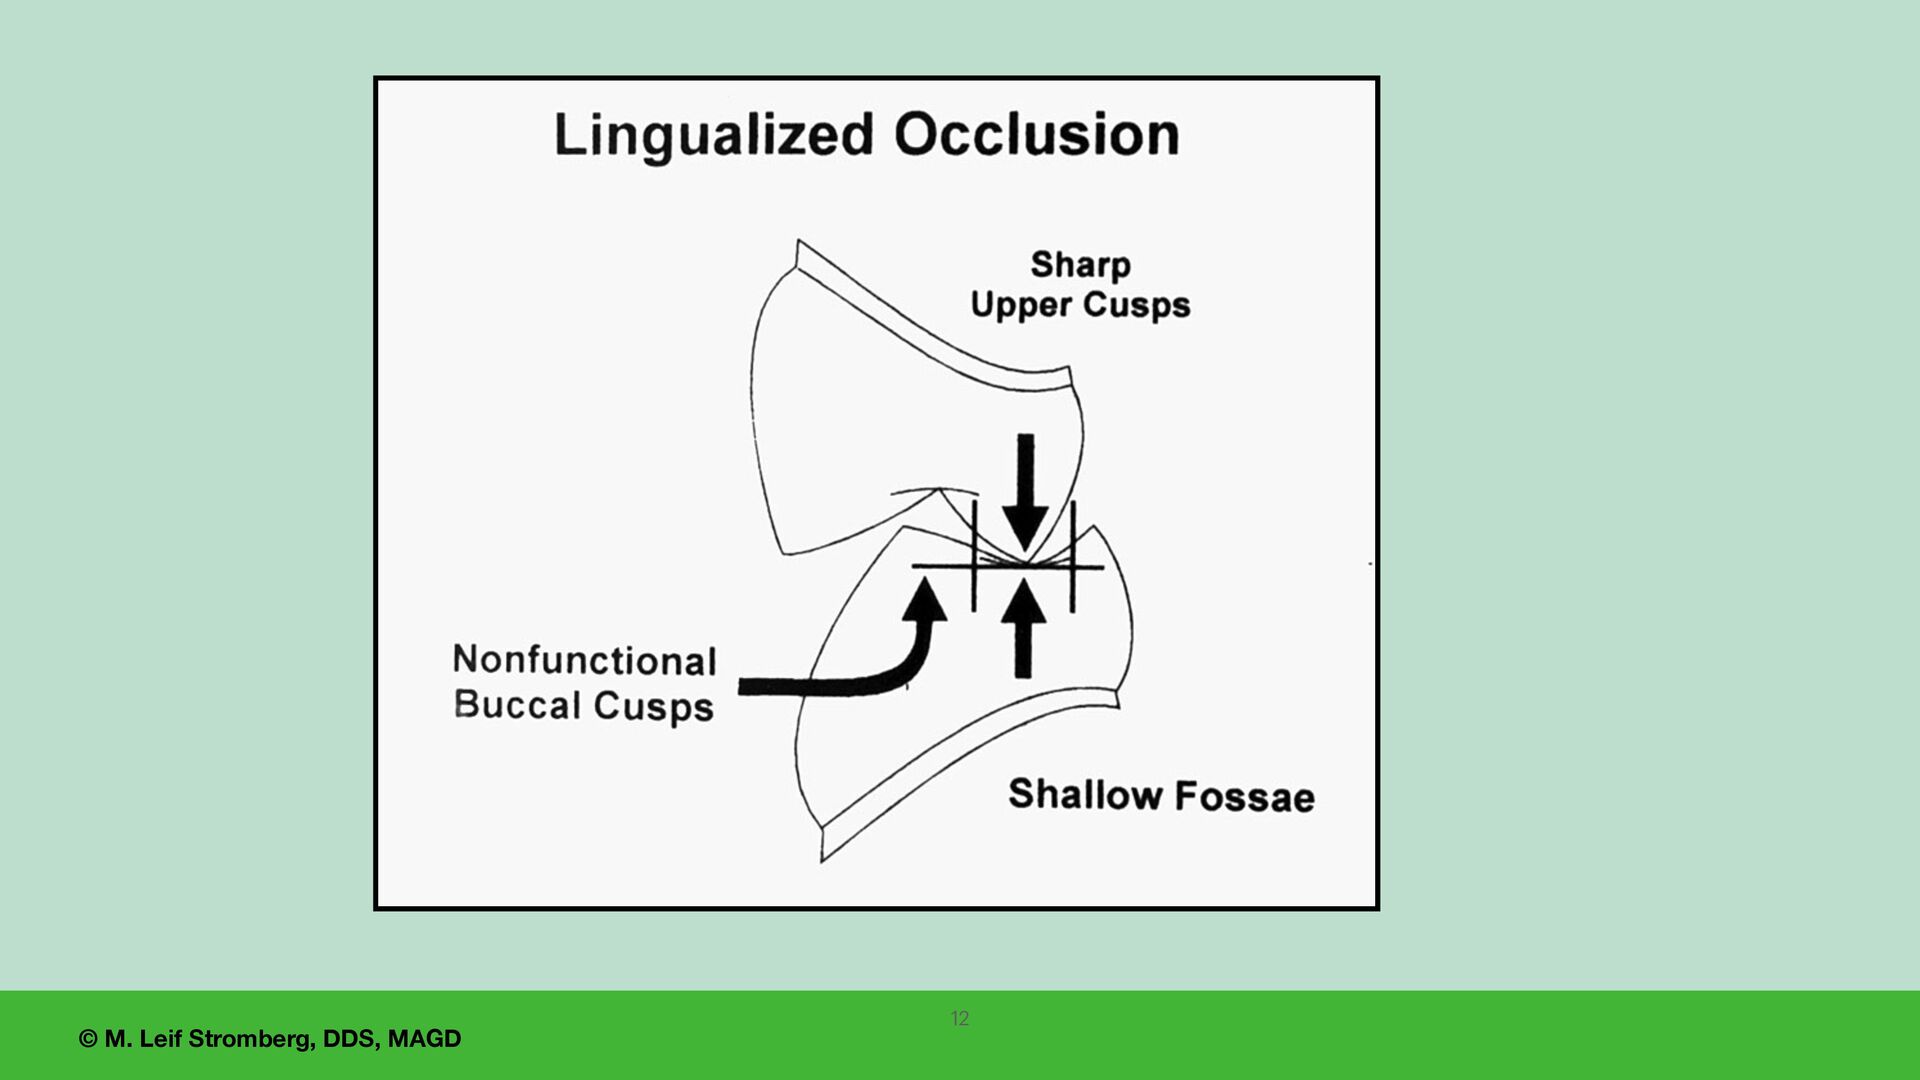
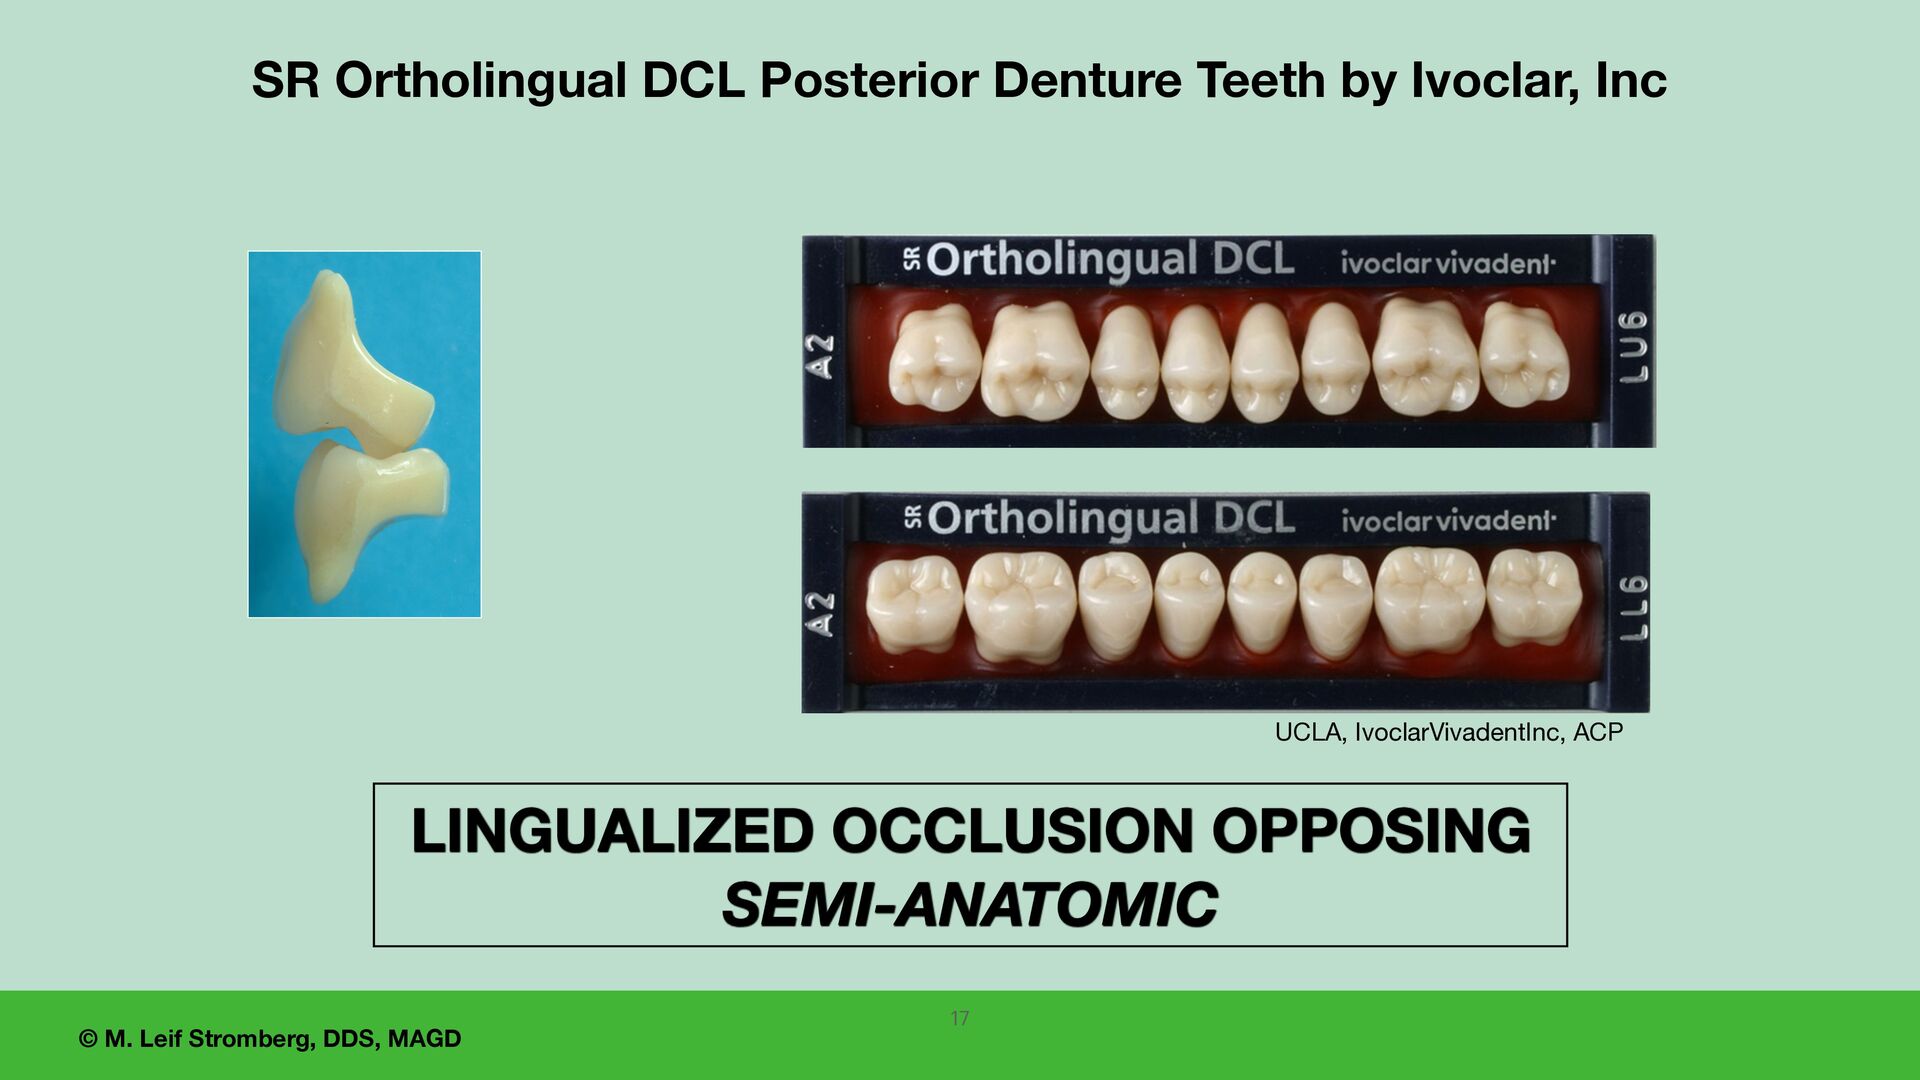
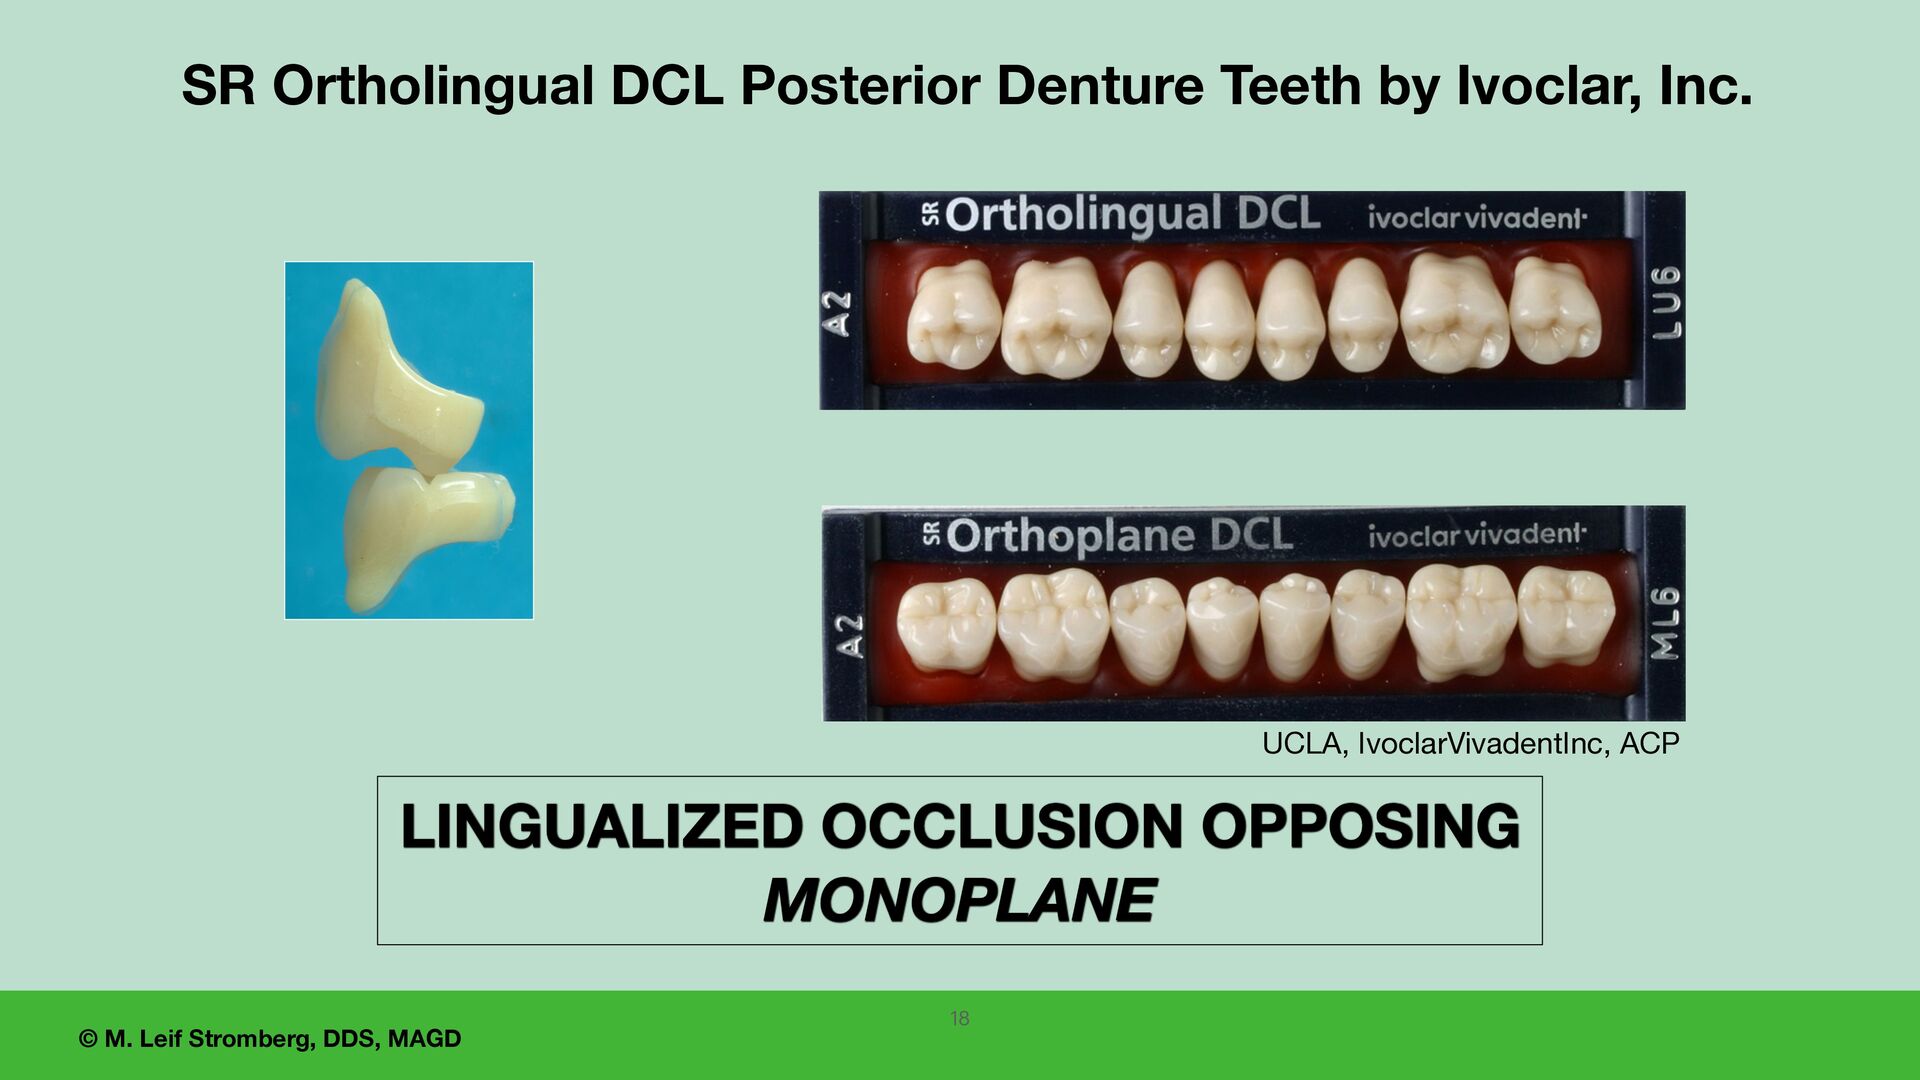
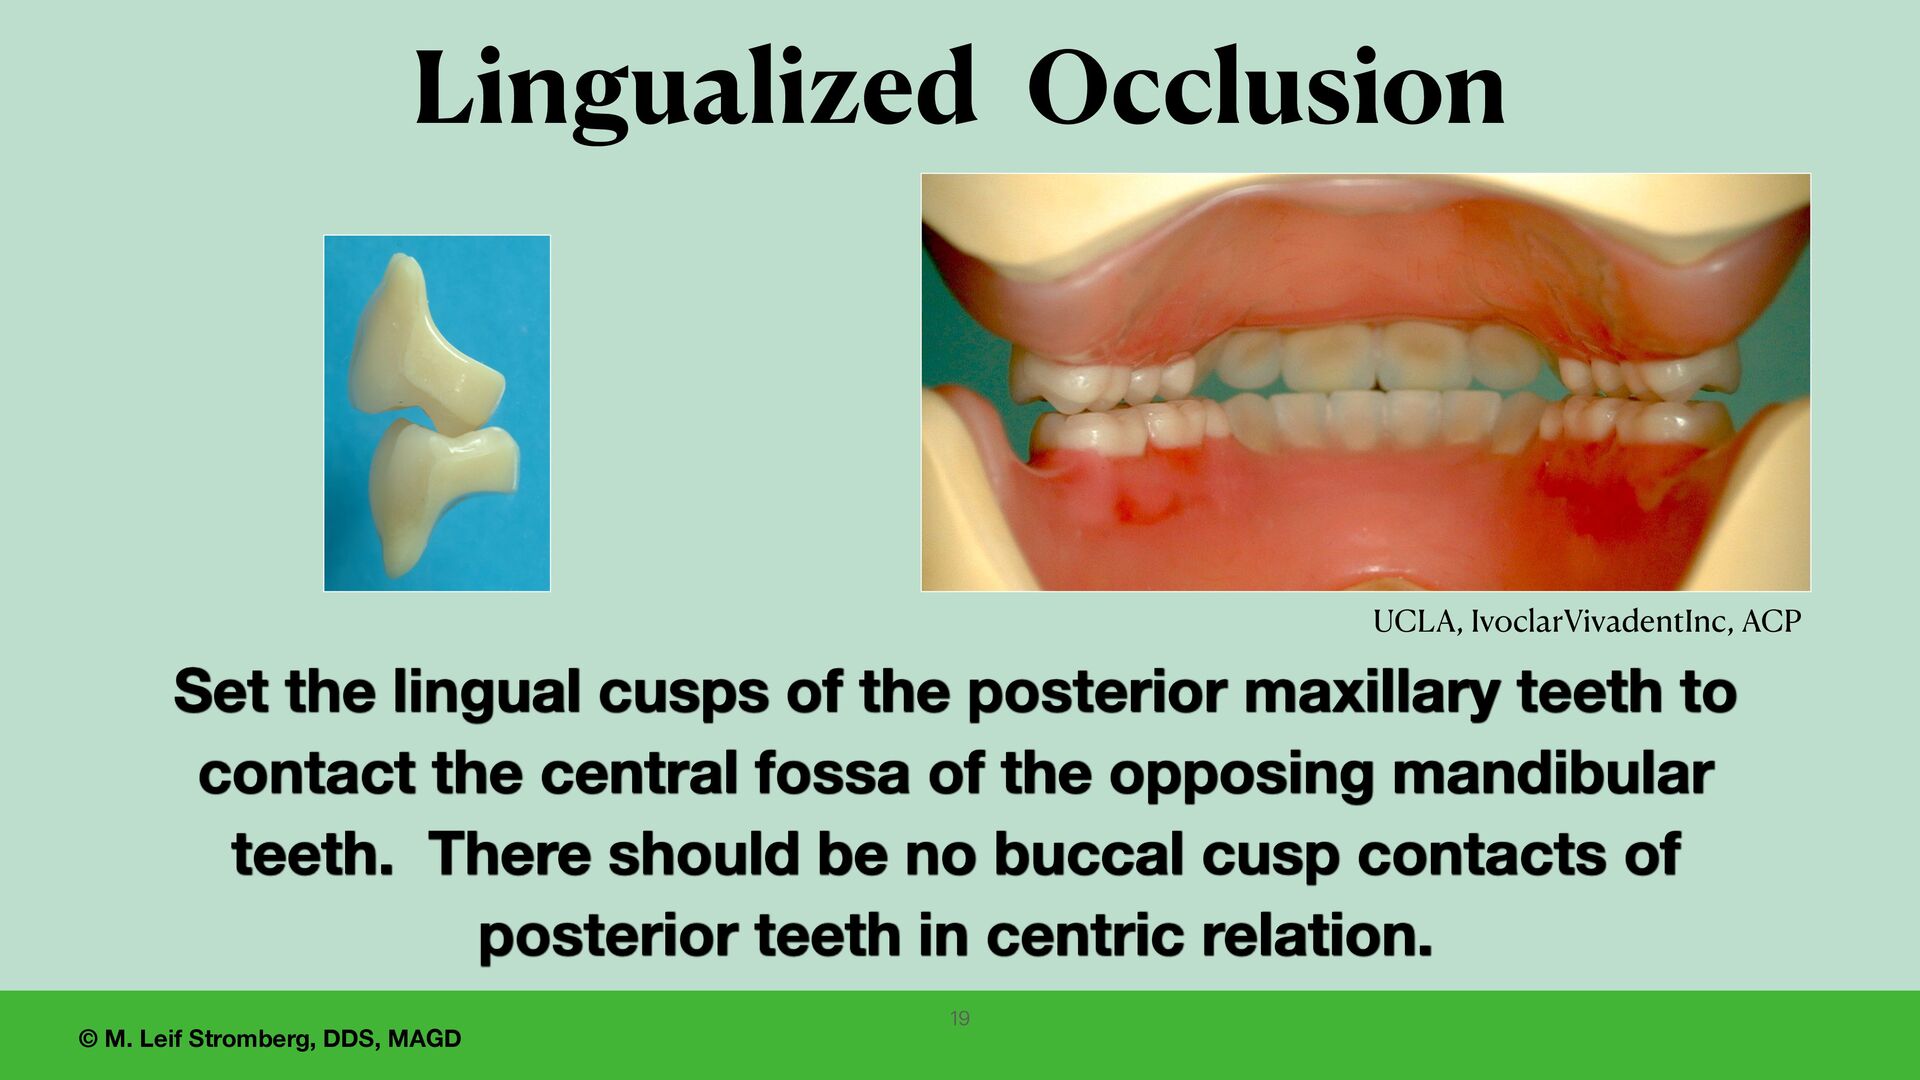
of the posterior maxillary teeth to contact the central fossa of the opposing mandibular teeth. There should be no buccal cusp contacts of posterior teeth in centric relation. UCLA, IvoclarVivadentInc, ACP 19 Lingualized Occlusion
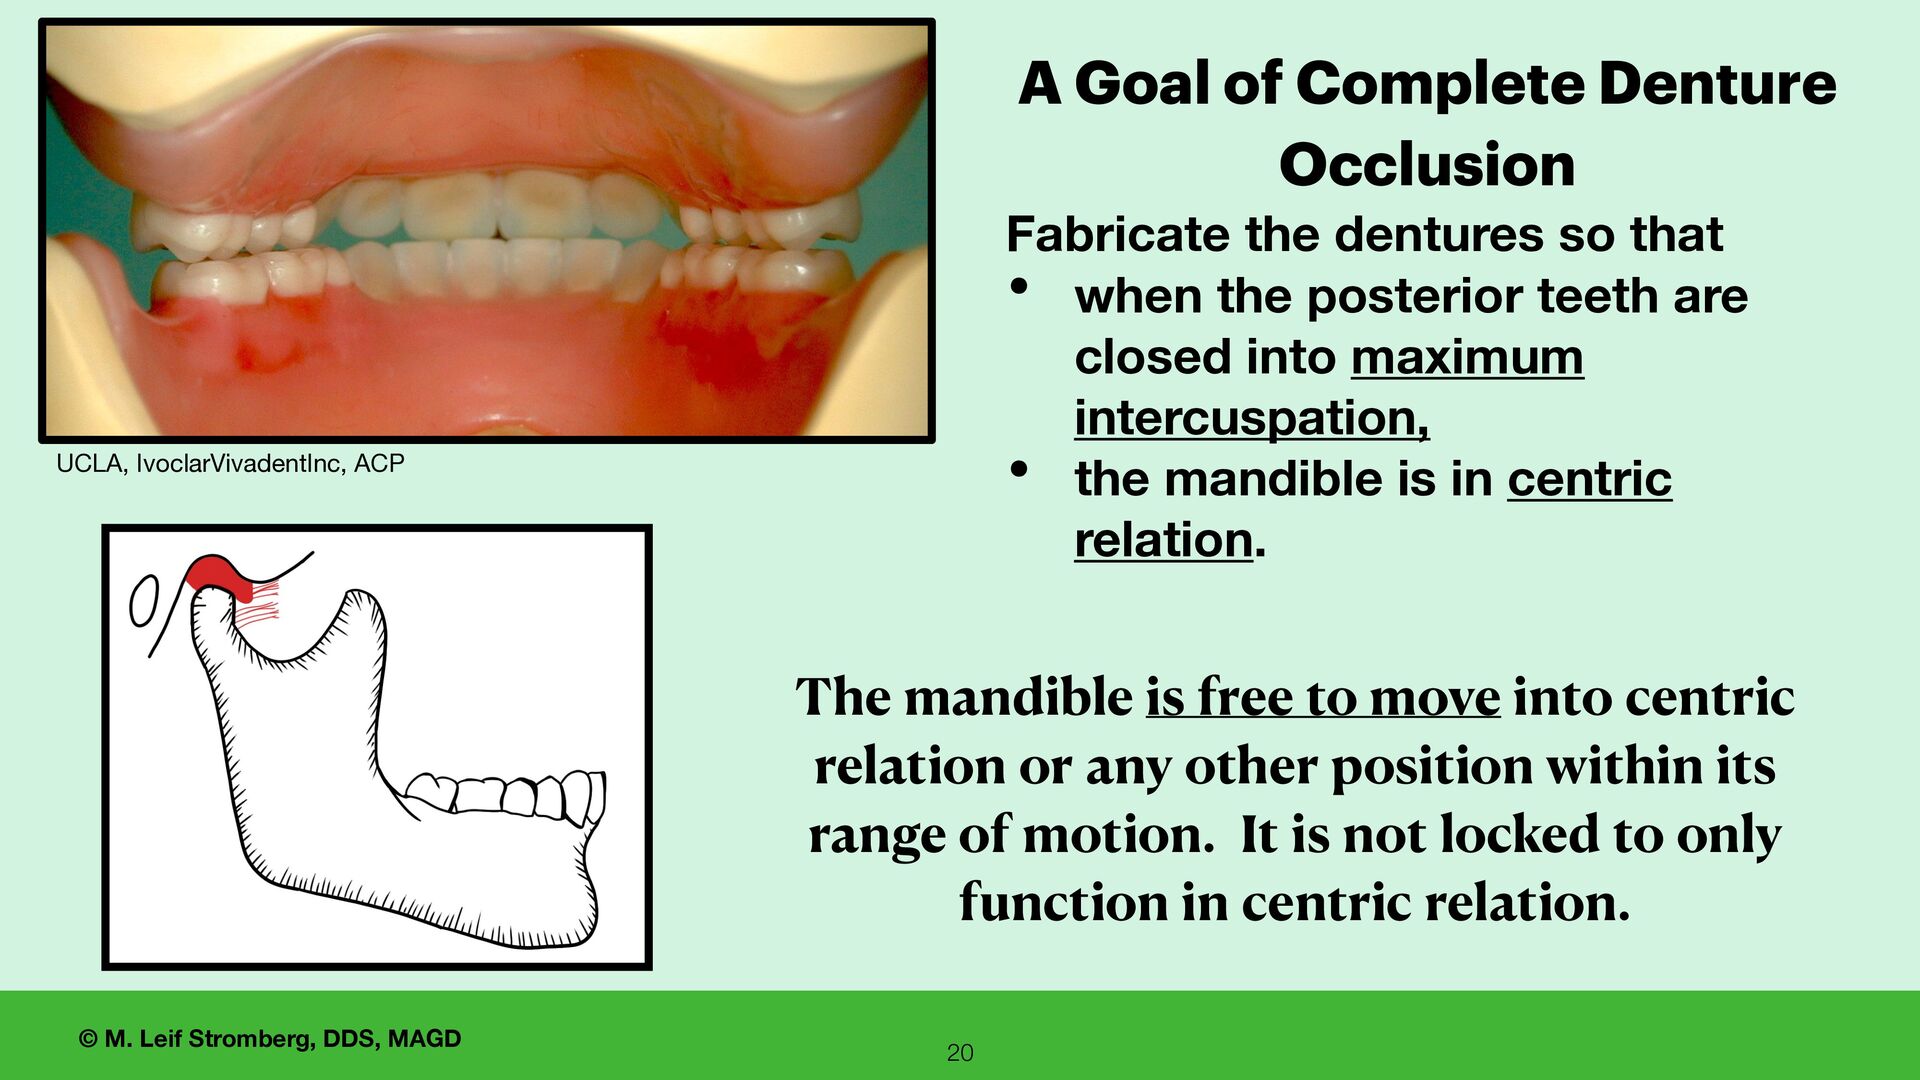
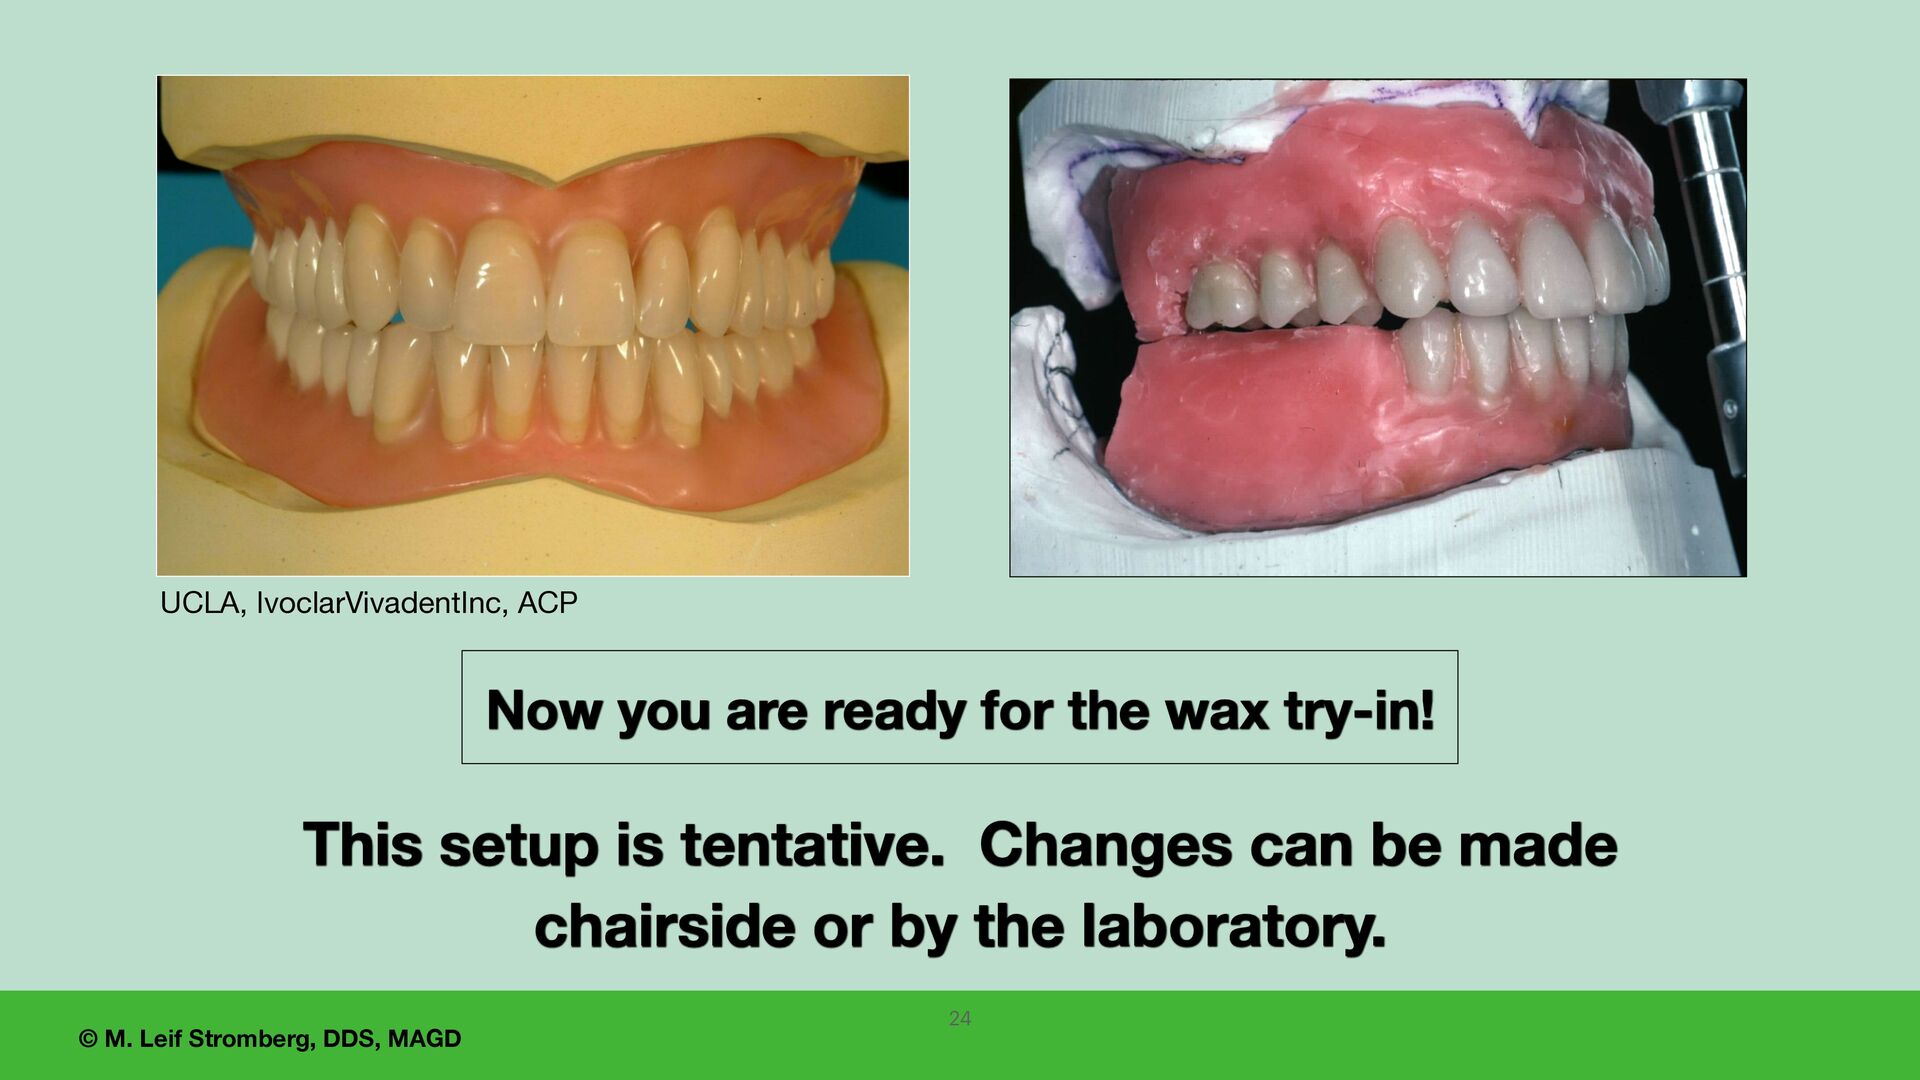
Complete Denture Occlusion Fabricate the dentures so that • when the posterior teeth are closed into maximum intercuspation, • the mandible is in centric relation. The mandible is free to move into centric relation or any other position within its range of motion. It is not locked to only function in centric relation. UCLA, IvoclarVivadentInc, ACP
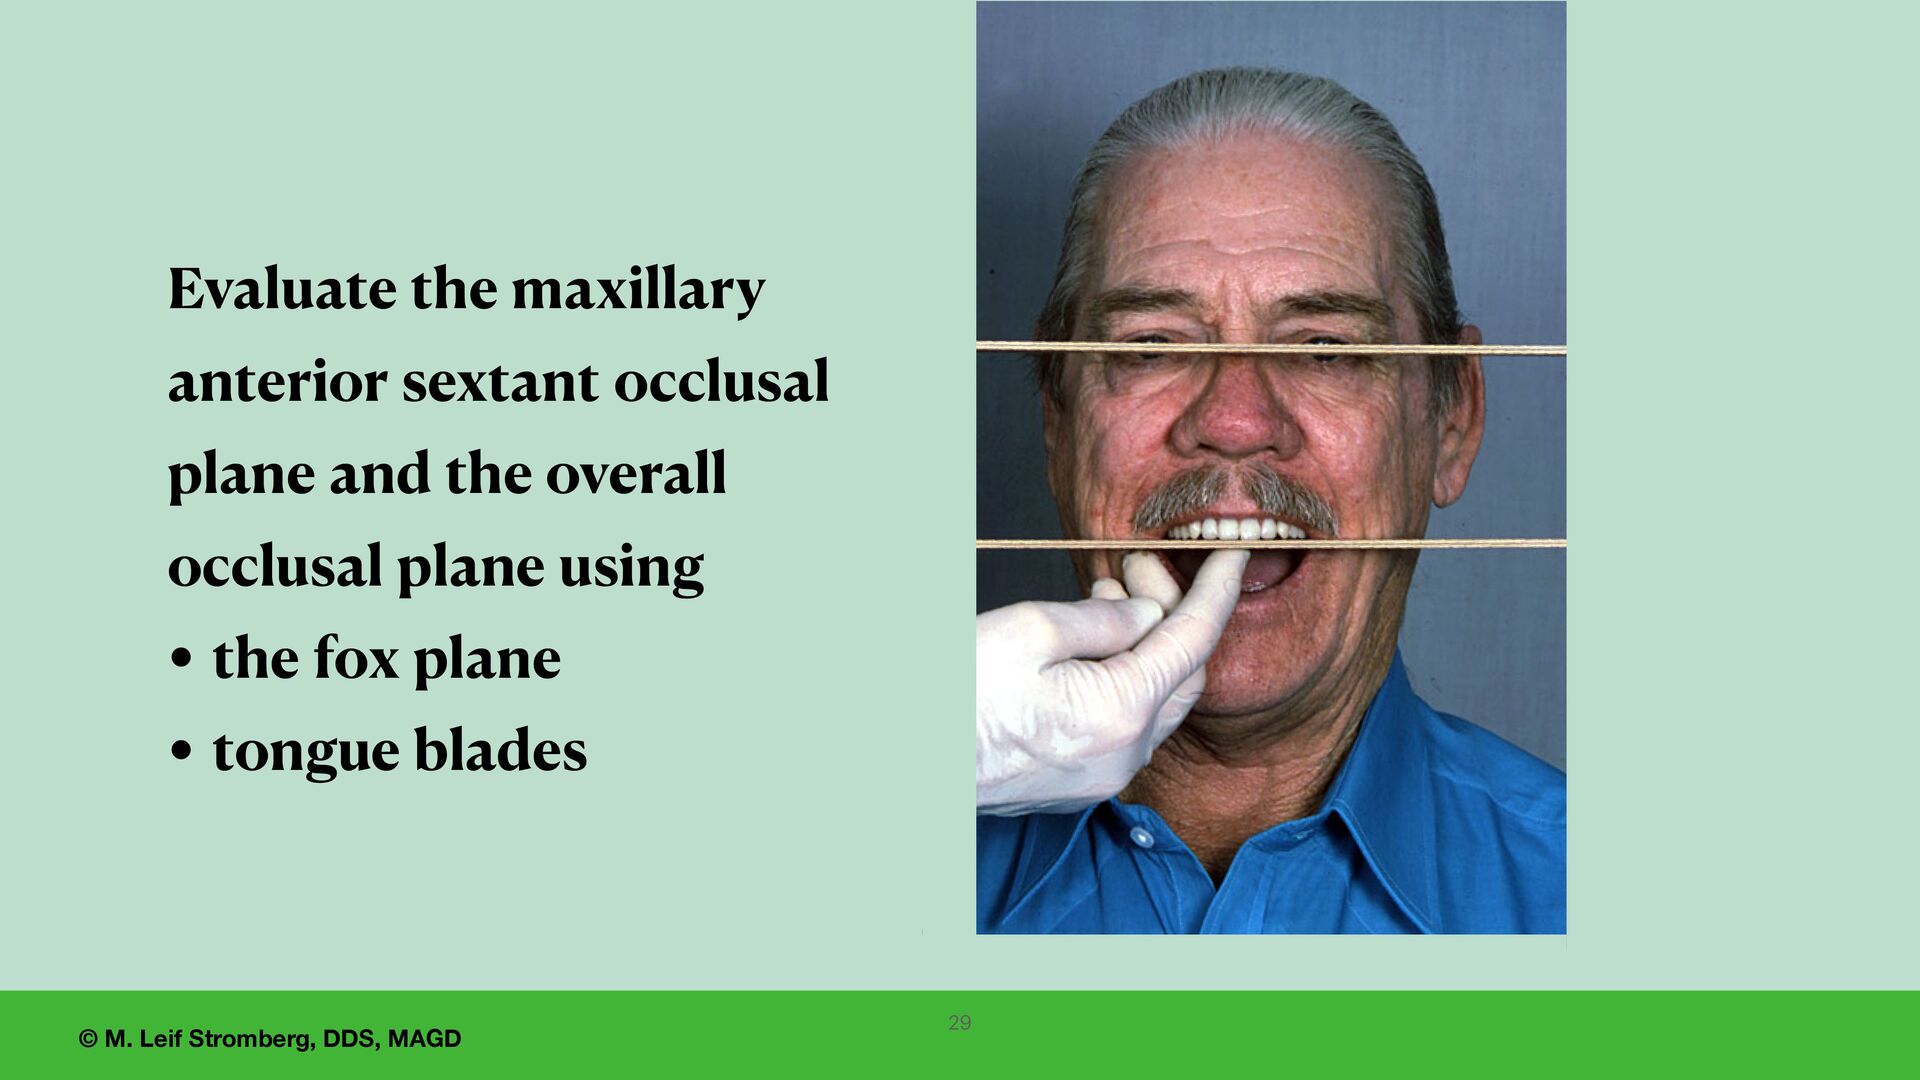
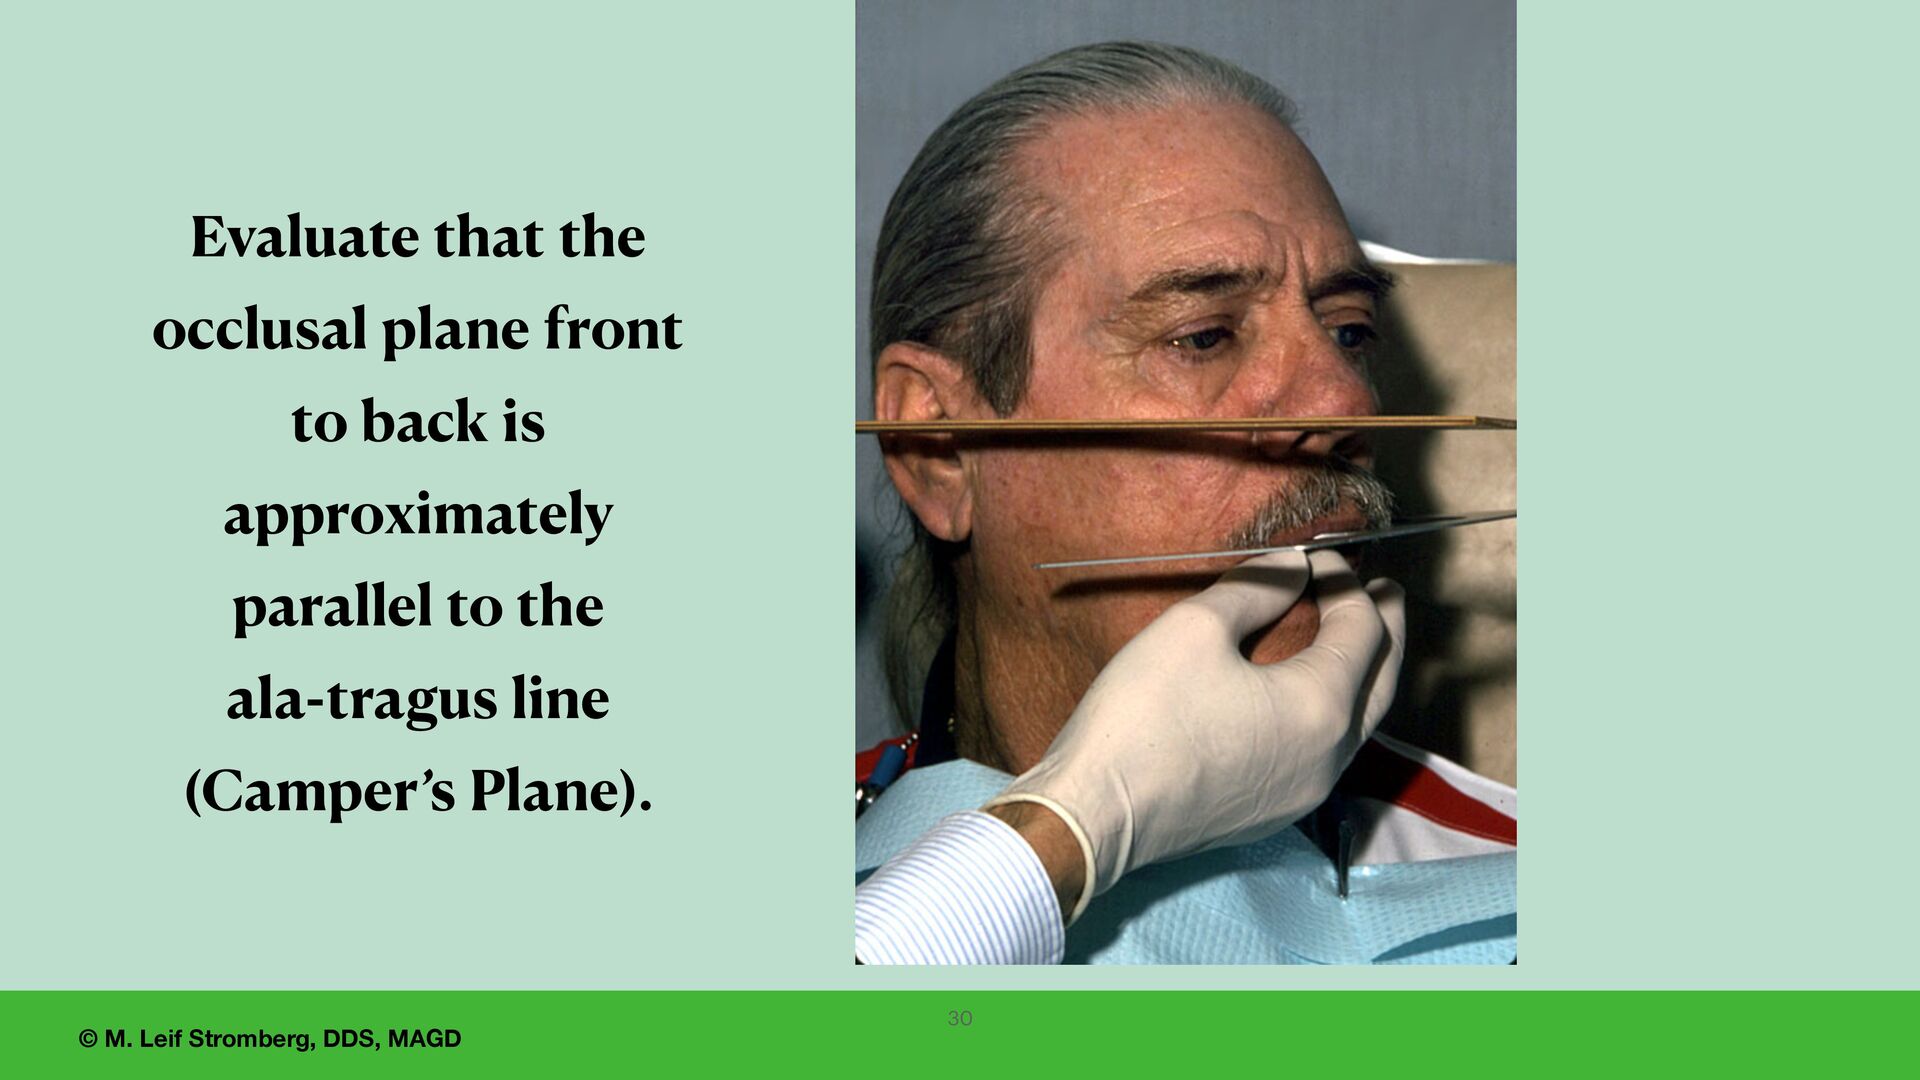
for careful evaluation by the dentist, • for re fi nement of the setup as needed, • for patient reaction and approval. This appointment is extremely important for predictability and success with the fabrication of complete dentures. 22
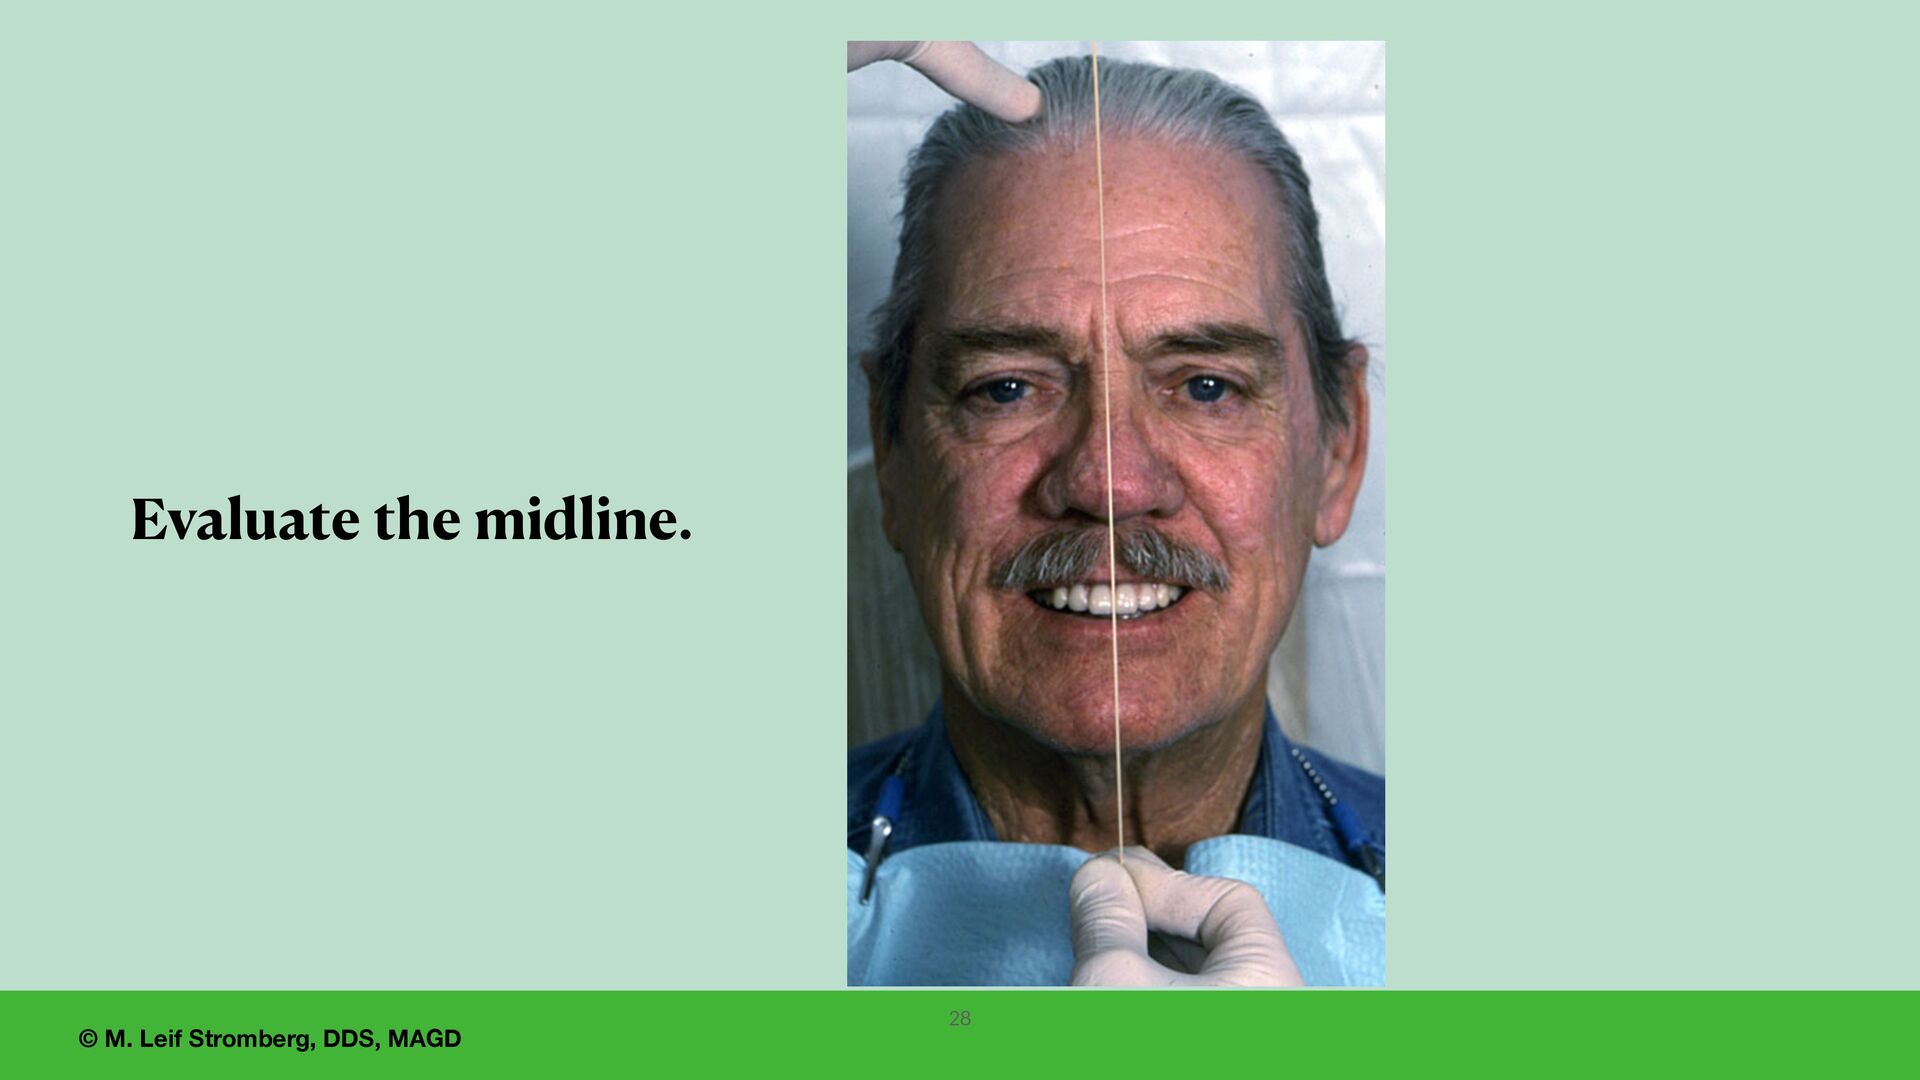
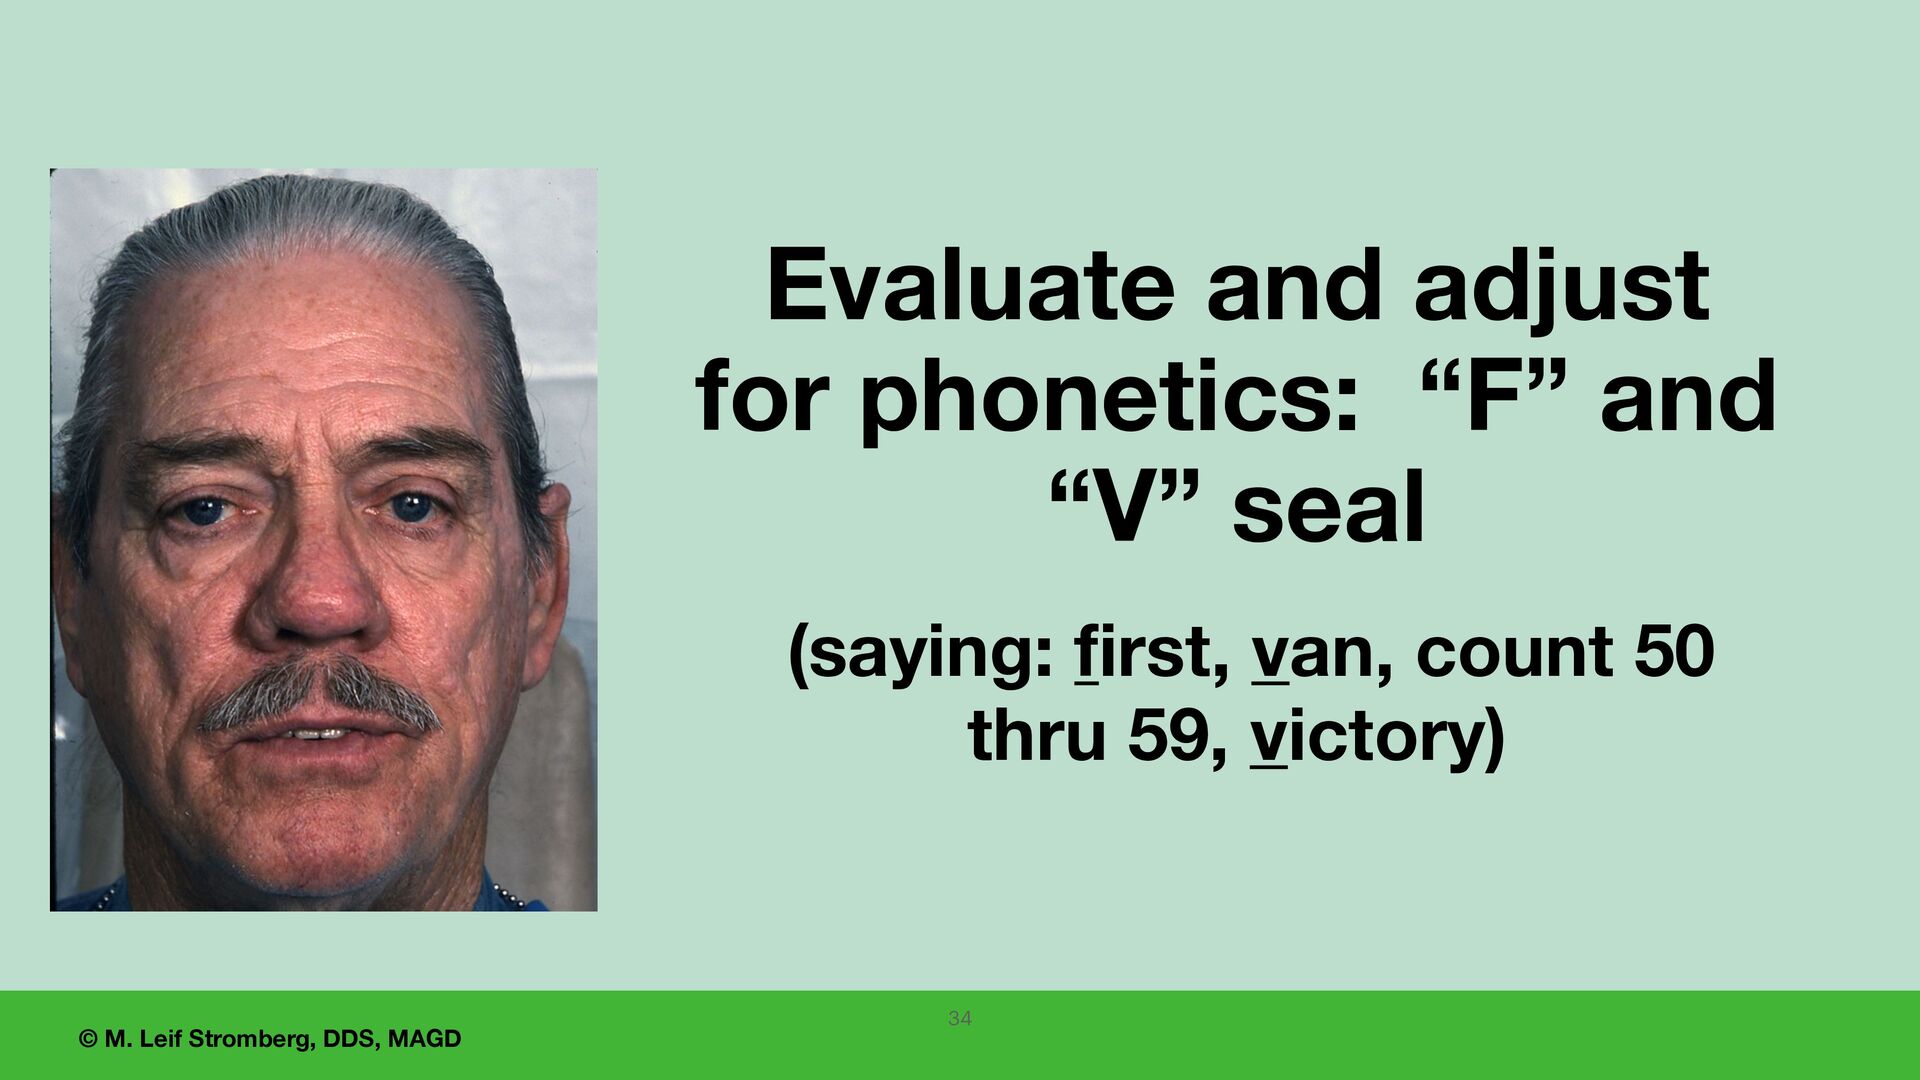
dentist approval for the wax try-in appointment: 1. Be sure the baseplates are comfortable for the patient, have adequate retention, and the wax denture base is smooth. 2. Check the posterior extension of the maxillary denture base. 3. Evaluate the esthetics (overall esthetics, the midline, the occlusal plane) and phonetics (F and V seal). 4. Evaluate lip support (philtrum and upper lip, upper and lower vermillion borders). 5. Evaluate the vertical dimension of rest, the vertical dimension of speech, and the vertical dimension of occlusion. 6. Verify occlusion - all posterior teeth contact when the patient closes into maximum intercuspation when the mandible is in centric relation. 7. Wait to let the patient see the setup until the dentist and the staff are satisfied and approve. 25
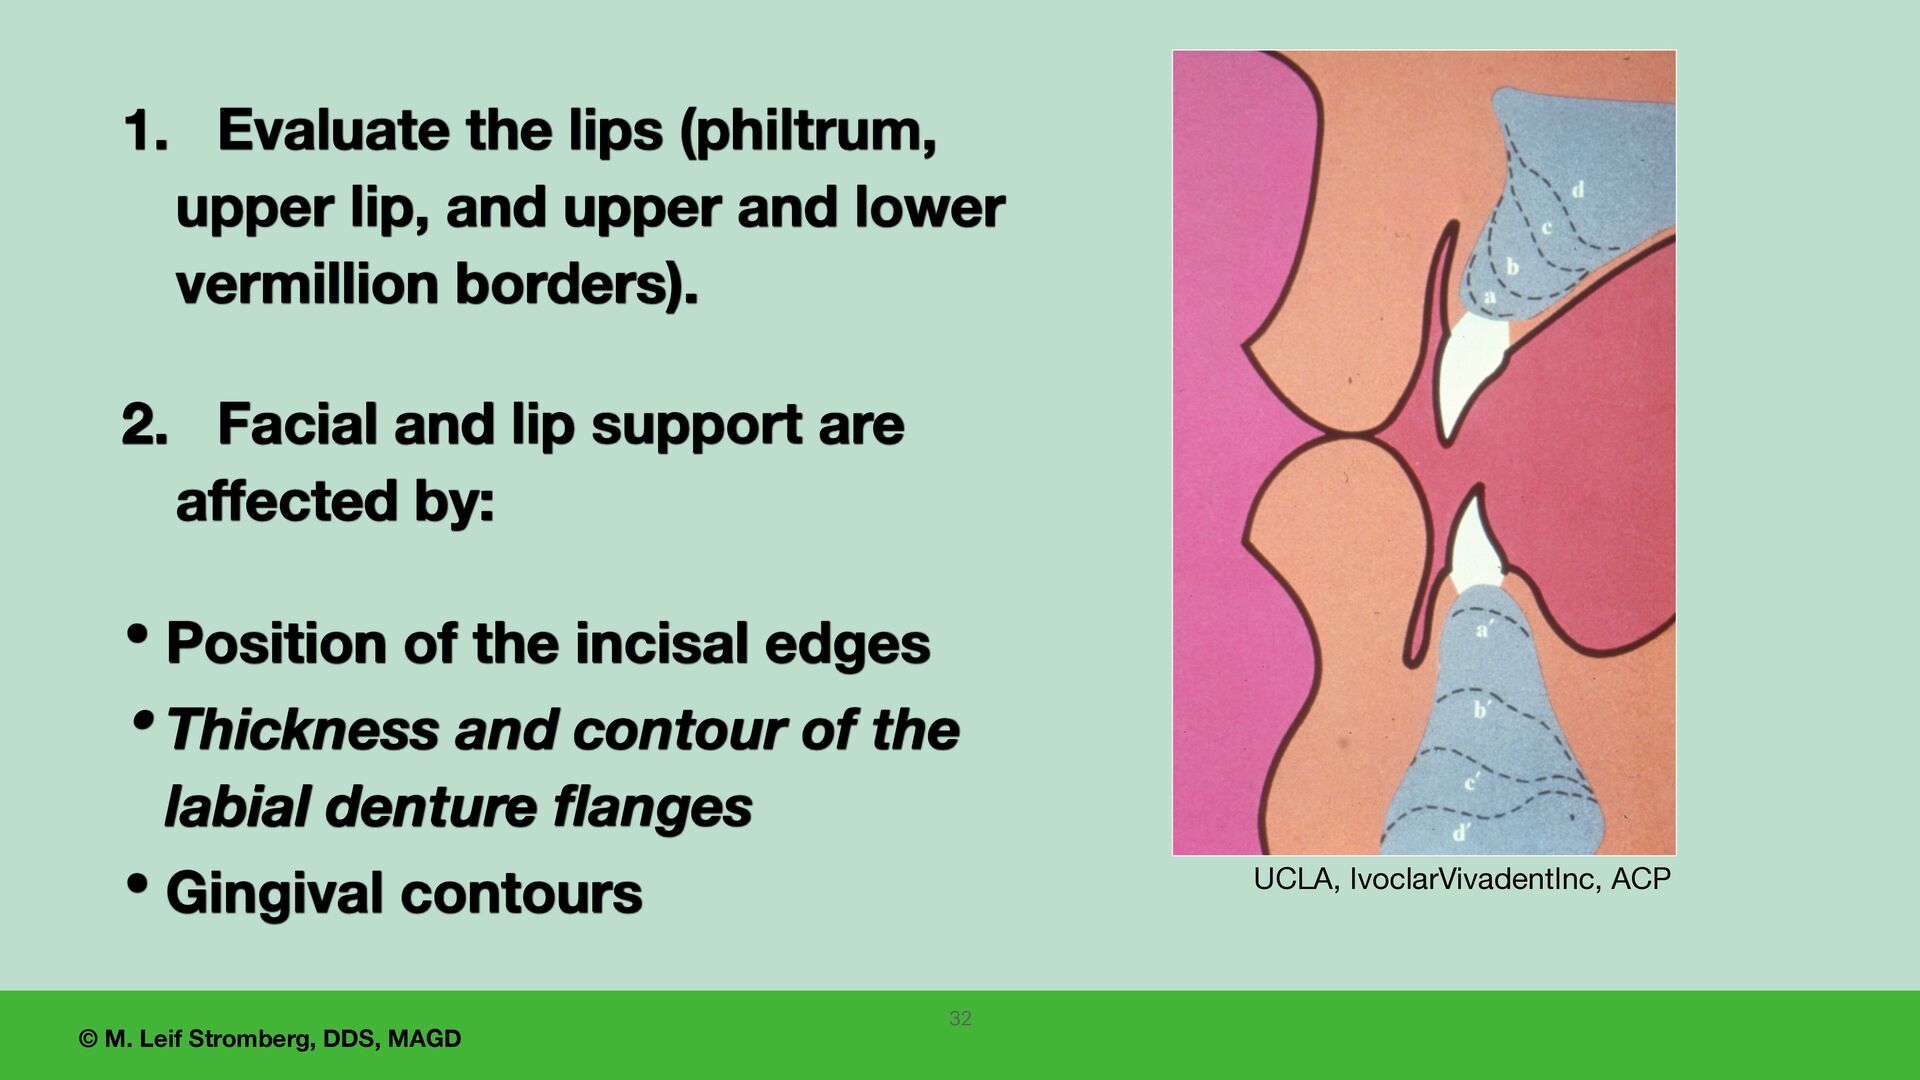
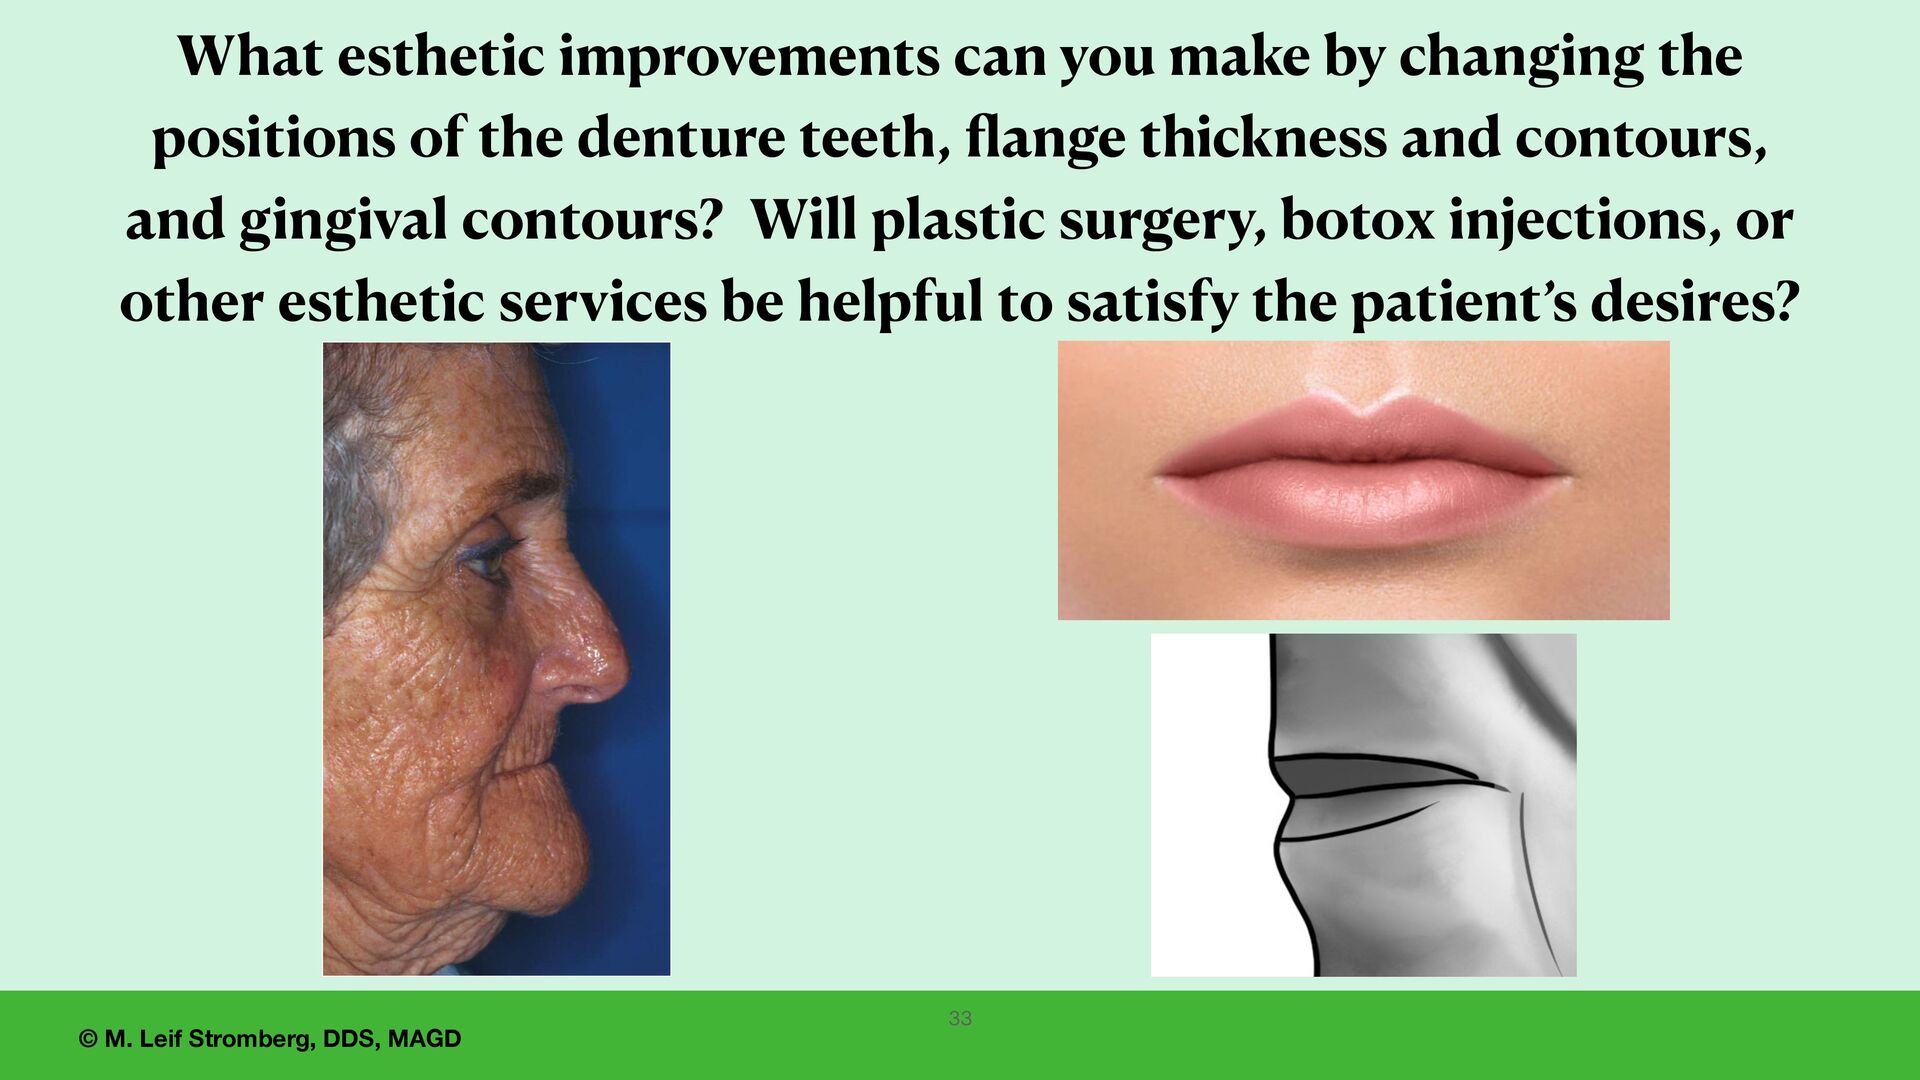
Evaluate the lips (philtrum, upper lip, and upper and lower vermillion borders). 2. Facial and lip support are affected by: • Position of the incisal edges • Thickness and contour of the labial denture flanges • Gingival contours 32
you make by changing the positions of the denture teeth, fl ange thickness and contours, and gingival contours? Will plastic surgery, botox injections, or other esthetic services be helpful to satisfy the patient’s desires? 33
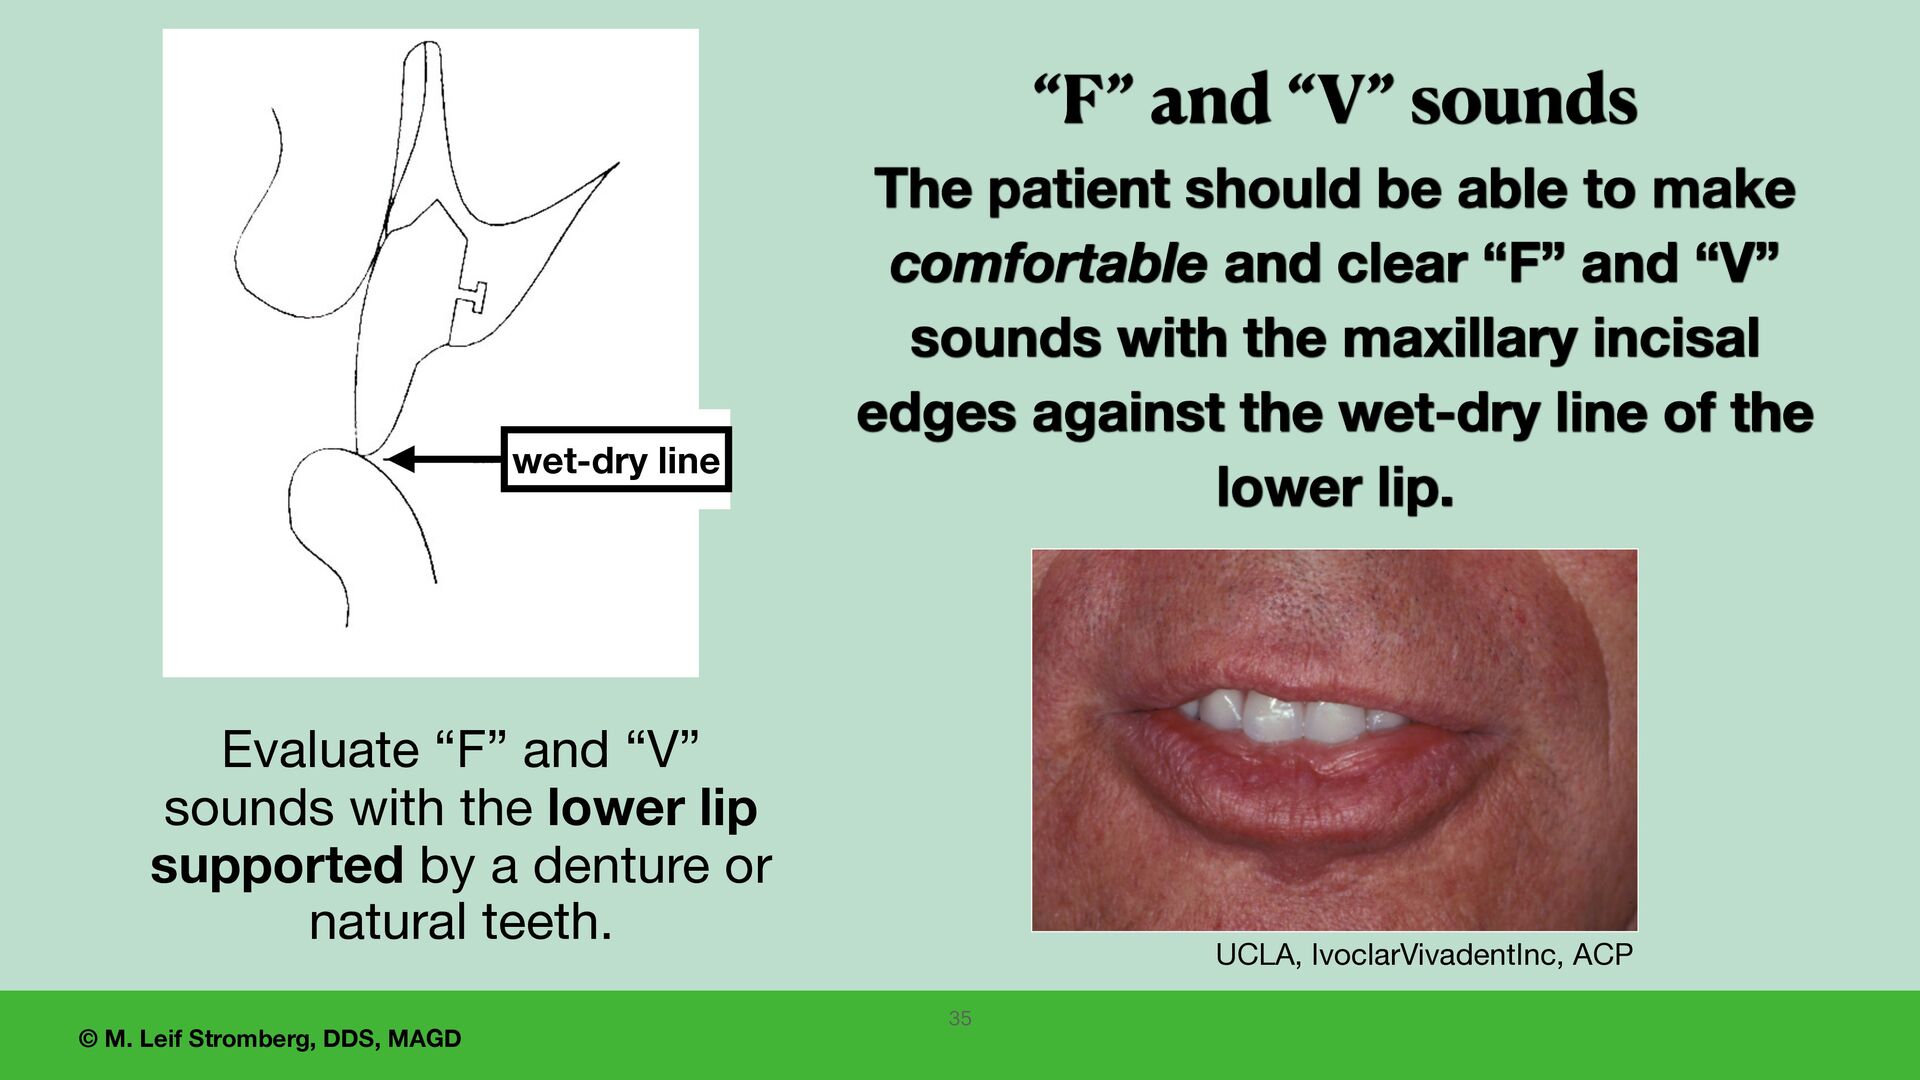
The patient should be able to make comfortable and clear “F” and “V” sounds with the maxillary incisal edges against the wet-dry line of the lower lip. UCLA, IvoclarVivadentInc, ACP Evaluate “F” and “V” sounds with the lower lip supported by a denture or natural teeth. 35 wet-dry line
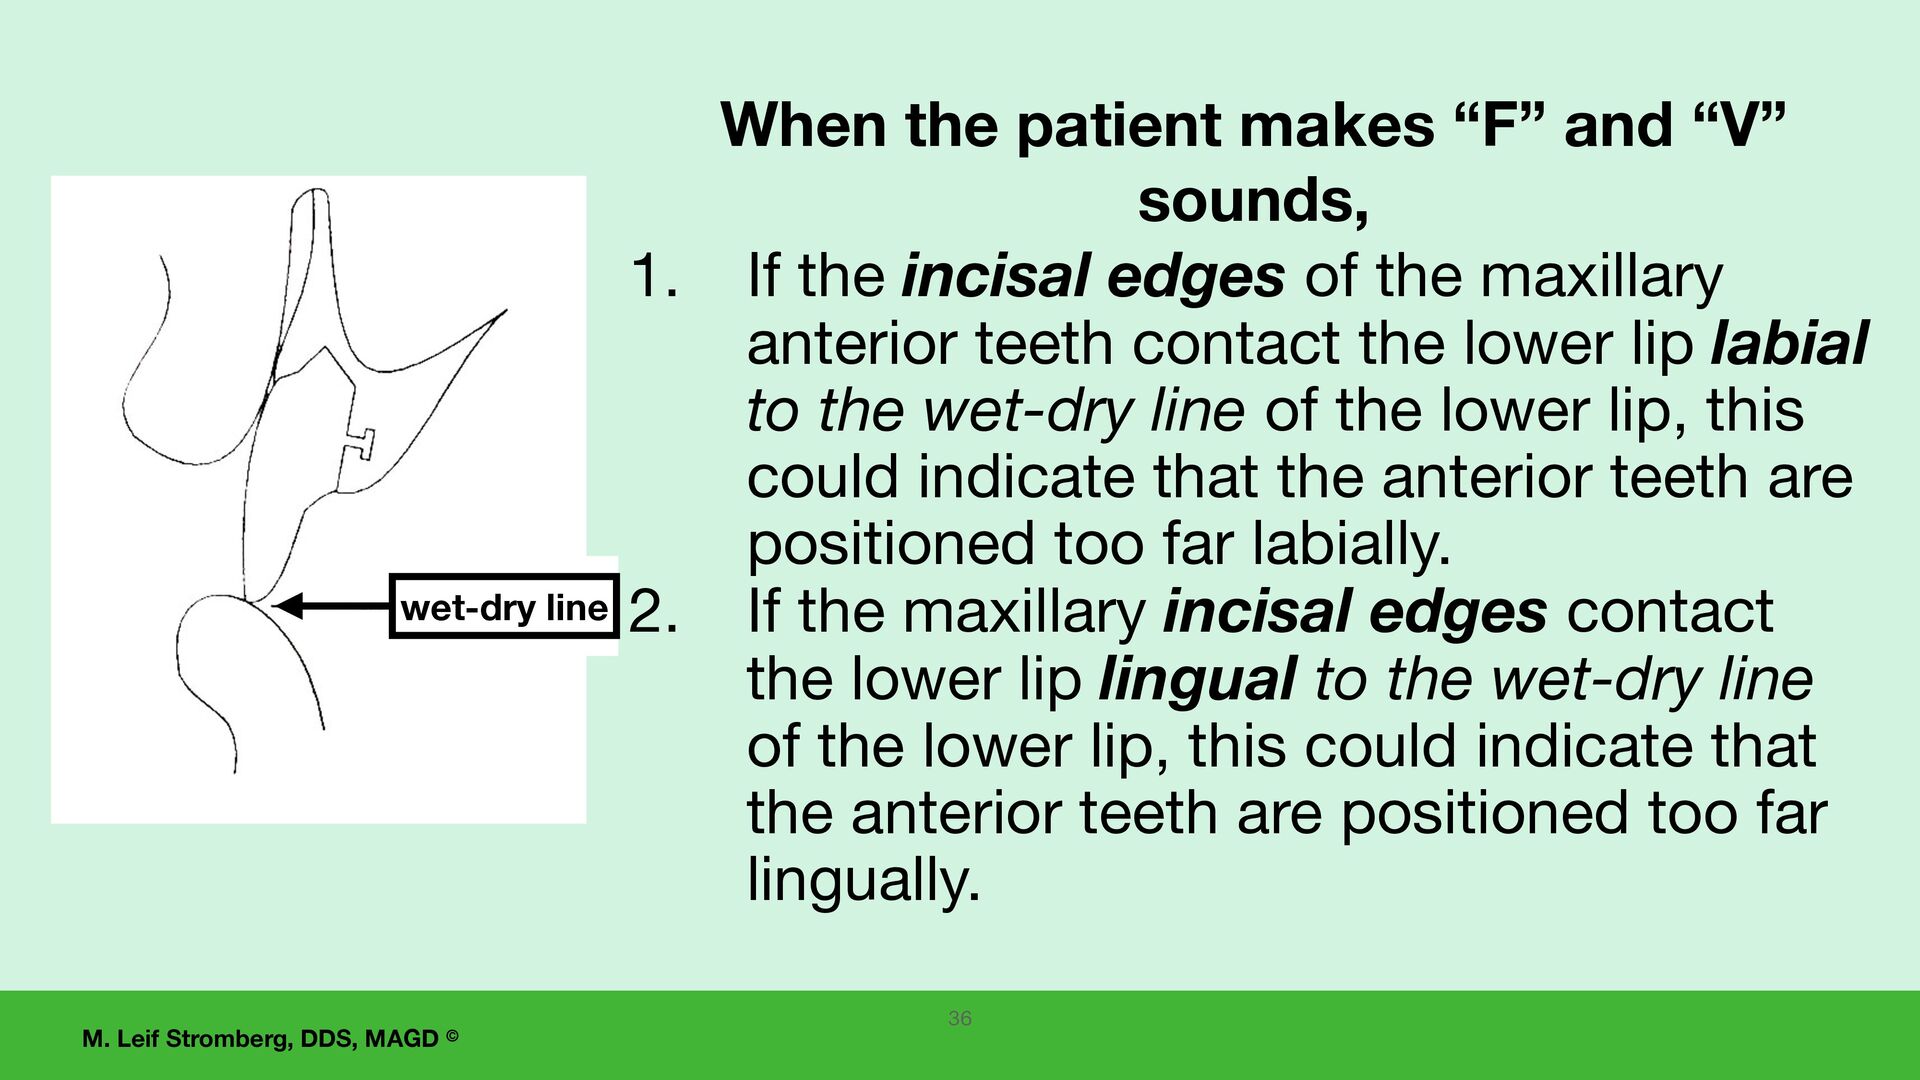
“F” and “V” sounds, 1. If the incisal edges of the maxillary anterior teeth contact the lower lip labial to the wet-dry line of the lower lip, this could indicate that the anterior teeth are positioned too far labially. 2. If the maxillary incisal edges contact the lower lip lingual to the wet-dry line of the lower lip, this could indicate that the anterior teeth are positioned too far lingually. 36 wet-dry line
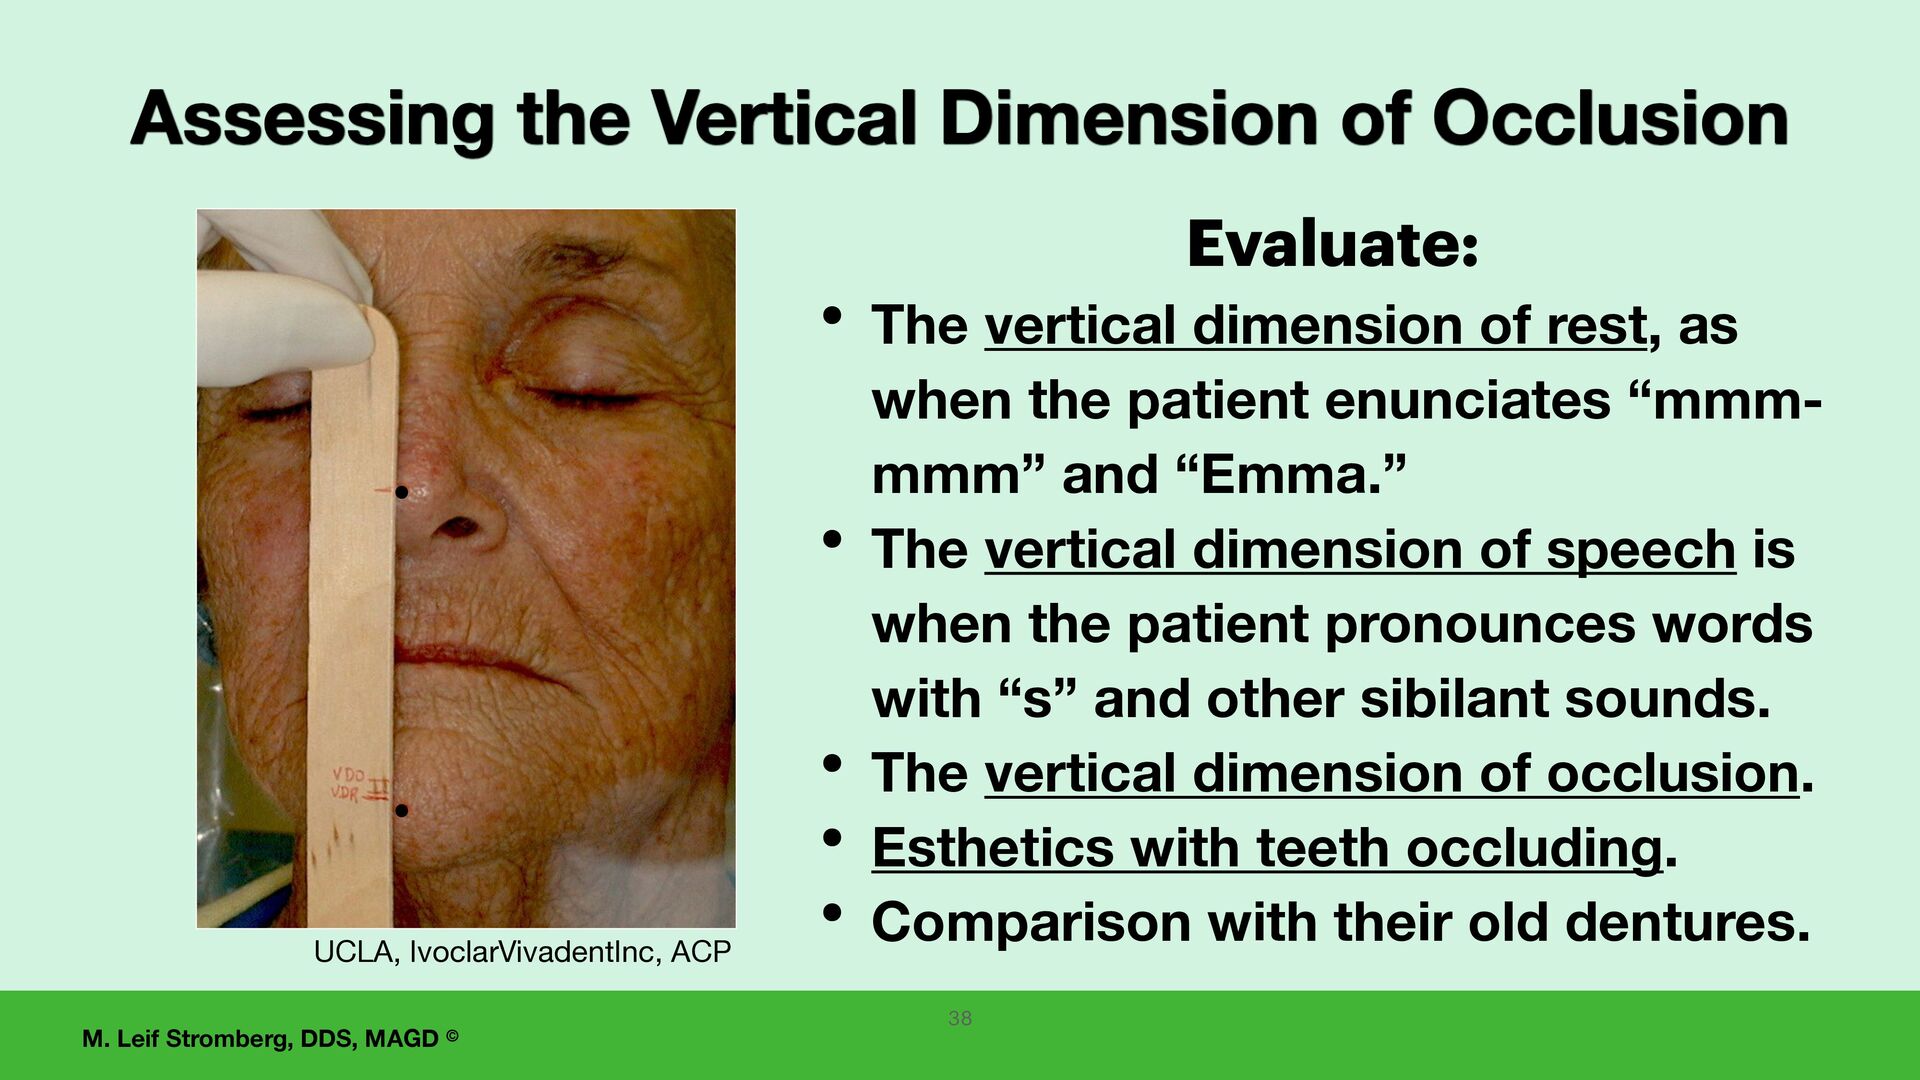
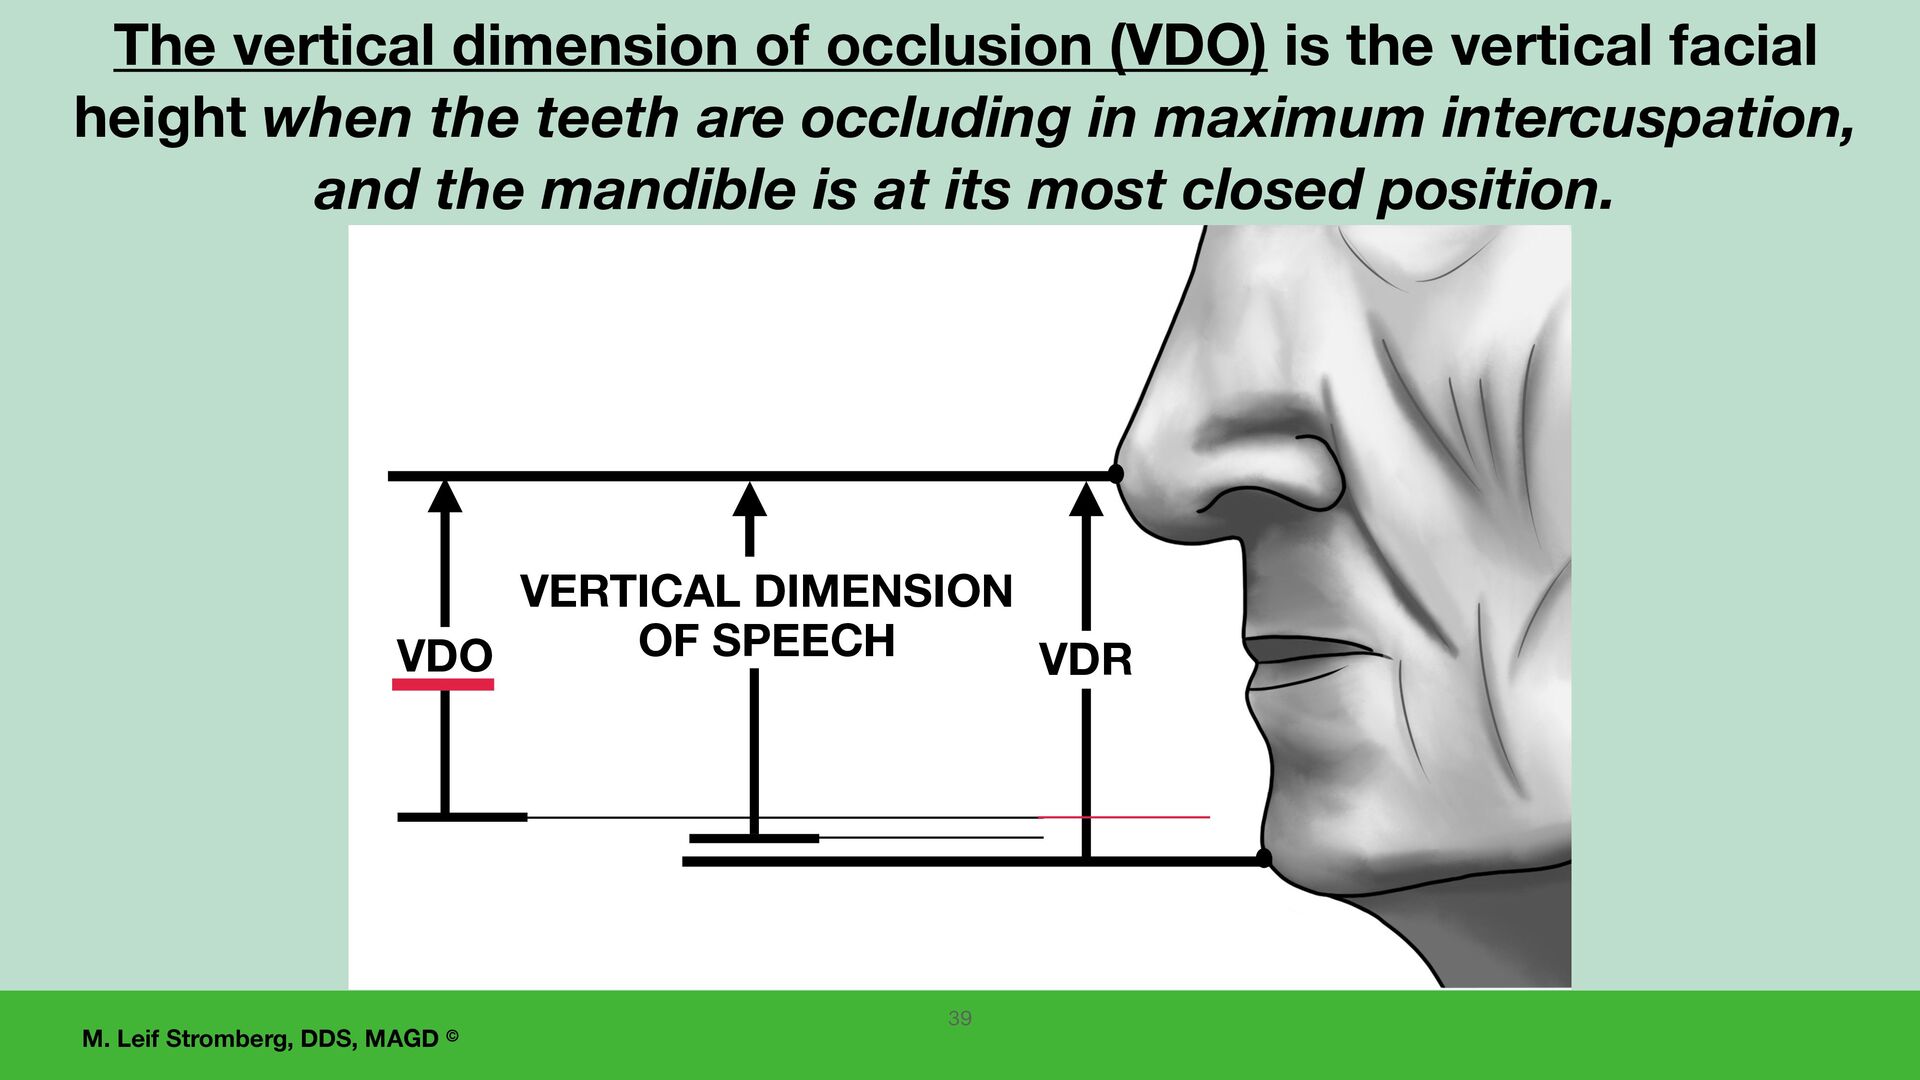
dimension of rest, as when the patient enunciates “mmm- mmm” and “Emma.” • The vertical dimension of speech is when the patient pronounces words with “s” and other sibilant sounds. • The vertical dimension of occlusion. • Esthetics with teeth occluding. • Comparison with their old dentures. Assessing the Vertical Dimension of Occlusion UCLA, IvoclarVivadentInc, ACP 38
SPEECH VDO The vertical dimension of occlusion (VDO) is the vertical facial height when the teeth are occluding in maximum intercuspation, and the mandible is at its most closed position. 39
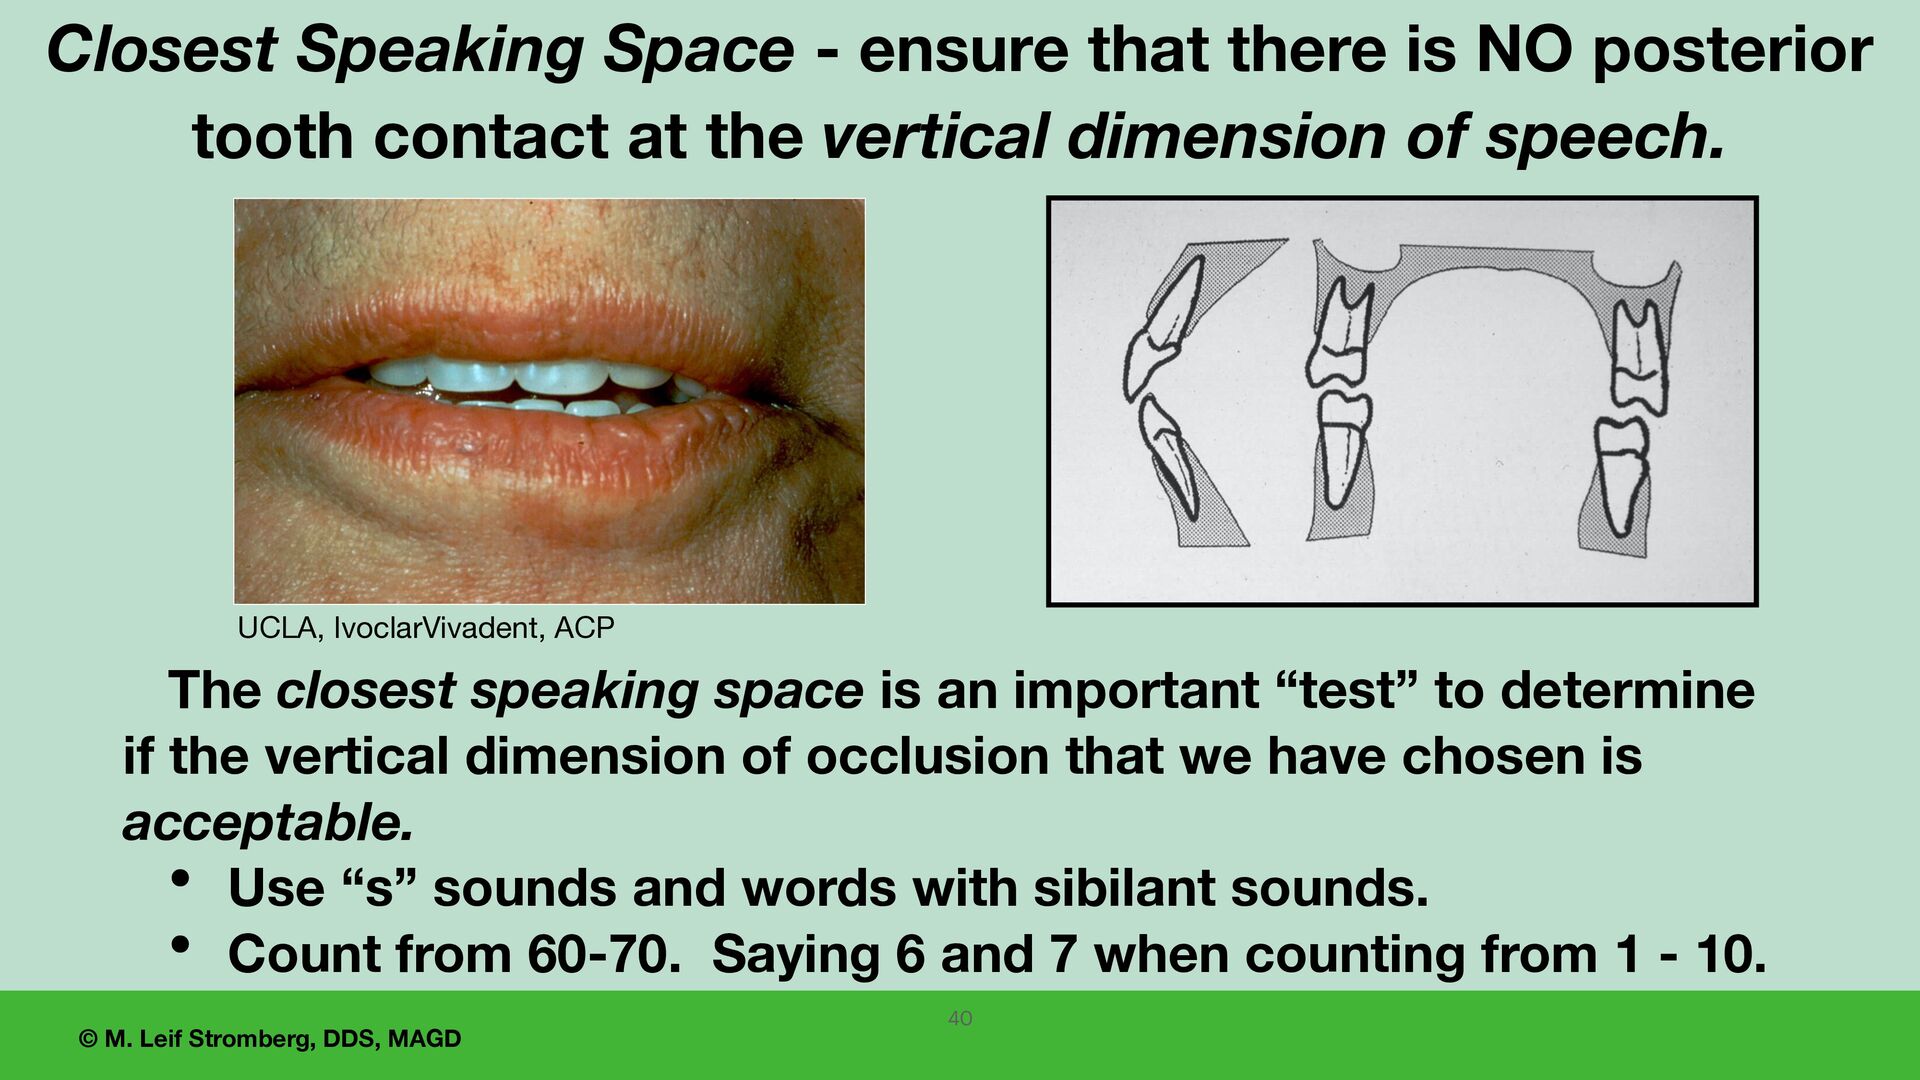
ensure that there is NO posterior tooth contact at the vertical dimension of speech. The closest speaking space is an important “test” to determine if the vertical dimension of occlusion that we have chosen is acceptable. • Use “s” sounds and words with sibilant sounds. • Count from 60-70. Saying 6 and 7 when counting from 1 - 10. UCLA, IvoclarVivadent, ACP 40
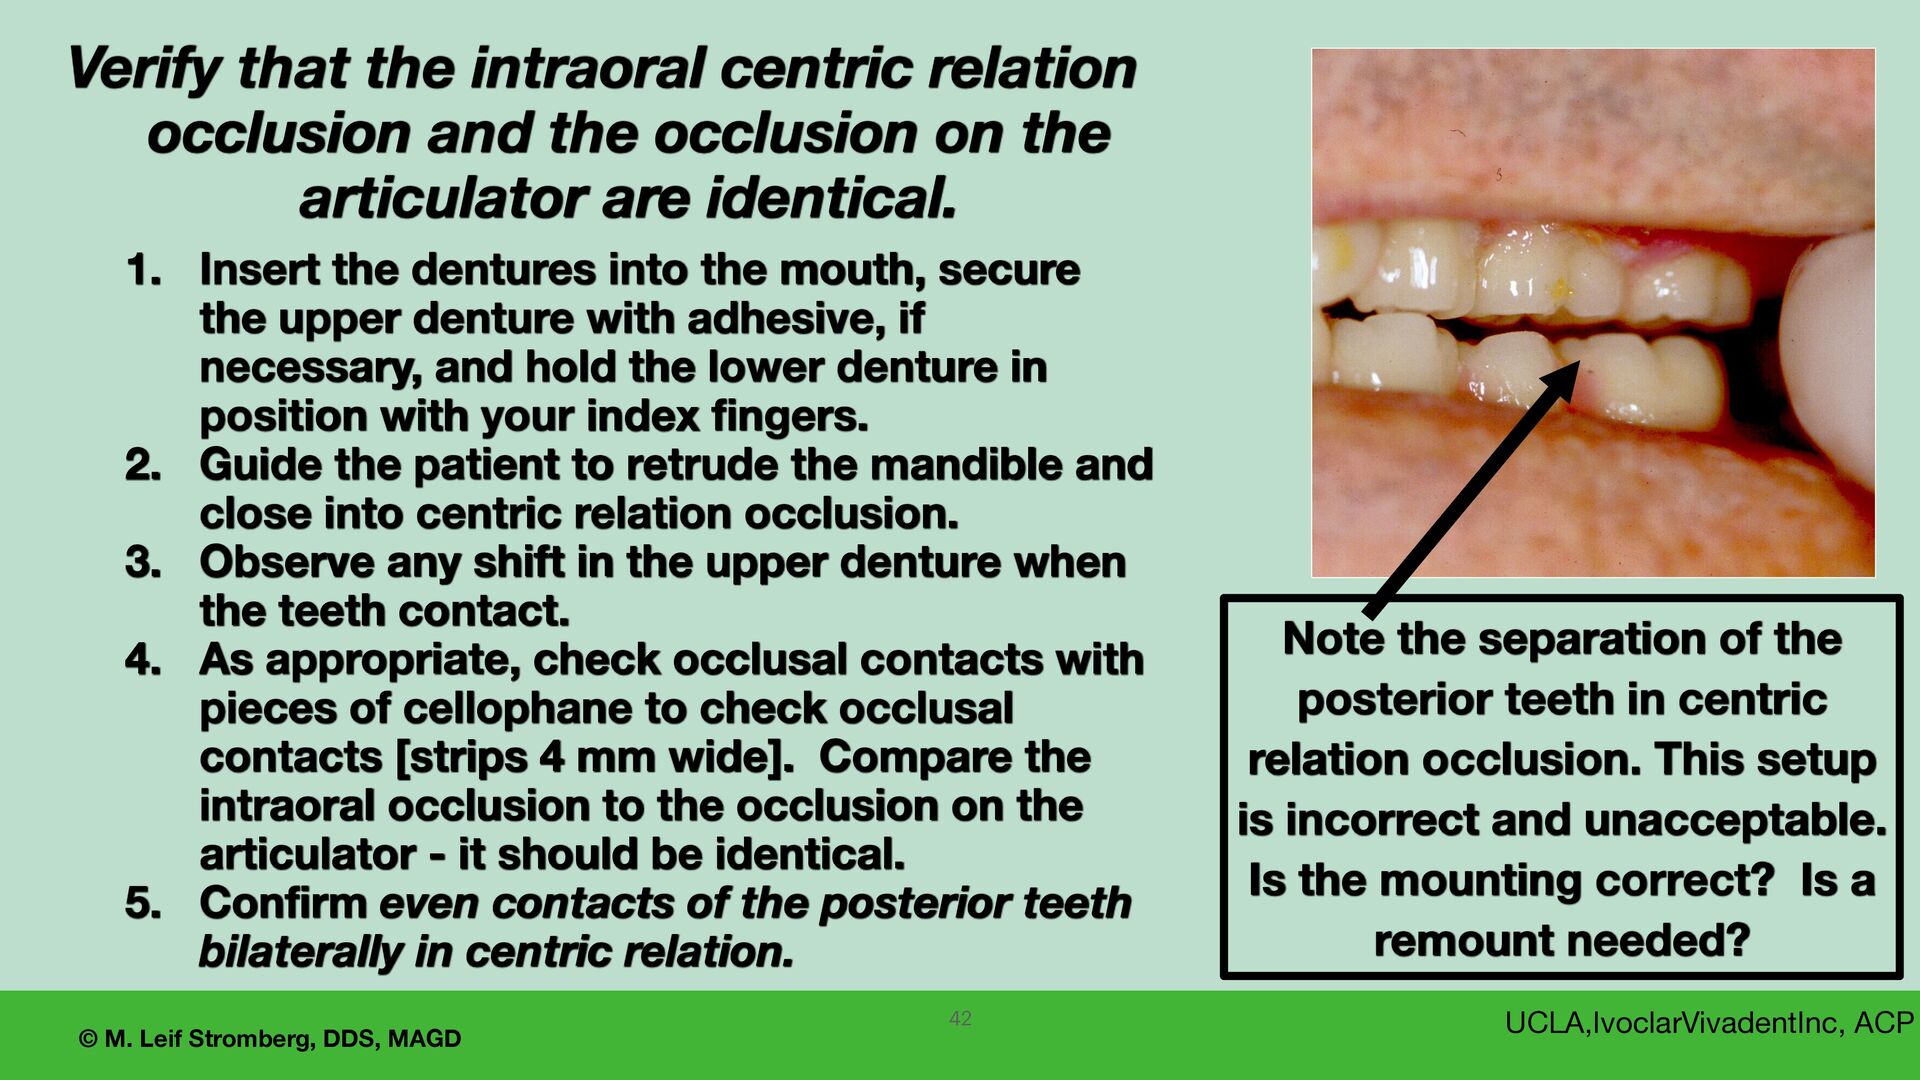
the patient’s mandible is in centric relation, the patient closes into maximal intercuspation occlusion with even occlusal contacts of all posterior teeth. 2. Evaluate and compare the occlusion of the denture teeth of the wax setup intraorally and on the articulator. 41 Verify Occlusion
the posterior teeth in centric relation occlusion. This setup is incorrect and unacceptable. Is the mounting correct? Is a remount needed? UCLA,IvoclarVivadentInc, ACP Verify that the intraoral centric relation occlusion and the occlusion on the articulator are identical. 1. Insert the dentures into the mouth, secure the upper denture with adhesive, if necessary, and hold the lower denture in position with your index fingers. 2. Guide the patient to retrude the mandible and close into centric relation occlusion. 3. Observe any shift in the upper denture when the teeth contact. 4. As appropriate, check occlusal contacts with pieces of cellophane to check occlusal contacts [strips 4 mm wide]. Compare the intraoral occlusion to the occlusion on the articulator - it should be identical. 5. Confirm even contacts of the posterior teeth bilaterally in centric relation. 42
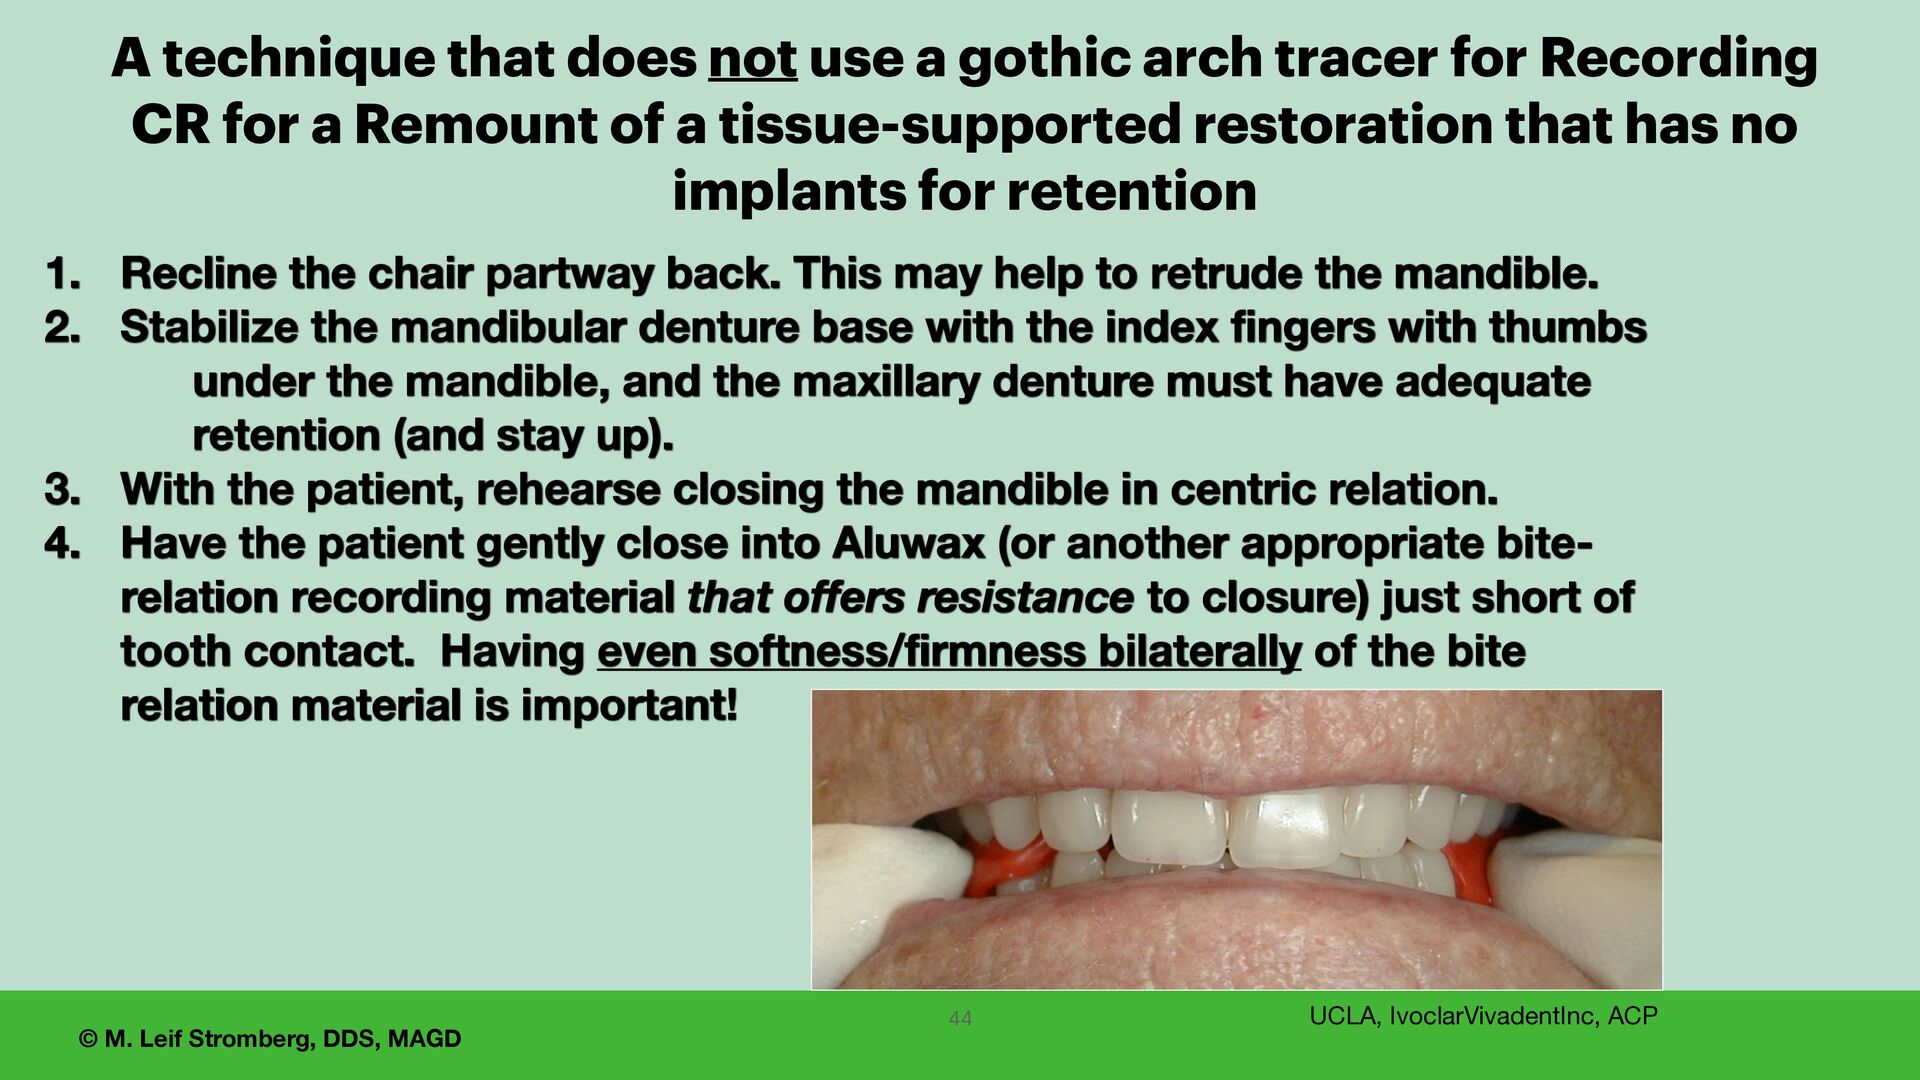
is needed, technique options to record centric relation (CR) for a tissue-supported edentulous restoration that has no implants for retention include 1. Gothic arch tracing and recording of CR. 2. A technique that does not use a gothic arch tracer to record CR.
partway back. This may help to retrude the mandible. 2. Stabilize the mandibular denture base with the index fingers with thumbs under the mandible, and the maxillary denture must have adequate retention (and stay up). 3. With the patient, rehearse closing the mandible in centric relation. 4. Have the patient gently close into Aluwax (or another appropriate bite- relation recording material that offers resistance to closure) just short of tooth contact. Having even softness/firmness bilaterally of the bite relation material is important! UCLA, IvoclarVivadentInc, ACP 44 A technique that does not use a gothic arch tracer for Recording CR for a Remount of a tissue-supported restoration that has no implants for retention
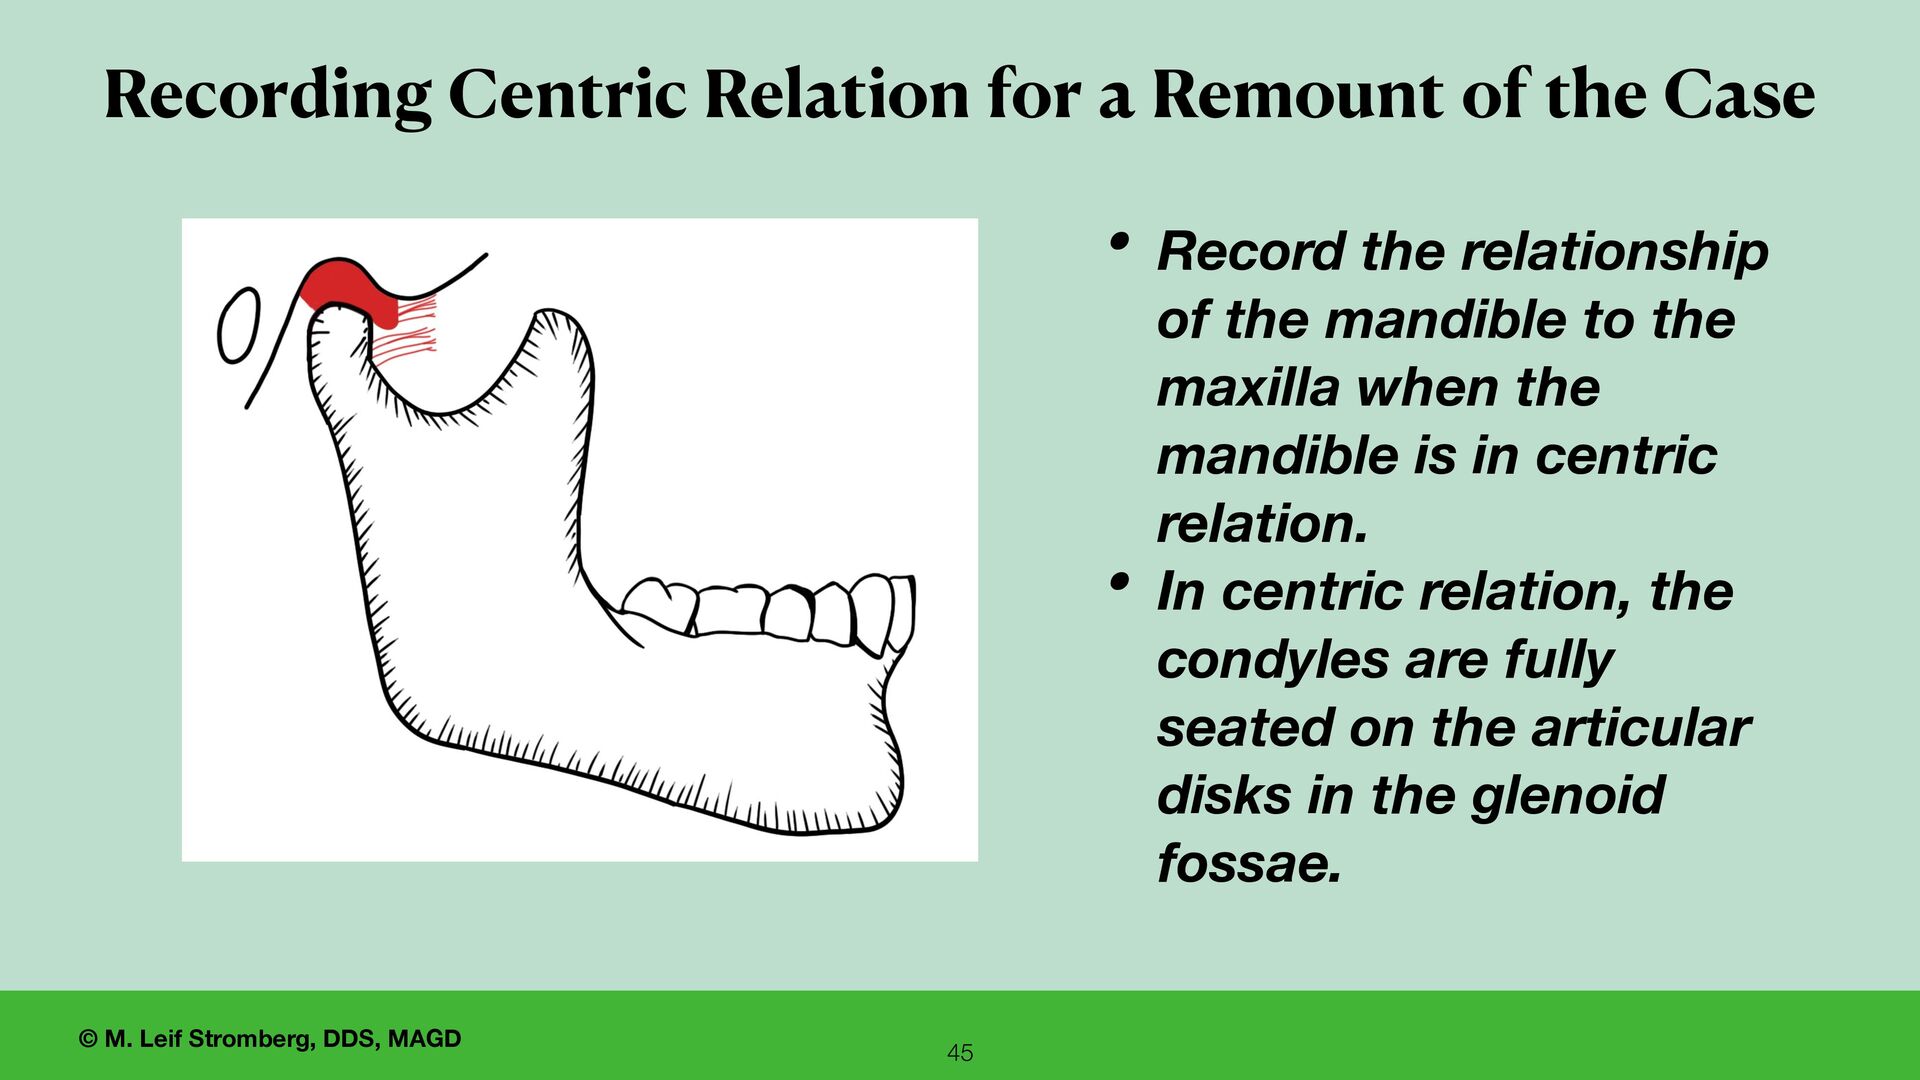
of the mandible to the maxilla when the mandible is in centric relation. • In centric relation, the condyles are fully seated on the articular disks in the glenoid fossae. Recording Centric Relation for a Remount of the Case 45
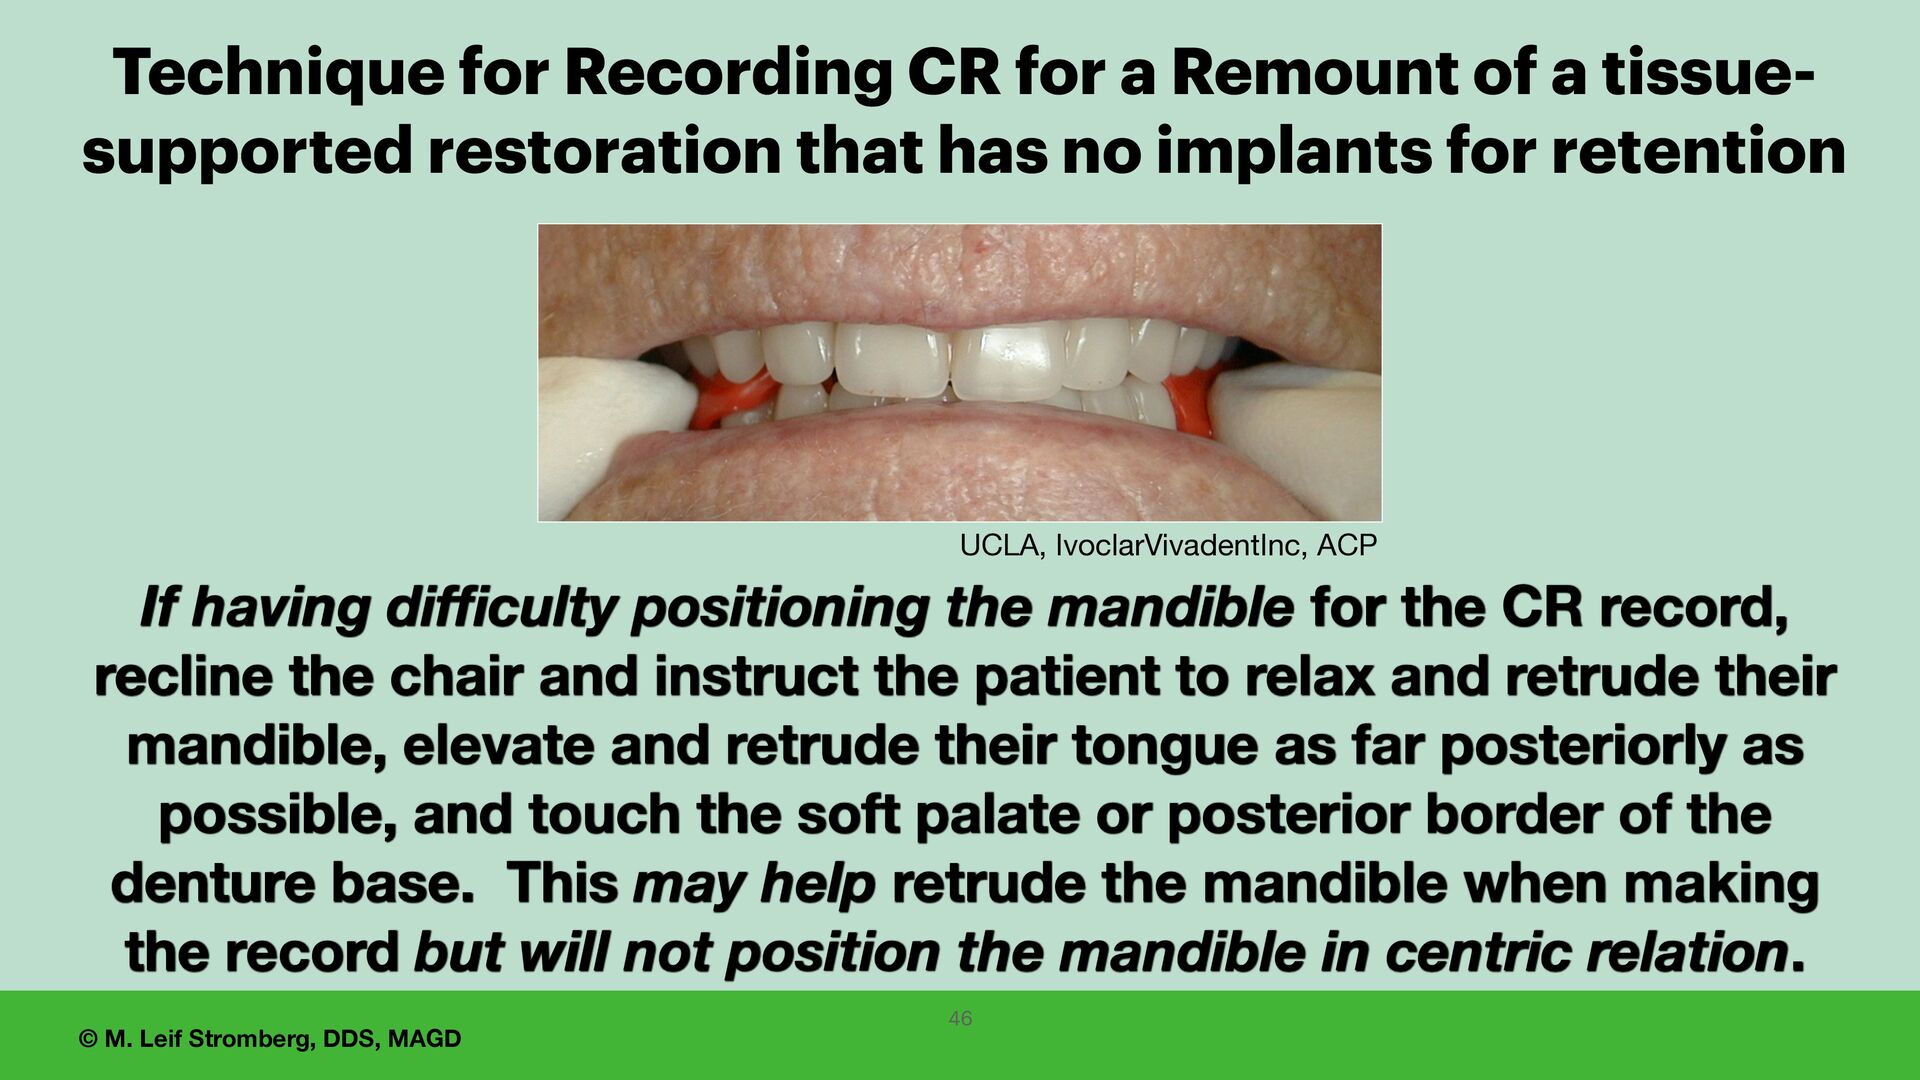
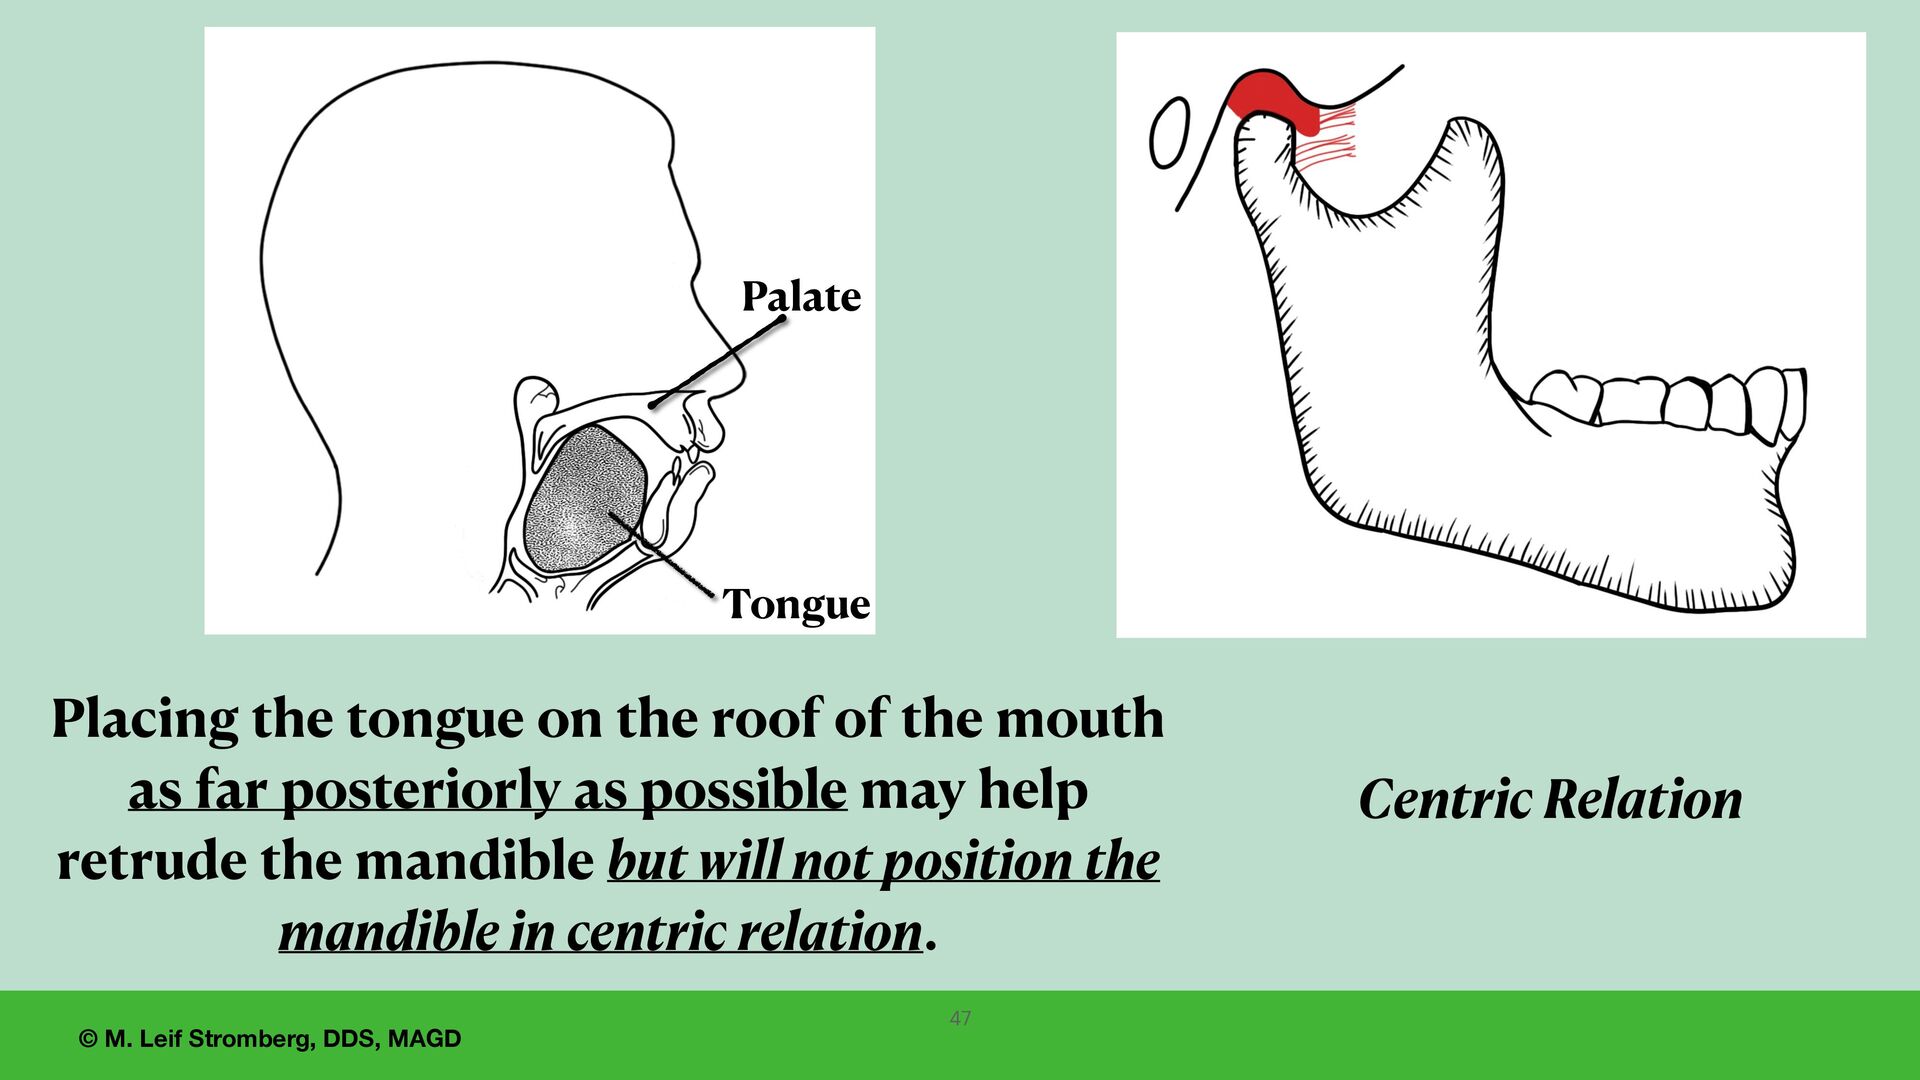
having difficulty positioning the mandible for the CR record, recline the chair and instruct the patient to relax and retrude their mandible, elevate and retrude their tongue as far posteriorly as possible, and touch the soft palate or posterior border of the denture base. This may help retrude the mandible when making the record but will not position the mandible in centric relation. Technique for Recording CR for a Remount of a tissue- supported restoration that has no implants for retention 46
tongue on the roof of the mouth as far posteriorly as possible may help retrude the mandible but will not position the mandible in centric relation. Tongue Palate 47
are having di ff i culty positioning the mandible in centric relation for the bite record to remount the case, • it may be best to redo the gothic arch tracing to record centric relation and • accurately and con fi dently record the relationship of the arches with a fi rm bite registration material such as Regisil Rigid Bite Registration Material (vinyl polysiloxane).
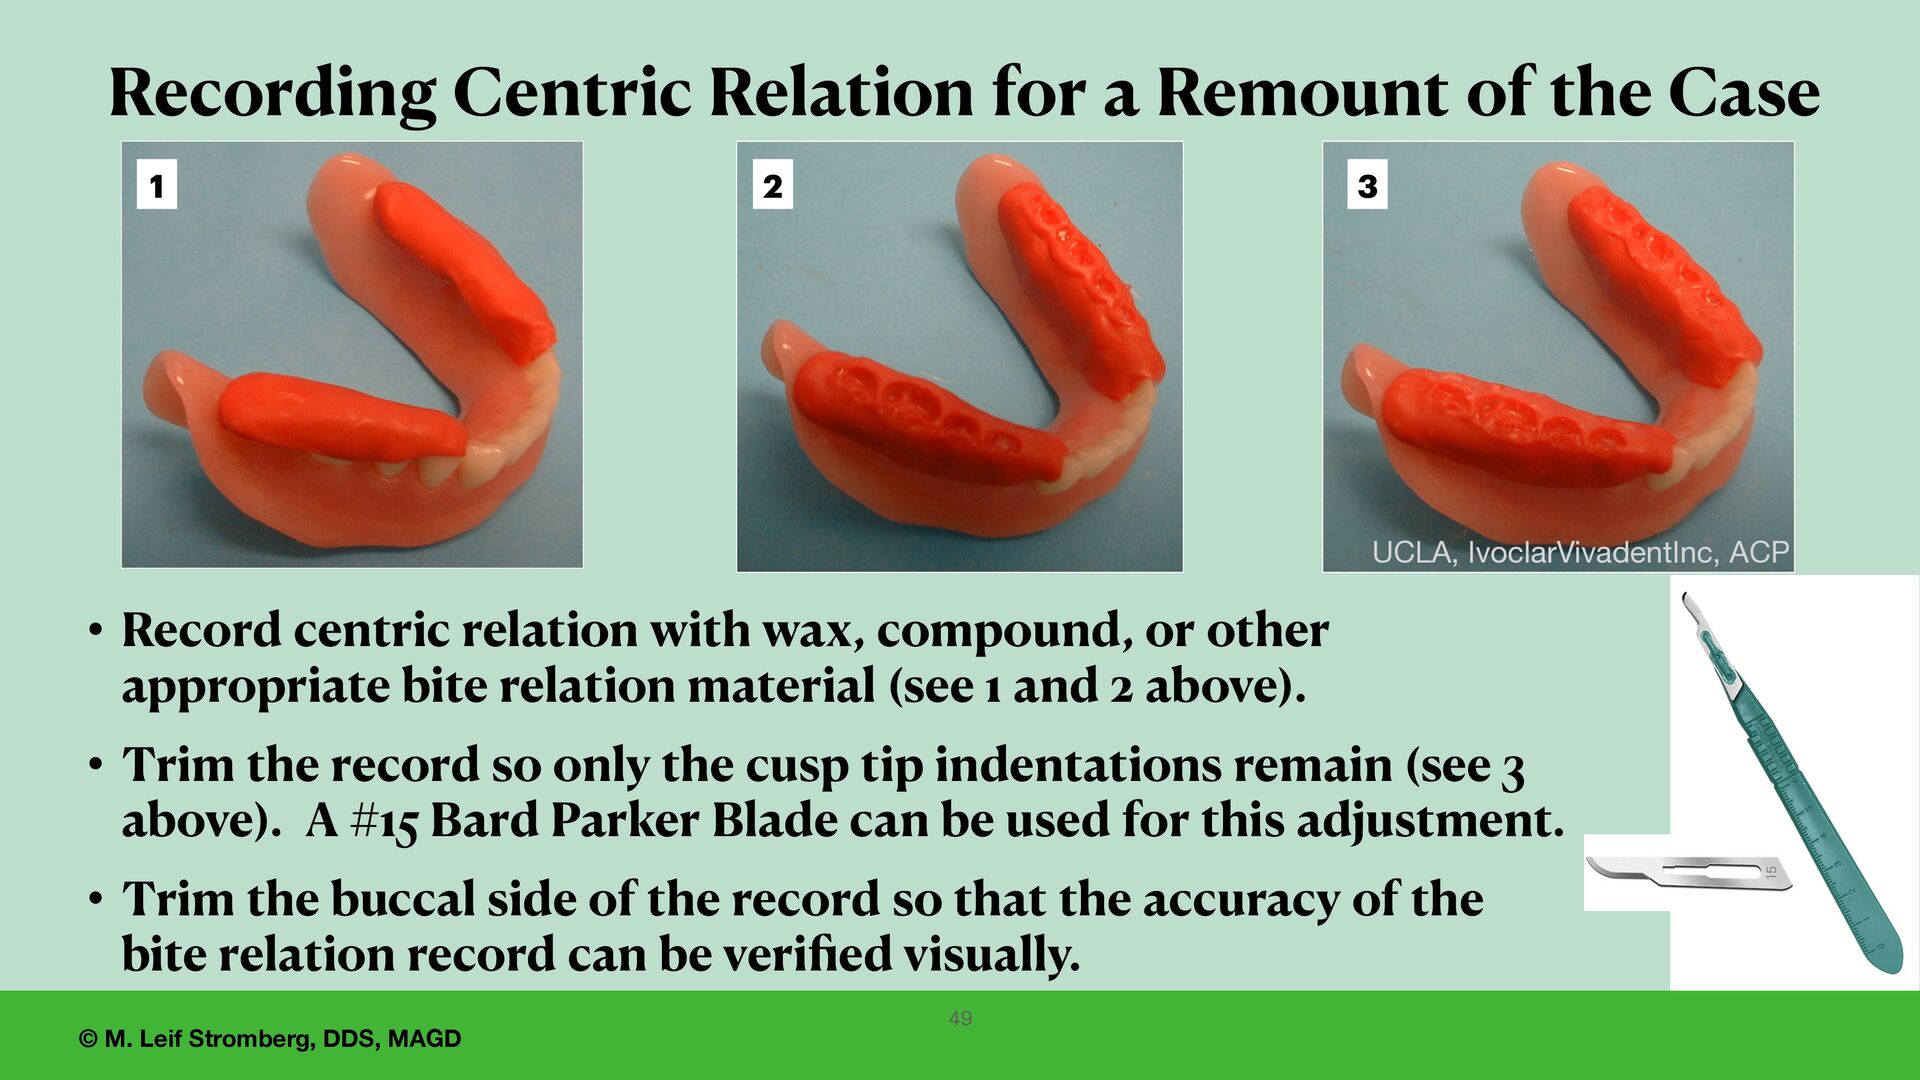
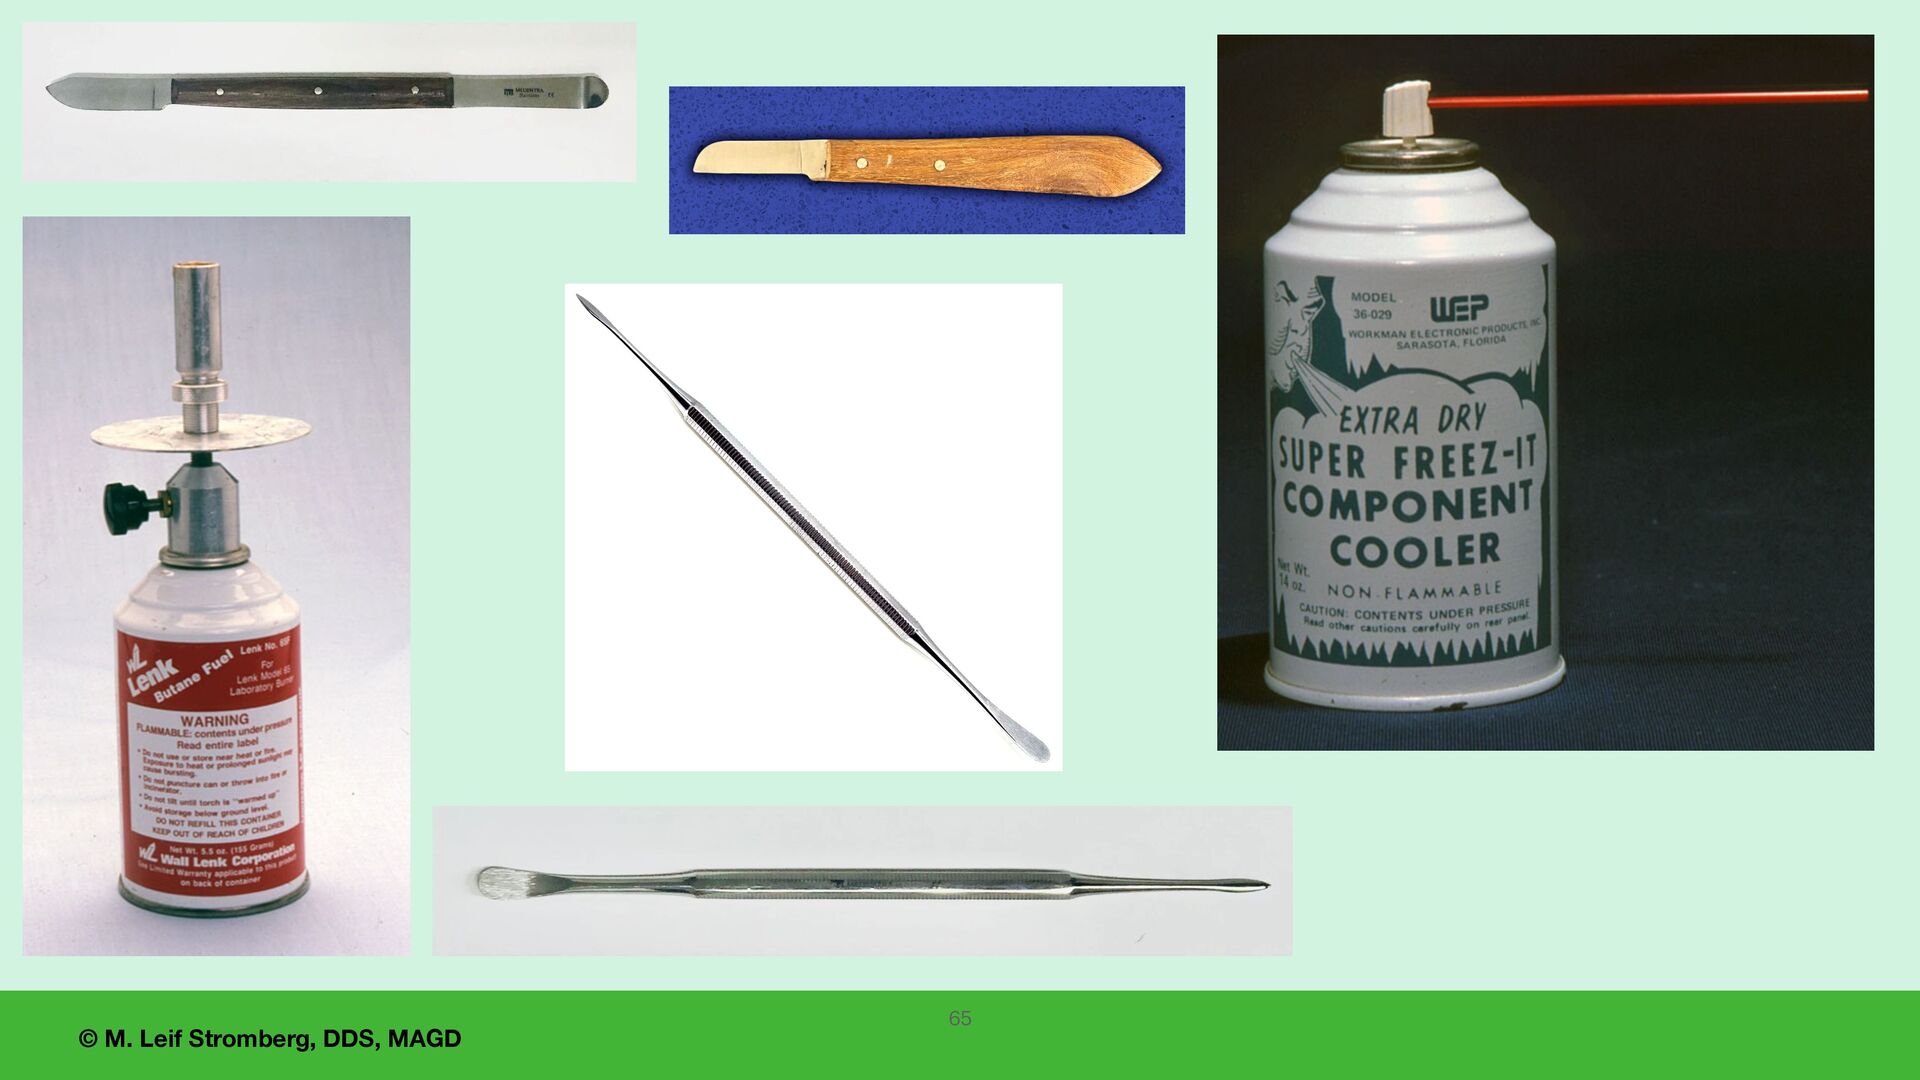
with wax, compound, or other appropriate bite relation material (see 1 and 2 above). • Trim the record so only the cusp tip indentations remain (see 3 above). A #15 Bard Parker Blade can be used for this adjustment. • Trim the buccal side of the record so that the accuracy of the bite relation record can be veri fi ed visually. UCLA, IvoclarVivadentInc, ACP 49 Recording Centric Relation for a Remount of the Case 1 2 3
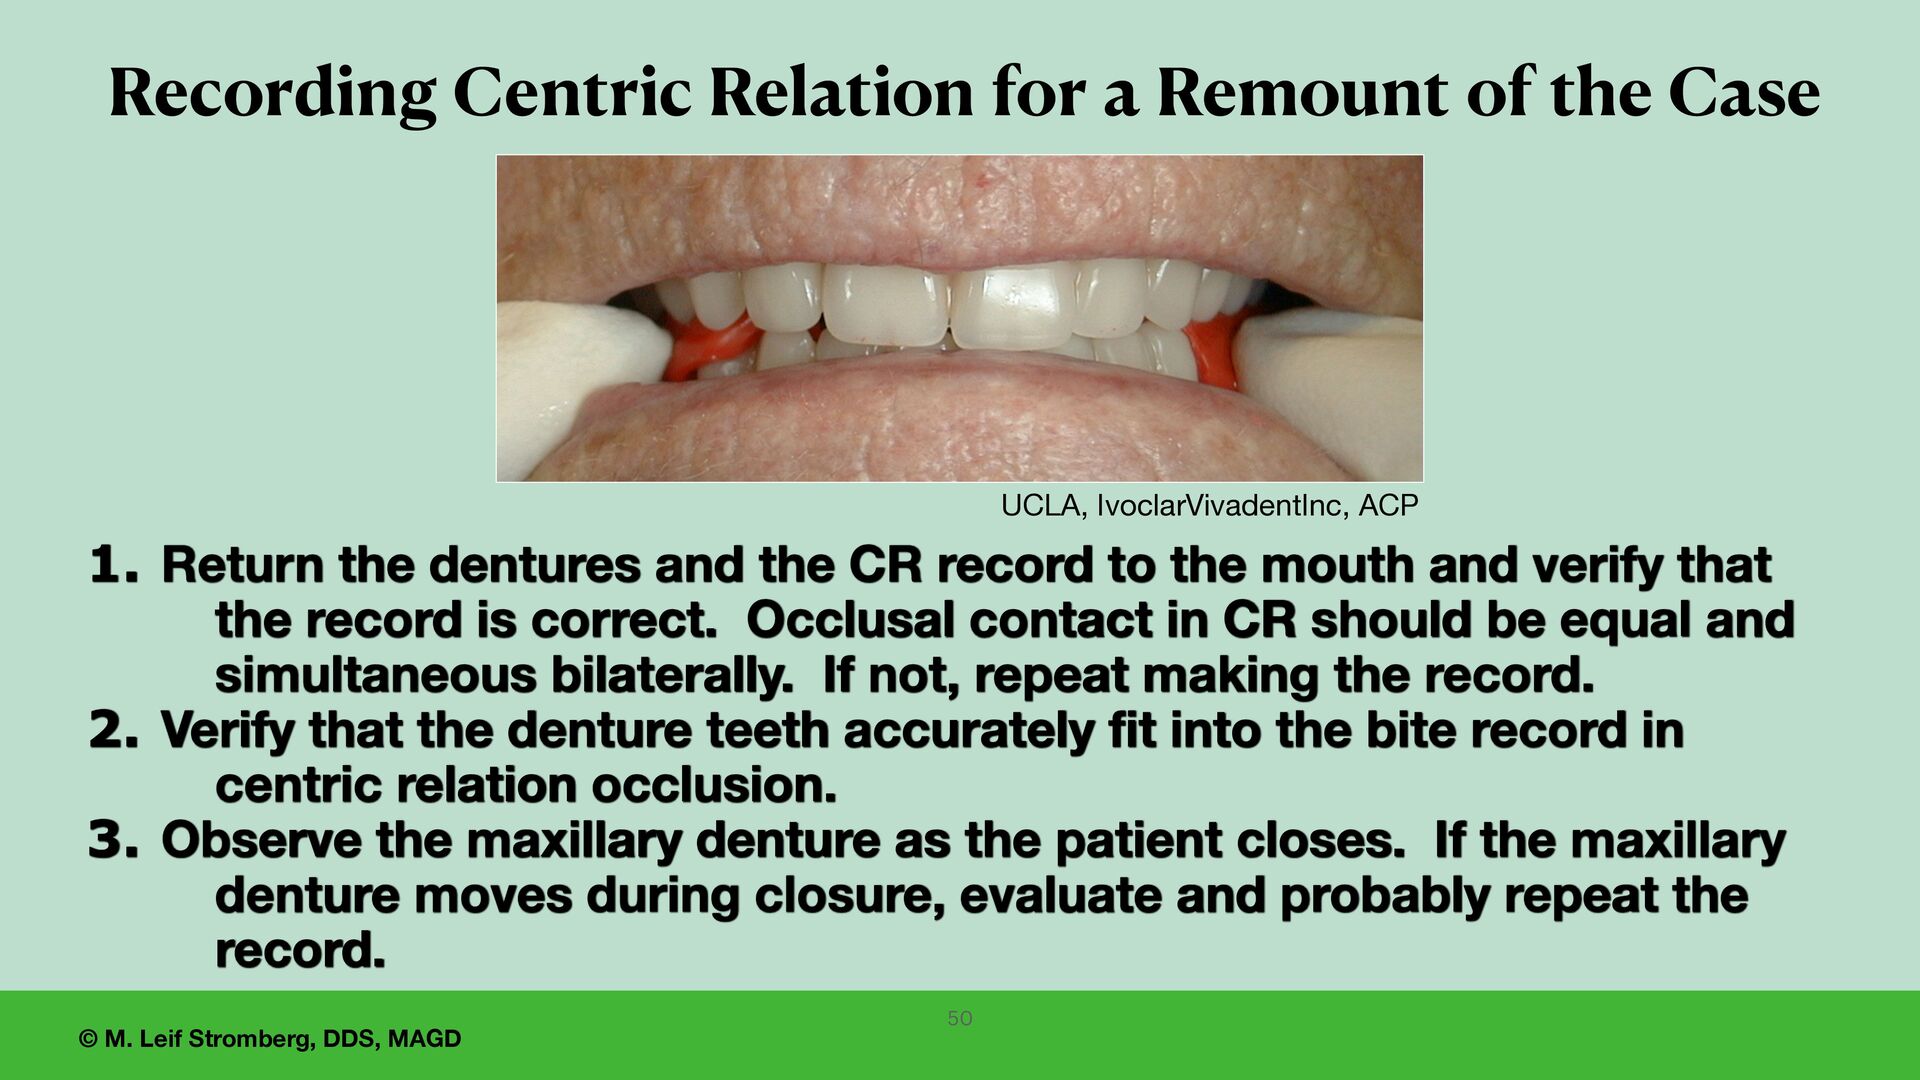
and the CR record to the mouth and verify that the record is correct. Occlusal contact in CR should be equal and simultaneous bilaterally. If not, repeat making the record. 2. Verify that the denture teeth accurately fit into the bite record in centric relation occlusion. 3. Observe the maxillary denture as the patient closes. If the maxillary denture moves during closure, evaluate and probably repeat the record. 50 Recording Centric Relation for a Remount of the Case UCLA, IvoclarVivadentInc, ACP
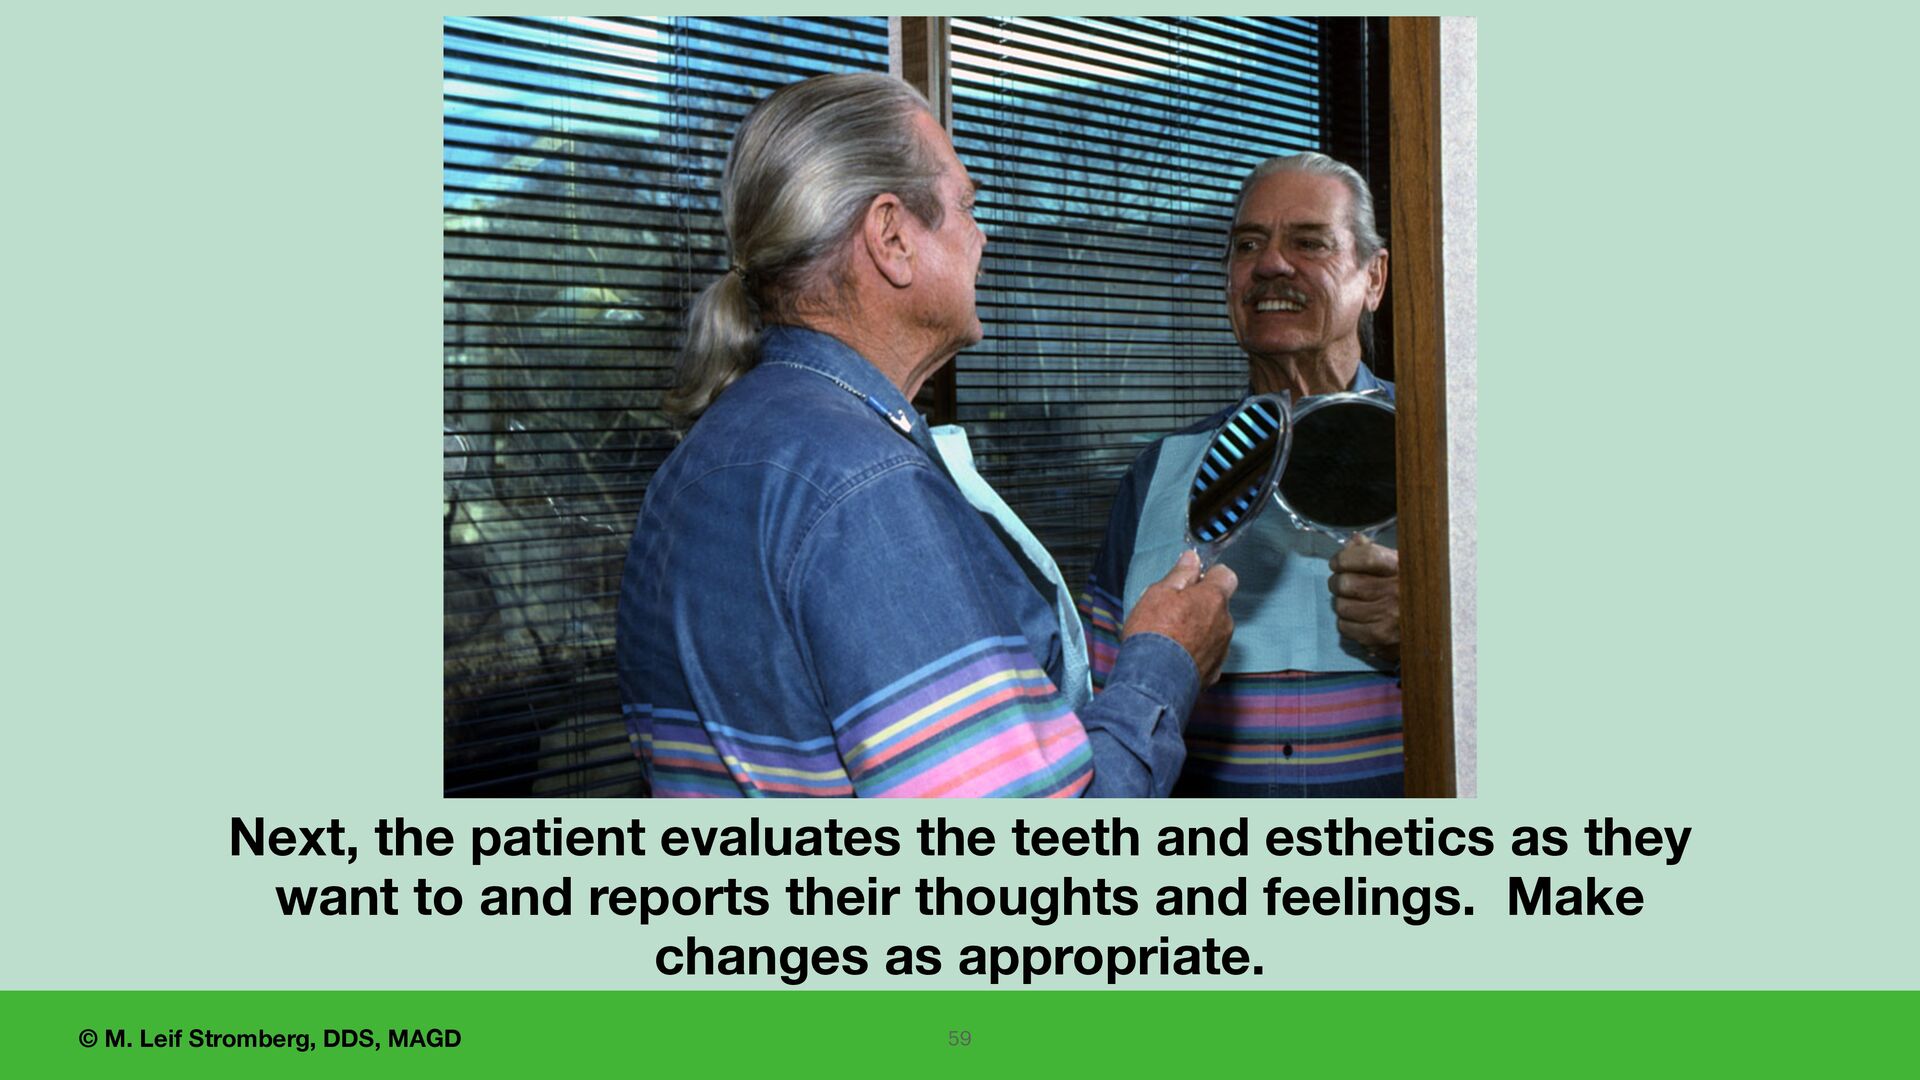
and staff are satisfied and approve the setup, • let the patient evaluate the esthetics and get their reaction and approval — • regarding the position, size, shape, and shade of the teeth. 51
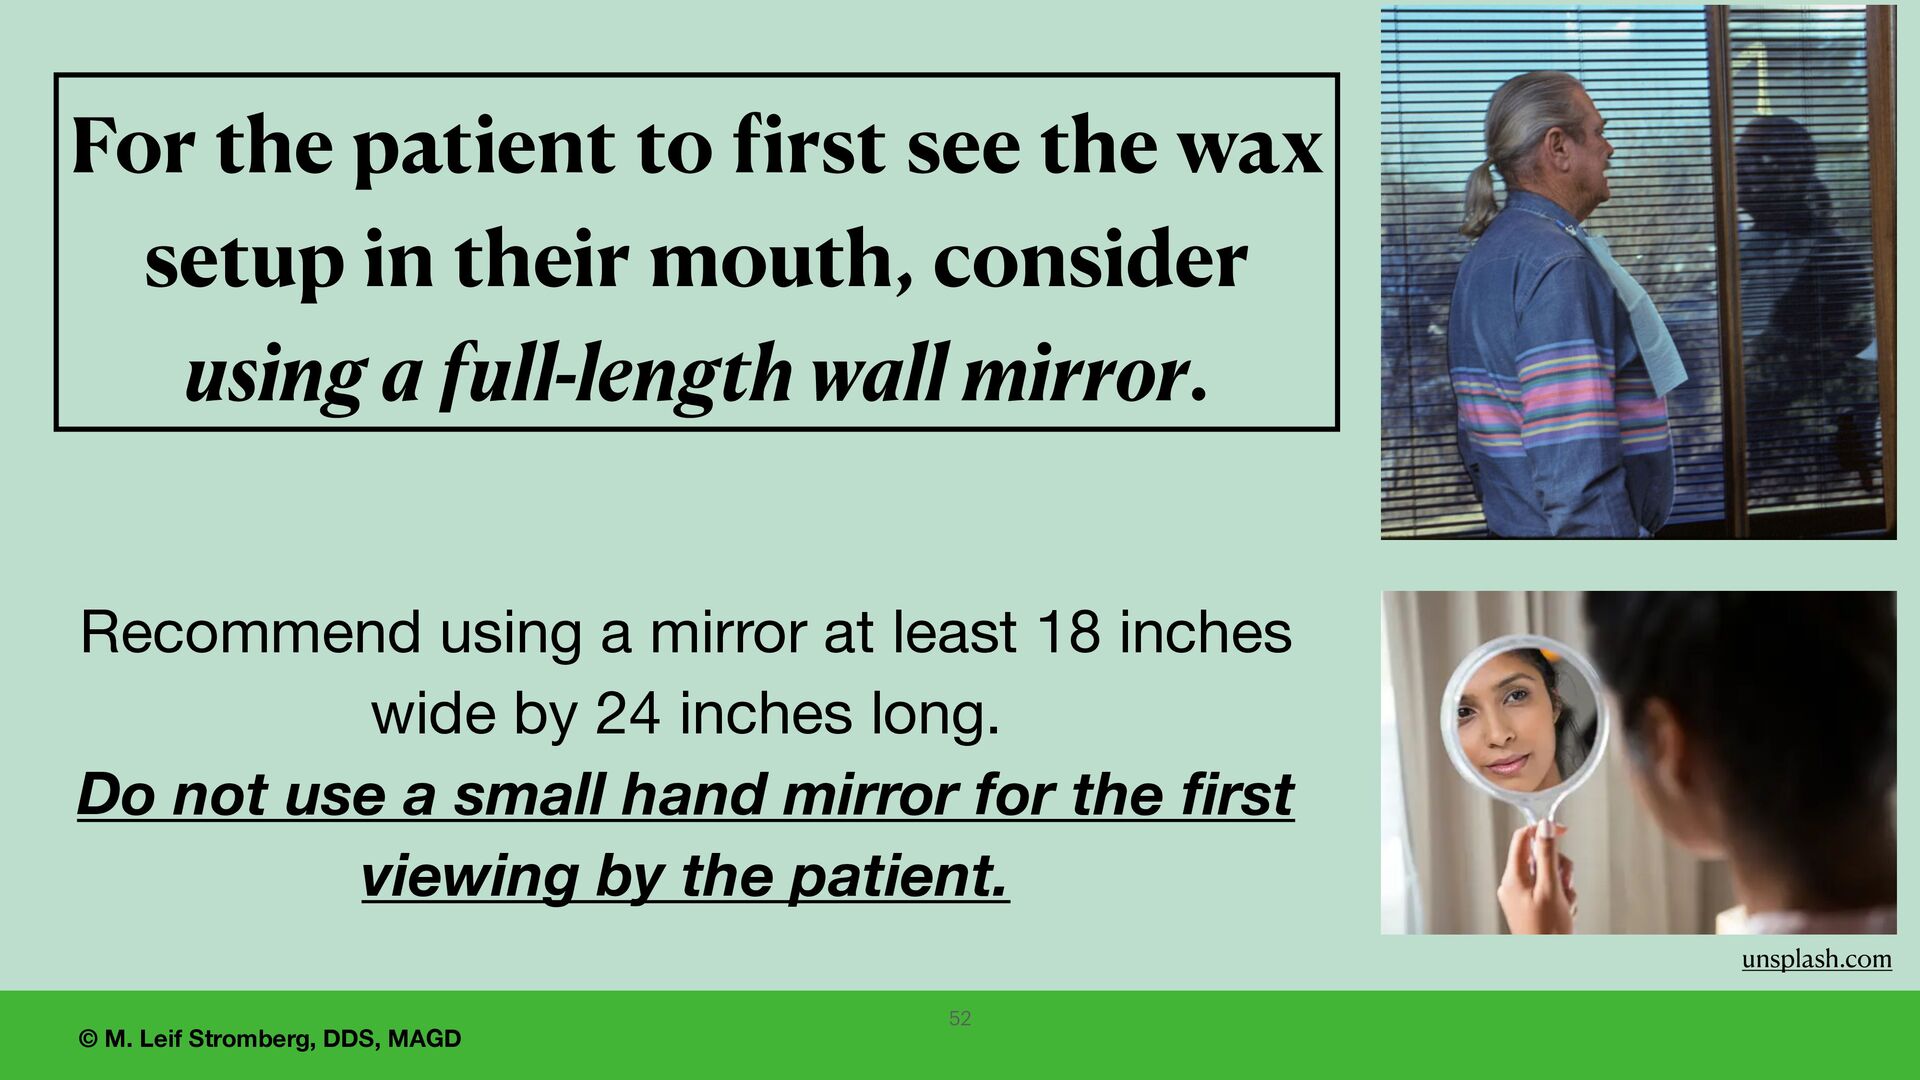
f irst see the wax setup in their mouth, consider using a full-length wall mirror. Recommend using a mirror at least 18 inches wide by 24 inches long. Do not use a small hand mirror for the first viewing by the patient. 52 unsplash.com
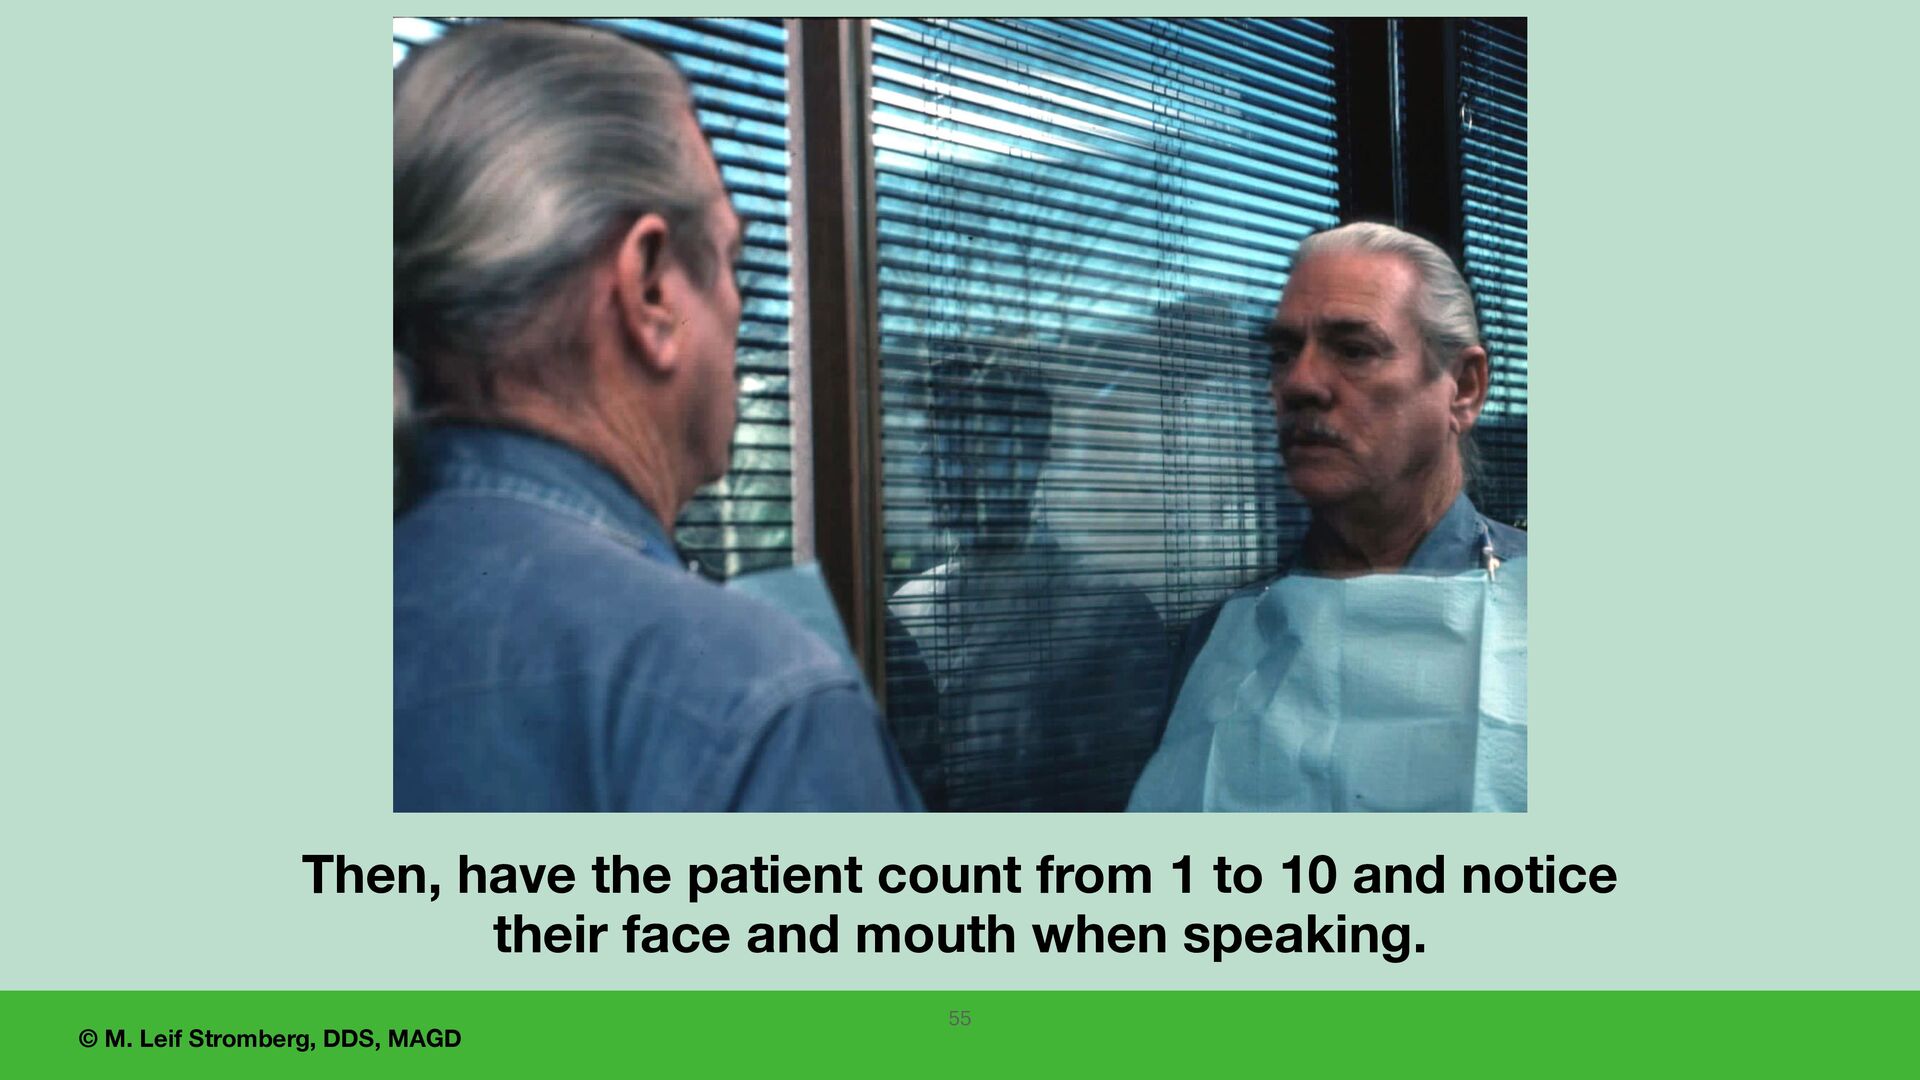
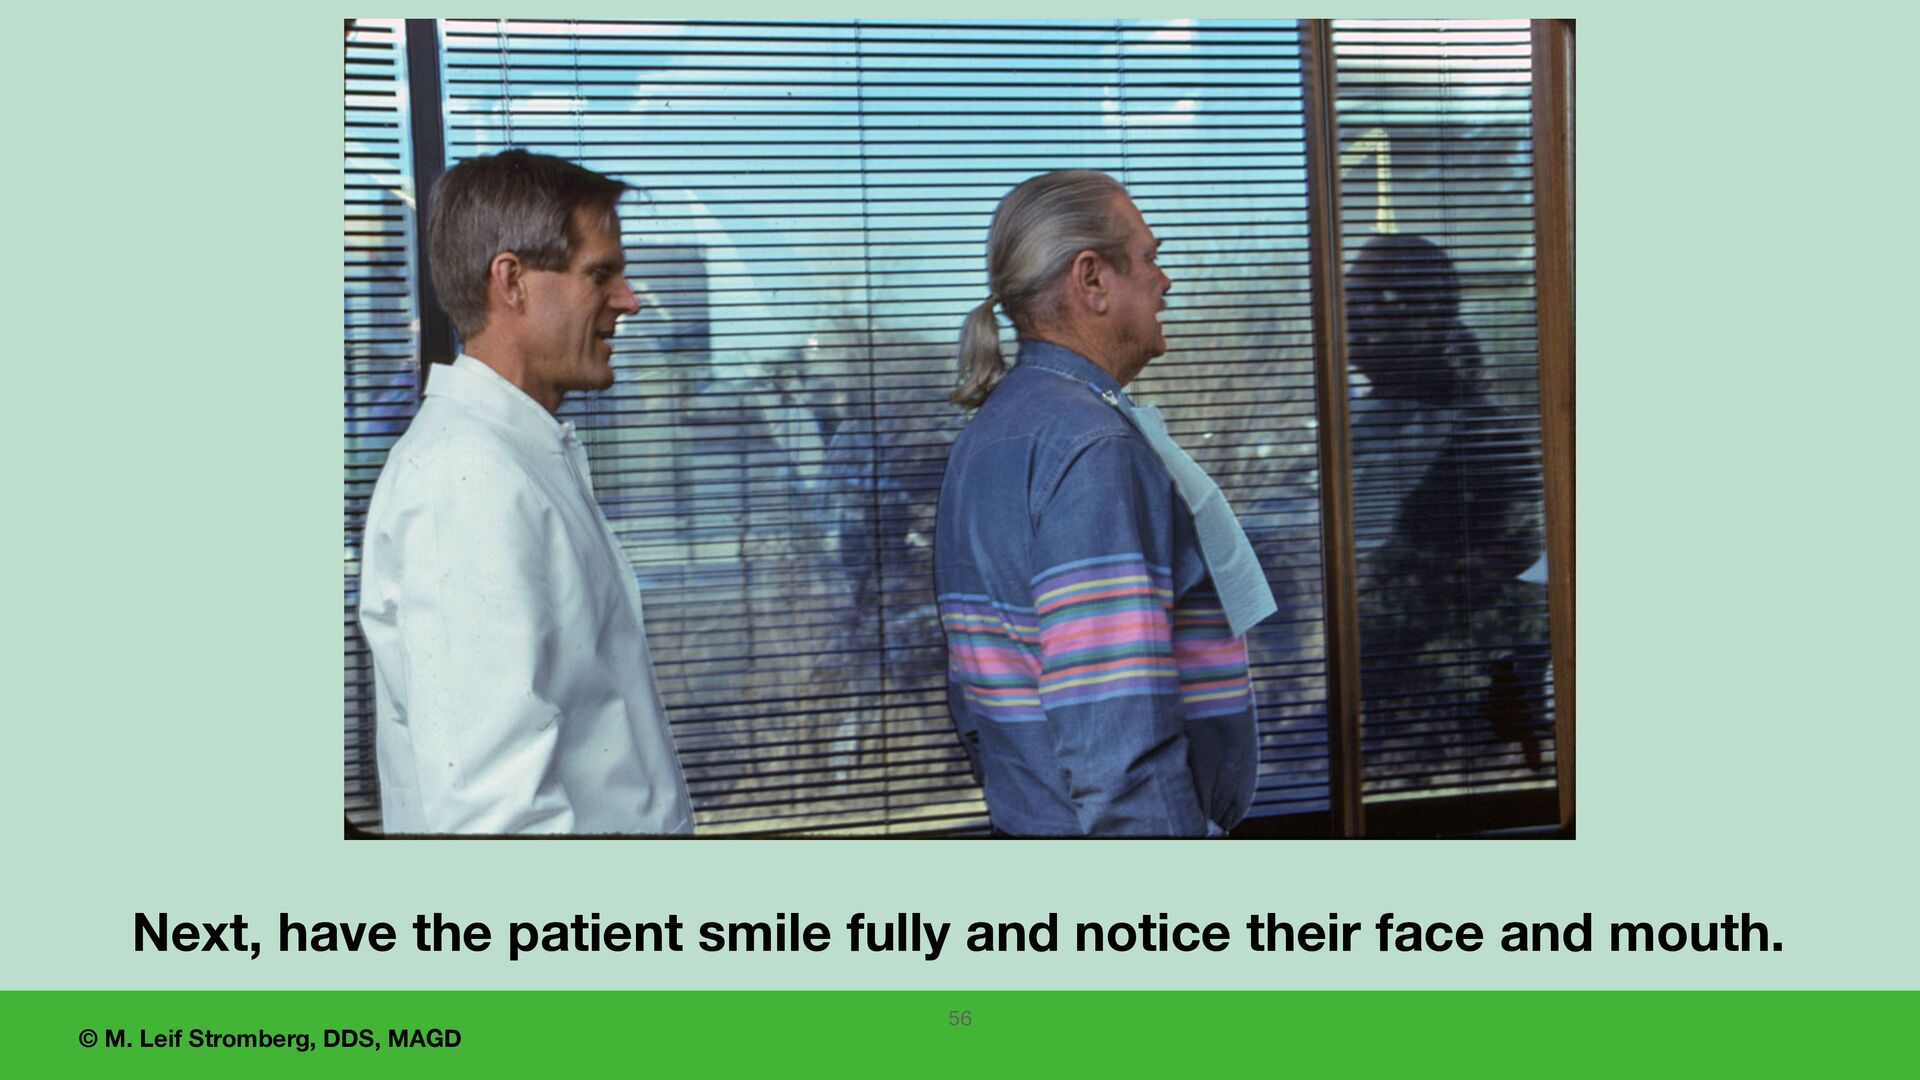
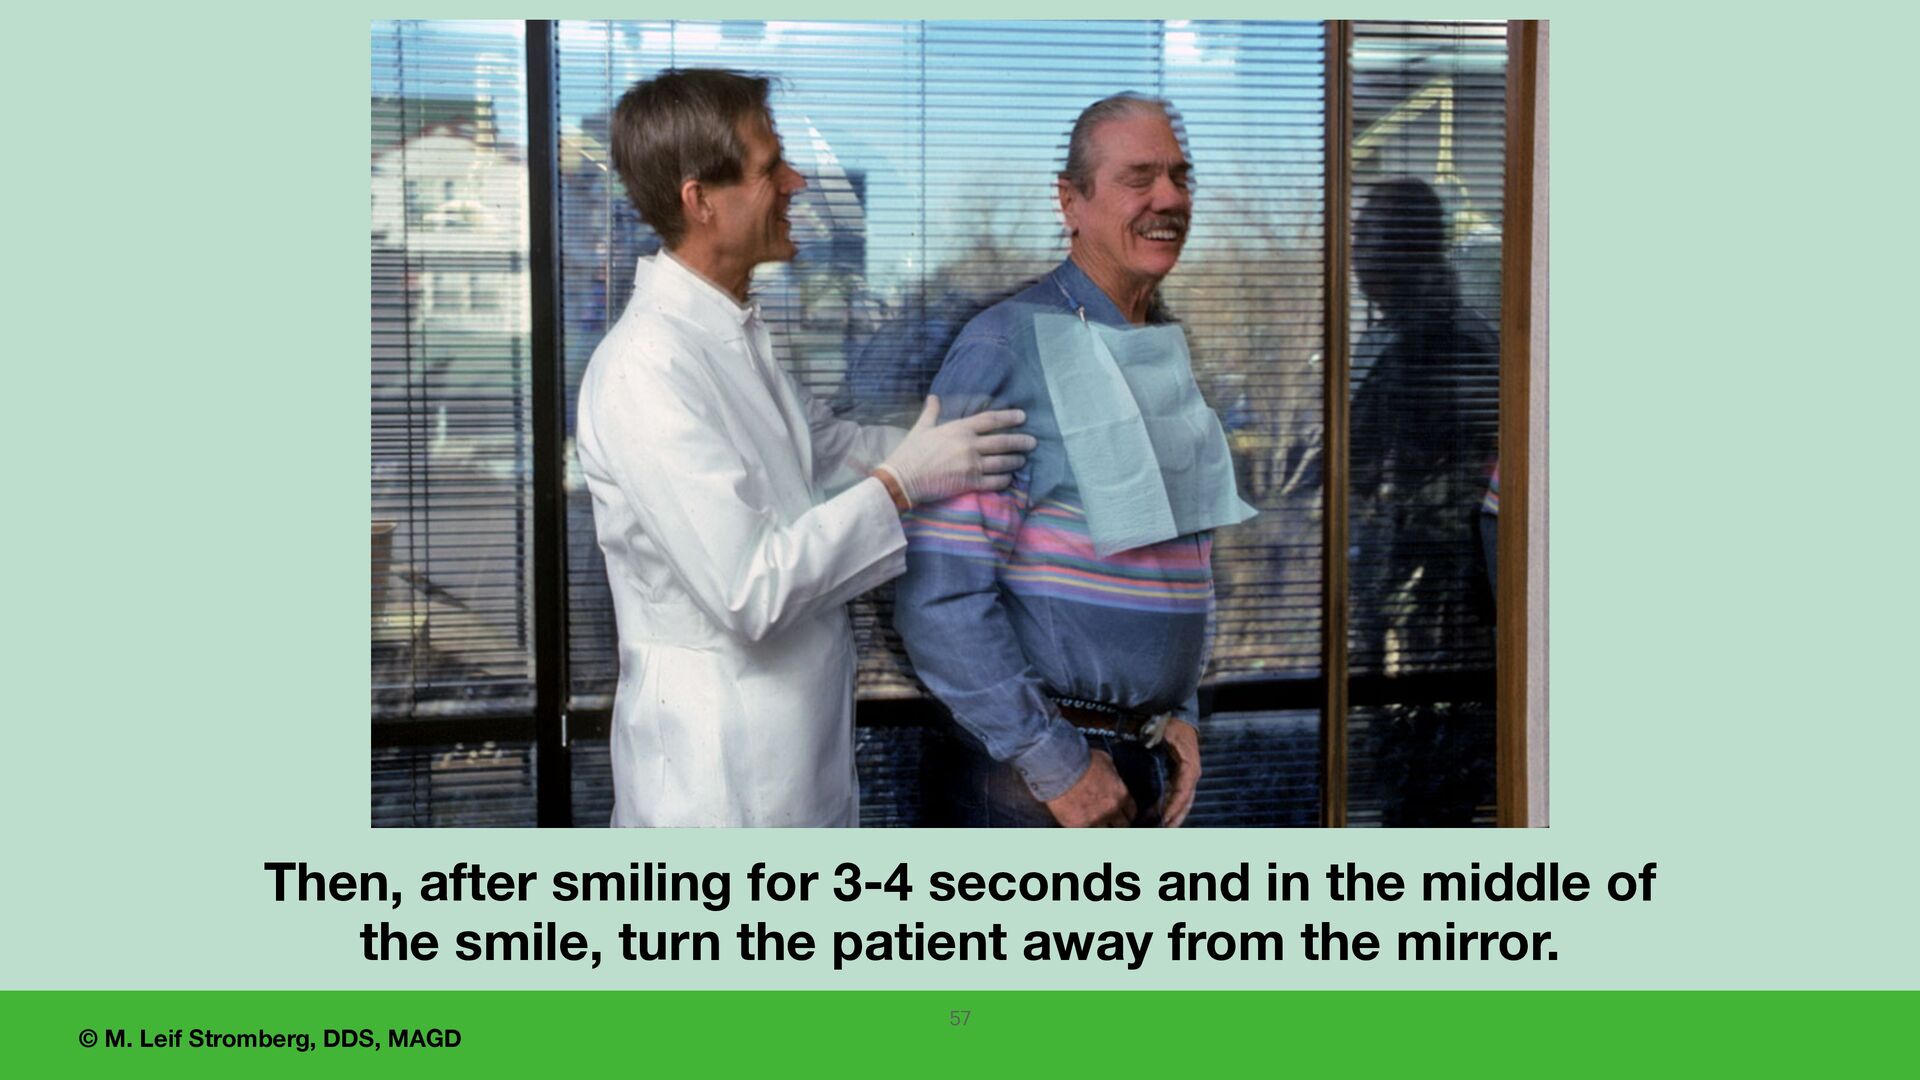
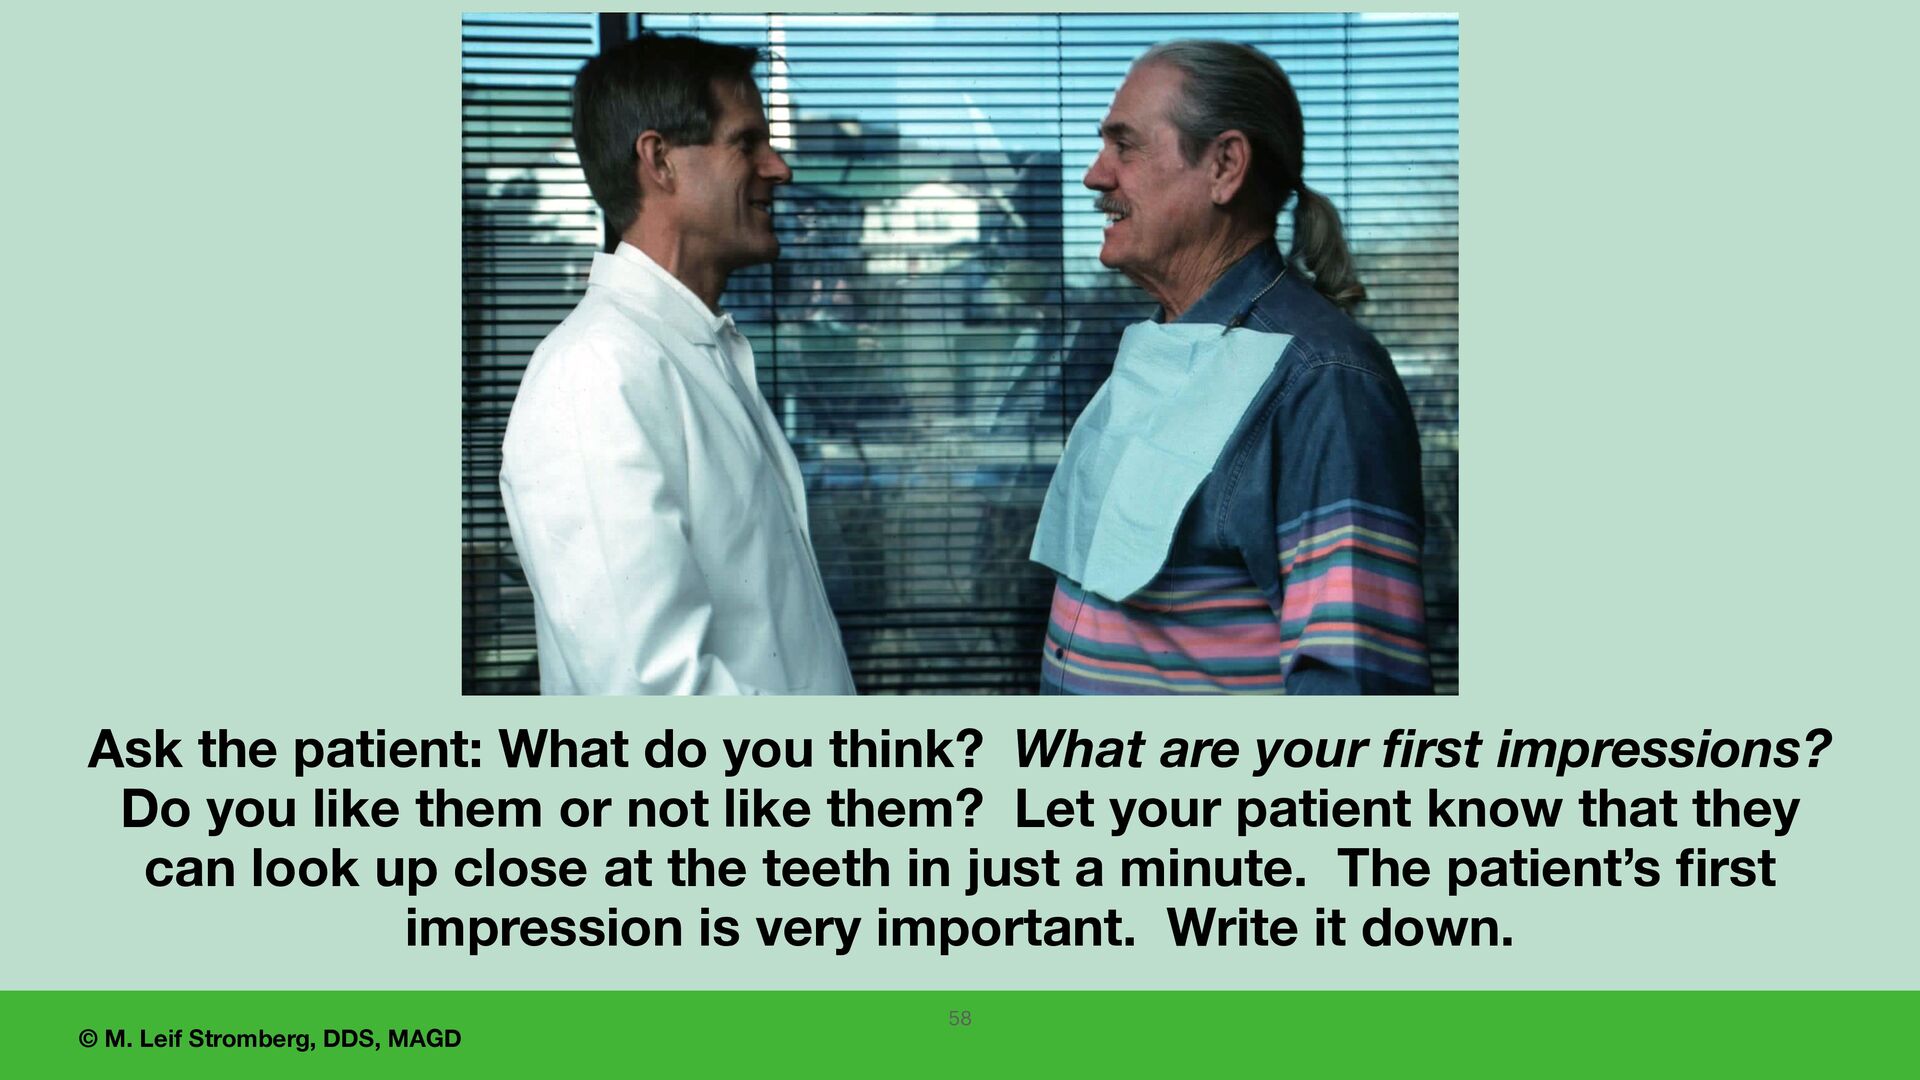
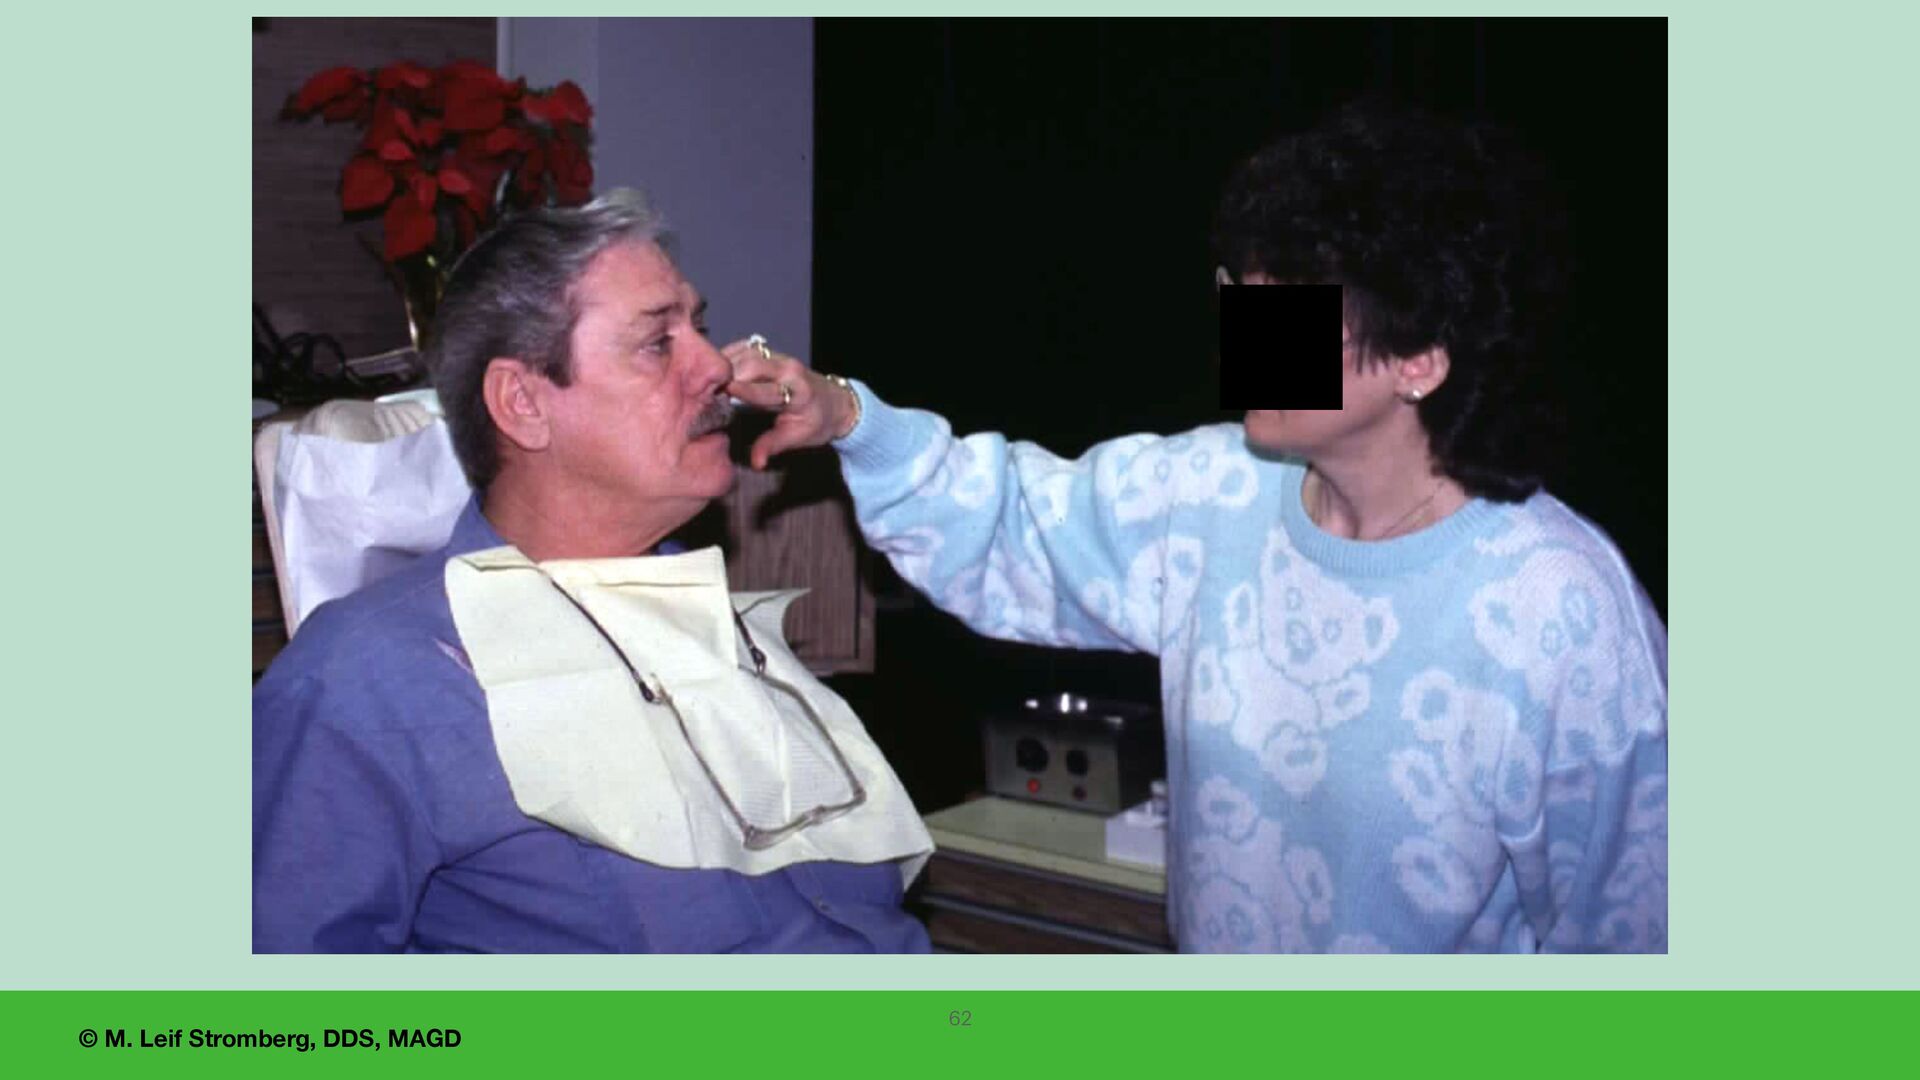
do you think? What are your fi rst impressions? Do you like them or not like them? Let your patient know that they can look up close at the teeth in just a minute. The patient’s fi rst impression is very important. Write it down. 58
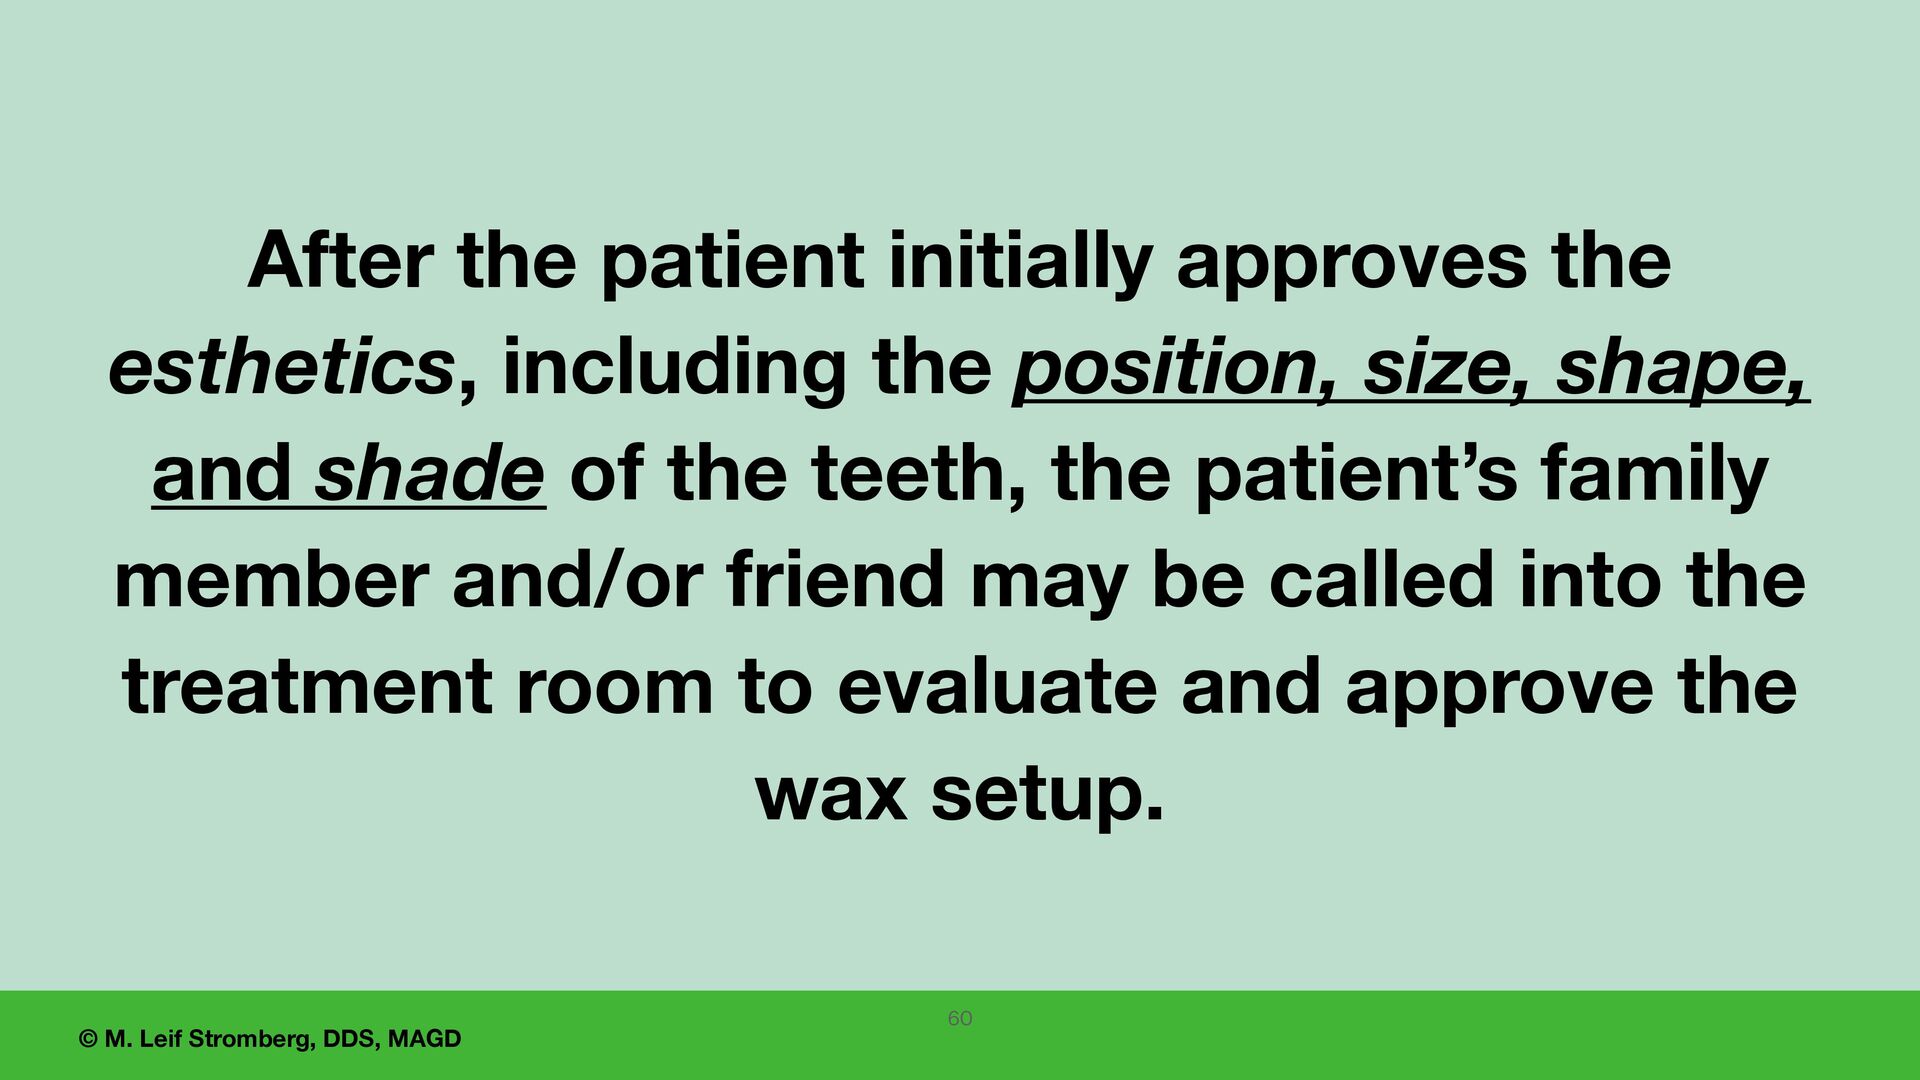
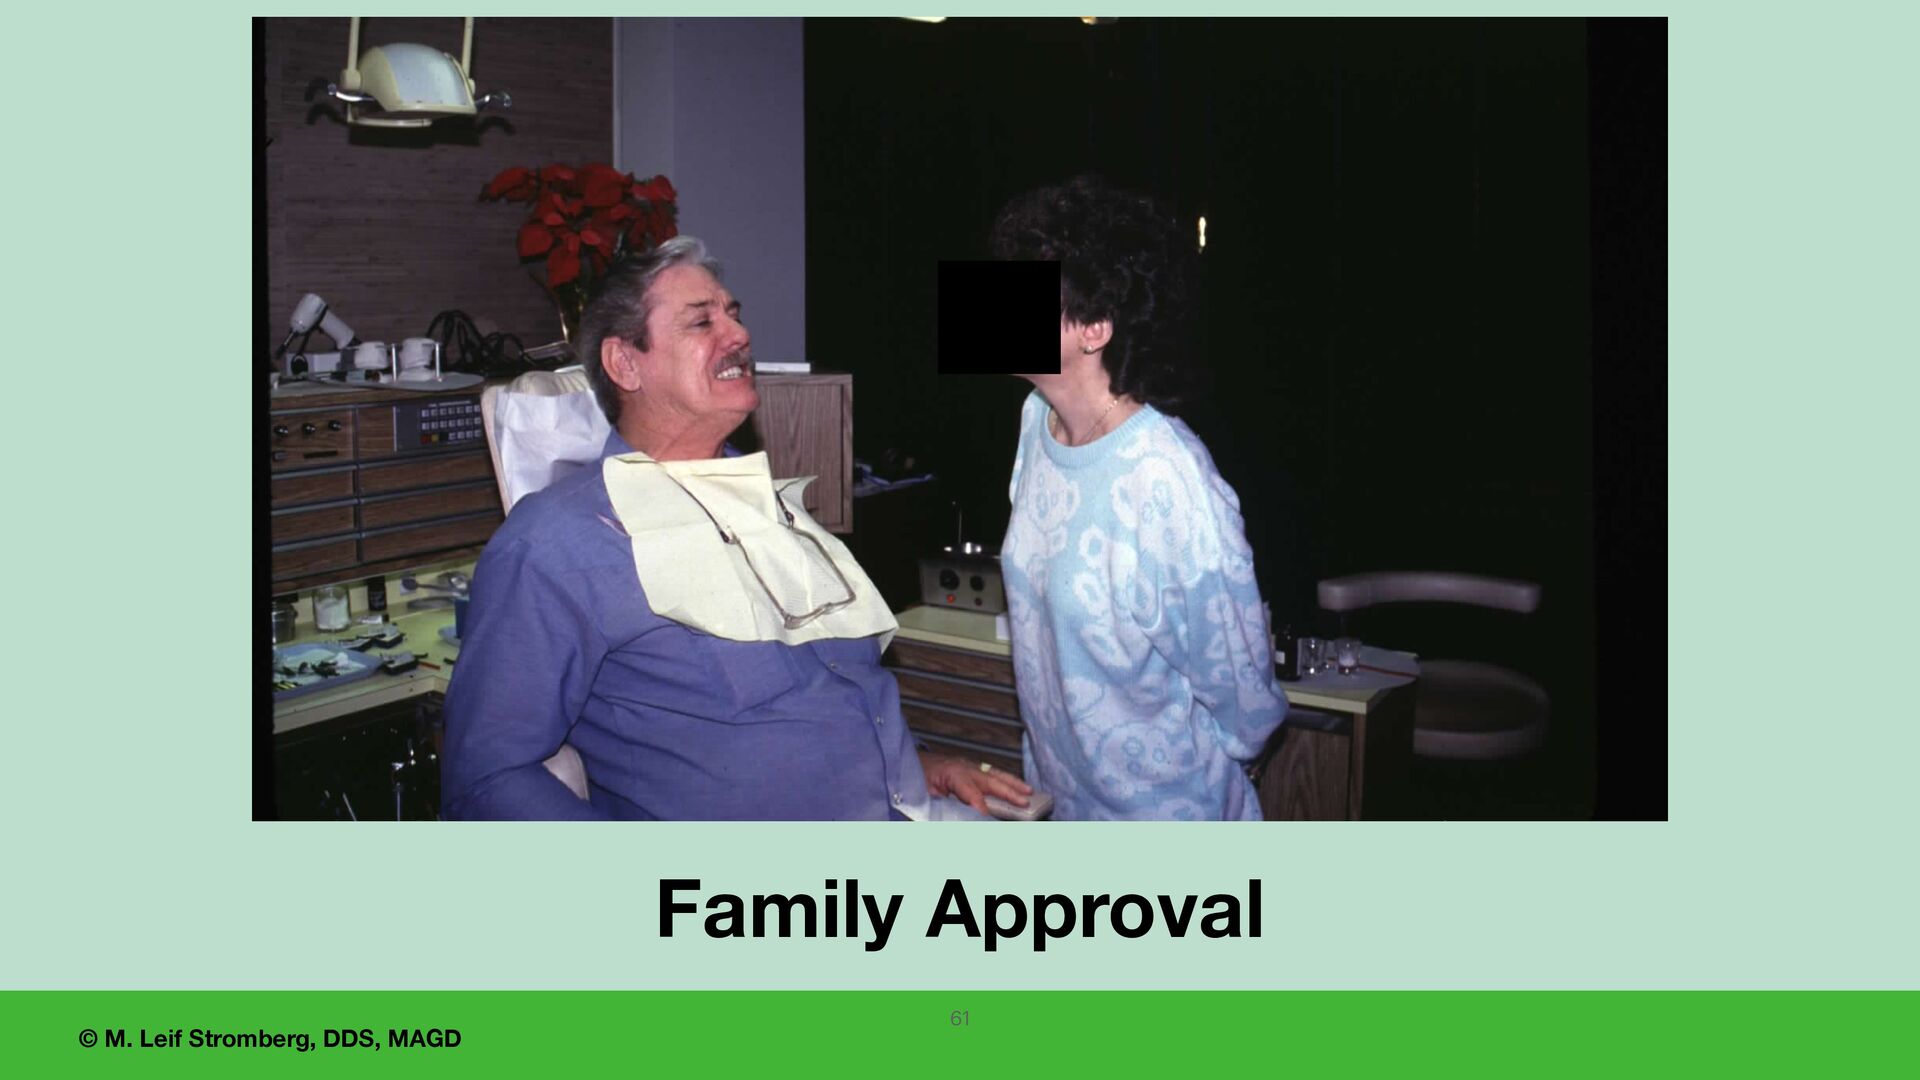
approves the esthetics, including the position, size, shape, and shade of the teeth, the patient’s family member and/or friend may be called into the treatment room to evaluate and approve the wax setup. 60
1. Lingual control lines are guides for the bucco-lingual position of the mandibular posterior teeth. 2. Lingualized occlusion is stable, easy to adjust, and very esthetic. 3. The wax try-in setup is tentative. It can be altered for acceptance by the patient and the dentist. 4. The dentist should evaluate and approve the midline, the occlusal plane, the vertical dimension of occlusion, centric relation occlusion, teeth positions, and esthetics before showing the setup to the patient. 5. Use a large mirror for the patient to view the denture setup in their mouth before having them look with a smaller handheld mirror. 66