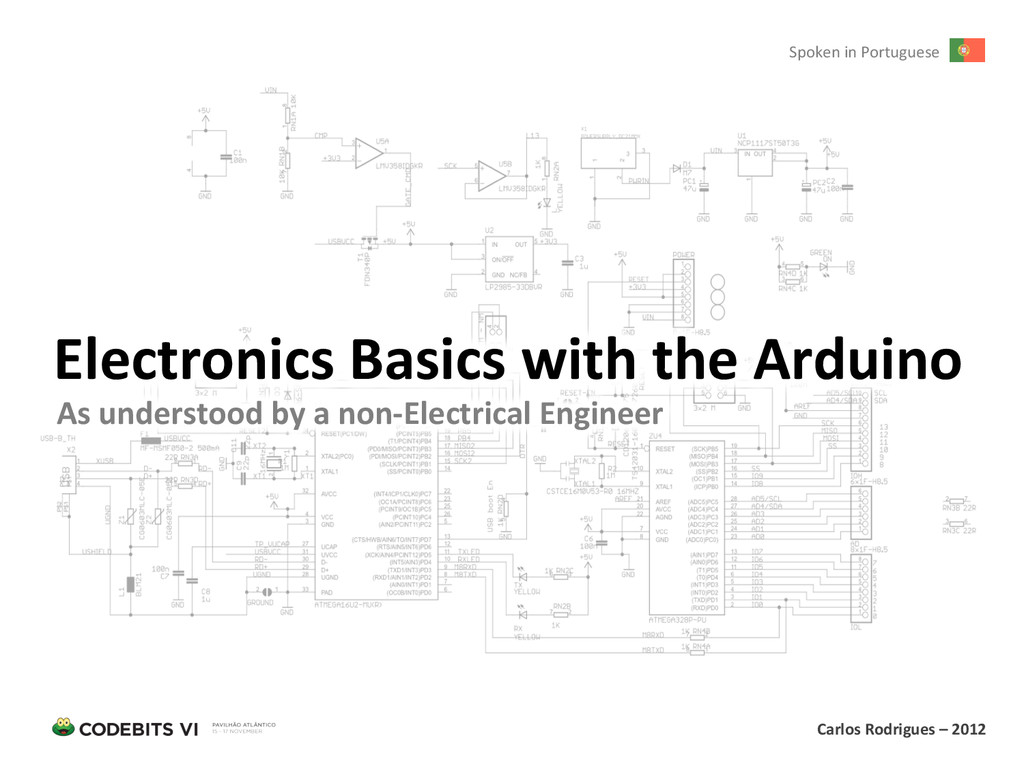
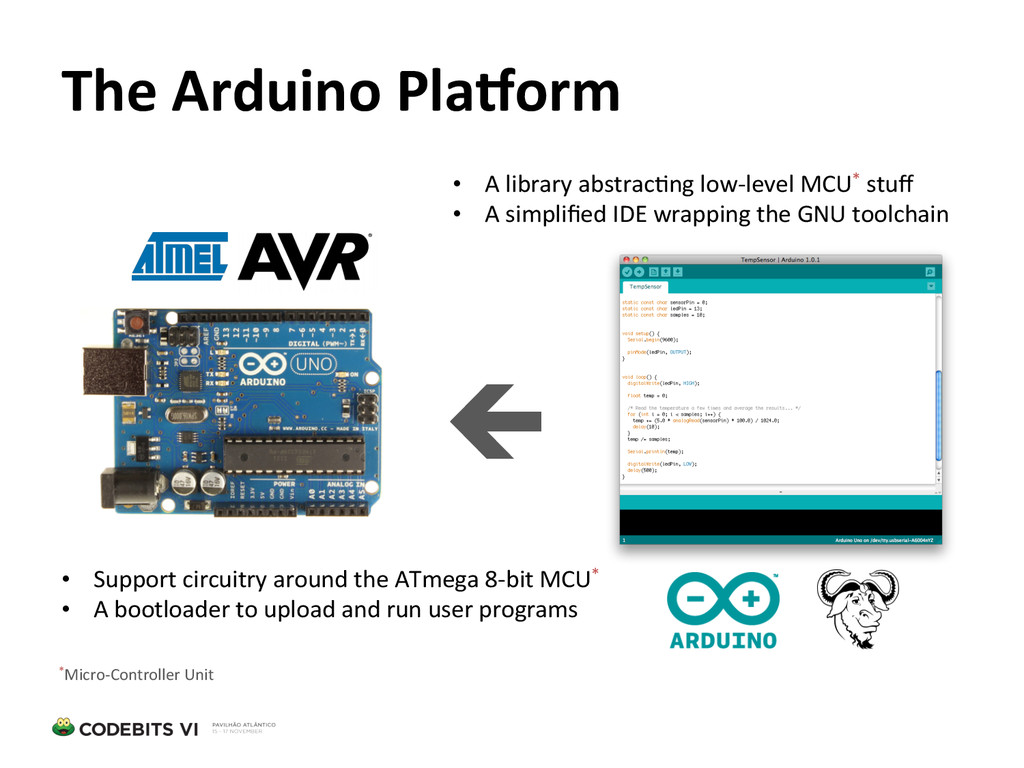
Upgrade to Pro — share decks privately, control downloads, hide ads and more …

Electronics Basics with the Arduino

Electronics Basics with the Arduino

Presented at SAPO Codebits 2012 - Lisbon, Portugal.

Talk video (in portuguese): https://youtu.be/hK78Tz3YpiI

Carlos Rodrigues

November 16, 2012
Tweet

More Decks by Carlos Rodrigues

Other Decks in Technology

Transcript

  1. Electronics  Basics  with  the  Arduino   As  understood  by  a

     non-­‐Electrical  Engineer   Spoken  in  Portuguese   Carlos  Rodrigues  –  2012  
  2. The  Arduino  Pla?orm   ç   •  Support  circuitry  around

     the  ATmega  8-­‐bit  MCU*   •  A  bootloader  to  upload  and  run  user  programs   •  A  library  abstrac?ng  low-­‐level  MCU*  stuff   •  A  simplified  IDE  wrapping  the  GNU  toolchain   *Micro-­‐Controller  Unit  
  3. Hardware  Specs  (Arduino  Uno)   •  ATmega328P  8-­‐bit  MCU  @

     16  MHz     •  2  KB  of  RAM   •  32  KB  of  Flash  memory  (programs)   …plus  1  KB  of  EEPROM  (persistent  state)   •  14  digital  I/O  pins   …6  with  PWM  capability  (8-­‐bit)   …2  suppor?ng  interrupts     •  6  analog  input  pins  (10-­‐bit)  
  4. •  Board  components  run  at  5  V   •  Power

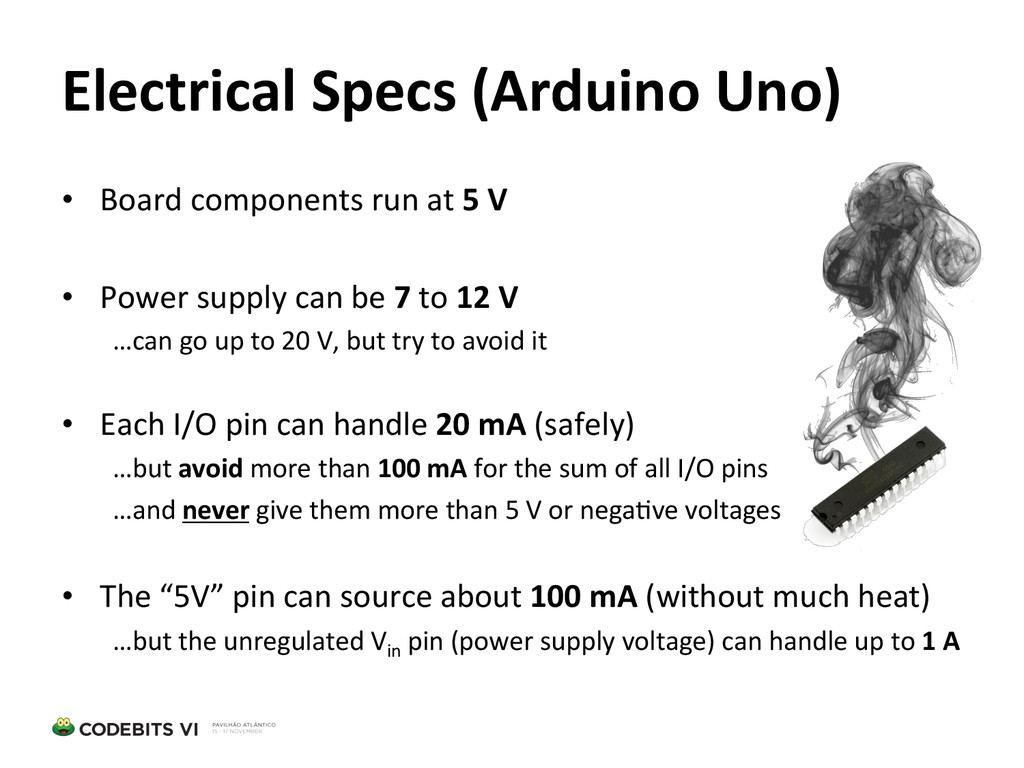
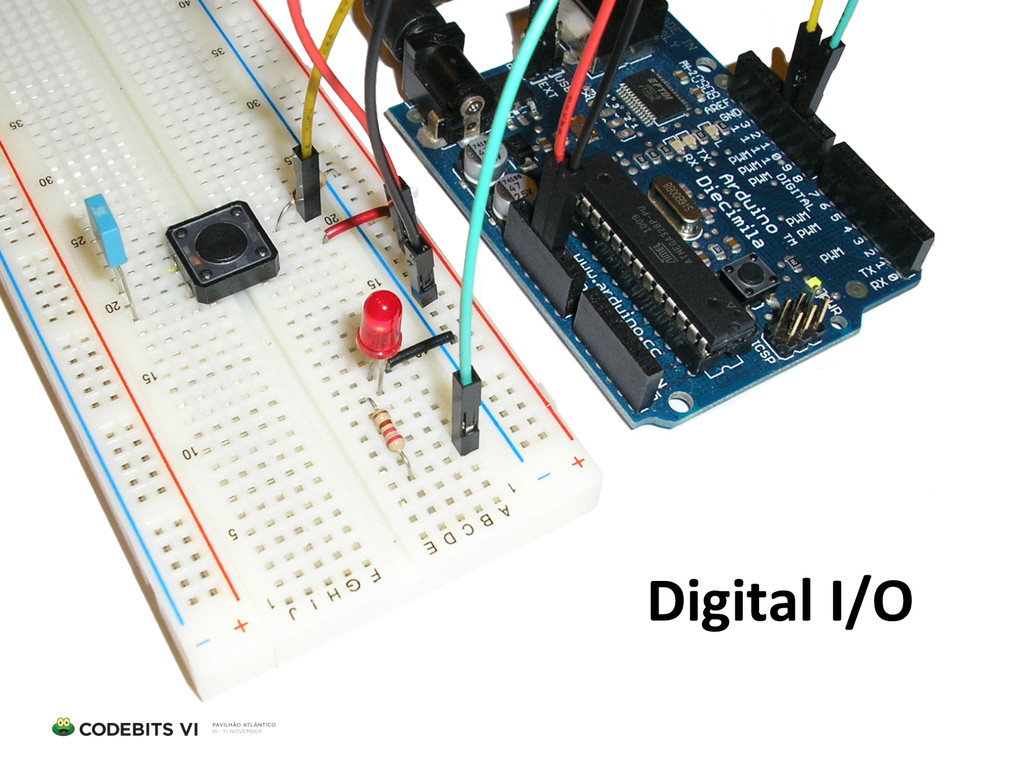
     supply  can  be  7  to  12  V   …can  go  up  to  20  V,  but  try  to  avoid  it     •  Each  I/O  pin  can  handle  20  mA  (safely)   …but  avoid  more  than  100  mA  for  the  sum  of  all  I/O  pins   …and  never  give  them  more  than  5  V  or  nega?ve  voltages     •  The  “5V”  pin  can  source  about  100  mA  (without  much  heat)   …but  the  unregulated  Vin  pin  (power  supply  voltage)  can  handle  up  to  1  A   Electrical  Specs  (Arduino  Uno)  
  5. So,  get  one  of  these…   •  Voltage  (Vdc  and

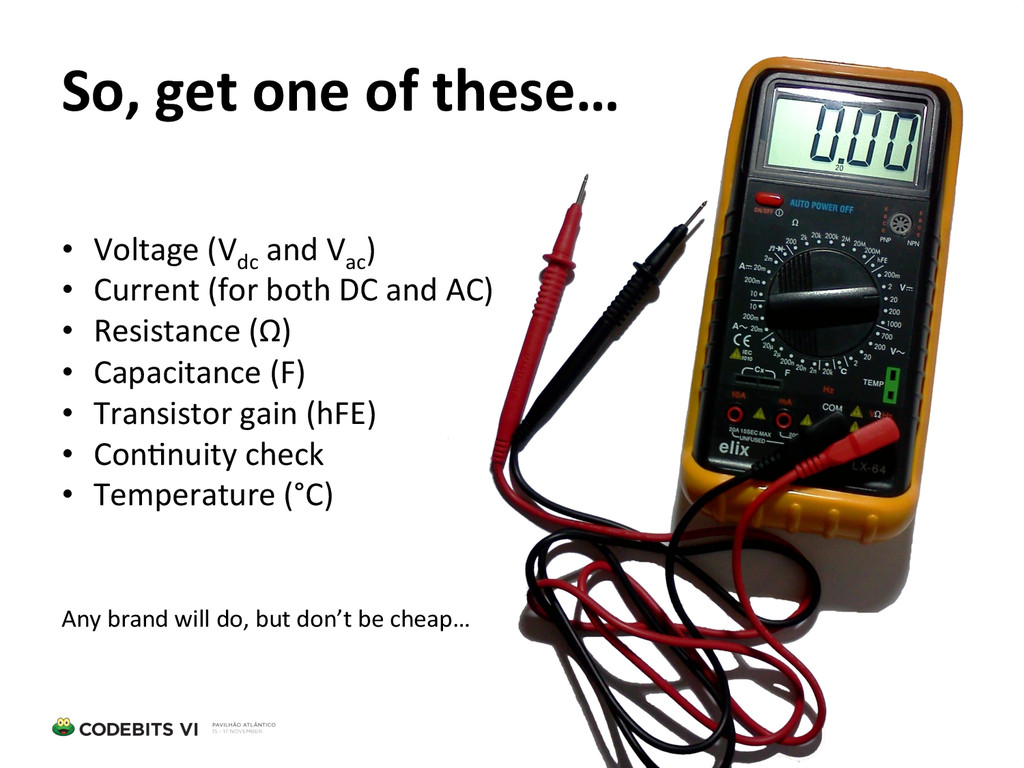
     Vac )   •  Current  (for  both  DC  and  AC)   •  Resistance  (Ω)   •  Capacitance  (F)   •  Transistor  gain  (hFE)   •  Con?nuity  check   •  Temperature  (°C)   Any  brand  will  do,  but  don’t  be  cheap…  
  6. Our  First  Circuit  (Digital  I/O)   //  Toggle  an  LED

     by  pressing  a  button...     static  const  char  led_pin  =  10;   static  const  char  button_pin  =  11;     boolean  led_state  =  LOW;   boolean  last_button_state  =  LOW;     void  setup()  {      pinMode(led_pin,  OUTPUT);      pinMode(button_pin,  INPUT);   }     void  loop()  {      boolean  button_state  =  digitalRead(button_pin);        if  (button_state  ==  HIGH  &&  last_button_state  ==  LOW)  {          led_state  =  !led_state;            digitalWrite(led_pin,  led_state);      }        last_button_state  =  button_state;   }   Binary  size:  1082  bytes  
  7. Switch  Debounce  with  Capacitors   This  works  because  Arduino  digital

     pins   have  input  hysteresis  (Schmi;-­‐Trigger).   Polyester   Ceramic   Tantalum   Electroly?c  
  8. Analog  Input  and  PWM*  Output   //  Control  an  LED

     brightness  using  a  potentiometer...       static  const  char  led_pin  =  10;   static  const  char  pot_pin  =  A0;       void  setup()  {      pinMode(led_pin,  OUTPUT);   }       void  loop()  {      short  pot_value  =  analogRead(pot_pin);      short  brightness  =  map(pot_value,  0,  1023,  0,  255);        analogWrite(led_pin,  brightness);        delay(10);   }   *Pulse-­‐Width  Modula?on   Binary  size:  1764  bytes  
  9. Analog  Input:  ResisSve  Sensors   Many  sensors  are  just  variable

     resistors...   Light   Temperature   Force   Flex  
  10. Driving  Larger  Currents:  BJTs*   <  500  mA   2N2222A

      <  100  mA   BC547   *Bipolar  Junc?on  Transistors  
  11. InducSve  Loads   <  5  A   TIP120   • 

    Motors,  solenoids,  relays…   •  Draw  large  currents  (hundreds  of  mA)   •  Produce  “kickback”  when  turning  off  
  12. Voltage  RegulaSon   TO-­‐220   TO-­‐92   •  5  V

     (LM7805),  12  V  (LM7812)  and  more   •  Input  voltage  up  to  35  V   •  Max.  100  mA  (TO-­‐92)  or  1  A  (TO-­‐220)   •  Capacitors  required  for  proper  regula?on  
  13. What  about  the  Raspberry  Pi?   •  35€   • 

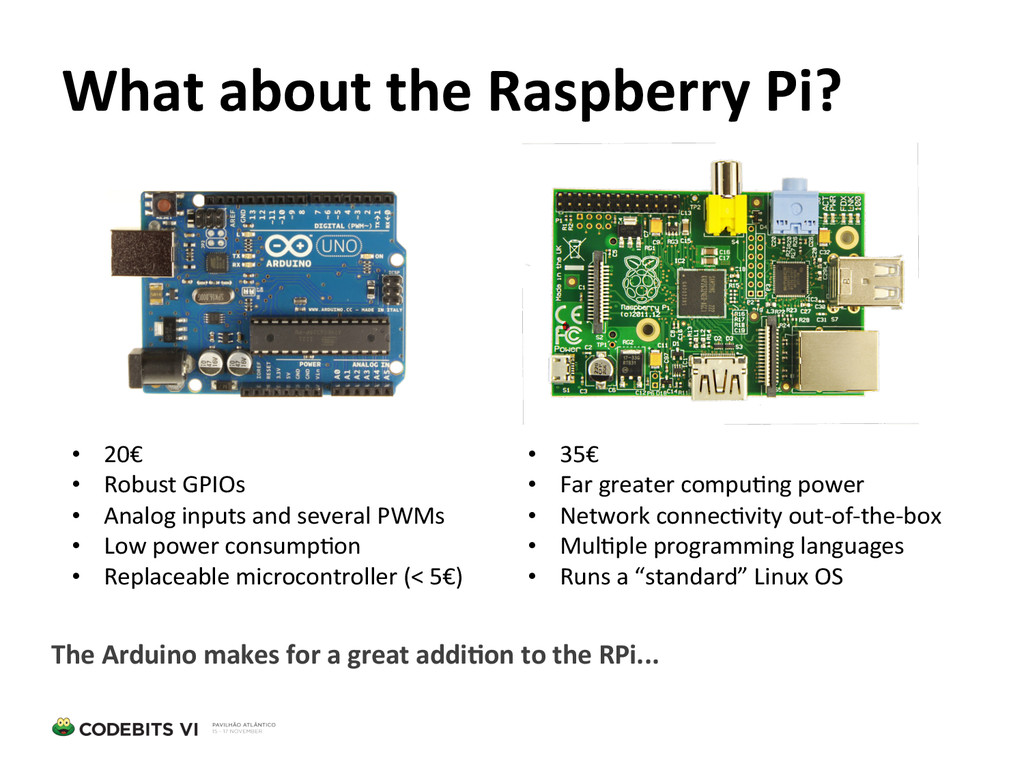
    Far  greater  compu?ng  power   •  Network  connec?vity  out-­‐of-­‐the-­‐box   •  Mul?ple  programming  languages   •  Runs  a  “standard”  Linux  OS   •  20€   •  Robust  GPIOs   •  Analog  inputs  and  several  PWMs   •  Low  power  consump?on   •  Replaceable  microcontroller  (<  5€)   The  Arduino  makes  for  a  great  addiSon  to  the  RPi...  
  14. Thanks  for  Listening!   Carlos  Rodrigues     [email protected]  

    twioer.com/carlosefr   Any  QuesSons?   This  presenta?on  and  simula?ons  can  be  found  at:   www.carlos-­‐rodrigues.com/files/codebits-­‐2012