Upgrade to Pro — share decks privately, control downloads, hide ads and more …

Step-by-Step Guide to Carving Pumpkins

Avatar for collegiatetimes1903 collegiatetimes1903
October 27, 2011
120

Step-by-Step Guide to Carving Pumpkins

Alongside the candy and the costumes, pumpkin carving is a tradition that has always been carried throughout the years. The glow from a jack-o-lantern at night adds to the spookiness and entertainment of the month building up to Halloween.

Picking the pumpkin out is only half the fun, whether it is from the store or from a pumpkin patch. Pumpkin carving with friends makes for a great bonding experience and adds to the holiday spirit.

Use this step-by-step tutorial for beginners to learn how to carve a pumpkin.

Avatar for collegiatetimes1903

collegiatetimes1903

October 27, 2011

Transcript

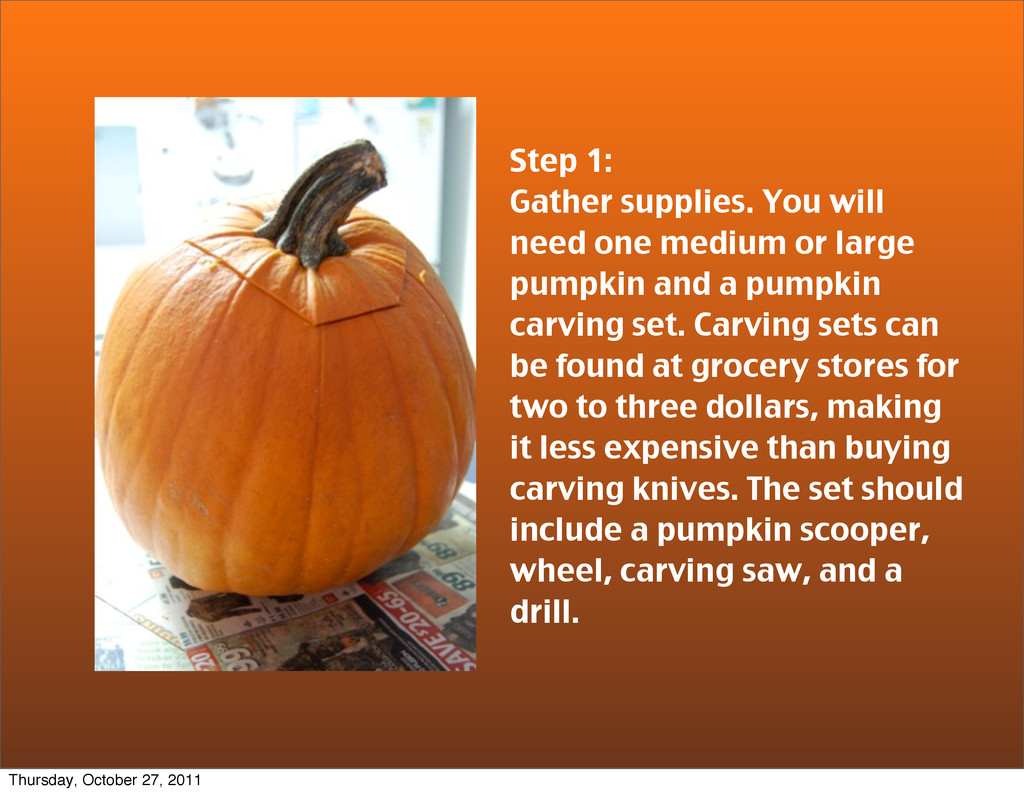
  1. Step 1: Gather supplies. You will need one medium or

    large pumpkin and a pumpkin carving set. Carving sets can be found at grocery stores for two to three dollars, making it less expensive than buying carving knives. The set should include a pumpkin scooper, wheel, carving saw, and a drill. Thursday, October 27, 2011
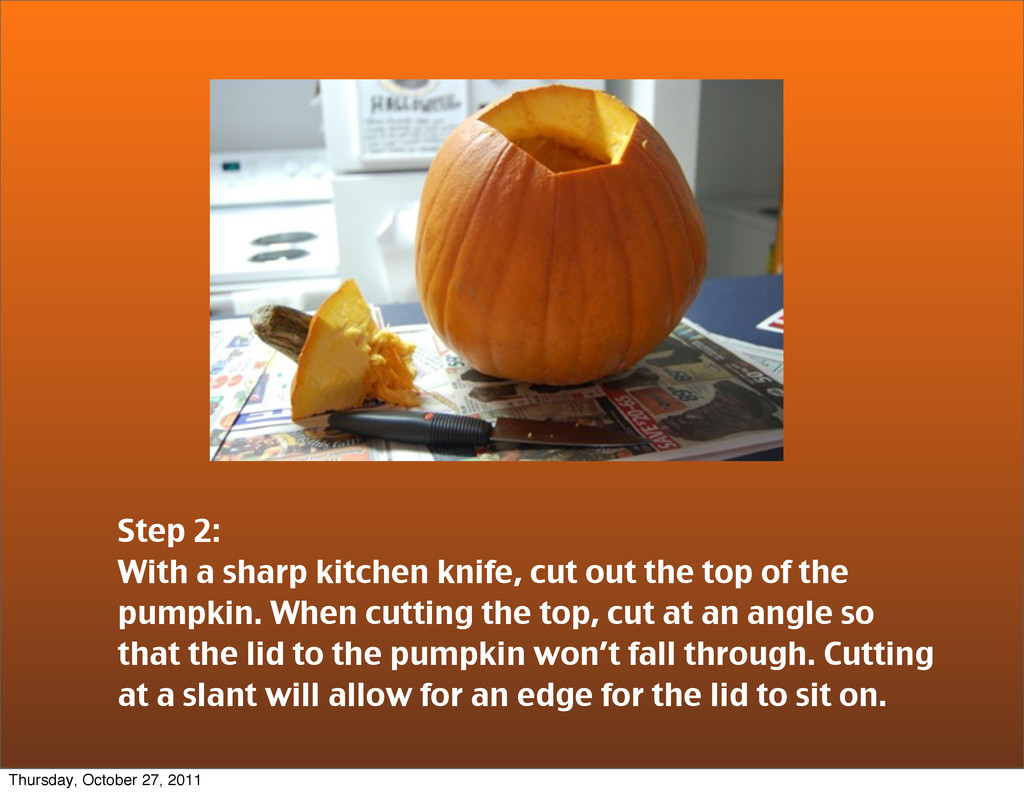
  2. Step 2: With a sharp kitchen knife, cut out the

    top of the pumpkin. When cutting the top, cut at an angle so that the lid to the pumpkin won’t fall through. Cutting at a slant will allow for an edge for the lid to sit on. Thursday, October 27, 2011
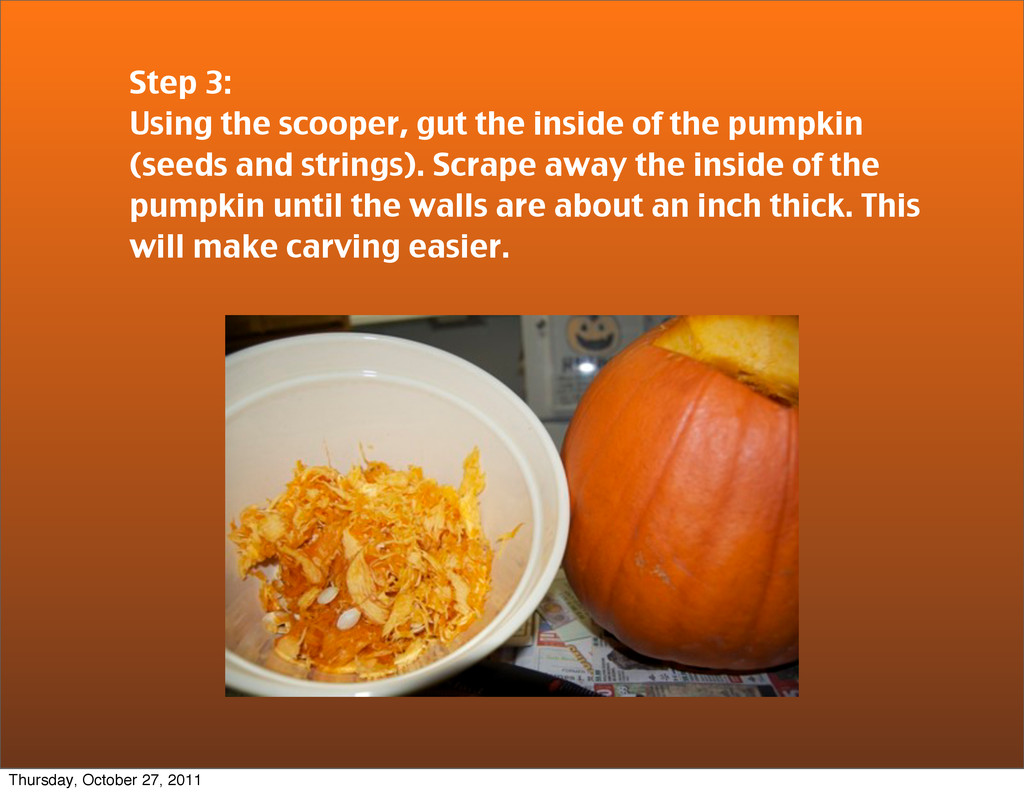
  3. Step 3: Using the scooper, gut the inside of the

    pumpkin (seeds and strings). Scrape away the inside of the pumpkin until the walls are about an inch thick. This will make carving easier. Thursday, October 27, 2011
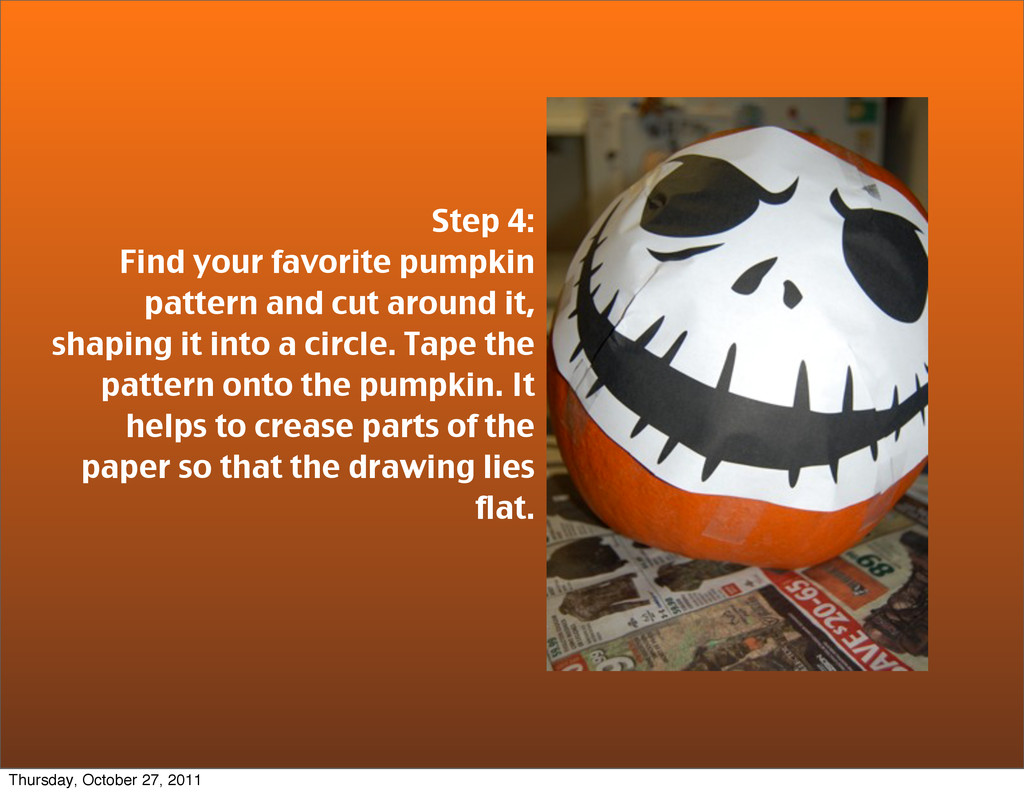
  4. Step 4: Find your favorite pumpkin pattern and cut around

    it, shaping it into a circle. Tape the pattern onto the pumpkin. It helps to crease parts of the paper so that the drawing lies flat. Thursday, October 27, 2011
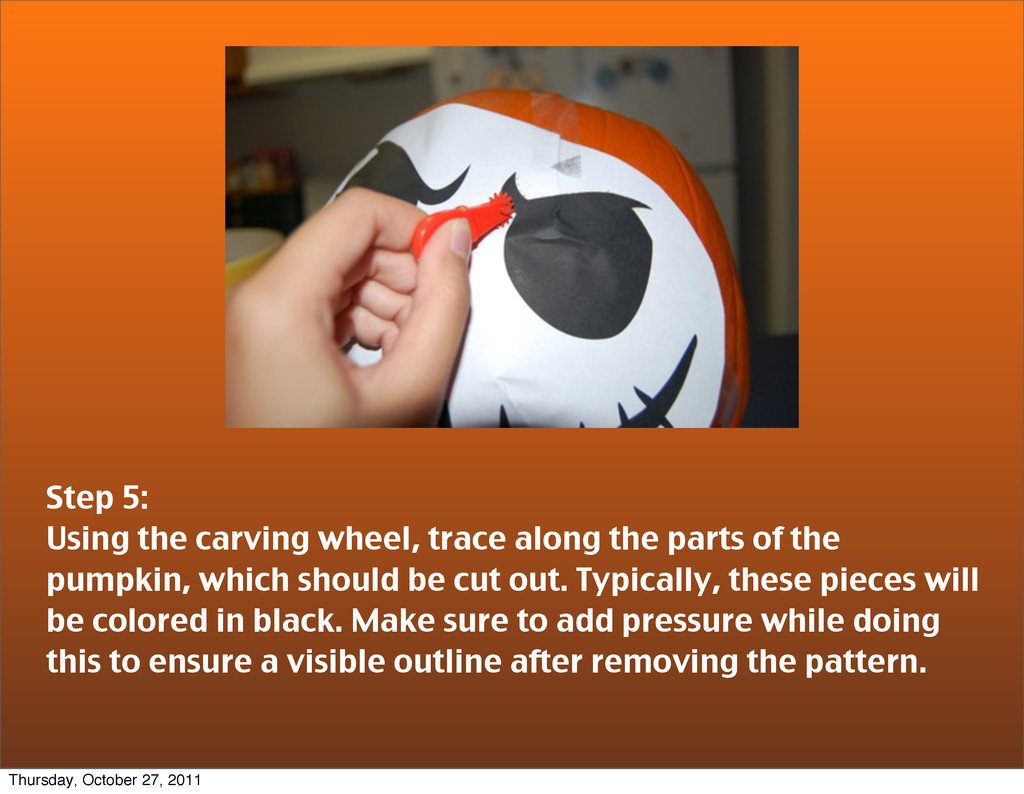
  5. Step 5: Using the carving wheel, trace along the parts

    of the pumpkin, which should be cut out. Typically, these pieces will be colored in black. Make sure to add pressure while doing this to ensure a visible outline after removing the pattern. Thursday, October 27, 2011
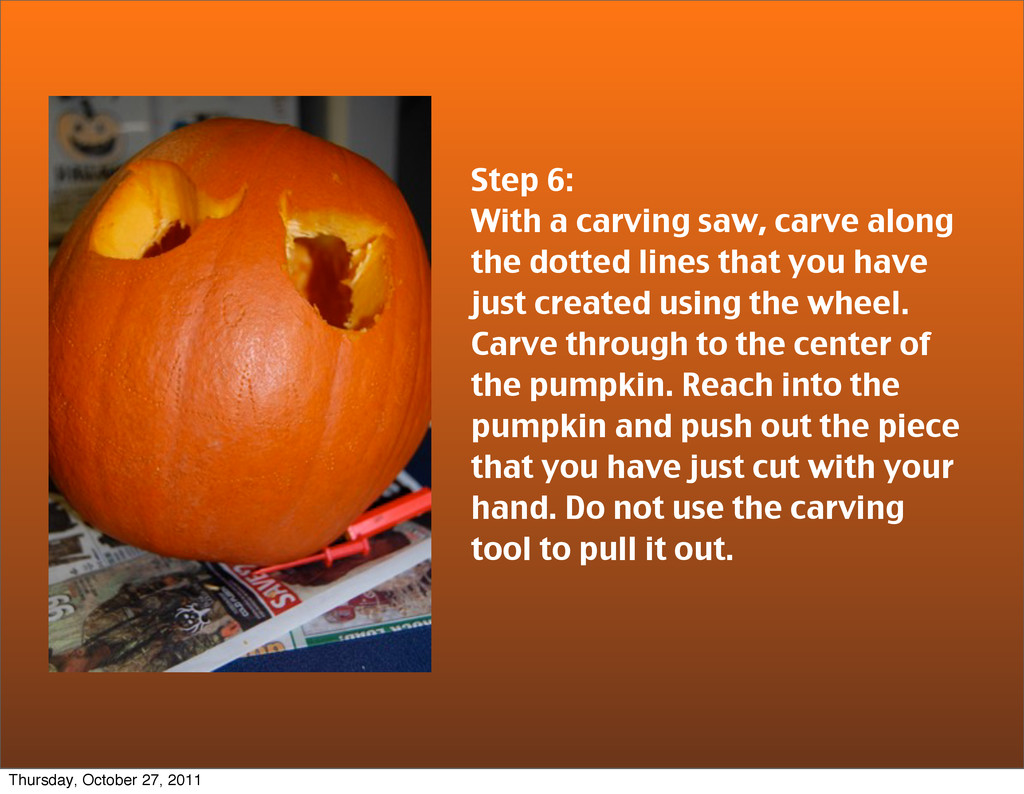
  6. Step 6: With a carving saw, carve along the dotted

    lines that you have just created using the wheel. Carve through to the center of the pumpkin. Reach into the pumpkin and push out the piece that you have just cut with your hand. Do not use the carving tool to pull it out. Thursday, October 27, 2011
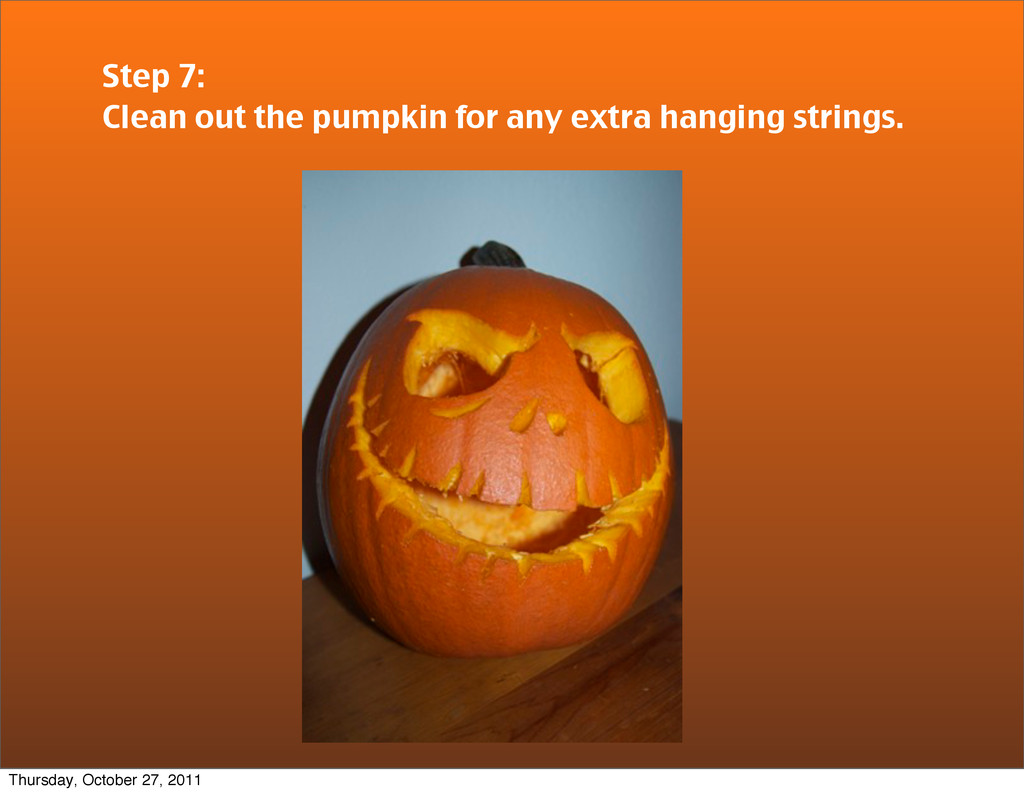
  7. Step 7: Clean out the pumpkin for any extra hanging

    strings. Thursday, October 27, 2011