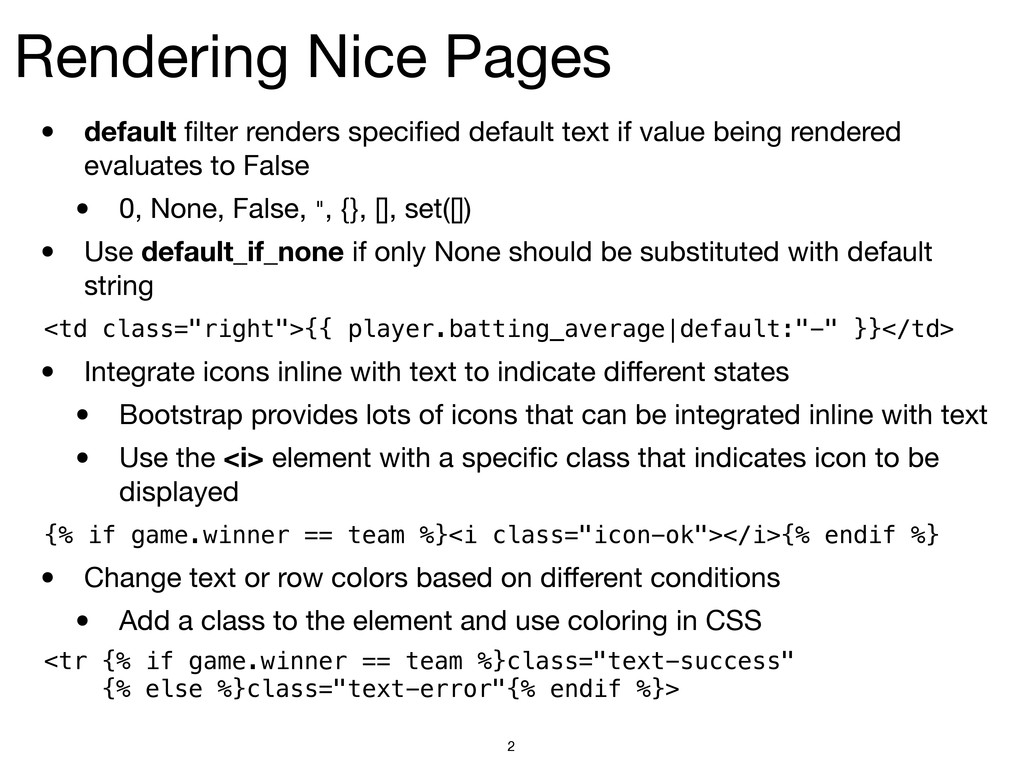
if value being rendered evaluates to False • 0, None, False, ", {}, [], set([]) • Use default_if_none if only None should be substituted with default string • Integrate icons inline with text to indicate different states • Bootstrap provides lots of icons that can be integrated inline with text • Use the <i> element with a specific class that indicates icon to be displayed • Change text or row colors based on different conditions • Add a class to the element and use coloring in CSS 2 <td class="right">{{ player.batting_average|default:"-" }}</td> {% if game.winner == team %}<i class="icon-ok"></i>{% endif %} <tr {% if game.winner == team %}class="text-success" {% else %}class="text-error"{% endif %}>
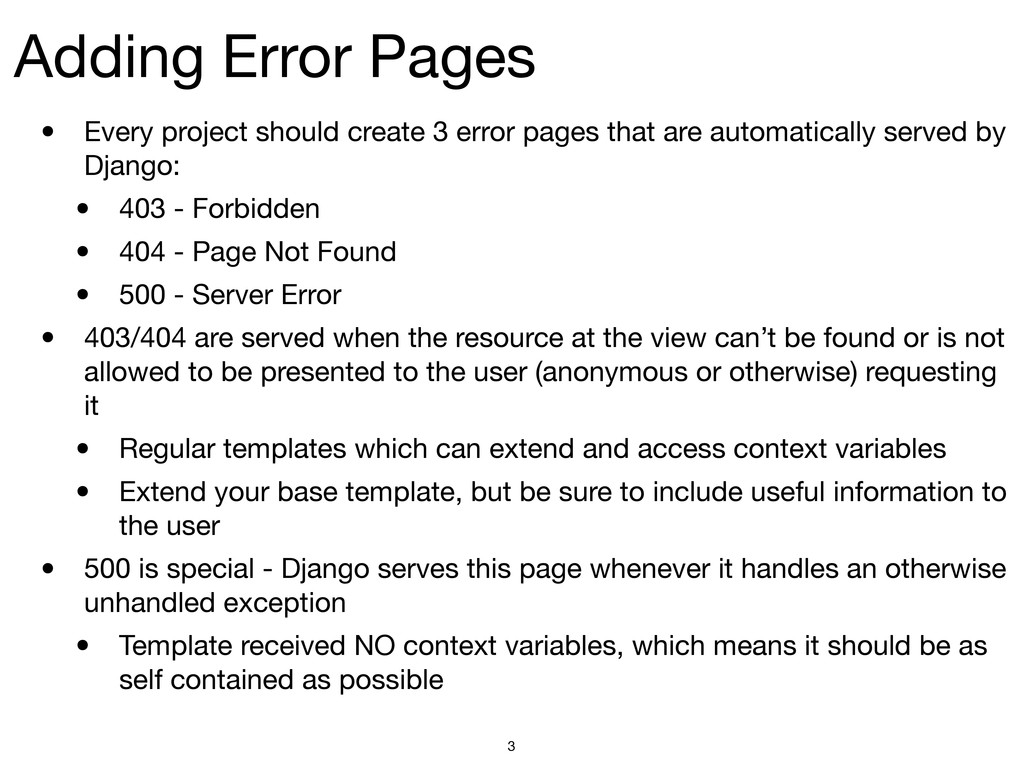
pages that are automatically served by Django: • 403 - Forbidden • 404 - Page Not Found • 500 - Server Error • 403/404 are served when the resource at the view can’t be found or is not allowed to be presented to the user (anonymous or otherwise) requesting it • Regular templates which can extend and access context variables • Extend your base template, but be sure to include useful information to the user • 500 is special - Django serves this page whenever it handles an otherwise unhandled exception • Template received NO context variables, which means it should be as self contained as possible 3
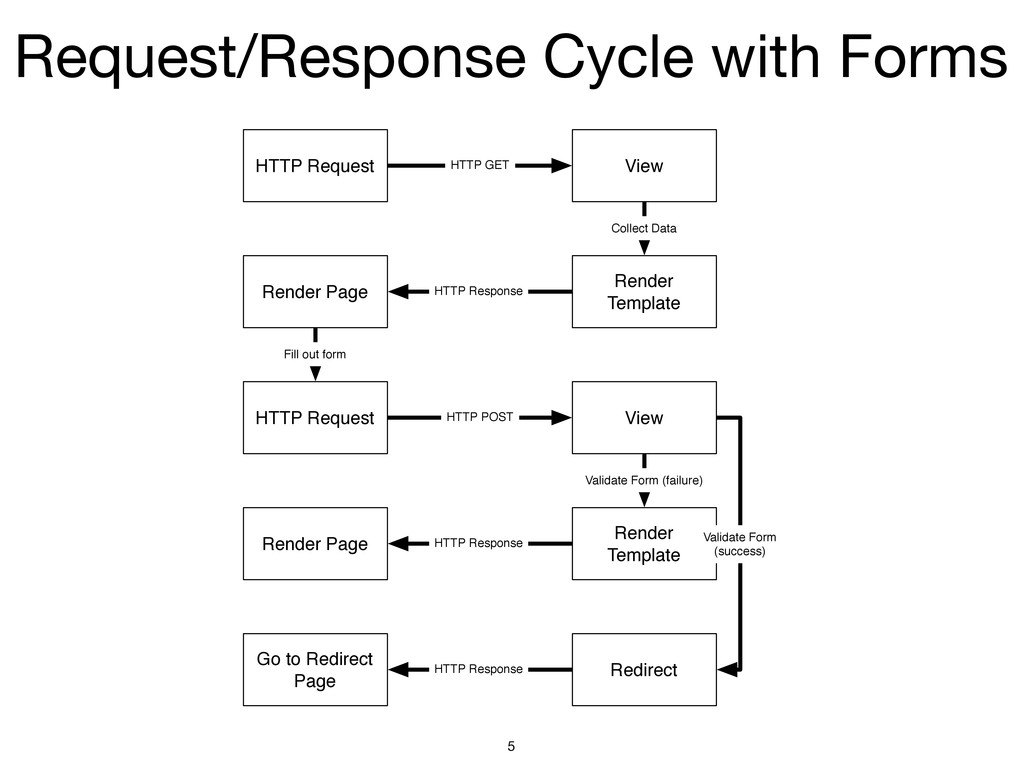
users enter data into your web application is via a form • Forms have 3 parts: • HTML representation • Data Transport • Server-side processing • When building form processing logic, usually frameworks require writing HTML forms as well as (almost) all server-side processing • Frameworks can help protect against some of the very dangerous things an attacker can do to damage a web application (more on this in a future class) • Forms can be used for simple things like field changes, or for more complex like multi-file uploads • Form processing follows a specialized Request/Response cycle 4
Render Page HTTP Request View Render Template Render Page Redirect Go to Redirect Page HTTP GET Collect Data HTTP Response HTTP POST Validate Form (failure) HTTP Response Fill out form Validate Form (success) HTTP Response
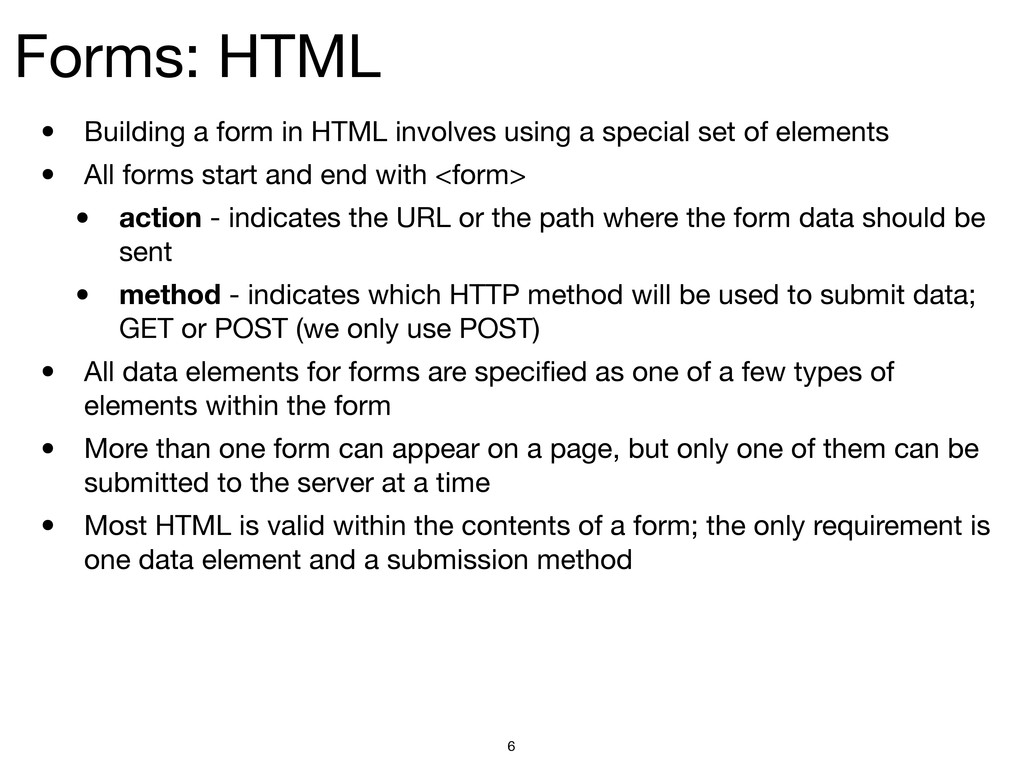
a special set of elements • All forms start and end with <form> • action - indicates the URL or the path where the form data should be sent • method - indicates which HTTP method will be used to submit data; GET or POST (we only use POST) • All data elements for forms are specified as one of a few types of elements within the form • More than one form can appear on a page, but only one of them can be submitted to the server at a time • Most HTML is valid within the contents of a form; the only requirement is one data element and a submission method 6
<input> • type - indicates the type of data input widget to present • text, password - plain text • checkbox, radio - widgets • file - presents file selector when clicked • hidden - container that isn’t shown to user but submitted with form • submit, reset, button, image - data submission controls • readonly - turns the widget into read-only mode, preventing user change • name - the name assigned to the widget, included when submitting the form data • value - the (initial) value of the widget, included when submitting the form data • checked - used for radio and checkbox types, indicates widget should be “on” 7
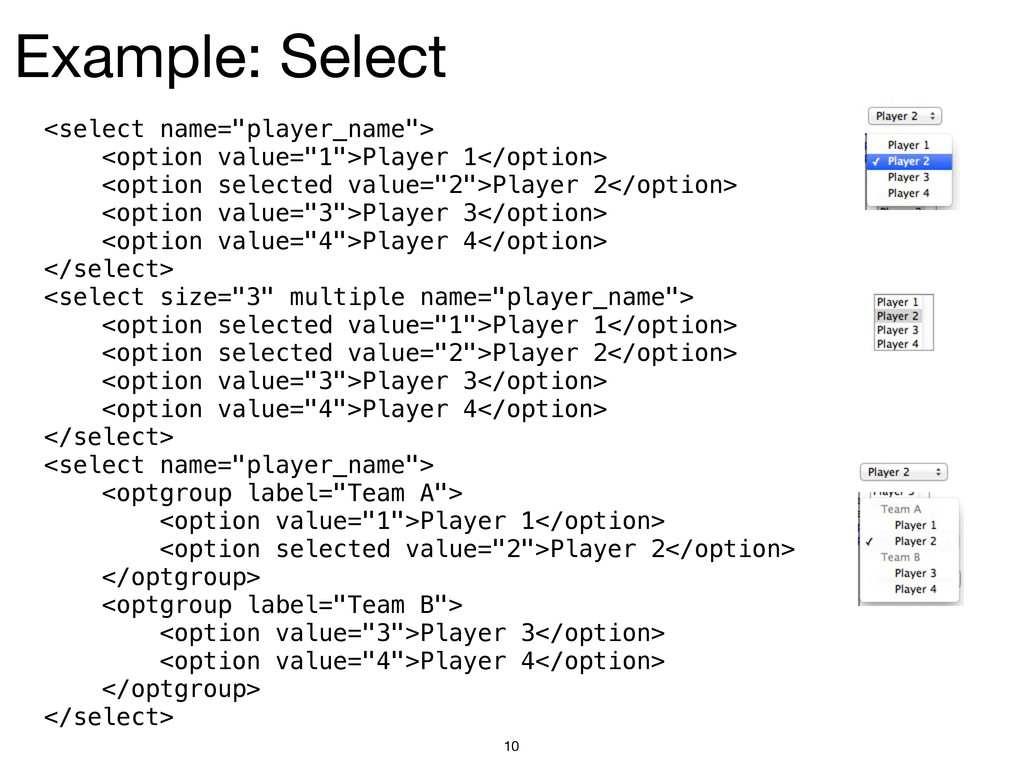
by <select> • name - same as with <input> • size - if 0, appears as a dropdown; if > 0, appears as a picklist with indicated # of rows • multiple - if a picklist, allows selection of more than one option • Within each <select>, there are one or more <option> elements • Each option represents a selectable choice • The user is presented the text within the <option> tags • selected - indicates this option is (one of) the selected choice • value - the value submitted for the select element if this option is “selected” • <option> elements can be grouped using <optgroup>, to create hierarchies • label - the label given to the grouping 9
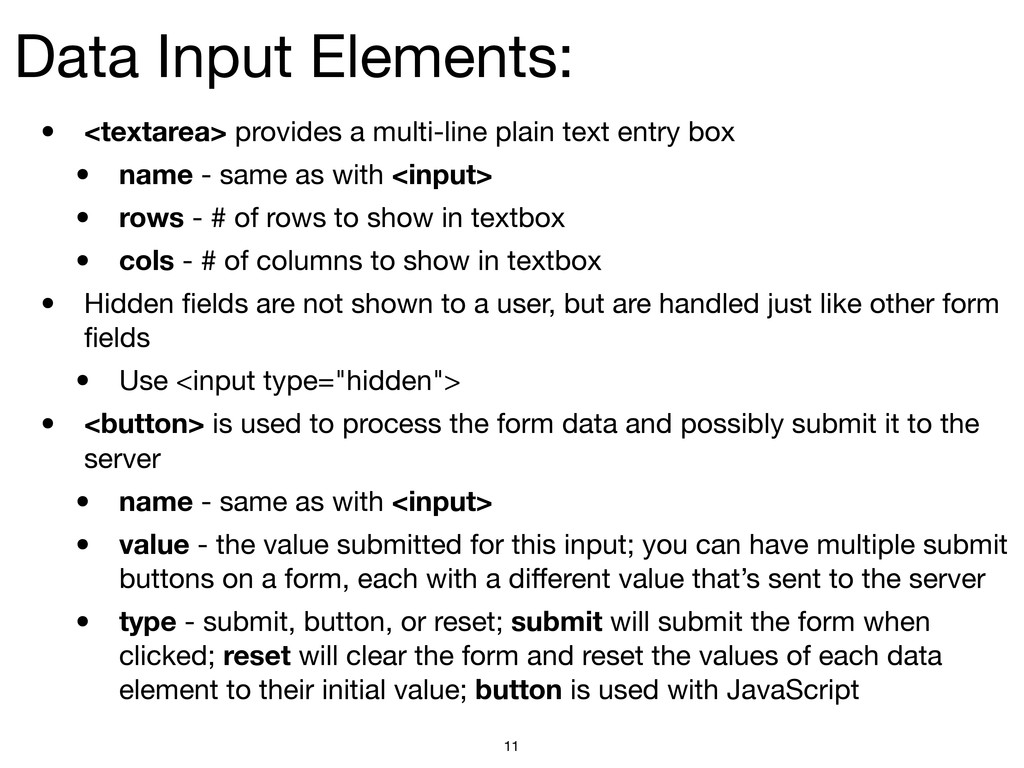
entry box • name - same as with <input> • rows - # of rows to show in textbox • cols - # of columns to show in textbox • Hidden fields are not shown to a user, but are handled just like other form fields • Use <input type="hidden"> • <button> is used to process the form data and possibly submit it to the server • name - same as with <input> • value - the value submitted for this input; you can have multiple submit buttons on a form, each with a different value that’s sent to the server • type - submit, button, or reset; submit will submit the form when clicked; reset will clear the form and reset the values of each data element to their initial value; button is used with JavaScript 11
field name to a user • for - the element id of the input, select, or textarea with which the label is associated • When a user clicks on a label, the element specified by the for attribute is given focus • HTML has no mechanism for presenting errors in forms • Errors are rendered using basic HTML elements and css, and should be positioned logically with the form or field with which they are associated • Errors should be conditionally displayed in the form HTML by the template if they exist, usually after the form has been submitted but can’t be processed due to incorrectly filled in fields • HTML has no mechanism for presenting fields as required • Like errors, required fields should be indicated as such using HTML • Its good form to include a “Cancel” button in your form 12
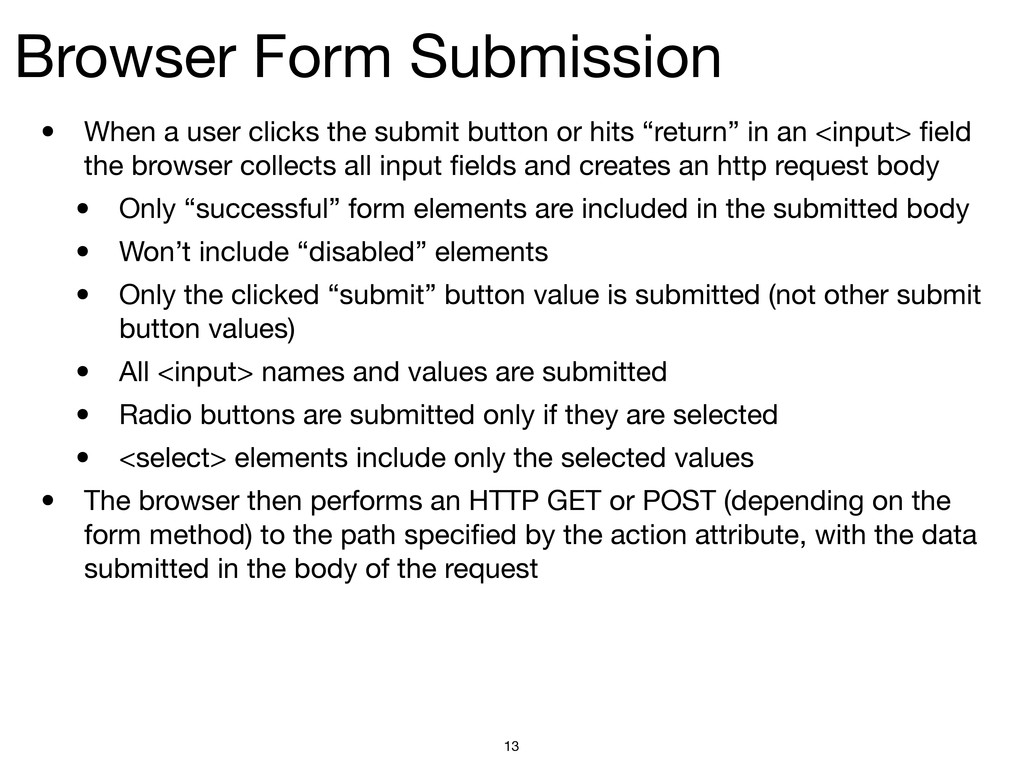
button or hits “return” in an <input> field the browser collects all input fields and creates an http request body • Only “successful” form elements are included in the submitted body • Won’t include “disabled” elements • Only the clicked “submit” button value is submitted (not other submit button values) • All <input> names and values are submitted • Radio buttons are submitted only if they are selected • <select> elements include only the selected values • The browser then performs an HTTP GET or POST (depending on the form method) to the path specified by the action attribute, with the data submitted in the body of the request 13
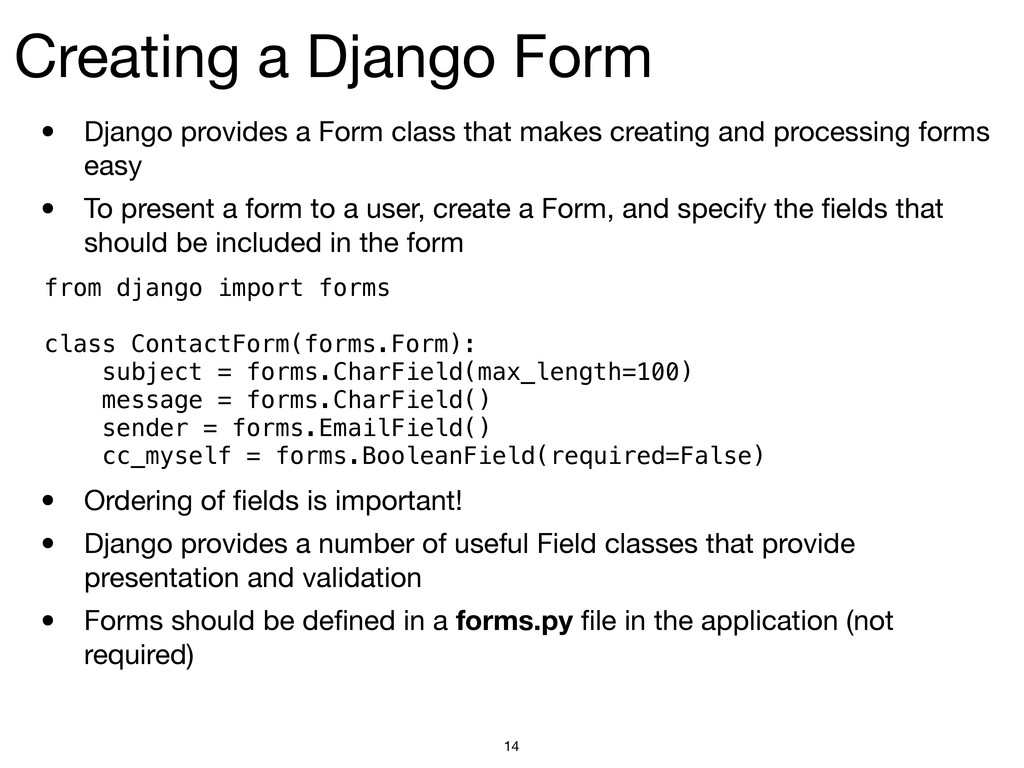
that makes creating and processing forms easy • To present a form to a user, create a Form, and specify the fields that should be included in the form • Ordering of fields is important! • Django provides a number of useful Field classes that provide presentation and validation • Forms should be defined in a forms.py file in the application (not required) 14 from django import forms class ContactForm(forms.Form): subject = forms.CharField(max_length=100) message = forms.CharField() sender = forms.EmailField() cc_myself = forms.BooleanField(required=False)
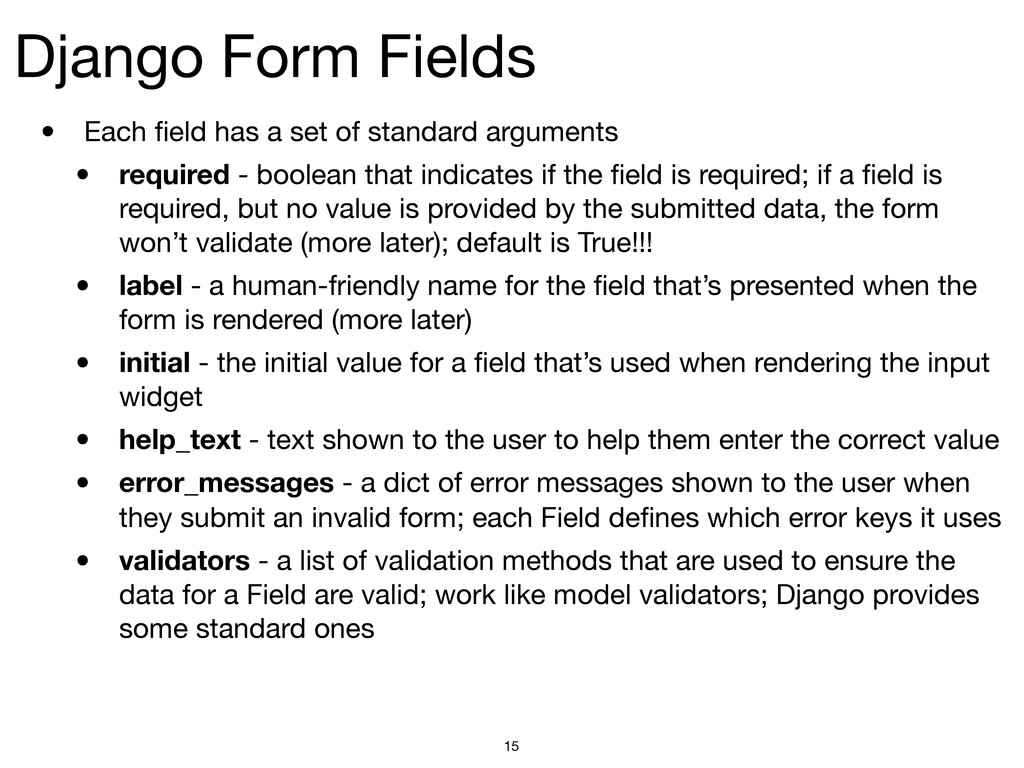
standard arguments • required - boolean that indicates if the field is required; if a field is required, but no value is provided by the submitted data, the form won’t validate (more later); default is True!!! • label - a human-friendly name for the field that’s presented when the form is rendered (more later) • initial - the initial value for a field that’s used when rendering the input widget • help_text - text shown to the user to help them enter the correct value • error_messages - a dict of error messages shown to the user when they submit an invalid form; each Field defines which error keys it uses • validators - a list of validation methods that are used to ensure the data for a Field are valid; work like model validators; Django provides some standard ones 15
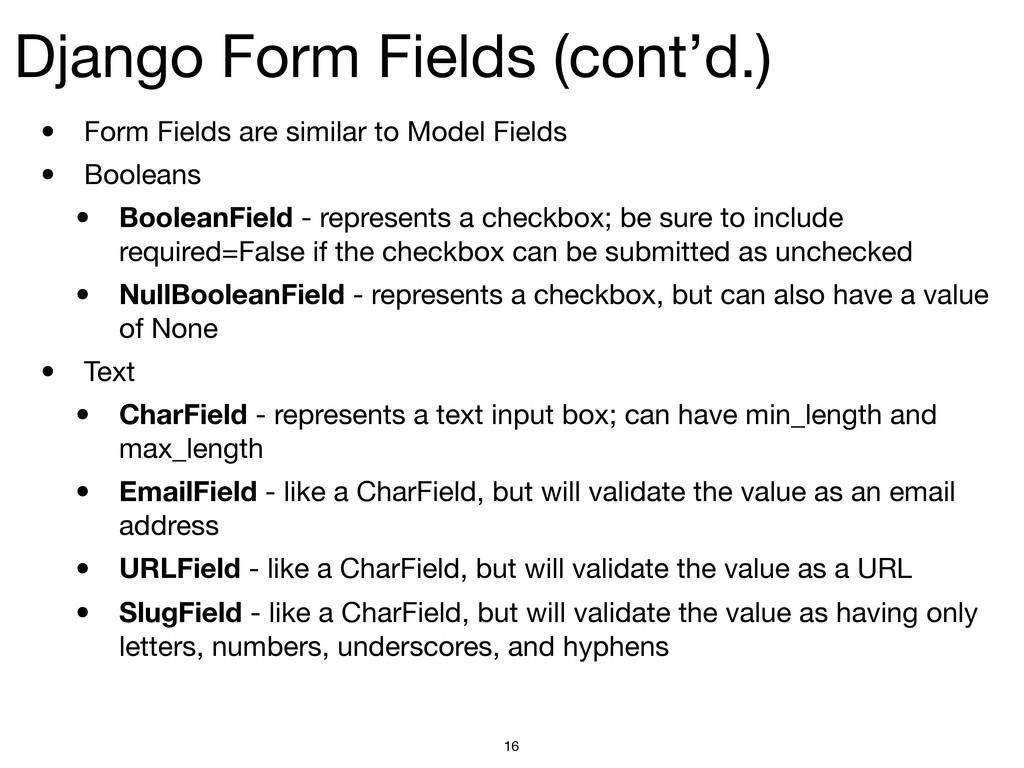
Model Fields • Booleans • BooleanField - represents a checkbox; be sure to include required=False if the checkbox can be submitted as unchecked • NullBooleanField - represents a checkbox, but can also have a value of None • Text • CharField - represents a text input box; can have min_length and max_length • EmailField - like a CharField, but will validate the value as an email address • URLField - like a CharField, but will validate the value as a URL • SlugField - like a CharField, but will validate the value as having only letters, numbers, underscores, and hyphens 16
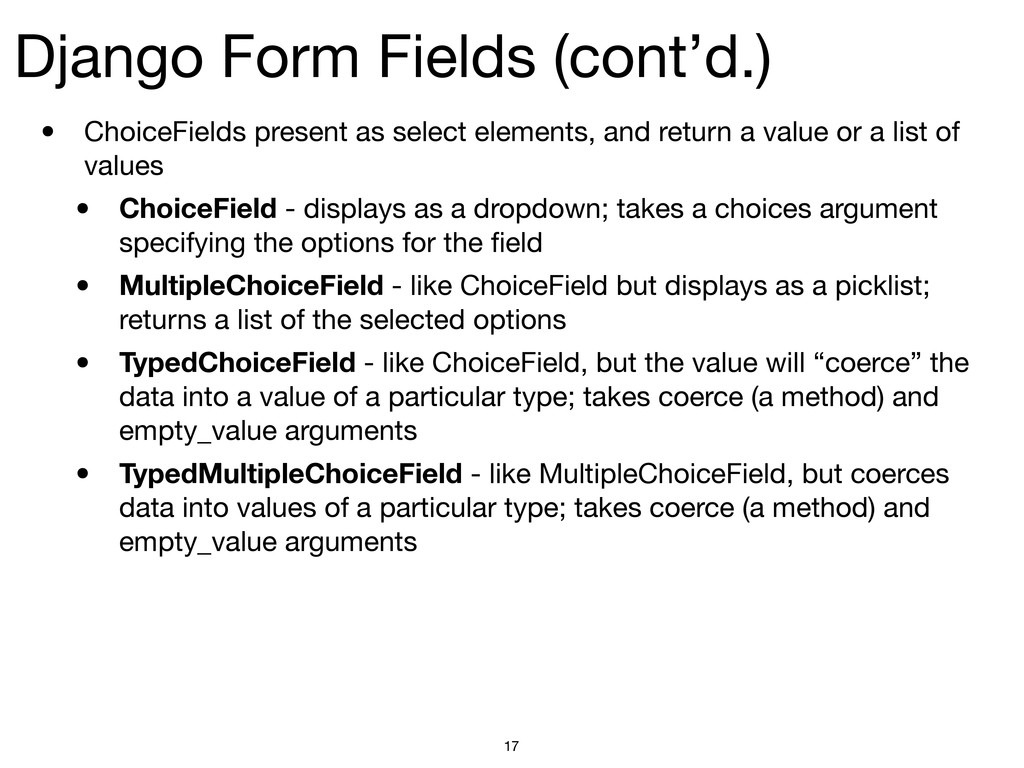
and return a value or a list of values • ChoiceField - displays as a dropdown; takes a choices argument specifying the options for the field • MultipleChoiceField - like ChoiceField but displays as a picklist; returns a list of the selected options • TypedChoiceField - like ChoiceField, but the value will “coerce” the data into a value of a particular type; takes coerce (a method) and empty_value arguments • TypedMultipleChoiceField - like MultipleChoiceField, but coerces data into values of a particular type; takes coerce (a method) and empty_value arguments 17
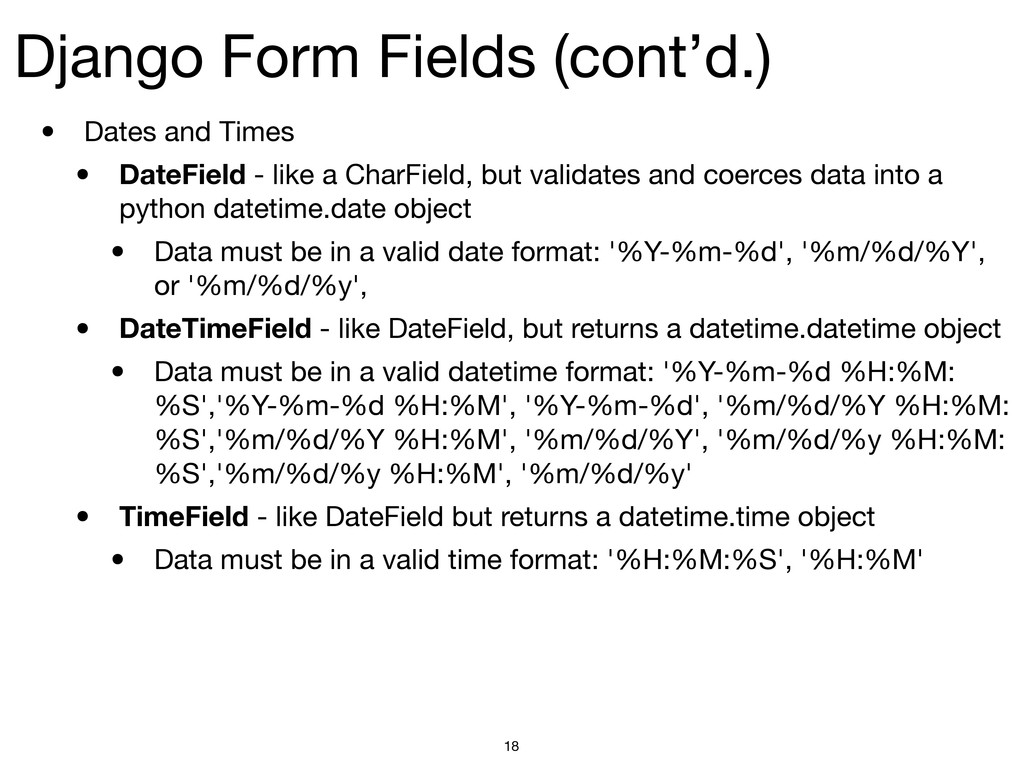
- like a CharField, but validates and coerces data into a python datetime.date object • Data must be in a valid date format: '%Y-%m-%d', '%m/%d/%Y', or '%m/%d/%y', • DateTimeField - like DateField, but returns a datetime.datetime object • Data must be in a valid datetime format: '%Y-%m-%d %H:%M: %S','%Y-%m-%d %H:%M', '%Y-%m-%d', '%m/%d/%Y %H:%M: %S','%m/%d/%Y %H:%M', '%m/%d/%Y', '%m/%d/%y %H:%M: %S','%m/%d/%y %H:%M', '%m/%d/%y' • TimeField - like DateField but returns a datetime.time object • Data must be in a valid time format: '%H:%M:%S', '%H:%M' 18
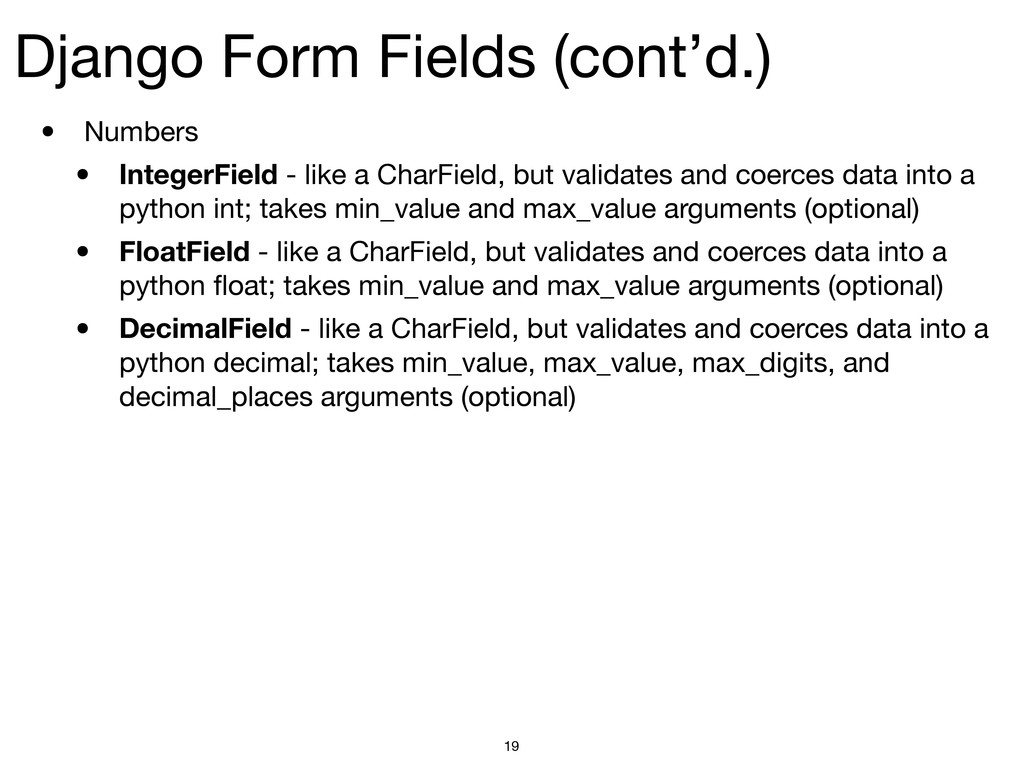
a CharField, but validates and coerces data into a python int; takes min_value and max_value arguments (optional) • FloatField - like a CharField, but validates and coerces data into a python float; takes min_value and max_value arguments (optional) • DecimalField - like a CharField, but validates and coerces data into a python decimal; takes min_value, max_value, max_digits, and decimal_places arguments (optional) 19
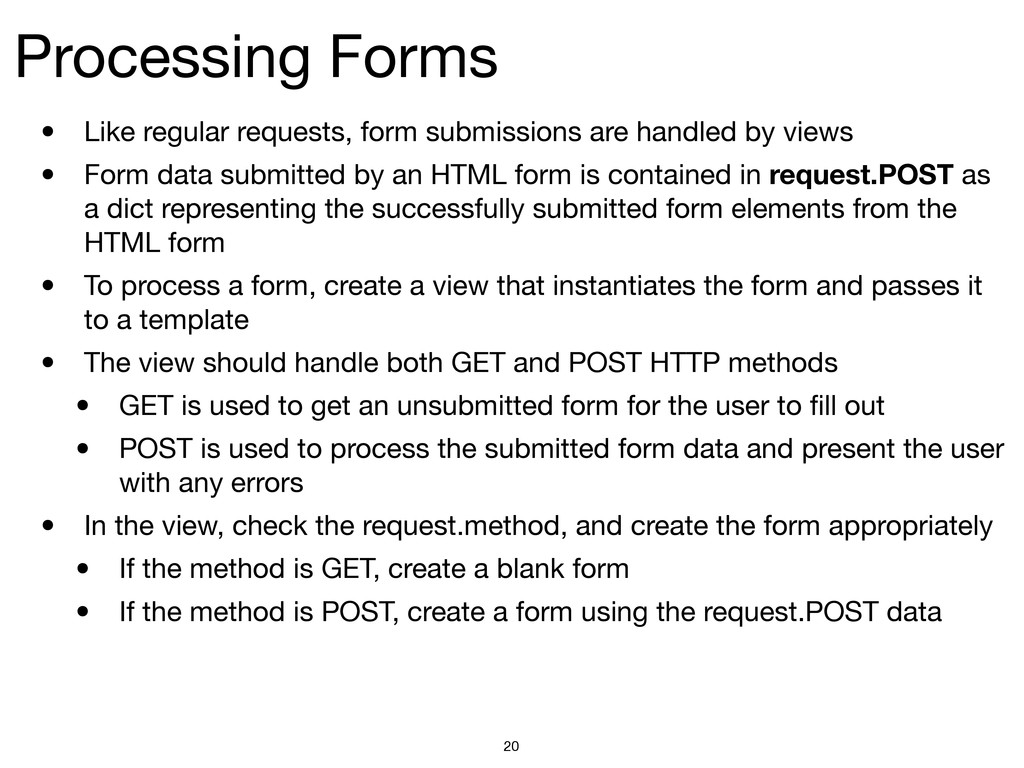
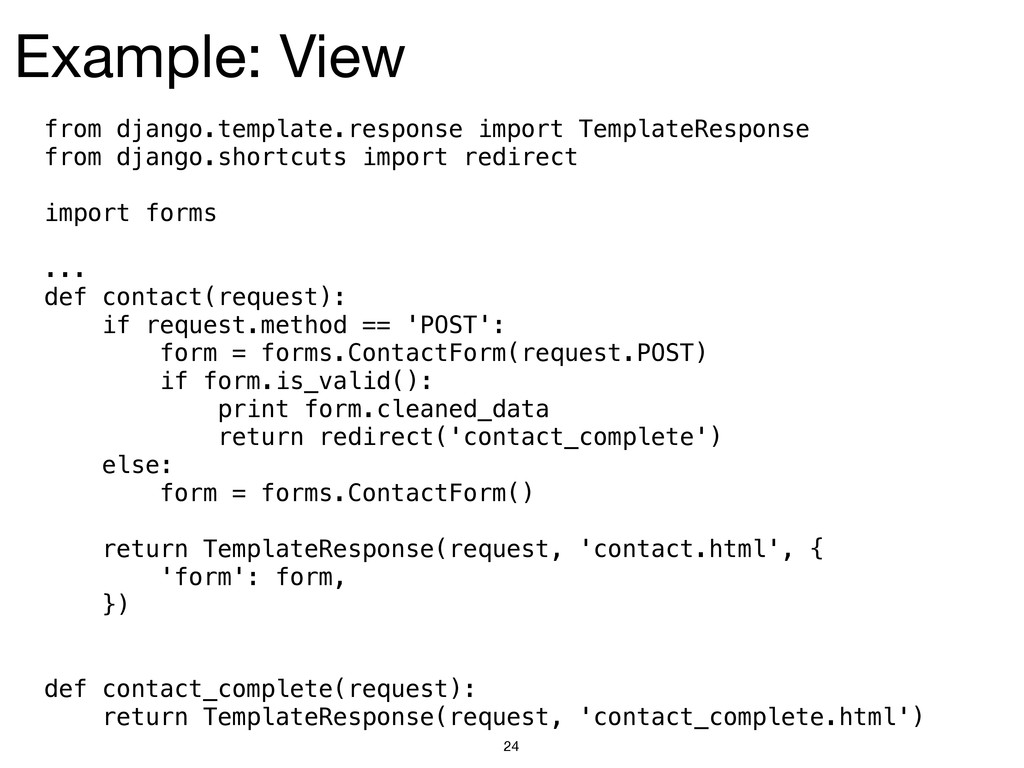
by views • Form data submitted by an HTML form is contained in request.POST as a dict representing the successfully submitted form elements from the HTML form • To process a form, create a view that instantiates the form and passes it to a template • The view should handle both GET and POST HTTP methods • GET is used to get an unsubmitted form for the user to fill out • POST is used to process the submitted form data and present the user with any errors • In the view, check the request.method, and create the form appropriately • If the method is GET, create a blank form • If the method is POST, create a form using the request.POST data 20
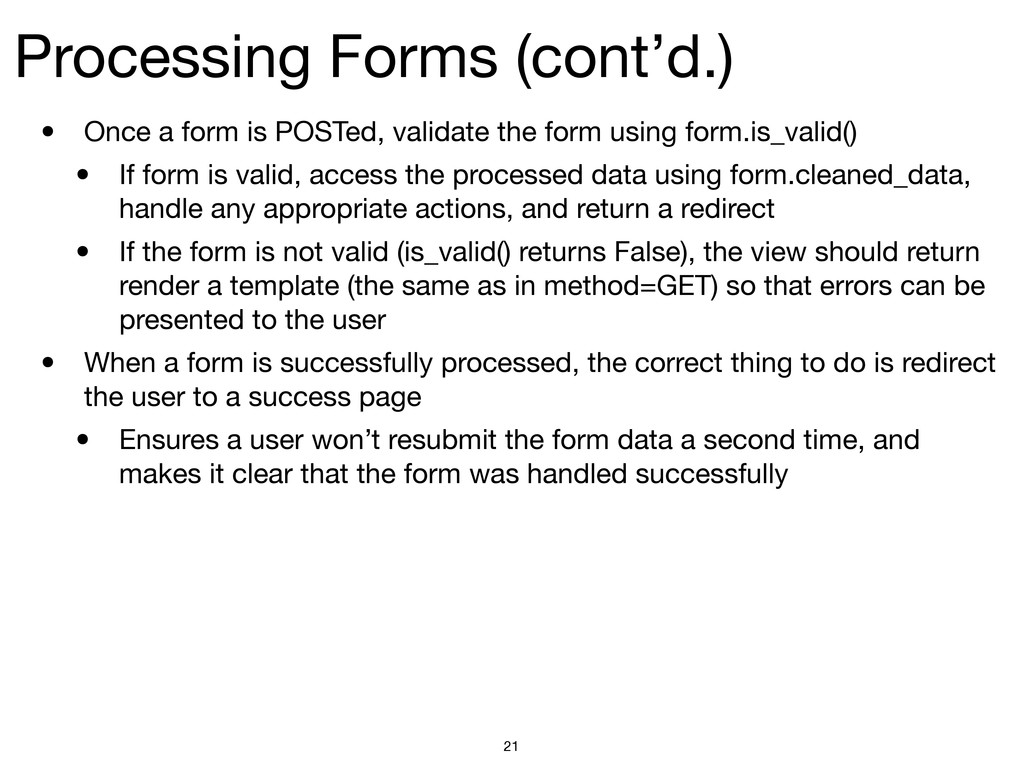
the form using form.is_valid() • If form is valid, access the processed data using form.cleaned_data, handle any appropriate actions, and return a redirect • If the form is not valid (is_valid() returns False), the view should return render a template (the same as in method=GET) so that errors can be presented to the user • When a form is successfully processed, the correct thing to do is redirect the user to a success page • Ensures a user won’t resubmit the form data a second time, and makes it clear that the form was handled successfully 21
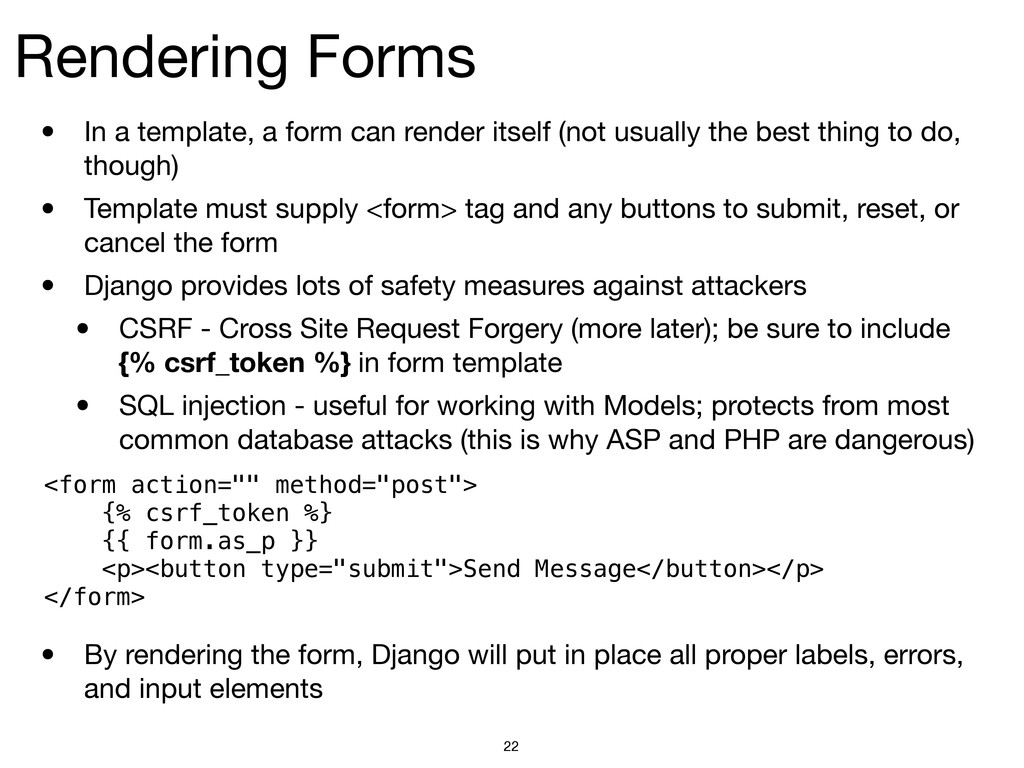
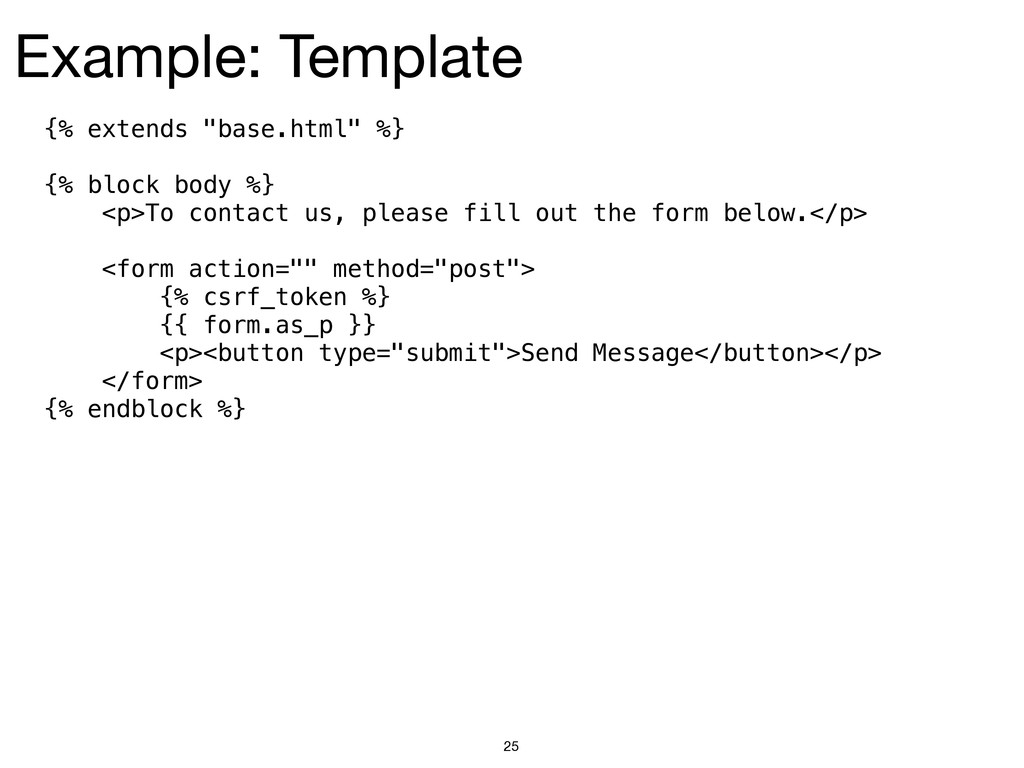
itself (not usually the best thing to do, though) • Template must supply <form> tag and any buttons to submit, reset, or cancel the form • Django provides lots of safety measures against attackers • CSRF - Cross Site Request Forgery (more later); be sure to include {% csrf_token %} in form template • SQL injection - useful for working with Models; protects from most common database attacks (this is why ASP and PHP are dangerous) • By rendering the form, Django will put in place all proper labels, errors, and input elements 22 <form action="" method="post"> {% csrf_token %} {{ form.as_p }} <p><button type="submit">Send Message</button></p> </form>
![Lesson 14 Forms and Data Input Dana Spiegel [email protected] 1](https://files.speakerdeck.com/presentations/549a3410211a01307dcb22000a1d01dc/slide_0.jpg)