Upgrade to Pro — share decks privately, control downloads, hide ads and more …

Why you should start testing today!

Erik Kamp
October 15, 2015

Why you should start testing today!

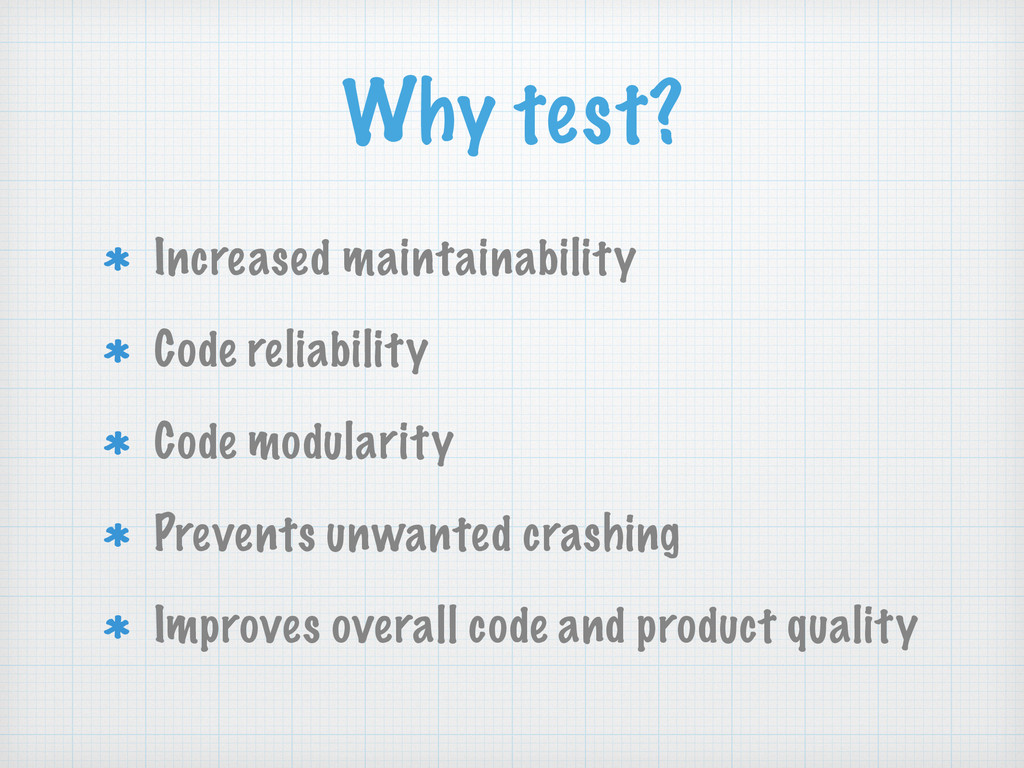
General / Android testing talk I gave at the October Mobile Dev NJ Meetup. The talk covers types of testing, what parts of a program or app should be tested, and what libraries and strategies to use with Android to begin testing.

Erik Kamp

October 15, 2015
Tweet

More Decks by Erik Kamp

Other Decks in Technology

Transcript

  1. Types of testing Automated Testing Can be seen as white

    box testing QA Testing Can be seen as black box testing
  2. UI Testing Guidelines Ensure the application performs as we expect

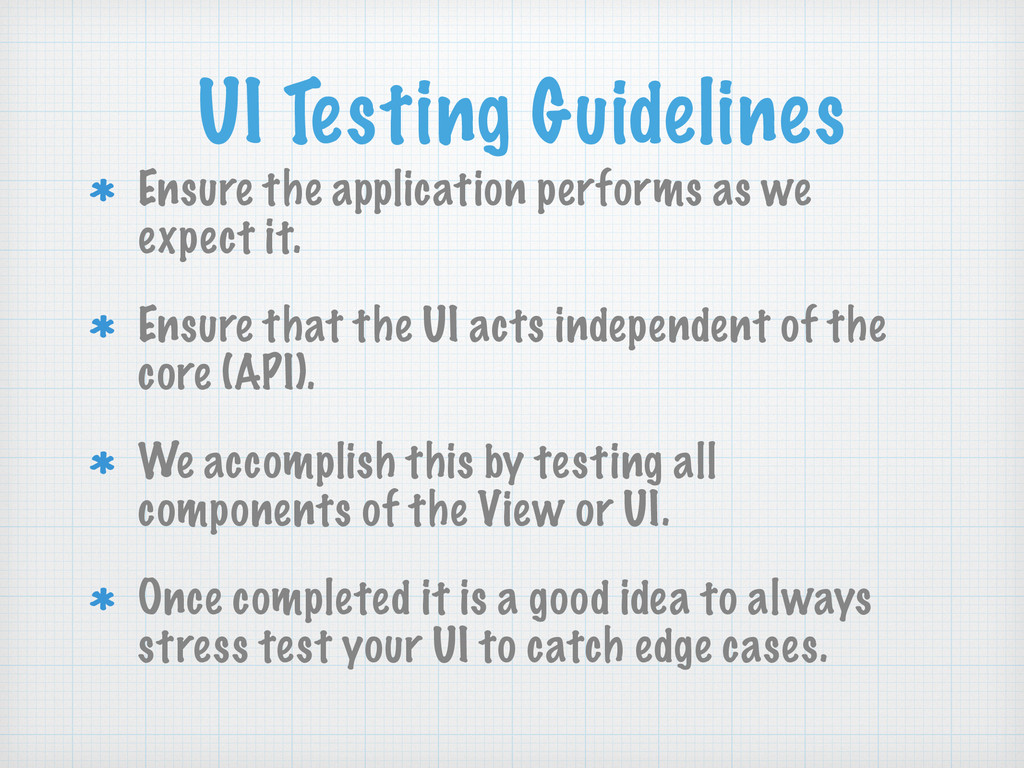
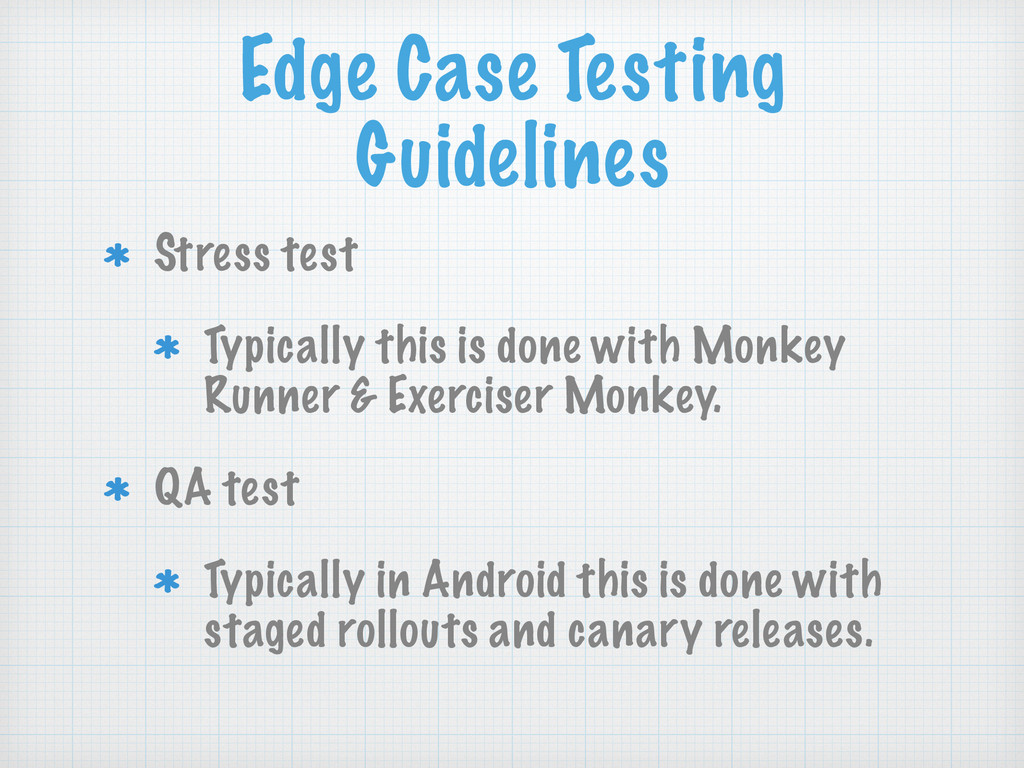
    it. Ensure that the UI acts independent of the core (API). We accomplish this by testing all components of the View or UI. Once completed it is a good idea to always stress test your UI to catch edge cases.
  3. What it looks like in Android Typically in Android to

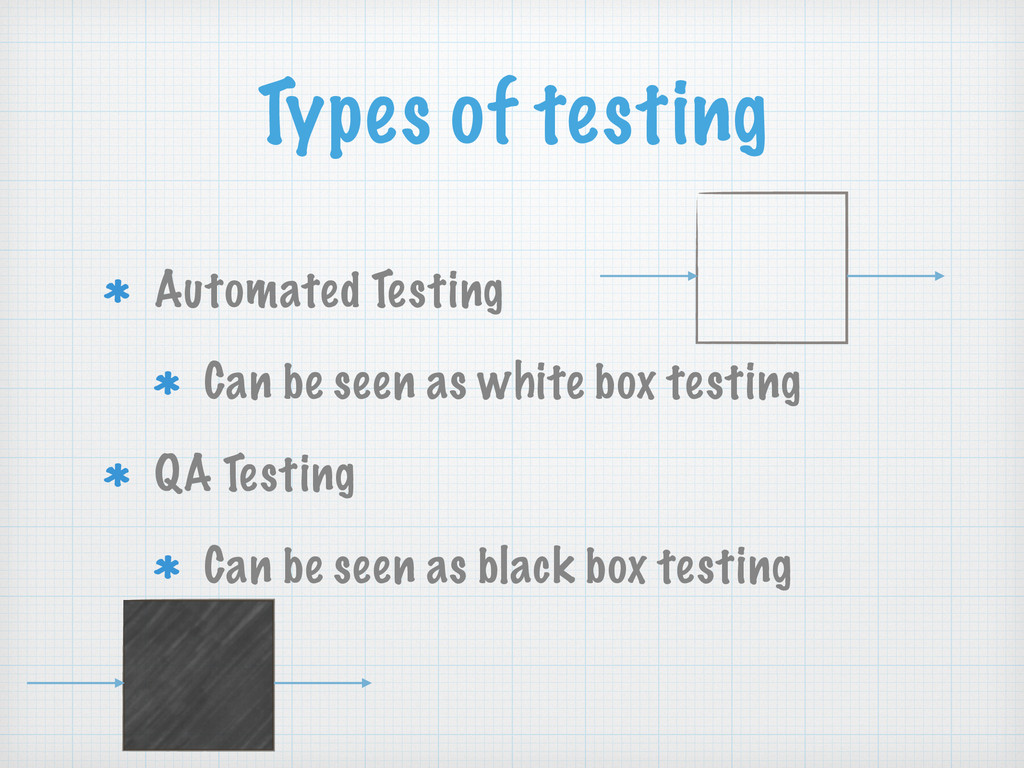
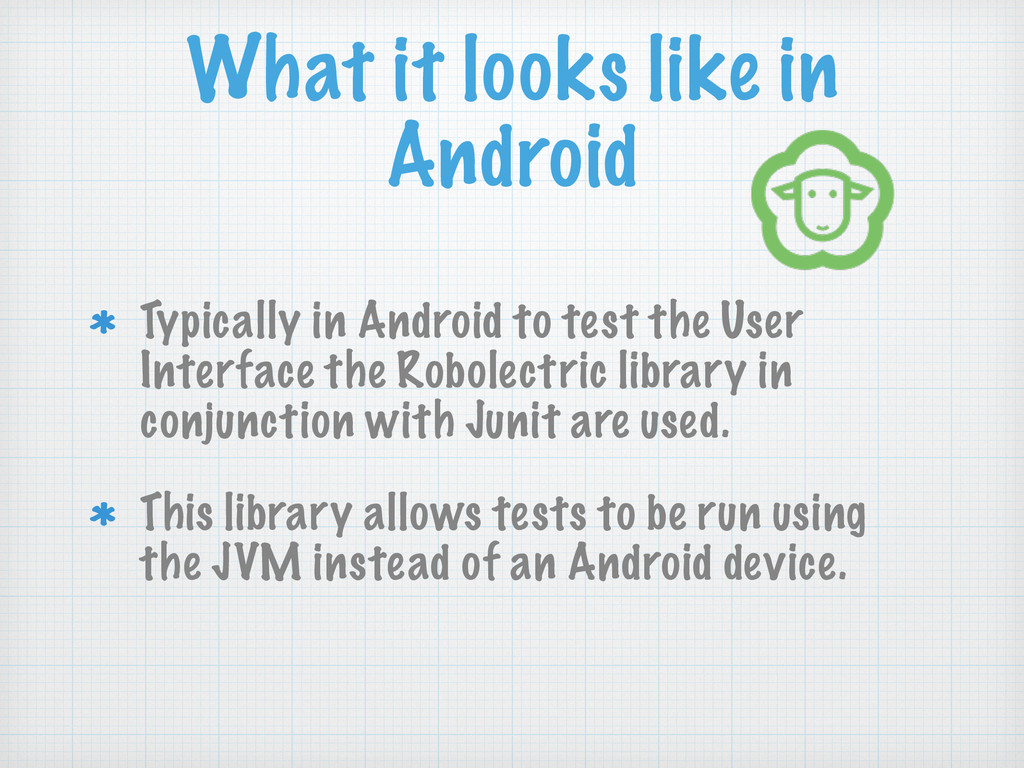
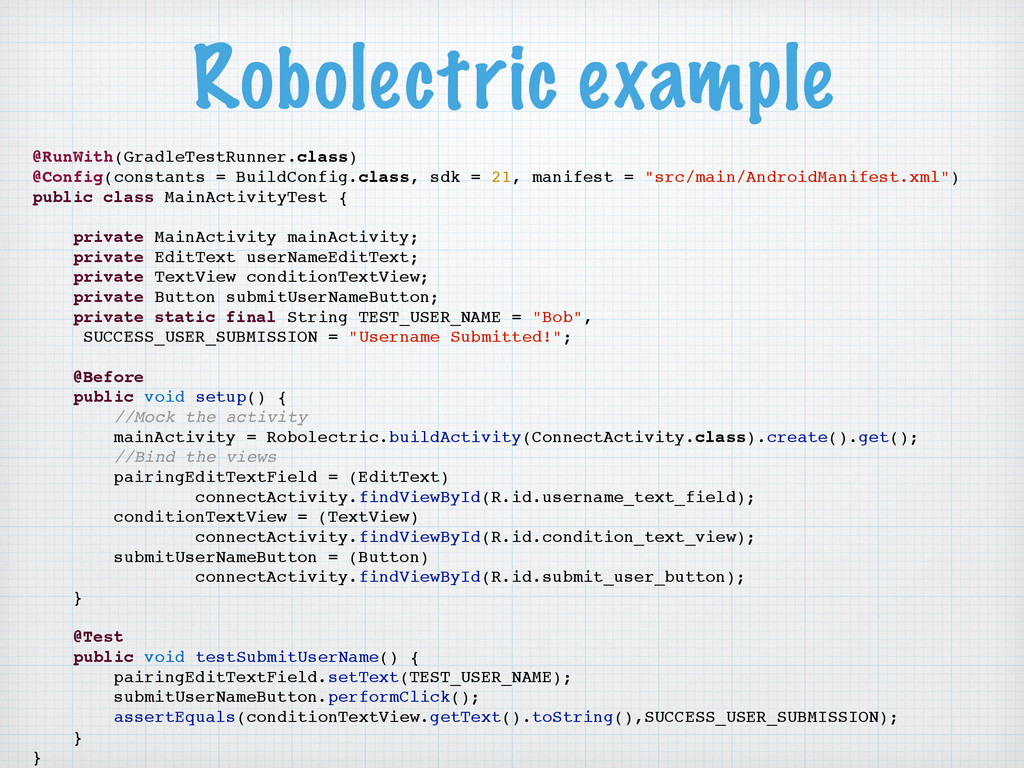
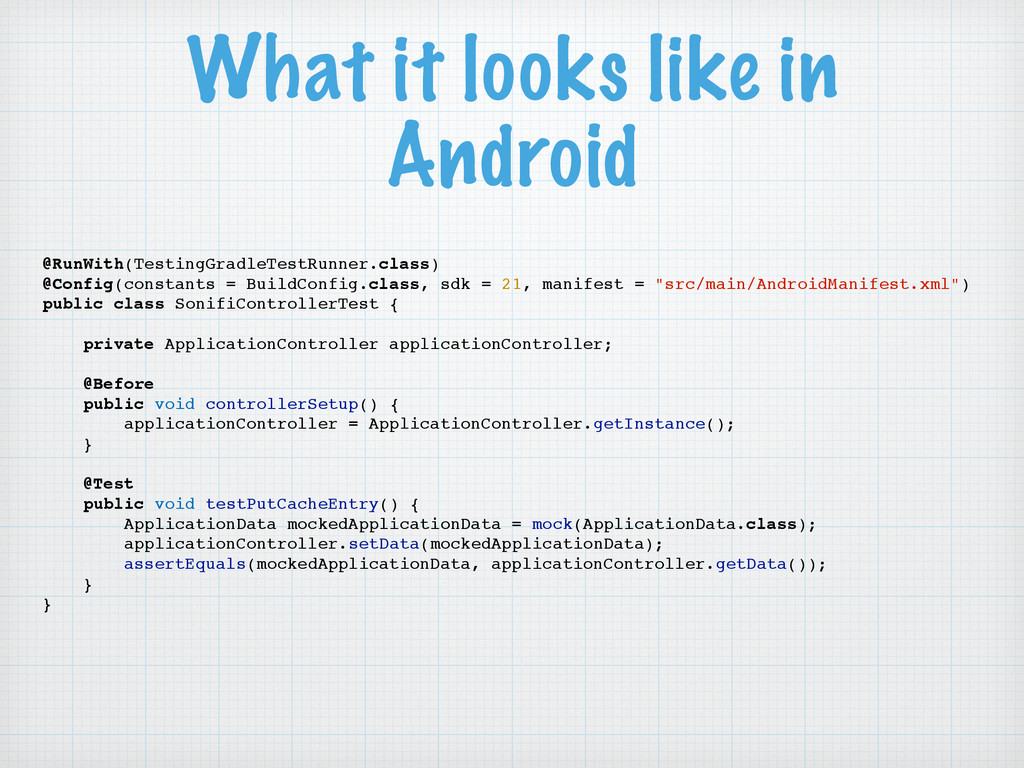
    test the User Interface the Robolectric library in conjunction with Junit are used. This library allows tests to be run using the JVM instead of an Android device.
  4. Robolectric example @RunWith(GradleTestRunner.class) @Config(constants = BuildConfig.class, sdk = 21, manifest

    = "src/main/AndroidManifest.xml") public class MainActivityTest { private MainActivity mainActivity; private EditText userNameEditText; private TextView conditionTextView; private Button submitUserNameButton; private static final String TEST_USER_NAME = "Bob", SUCCESS_USER_SUBMISSION = "Username Submitted!"; @Before public void setup() { //Mock the activity mainActivity = Robolectric.buildActivity(ConnectActivity.class).create().get(); //Bind the views pairingEditTextField = (EditText) connectActivity.findViewById(R.id.username_text_field); conditionTextView = (TextView) connectActivity.findViewById(R.id.condition_text_view); submitUserNameButton = (Button) connectActivity.findViewById(R.id.submit_user_button); } @Test public void testSubmitUserName() { pairingEditTextField.setText(TEST_USER_NAME); submitUserNameButton.performClick(); assertEquals(conditionTextView.getText().toString(),SUCCESS_USER_SUBMISSION); } }
  5. Core Testing Guidelines As a rule of thumb core or

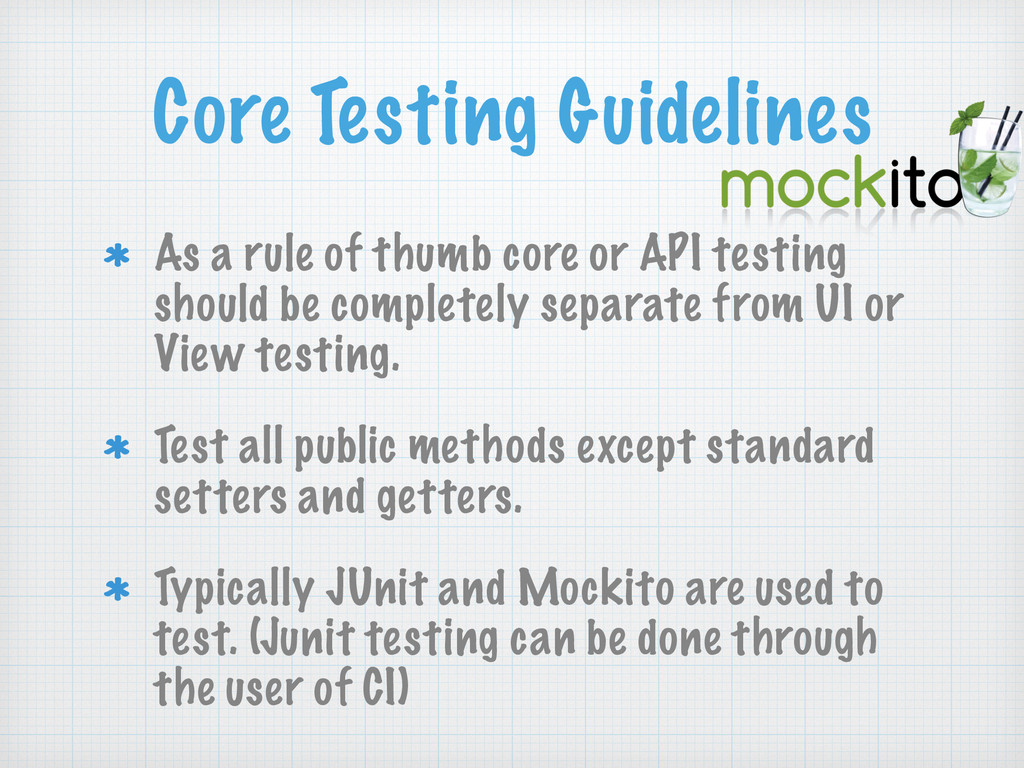
    API testing should be completely separate from UI or View testing. Test all public methods except standard setters and getters. Typically JUnit and Mockito are used to test. (Junit testing can be done through the user of CI)
  6. What it looks like in Android @RunWith(TestingGradleTestRunner.class) @Config(constants = BuildConfig.class,

    sdk = 21, manifest = "src/main/AndroidManifest.xml") public class SonifiControllerTest { private ApplicationController applicationController; @Before public void controllerSetup() { applicationController = ApplicationController.getInstance(); } @Test public void testPutCacheEntry() { ApplicationData mockedApplicationData = mock(ApplicationData.class); applicationController.setData(mockedApplicationData); assertEquals(mockedApplicationData, applicationController.getData()); } }
  7. Edge Case Testing Guidelines Stress test Typically this is done

    with Monkey Runner & Exerciser Monkey. QA test Typically in Android this is done with staged rollouts and canary releases.
  8. Exerciser Monkey Exerciser Monkey is used for stress testing an

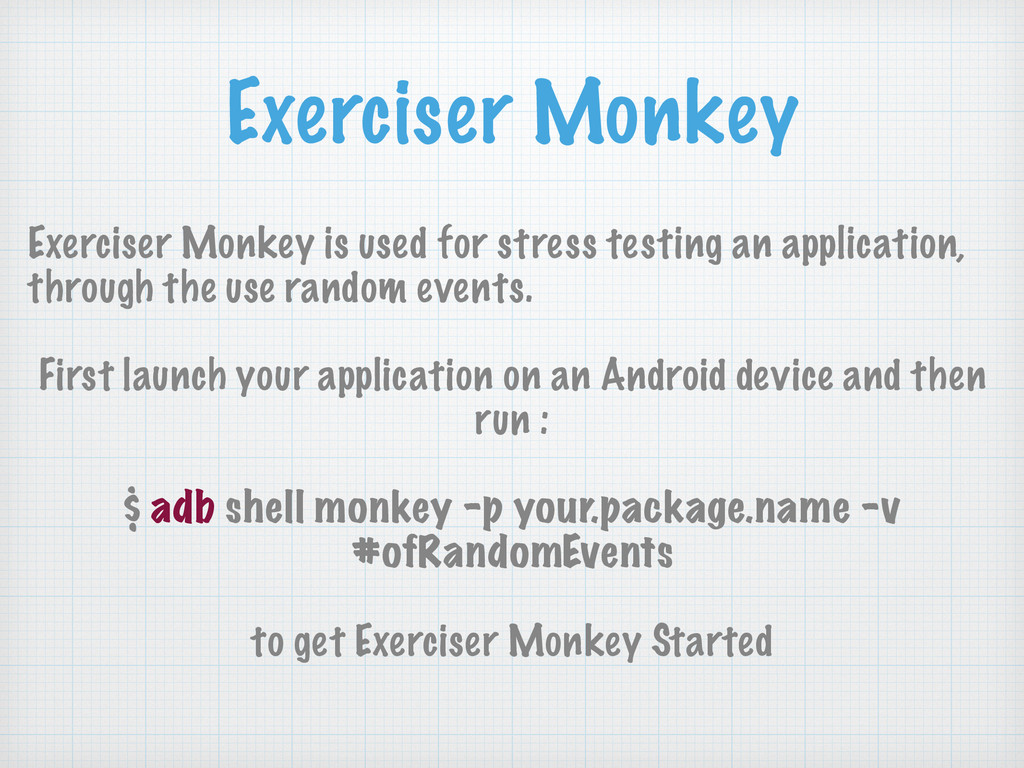
    application, through the use random events. First launch your application on an Android device and then run : 
 $ adb shell monkey -p your.package.name -v #ofRandomEvents 
 to get Exerciser Monkey Started
  9. Monkey Runner Monkey Runner executes tests on the application through

    the use of UI Python tests. Typically you want to abide by the following : Perform typical user flow. Perform uncommon user interactions.
  10. Monkey Runner Cont. # Imports the monkeyrunner modules used by

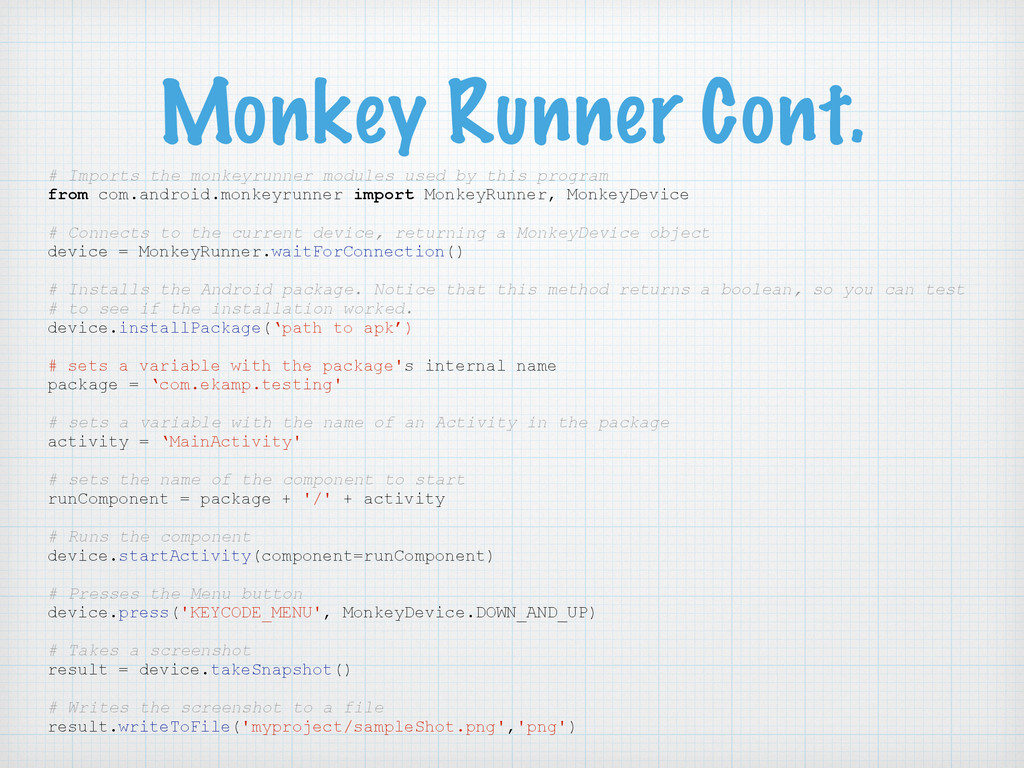
    this program from com.android.monkeyrunner import MonkeyRunner, MonkeyDevice # Connects to the current device, returning a MonkeyDevice object device = MonkeyRunner.waitForConnection() # Installs the Android package. Notice that this method returns a boolean, so you can test # to see if the installation worked. device.installPackage(‘path to apk’) # sets a variable with the package's internal name package = ‘com.ekamp.testing' # sets a variable with the name of an Activity in the package activity = ‘MainActivity' # sets the name of the component to start runComponent = package + '/' + activity # Runs the component device.startActivity(component=runComponent) # Presses the Menu button device.press('KEYCODE_MENU', MonkeyDevice.DOWN_AND_UP) # Takes a screenshot result = device.takeSnapshot() # Writes the screenshot to a file result.writeToFile('myproject/sampleShot.png','png')