headaches Today, I want to share with you the way I deal with a question that matters a lot to me when building apps : what is the right architecture and how do I structure my code correctly ? This is a question which is raised every time you start a new project, and with time, a good versatile answer starts to be defined. Though you don't start a project every day, and it may take time before you get to something mature. I want to share with you the guiding principles for a clean architecture, but my main focus will be about the foundation of your app.
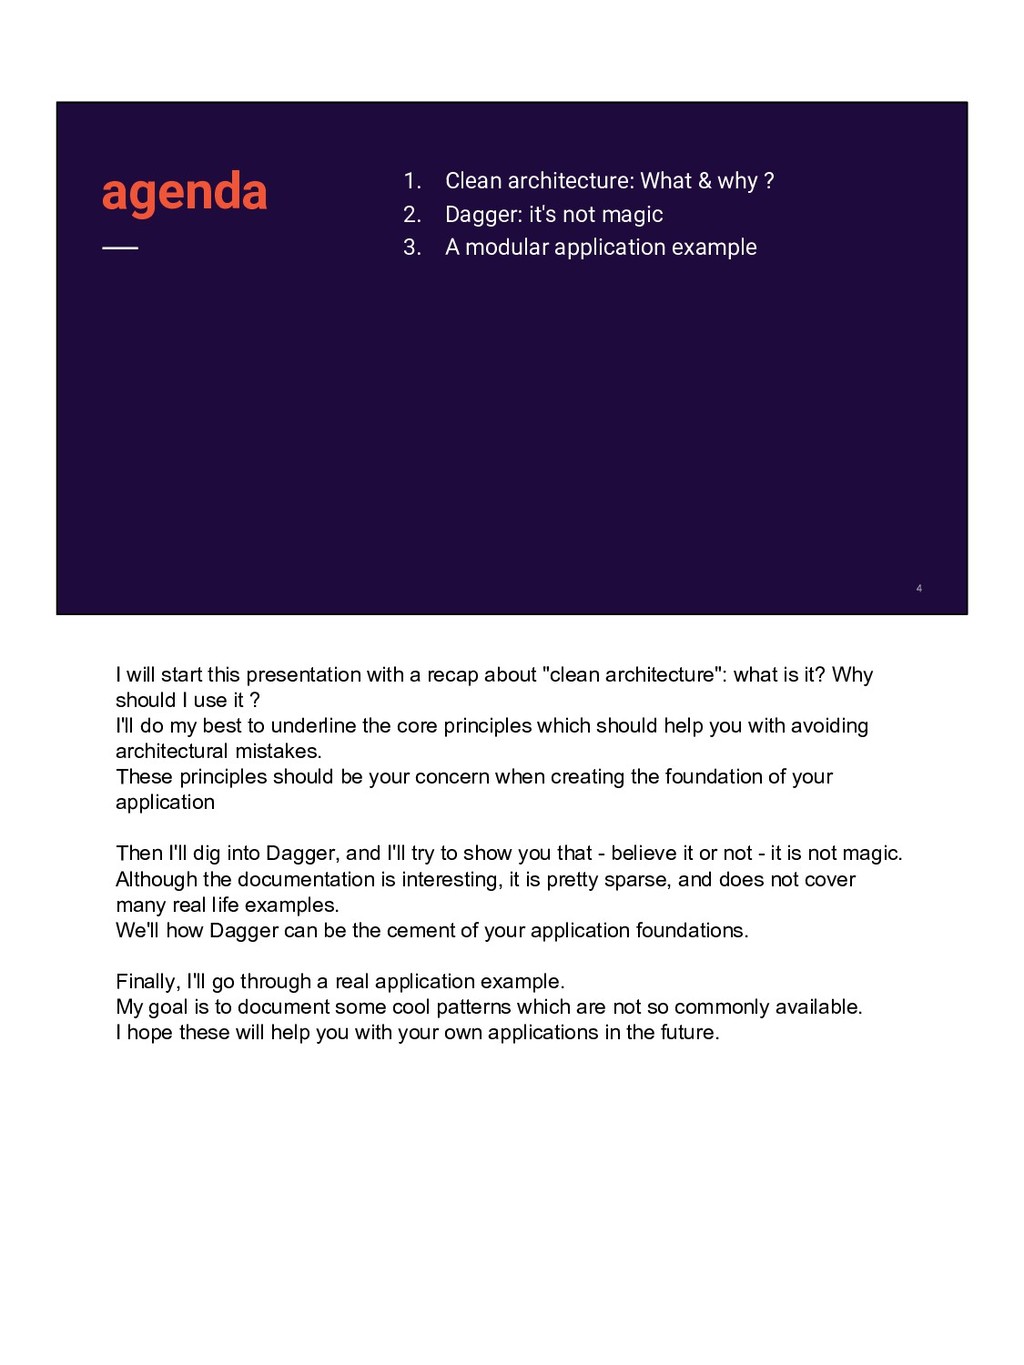
not magic 3. A modular application example agenda I will start this presentation with a recap about "clean architecture": what is it? Why should I use it ? I'll do my best to underline the core principles which should help you with avoiding architectural mistakes. These principles should be your concern when creating the foundation of your application Then I'll dig into Dagger, and I'll try to show you that - believe it or not - it is not magic. Although the documentation is interesting, it is pretty sparse, and does not cover many real life examples. We'll how Dagger can be the cement of your application foundations. Finally, I'll go through a real application example. My goal is to document some cool patterns which are not so commonly available. I hope these will help you with your own applications in the future.
before you were born • Wrote many books • Author of the famous Clean Architecture Let's thank Uncle Bob First, let's thank that guy - Uncle Bob, aka. Robert C. Martin - who is probably the one who made clean architecture so popular. He wrote a famous blog post in 2012 which led to defining the core principles of a clean architecture. This post is very interesting, as it does not rely on any language, framework or technology, thus allowing us to apply these principles to any language.
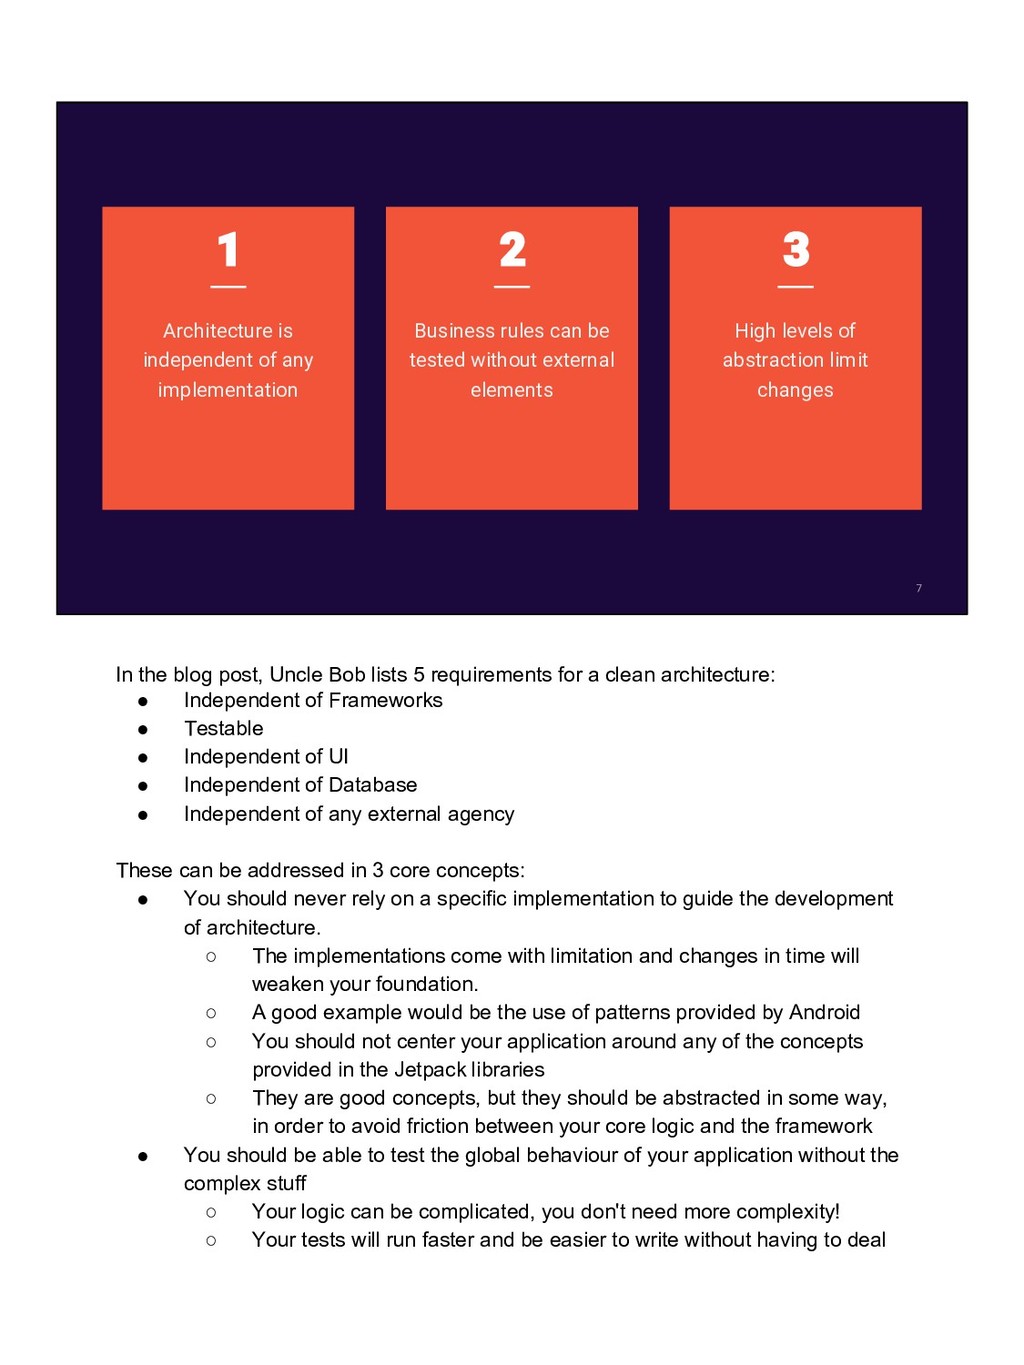
tested without external elements High levels of abstraction limit changes In the blog post, Uncle Bob lists 5 requirements for a clean architecture: • Independent of Frameworks • Testable • Independent of UI • Independent of Database • Independent of any external agency These can be addressed in 3 core concepts: • You should never rely on a specific implementation to guide the development of architecture. ◦ The implementations come with limitation and changes in time will weaken your foundation. ◦ A good example would be the use of patterns provided by Android ◦ You should not center your application around any of the concepts provided in the Jetpack libraries ◦ They are good concepts, but they should be abstracted in some way, in order to avoid friction between your core logic and the framework • You should be able to test the global behaviour of your application without the complex stuff ◦ Your logic can be complicated, you don't need more complexity! ◦ Your tests will run faster and be easier to write without having to deal
resistance to change ◦ The rules defining how your application works should not be prone to change ◦ In order to achieve that, a high level of abstraction should be put in place ◦ This allows you to make sure a change in your DB technology will not impact much how your application works ◦ Changes in the concrete implementations should impact stability or performance, not actual business rules
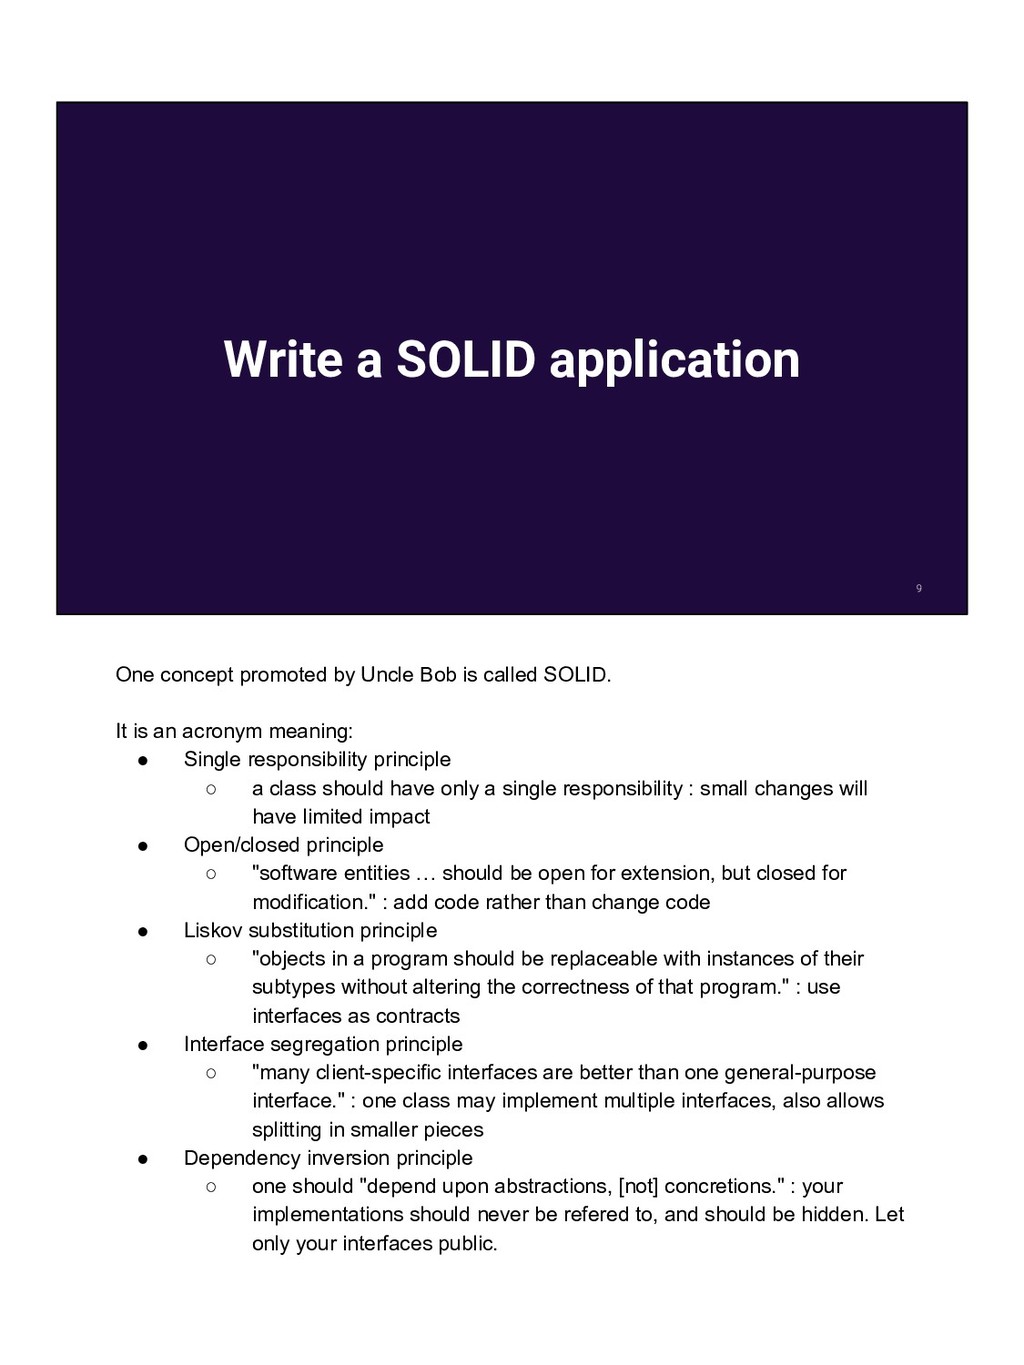
is called SOLID. It is an acronym meaning: • Single responsibility principle ◦ a class should have only a single responsibility : small changes will have limited impact • Open/closed principle ◦ "software entities … should be open for extension, but closed for modification." : add code rather than change code • Liskov substitution principle ◦ "objects in a program should be replaceable with instances of their subtypes without altering the correctness of that program." : use interfaces as contracts • Interface segregation principle ◦ "many client-specific interfaces are better than one general-purpose interface." : one class may implement multiple interfaces, also allows splitting in smaller pieces • Dependency inversion principle ◦ one should "depend upon abstractions, [not] concretions." : your implementations should never be refered to, and should be hidden. Let only your interfaces public.
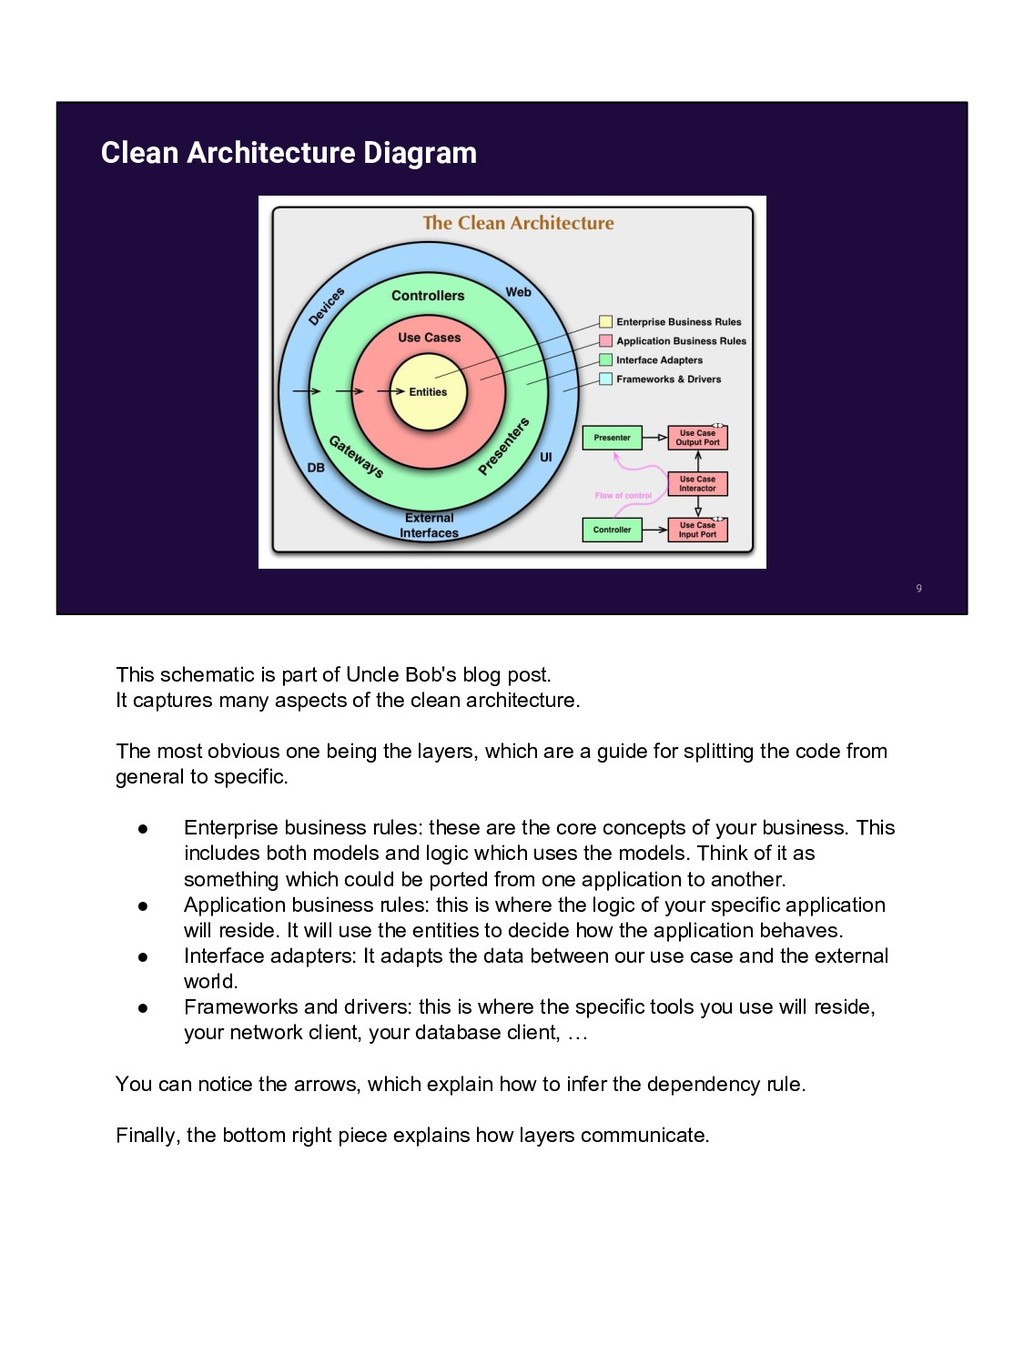
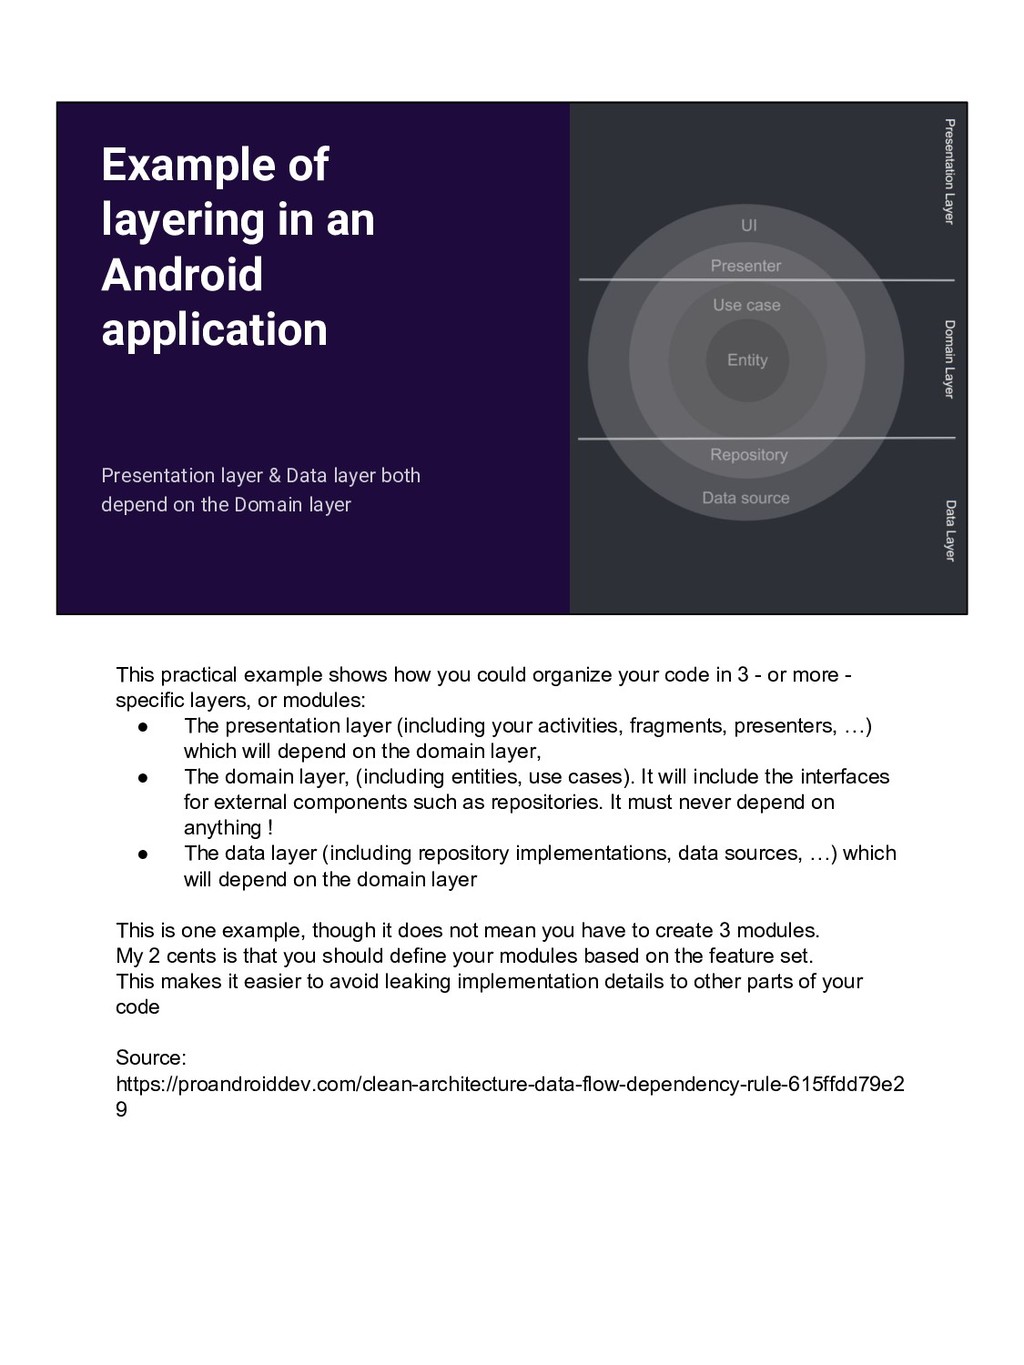
blog post. It captures many aspects of the clean architecture. The most obvious one being the layers, which are a guide for splitting the code from general to specific. • Enterprise business rules: these are the core concepts of your business. This includes both models and logic which uses the models. Think of it as something which could be ported from one application to another. • Application business rules: this is where the logic of your specific application will reside. It will use the entities to decide how the application behaves. • Interface adapters: It adapts the data between our use case and the external world. • Frameworks and drivers: this is where the specific tools you use will reside, your network client, your database client, … You can notice the arrows, which explain how to infer the dependency rule. Finally, the bottom right piece explains how layers communicate.
particularly interesting thing in the diagram, is that you will see stuff like UI and Database in the same layer. This does NOT mean these 2 should be communicating together. Instead, it means these concepts will be the most concrete pieces of our application. It also means that you can split your code based on these layers. Although, it does not mean that separate layers will have to live in separate modules. For example, keeping your presenter and views in the same package makes a lot of sense, but they could also live in apart. When working on your app, one of the biggest challenge, is to keep the implementations using the system in the outer layer. My advice is, while you can find very interesting libraries for your application, focus on the gain they can bring in terms of: • Performance • Stability • Abstraction And avoid seeing how easily you UI can query your database !
Data layer both depend on the Domain layer This practical example shows how you could organize your code in 3 - or more - specific layers, or modules: • The presentation layer (including your activities, fragments, presenters, …) which will depend on the domain layer, • The domain layer, (including entities, use cases). It will include the interfaces for external components such as repositories. It must never depend on anything ! • The data layer (including repository implementations, data sources, …) which will depend on the domain layer This is one example, though it does not mean you have to create 3 modules. My 2 cents is that you should define your modules based on the feature set. This makes it easier to avoid leaking implementation details to other parts of your code Source: https://proandroiddev.com/clean-architecture-data-flow-dependency-rule-615ffdd79e2 9
for an application. At the left, we have our entities, which include a simple POJO and a policy, which applies some business rules to our object. Then, you can see the UseCase layer. It uses the policy and the POJO from the entity layer. It also defines a few interfaces, one for outer layers to interact with, others for outer layers to comply with the UseCase's expectations. It also defines models which will be used for the interactions. There is then a split with different streams: • One for the data persistence: ◦ It includes a repository, which complies with the UseCase requirements : it defines an underlying interface for the storage engine to comply with, and a model for exchanging data. It won't do much, probably just mapping fields from the UseCaseModel to a more useable POJO ◦ At its right, you can see the implementation, which will depend on the external concrete implementation of the DB, Room for example • The other stream is for the UI: ◦ It is pretty much the same structure: implementation + viewModels + interface ◦ And then, the Activity
boundaries between layers are crossed always with the same direction, this keeps the dependency flow as expected • The business logic of the application lives in the entities and the use case • Everything related to the system is on the outer right part. This shows also one particular thing : the Context will never leave this side of the dependencies ! • We can already see how our code can be organized, and the module dependencies !
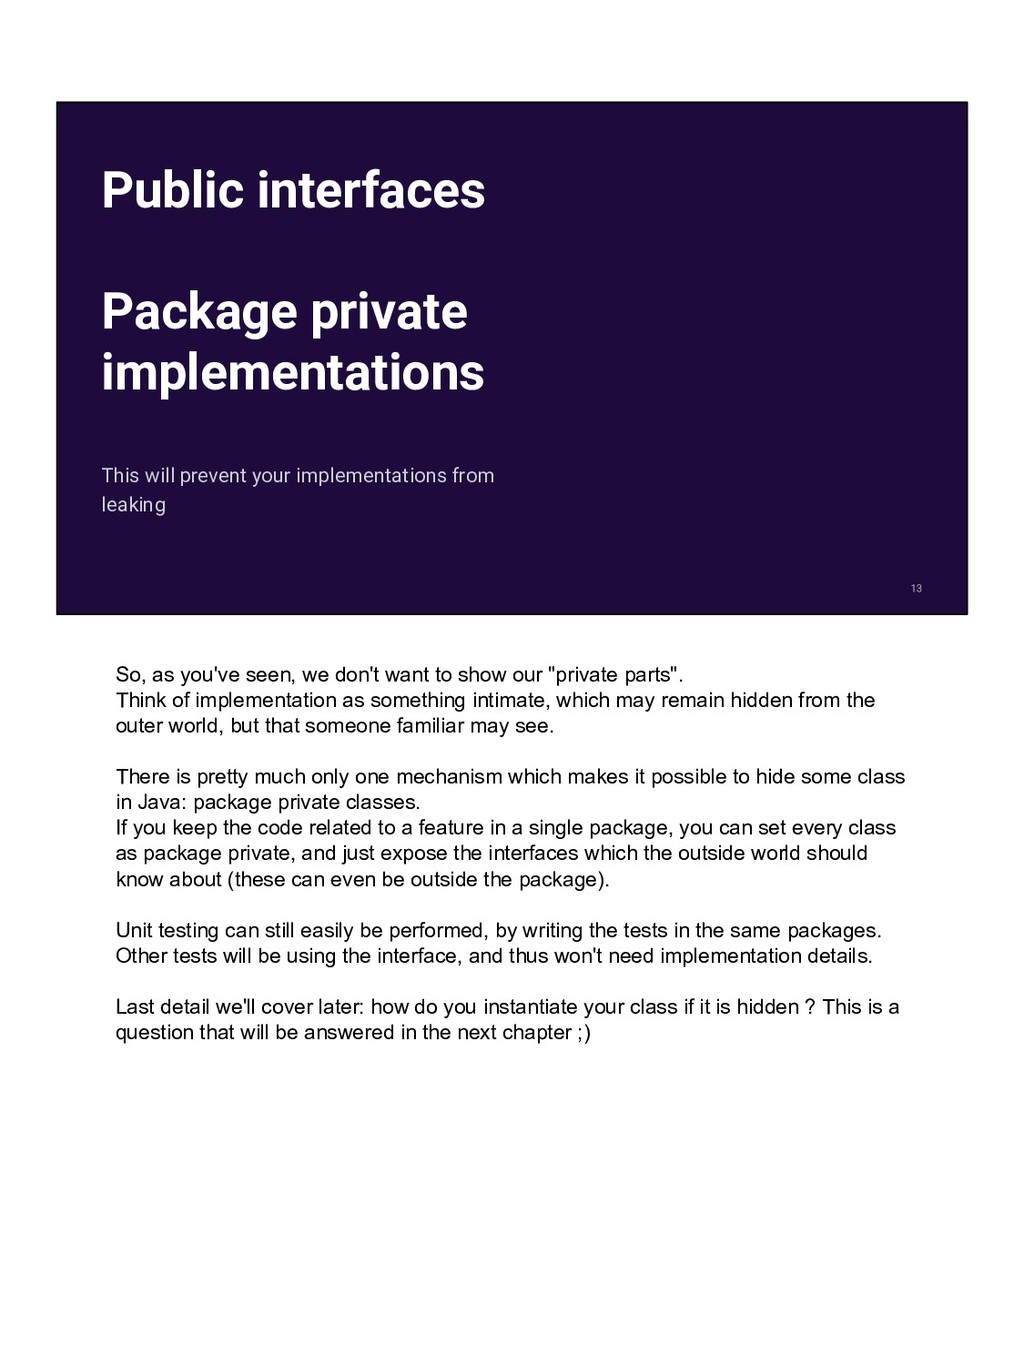
from leaking So, as you've seen, we don't want to show our "private parts". Think of implementation as something intimate, which may remain hidden from the outer world, but that someone familiar may see. There is pretty much only one mechanism which makes it possible to hide some class in Java: package private classes. If you keep the code related to a feature in a single package, you can set every class as package private, and just expose the interfaces which the outside world should know about (these can even be outside the package). Unit testing can still easily be performed, by writing the tests in the same packages. Other tests will be using the interface, and thus won't need implementation details. Last detail we'll cover later: how do you instantiate your class if it is hidden ? This is a question that will be answered in the next chapter ;)
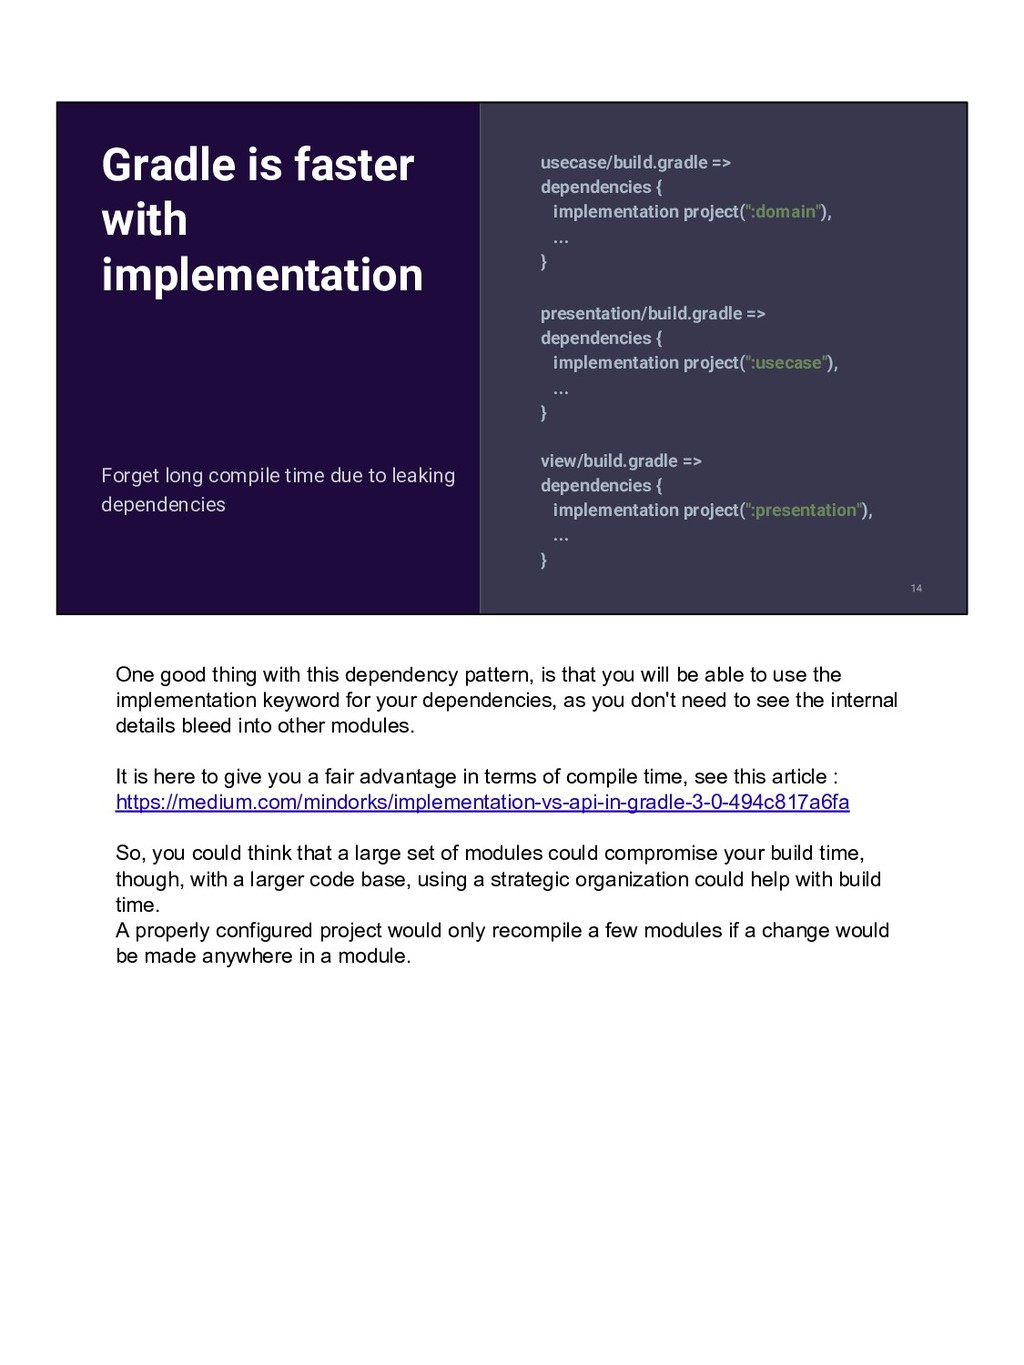
dependencies { implementation project(":usecase"), ... } Gradle is faster with implementation Forget long compile time due to leaking dependencies view/build.gradle => dependencies { implementation project(":presentation"), ... } One good thing with this dependency pattern, is that you will be able to use the implementation keyword for your dependencies, as you don't need to see the internal details bleed into other modules. It is here to give you a fair advantage in terms of compile time, see this article : https://medium.com/mindorks/implementation-vs-api-in-gradle-3-0-494c817a6fa So, you could think that a large set of modules could compromise your build time, though, with a larger code base, using a strategic organization could help with build time. A properly configured project would only recompile a few modules if a change would be made anywhere in a module.
organize your code, and define your architecture, should reflect what your application is about. Of course, by looking in the code, you will know that it is an Android application, though, remember that what you build is not about Android, it is about the business you are trying to run.
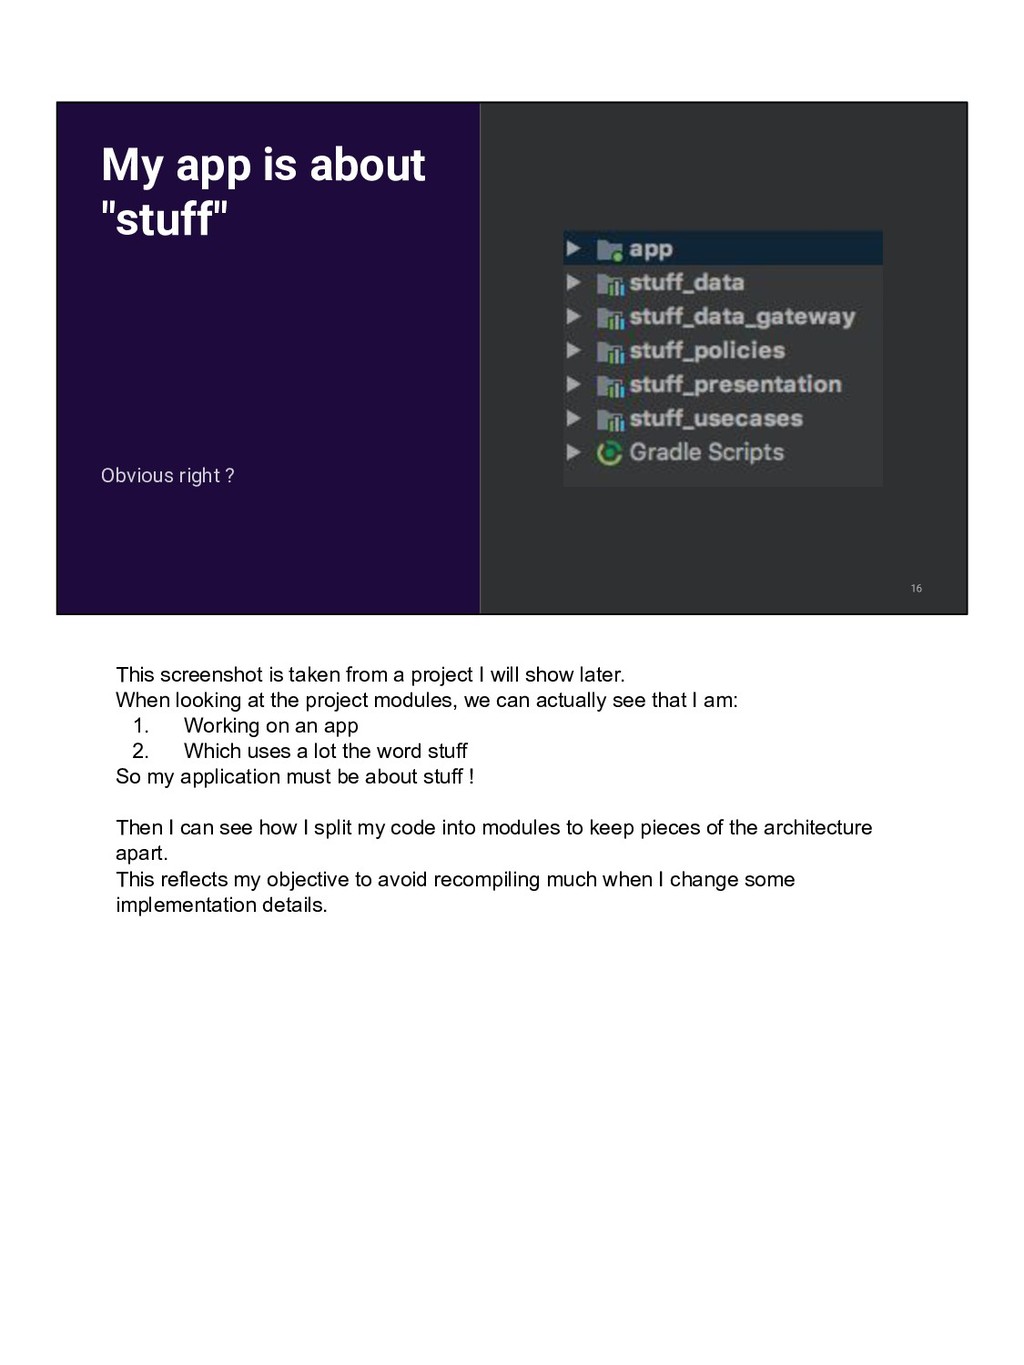
is taken from a project I will show later. When looking at the project modules, we can actually see that I am: 1. Working on an app 2. Which uses a lot the word stuff So my application must be about stuff ! Then I can see how I split my code into modules to keep pieces of the architecture apart. This reflects my objective to avoid recompiling much when I change some implementation details.
if I want to keep my dependencies clean, how do I patch this altogether into an app ? How does my presenter will get a use case without having to depend on the data module ? This is where dependency injection comes in handy! In this case, we will explore how a framework like Dagger can help you with setting up your application.
or a side effect. Just to make things clear, if you have ever thought something happens for no reason, you are wrong! Everythings that happens in a software, either happens by design, or is a side effect (call it a bug). Dagger follows the same principles: everything happens because you used Dagger in a specific way.
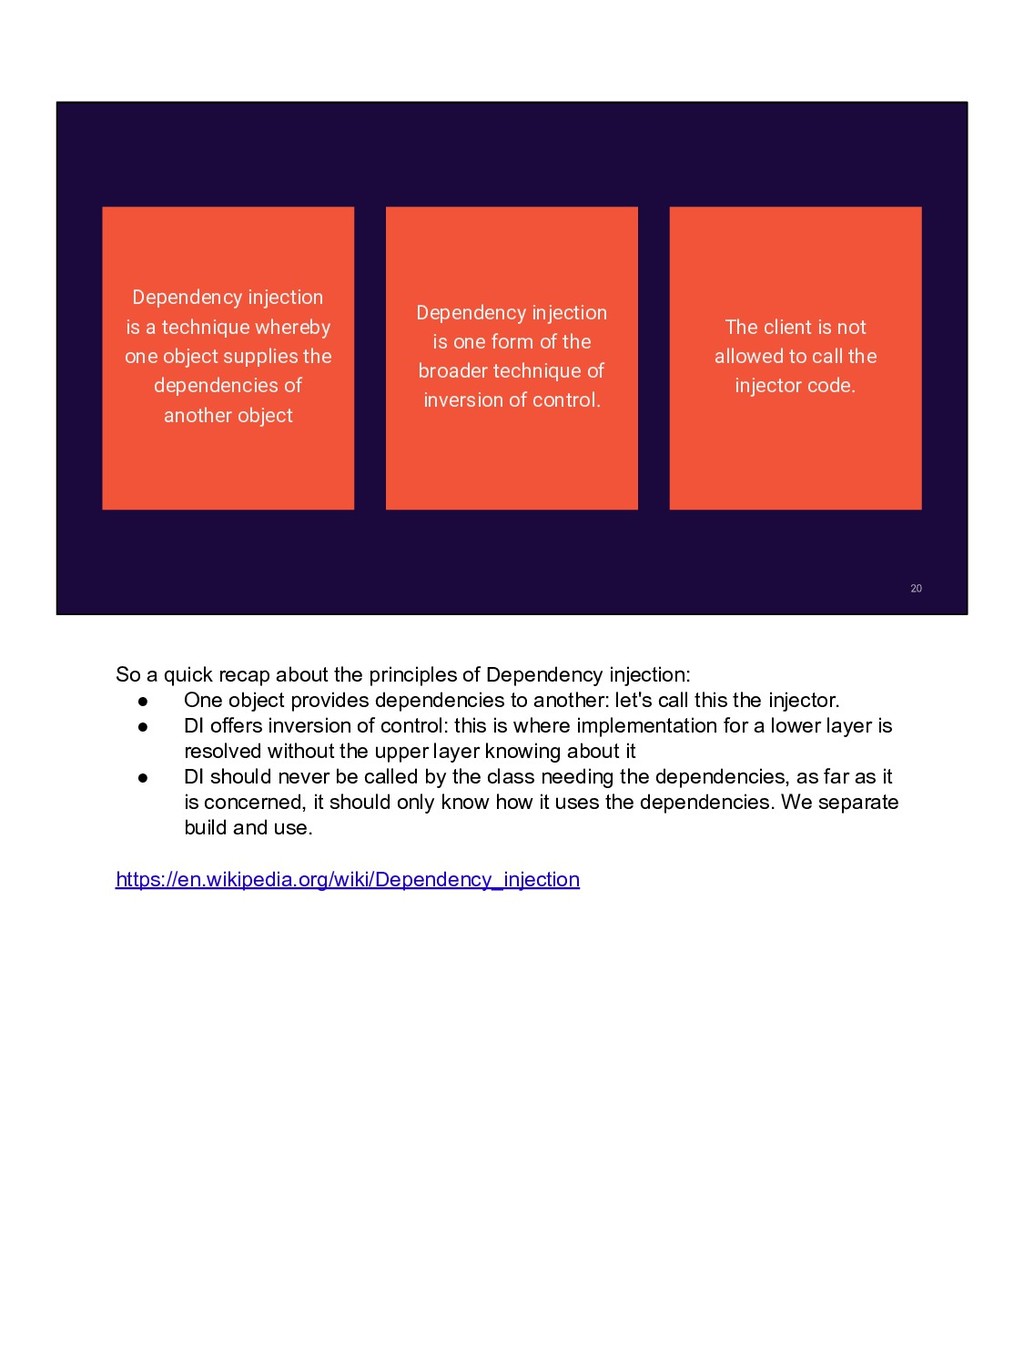
dependencies of another object Dependency injection is one form of the broader technique of inversion of control. The client is not allowed to call the injector code. So a quick recap about the principles of Dependency injection: • One object provides dependencies to another: let's call this the injector. • DI offers inversion of control: this is where implementation for a lower layer is resolved without the upper layer knowing about it • DI should never be called by the class needing the dependencies, as far as it is concerned, it should only know how it uses the dependencies. We separate build and use. https://en.wikipedia.org/wiki/Dependency_injection
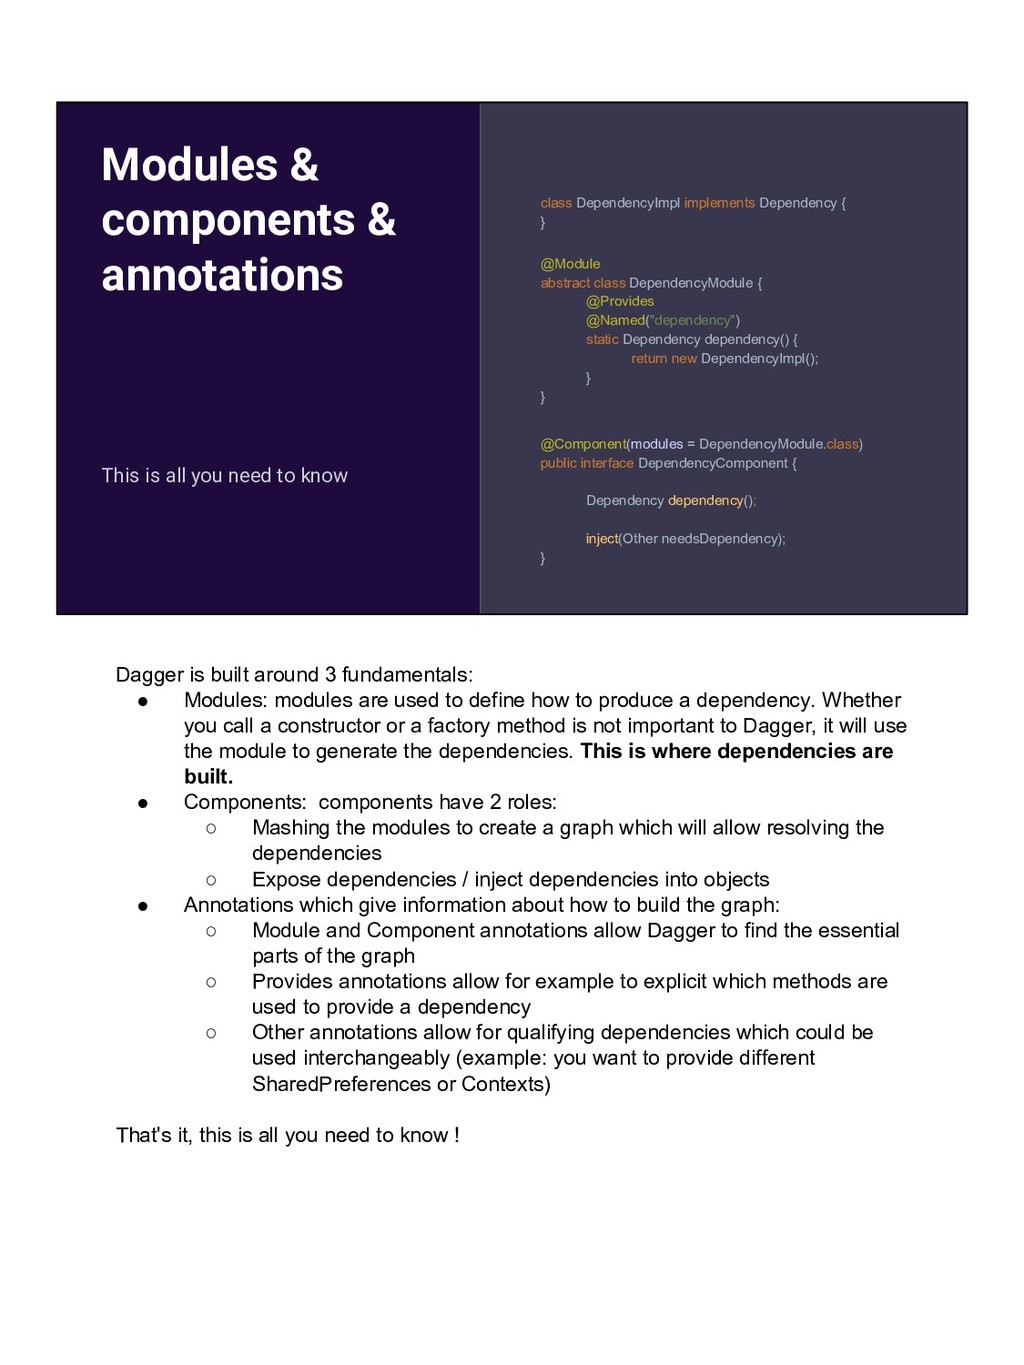
to know class DependencyImpl implements Dependency { } @Module abstract class DependencyModule { @Provides @Named("dependency") static Dependency dependency() { return new DependencyImpl(); } } @Component(modules = DependencyModule.class) public interface DependencyComponent { Dependency dependency(); inject(Other needsDependency); } Dagger is built around 3 fundamentals: • Modules: modules are used to define how to produce a dependency. Whether you call a constructor or a factory method is not important to Dagger, it will use the module to generate the dependencies. This is where dependencies are built. • Components: components have 2 roles: ◦ Mashing the modules to create a graph which will allow resolving the dependencies ◦ Expose dependencies / inject dependencies into objects • Annotations which give information about how to build the graph: ◦ Module and Component annotations allow Dagger to find the essential parts of the graph ◦ Provides annotations allow for example to explicit which methods are used to provide a dependency ◦ Other annotations allow for qualifying dependencies which could be used interchangeably (example: you want to provide different SharedPreferences or Contexts) That's it, this is all you need to know !
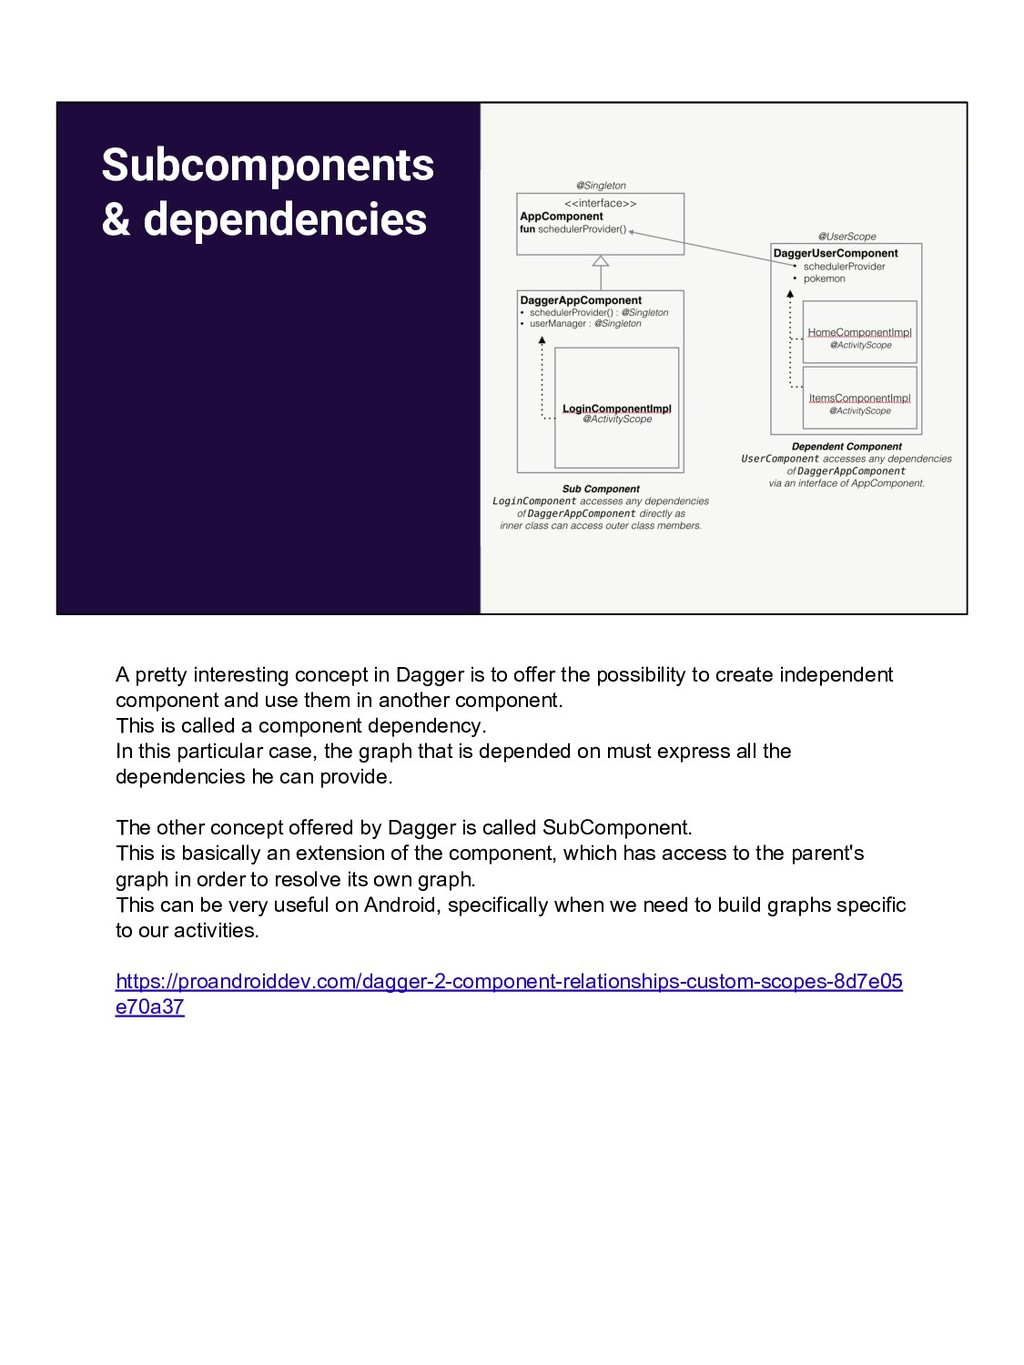
to offer the possibility to create independent component and use them in another component. This is called a component dependency. In this particular case, the graph that is depended on must express all the dependencies he can provide. The other concept offered by Dagger is called SubComponent. This is basically an extension of the component, which has access to the parent's graph in order to resolve its own graph. This can be very useful on Android, specifically when we need to build graphs specific to our activities. https://proandroiddev.com/dagger-2-component-relationships-custom-scopes-8d7e05 e70a37
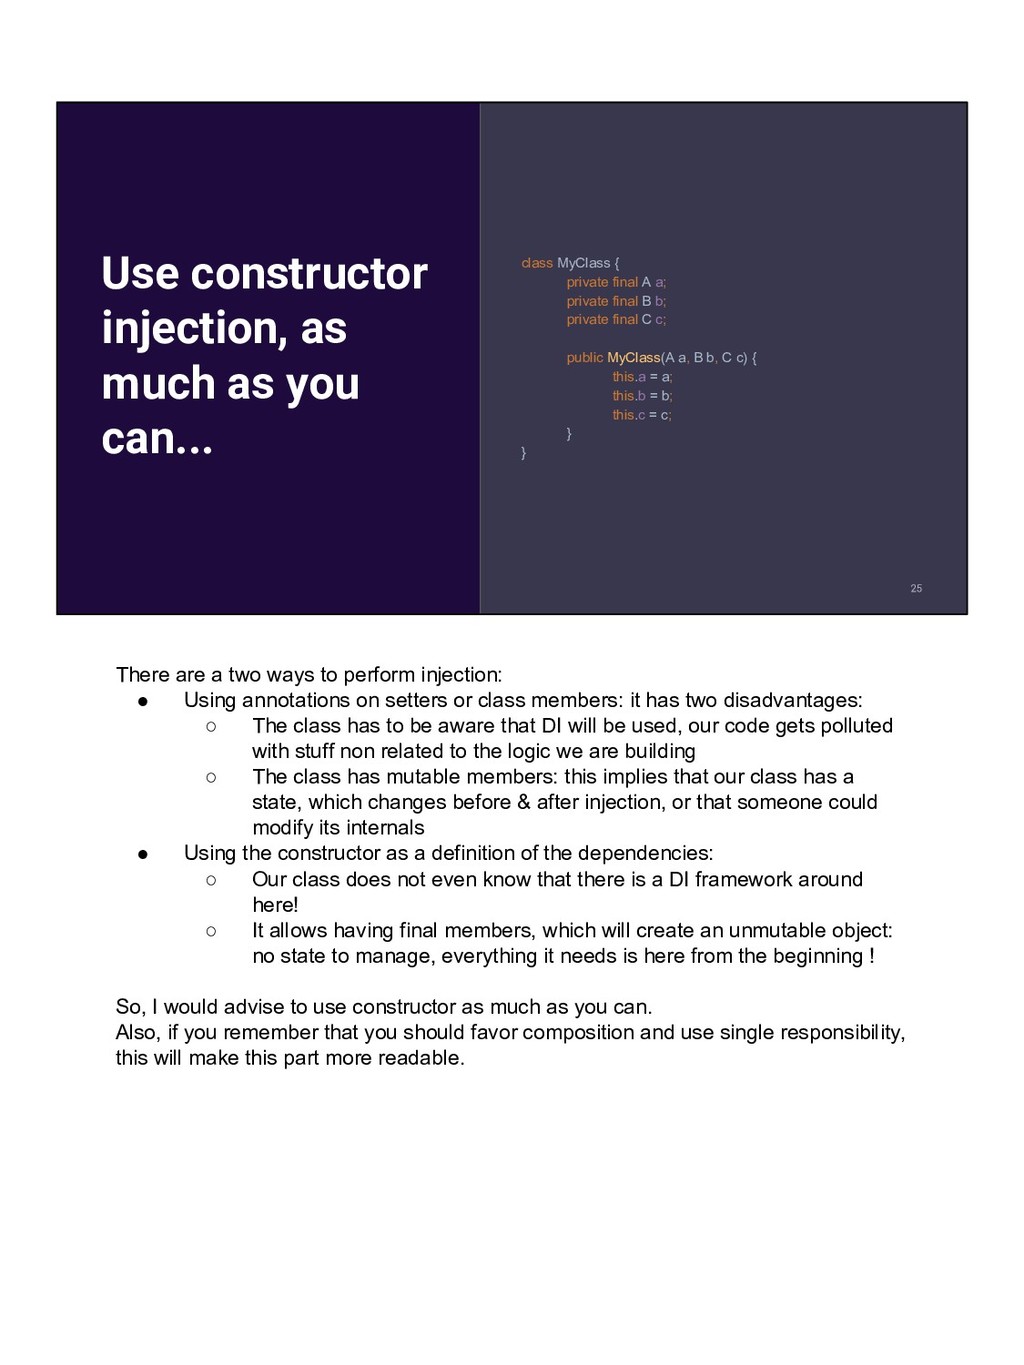
{ private final A a; private final B b; private final C c; public MyClass(A a, B b, C c) { this.a = a; this.b = b; this.c = c; } } There are a two ways to perform injection: • Using annotations on setters or class members: it has two disadvantages: ◦ The class has to be aware that DI will be used, our code gets polluted with stuff non related to the logic we are building ◦ The class has mutable members: this implies that our class has a state, which changes before & after injection, or that someone could modify its internals • Using the constructor as a definition of the dependencies: ◦ Our class does not even know that there is a DI framework around here! ◦ It allows having final members, which will create an unmutable object: no state to manage, everything it needs is here from the beginning ! So, I would advise to use constructor as much as you can. Also, if you remember that you should favor composition and use single responsibility, this will make this part more readable.
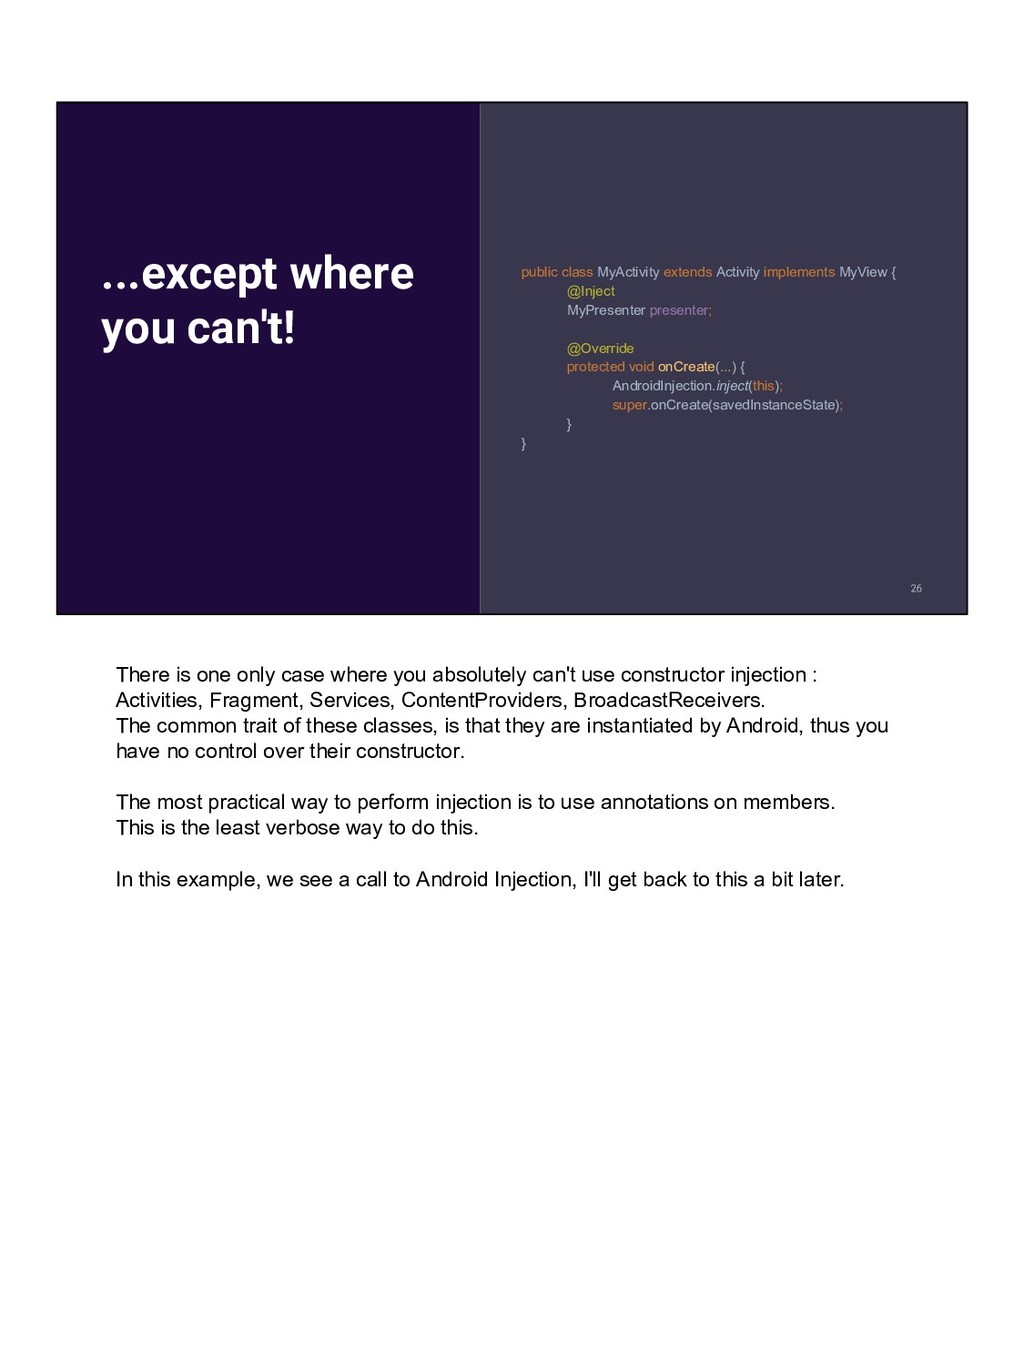
MyView { @Inject MyPresenter presenter; @Override protected void onCreate(...) { AndroidInjection.inject(this); super.onCreate(savedInstanceState); } } There is one only case where you absolutely can't use constructor injection : Activities, Fragment, Services, ContentProviders, BroadcastReceivers. The common trait of these classes, is that they are instantiated by Android, thus you have no control over their constructor. The most practical way to perform injection is to use annotations on members. This is the least verbose way to do this. In this example, we see a call to Android Injection, I'll get back to this a bit later.
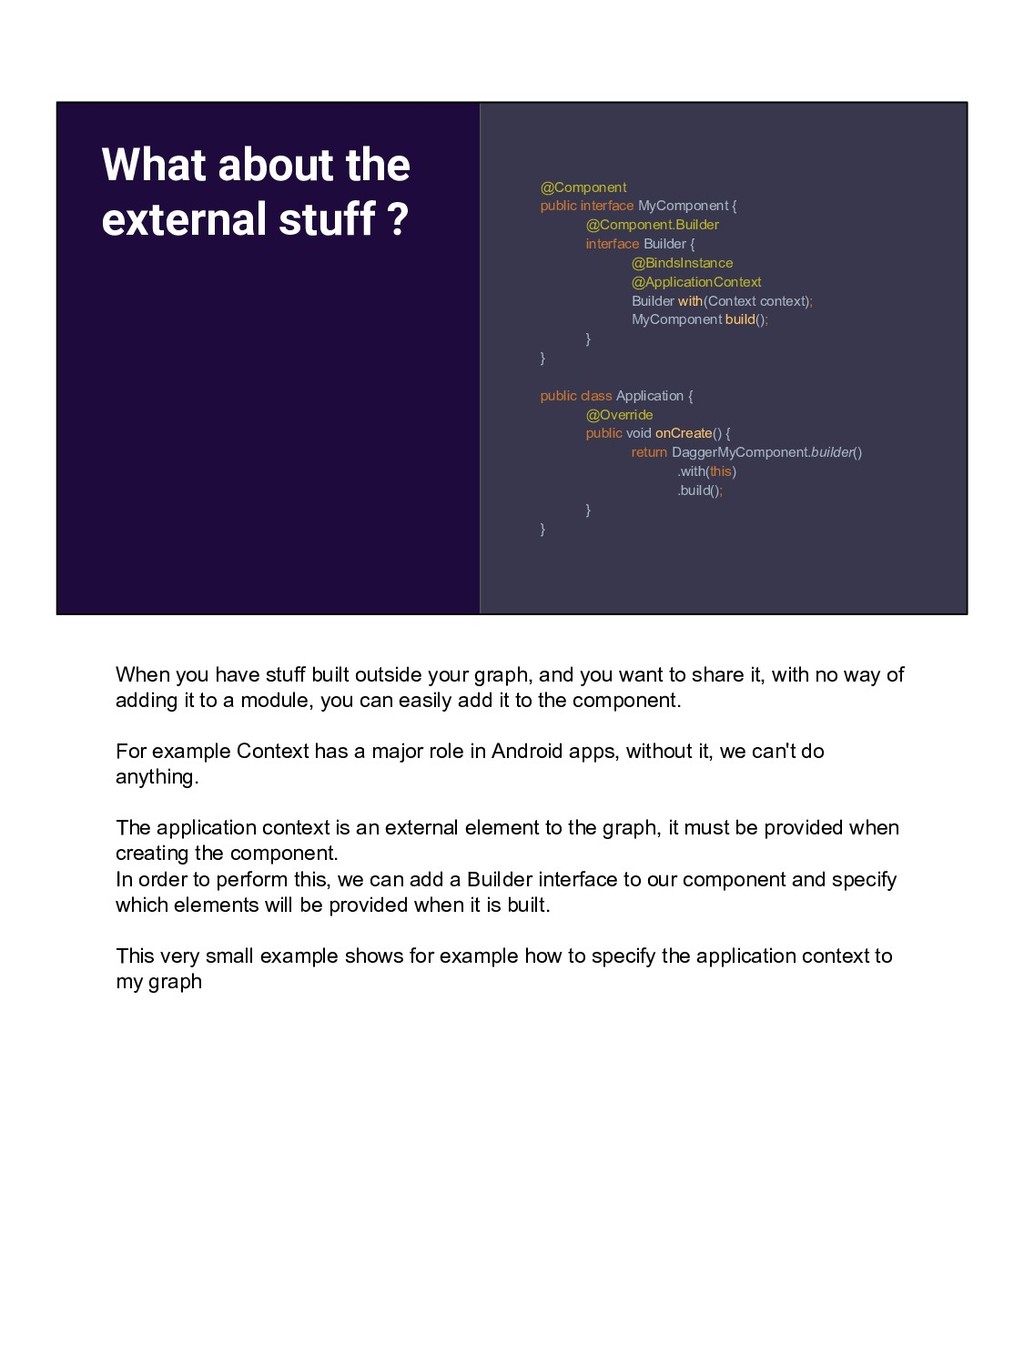
{ @Component.Builder interface Builder { @BindsInstance @ApplicationContext Builder with(Context context); MyComponent build(); } } public class Application { @Override public void onCreate() { return DaggerMyComponent.builder() .with(this) .build(); } } When you have stuff built outside your graph, and you want to share it, with no way of adding it to a module, you can easily add it to the component. For example Context has a major role in Android apps, without it, we can't do anything. The application context is an external element to the graph, it must be provided when creating the component. In order to perform this, we can add a Builder interface to our component and specify which elements will be provided when it is built. This very small example shows for example how to specify the application context to my graph
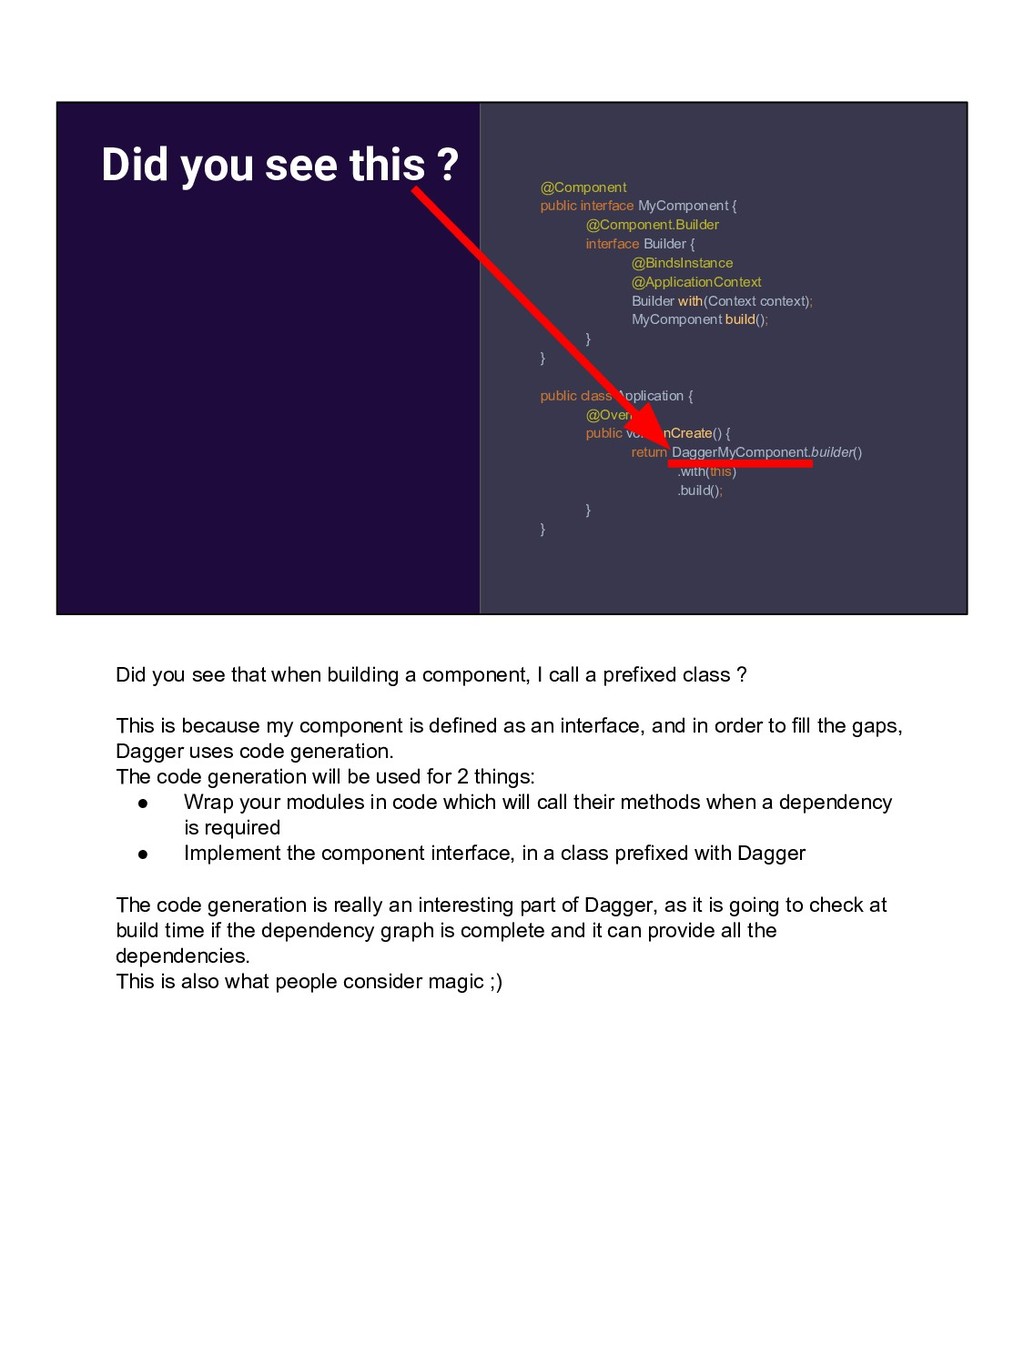
@Component.Builder interface Builder { @BindsInstance @ApplicationContext Builder with(Context context); MyComponent build(); } } public class Application { @Override public void onCreate() { return DaggerMyComponent.builder() .with(this) .build(); } } Did you see that when building a component, I call a prefixed class ? This is because my component is defined as an interface, and in order to fill the gaps, Dagger uses code generation. The code generation will be used for 2 things: • Wrap your modules in code which will call their methods when a dependency is required • Implement the component interface, in a class prefixed with Dagger The code generation is really an interesting part of Dagger, as it is going to check at build time if the dependency graph is complete and it can provide all the dependencies. This is also what people consider magic ;)
works! I told you, it's not magic! Don't be shy, get into the build/generated folder and have a look into the code created by the annotation processor. This is usually very ugly, and it wraps the dependency creation into a set of factories. These factories are then used to create injectors, which will then be used to inject dependencies, for example in you application or activities.
) public interface MyActivitySubComponent extends AndroidInjector<MyActivity> { @Subcomponent.Builder abstract class Builder extends AndroidInjector.Builder<MyActivity> { } } As I said before, there is an Android specific Dagger extension. It allows you to set up the specifics to your Activity/Service/… into a subcomponents. If you remember, the subcomponent has access to the rest of the graph, which will provide dependencies from your application. The very important part here, is that your Subcomponent will extend the AndroidInjector API. This is the API used by AndroidInjector, the Dagger component used for injection activities, services, …
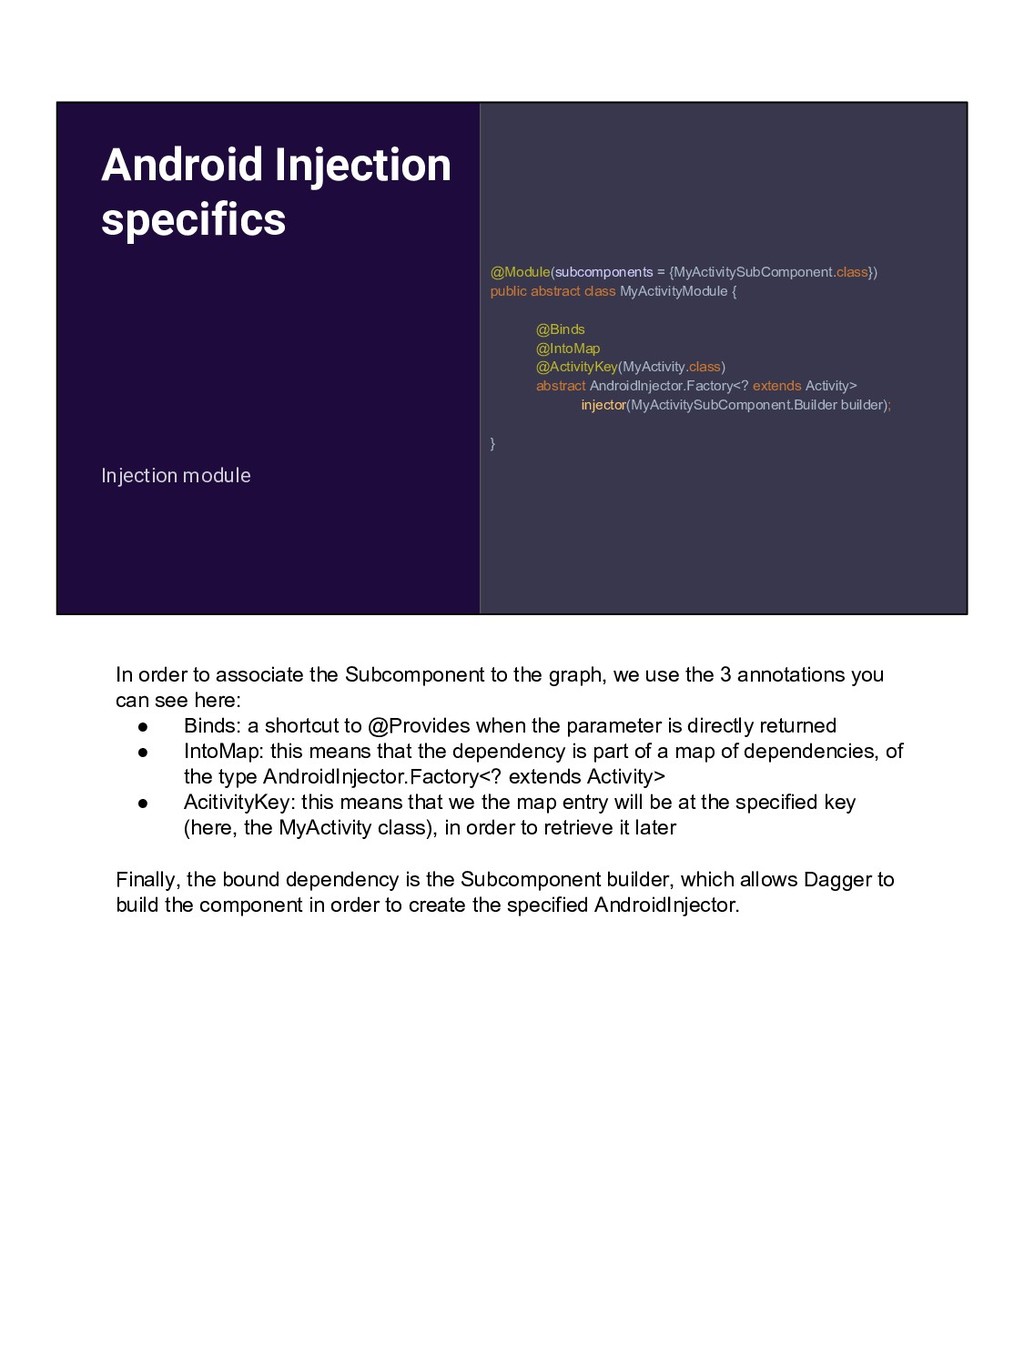
class MyActivityModule { @Binds @IntoMap @ActivityKey(MyActivity.class) abstract AndroidInjector.Factory<? extends Activity> injector(MyActivitySubComponent.Builder builder); } In order to associate the Subcomponent to the graph, we use the 3 annotations you can see here: • Binds: a shortcut to @Provides when the parameter is directly returned • IntoMap: this means that the dependency is part of a map of dependencies, of the type AndroidInjector.Factory<? extends Activity> • AcitivityKey: this means that we the map entry will be at the specified key (here, the MyActivity class), in order to retrieve it later Finally, the bound dependency is the Subcomponent builder, which allows Dagger to build the component in order to create the specified AndroidInjector.
} ) public interface AppComponent extends AndroidInjector<Application> { } public class Application extends DaggerApplication { @Override protected AndroidInjector<? extends DaggerApplication> applicationInjector() { return DaggerApplicationComponent.create(); } } Finally, this is how you bind everything in the app. At the top level, you bind your module within you app graph, and apply the same injector pattern to your app. Dagger will generate the glue code, which takes care of assembling the dependencies from the application modules with your activities subcomponent's modules. This glue code can be seen in the generated sources with the rest. Finally, one thing to be noted: there is an annotation which allows generating the subcomponent, and simplifies the binding, so you may write less code.
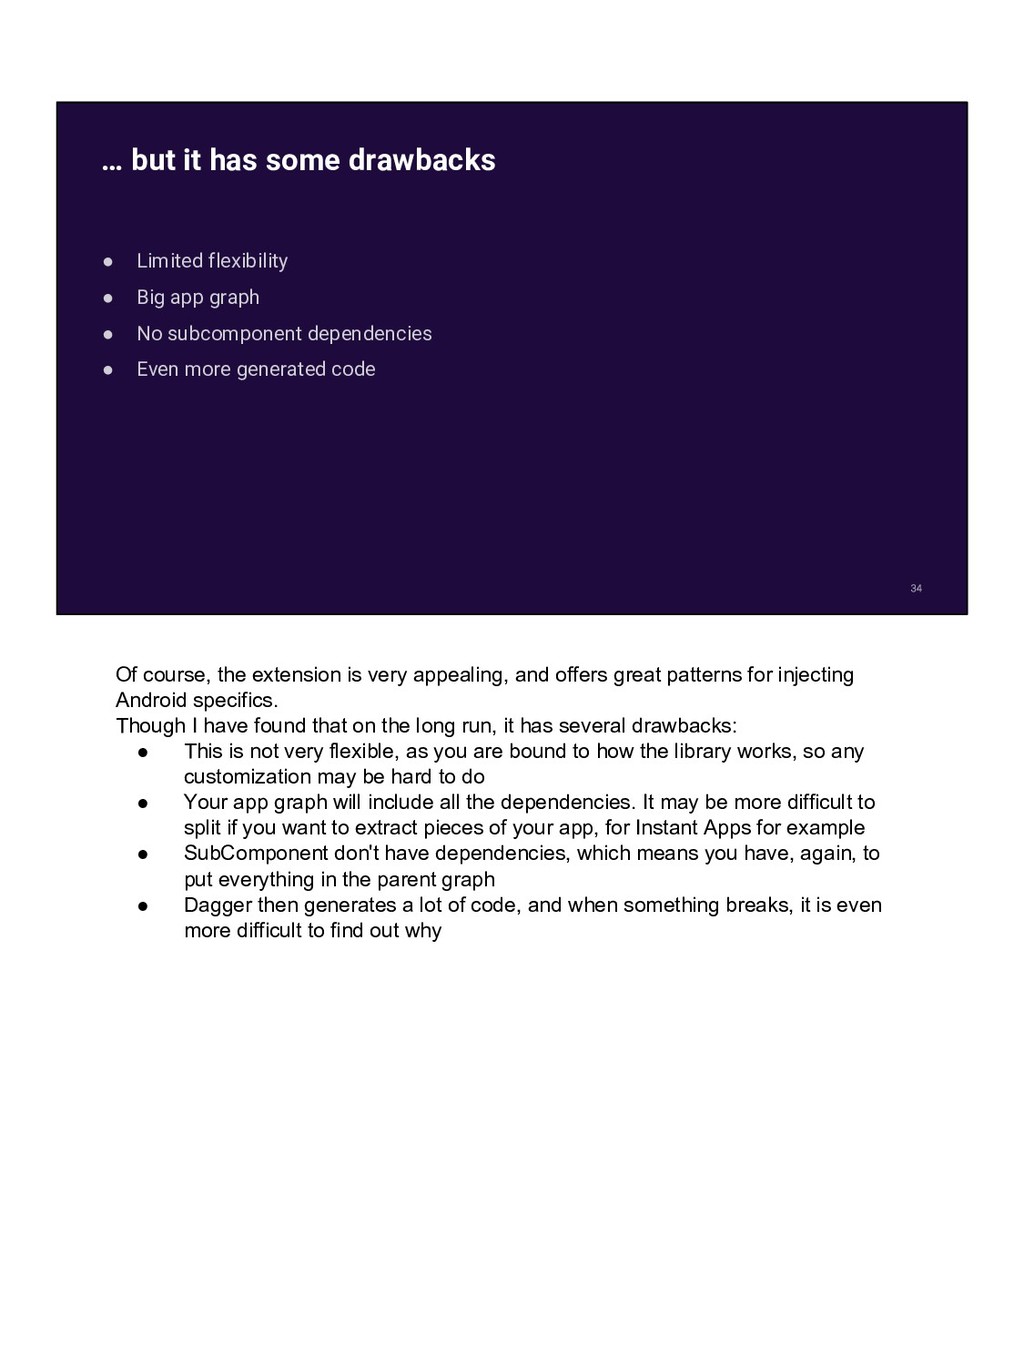
dependencies • Even more generated code … but it has some drawbacks Of course, the extension is very appealing, and offers great patterns for injecting Android specifics. Though I have found that on the long run, it has several drawbacks: • This is not very flexible, as you are bound to how the library works, so any customization may be hard to do • Your app graph will include all the dependencies. It may be more difficult to split if you want to extract pieces of your app, for Instant Apps for example • SubComponent don't have dependencies, which means you have, again, to put everything in the parent graph • Dagger then generates a lot of code, and when something breaks, it is even more difficult to find out why
will be about a concrete application of the clean architecture. I will focus on the aspects of the architecture which guided my choices. Of course, I'll show how Dagger is a good framework to ensure we perform dependency injection. [Run a quick demo of the app]
looking at how I organized the code in modules. Each module is about a feature (stuff), and specific layer involved in that feature. This offers a clear view of: • What my application is about • Where one can find the code about a specific part of the app Then the dependency tree: • Policies are part of the entities, this module is a the top of the chain • Use cases contain the business logic, they depend on the policies • Data gateway and then data are related to fetching information, they are part of the Interface adapter / Frameworks & drivers layers • The presentation relates to the last two layers too
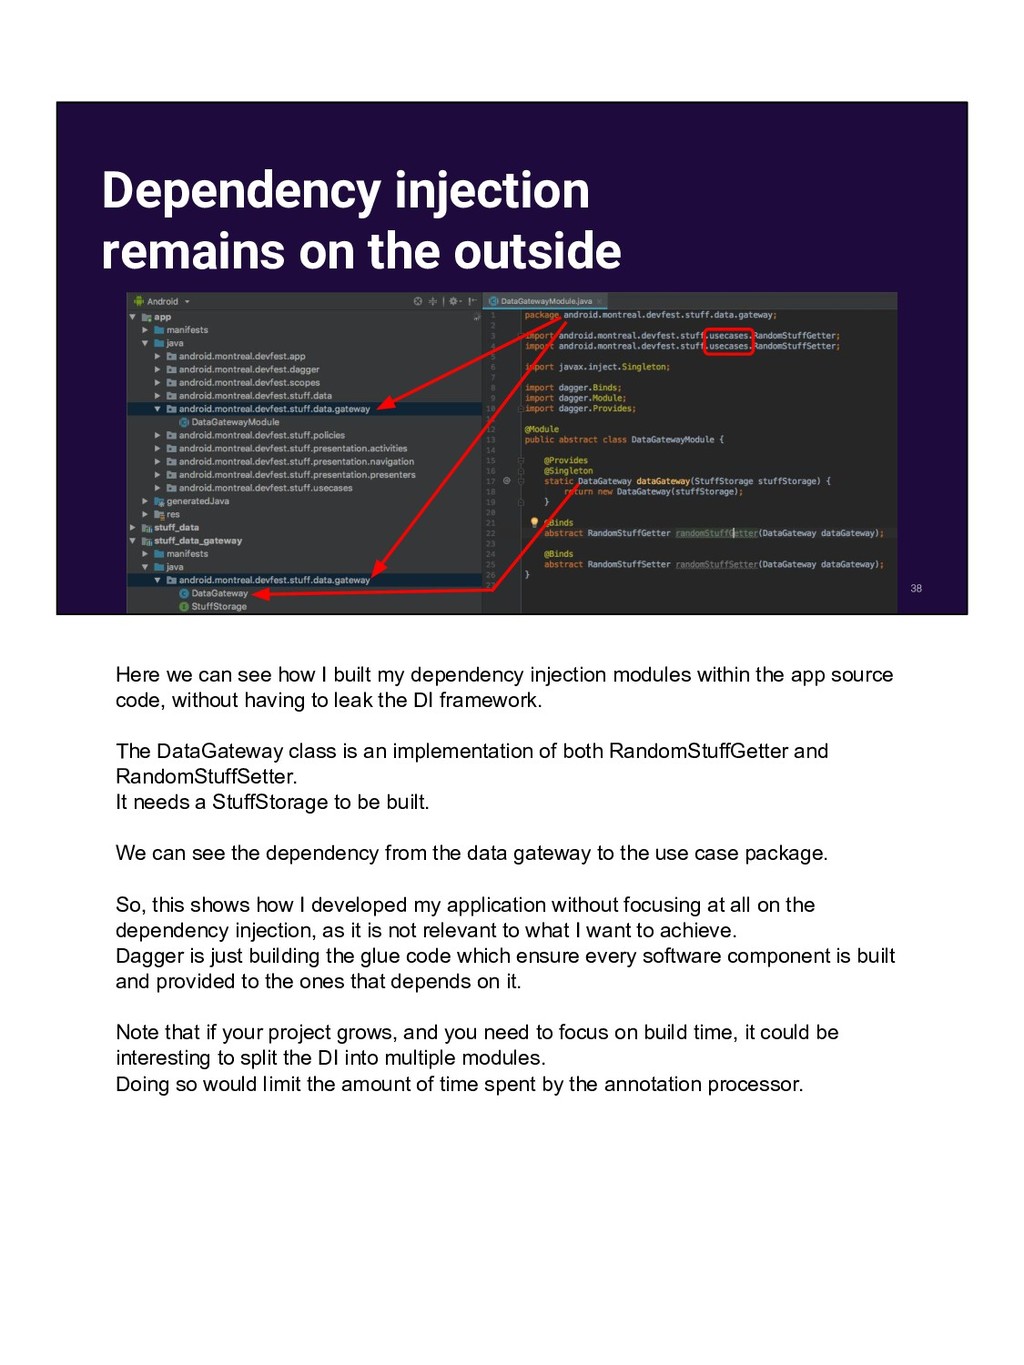
how I built my dependency injection modules within the app source code, without having to leak the DI framework. The DataGateway class is an implementation of both RandomStuffGetter and RandomStuffSetter. It needs a StuffStorage to be built. We can see the dependency from the data gateway to the use case package. So, this shows how I developed my application without focusing at all on the dependency injection, as it is not relevant to what I want to achieve. Dagger is just building the glue code which ensure every software component is built and provided to the ones that depends on it. Note that if your project grows, and you need to focus on build time, it could be interesting to split the DI into multiple modules. Doing so would limit the amount of time spent by the annotation processor.
I created my app, I was a not so good developer, and I used plain files to persist my stuff. After learning that I could use something called SharedPreferences, I decided to replace the File backed StuffStorage implementation with a SharedPrefs backed implementation! Open Android Studio: • Show StuffStorage • Show the FileKeyValueStore • Show the SharedPrefsKeyValueStore • Update the @Binds method in the DataModule • Restart the application!
discuss, is how composition can become a great asset, when it comes to making changes. The idea that you will share common behaviours in components which have to derive a same parent is not always good.
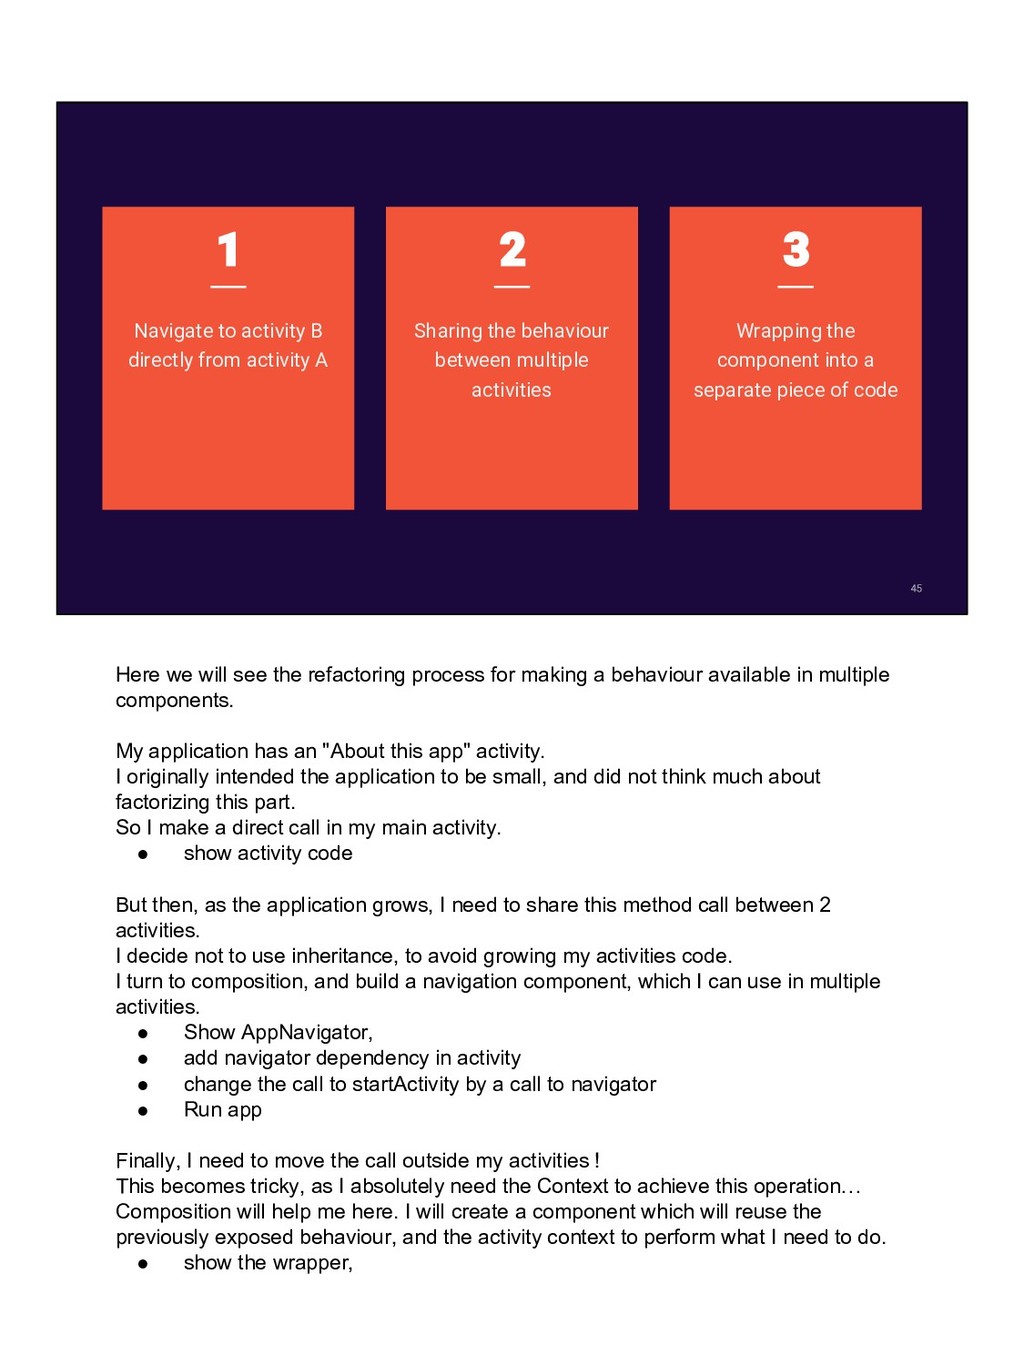
behaviour between multiple activities Wrapping the component into a separate piece of code Here we will see the refactoring process for making a behaviour available in multiple components. My application has an "About this app" activity. I originally intended the application to be small, and did not think much about factorizing this part. So I make a direct call in my main activity. • show activity code But then, as the application grows, I need to share this method call between 2 activities. I decide not to use inheritance, to avoid growing my activities code. I turn to composition, and build a navigation component, which I can use in multiple activities. • Show AppNavigator, • add navigator dependency in activity • change the call to startActivity by a call to navigator • Run app Finally, I need to move the call outside my activities ! This becomes tricky, as I absolutely need the Context to achieve this operation… Composition will help me here. I will create a component which will reuse the previously exposed behaviour, and the activity context to perform what I need to do. • show the wrapper,
cover, is how easy testing your business logic has become using this architecture. Here, we will see how we can set up tests, with different kinds of mocks in play.