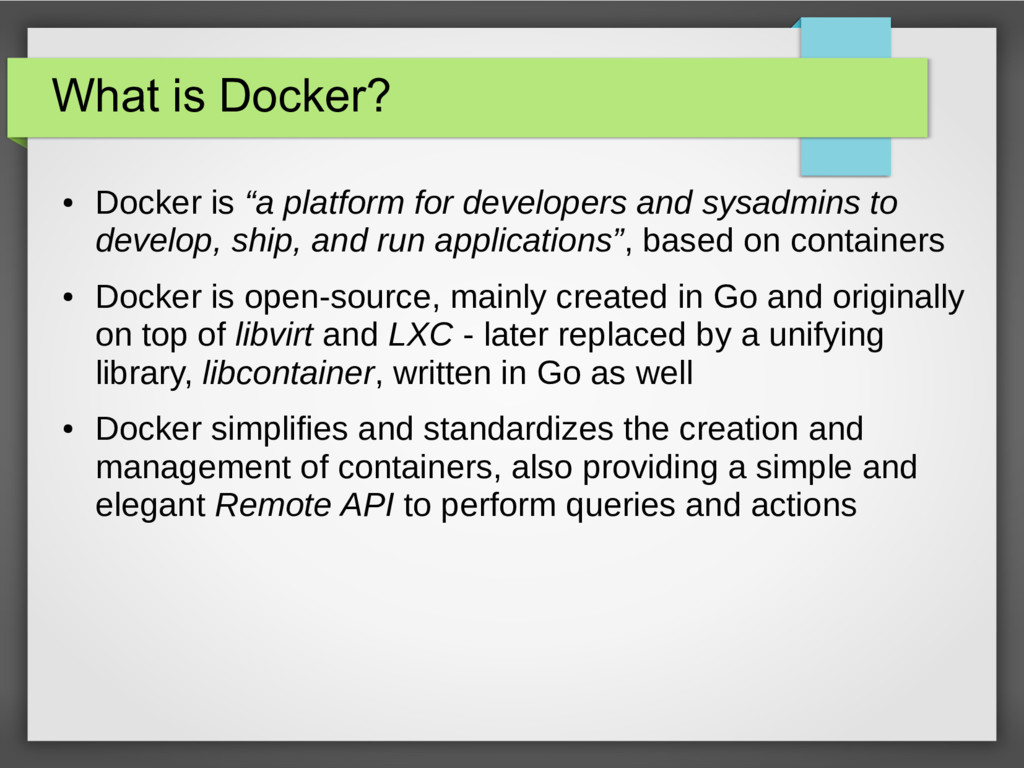
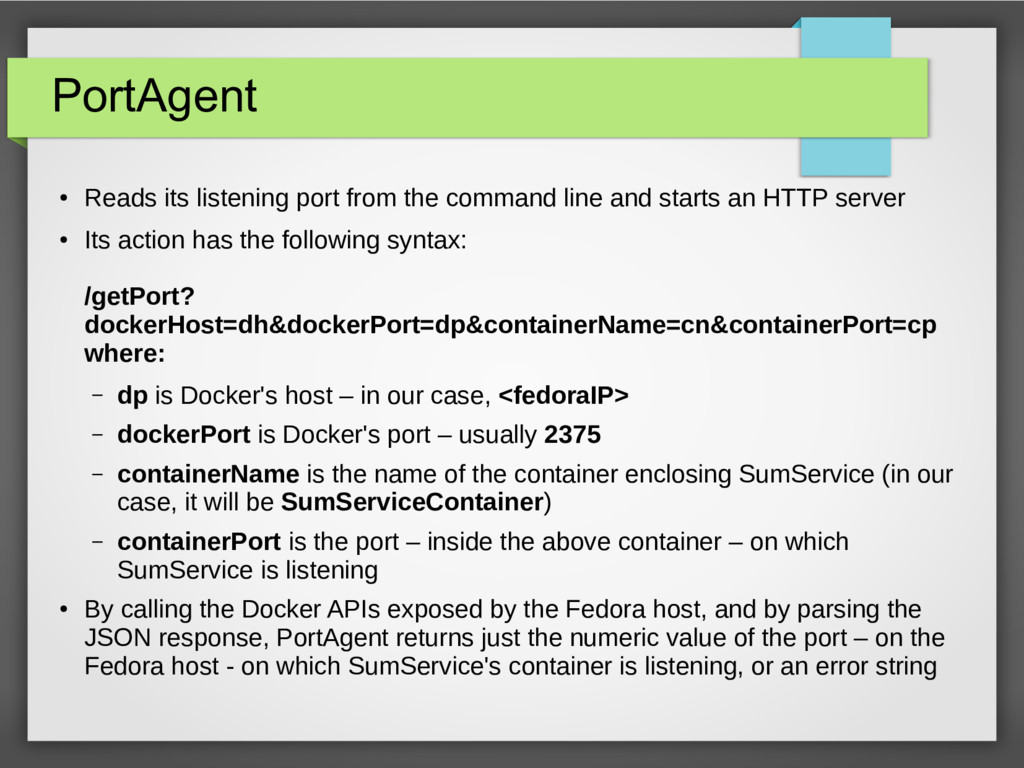
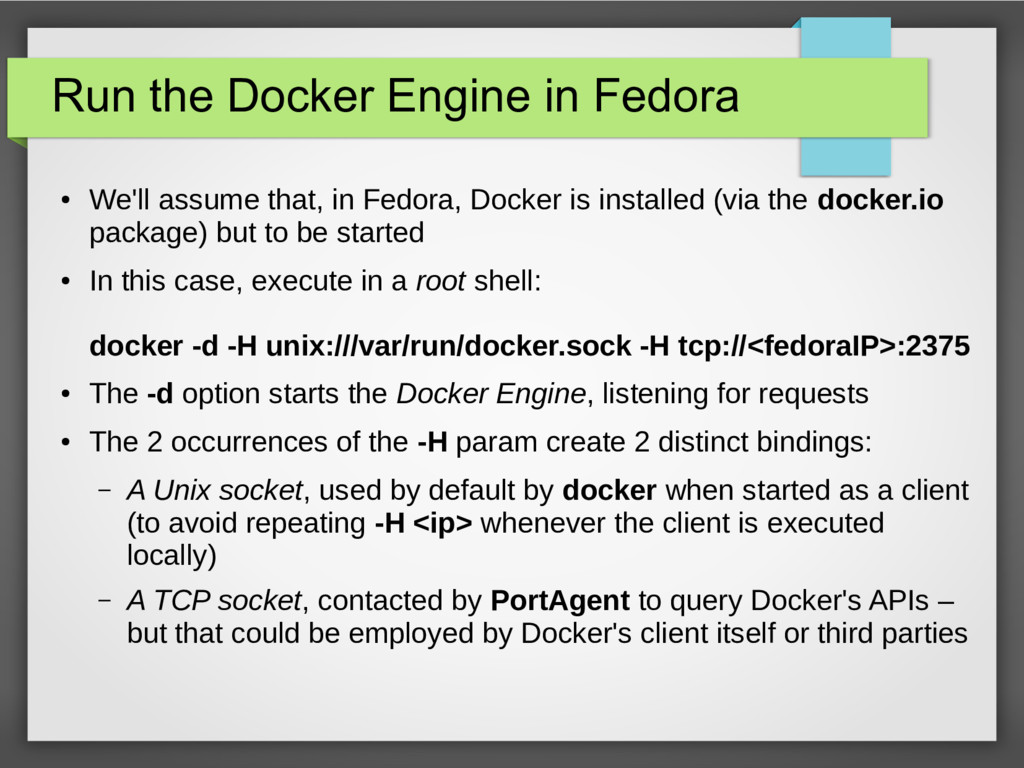
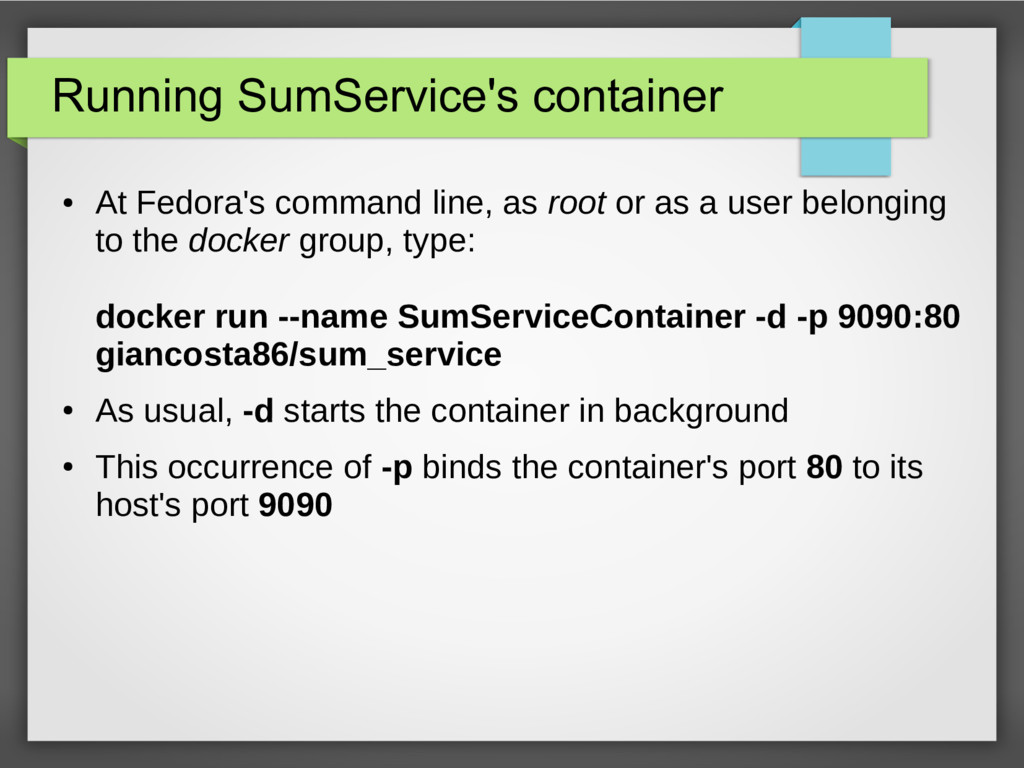
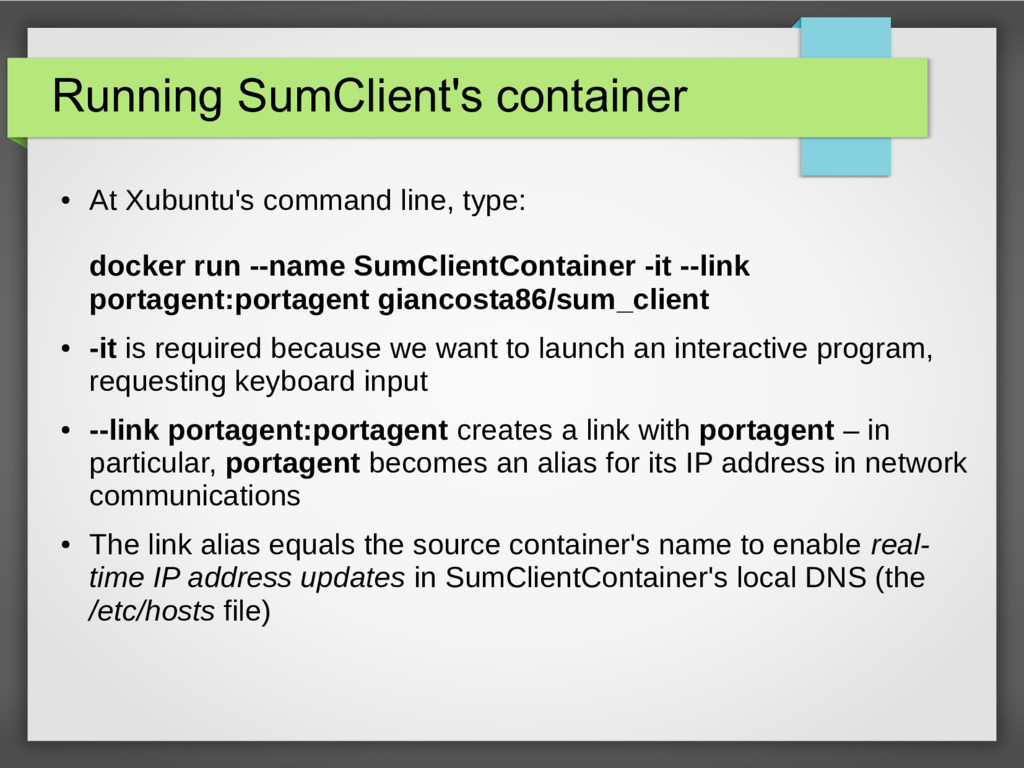
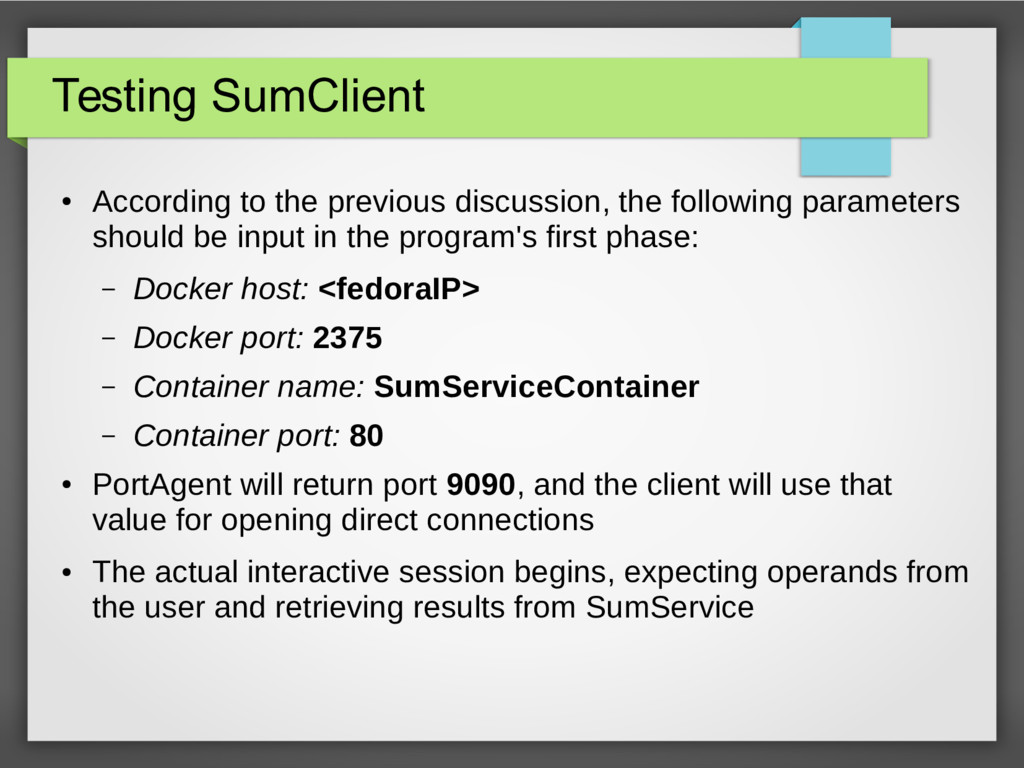
We are going to see a practical introduction to Docker, focusing on its building blocks – images and containers - trying to grasp their very essence, especially in relation to traditional virtualization, without any claim of completeness.
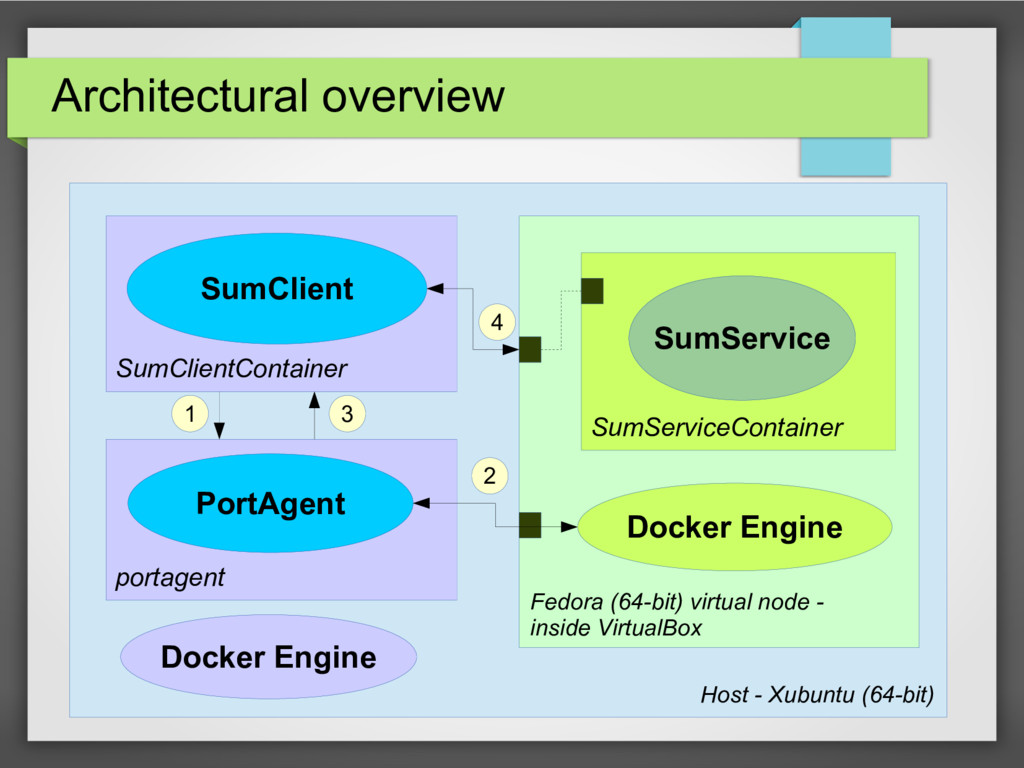
After discussing Docker, we'll briefly see a simple but complete distributed application demonstrating how to use Docker containers in practice, side-by-side with a hypervisor creating a virtual network node.
![Image names • Image names follow a precise format: <repository>[:<tag>]](https://files.speakerdeck.com/presentations/184831709241455d9cbb4612d5b7dac5/slide_18.jpg)