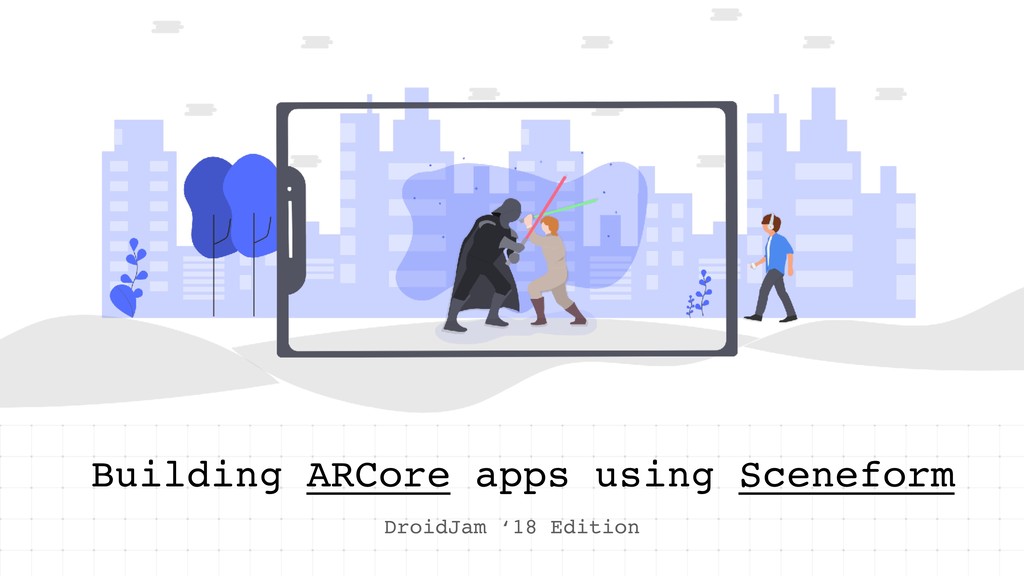
In this following talk, we’ll learn about the fundamentals of Augmented Reality, ARCore SDK, Sceneform Framework — using simple examples. You will be walking away with an AR app at the end of this talk. (DroidJam Edition)
computer-generated experience taking place within a simulated environment, that incorporates mainly auditory and visual, but also other types of sensory feedback like haptic. — Wikipedia
or indirect live view of a real-world environment whose elements are “augmented” by computer- generated perceptual information, ideally across multiple sensory modalities, including visual, auditory, haptic, somatosensory, and olfactory. — Wikipedia
as hybrid reality, is the merging of real and virtual worlds to produce new environments and visualisations where physical and digital objects co-exist and interact in real time. — Wikipedia
augmented reality experiences. It enables our phones to see the world, understand it and also to interact with the objects and pieces of information. Image credits: assets.materialup.com
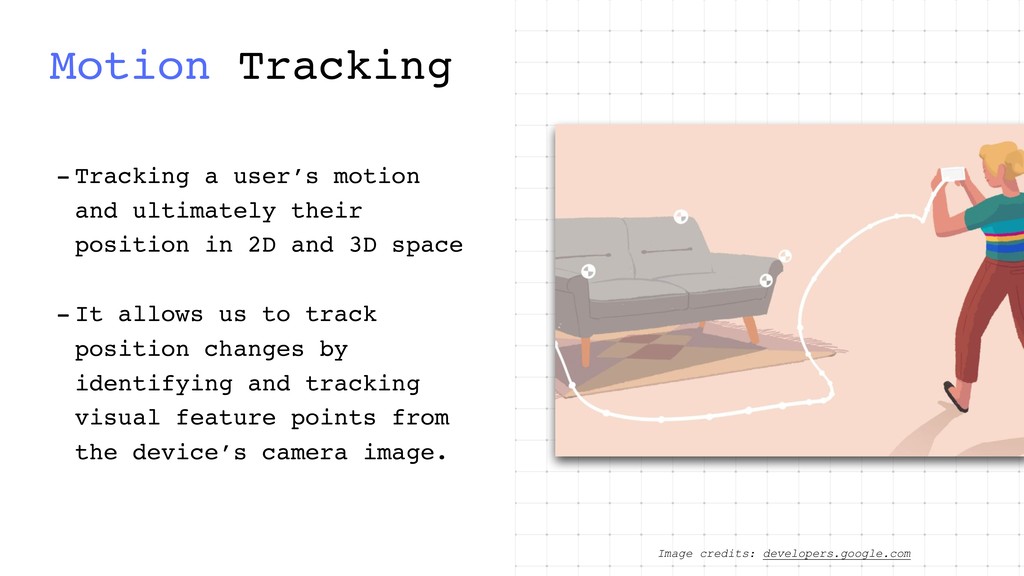
the phone as it moves, with respect to the world that is subjected to - Form that position, it learns and understands what world it is — building it’s own understanding Image credits: assets.materialup.com
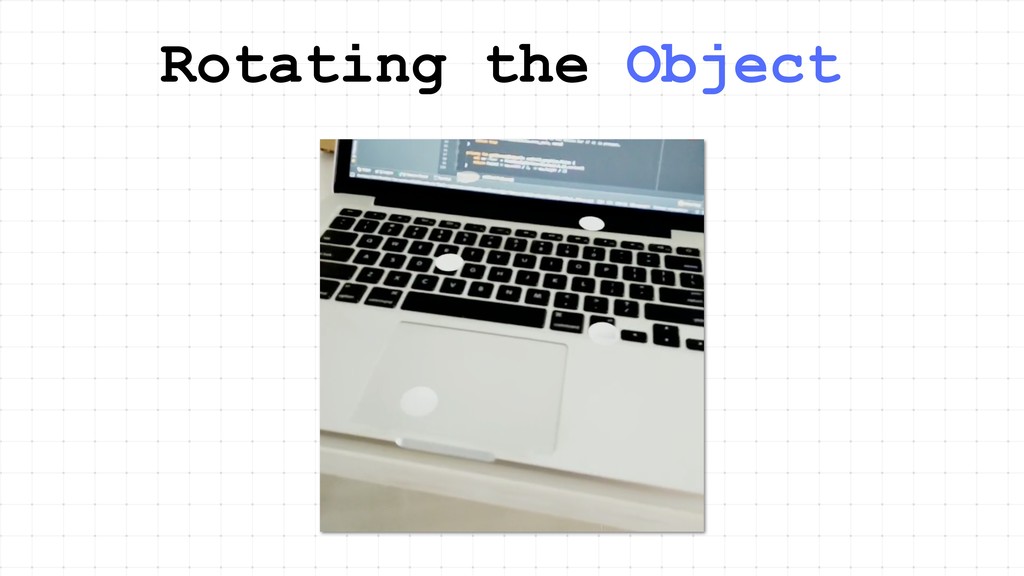
their position in 2D and 3D space - It allows us to track position changes by identifying and tracking visual feature points from the device’s camera image. Image credits: developers.google.com
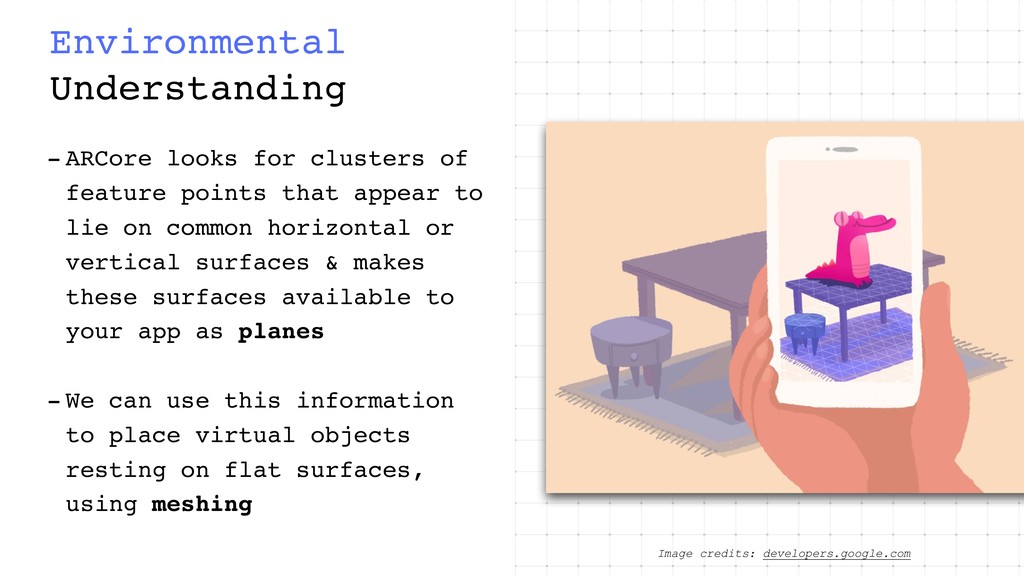
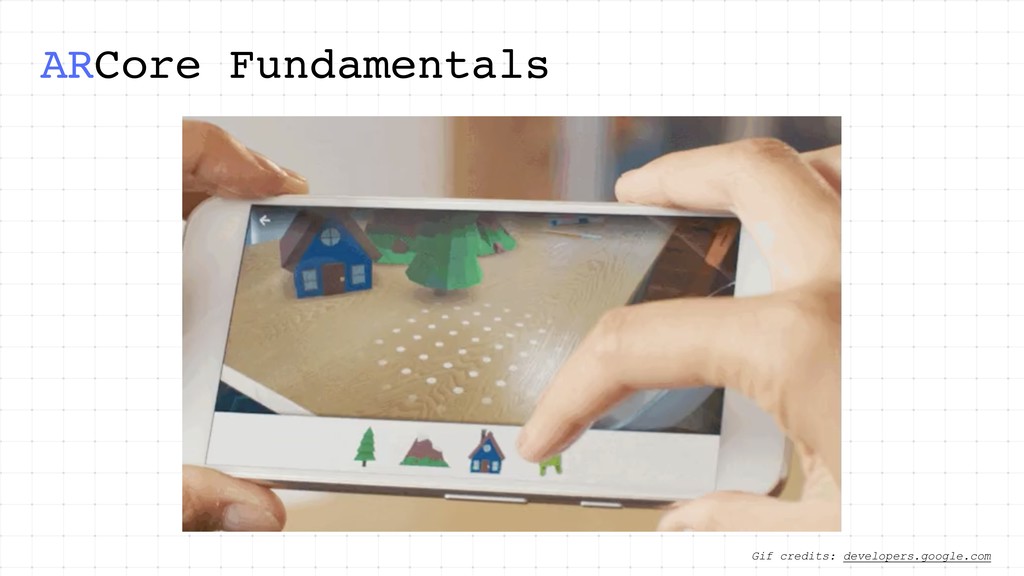
points that appear to lie on common horizontal or vertical surfaces & makes these surfaces available to your app as planes - We can use this information to place virtual objects resting on flat surfaces, using meshing Image credits: developers.google.com
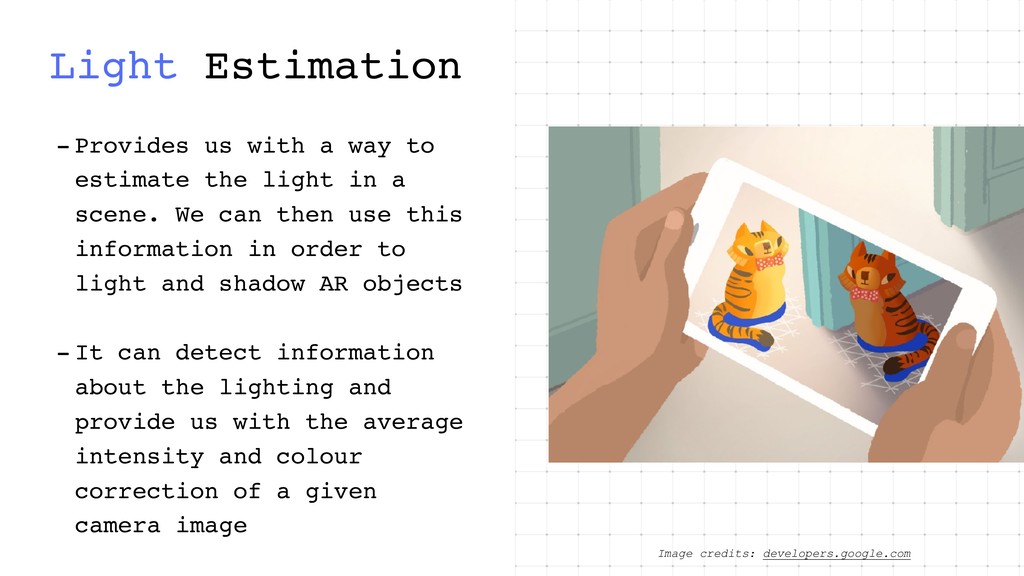
estimate the light in a scene. We can then use this information in order to light and shadow AR objects - It can detect information about the lighting and provide us with the average intensity and colour correction of a given camera image Image credits: developers.google.com
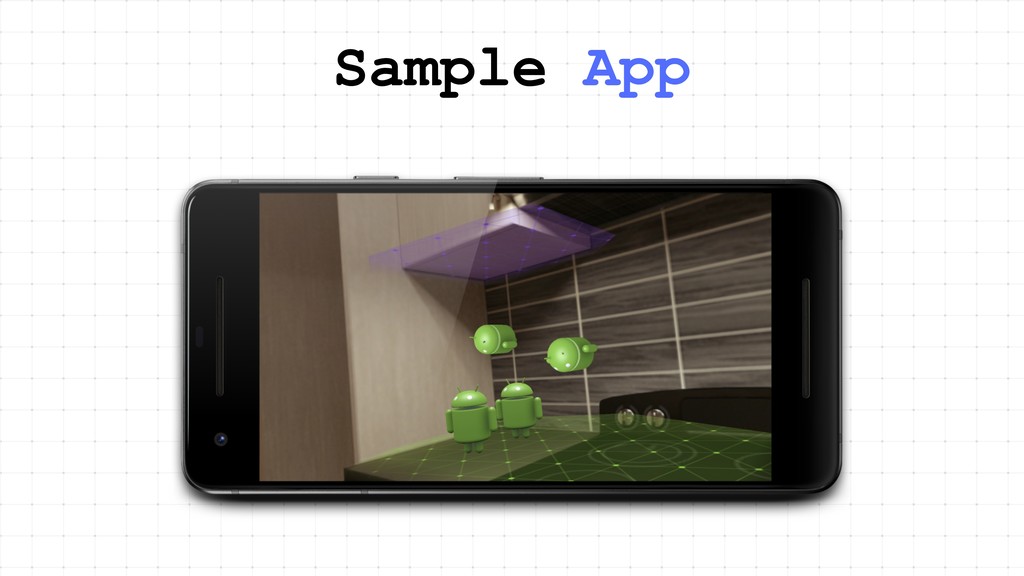
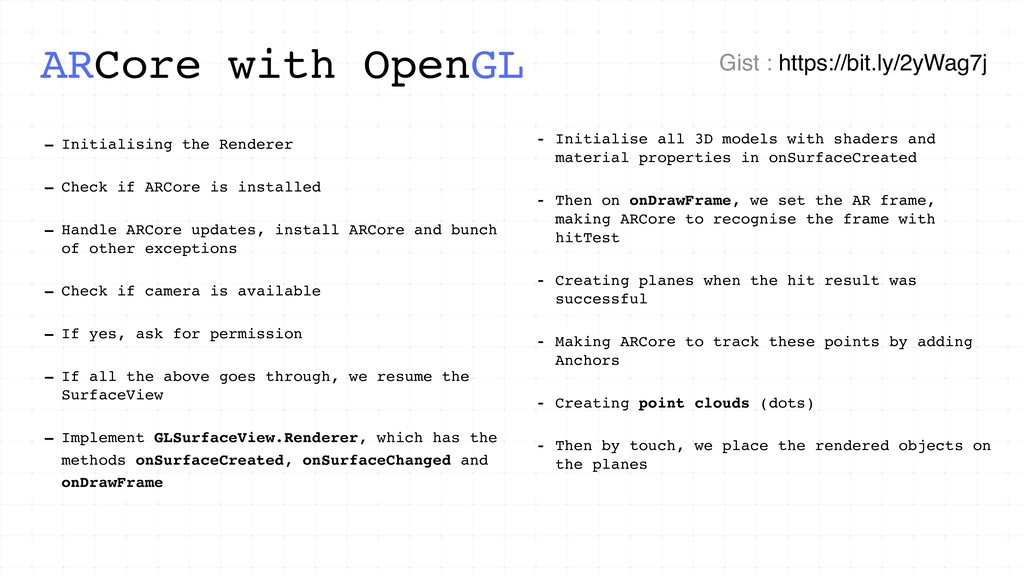
- Check if ARCore is installed - Handle ARCore updates, install ARCore and bunch of other exceptions - Check if camera is available - If yes, ask for permission - If all the above goes through, we resume the SurfaceView - Implement GLSurfaceView.Renderer, which has the methods onSurfaceCreated, onSurfaceChanged and onDrawFrame - Initialise all 3D models with shaders and material properties in onSurfaceCreated - Then on onDrawFrame, we set the AR frame, making ARCore to recognise the frame with hitTest - Creating planes when the hit result was successful - Making ARCore to track these points by adding Anchors - Creating point clouds (dots) - Then by touch, we place the rendered objects on the planes
3D models using Java. This dramatically increases the velocity that developers can create AR experiences without much of the knowledge of Graphics and OpenGL Image credits: assets.materialup.com
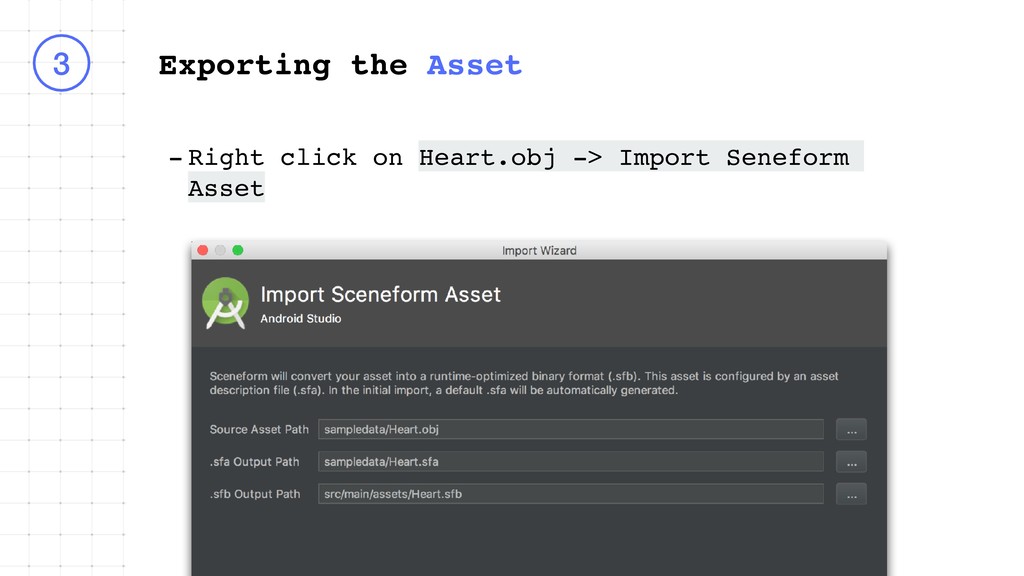
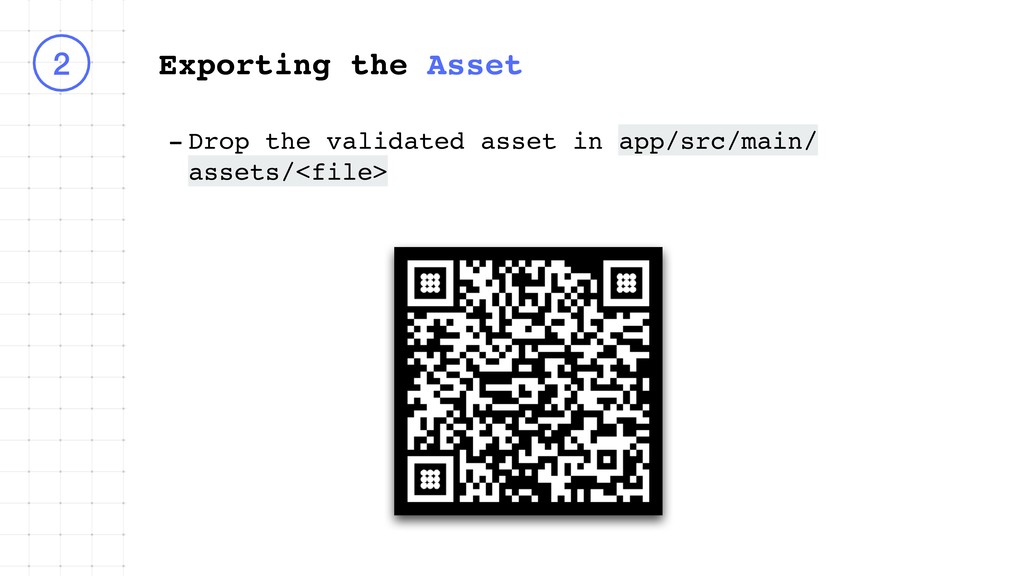
called sampledata - It will hold all data that will not go within our APK. - To add the sample data folder, right click app -> new -> sampledata - Drop all the contents(Heart.mtl and Heart.obj) to the sampledata folder 3
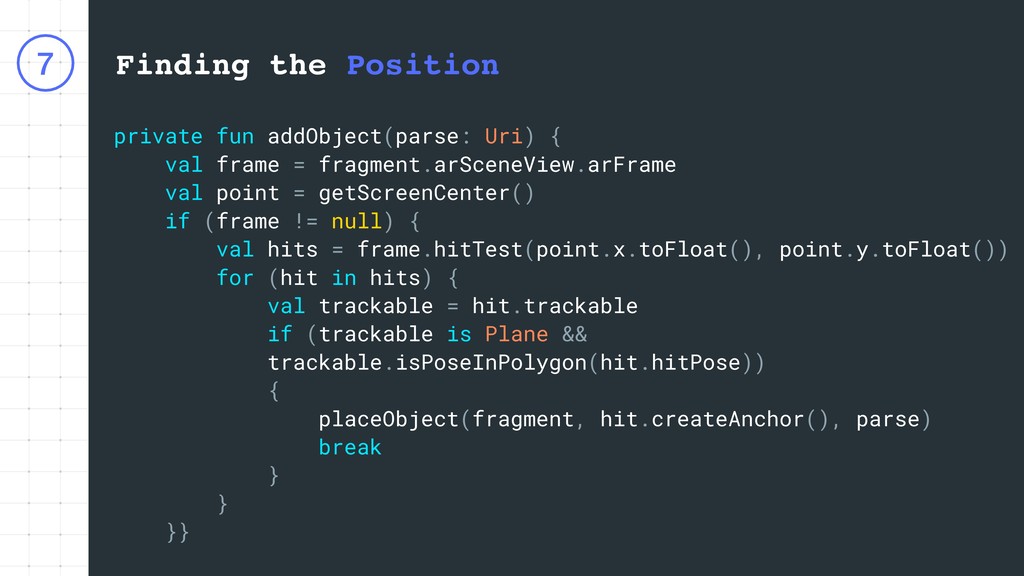
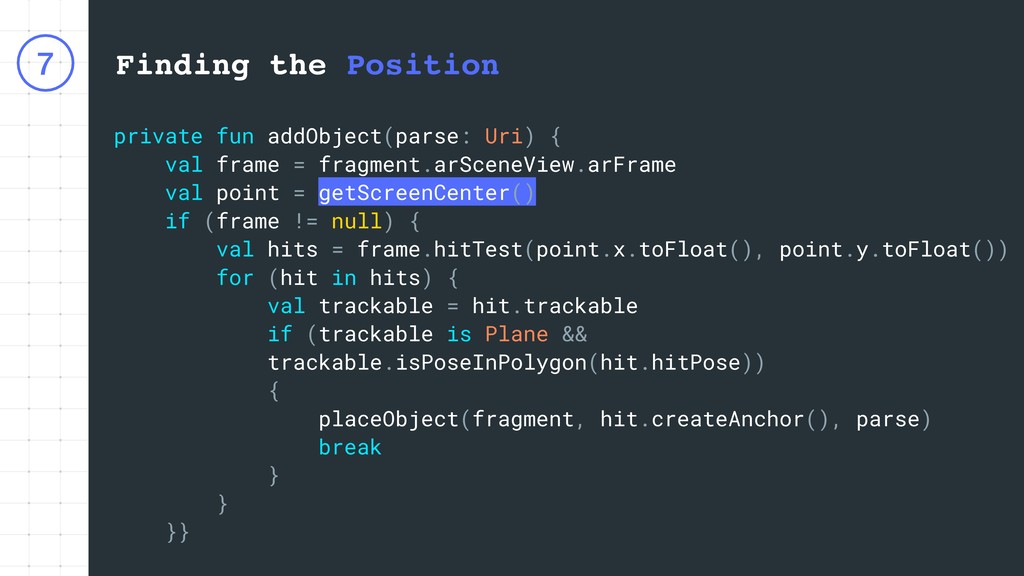
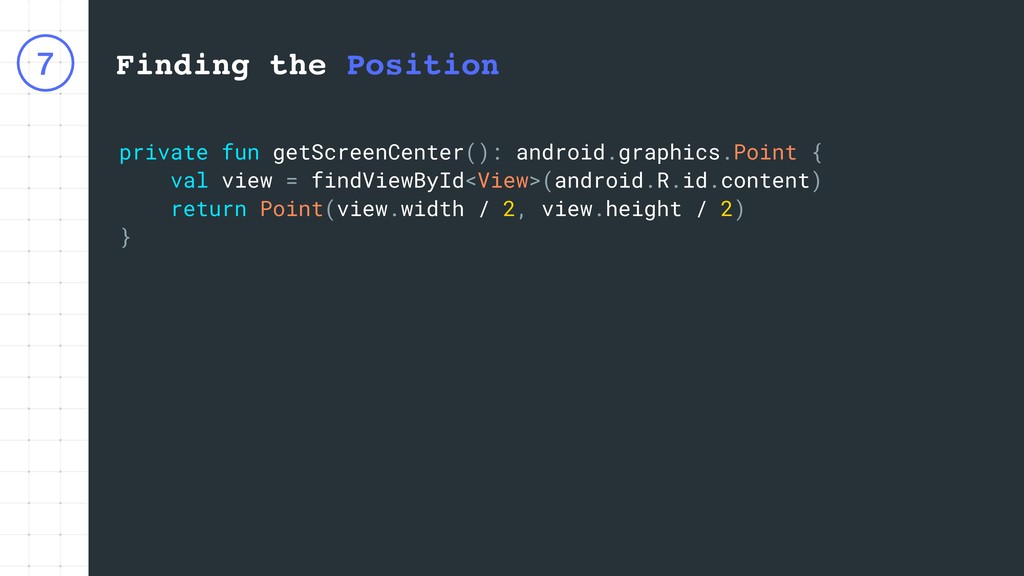
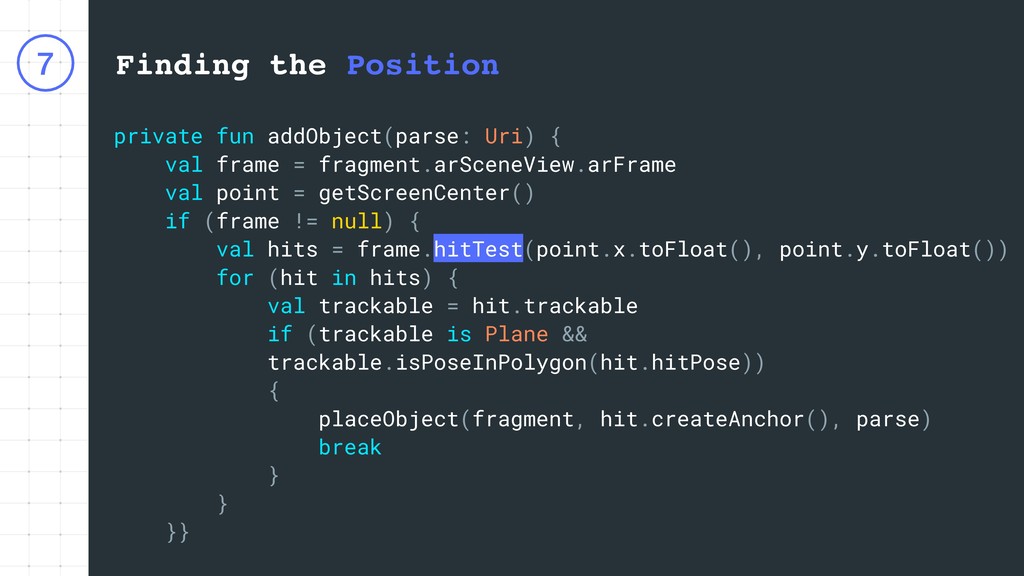
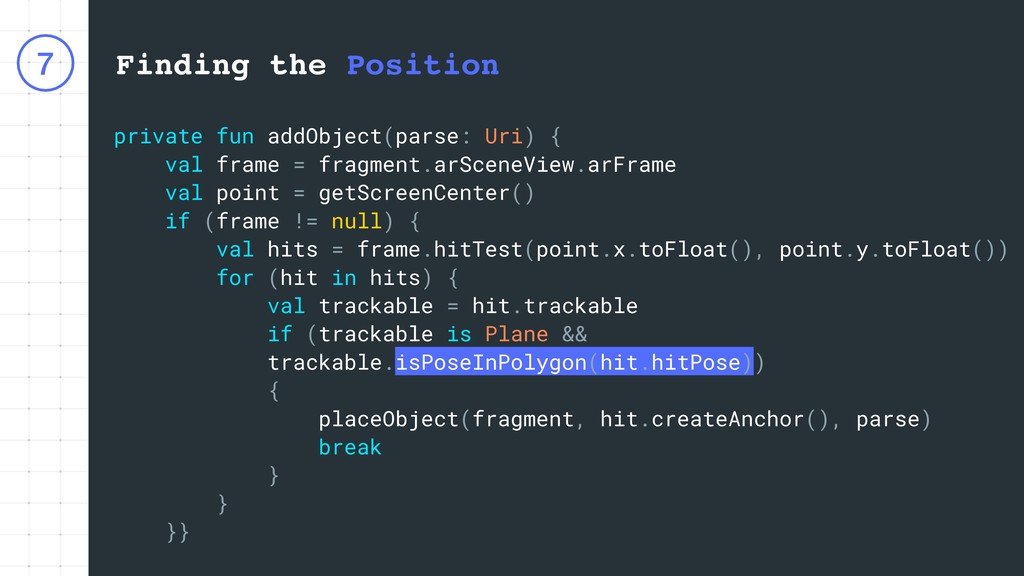
frame = fragment.arSceneView.arFrame val point = getScreenCenter() if (frame != null) { val hits = frame.hitTest(point.x.toFloat(), point.y.toFloat()) for (hit in hits) { val trackable = hit.trackable if (trackable is Plane && trackable.isPoseInPolygon(hit.hitPose)) { placeObject(fragment, hit.createAnchor(), parse) break } } }}
frame = fragment.arSceneView.arFrame val point = getScreenCenter() if (frame != null) { val hits = frame.hitTest(point.x.toFloat(), point.y.toFloat()) for (hit in hits) { val trackable = hit.trackable if (trackable is Plane && trackable.isPoseInPolygon(hit.hitPose)) { placeObject(fragment, hit.createAnchor(), parse) break } } }}
frame = fragment.arSceneView.arFrame val point = getScreenCenter() if (frame != null) { val hits = frame.hitTest(point.x.toFloat(), point.y.toFloat()) for (hit in hits) { val trackable = hit.trackable if (trackable is Plane && trackable.isPoseInPolygon(hit.hitPose)) { placeObject(fragment, hit.createAnchor(), parse) break } } }}
frame = fragment.arSceneView.arFrame val point = getScreenCenter() if (frame != null) { val hits = frame.hitTest(point.x.toFloat(), point.y.toFloat()) for (hit in hits) { val trackable = hit.trackable if (trackable is Plane && trackable.isPoseInPolygon(hit.hitPose)) { placeObject(fragment, hit.createAnchor(), parse) break } } }}
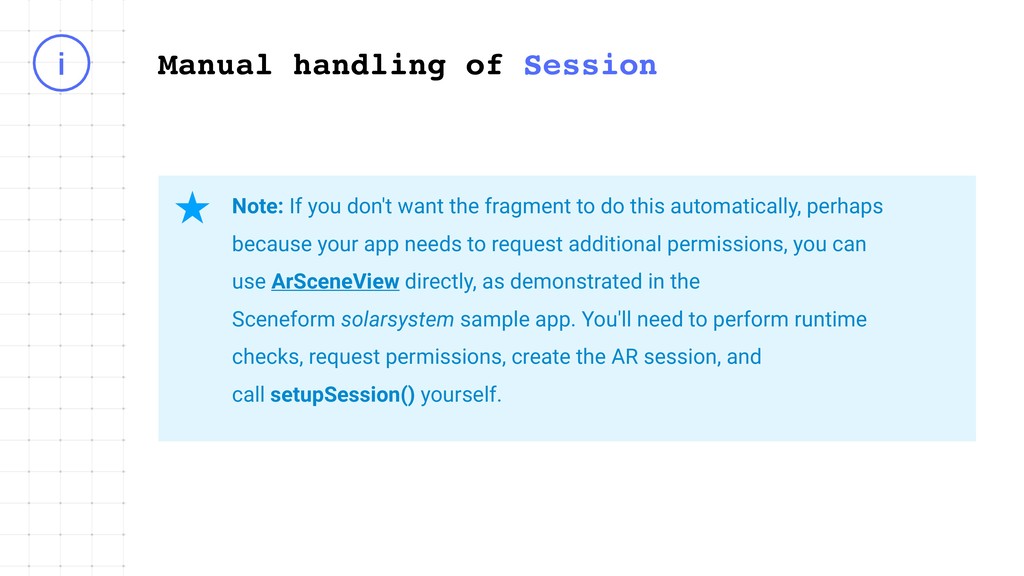
the fragment to do this automatically, perhaps because your app needs to request additional permissions, you can use ArSceneView directly, as demonstrated in the Sceneform solarsystem sample app. You'll need to perform runtime checks, request permissions, create the AR session, and call setupSession() yourself.
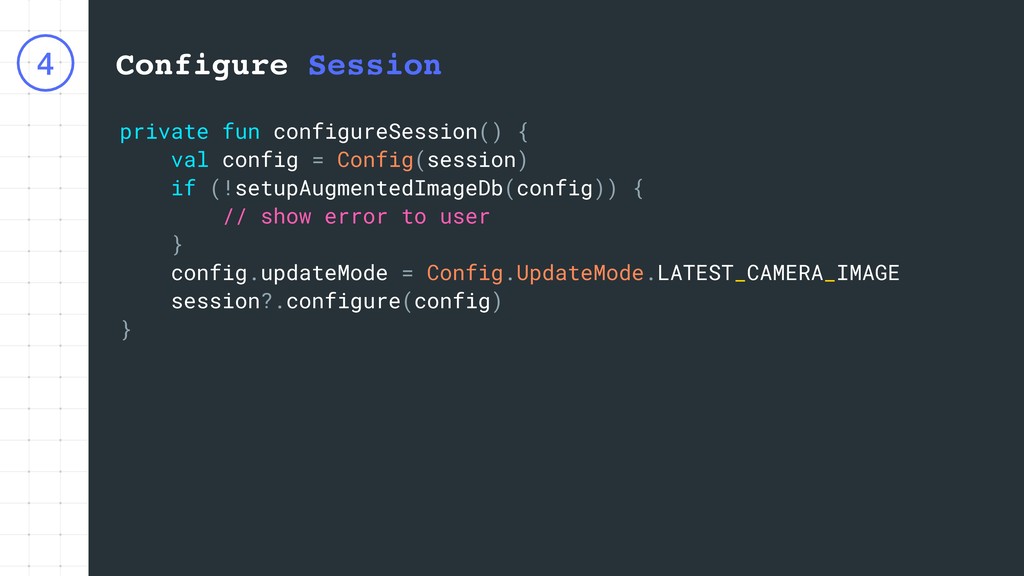
Config(session) if (!setupAugmentedImageDb(config)) { // show error to user } config.updateMode = Config.UpdateMode.LATEST_CAMERA_IMAGE session?.configure(config) }
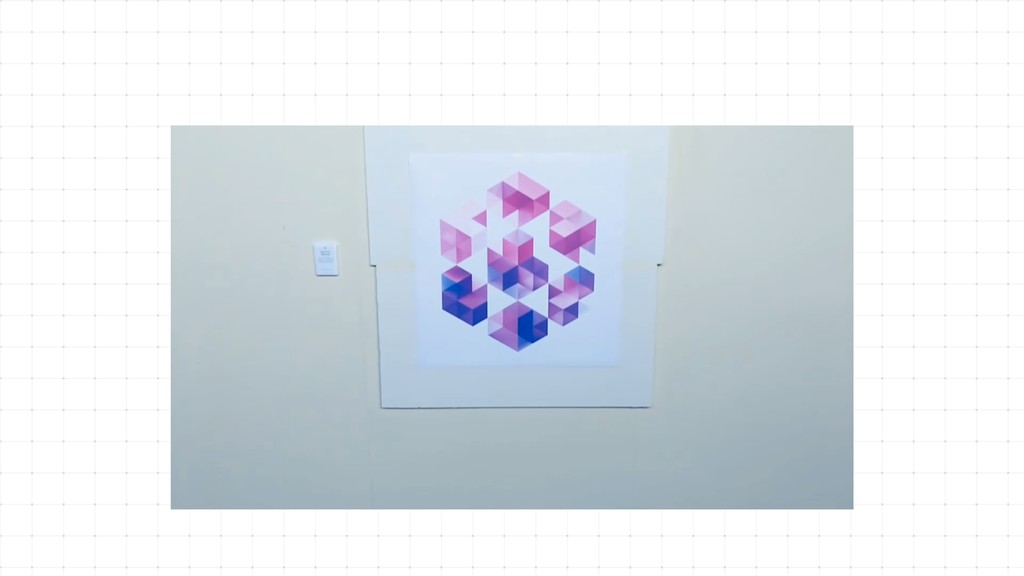
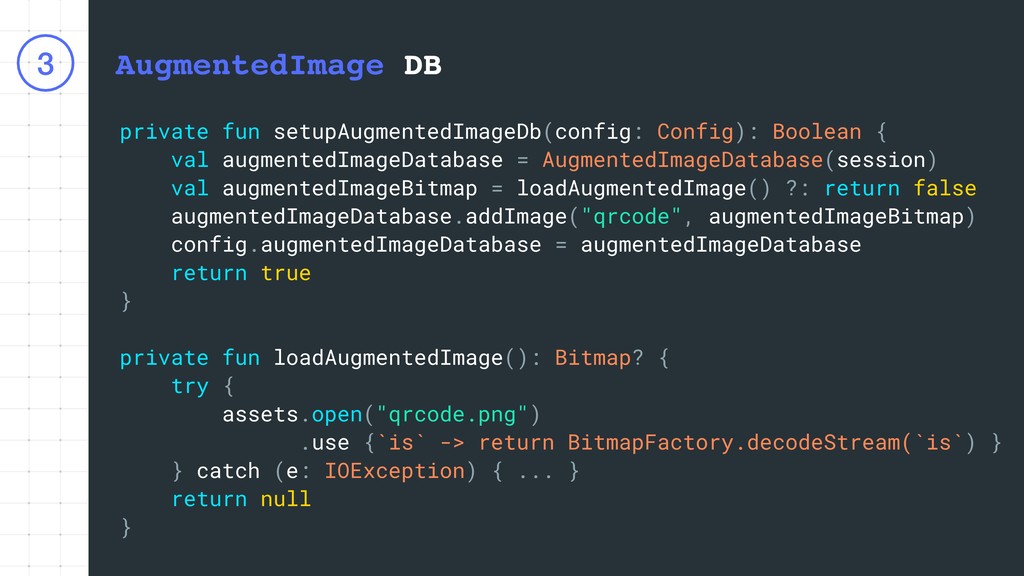
1000 reference images - Can track up to 20 images simultaneously - Physical image should atleast be 15cm x 15cm - Cannot track moving image - Happens without internet Image credits: assets.materialup.com