Upgrade to Pro — share decks privately, control downloads, hide ads and more …

My Doorbell Runs Swift - iOSDevCampDC 2017

My Doorbell Runs Swift - iOSDevCampDC 2017

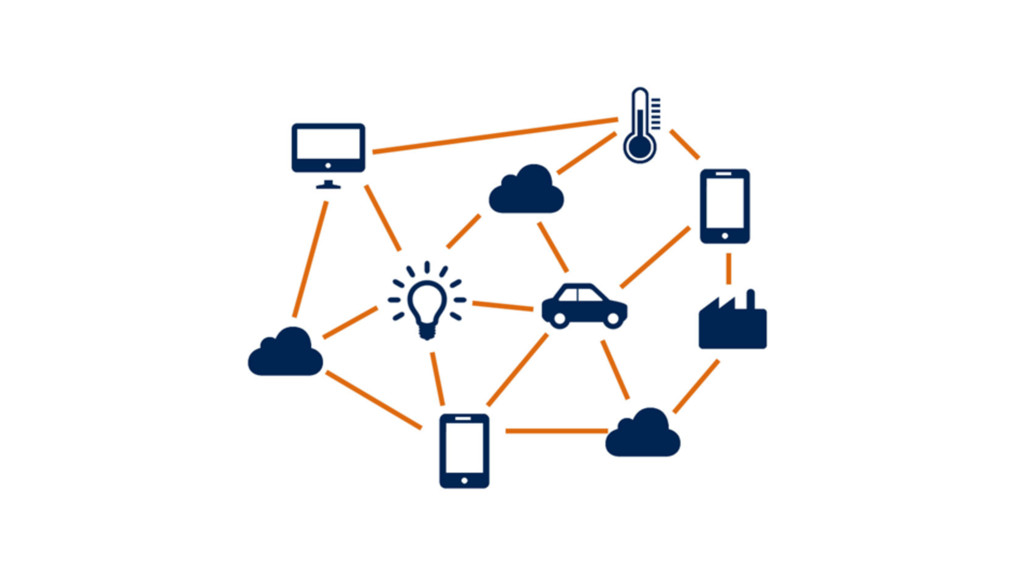
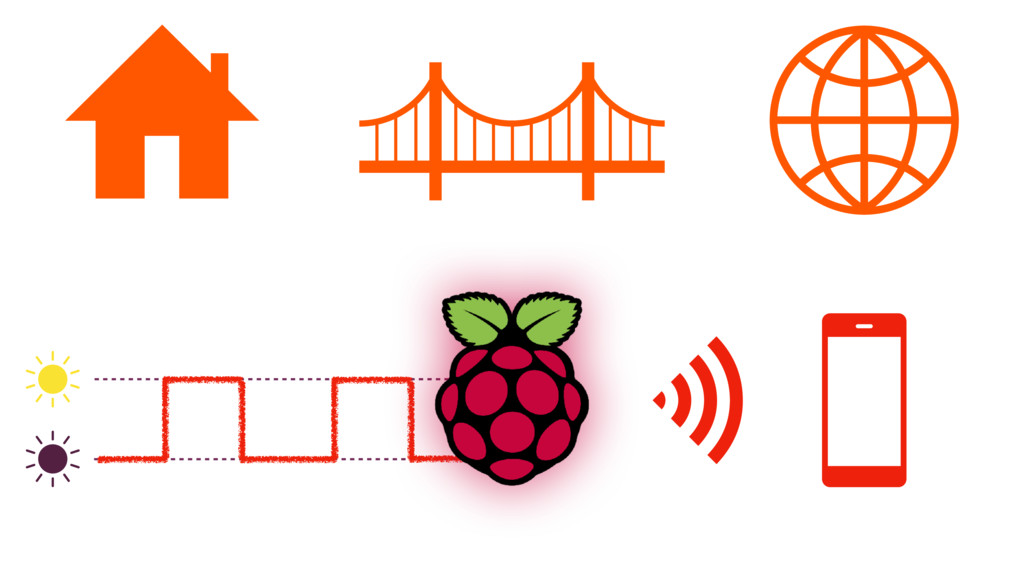
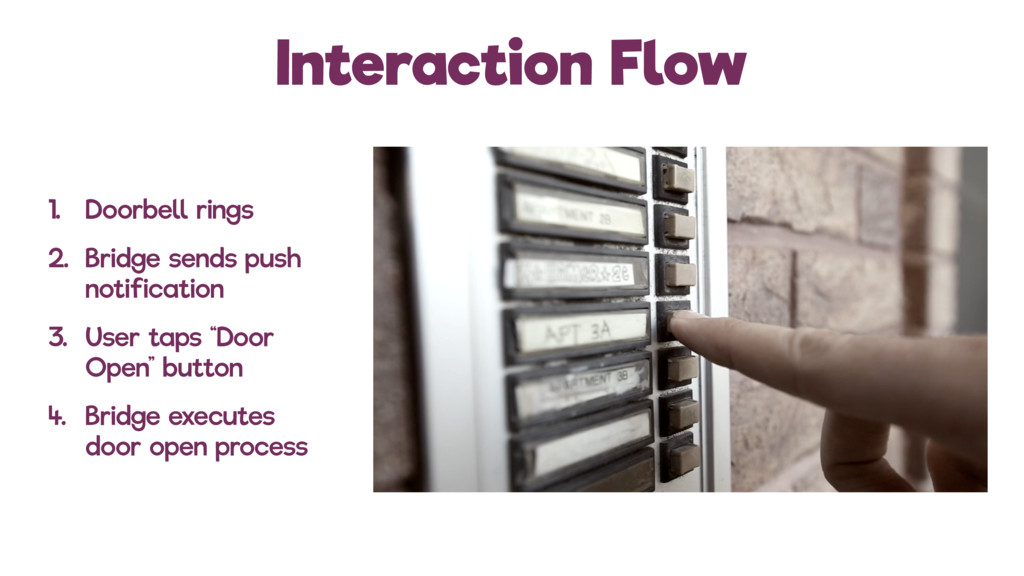
Mobile is shaping up to be the platform of the future, but that doesn't mean that static is dead and buried. The Internet of Things movement is all about bringing the power of code to everyday objects. Believe it or not, it's easy to get Swift running where you least suspect it. I'll show you how I get a push notification every time someone rings my doorbell. I'll even answer that question, "Why?", with an impassioned caricature of the world of tomorrow. Your app will soon be at the center of a constellation of physical Things, here's how you can make the best of it.
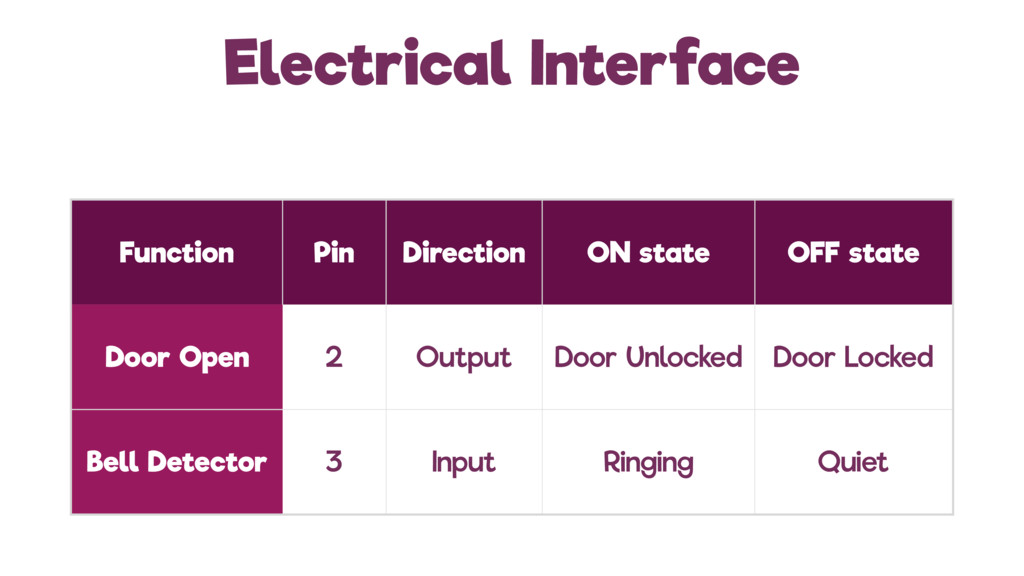
Rob Huebner

August 04, 2017
Tweet

Other Decks in Technology

Transcript

  1. My Doorbell Runs Swift
    @huebnerob
    iOSDevCampDC 2017
    Rob Huebner

    View Slide

  2. Agenda
    • Internet of Things
    • DEMO
    • Hardware
    • Software
    • What’s next

    View Slide

  3. “Internet of Things”

    View Slide

  4. View Slide

  5. Example: Philips Hue Lights

    View Slide

  6. ✅ ✅

    View Slide

  7. Build Our Own Bridge

    View Slide

  8. But what are “Things™”?
    • Controlling systems with
    electronics
    • Caution ⚠ High Voltage!
    • Model them as simple circuits

    View Slide

  9. Simple Circuits
    • Power source
    • Input
    • Button
    • Output
    • Light

    View Slide

  10. Agenda
    ✓ Internet of Things
    • DEMO
    • Hardware
    • Software
    • What’s next

    View Slide

  11. DEMO

    View Slide

  12. View Slide

  13. DEMO

    View Slide

  14. Agenda
    ✓ Internet of Things
    ✓ DEMO
    • Hardware
    • Software
    • What’s next

    View Slide

  15. Hardware

    View Slide

  16. View Slide

  17. Hardware
    • What do we need to build our bridge?
    • Internet connectivity
    • Interface with “Things” (a.k.a. simple circuits)
    • Non-mobile

    View Slide

  18. Raspberry Pi
    • Small and energy efficient
    • Powerful ARM processor
    • Mount it anywhere
    • Runs Linux (which supports Swift!)
    • WiFi and Ethernet
    • General Purpose Input and Output
    (GPIO)

    View Slide

  19. What is GPIO?
    • “API for Electricity”
    • GPIO pins connect to circuits
    • Each pin can be an input or an output
    • Input: Read if it’s ON or OFF
    • Output: Set it ON or OFF

    View Slide

  20. Outputs
    1
    0
    HIGH
    LOW

    View Slide

  21. Inputs
    1
    0

    View Slide

  22. 1
    0

    View Slide

  23. Agenda
    ✓ Internet of Things
    ✓ DEMO
    ✓ Hardware
    • Software
    • What’s next

    View Slide

  24. Software

    View Slide

  25. Setting up your Pi
    • Ubuntu Linux
    • Installing the Swift Toolchain
    • Installing dependencies
    • Network configuration
    • Helper guide
    •goo.gl/P5JKcy
    p ?

    View Slide

  26. Software Components
    • Interacting with Things
    • SwiftyGPIO
    • Interacting with the Internet
    • Server-side Swift (Vapor)
    • Push Notifications (Vapor-APNS)

    View Slide

  27. SwiftyGPIO
    • Interact with GPIO pins from Swift
    • Simple to Use
    • Integrates with other Swift libraries well

    View Slide

  28. Pin Handling
    let pin = SwiftyGPIO.GPIOs(for: .RaspberryPi3)[.P2]
    pin.direction = .OUT
    pin.value = 1
    pin.direction = .IN
    print(pin.value) // “0” or “1”

    View Slide

  29. Outputs
    1
    0
    pin.value = 1
    pin.value = 0
    pin.value = 0

    View Slide

  30. Inputs
    1
    0
    “0” “1” “0”
    print(pin.value)

    View Slide

  31. Inputs
    1
    0
    “0” “1” “0”
    “0” “1” “1” “1” “0”
    print(pin.value)

    View Slide

  32. Edges
    1
    0
    rising edge falling edge

    View Slide

  33. Input Handling
    pin.onRaising { pin in . . . }
    pin.onFalling { pin in . . . }
    pin.onChange { pin in . . . }

    View Slide

  34. Inputs
    1
    0
    pin.onRaising pin.onFalling
    pin.onChange pin.onChange

    View Slide

  35. Server Side Swift for IoT
    • Build a Web Server in Swift
    • Fundamentals are relatively constant
    • Routing requests and serving
    responses
    • Vapor
    • Works on Raspberry Pi

    View Slide

  36. Client API
    POST
    /led/toggle
    GET
    /button/state
    {
    “state”: 1
    }
    {
    “state”: 0
    }

    View Slide

  37. Push Notifications
    • Don’t poll your state
    • Alerts your client application immediately
    when a notable event occurs
    • Swift library: Vapor APNS

    View Slide

  38. Push Process
    1. Ask your user for permission
    2. Send the client’s device token to your bridge, save it
    3. When an event happens, create and submit a push payload

    View Slide

  39. Permission
    1. Ask your user for permission (in iOS Client)
    let center = UNUserNotificationCenter.current()
    center.requestAuthorization(options: [.alert]) { (granted, error) in
    if !granted { return }
    UIApplication.shared.registerForRemoteNotifications()
    }

    View Slide

  40. Device Token
    2. Send the client’s device token to your bridge
    func application(_ application: UIApplication,
    didRegisterForRemoteNotificationsWithDeviceToken deviceToken: Data) {
    var urlRequest = URLRequest(url: setTokenURL)
    urlRequest.httpBody = token
    urlRequest.httpMethod = "POST"
    URLSession.shared.dataTask(with: urlRequest) {
    // handle completion
    }.resume()
    }

    View Slide

  41. Push Payload
    3. When an event happens, send a push payload (on bridge)
    let message = ApplePushMessage(priority: .immediately,
    payload: Payload(message: “DingDong!"),
    sandbox: false)
    let result = apns.send(message, to: token)

    View Slide

  42. Success!

    View Slide

  43. Software Summary
    Vapor
    APNS
    SwiftyGPIO

    View Slide

  44. Swifty Doorbell

    View Slide

  45. Interaction Flow
    1. Doorbell rings
    2. Bridge sends push
    notification
    3. User taps “Door
    Open” button
    4. Bridge executes
    door open process

    View Slide

  46. Electrical Interface
    Function Pin Direction ON state OFF state
    Door Open 2 Output Door Unlocked Door Locked
    Bell Detector 3 Input Ringing Quiet

    View Slide

  47. Mapping the Flow
    BELL
    DOOR
    Send
    Push
    POST
    /door/open

    View Slide

  48. Agenda
    ✓ Internet of Things
    ✓ DEMO
    ✓ Hardware
    ✓ Software
    • What’s next

    View Slide

  49. What’s Next?

    View Slide

  50. Future Projects?

    View Slide

  51. View Slide

  52. developer.apple.com/homekit/specification

    View Slide

  53. Agenda
    ✓ Internet of Things
    ✓ DEMO
    ✓ Hardware
    ✓ Software
    ✓ What’s next

    View Slide

  54. Thanks!
    @huebnerob

    View Slide