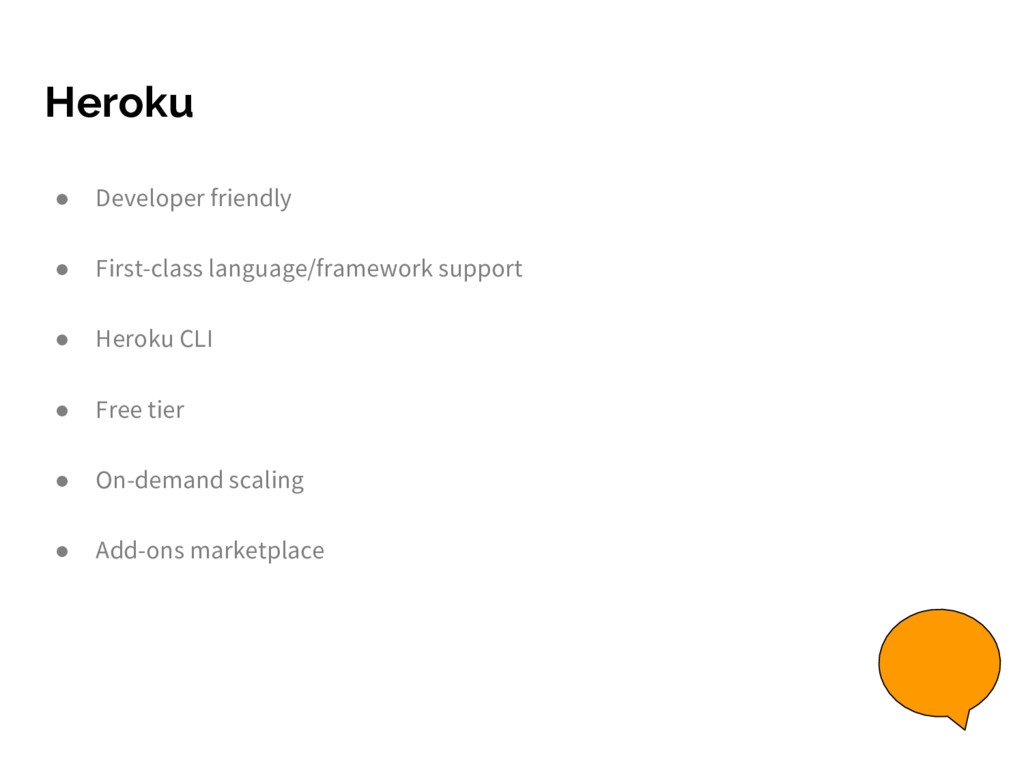
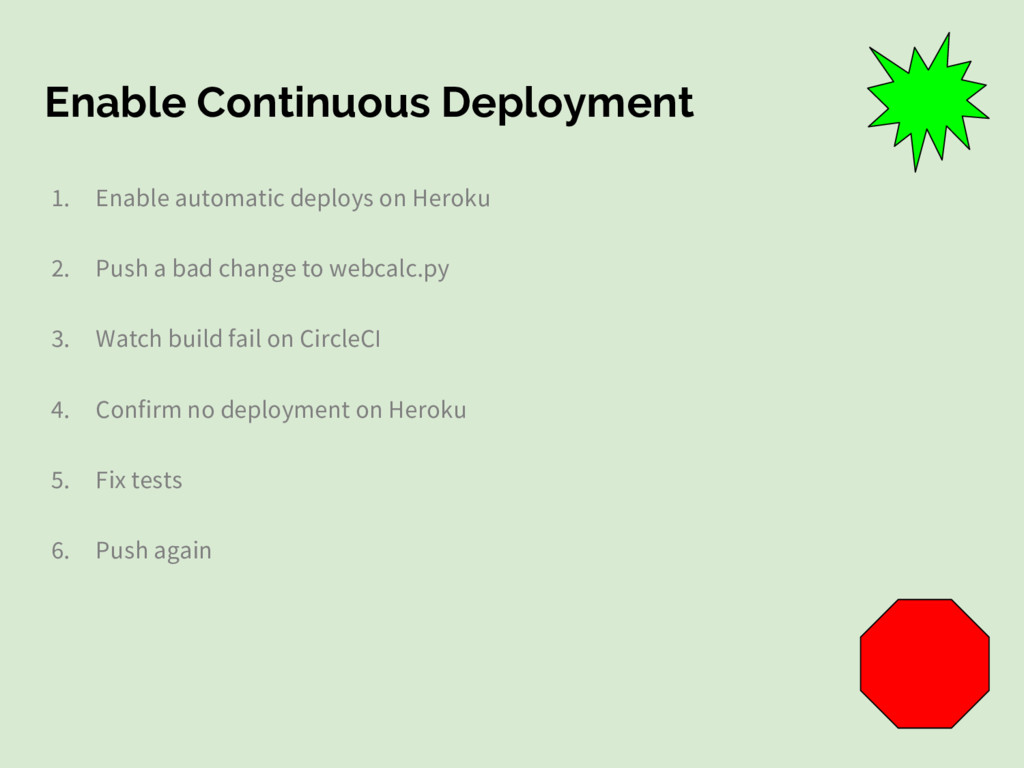
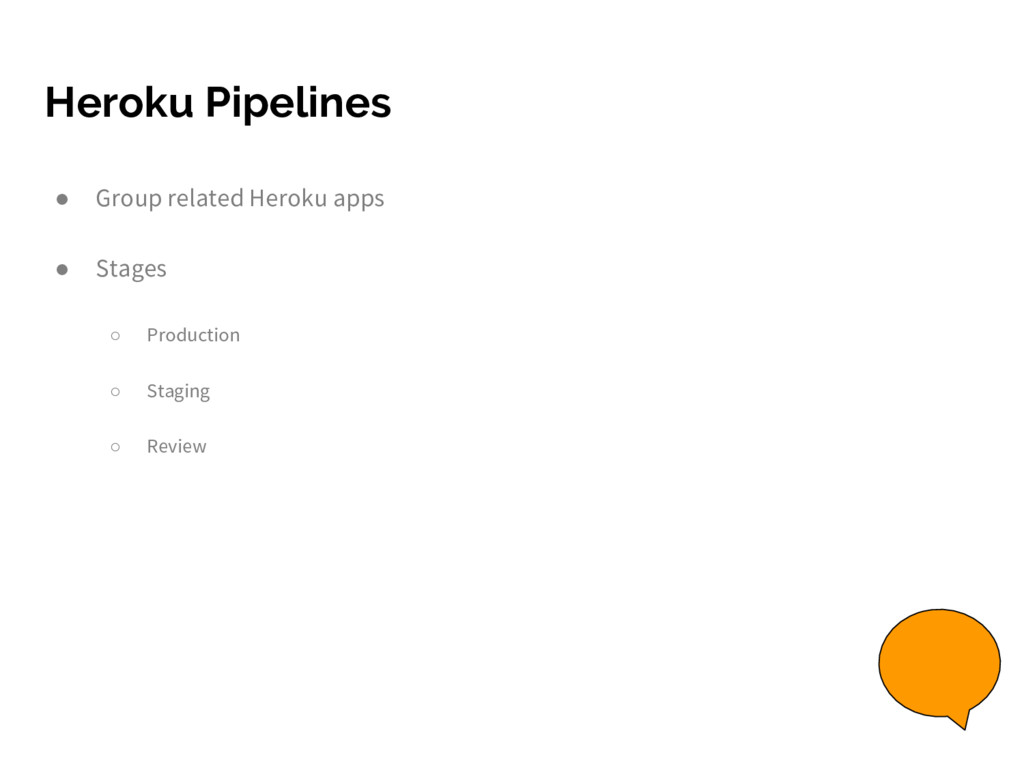
Upgrade to Pro — share decks privately, control downloads, hide ads and more …

Continuous Deployment using GitHub, CircleCI, and Heroku

Continuous Deployment using GitHub, CircleCI, and Heroku

Continuous Deployment workshop slides from Beer City Code 2017 in Grand Rapids, MI.

Sample: https://github.com/jacebrowning/webcalc

Demo: https://webcalc.herokuapp.com/

Jace Browning

June 09, 2017
Tweet

More Decks by Jace Browning

Other Decks in Programming

Transcript

  1. Continuous Deployment using
    GitHub, CircleCI, and Heroku
    Jace Browning

    View Slide

  2. Let’s meet each other
    ● About me
    ● About you
    ○ Name
    ○ Interest in this topic
    ○ Operating system
    ● Comfort levels
    ○ Programming, Terminals
    ○ Version Control, Git, GitHub
    ■ Pull Requests (PRs), Code Reviews
    ○ Continuous Integration (CI), CircleCI, YAML
    ○ Continuous Deployment (CD), Heroku
    ■ The Platform, Review Apps, Pipelines, Heroku Flow
    ○ Python, Flask, MongoDB
    http://tiny.cc/beercitycode-slack

    View Slide

  3. Outline for the day
    ● Machine setup
    ○ Installation
    ○ Accounts
    ● Start project
    ● Manual deployment to Heroku
    ● Continuous Integration via CircleCI
    ● Continuous Deployment to Heroku
    ● Using GitHub Pull Requests for code review
    ● Provisioning external resources on Heroku
    ● Using Heroku Review Apps to enable manual testing
    ● Advanced topics as time allows

    View Slide

  4. How to use these slides

    print(“Hello, world”)

    $ echo “Hello, world!”
    http://tiny.cc/beercitycode-slides

    View Slide

  5. Machine Setup

    View Slide

  6. Install dependencies
    1. Git command-line
    a. Optional: GitHub desktop client
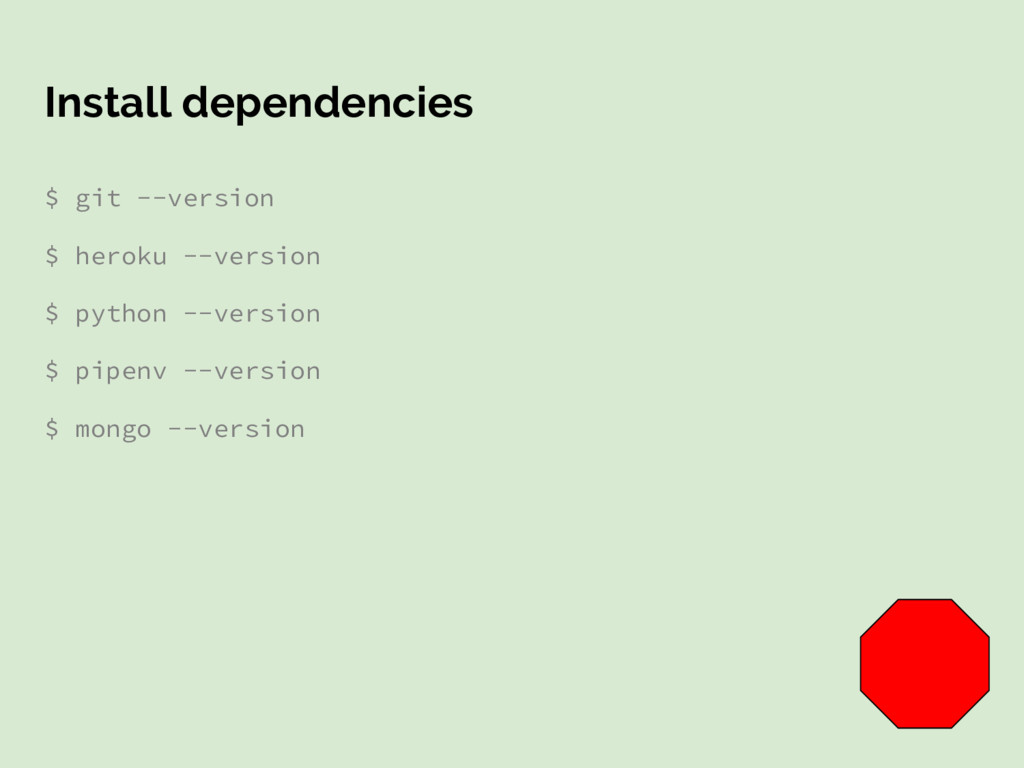
    2. Any code editor
    a. Recommendation: Atom
    3. Heroku CLI
    4. Python 3.6
    5. Pipenv
    6. MongoDB
    a. Optional: MongoDB client (e.g. Robomongo)
    Instructions continue on the next slide....

    View Slide

  7. Install dependencies
    $ git --version
    $ heroku --version
    $ python --version
    $ pipenv --version
    $ mongo --version

    View Slide

  8. Create accounts
    ● GitHub
    ○ https://github.com/join
    ● CircleCI (log in with GitHub)
    ○ https://circleci.com/signup/
    ● Heroku
    ○ https://signup.heroku.com/

    View Slide

  9. Start Project

    View Slide

  10. Project Overview
    ● “webcalc”
    ○ /4/+/5 produces “9”
    ● Technologies
    ○ Python, virtual environments, pipenv
    ○ Flask
    ○ MongoDB
    ○ Heroku
    ○ CircleCI

    View Slide

  11. Initial Flask app
    1. Create repository on GitHub
    2. Clone 
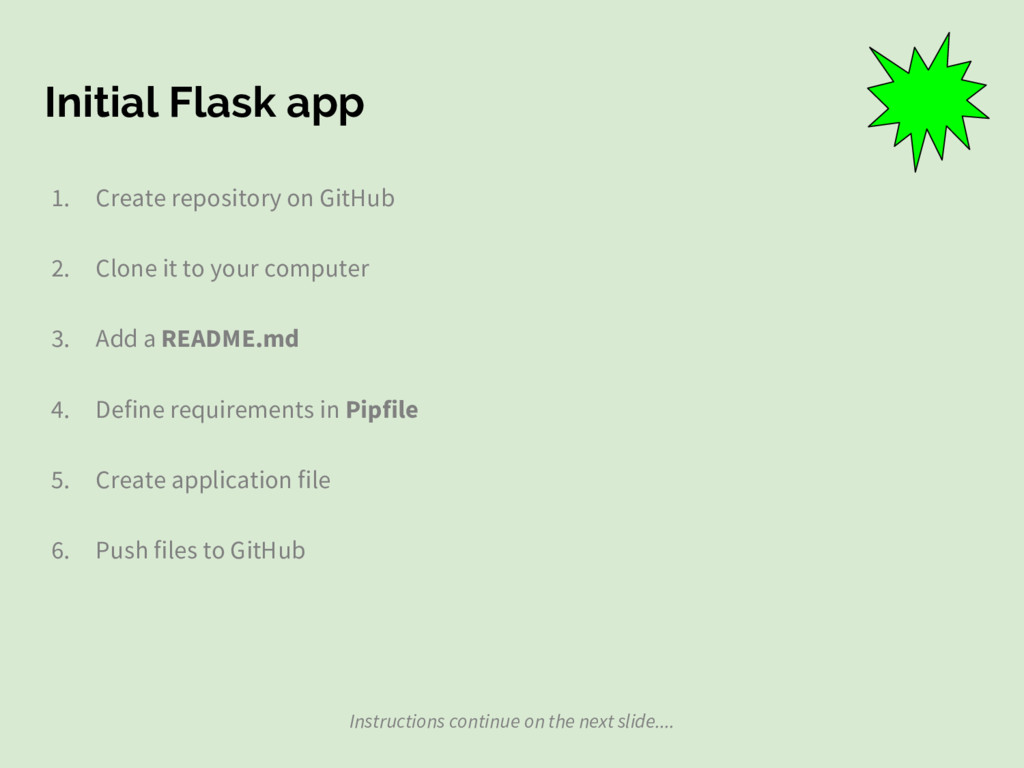
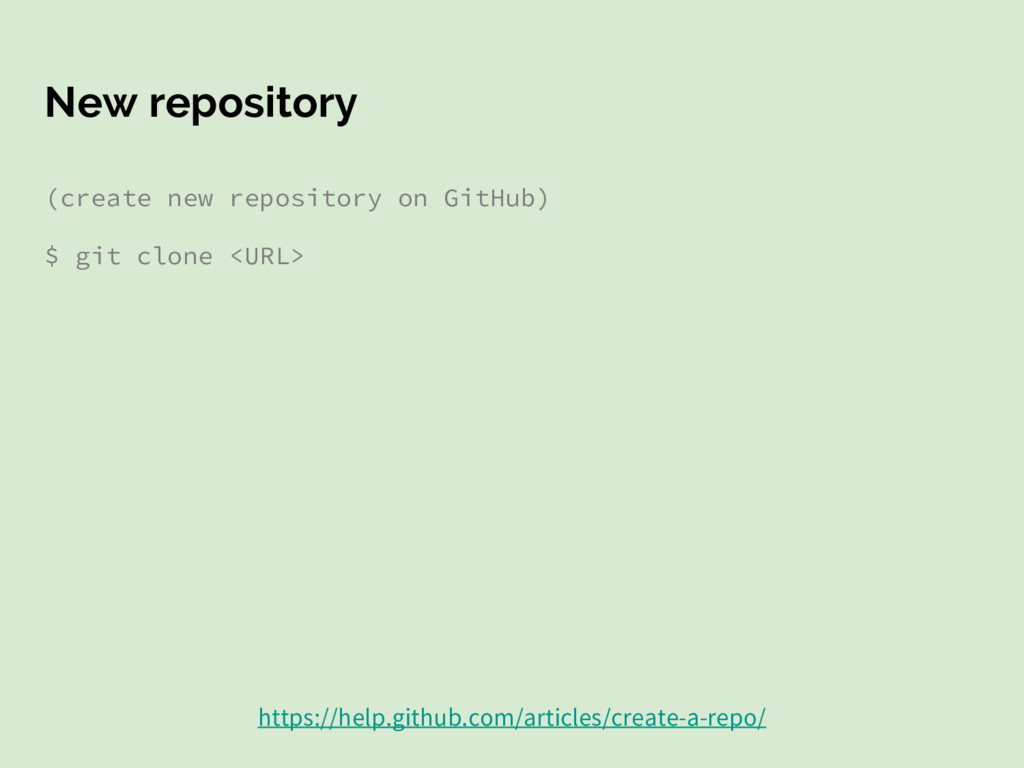
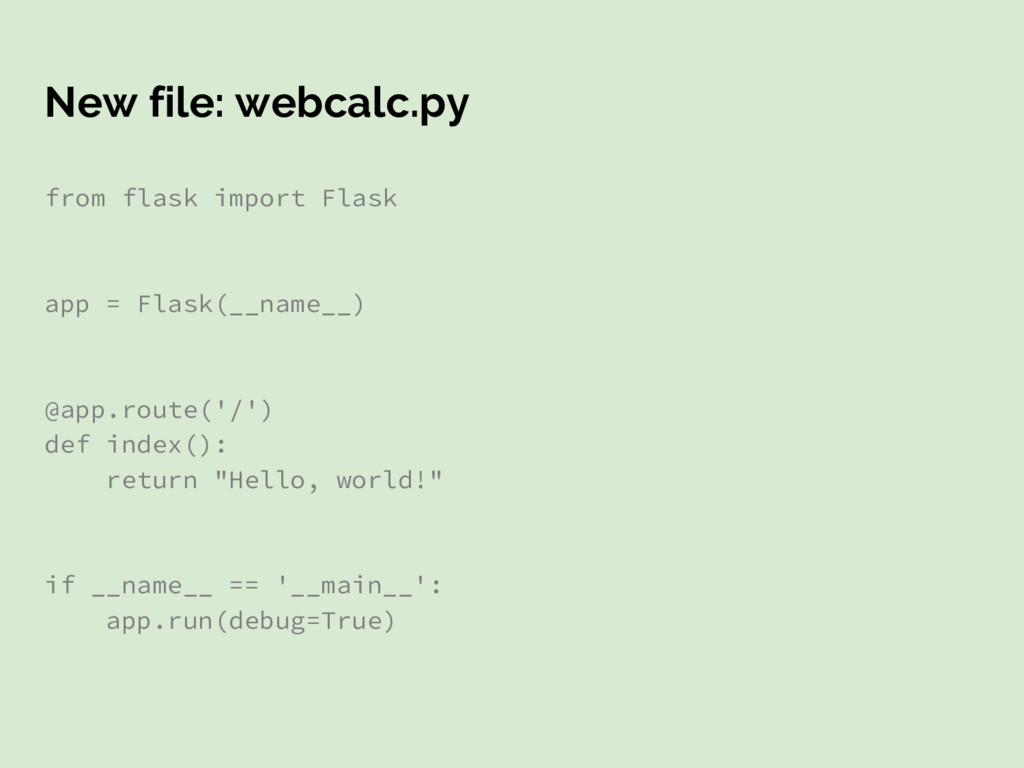
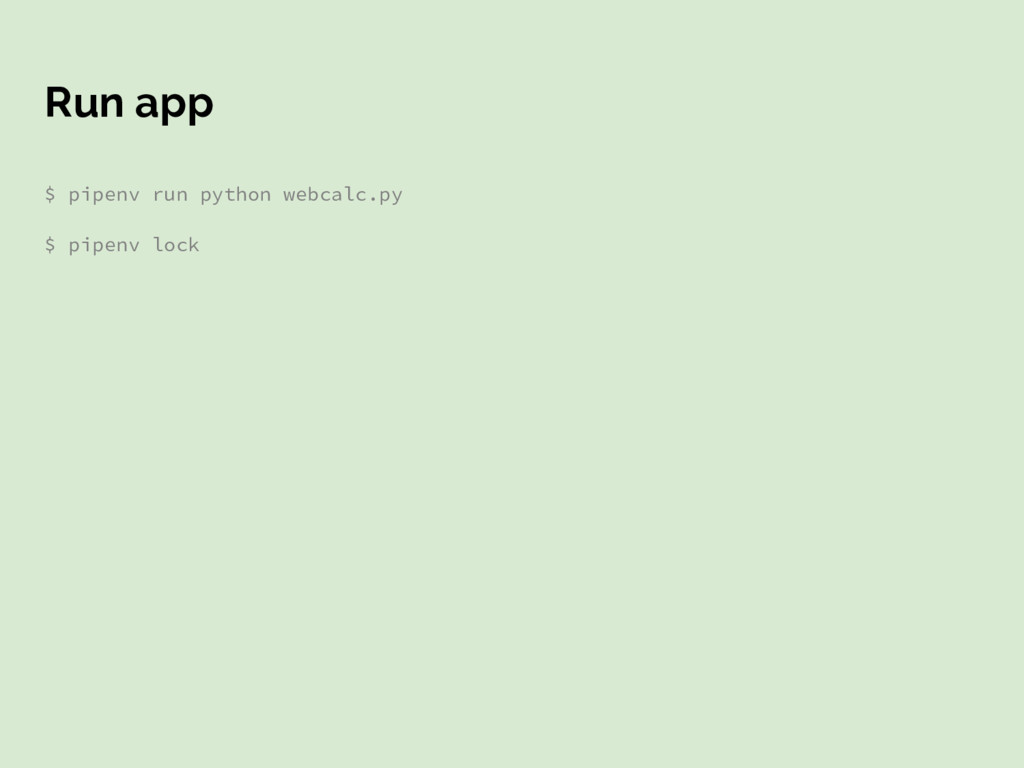
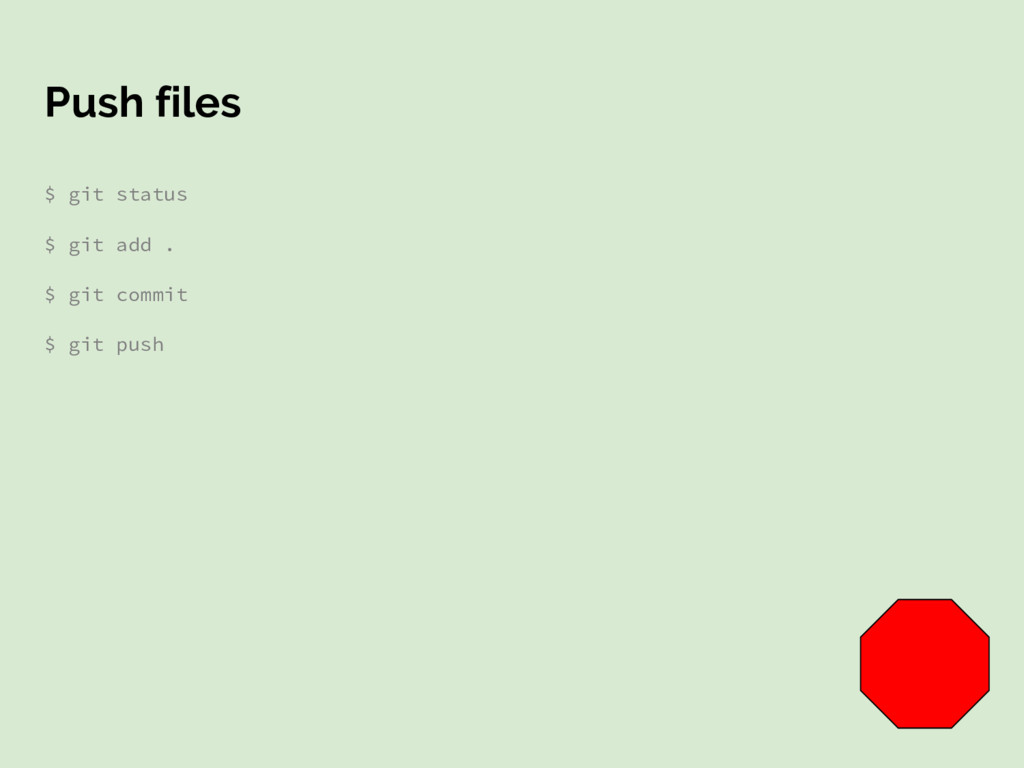
it to your computer
    3. Add a README.md
    4. Define requirements in Pipfile
    5. Create application file
    6. Push files to GitHub
    Instructions continue on the next slide....

    View Slide

  12. New repository
    (create new repository on GitHub)
    $ git clone
    https://help.github.com/articles/create-a-repo/

    View Slide

  13. New file: README.md
    # webcalc
    Demo project for the 2017 Beer City Code workshop on
    Continuous Delivery.
    https://guides.github.com/features/mastering-markdown

    View Slide

  14. New file: .gitignore
    /.venv/
    .cache/
    __pycache__/
    https://git-scm.com/docs/gitignore

    View Slide

  15. New file: Pipfile
    [[source]]
    url = "https://pypi.python.org/simple"
    verify_ssl = true
    [requires]
    python_version = "3.6"
    https://github.com/pypa/pipfile#pipfile

    View Slide

  16. Install Flask
    $ pipenv install flask
    http://flask.pocoo.org/

    View Slide

  17. New file: webcalc.py
    from flask import Flask
    app = Flask(__name__)
    @app.route('/')
    def index():
    return "Hello, world!"
    if __name__ == '__main__':
    app.run(debug=True)

    View Slide

  18. Run app
    $ pipenv run python webcalc.py
    $ pipenv lock

    View Slide

  19. Push files
    $ git status
    $ git add .
    $ git commit
    $ git push

    View Slide

  20. Manual deployment to Heroku

    View Slide

  21. Deployment Options
    ● Servers
    ● “Cloud”
    ○ Virtual machines
    ○ Containers
    ● Platforms
    ● “Serverless”

    View Slide

  22. Heroku
    ● Developer friendly
    ● First-class language/framework support
    ● Heroku CLI
    ● Free tier
    ● On-demand scaling
    ● Add-ons marketplace

    View Slide

  23. Create Heroku app
    1. Create new app on Heroku
    2. Explore each tab
    3. Connect app to GitHub repository
    4. Attempt deploy

    View Slide

  24. Configure project for Heroku
    1. Add gunicorn as a production web server
    2. Create Procfile
    3. Redeploy to Heroku
    4. View site
    Instructions continue on the next slide....

    View Slide

  25. Install gunicorn
    $ pipenv install gunicorn --lock
    http://gunicorn.org/

    View Slide

  26. New file: Procfile
    web: gunicorn webcalc:app
    https://devcenter.heroku.com/articles/procfile

    View Slide

  27. Push files and deploy
    1. Commit and push code
    2. Manually deploy on Heroku
    3. View site

    View Slide

  28. View production logs
    $ heroku git:remote --app
    $ heroku logs --tail

    View Slide

  29. Continuous Integration via CircleCI

    View Slide

  30. Continuous Integration
    ● “Continuous”
    ● “Integration”
    ● Running tests gives us confidence in our code
    ● CI services do this automatically

    View Slide

  31. Add tests
    1. Install testing tools
    2. Run tests (no results)
    3. Add new test
    4. Run tests (results)
    Instructions continue on the next slide....

    View Slide

  32. Install pytest and run it
    $ pipenv install --dev pytest
    $ pipenv install --dev pytest-describe
    $ pipenv install --dev pytest-expecter
    $ pipenv run pytest
    $ pipenv lock
    https://docs.pytest.org

    View Slide

  33. New file: test_webcalc.py
    import pytest
    from expecter import expect
    from webcalc import app
    @pytest.fixture
    def client():
    return app.test_client()
    def describe_index():
    def it_says_hello(client):
    response = client.get('/')
    expect(response.data).contains(b"Hello, world!")

    View Slide

  34. Run tests and see results
    $ pipenv run pytest
    (commit and push changes)

    View Slide

  35. CI Services
    ● Types
    ○ Self-hosted
    ○ Cloud-based
    ● Configurations
    ○ File-based
    ○ Interface-driven
    ● Target audiences
    ○ Private teams
    ○ Libraries
    ○ Build farms
    ○ General-purpose

    View Slide

  36. CircleCI
    ● Configuration-based
    ● Parallel builds
    ● Builds with/without cache
    ● SSH debugging
    ● Free tier

    View Slide

  37. Enable CircleCI
    1. Add project to CircleCI
    2. Attempt to build project
    3. Add configuration file
    4. Add status badge
    Instructions continue on the next slide....

    View Slide

  38. Click on “Add project”
    1. https://circleci.com/projects
    2. Watch build run

    View Slide

  39. New file: circle.yml
    machine:
    python:
    version: 3.6.1
    dependencies:
    pre:
    - pip install pipenv
    override:
    - pipenv install --dev
    test:
    override:
    - pipenv run pytest
    https://circleci.com/docs/1.0/language-python/

    View Slide

  40. Build automatically on pushes
    1. Commit and push changes
    2. View status of build on CircleCI

    View Slide

  41. Continuous Deployment to Heroku

    View Slide

  42. View Slide

  43. Enable Continuous Deployment
    1. Enable automatic deploys on Heroku
    2. Push a bad change to webcalc.py
    3. Watch build fail on CircleCI
    4. Confirm no deployment on Heroku
    5. Fix tests
    6. Push again

    View Slide

  44. Using GitHub Pull Request for Code
    Review

    View Slide

  45. Benefits of Pull Requests
    ● We don’t always want to deploy right away
    ● Team consensus
    ● Code reviews
    ● View CI status for each change
    ● Prioritize changes and detect conflicts

    View Slide

  46. Create a Pull Request
    1. Create a new branch
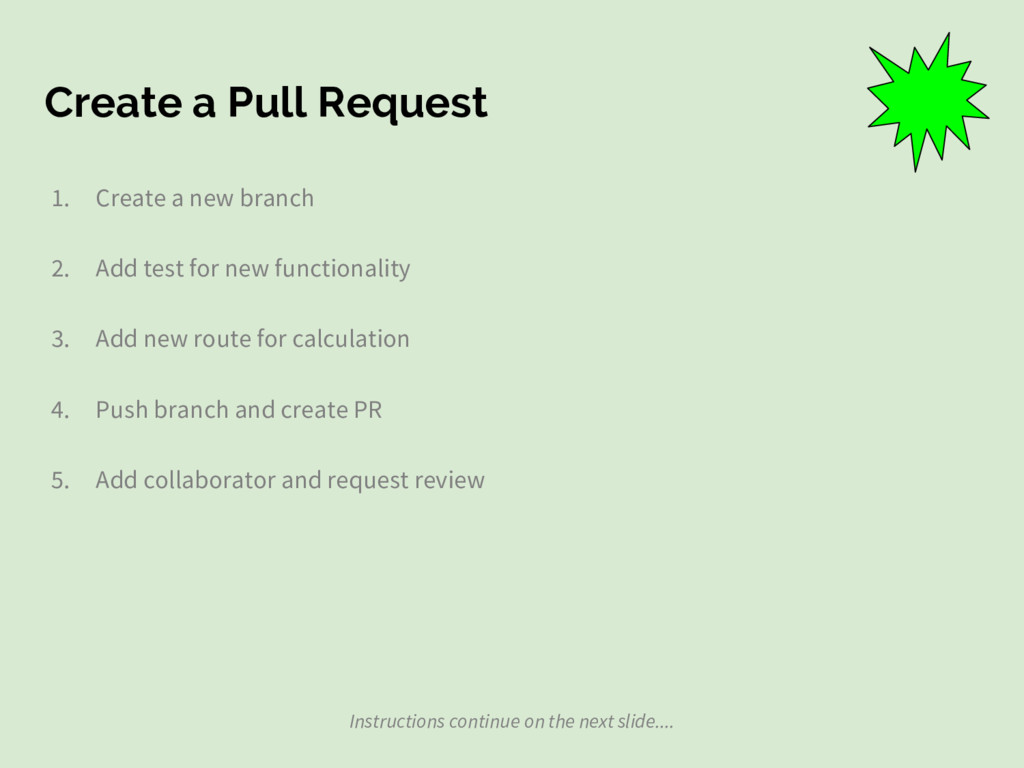
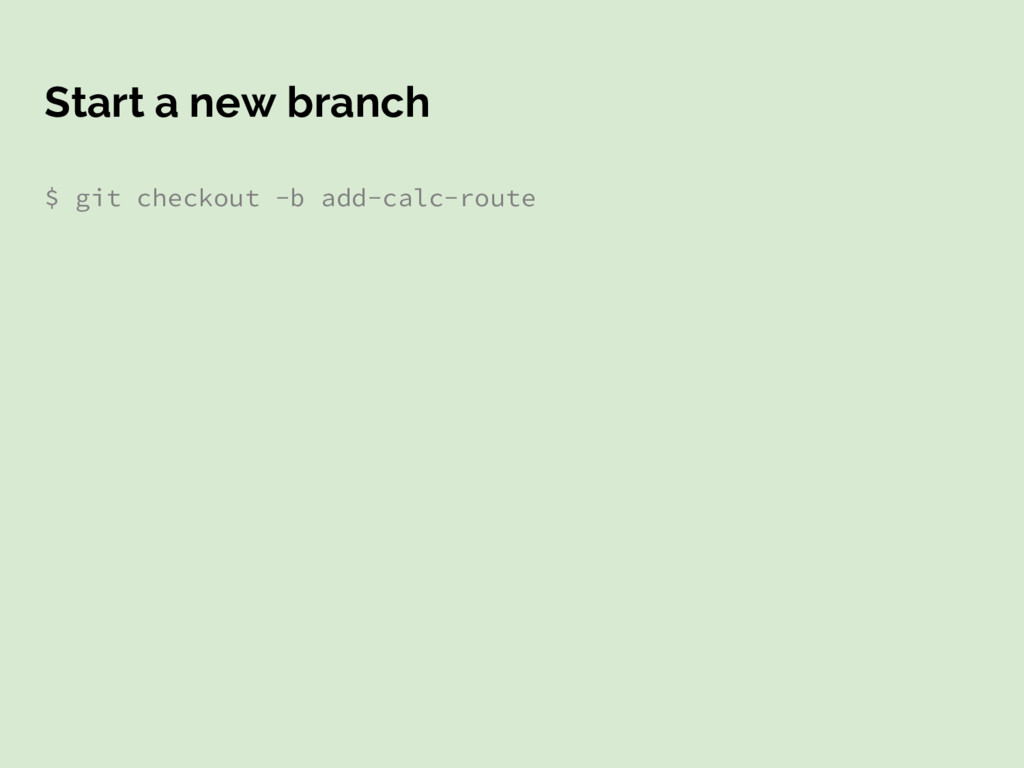
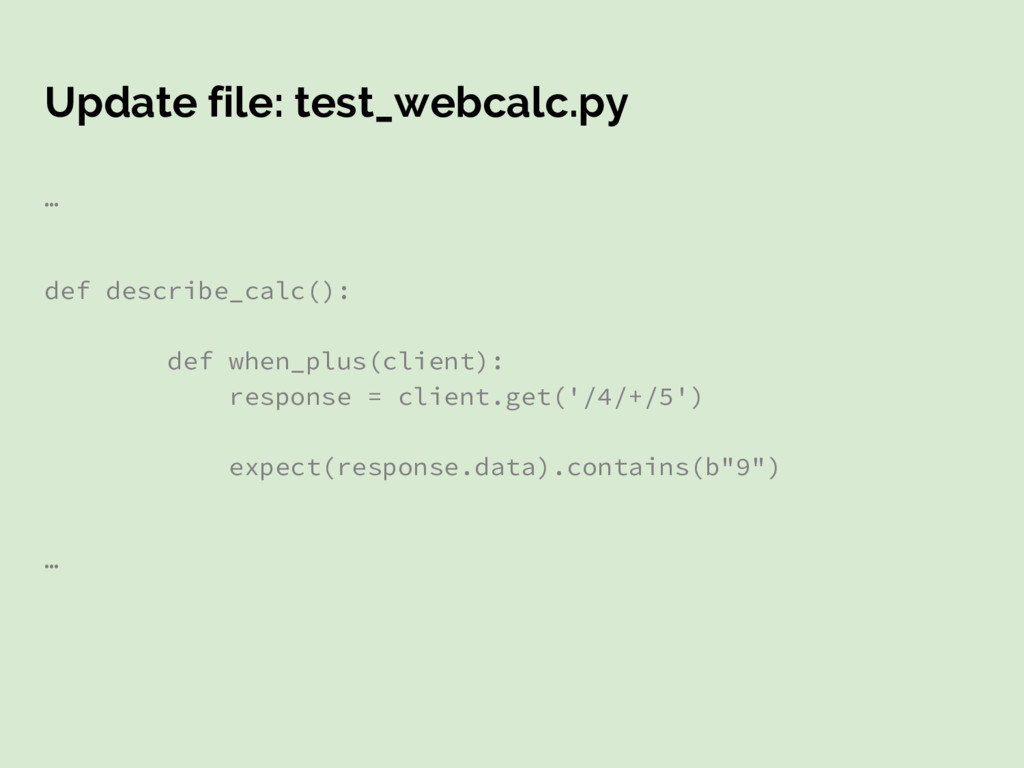
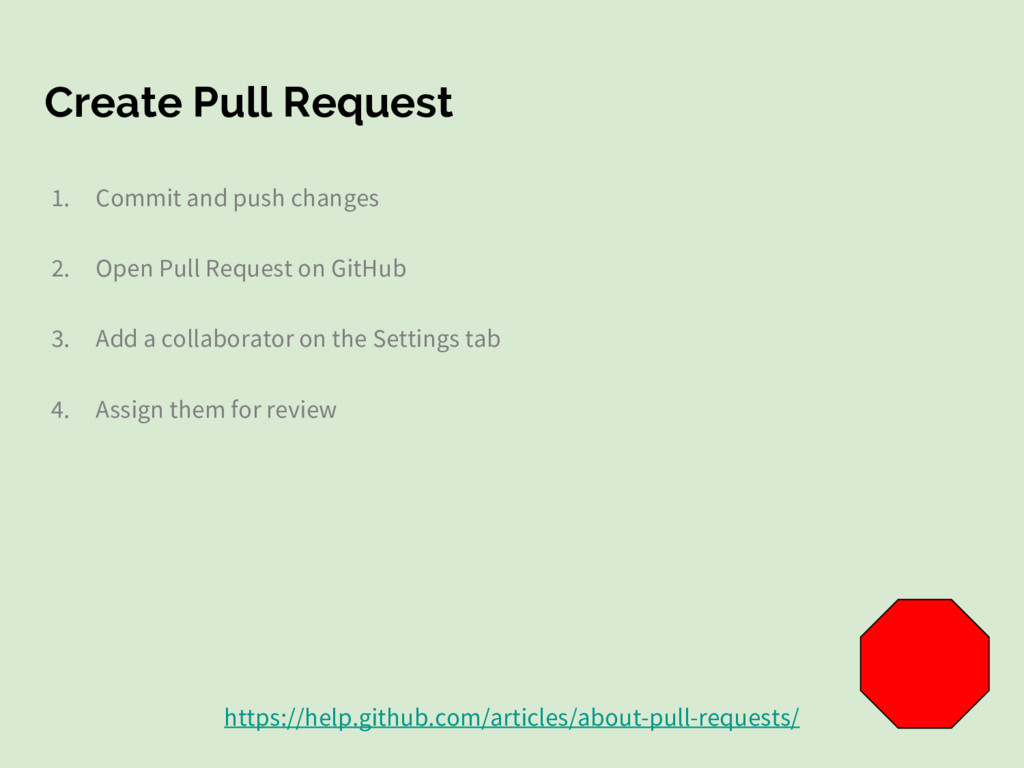
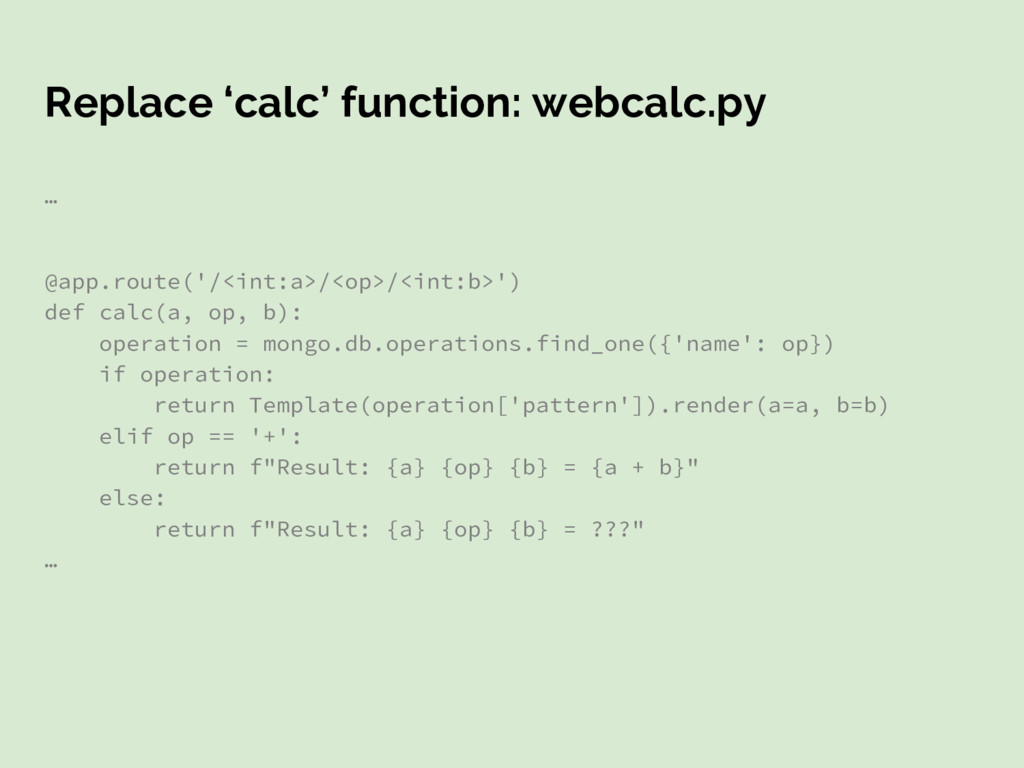
    2. Add test for new functionality
    3. Add new route for calculation
    4. Push branch and create PR
    5. Add collaborator and request review
    Instructions continue on the next slide....

    View Slide

  47. Start a new branch
    $ git checkout -b add-calc-route

    View Slide

  48. Update file: test_webcalc.py

    def describe_calc():
    def when_plus(client):
    response = client.get('/4/+/5')
    expect(response.data).contains(b"9")

    View Slide

  49. Run tests and see them fail
    $ pipenv run pytest

    View Slide

  50. Update file: webcalc.py

    @app.route('///')
    def calc(a, op, b):
    return f"Result: {a} {op} {b} = {a + b}"

    View Slide

  51. Run tests
    $ pipenv run pytest

    View Slide

  52. Create Pull Request
    1. Commit and push changes
    2. Open Pull Request on GitHub
    3. Add a collaborator on the Settings tab
    4. Assign them for review
    https://help.github.com/articles/about-pull-requests/

    View Slide

  53. Review Pull Request
    1. Review changes on PR assigned to you
    2. Approve changes
    3. Merge your own PR after review
    4. Watch for automatic deploy

    View Slide

  54. Provisioning External Resources on
    Heroku

    View Slide

  55. Heroku add-ons
    ● First-party:
    ○ PostgreSQL
    ○ Redis
    ● 3rd-party:
    ○ Data storage
    ○ Monitoring
    ○ Logging
    ○ Email
    ○ Caching
    ○ etc.

    View Slide

  56. Load math patterns from MongoDB
    1. Create a new branch
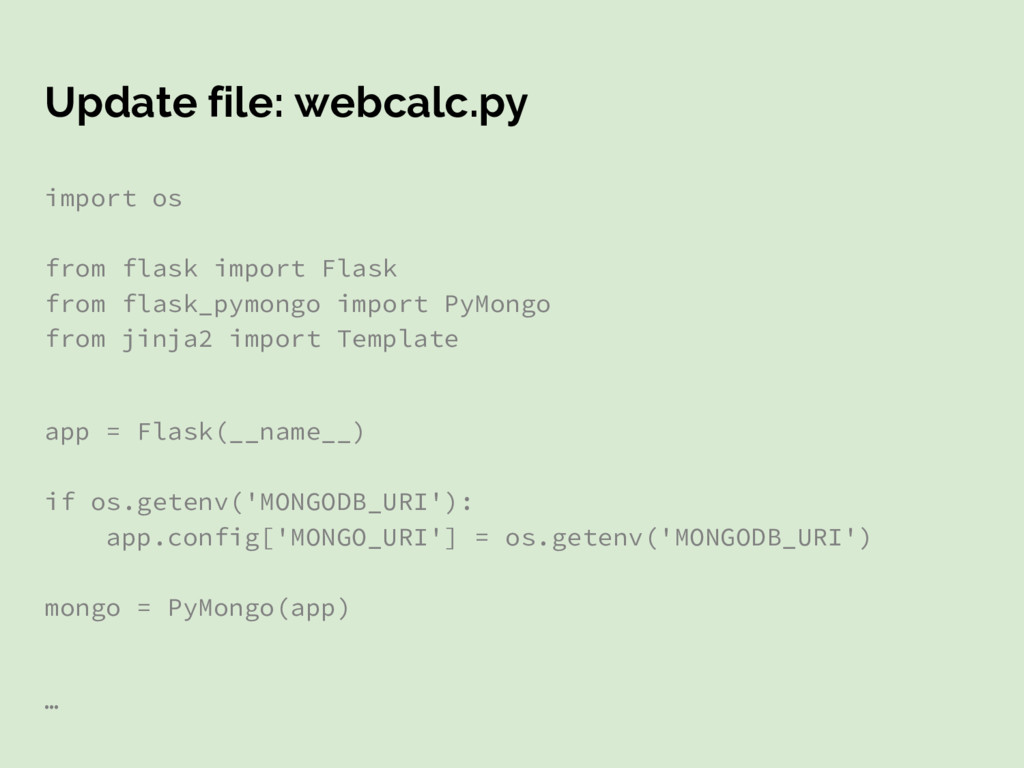
    2. Add test for new functionality
    3. Load patterns from MongoDB
    4. Push branch and create PR
    5. Request review then merge PR
    Instructions continue on the next slide....

    View Slide

  57. Install MongoDB adapter
    $ git checkout master
    $ git pull
    $ git checkout -b load-from-db
    $ pipenv install flask-pymongo --lock

    View Slide

  58. Update file: test_webcalc.py
    from webcalc import app, mongo
    @pytest.fixture
    def pattern():
    with app.app_context():
    mongo.db.operations.drop()
    mongo.db.operations.insert(
    dict(
    name="x",
    pattern="{{ a * b }}"
    )
    )

    def describe_calc():

    def from_db(client, pattern):
    response = client.get('/4/x/5')
    expect(response.data).contains(b"20")

    View Slide

  59. Update file: webcalc.py
    import os
    from flask import Flask
    from flask_pymongo import PyMongo
    from jinja2 import Template
    app = Flask(__name__)
    if os.getenv('MONGODB_URI'):
    app.config['MONGO_URI'] = os.getenv('MONGODB_URI')
    mongo = PyMongo(app)

    View Slide

  60. Replace ‘calc’ function: webcalc.py

    @app.route('///')
    def calc(a, op, b):
    operation = mongo.db.operations.find_one({'name': op})
    if operation:
    return Template(operation['pattern']).render(a=a, b=b)
    elif op == '+':
    return f"Result: {a} {op} {b} = {a + b}"
    else:
    return f"Result: {a} {op} {b} = ???"

    View Slide

  61. Create Pull Request
    1. Create PR
    2. Wait for review app to deploy
    3. Request review from your collaborator
    4. As the collaborator, review the code
    5. Merge PR

    View Slide

  62. Provision MongoDB on Heroku
    1. Add free-tier MongoDB as resource
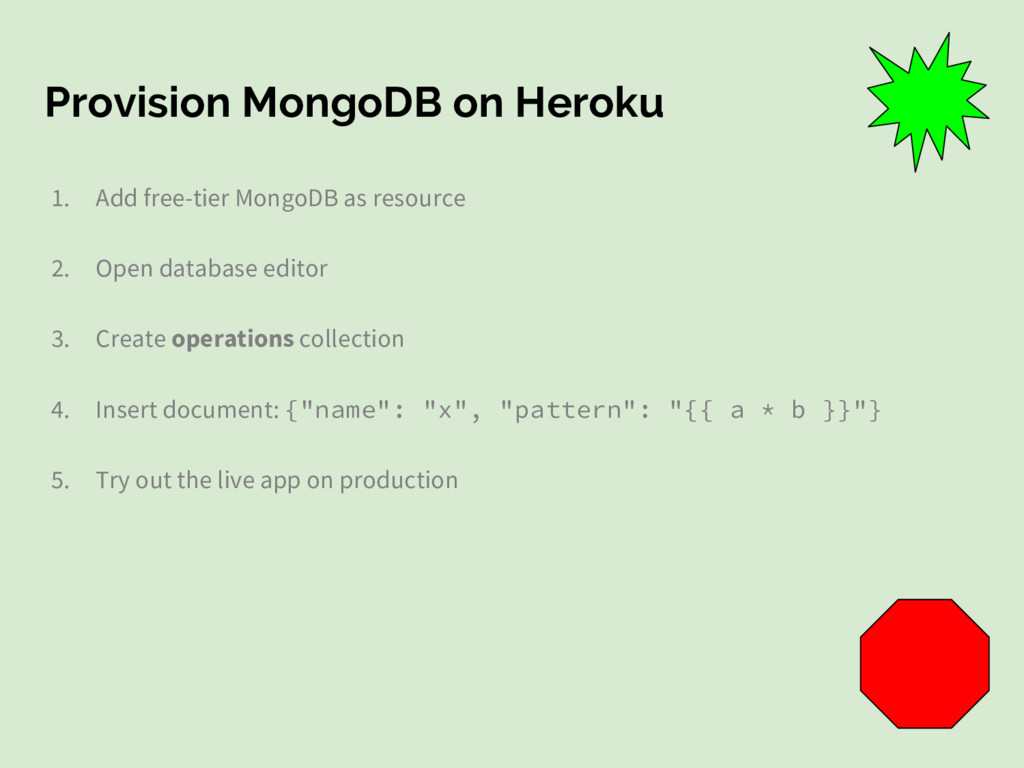
    2. Open database editor
    3. Create operations collection
    4. Insert document: {"name": "x", "pattern": "{{ a * b }}"}
    5. Try out the live app on production

    View Slide

  63. Using Heroku Review Apps for
    Manual Testing

    View Slide

  64. Heroku Pipelines
    ● Group related Heroku apps
    ● Stages
    ○ Production
    ○ Staging
    ○ Review

    View Slide

  65. Enable Heroku Review Apps
    1. Create a Heroku pipeline
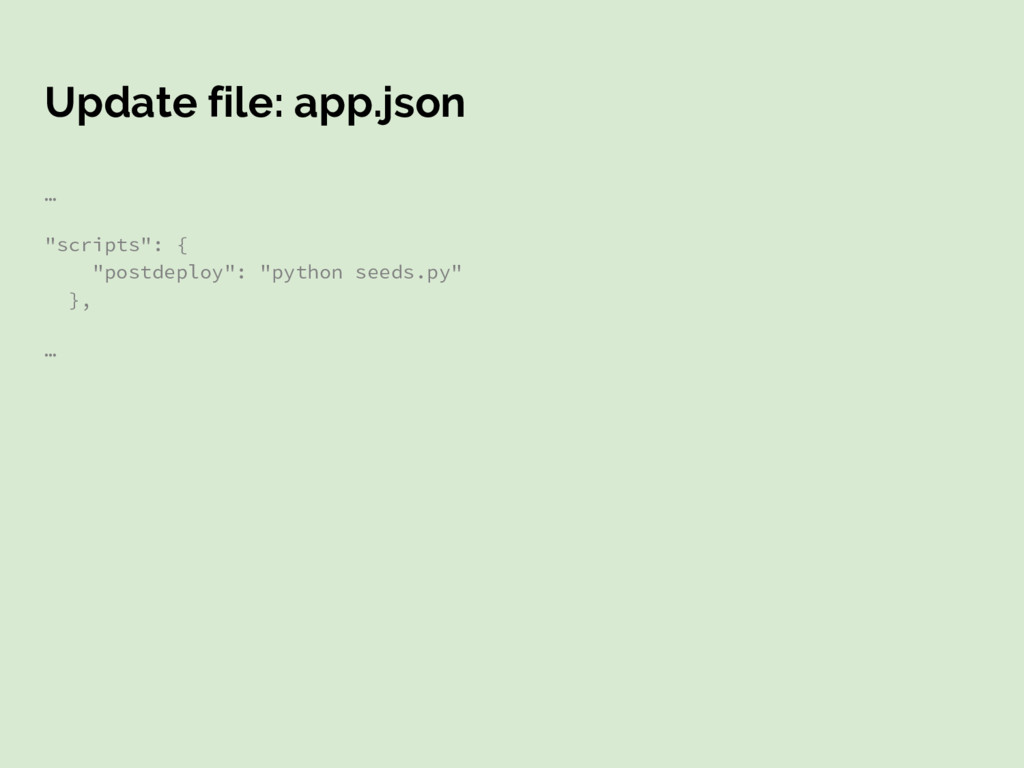
    2. Add app.json to define resources
    3. Add a seeds script
    4. Create PR to see review app
    5. Test feature on review app
    Instructions continue on the next slide....

    View Slide

  66. Create Heroku pipeline
    1. https://devcenter.heroku.com/articles/pipelines
    2. Add existing app to pipeline

    View Slide

  67. Enable review apps
    1. Enable review apps in the pipeline
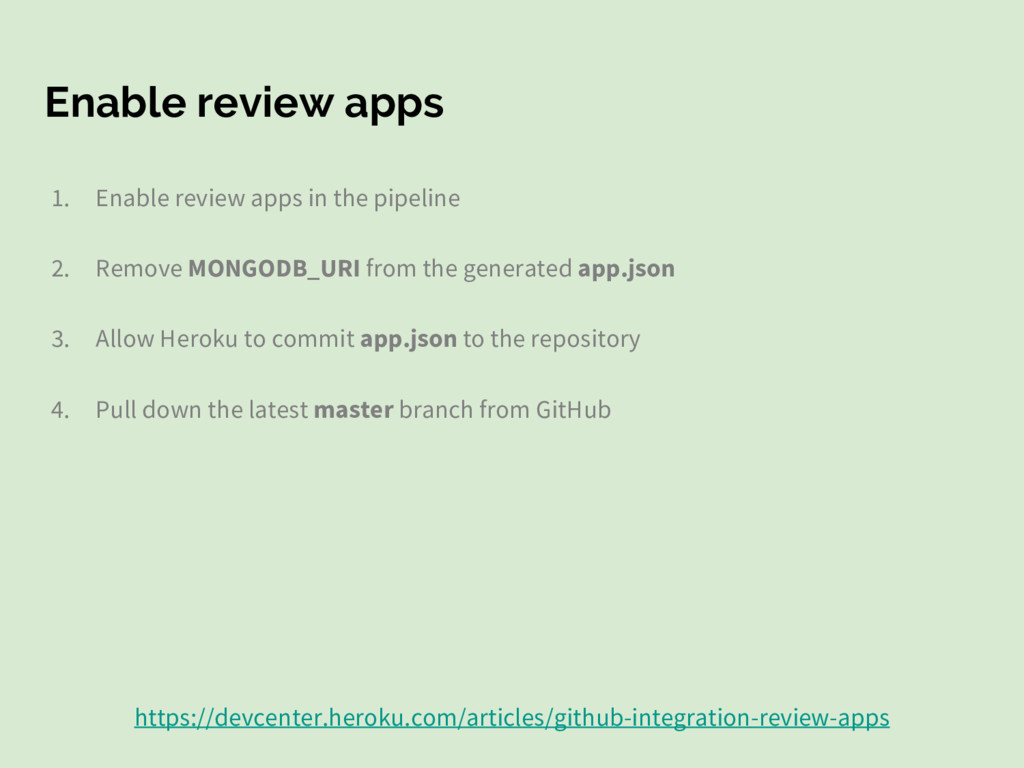
    2. Remove MONGODB_URI from the generated app.json
    3. Allow Heroku to commit app.json to the repository
    4. Pull down the latest master branch from GitHub
    https://devcenter.heroku.com/articles/github-integration-review-apps

    View Slide

  68. New file: seeds.py
    from webcalc import app, mongo
    with app.app_context():
    mongo.db.operations.insert(
    dict(
    name="+",
    pattern="{{ a + b }}"
    )
    )
    mongo.db.operations.insert(
    dict(
    name="x",
    pattern="{{ a * b }}"
    )
    )

    View Slide

  69. Update file: app.json

    "scripts": {
    "postdeploy": "python seeds.py"
    },

    View Slide

  70. Create Pull Request
    1. Create PR
    2. Wait for review app to deploy
    3. Request review from your collaborator
    4. As the collaborator, review the code and test the review app
    5. Merge PR

    View Slide

  71. Advanced Topics

    View Slide

  72. CI Status Badges

    View Slide

  73. Tracking Issues
    with GitHub

    View Slide

  74. Continuous
    Delivery vs.
    Continuous
    Deployment

    View Slide

  75. Multiple
    environments:
    dev
    qa/test
    staging

    View Slide

  76. Heroku Flow

    View Slide

  77. https://twitter.com/jacebrowning
    https://beercitycode.slack.com/messages/G5QBA85DZ
    https://github.com/jacebrowning

    View Slide