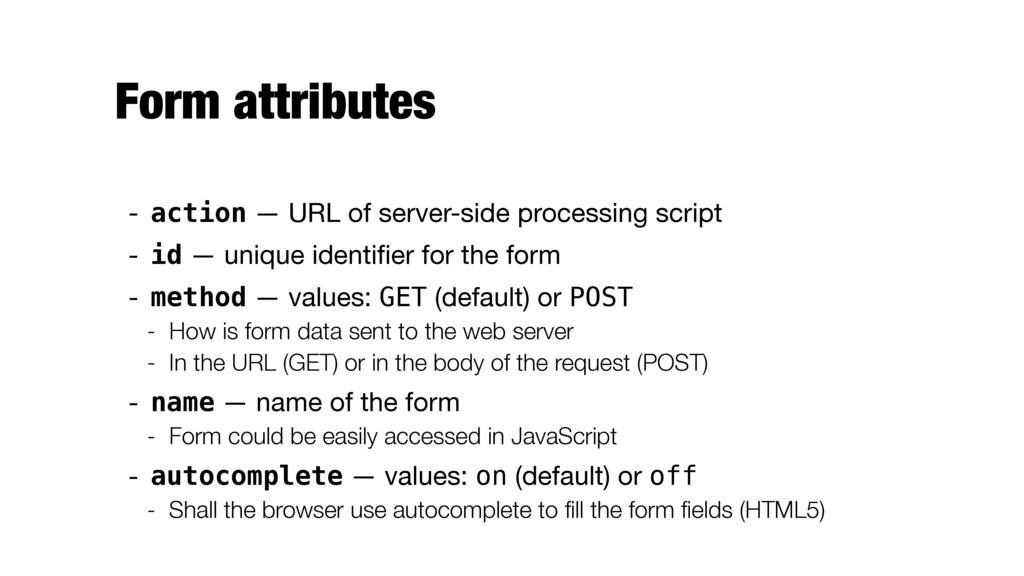
- id — unique identifier for the form - method — values: GET (default) or POST - How is form data sent to the web server - In the URL (GET) or in the body of the request (POST) - name — name of the form - Form could be easily accessed in JavaScript - autocomplete — values: on (default) or off - Shall the browser use autocomplete to fill the form fields (HTML5)
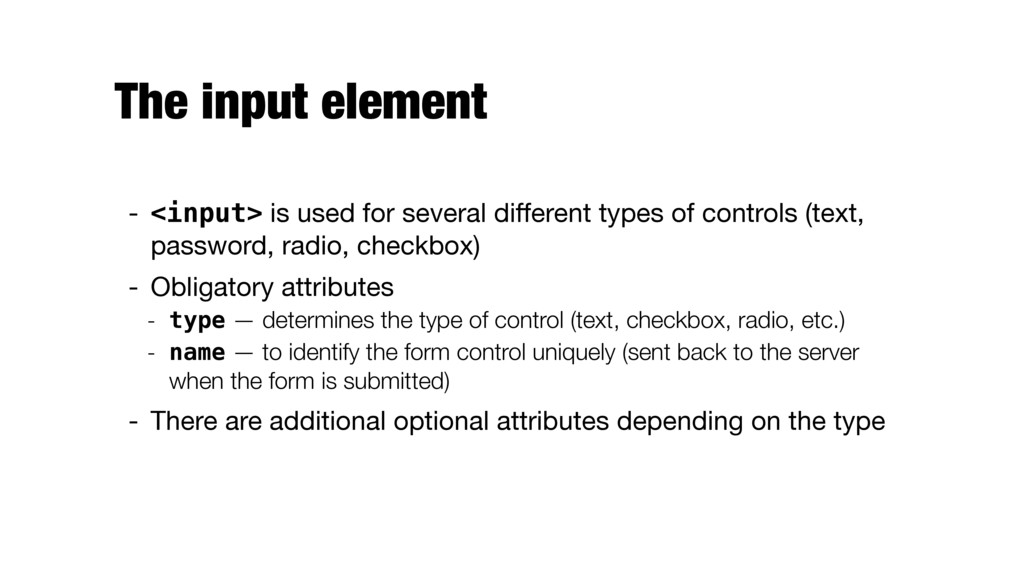
types of controls (text, password, radio, checkbox) - Obligatory attributes - type — determines the type of control (text, checkbox, radio, etc.) - name — to identify the form control uniquely (sent back to the server when the form is submitted) - There are additional optional attributes depending on the type
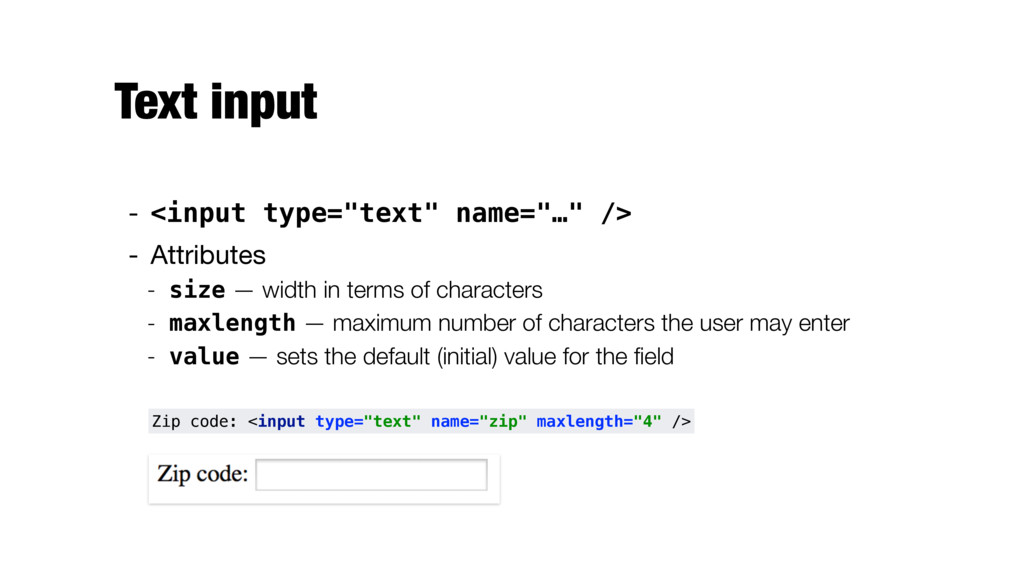
size — width in terms of characters - maxlength — maximum number of characters the user may enter - value — sets the default (initial) value for the field Zip code: <input type="text" name="zip" maxlength="4" />
size — width in terms of characters - maxlength — maximum number of characters the user may enter - value — sets the default (initial) value for the field - Password is hidden only on the screen, it is not sent securely to the server (!) Password: <input type="password" name="pw" />
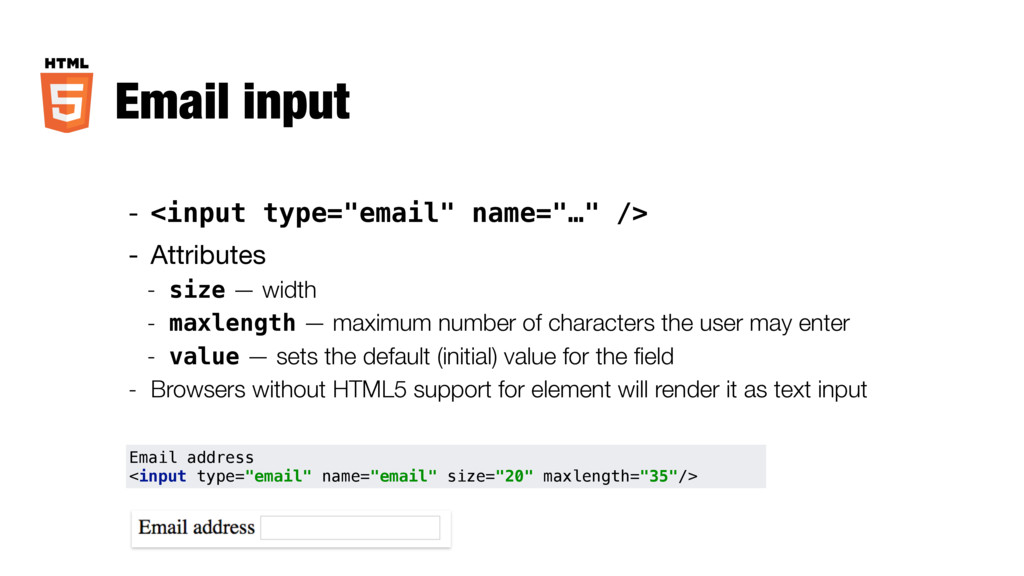
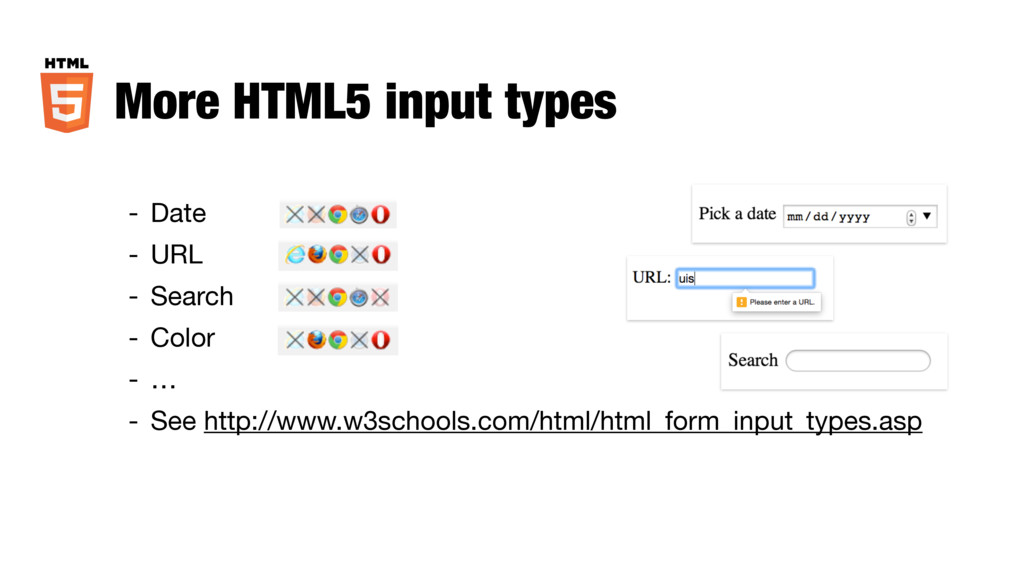
size — width - maxlength — maximum number of characters the user may enter - value — sets the default (initial) value for the field - Browsers without HTML5 support for element will render it as text input Email address <input type="email" name="email" size="20" maxlength="35"/>
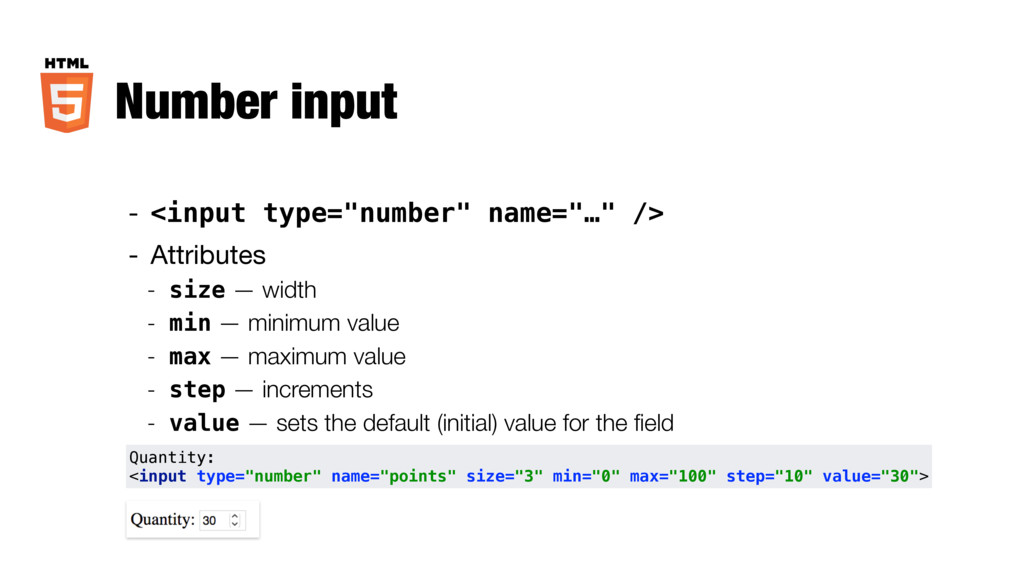
size — width - min — minimum value - max — maximum value - step — increments - value — sets the default (initial) value for the field Quantity: <input type="number" name="points" size="3" min="0" max="100" step="10" value="30">
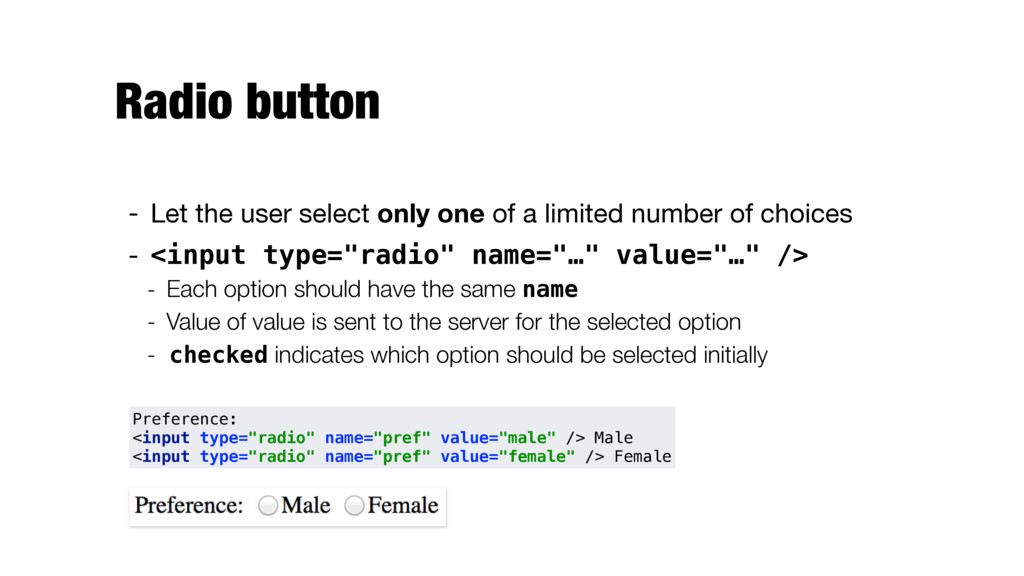
a limited number of choices - <input type="radio" name="…" value="…" /> - Each option should have the same name - Value of value is sent to the server for the selected option - checked indicates which option should be selected initially Preference: <input type="radio" name="pref" value="male" /> Male <input type="radio" name="pref" value="female" /> Female
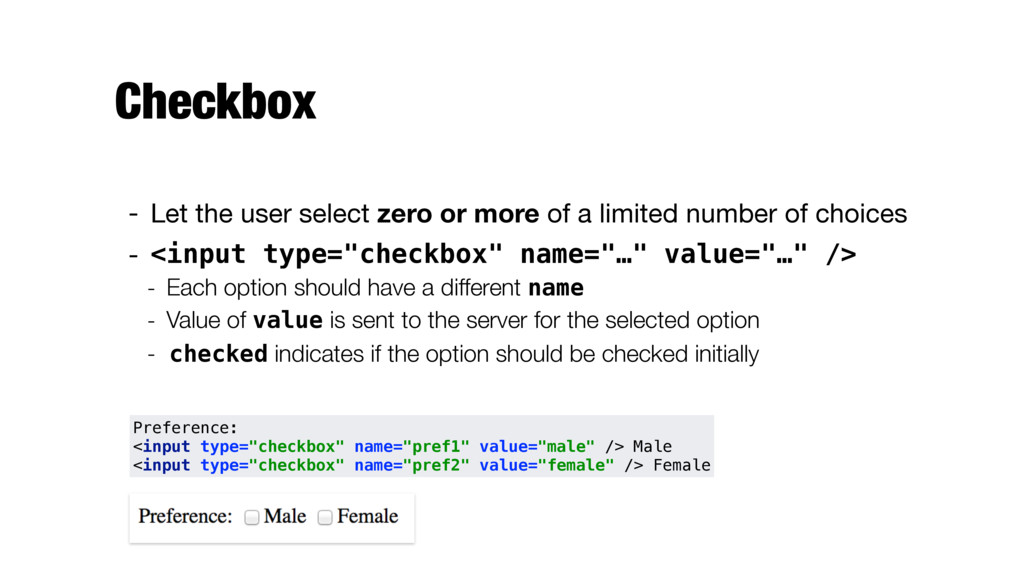
a limited number of choices - <input type="checkbox" name="…" value="…" /> - Each option should have a different name - Value of value is sent to the server for the selected option - checked indicates if the option should be checked initially Preference: <input type="checkbox" name="pref1" value="male" /> Male <input type="checkbox" name="pref2" value="female" /> Female
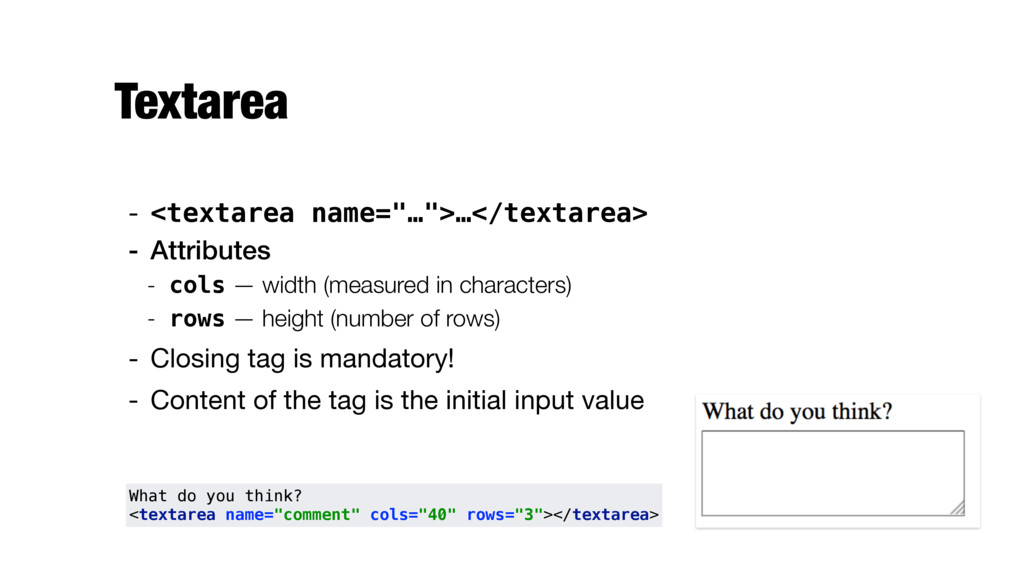
(measured in characters) - rows — height (number of rows) - Closing tag is mandatory! - Content of the tag is the initial input value What do you think? <textarea name="comment" cols="40" rows="3"></textarea>
from a dropdown list - <select name="…">…</select> - Each option is <option value="…">…</option> - Value of value is sent to the server for the selected option - selected can be used to set the default option <select name="age"> <option value="1">-18</option> <option value="2" selected>18-35</option> <option value="3">35-50</option> <option value="4">50-</option> </select>
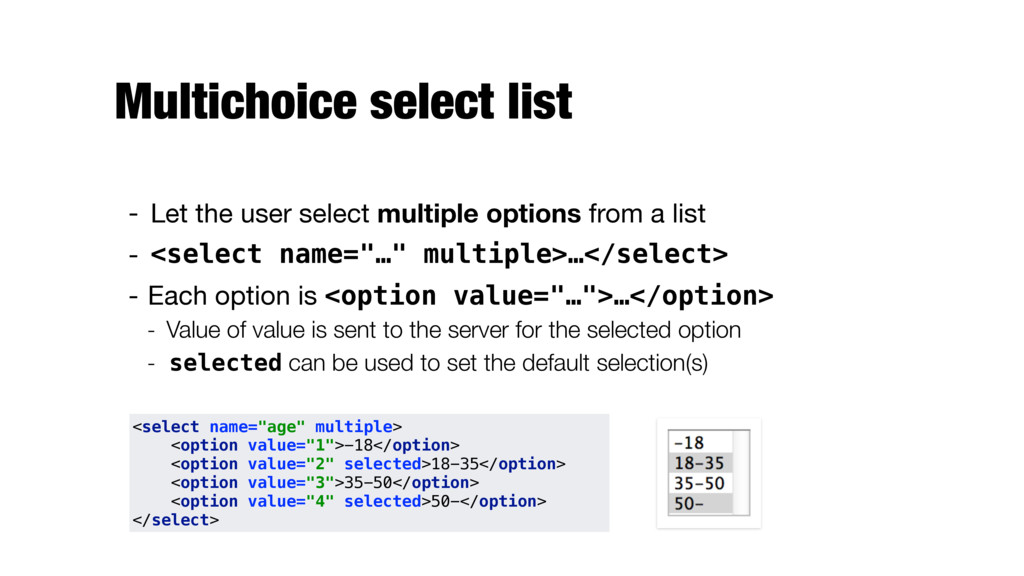
from a list - <select name="…" multiple>…</select> - Each option is <option value="…">…</option> - Value of value is sent to the server for the selected option - selected can be used to set the default selection(s) <select name="age" multiple> <option value="1">-18</option> <option value="2" selected>18-35</option> <option value="3">35-50</option> <option value="4" selected>50-</option> </select>
submit button - <input type="image" src="…" alt="…" /> - src — required, the filename or URL of the image - alt — alternative text to be displayed - height, width — image dimensions <input type="image" src="images/next.jpg" width="100px" alt="Submit" />
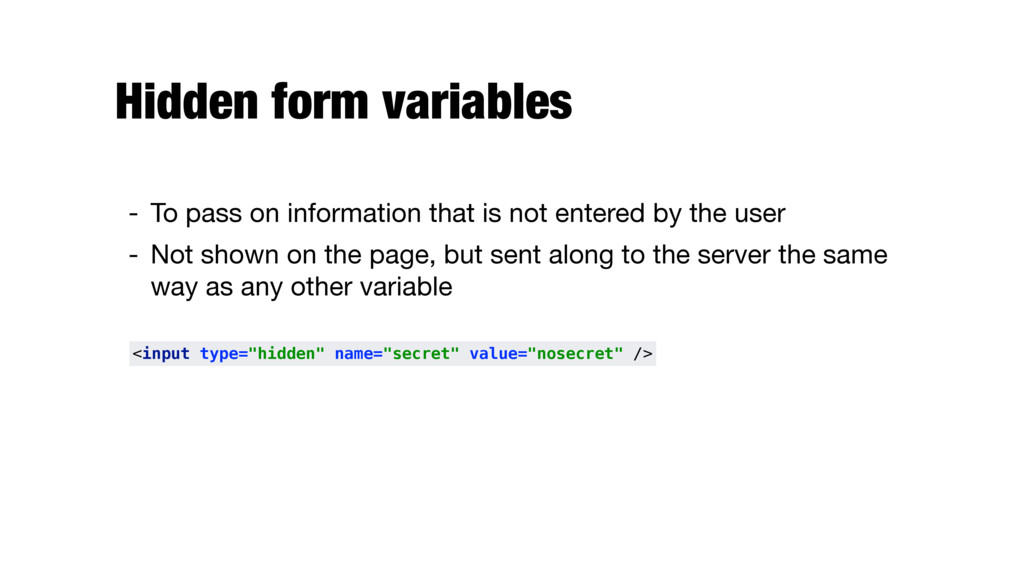
not entered by the user - Not shown on the page, but sent along to the server the same way as any other variable <input type="hidden" name="secret" value="nosecret" />
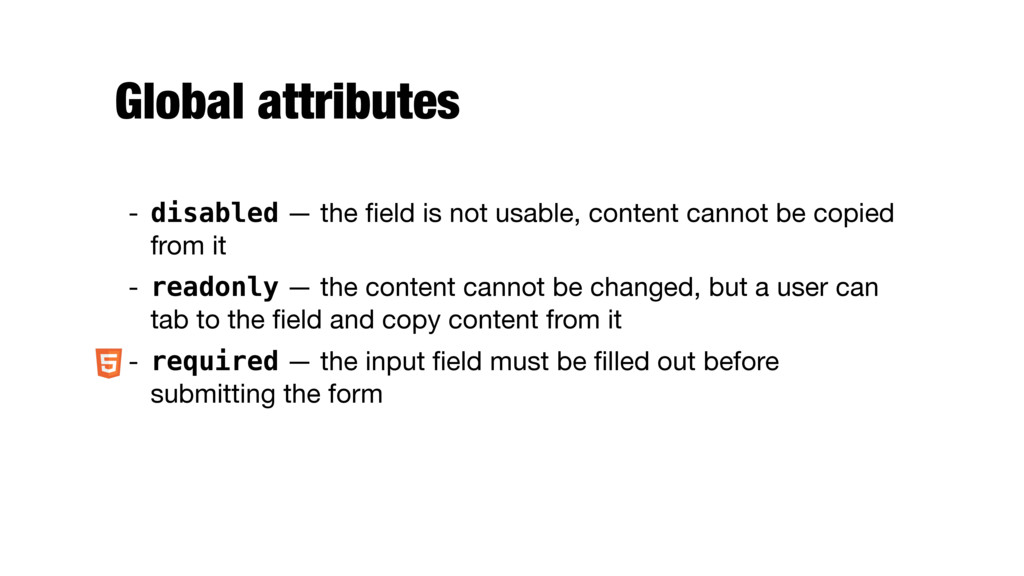
content cannot be copied from it - readonly — the content cannot be changed, but a user can tab to the field and copy content from it - required — the input field must be filled out before submitting the form
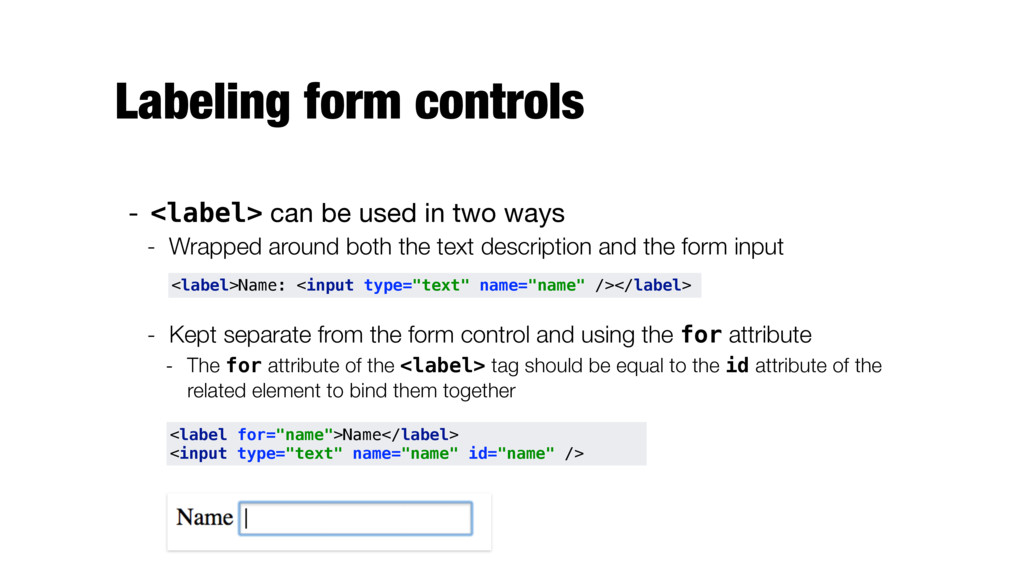
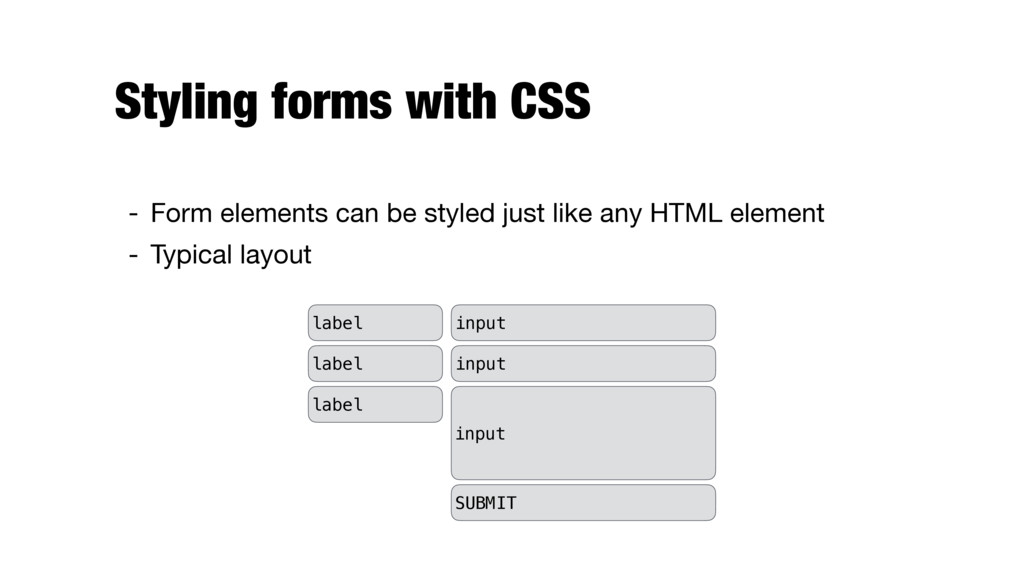
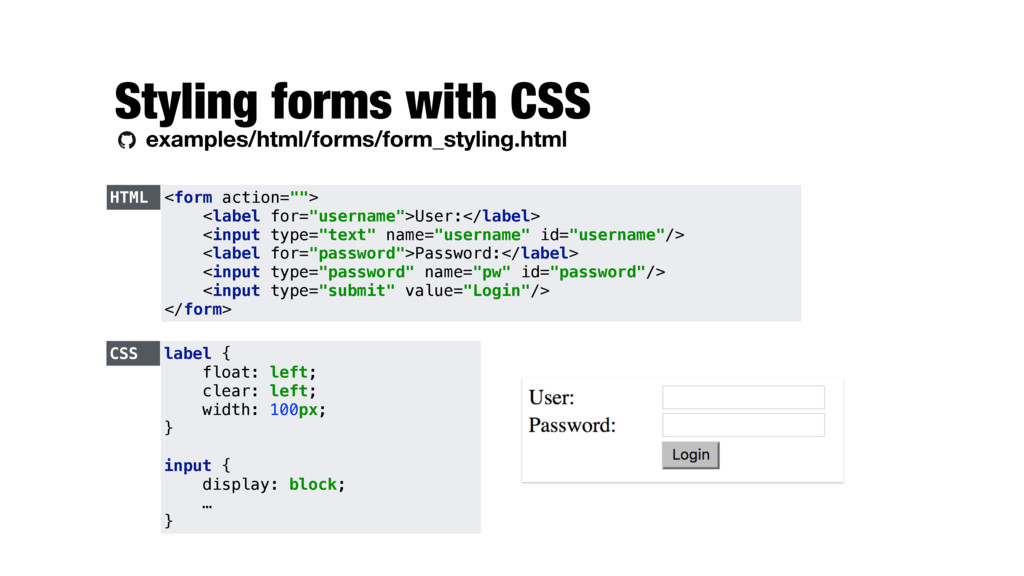
ways - Wrapped around both the text description and the form input - Kept separate from the form control and using the for attribute - The for attribute of the <label> tag should be equal to the id attribute of the related element to bind them together <label>Name: <input type="text" name="name" /></label> <label for="name">Name</label> <input type="text" name="name" id="name" />
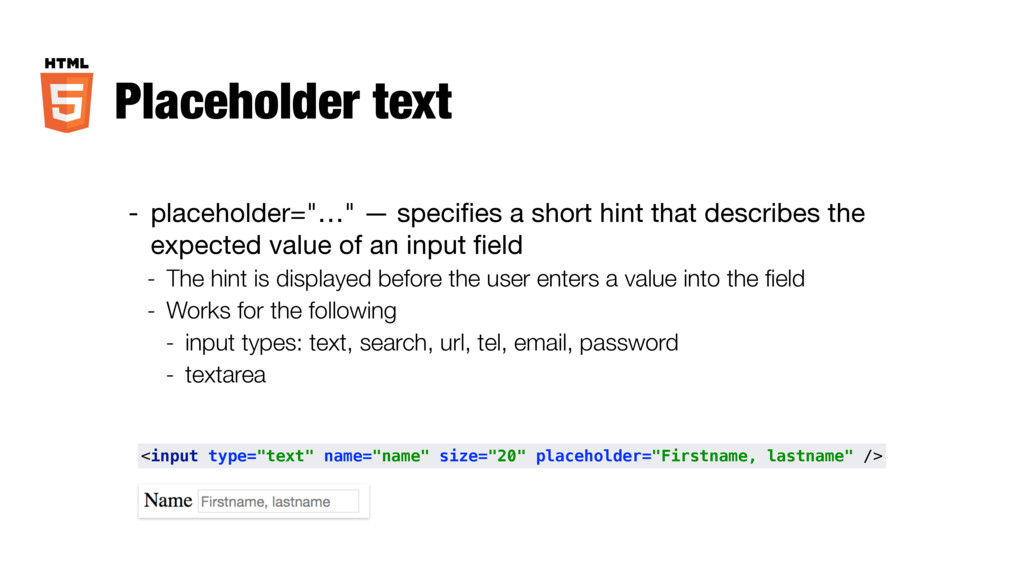
describes the expected value of an input field - The hint is displayed before the user enters a value into the field - Works for the following - input types: text, search, url, tel, email, password - textarea <input type="text" name="name" size="20" placeholder="Firstname, lastname" />
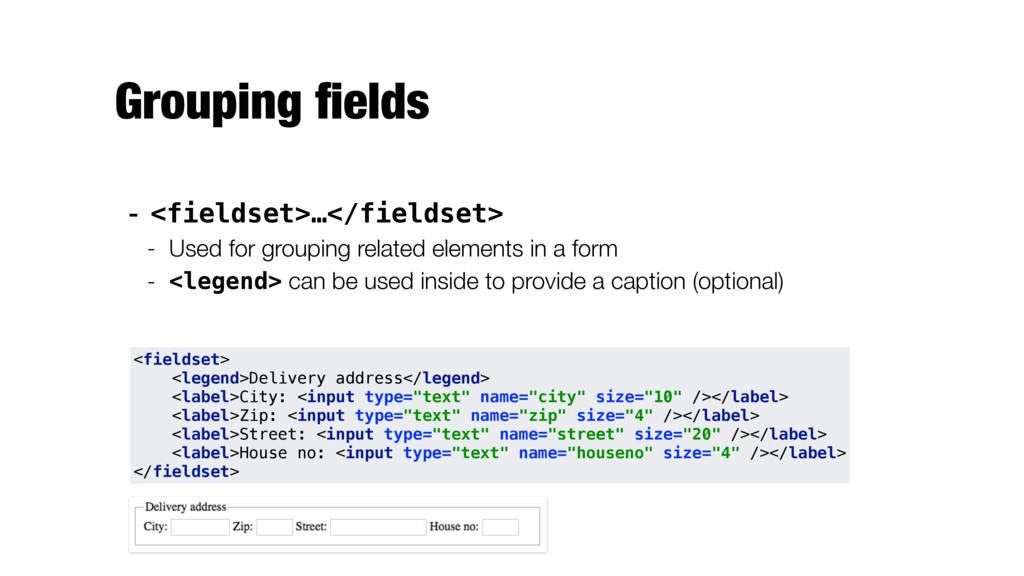
in a form - <legend> can be used inside to provide a caption (optional) <fieldset> <legend>Delivery address</legend> <label>City: <input type="text" name="city" size="10" /></label> <label>Zip: <input type="text" name="zip" size="4" /></label> <label>Street: <input type="text" name="street" size="20" /></label> <label>House no: <input type="text" name="houseno" size="4" /></label> </fieldset>