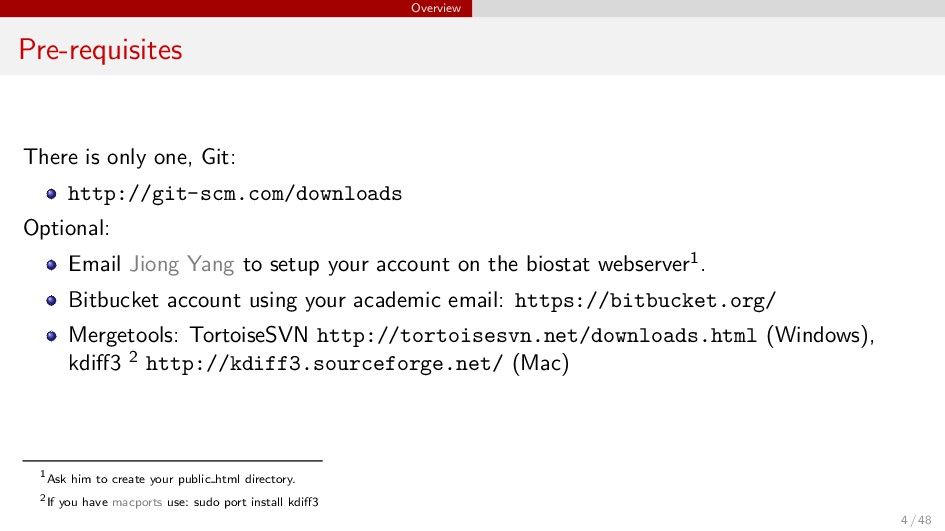
Jiong Yang to setup your account on the biostat webserver1. Bitbucket account using your academic email: https://bitbucket.org/ Mergetools: TortoiseSVN http://tortoisesvn.net/downloads.html (Windows), kdiff3 2 http://kdiff3.sourceforge.net/ (Mac) 1Ask him to create your public html directory. 2If you have macports use: sudo port install kdiff3 4 / 48
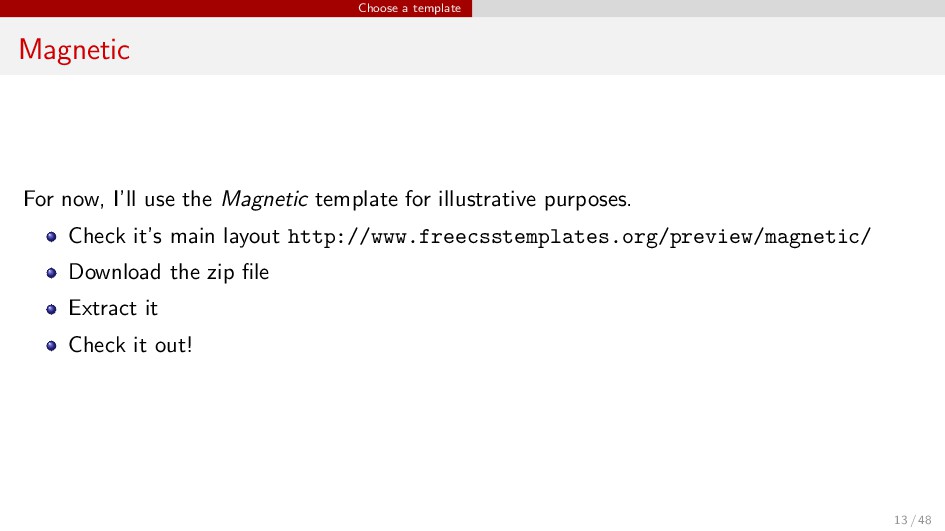
template for illustrative purposes. Check it’s main layout http://www.freecsstemplates.org/preview/magnetic/ Download the zip file Extract it Check it out! 13 / 48
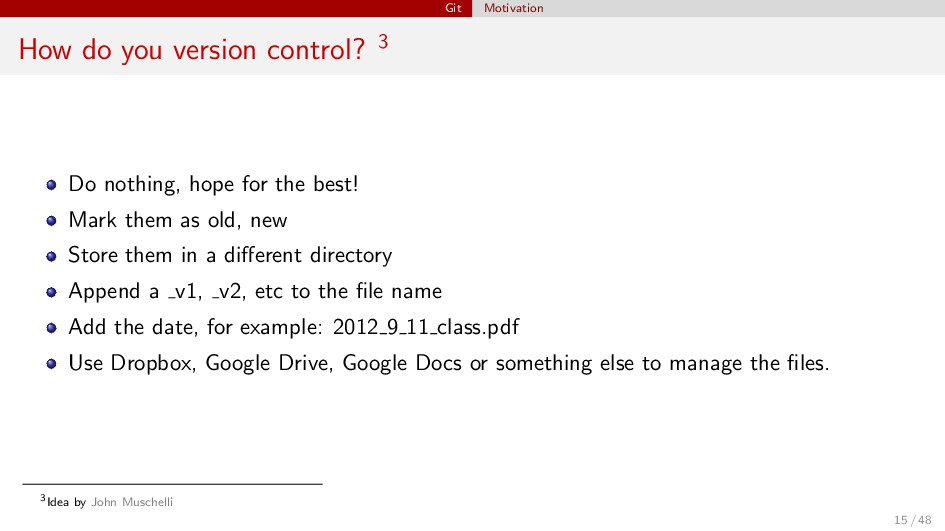
hope for the best! Mark them as old, new Store them in a different directory Append a v1, v2, etc to the file name Add the date, for example: 2012 9 11 class.pdf Use Dropbox, Google Drive, Google Docs or something else to manage the files. 3Idea by John Muschelli 15 / 48
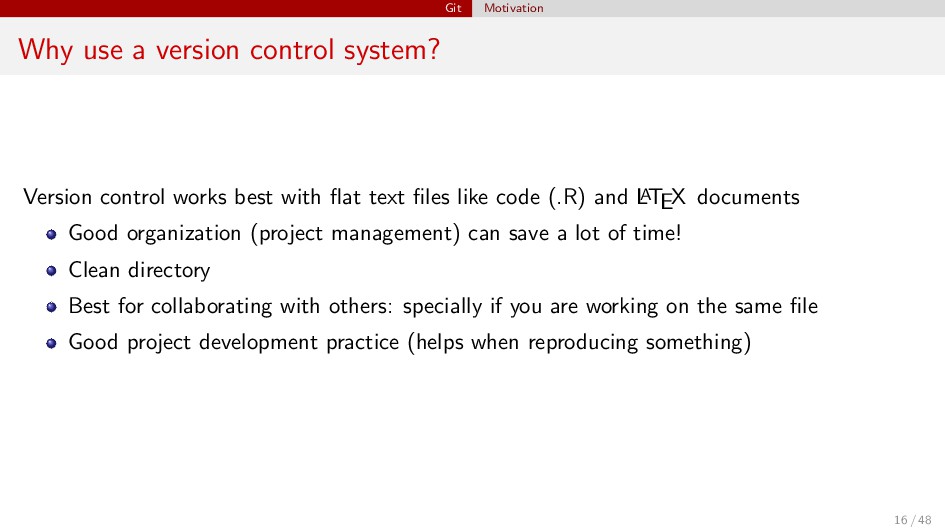
works best with flat text files like code (.R) and L A TEX documents Good organization (project management) can save a lot of time! Clean directory Best for collaborating with others: specially if you are working on the same file Good project development practice (helps when reproducing something) 16 / 48
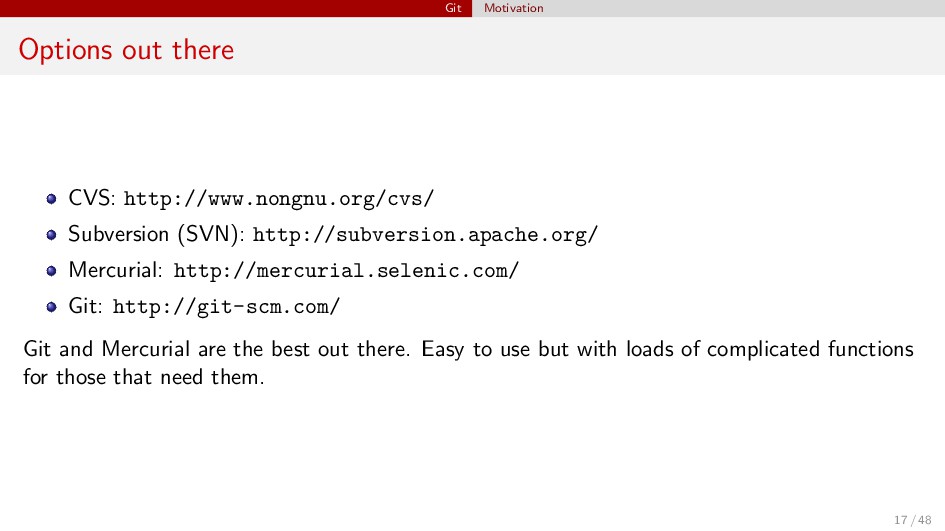
Mercurial: http://mercurial.selenic.com/ Git: http://git-scm.com/ Git and Mercurial are the best out there. Easy to use but with loads of complicated functions for those that need them. 17 / 48
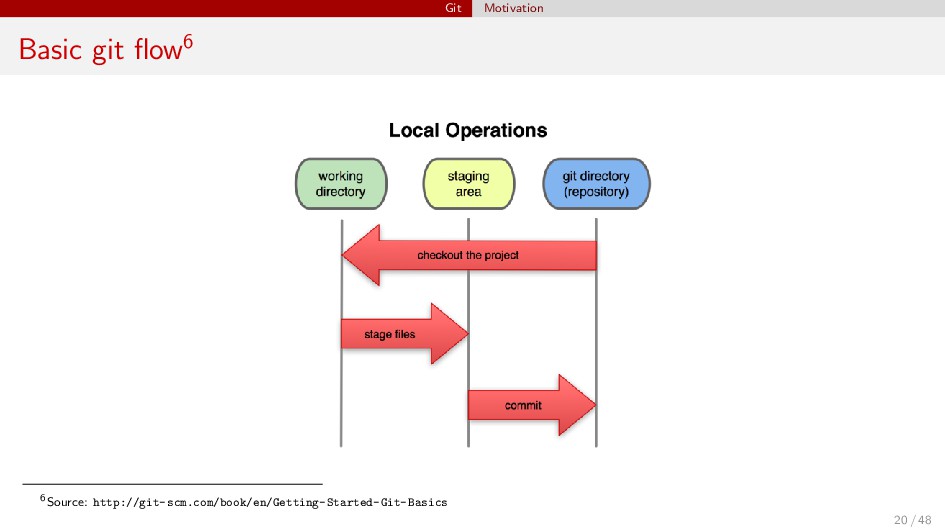
first repo! First of all, if you need help use: git help <verb> 1 Create a directory named website and get in it. For Linux/Mac: open the terminal. For Windows: use git bash. mkdir website cd website 2 Initialize your repo: git init 3 Manually copy the files from the magnetic website template. 4 Add the files to git’s tracking system 32 / 48
git add style.css git add license.txt git add images/* 5 Move them from the staging area to the repository while specifying a commit message git commit -m "I added magnetic’s website template" 6 Open index.html with a text editor and modify it. For example, change the link of Home to point to index.html (line 37): <li class="current_page_item"><a href="#">Home</a></li> # old <li class="current_page_item"><a href="index.html">Home</a></li> # new 7 You can also modify the big name that shows in the center (line 31): <h1><a href="#">Magnetic</a></h1> # old <h1><a href="#">L. Collado-Torres</a></h1> # new 33 / 48
to modify the html title (which is used as the tab name in your browser) (line 18) <title>Magnetic by FCT</title> # old <title>Example website</title> # new 9 Now check the status: git status 10 What do you see? 11 Notify git that you wish to save the new modifications (move them from the staging area to the repo) git add index.html 12 Create a copy of index.html called new.html cp index.html new.html 13 Check the status of website 34 / 48
Add new.html to your repository git add contact.html 15 Mark with a message that you both modified index.html and added new.html git commit -m "Changed the home link to index.html and then copied index.html into new.html" 16 Check the history of changes in the repository git log 17 Rename new.html to contact.html git mv new.html contact.html 18 Check the status git st 35 / 48
as ready to be added to the repo. git add contact.html 20 Check the status. Was the git add contact.html necessary? git st 21 Open index.html with your fav text editor 22 Change the contact link to contact.html (line 42) <li class="last"><a href="#">Contact</a></li> # old <li class="last"><a href="contact.html">Contact</a></li> # new 23 Do the same for index.html 24 Add and commit the changes: in a single step! git commit -am "Renamed new.html to contact.html and changed the contact link" 36 / 48
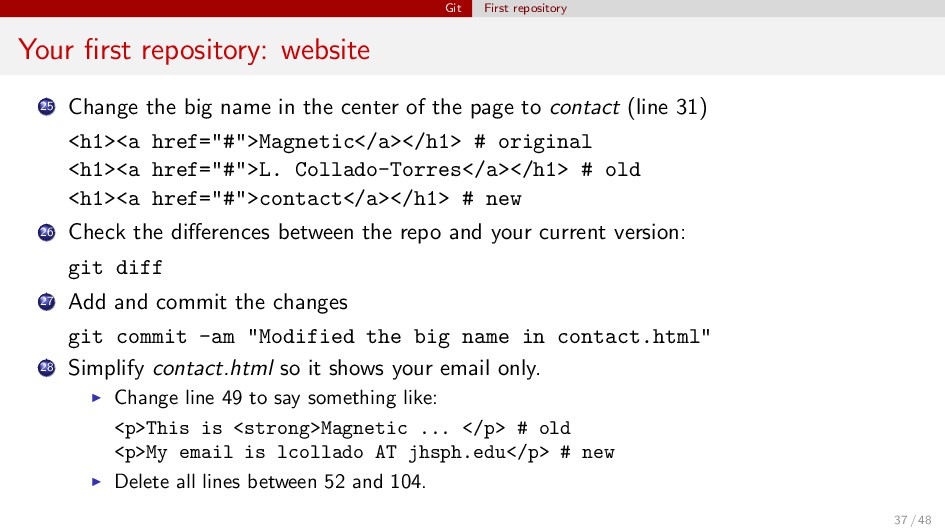
big name in the center of the page to contact (line 31) <h1><a href="#">Magnetic</a></h1> # original <h1><a href="#">L. Collado-Torres</a></h1> # old <h1><a href="#">contact</a></h1> # new 26 Check the differences between the repo and your current version: git diff 27 Add and commit the changes git commit -am "Modified the big name in contact.html" 28 Simplify contact.html so it shows your email only. Change line 49 to say something like: <p>This is <strong>Magnetic ... </p> # old <p>My email is lcollado AT jhsph.edu</p> # new Delete all lines between 52 and 104. 37 / 48
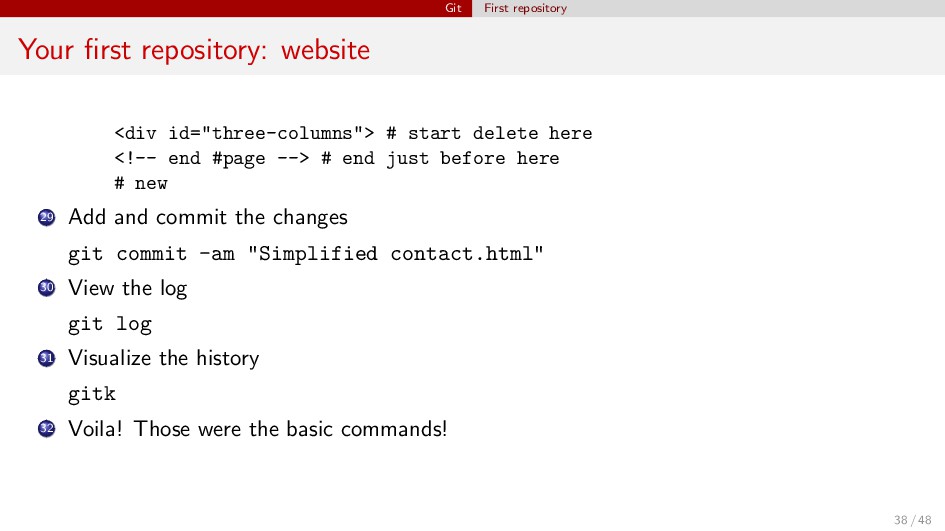
start delete here <!-- end #page --> # end just before here # new 29 Add and commit the changes git commit -am "Simplified contact.html" 30 View the log git log 31 Visualize the history gitk 32 Voila! Those were the basic commands! 38 / 48
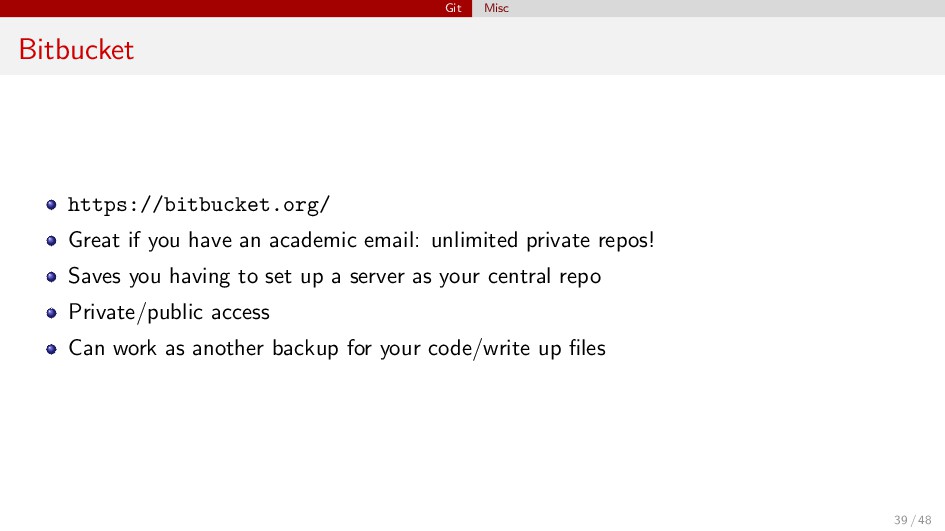
email: unlimited private repos! Saves you having to set up a server as your central repo Private/public access Can work as another backup for your code/write up files 39 / 48
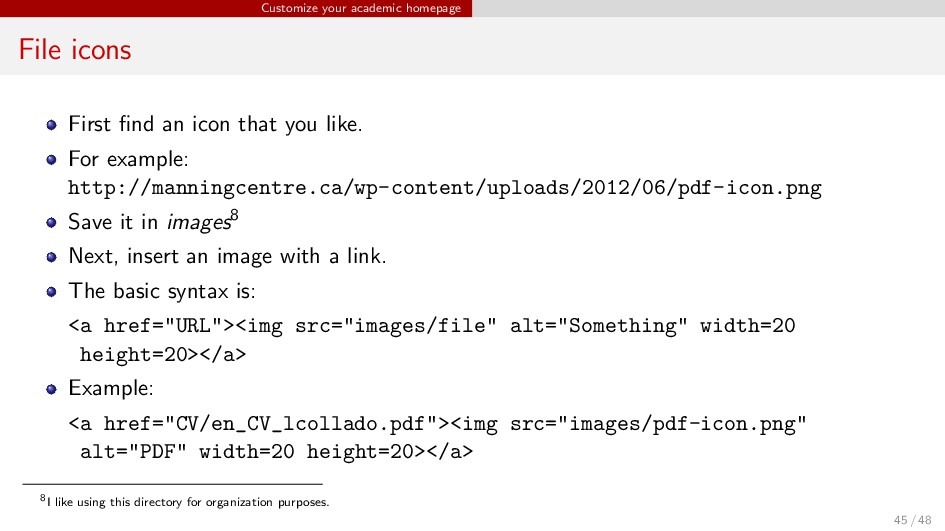
that you like. For example: http://manningcentre.ca/wp-content/uploads/2012/06/pdf-icon.png Save it in images8 Next, insert an image with a link. The basic syntax is: <a href="URL"><img src="images/file" alt="Something" width=20 height=20></a> Example: <a href="CV/en_CV_lcollado.pdf"><img src="images/pdf-icon.png" alt="PDF" width=20 height=20></a> 8I like using this directory for organization purposes. 45 / 48
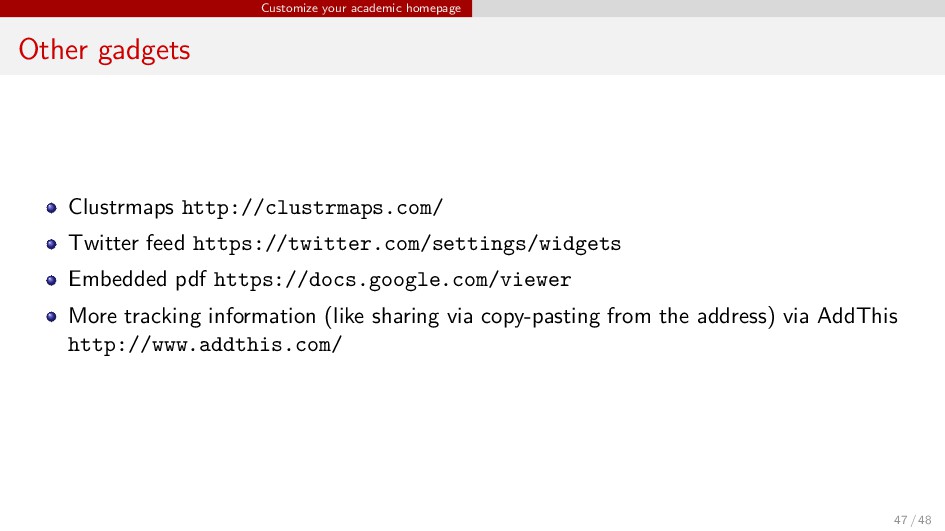
https://twitter.com/settings/widgets Embedded pdf https://docs.google.com/viewer More tracking information (like sharing via copy-pasting from the address) via AddThis http://www.addthis.com/ 47 / 48
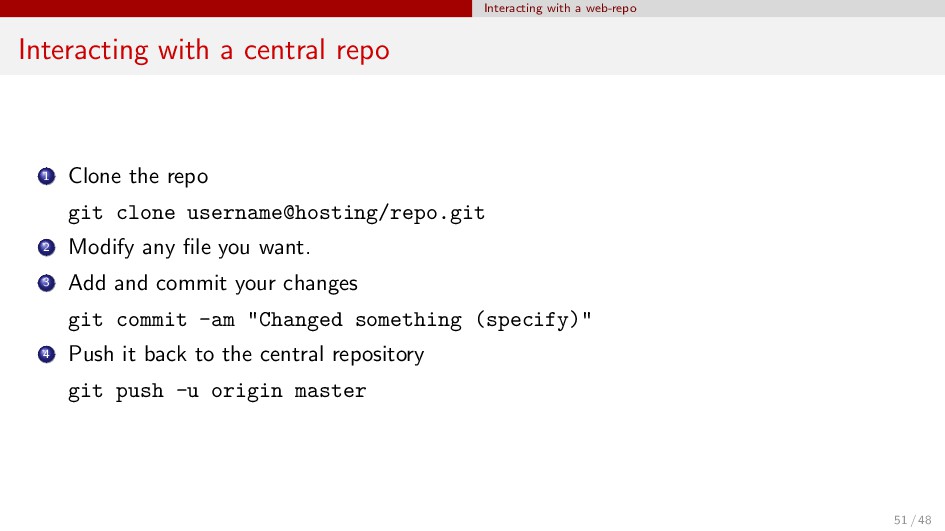
Clone the repo git clone username@hosting/repo.git 2 Modify any file you want. 3 Add and commit your changes git commit -am "Changed something (specify)" 4 Push it back to the central repository git push -u origin master 51 / 48
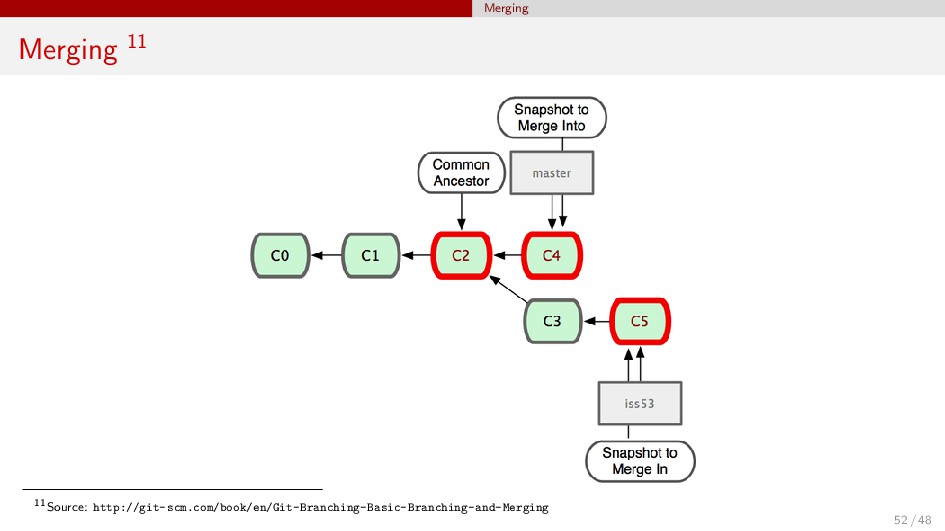
the new code: git fetch Check your status (it will give some general guidance on what to do) git status You’ll probably need to commit your current changes (in case that you don’t have the latest version) git commit -am "My new changes" Merge your files with the remote version (updates your local files to the newest version) git merge origin/master Continue working Commit and push your changes when you are done git commit -am "Bla bla" git push -u origin master 53 / 48
(two or more people modified the exact same line) then you’ll have to do the merge manually After downloading the remote version, look at the differences git fetch git status git diff If you have a visual merge tool (recommended) use: git merge git mergetool git mergetool --tool=yourFavTool Either use your version, the remote version or create a mix. Commit your changes 54 / 48