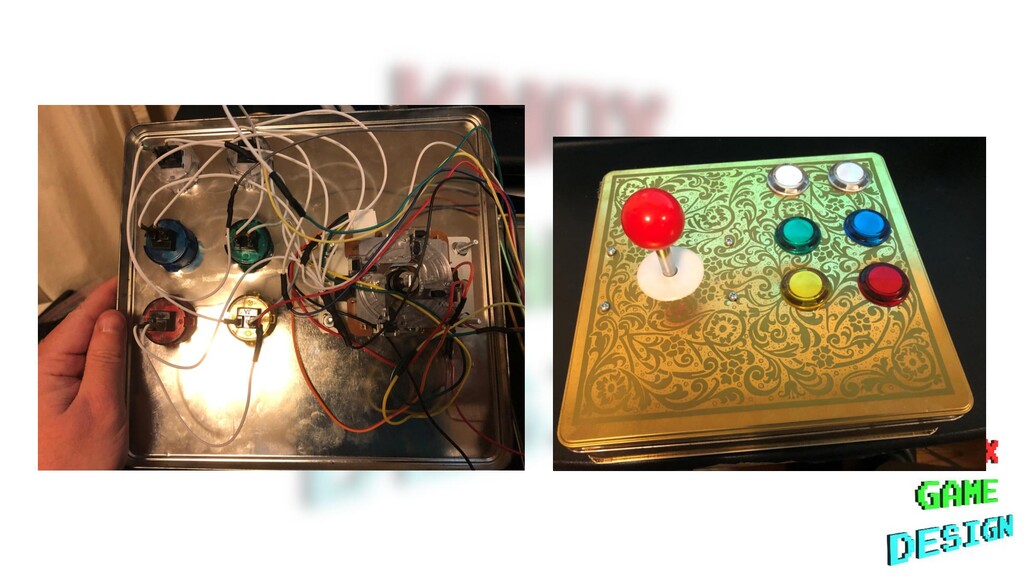
left, right, ground) • Two wires connect to each button (button, ground) • Ground wires can be combined together • Install operating system onto Raspberry Pi • Install / configure software to convert joystick/button inputs into key presses
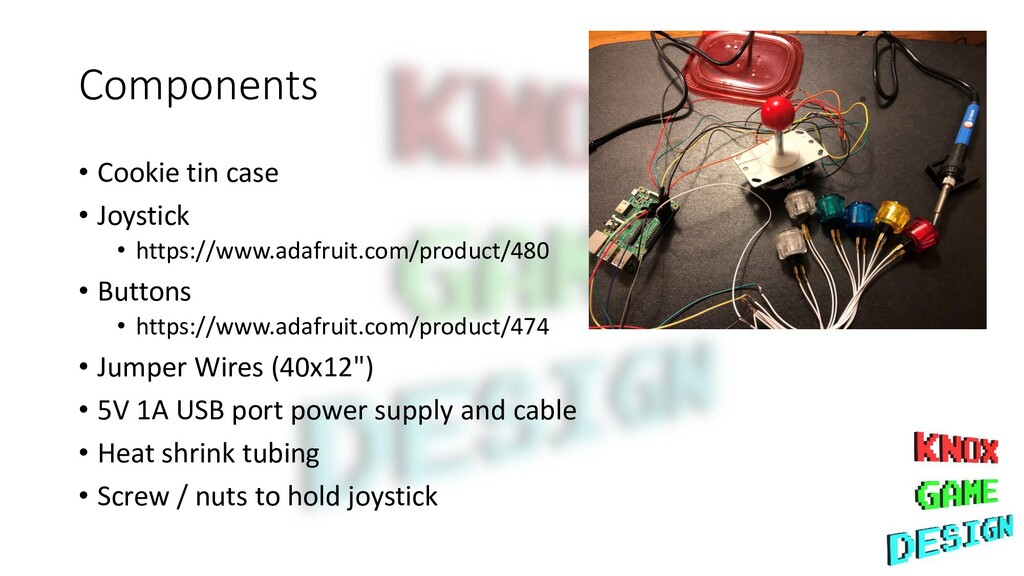
Buttons • https://www.adafruit.com/product/474 • Jumper Wires (40x12") • 5V 1A USB port power supply and cable • Heat shrink tubing • Screw / nuts to hold joystick
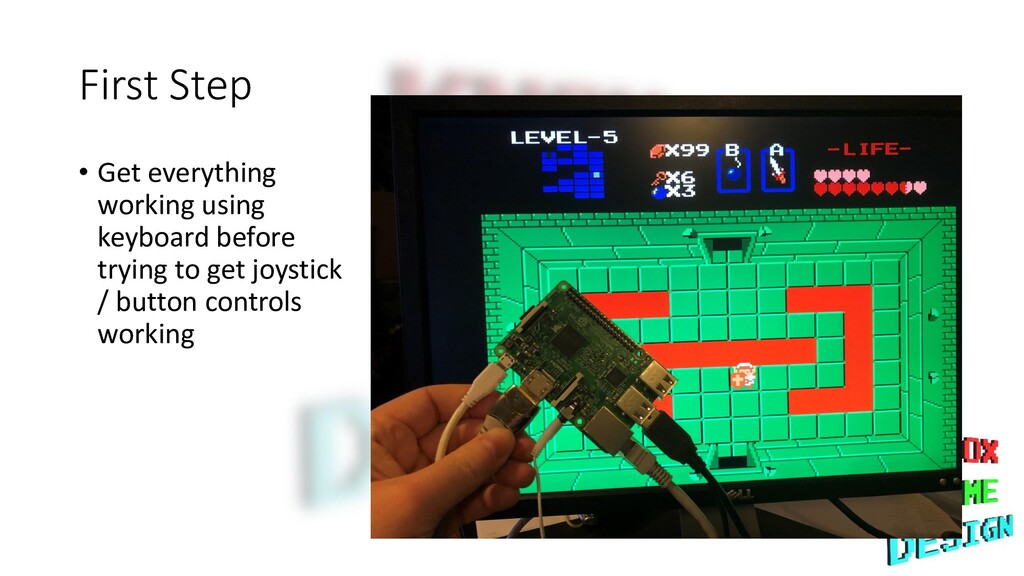
software • https://retropie.org.uk/download/ • Etcher - Copies and installs ("flashes") operating system image onto Raspberry Pi • Retrogame - converts button presses and joystick movements into keystrokes • raspi-config - enable Wi-Fi and set keyboard layout • ifconfig - get IP address for SSH
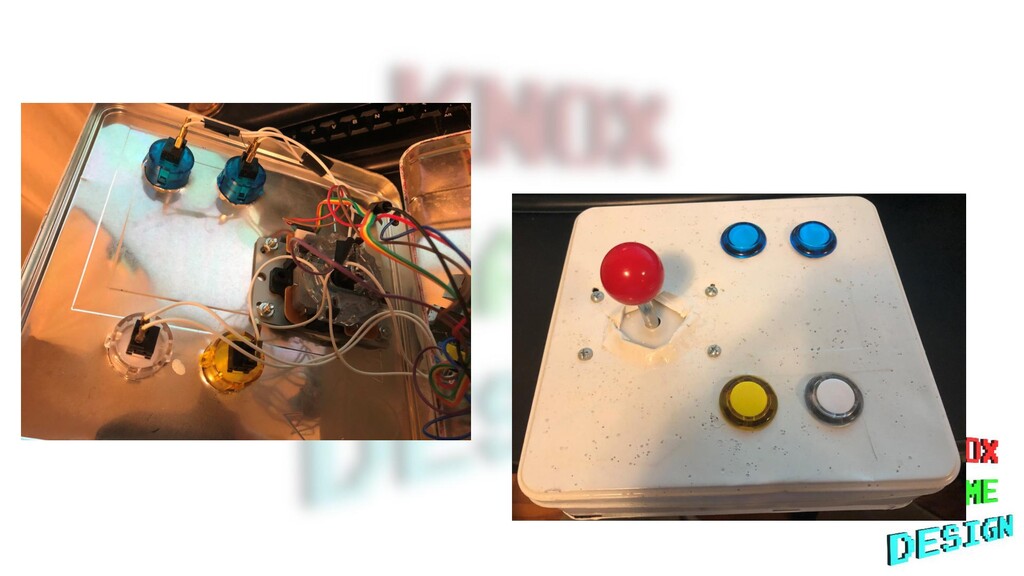
for the shaft of the joystick (the ball screws off) • How to make hole for HDMI and power cables without sharp edges? • Avoid letting wires/connectors touch tin, or it will short out • People will abuse it like a real arcade stick • Difference between pin numbers and GPIO numbers • Heat shrink tubing is great • Old Raspberry Pi uses SD cards, new Raspberry Pi uses Micro SD
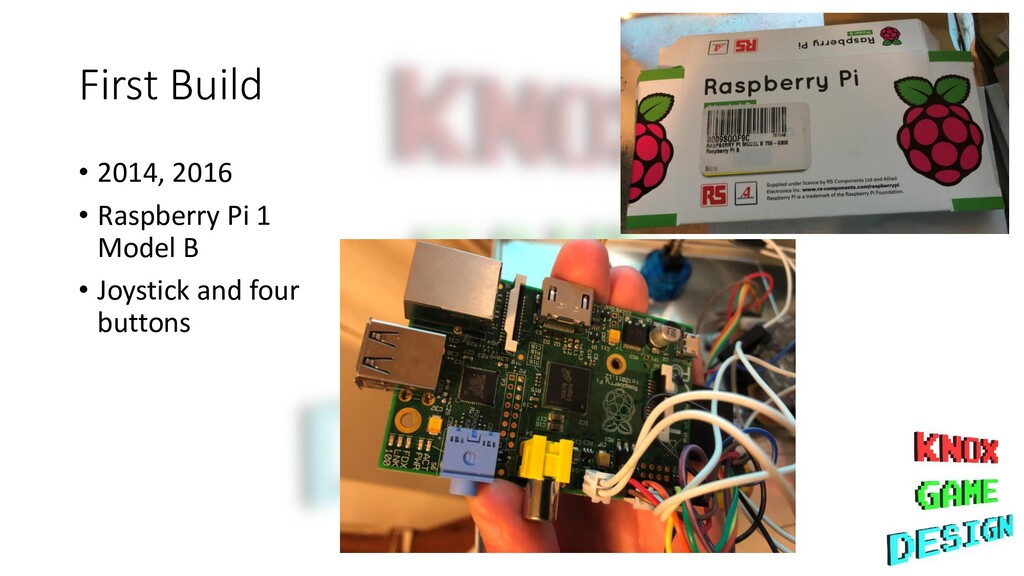
PI • Soldering - use soldering iron to heat wires, then apply solder on top • Need to mount Raspberry Pi onto case with (shorter) screws • Default username/password - pi / raspberry (change it) • First build runs Raspian with graphical interface (can run Scratch 1 games); Second build has no graphical windowing system • Emulation • No L / R buttons (for SNES) • Hold Start + Select to exit