transformations. Each transformation (called a 'refactoring') does little, but a sequence of transformations can produce a significant restructuring. Since each refactoring is small, it's less likely to go wrong. 9 What is this “refactoring” you speak of? Friday, May 24, 13
small refactoring, reducing the chances that a system can get seriously broken during the restructuring. 10 What is this “refactoring” you speak of? -Martin Fowler Friday, May 24, 13
this.$("#crop").jcrop({...}); } }); Step 3: Call the jQuery plugin from didInsertElement 14 And remove the original call from your document Friday, May 24, 13
this.$("#crop").jcrop({...}); } }); Step 3: Call the jQuery plugin from didInsertElement 14 And remove the original call from your document elementId: "crop", Friday, May 24, 13
this.$("#crop").jcrop({...}); } }); Step 3: Call the jQuery plugin from didInsertElement 14 And remove the original call from your document elementId: "crop", this.$().jcrop({...}); Friday, May 24, 13
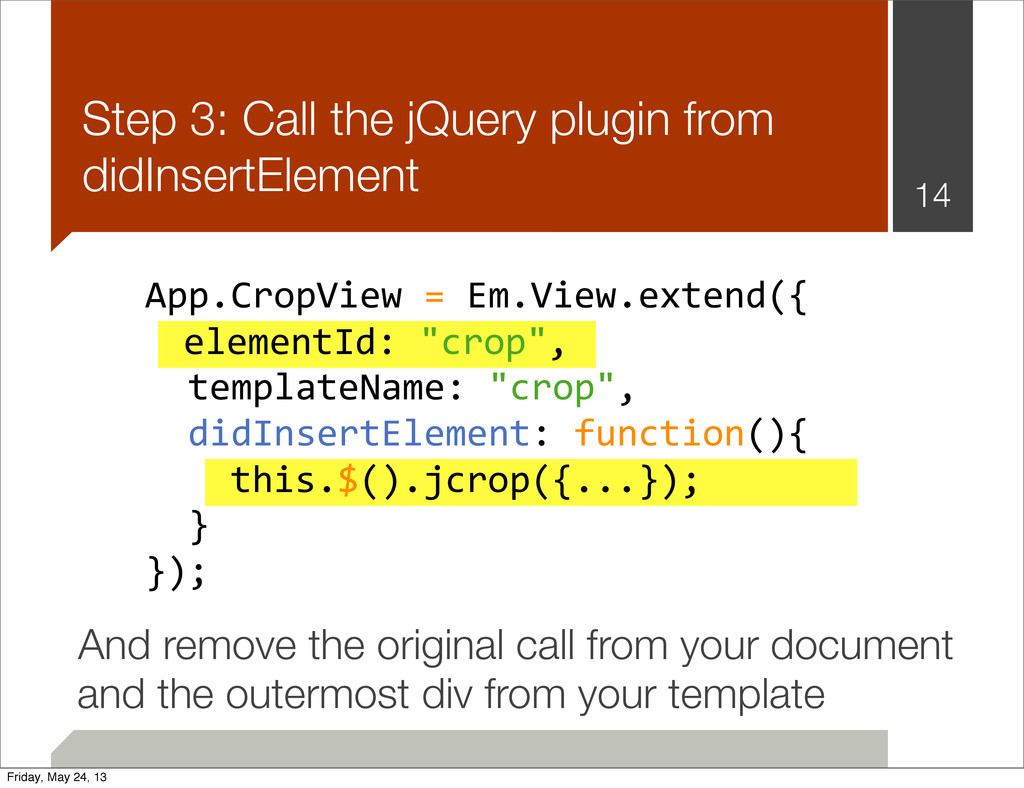
this.$("#crop").jcrop({...}); } }); Step 3: Call the jQuery plugin from didInsertElement 14 And remove the original call from your document elementId: "crop", this.$().jcrop({...}); and the outermost div from your template Friday, May 24, 13
{}; function b(){ ... }; }(); a //=> undefined b //=> undefined What I mean more precisely is an IIFE: Immediately-Invoked Function Expression Most build tools you’ll use with Ember enclose each file in an IIFE Friday, May 24, 13
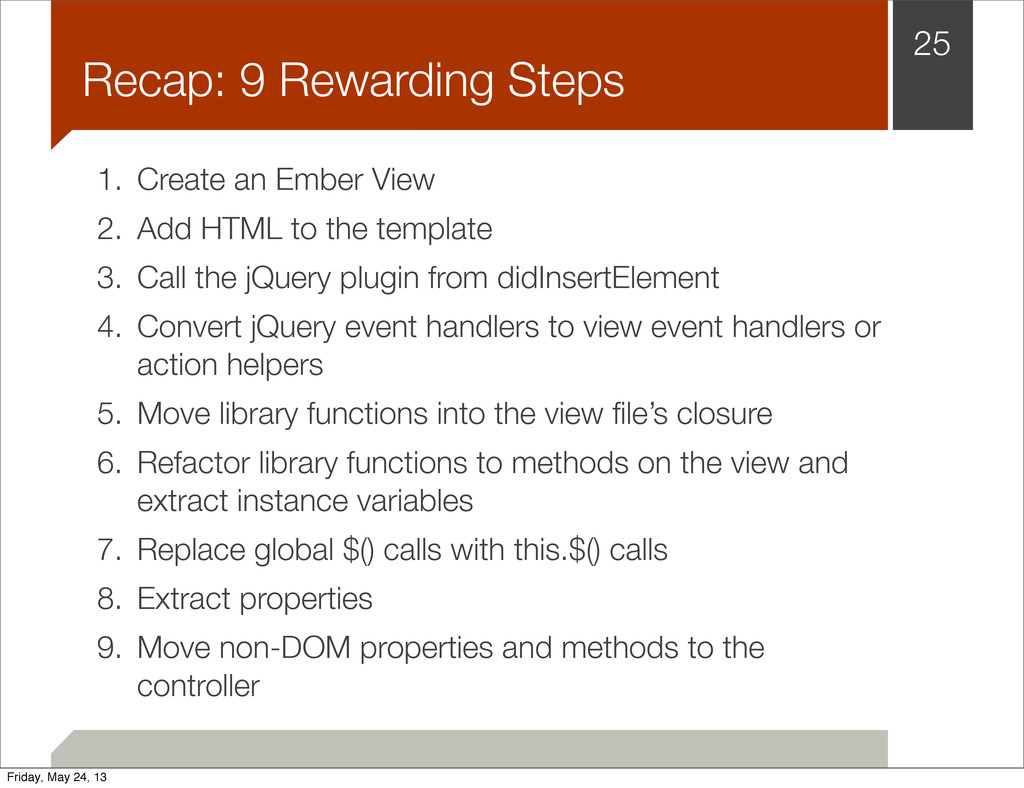
template 3. Call the jQuery plugin from didInsertElement 4. Convert jQuery event handlers to view event handlers or action helpers 5. Move library functions into the view file’s closure 6. Refactor library functions to methods on the view and extract instance variables 7. Replace global $() calls with this.$() calls 8. Extract properties 9. Move non-DOM properties and methods to the controller 25 Recap: 9 Rewarding Steps Friday, May 24, 13