Lock in $30 Savings on PRO—Offer Ends Soon! ⏳

Step-by-Step Coin Cell Preparation Workflow for...

Step-by-Step Coin Cell Preparation Workflow for Lithium-Ion Materials

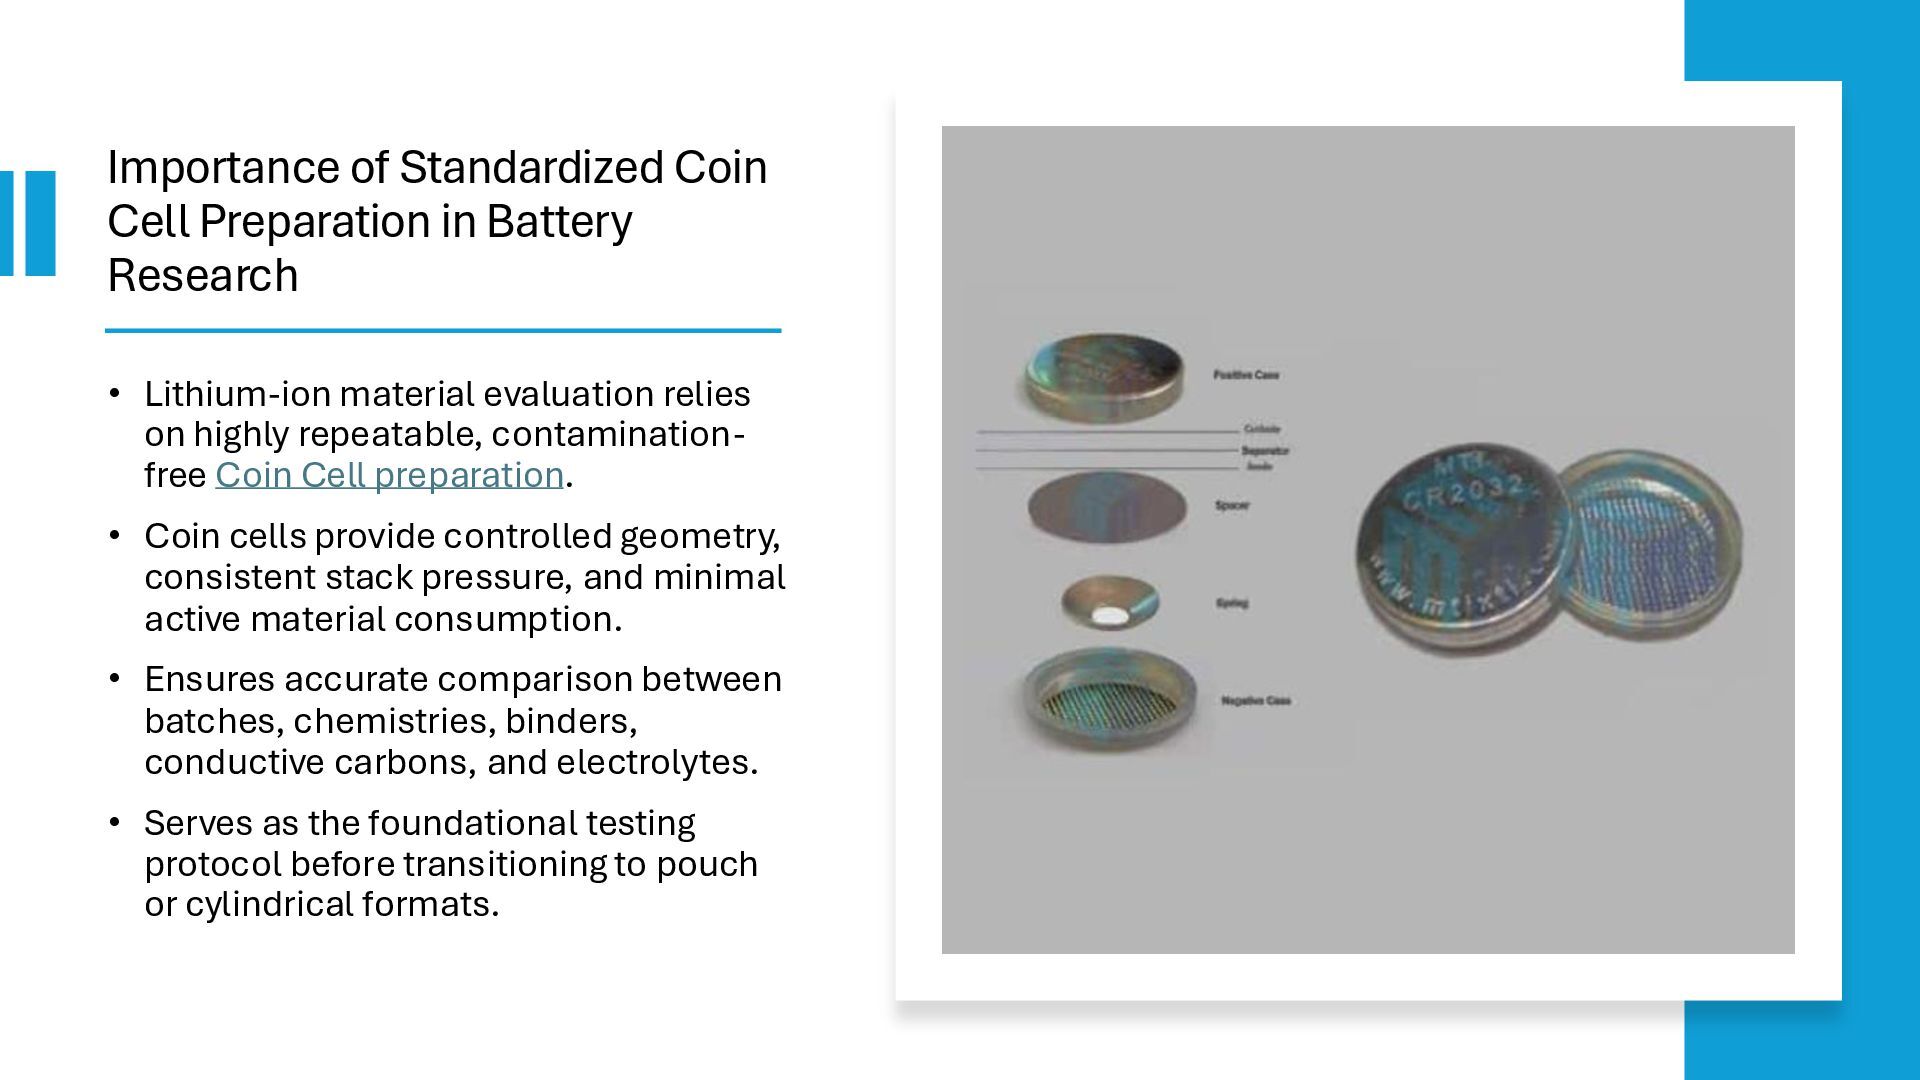
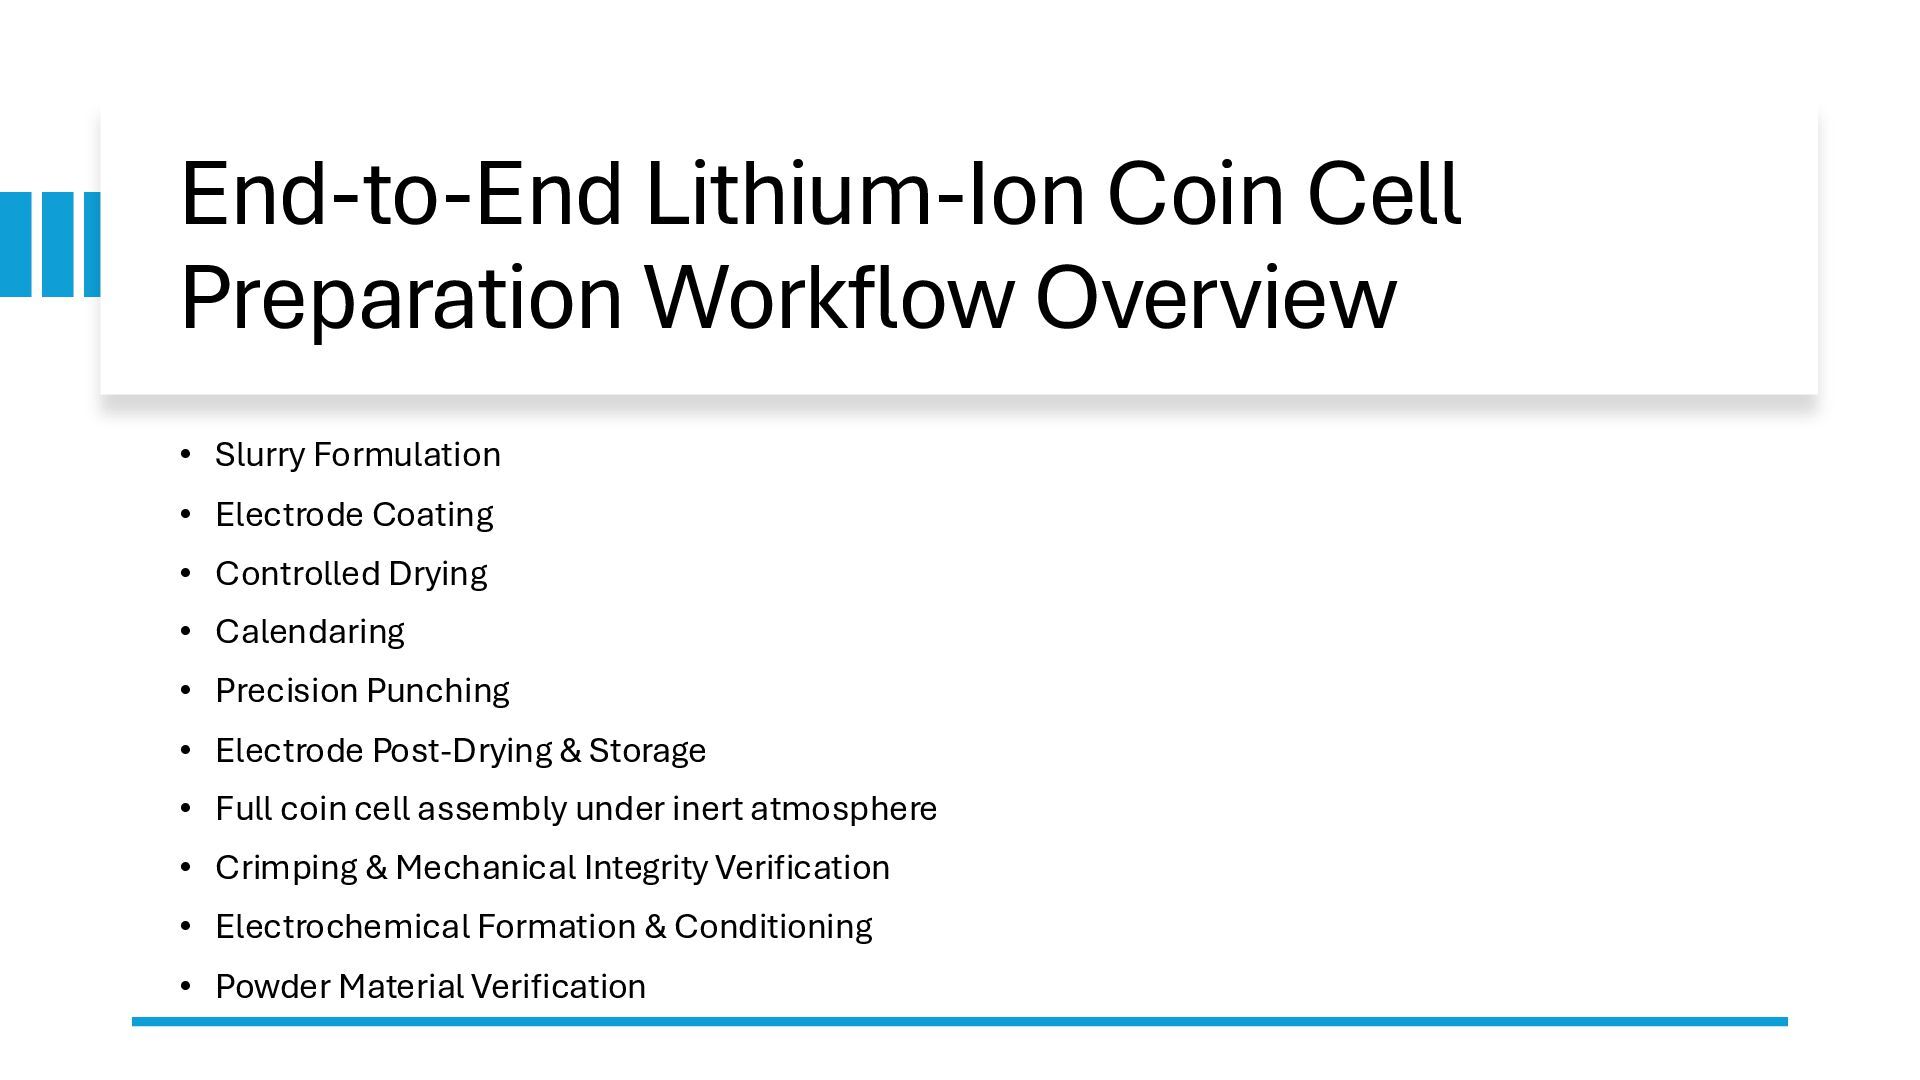
Get a clear step-by-step workflow for preparing lithium-ion coin cells, from electrode mixing and coating to punching, drying, assembling, and sealing. This presentation helps researchers achieve consistent cell performance and reliable electrochemical testing results.

Avatar for Mkube Enterprise Pty Ltd

Mkube Enterprise Pty Ltd

December 11, 2025
Tweet

More Decks by Mkube Enterprise Pty Ltd

Transcript

  1. Importance of Standardized Coin Cell Preparation in Battery Research •

    Lithium-ion material evaluation relies on highly repeatable, contamination- free Coin Cell preparation. • Coin cells provide controlled geometry, consistent stack pressure, and minimal active material consumption. • Ensures accurate comparison between batches, chemistries, binders, conductive carbons, and electrolytes. • Serves as the foundational testing protocol before transitioning to pouch or cylindrical formats.
  2. Breakdown of Coin Cell Components (CR20xx Families) Primary coin cell

    components: • Stainless steel top cap • Stainless steel bottom case • PP or PEEK sealing gasket • Stainless steel spacers (varied thickness) • Wave spring (predefined compression force) • Anode & cathode punched electrodes • Separator (PP/PE-based microporous films) • High-purity electrolyte (carbonate, ether, ionic liquid, or solid-state compatible) Note: R&D labs must source from a consistent coin cell case supplier to avoid variability in crimp sealing torque, indentation hardness, and electrolyte compatibility.
  3. Coin Cell Preparation Equipment Required for High-Precision Workflows • Slurry

    mixer (planetary, dual-axis centrifugal) • Vacuum-grade doctor blade coater • Film calendaring press (precision thickness control) • Precision electrode punching system (±0.01 mm tolerance) • Vacuum drying chambers (100–150°C continuous stability) • Argon glovebox with <1 ppm H₂O and <1 ppm O₂ • Hydraulic crimping machine with adjustable die settings • Complete coin cell assembly kit consisting of cases, springs, spacers, and gaskets Advanced labs use automated or semi-automated mechanical arms to reduce operator-induced variability.
  4. End-to-End Lithium-Ion Coin Cell Preparation Workflow Overview • Slurry Formulation

    • Electrode Coating • Controlled Drying • Calendaring • Precision Punching • Electrode Post-Drying & Storage • Full coin cell assembly under inert atmosphere • Crimping & Mechanical Integrity Verification • Electrochemical Formation & Conditioning • Powder Material Verification
  5. Step 1: Material Verification & Pre- Processing • Characterize powder

    morphology (SEM), particle distribution (laser diffraction), and moisture content (Karl Fischer). • Pre-dry active materials at 120–150°C to eliminate absorbed water. • Verify binder integrity and carbon black dispersibility before slurry mixing. • This step ensures reproducibility in lithium-ion coin cell preparation, especially for moisture-sensitive linkages (e.g., NMC blends).
  6. Step 2: High-Consistency Slurry Formulation • Active material : Carbon

    : Binder ratios optimized per chemistry. • Solvent handling: -NMP for PVDF-based cathodes -DI-water for CMC/SBR anodes • Use vacuum planetary mixing to eliminate micro-bubbles. • Adjust viscosity and rheology for uniform coating thickness and controlled drying kinetics. • Well-formulated slurry reduces scattering in final performance metrics.
  7. Step 3: Electrode Coating Procedure • Apply slurry onto Al

    (cathode) or Cu (anode) foil using doctor blade with calibrated gap. • Maintain coating uniformity ±3 µm across width. • Control drying rate to prevent binder migration and cracking. • Evaluate film adhesion and microstructure post drying. • Integration of precise coating parameters improves balance with downstream coin cell parts in the stack.
  8. Step 4: Thermal Drying & Solvent Removal • Gradual heating

    to avoid film defects: -Stage 1: 60–80°C (surface drying) -Stage 2: 110–130°C (solvent evaporation) • Vacuum bake removes residual moisture to prevent electrolyte decomposition. • Final foil moisture <50 ppm recommended.
  9. Step 5: Calendaring for Controlled Porosity & Density • Achieve

    targeted porosity: -Cathodes: 30–40% -Anodes: 40–50% • Calendaring defines transport pathways for Li⁺ diffusion and electrolyte infiltration. • Surface roughness and mechanical modulus directly influence final SEI formation. • This step is critical before moving to coin cell assembly.
  10. Step 6: Precision Punching of Electrodes • Use hardened steel

    punching dies for dimensional accuracy. • Maintain clean edges to avoid separator puncture risks. • Perform mass loading QC on every batch. • Store punched discs in sealed containers inside glovebox antechamber.
  11. Step 7: Final Vacuum Drying & Controlled Transfer to Assembly

    Zone • Dry punched electrodes at 110°C for 4–12 hours. • Transfer to glove box through bake-out cycle to maintain low ppm moisture. • Prevent air exposure to avoid electrolyte decomposition and SEI disruption.
  12. Step 8: Coin Cell Assembly Inside Glove Box Standard CR2032

    example configuration: • Bottom case → anode placement • Separator alignment • Controlled electrolyte dosing (using precision micro-pipette) • Cathode placement • Application of spacer for uniform contact force • Placement of stainless steel spring • Alignment of top cap • Crimping using hydraulic press • Proper coin cell components stacking eliminates internal shorting and ensures reproducibility.
  13. Step 9: Crimping & Mechanical Integrity Verification • Apply defined

    pressure to ensure gasket sealing and structural rigidity. • Inspect for: • Uniform crimping edge • No micro-leakage • No top-cap deformation • Poor sealing causes electrolyte evaporation and gas swelling. • Reliable crimping requires precision coin cell preparation equipment and high- quality metal cases.
  14. Step 10: Electrochemical Formation, Wetting & Testing • Rest the

    assembled cell for electrolyte soaking (6–24 hours). • Perform formation cycles at low C-rates to stabilize SEI. • Subsequent testing includes: • Charge/discharge cycling • Rate capability • EIS impedance mapping • CV scans to analyze redox behavior • Data collected provides accurate material performance insights due to consistent Coin Cell preparation workflows.
  15. Quality Assurance & Failure Mode Diagnostics Common issues and engineering

    countermeasures: • Electrolyte leakage → verify gasket fit and case hardness • Swelling → check moisture, ensure deeper vacuum baking • Shunted separator → examine punching precision, check for metal burrs • High impedance rise → verify calendaring pressure uniformity and electrolyte infiltration • Capacity fade mismatch → assess mass loading uniformity
  16. Conclusion • Successful lithium-ion coin cell preparation depends on controlling

    slurry chemistry, electrode microstructure, drying conditions, and assembly accuracy. • High reproducibility across studies is only possible when using optimized coin cell preparation equipment, consistent coin cell components, and standardized assembly procedures. • A well-executed workflow ensures precise evaluation of emerging lithium-ion materials for next-generation energy storage systems.