Upgrade to Pro — share decks privately, control downloads, hide ads and more …

Your own sandbox thanks to Vagrant

Your own sandbox thanks to Vagrant

Piotr Banaszkiewicz

September 22, 2012
Tweet

More Decks by Piotr Banaszkiewicz

Other Decks in Programming

Transcript

  1. Your own sandbox thanks to Vagrant Your own sandbox thanks

    to Vagrant Piotr Banaszkiewicz PyCon PL 2012 Piotr Banaszkiewicz PyCon PL 2012
  2. About me About me • Twitter: @pbanaszkiewicz • Github: @pbanaszkiewicz

    • Student @ AGH, Kraków, Poland • Google Summer of Code 2012, Google Code-In 2010 • Worked on virtualization tools with Oregon State University Open Source Lab
  3. Vagrant Vagrant • Create, configure and set up virtualized environments

    quickly • VirtualBox ATM, VMWare Fusion to come soon
  4. Vagrant terminology Vagrant terminology • box – prepared guest OS

    image • Vagrantfile – configuration file • provision – configuration and installation of guest OS' software
  5. Sample run Sample run $ vagrant up [default] VM already

    created. Booting if it's not already running... [default] Clearing any previously set forwarded ports... [default] Forwarding ports... [default] -- 22 => 2222 (adapter 1) [default] -- 80 => 8080 (adapter 1) [default] Creating shared folders metadata... [default] Clearing any previously set network interfaces... [default] Preparing network interfaces based on configuration... [default] Booting VM... [default] Waiting for VM to boot. This can take a few minutes. ....... [default] Running chef-solo... .......
  6. Benefits of using Vagrant Benefits of using Vagrant • for

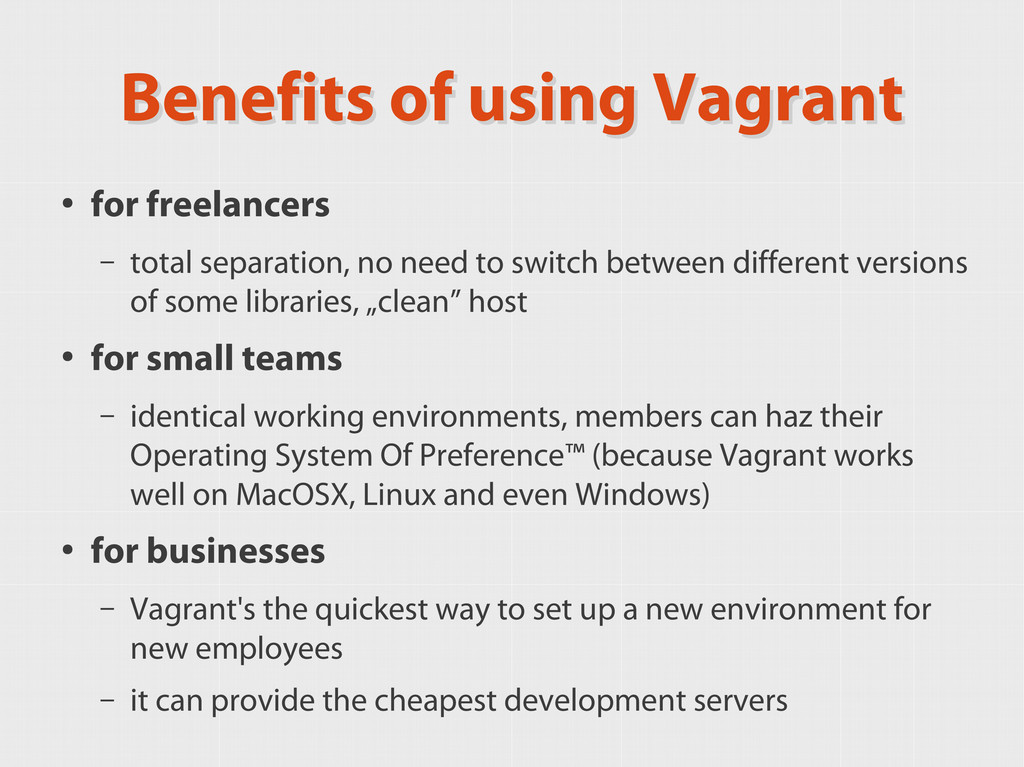
    freelancers – total separation, no need to switch between different versions of some libraries, „clean” host • for small teams – identical working environments, members can haz their Operating System Of Preference™ (because Vagrant works well on MacOSX, Linux and even Windows) • for businesses – Vagrant's the quickest way to set up a new environment for new employees – it can provide the cheapest development servers
  7. Vagrantfile Vagrantfile What can be configured? • Used box •

    Hardware (RAM, CPU cores, hardware virtualization, etc.) • Hostname • Shared folders • Network interfaces • Provision
  8. Vagrantfile Vagrantfile $ vagrant init # generates ./Vagrantfile: Vagrant::Config.run do

    |config| config.vm.box = "ubuntu" config.vm.network :hostonly, "192.168.33.10" config.vm.forward_port 80, 8080 config.vm.provision :chef_solo do |chef| chef.cookbooks_path = "./cookbooks/" chef.add_recipe("our_project") end end
  9. Vagrant commands Vagrant commands • vagrant up • vagrant ssh

    • vagrant halt • vagrant suspend • vagrant resume • vagrant reload • vagrant provision
  10. Vagrantfile: shared folders Vagrantfile: shared folders Problem: what about version

    control systems? What about SSH keys etc? Solution: use shared folders. $ cat Vagrantfile ... config.vm.share_folder "project", "/home/vagrant/project", "../project" ... config.vm.share_folder "dep", "/dep", "../../dep/", :owner => "vagrant", :group => "vagrant" ... # HACK for virtualenv VirtualBox > 4.1.8: allow for symlinks → config.vm.customize ["setextradata", :id, "VBoxInternal2/SharedFoldersEnableSymlinksCreate/SHARE_NAME", "1"] ...
  11. Boxes Boxes • Official ones: – Ubuntu 10.10 32b –

    Ubuntu 10.10 64b – Ubuntu 12.04 32b – Ubuntu 12.04 64b • Vagrantbox.es – lots of boxes, but do you trust them?
  12. Boxes – prepared with VeeWee Boxes – prepared with VeeWee

    VeeWee supports: – Vagrant boxes – VirtualBox images – VMWare Fusion images – KVM images
  13. VeeWee VeeWee • Install from gem: $ sudo gem install

    veewee • New Vagrant commands available: $ vagrant basebox --help
  14. Create a new box Create a new box $ vagrant

    basebox define 'new_box_name' \ 'ubuntu-11.10-server-i386' # definitions/new_box_name/ # definition.rb, postinstall.sh, preseed.cfg $ vagrant basebox build 'new_box_name' # now it's time for your coffee break $ vagrant basebox validate 'new_box_name' $ vagrant basebox export 'new_box_name' $ vagrant box add 'box_name' 'new_box_name.box' $ vagrant init 'box_name'
  15. Provisioning Provisioning What to choose? – Hosted Chef – Chef-Solo

    – Puppet – Ansible (Python project!) – Shell?
  16. Provisioning with Chef-Solo Provisioning with Chef-Solo In Vagrantfile: ... config.vm.provision

    :chef_solo do |chef| chef.cookbooks_path = "./cookbooks/" chef.add_recipe("main") end ...
  17. Cooking with Chef Cooking with Chef • Cookbooks: to install

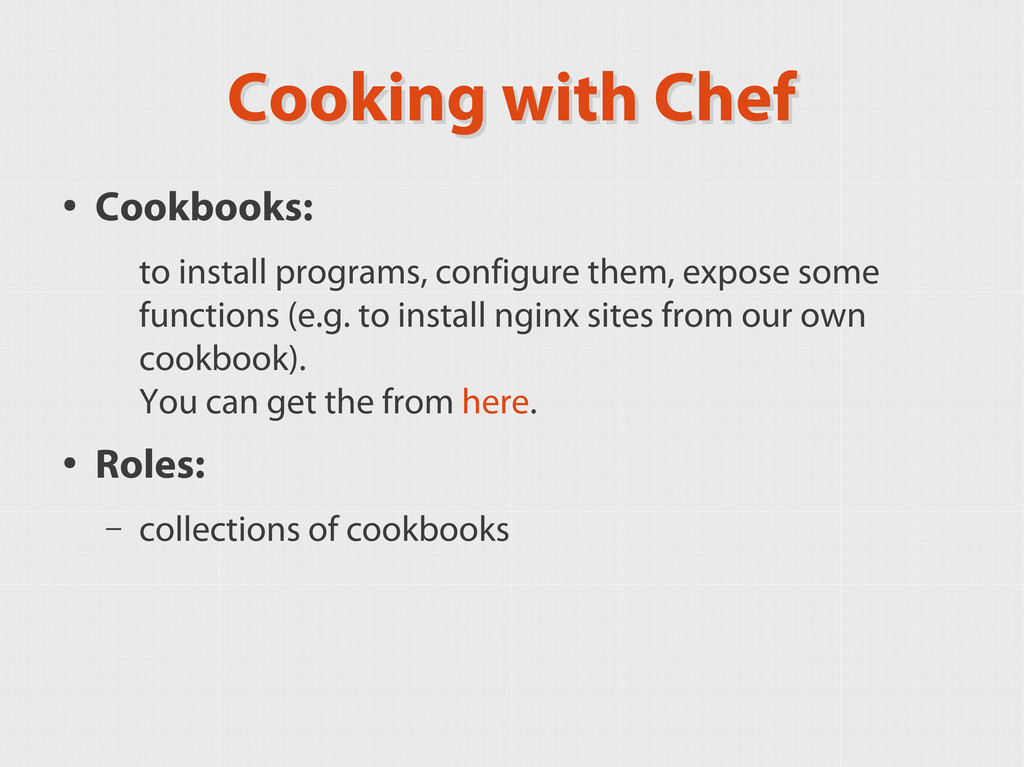
    programs, configure them, expose some functions (e.g. to install nginx sites from our own cookbook). You can get the from here. • Roles: – collections of cookbooks
  18. Writing our own cookbook Writing our own cookbook Take a

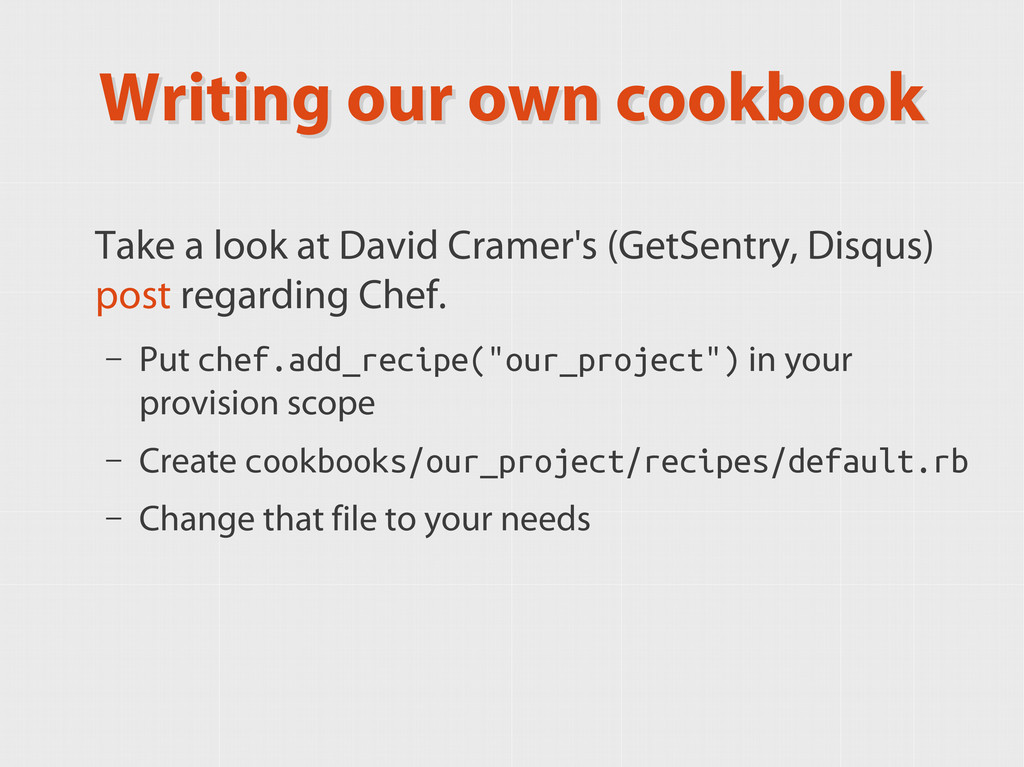
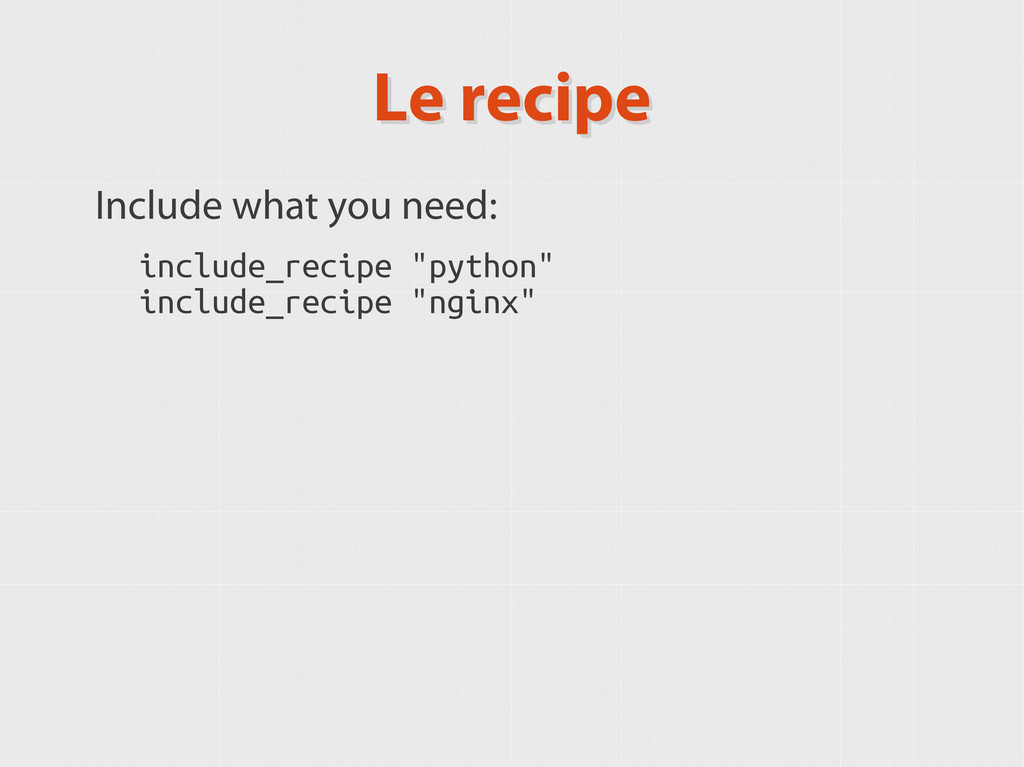
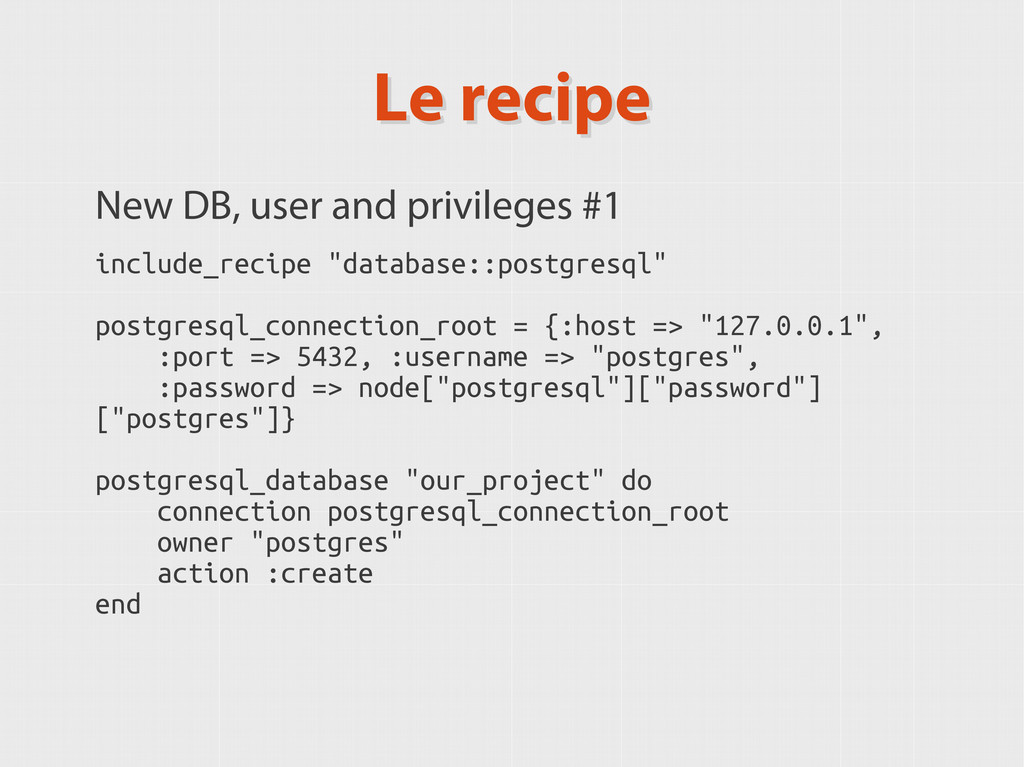
    look at David Cramer's (GetSentry, Disqus) post regarding Chef. – Put chef.add_recipe("our_project") in your provision scope – Create cookbooks/our_project/recipes/default.rb – Change that file to your needs
  19. Le recipe Le recipe Create directories: directory "/srv/www" do owner

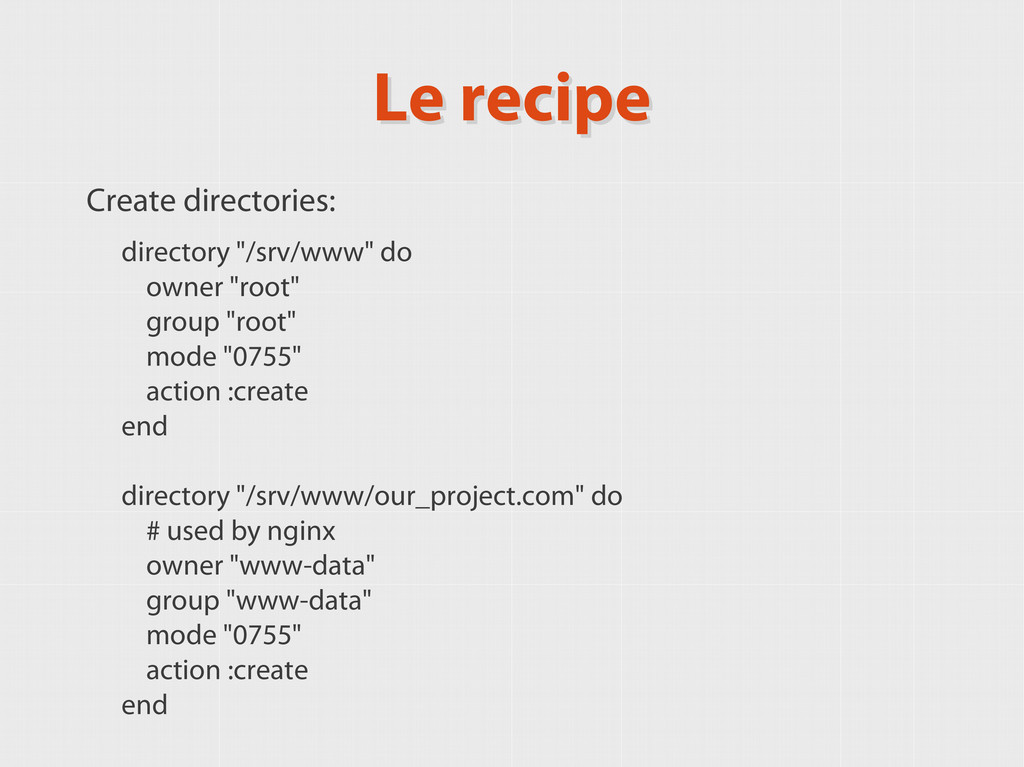
    "root" group "root" mode "0755" action :create end directory "/srv/www/our_project.com" do # used by nginx owner "www-data" group "www-data" mode "0755" action :create end
  20. Le recipe Le recipe Add new site: template "#{node[:nginx][:dir]}/sites-available/our_project.com" do

    source "nginx/our_project.erb" owner "root" group "root" mode 0644 notifies :reload, "service[nginx]" end nginx_site "our_project.com"
  21. Le recipe Le recipe Site's template (cookbooks/our_project/templates/default/nginx/our_project.erb): server { listen

    80; server_name localhost; access_log /var/log/nginx/our_project.access.log; location / { try_files $uri @our_project; } location @our_project { include uwsgi_params; uwsgi_pass unix:/tmp/uwsgi.sock; } }
  22. Le recipe Le recipe Let's add Postgres: include_recipe "postgresql::server" Not

    really everything, you still have to: – create DB for your project – create user for that database – grant that user privileges ...but it is easy!
  23. Le recipe Le recipe New DB, user and privileges #1

    include_recipe "database::postgresql" postgresql_connection_root = {:host => "127.0.0.1", :port => 5432, :username => "postgres", :password => node["postgresql"]["password"] ["postgres"]} postgresql_database "our_project" do connection postgresql_connection_root owner "postgres" action :create end
  24. Le recipe Le recipe New DB, user and privileges #2

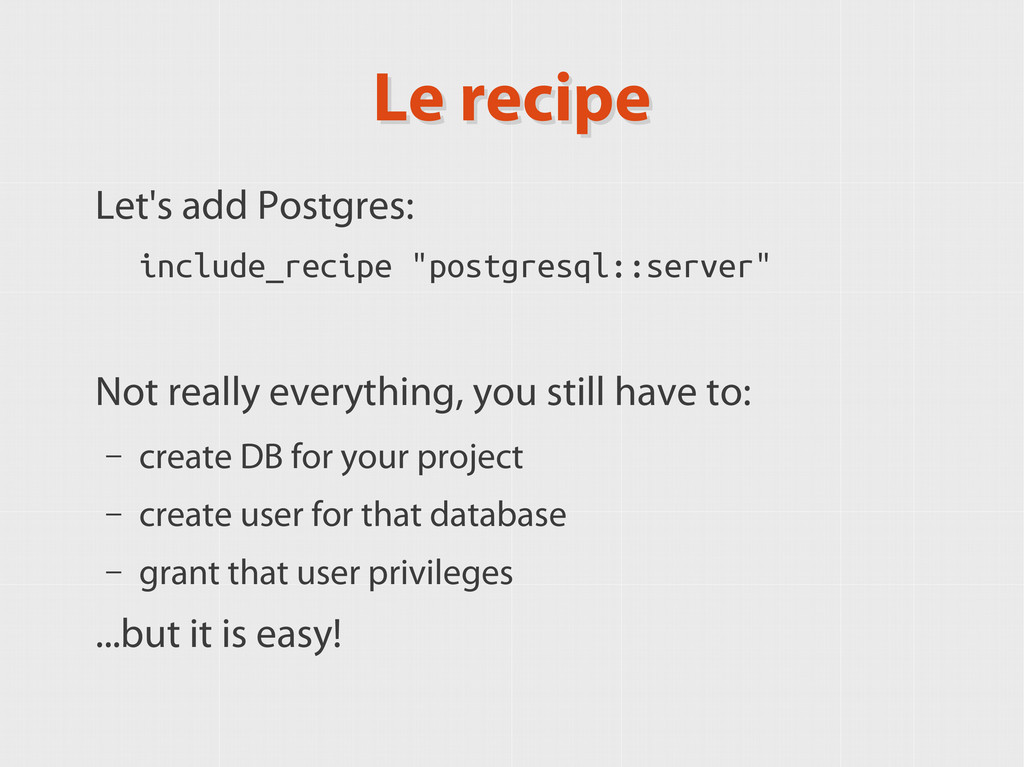
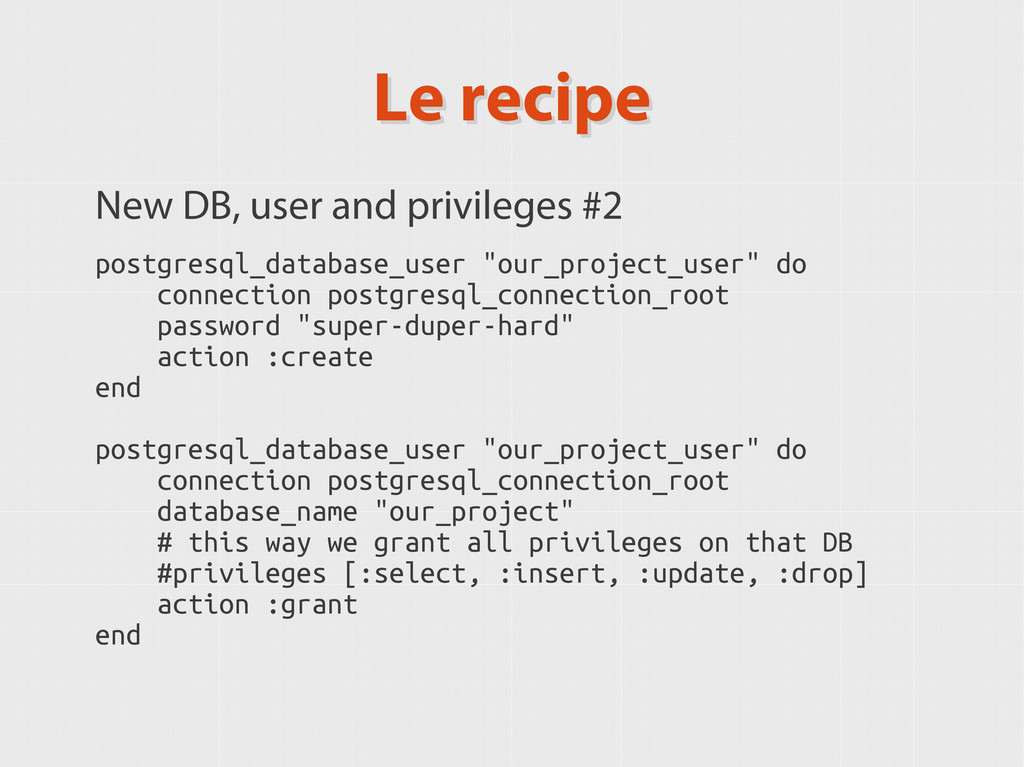
    postgresql_database_user "our_project_user" do connection postgresql_connection_root password "super-duper-hard" action :create end postgresql_database_user "our_project_user" do connection postgresql_connection_root database_name "our_project" # this way we grant all privileges on that DB #privileges [:select, :insert, :update, :drop] action :grant end
  25. Le recipe Le recipe Virtualenv: python_virtualenv "/home/vagrant/project" do owner "vagrant"

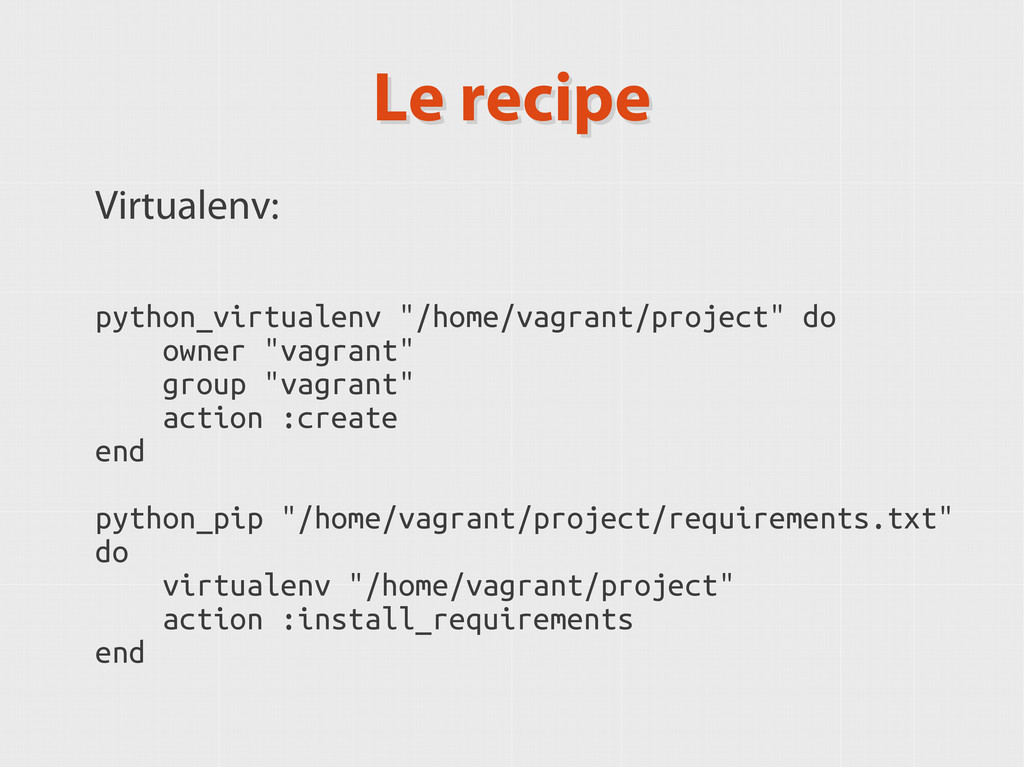
    group "vagrant" action :create end python_pip "/home/vagrant/project/requirements.txt" do virtualenv "/home/vagrant/project" action :install_requirements end
  26. Le recipe Le recipe Last part: uWSGI include_recipe "uwsgi" uwsgi_service

    "our_project" do home_path "/home/vagrant/project" pid_path "/var/run/uwsgi-app.pid" host "/tmp/uwsgi.sock" worker_processes 2 app "wsgi:app" end
  27. Thanks for listening Thanks for listening 1.Twitter: @pbanaszkiewicz 2.Github: @pbanaszkiewicz

    3.Article: http://staff.osuosl.org/~pbanaszkiewicz/PyConPL2012_article/ Any questions?