Upgrade to Pro — share decks privately, control downloads, hide ads and more …

Aprendiendo Appcelerator® Alloy™

Alco
December 11, 2012

Aprendiendo Appcelerator® Alloy™

Slides de mi presentación para el Silicon Valley Titanium User Group el 11 de December del 2012

Alco

December 11, 2012
Tweet

More Decks by Alco

Other Decks in Programming

Transcript

  1. Ricardo Alcocer Platform Evangelist @ Appcelerator, Inc. @ricardoalcocer [email protected] Aprendiendo

    Appcelerator® Alloy™ Silicon Valley Titanium User Group Meetup 11 de Diciembre de 2012
  2. Formato de la presentación •  Altamente técnica. Estaremos analizando código

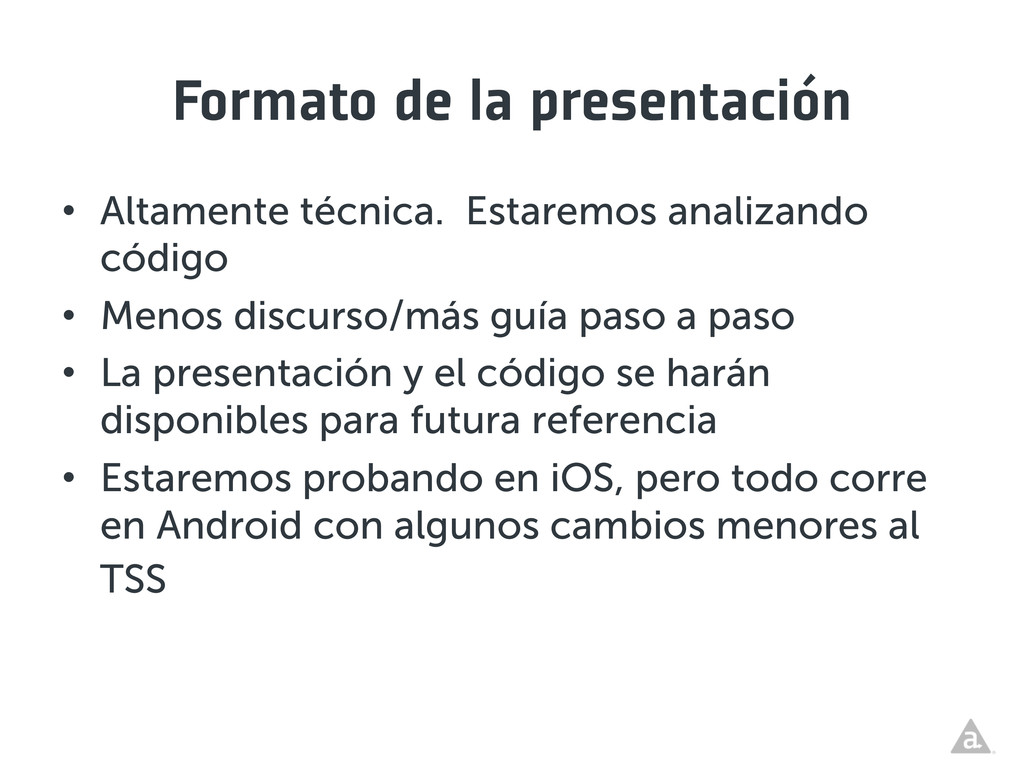
    •  Menos discurso/más guía paso a paso •  La presentación y el código se harán disponibles para futura referencia •  Estaremos probando en iOS, pero todo corre en Android con algunos cambios menores al TSS
  3. ¿Qué es Alloy? •  MVC Framework •  Declarative UI • 

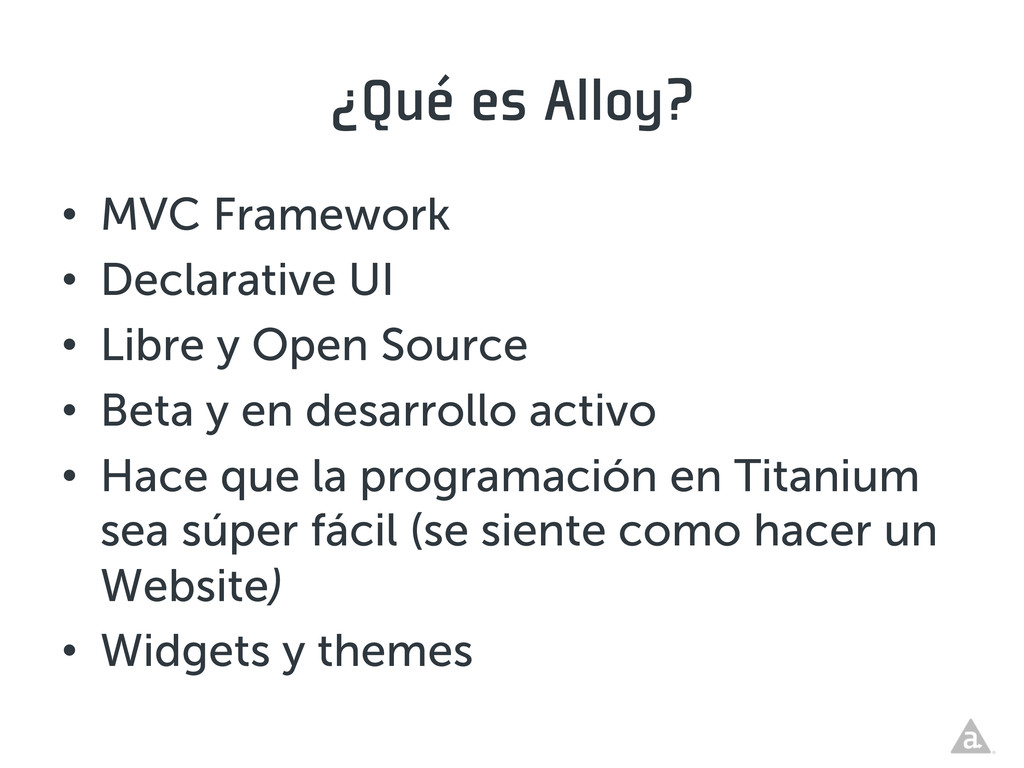
    Libre y Open Source •  Beta y en desarrollo activo •  Hace que la programación en Titanium sea súper fácil (se siente como hacer un Website) •  Widgets y themes
  4. Instalarlo es fácil 1.  Instala Titanium Studio 2.  Instala Node.js

    and NPM 3.  Vé a Terminal y escribe: $sudo npm install alloy –g Más detalles en http://bit.ly/alloyqs
  5. Comienza a usarlo 1.  Crea un Titanium Mobile Project 2. 

    Vé al Terminal y escribe $ alloy new (versiones futuras de Studio permitiran la creación de proyectos de Alloy) 3.  Se creará una nueva estructura de directorios
  6. El patrón MVC Modelo   Controlador   Vista   Usuario

      Routing, toma de decisiones Lógica de negocios, manipulación de datos, etc Lo que el usuario vé
  7. ¿Por qué es importante MVC? •  Provee una clara separación

    de roles •  Mejor organización del código •  Más fácil de mantener y expandir
  8. Ejemplo 1 VIEWS/INDEX.XML   CONTROLLERS/INDEX.JS   STYLES/INDEX.TSS   function  showWin2(e)

     {              var  w=Alloy.createController('win2').getView();          w.open();   }     $.index.open();   <Alloy>    <Window  class="container">        <Label  id="label"  onClick="showWin2">I'm  Window  1</Label>    </Window>     </Alloy>   ".container":  {    backgroundColor:"white"   },   "#label":  {    width:  Ti.UI.SIZE,    height:  Ti.UI.SIZE,    color:  "#000"   }     VISTA   CONTROLADOR  
  9. Ejemplo 1 VIEWS/INDEX.XML   CONTROLLERS/INDEX.JS   STYLES/INDEX.TSS   function  showWin2(e)

     {              var  w=Alloy.createController('win2').getView();          w.open();   }     $.index.open();   <Alloy>    <Window  class="container">        <Label  id="label"  onClick="showWin2">I'm  Window  1</Label>    </Window>   </Alloy>   ".container":  {    backgroundColor:"white"   },   "#label":  {    width:  Ti.UI.SIZE,    height:  Ti.UI.SIZE,    color:  "#000"   }     VISTA   CONTROLADOR  
  10. CONTROLLERS/INDEX.JS   function  showWin2(e)  {          

       var  w=Alloy.createController('win2').getView();          w.open();   }     $.index.open();   VIEWS/WIN2.XML   STYLES/WIN2.TSS   "#container":{    backgroundColor:  "#000"   },   "#thelabel":{    height:  Ti.UI.SIZE,    width:  Ti.UI.SIZE,    color:  "#fff"   }   <Alloy>    <Window  id="container">      <Label  id="thelabel"   onClick="closeme">I'm  Window  2</Label>    </Window>   </Alloy>   CONTROLLERS/WIN2.JS   function  closeme(){    $.container.close();   }   Ejemplo 1
  11. CONTROLLERS/INDEX.JS   function  showWin2(e)  {          

       var  w=Alloy.createController('win2').getView();          w.open();   }     $.index.open();   VIEWS/WIN2.XML   STYLES/WIN2.TSS   "#container":{    backgroundColor:  "#000"   },   "#thelabel":{    height:  Ti.UI.SIZE,    width:  Ti.UI.SIZE,    color:  "#fff"   }   <Alloy>    <Window  id="container">      <Label  id="thelabel"   onClick="closeme">I'm  Window  2</Label>    </Window>   </Alloy>   CONTROLLERS/WIN2.JS   function  closeme(){    $.container.close();   }   Ejemplo 1
  12. CONTROLLERS/INDEX.JS   function  showWin2(e)  {          

       var  w=Alloy.createController('win2').getView();          w.open();   }     $.index.open();   VIEWS/WIN2.XML   STYLES/WIN2.TSS   "#container":{    backgroundColor:  "#000"   },   "#thelabel":{    height:  Ti.UI.SIZE,    width:  Ti.UI.SIZE,    color:  "#fff"   }   <Alloy>    <Window  id="container">      <Label  id="thelabel"   onClick="closeme">I'm  Window  2</Label>    </Window>   </Alloy>   CONTROLLERS/WIN2.JS   function  closeme(){    $.container.close();   }   En este punto, w es un Objeto Titanium Window Ejemplo 1
  13. Ejemplo 2 <Alloy>    <Window  class="container"  id="win">      <TableView

     id="itemsList"  onClick="showItems"></TableView>    </Window>   </Alloy>   “.container":  {    backgroundColor:"white"   }   function  showItems(e)  {        var  payload={              rowId:e.rowData.rowId,      itemName:e.rowData.itemName            }            var  w=Alloy.createController('detailwin',payload).getView();            w.open();   }     var  rowData=[];   for(var  i=1;i<=10;i++){    var  payload={      rowId:i,      itemName:'Test'  +  i    }    var  row=Alloy.createController('row',payload).getView();    rowData.push(row);   }   $.itemsList.data=rowData;       $.win.open();     VIEWS/INDEX.XML   CONTROLLERS/INDEX.JS   STYLES/INDEX.TSS  
  14. Ejemplo 2 ...   ...    var  payload={    

     rowId:i,      itemName:'Test'  +  i    }    var  row=Alloy.createController('row',payload).getView();    rowData.push(row);   ...   ...       CONTROLLERS/INDEX.JS   VIEWS/ROW.XML   <Alloy>    <TableViewRow  id="row"  rowId="1"  itemName="Test1">      <Label  id="itemName">Test  1</Label>    </TableViewRow>   </Alloy>   var  args  =  arguments[0]  ||  {};     $.row.rowId=args.rowId;   $.row.itemName=args.itemName;   $.itemName.text=args.itemName;   CONTROLLERS/ROW.JS   STYLES/ROW.TSS   "#row":{    height:  "40dp",    hasChild:  true   },   "#itemName":  {    width:  Ti.UI.SIZE,    height:  Ti.UI.SIZE,    color:  "#000",    left:  0   }  
  15. Ejemplo 2 CONTROLLERS/INDEX.JS   function  showItems(e)  {      

     var  payload={              rowId:e.rowData.rowId,      itemName:e.rowData.itemName            }            var  w=Alloy.createController('detailwin',payload).getView();            w.open();   }   <Alloy>    <Window  id="win"  class="container">      <Label  id="itemName"></Label>      <Label  id="rowId"></Label>      <Button  id="closebtn"  onClick="closeme">Close  Me</Button>    </Window>   </Alloy>   ".container":  {    backgroundColor:  "yellow",    layout:"vertical"   },   "#itemName":{    height:  Ti.UI.SIZE,    left:  0   },   "#rowId":{    height:  Ti.UI.SIZE,    left:  0   },   "#closebtn":{    height:  Ti.UI.SIZE,    width:  Ti.UI.SIZE   }   var  args  =  arguments[0]  ||  {};     $.rowId.text=args.rowId;   $.itemName.text=args.itemName;     function  closeme(){    $.win.close();   }   CONTROLLERS/DETAILWIN.JS   STYLES/DETAILWIN.TSS   VIEWS/DETAILWIN.XML  
  16. Comienzo <Alloy>    <Window  class="container">      <View  id="main">  

             </View>    </Window>   </Alloy>   ".container":  {    backgroundColor:"white",    orientationModes:  [Ti.UI.PORTRAIT,Ti.UI.LANDSCAPE_LEFT,Ti.UI.LANDSCAPE_RIGHT,Ti.UI.UPSIDE_PORTRAIT]   },   "#main":{    height:  Ti.UI.FILL,    width:  Ti.UI.FILL,    backgroundColor:  "#c4cde0",    left:  0,    layout:  "vertical"   }   CONTROLLERS/INDEX.XML   CONTROLLERS/INDEX.TSS  
  17. <View  id="iconBar">    <View  id="topActions">      <ImageView  class="topActionButton"  id="friendsBtn"></ImageView>

         <ImageView  class="topActionButton"  id="messagesBtn"></ImageView>      <ImageView  class="topActionButton"  id="notificationsBtn"></ImageView>    </View>    <ImageView  id="menubtn"></ImageView>    <ImageView  id="chatbtn"></ImageView>   </View>   "#iconBar":{    backgroundImage:  "iconBarBG.png",    width:  Ti.UI.FILL,    height:  "54"   },   "#topActions":{    width:"150",    height:"50",    layout:"horizontal"   },   ".topActionButton":{      height:"50",      width:"50"   },   "#friendsBtn":{    image:"friendsbtn.png"     },   "#messagesBtn":{    image:"messagesbtn.png"     },   "#notificationsBtn":{    image:"notificationsbtn.png"     },   "#menubtn":{    left:  0,    width:  "55",    height:  "54",    image:"menubtn.png"   },   "#chatbtn":{    width:  "55",    height:  "54",    right:  0,    image:"chatbtn.png"   }   VIEWS/INDEX.XML   STYLES/INDEX.TSS  
  18. <View  id="menuBar">    <View  class="tbButton">      <ImageView  id="statusBtn"></ImageView>  

     </View>    <View    class="tbButton">      <ImageView  id="photoBtn"></ImageView>    </View>    <View    class="tbButton">      <ImageView  id="checkinBtn"></ImageView>    </View>   </View>   "#menuBar":{    backgroundColor:  "#f5f6f9",    width:  Ti.UI.FILL,    height:  "50",    layout:  "horizontal"   },     ".tbButton":{    width:  "33%",    height:  "50"   },     "#statusBtn":{    width:  "73",    height:  "19",    image:  "statusbtn.png"   },   "#photoBtn":{    width:  "73",    height:  "19",    image:  "photobtn.png"   },   "#checkinBtn":{    width:  "73",    height:  "19",    image:  "checkinbtn.png"   }   VIEWS/INDEX.XML   STYLES/INDEX.TSS  
  19. <TableView  id="mainList">    <TableViewRow  id="listRow">      <View  id="rowContainer">  

       <ImageView  id="profilePic"></ImageView>      <Label  id="profileName">Ricardo  Alcocer</Label>      <Label  id="timeAgo">10  minutes  ago</Label>      <Label  id="status">This  is  my  status  update.</Label>      <View  id="grayLine"  bottom="51"></View>      <View  id="bottomActions">        <View  class="itemActionButton">          <ImageView  id="likeBtn"></ImageView>        </View>        <View    class="itemActionButton">          <ImageView  id="commentBtn"></ImageView>        </View>      </View>    </View>    </TableViewRow>   </TableView>   "#mainList":{    backgroundColor:  "#c4cde0",    separatorStyle:  "NONE"   },   "#listRow":{    height:  "200",    selectionStyle:  "NONE"   },   "#rowContainer":{    borderColor:  "#cacdd8",    borderRadius:  5,    borderWidth:  1,    left:  "5",    right:  "5",    top:  "5",    bottom:  "5",    height:  Ti.UI.FILL,    width:  Ti.UI.FILL,    backgroundColor:  "#fff"   },   "#profilePic":{      width:"66",      height:"66",      image:"profilepic.png",      top:"5",      left:"5"   },   "#profileName":{    top:  "5",    left:  "80",    color:  "#576b95",    font:  {      fontSize  :  "16",      fontWeight:  "bold"    }   }   VIEWS/INDEX.XML   STYLES/INDEX.TSS  
  20. "#timeAgo":{    top:  "25",    left:  "80",    color:  "#bbbbbb",

       font:  {      fontSize  :  "16"    }   },   "#status":{    width:  Ti.UI.SIZE,    left:  5,    right:  5,    font:  {      fontSize  :  "16"    }   },   "#bottomActions":{    bottom:  0,    height:  "50",    width:  Ti.UI.FILL,    backgroundColor:  "#eff2f5",    layout:  "horizontal"   },   ".itemActionButton":{    width:  "50%",    height:  "50"   },   "#likeBtn":{    width:  "76",    height:  "20",    image:  "likebtn.png"   },   "#commentBtn":{    width:  "76",    height:  "20",    image:  "commentbtn.png"   }   <TableView  id="mainList">    <TableViewRow  id="listRow">      <View  id="rowContainer">      <ImageView  id="profilePic"></ImageView>      <Label  id="profileName">Ricardo  Alcocer</Label>      <Label  id="timeAgo">10  minutes  ago</Label>      <Label  id="status">This  is  my  status  update.</Label>      <View  id="grayLine"  bottom="51"></View>      <View  id="bottomActions">        <View  class="itemActionButton">          <ImageView  id="likeBtn"></ImageView>        </View>        <View    class="itemActionButton">          <ImageView  id="commentBtn"></ImageView>        </View>      </View>    </View>    </TableViewRow>   </TableView>   VIEWS/INDEX.XML   STYLES/INDEX.TSS  
  21. Agregando el “Menú” <Window  class="container">      <View  id="menu"  onClick="hidemenu"></View>

         <View  id="main">        <View  id="iconBar">          <View  id="topActions">              <ImageView  class="topActionButton"  id="friendsBtn"></ImageView>              <ImageView  class="topActionButton"  id="messagesBtn"></ImageView>              <ImageView  class="topActionButton"  id="notificationsBtn"></ImageView>          </View>          <ImageView  id="menubtn"  onClick="showmenu"></ImageView>          <ImageView  id="chatbtn"></ImageView>        </View>   VIEWS/INDEX.XML   CONTROLLERS/INDEX.JS   function  showmenu(e){    $.main.width=Ti.Platform.displayCaps.platformWidth;    $.main.animate({      left:300,      duration:100    });   }     function  hidemenu(e){    $.main.width=Ti.Platform.displayCaps.platformWidth;    $.main.animate({      left:0,      duration:100    });   }     $.index.open();   "#menu":{    height:  Ti.UI.FILL,    width:  Ti.UI.FILL,    backgroundColor:  "#2c323f",    left:  0     }   STYLES/INDEX.TSS  
  22. Recursos Esta presentación http://slideshare.net/ricardoalcocer http://speakerdeck.com/ricardoalcocer Repositorio de Github con los

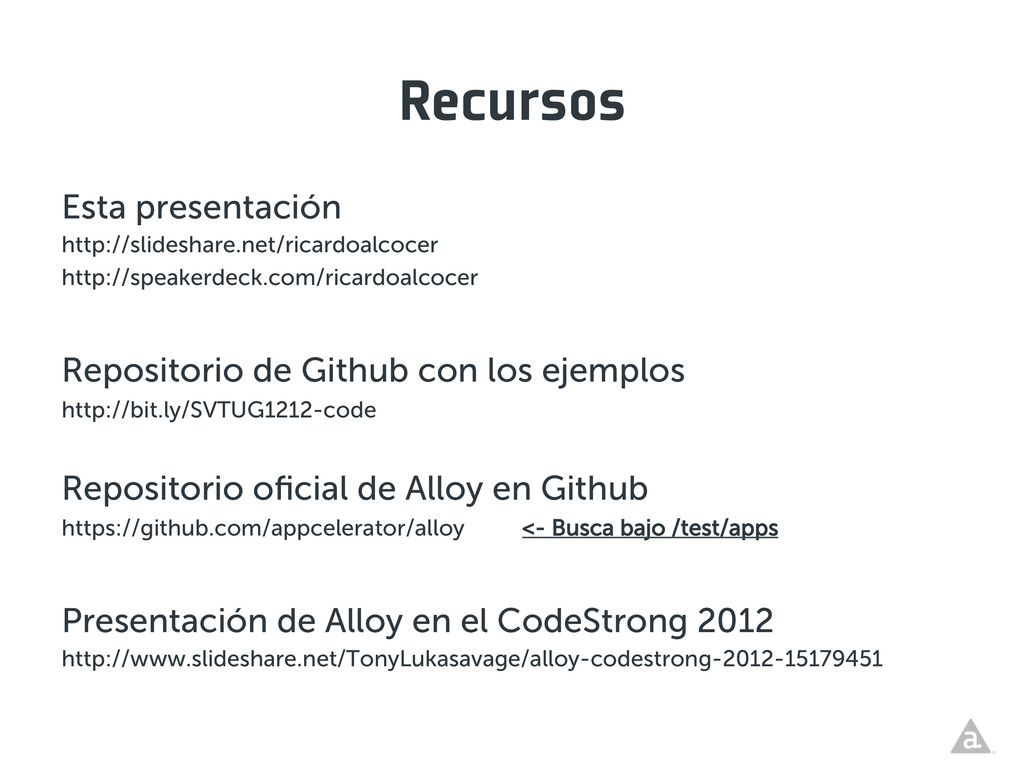
    ejemplos http://bit.ly/SVTUG1212-code Repositorio oficial de Alloy en Github https://github.com/appcelerator/alloy <- Busca bajo /test/apps Presentación de Alloy en el CodeStrong 2012 http://www.slideshare.net/TonyLukasavage/alloy-codestrong-2012-15179451