Upgrade to Pro
— share decks privately, control downloads, hide ads and more …
Speaker Deck
Features
Speaker Deck
PRO
Sign in
Sign up for free
Search
Search
Webスクレイピング - 小手先の技術 -
Search
TakesxiSximada
July 06, 2016
Technology
2.1k
2
Share
Embed
Copy iframe code
Copy JS code
Copy link
Start on current slide
Webスクレイピング - 小手先の技術 -
もうなんでもよい...
TakesxiSximada
July 06, 2016
More Decks by TakesxiSximada
See All by TakesxiSximada
ISAC Tokyo 2017 やったこと
takesxisximada
0
120
Other Decks in Technology
See All in Technology
世界、断片、モデル。そして理解
ardbeg1958
1
130
Network Firewallやっていき!
news_it_enj
0
170
2年前に削除したPHPクラスが、 ある日突然決済をエラーにした
ykagano
1
430
DatabricksにおけるMCPソリューション
taka_aki
1
280
LLMやAIエージェントをソフトウェアに組み込むプラクティス
shibuiwilliam
2
430
誤解だらけの開発生産性 / Myths and Misconceptions about Developer Productivity
i35_267
2
820
「早く出す」より「事業に効く」 ── 顧客の業務サイクルから逆算するAI時代の二重ループ開発と「変化の設計者」 / devsumi2026
rakus_dev
1
410
知らん間に、回ってる
ming_ayami
0
740
プロダクト開発組織の現在地(Ver.2026/07) / product-organization
kaonavi
0
120
10年目を迎えた「ABEMA」がどのように AI 活用を推進して、AI 駆動開発にシフトしているのか / How ABEMA, entering its 10th year, is promoting the use of AI and shifting toward AI-driven development
miyukki
0
290
「AIに依存している」と 「AIを使いこなしている」の違い
k8yasuma
0
120
アップデートで何が変わった?デモで学んで使いこなすIBM Bob2.0
muehara
0
170
Featured
See All Featured
Chasing Engaging Ingredients in Design
codingconduct
0
240
XXLCSS - How to scale CSS and keep your sanity
sugarenia
249
1.3M
The Power of CSS Pseudo Elements
geoffreycrofte
82
6.4k
Improving Core Web Vitals using Speculation Rules API
sergeychernyshev
21
1.5k
The State of eCommerce SEO: How to Win in Today's Products SERPs - #SEOweek
aleyda
2
11k
Un-Boring Meetings
codingconduct
0
350
Rails Girls Zürich Keynote
gr2m
96
14k
Stewardship and Sustainability of Urban and Community Forests
pwiseman
0
350
HTML-Aware ERB: The Path to Reactive Rendering @ RubyCon 2026, Rimini, Italy
marcoroth
2
340
Why Your Marketing Sucks and What You Can Do About It - Sophie Logan
marketingsoph
0
280
Save Time (by Creating Custom Rails Generators)
garrettdimon
PRO
32
3.8k
Public Speaking Without Barfing On Your Shoes - THAT 2023
reverentgeek
1
460
Transcript
Webスクレイピング ⼩⼿先の技術 嶋⽥健志 ( @TakesxiSximada )
嶋⽥健志 @TakesxiSximada Webエンジニア@フリーランス Django / Pyramid / Tornado あたりでWebを書くこと が多い
https://github.com/TakesxiSximada ⾃⼰紹介
今⽇はscrapingの ⼩ネタ紹介
requests PycURL BeautifulSoup4 lxml feedparser selenium scrapy ...こんなに時間あるのか? アジェンダ
requests https://pypi.python.org/pypi/requests
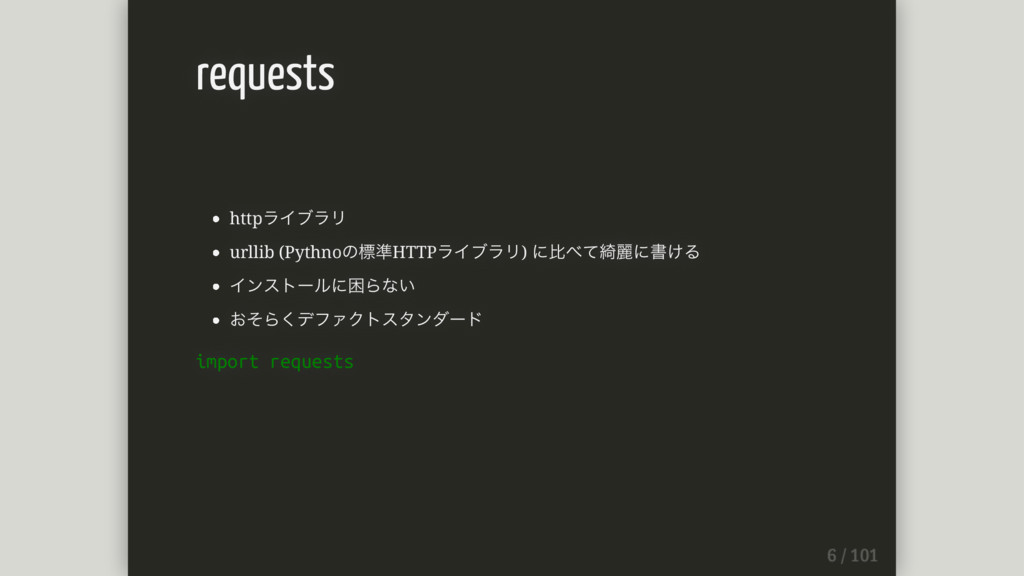
httpライブラリ urllib (Pythnoの標準HTTPライブラリ) に⽐べて綺麗に書ける インストールに困らない おそらくデファクトスタンダード import requests requests
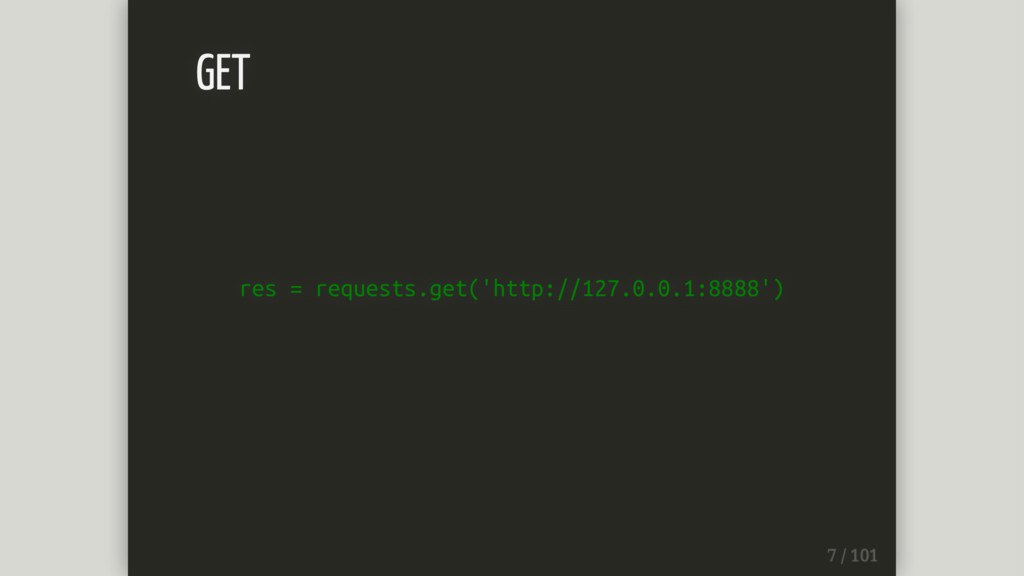
res = requests.get('http://127.0.0.1:8888') GET
ステータスコードの取得 res.status_code レスポンスヘッダ (dict like object) res.headers request objectの扱い 1
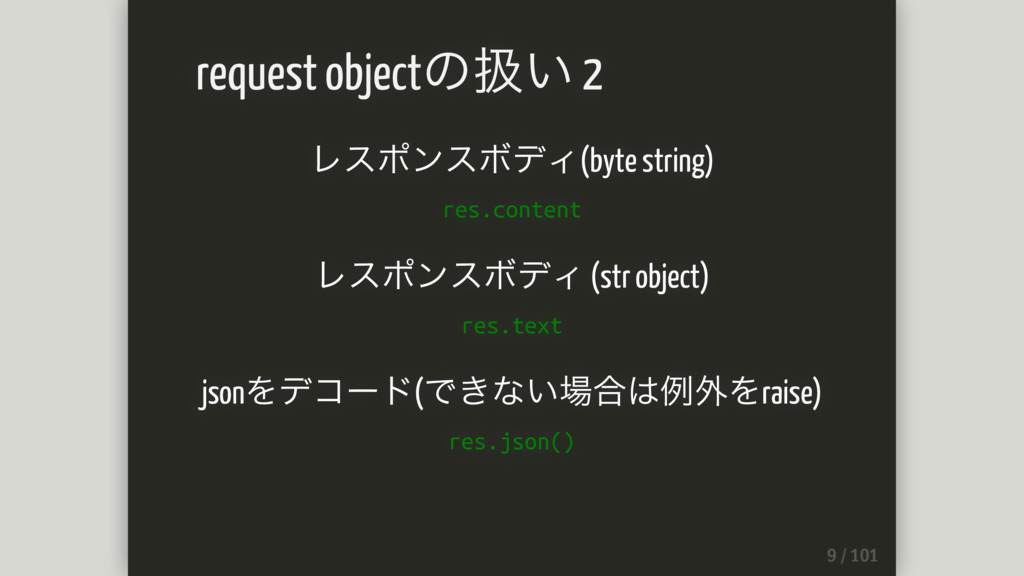
レスポンスボディ(byte string) res.content レスポンスボディ (str object) res.text jsonをデコード(できない場合は例外をraise) res.json() request
objectの扱い 2
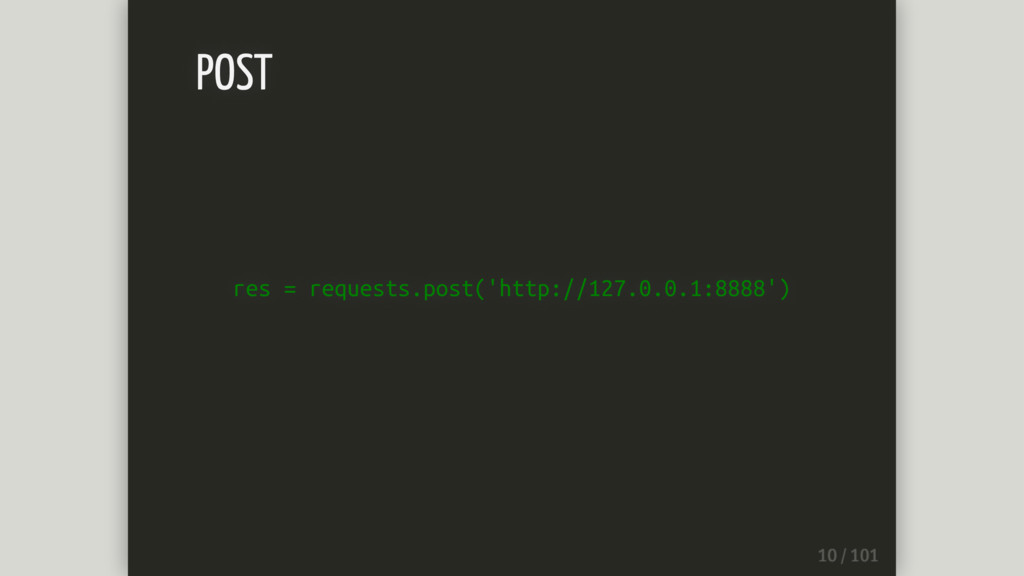
res = requests.post('http://127.0.0.1:8888') POST
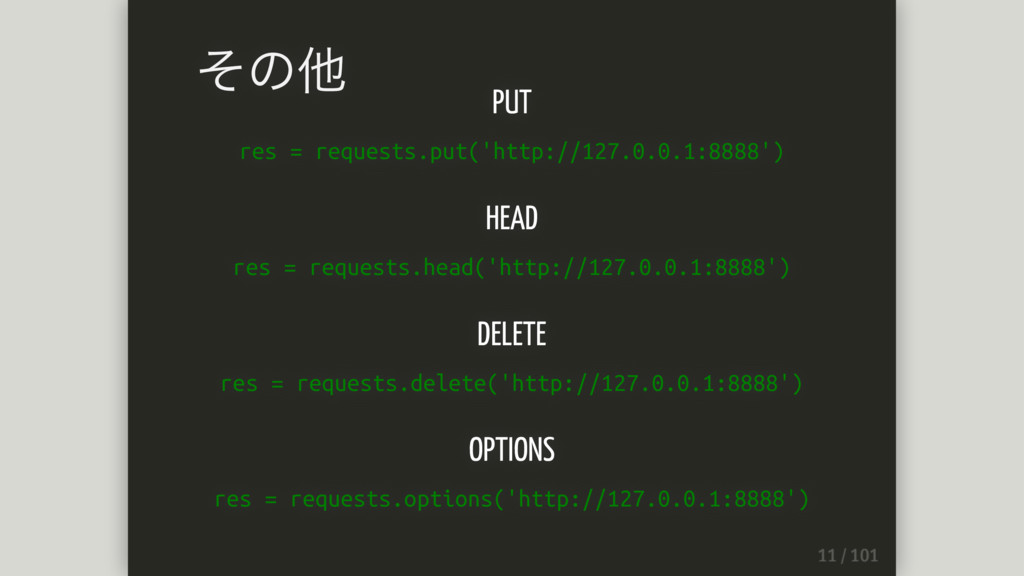
PUT res = requests.put('http://127.0.0.1:8888') HEAD res = requests.head('http://127.0.0.1:8888') DELETE res
= requests.delete('http://127.0.0.1:8888') OPTIONS res = requests.options('http://127.0.0.1:8888') その他
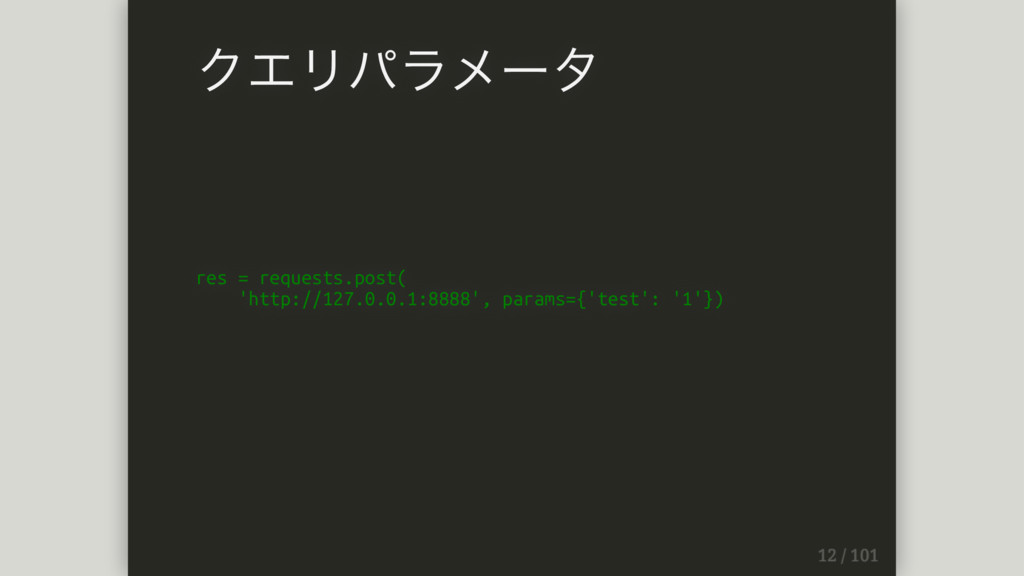
res = requests.post( 'http://127.0.0.1:8888', params={'test': '1'}) クエリパラメータ
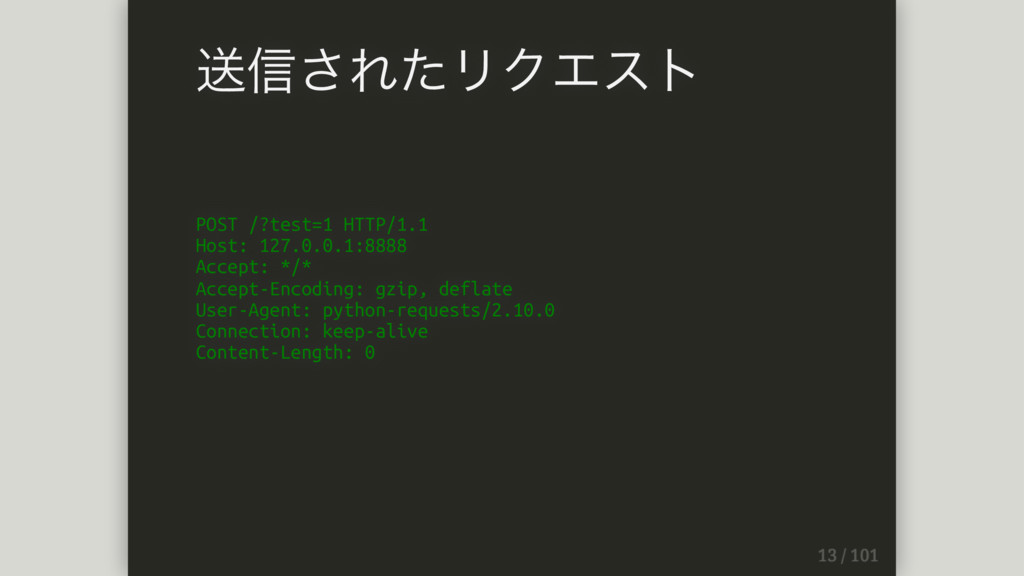
POST /?test=1 HTTP/1.1 Host: 127.0.0.1:8888 Accept: */* Accept-Encoding: gzip, deflate
User-Agent: python-requests/2.10.0 Connection: keep-alive Content-Length: 0 送信されたリクエスト
res = requests.post( 'http://127.0.0.1:8888', data={'test': '1'}) リクエストボディを渡す
POST / HTTP/1.1 Host: 127.0.0.1:8888 Connection: keep-alive Accept-Encoding: gzip, deflate
User-Agent: python-requests/2.10.0 Accept: */* Content-Length: 6 Content-Type: application/x-www-form-urlencoded test=1 送信されたリクエスト
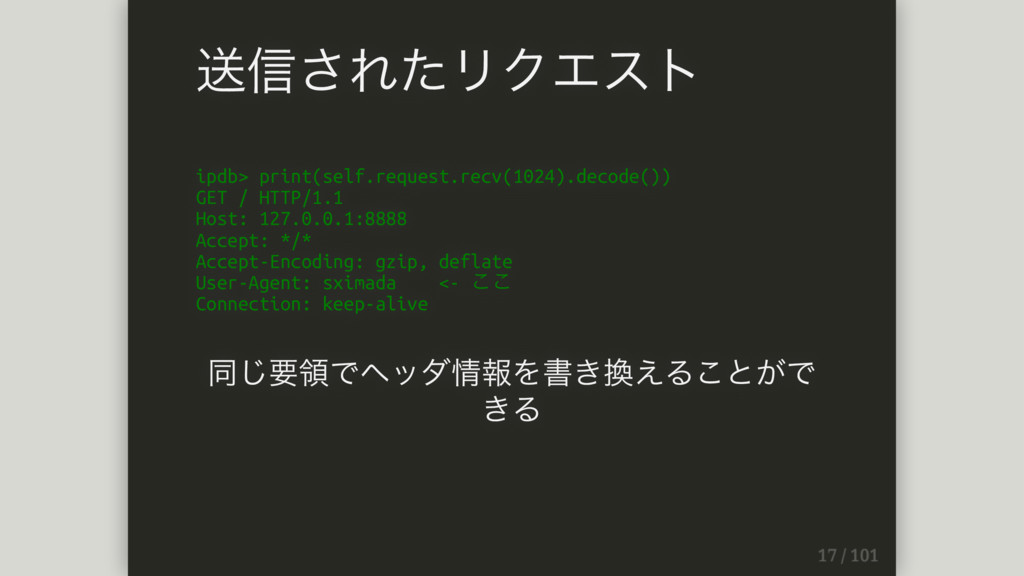
requests.get( url, headers={'User-Agent': 'sximada'}) headers引数に書き換えたいUser-Agentをもったdict を渡す User-Agent書き換え
ipdb> print(self.request.recv(1024).decode()) GET / HTTP/1.1 Host: 127.0.0.1:8888 Accept: */* Accept-Encoding:
gzip, deflate User-Agent: sximada <- ここ Connection: keep-alive 同じ要領でヘッダ情報を書き換えることがで きる 送信されたリクエスト
便利
次
PycURL https://pypi.python.org/pypi/pycurl
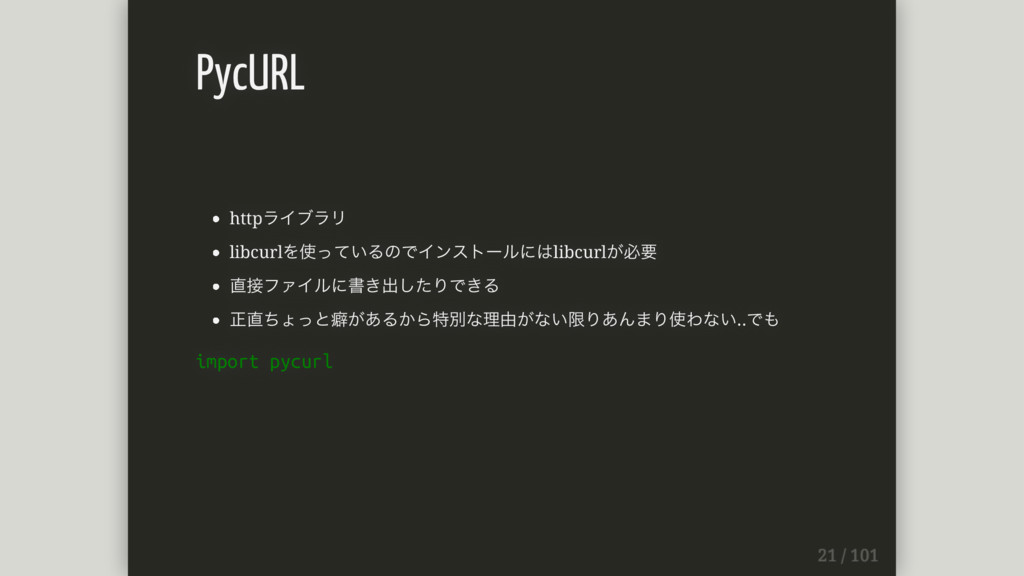
httpライブラリ libcurlを使っているのでインストールにはlibcurlが必要 直接ファイルに書き出したりできる 正直ちょっと癖があるから特別な理由がない限りあんまり使わない..でも import pycurl PycURL
curl = pycurl.Curl() curl.setopt(pycurl.URL, 'http://127.0.0.1:8888') curl.perform() GET
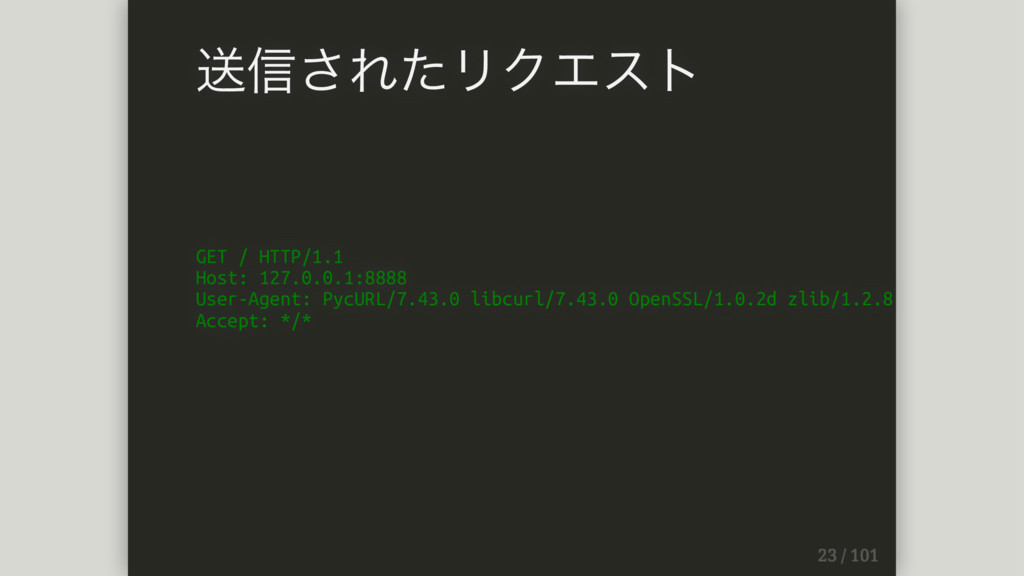
GET / HTTP/1.1 Host: 127.0.0.1:8888 User-Agent: PycURL/7.43.0 libcurl/7.43.0 OpenSSL/1.0.2d zlib/1.2.8
Accept: */* 送信されたリクエスト
⾒切れたUA PycURL/7.43.0 libcurl/7.43.0 OpenSSL/1.0.2d zlib/1.2.8 ...orz 送信されたリクエスト
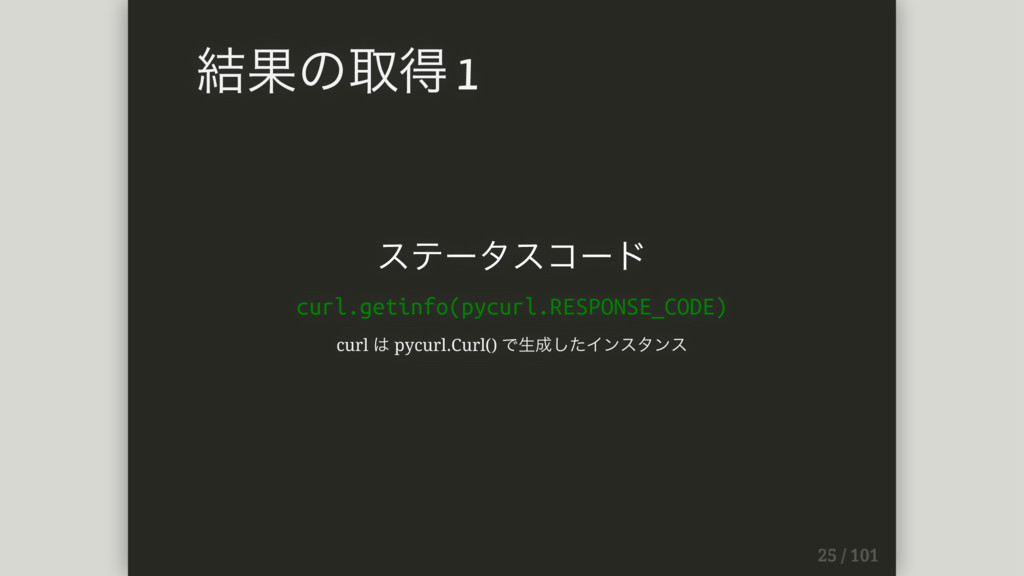
ステータスコード curl.getinfo(pycurl.RESPONSE_CODE) curl は pycurl.Curl() で⽣成したインスタンス 結果の取得 1
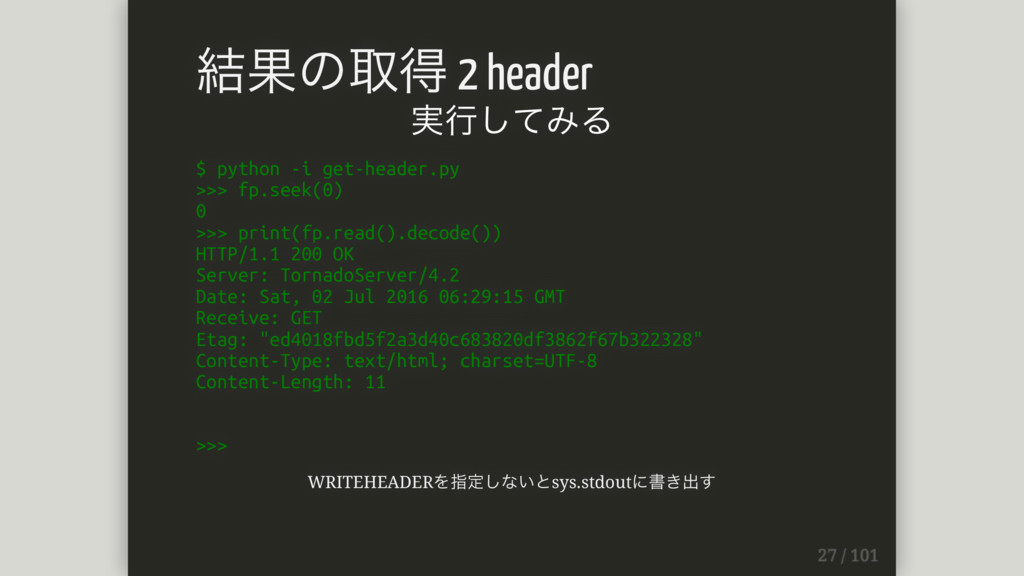
get-heaer.py import io import pycurl fp = io.BytesIO() curl =
pycurl.Curl() curl.setopt(pycurl.URL, 'http://127.0.0.1:8888') curl.setopt(pycurl.WRITEHEADER, fp) curl.perform() 結果の取得 2 header
実⾏してみる $ python -i get-header.py >>> fp.seek(0) 0 >>> print(fp.read().decode())
HTTP/1.1 200 OK Server: TornadoServer/4.2 Date: Sat, 02 Jul 2016 06:29:15 GMT Receive: GET Etag: "ed4018fbd5f2a3d40c683820df3862f67b322328" Content-Type: text/html; charset=UTF-8 Content-Length: 11 >>> WRITEHEADERを指定しないとsys.stdoutに書き出す 結果の取得 2 header
⾯倒 結果の取得 2 header
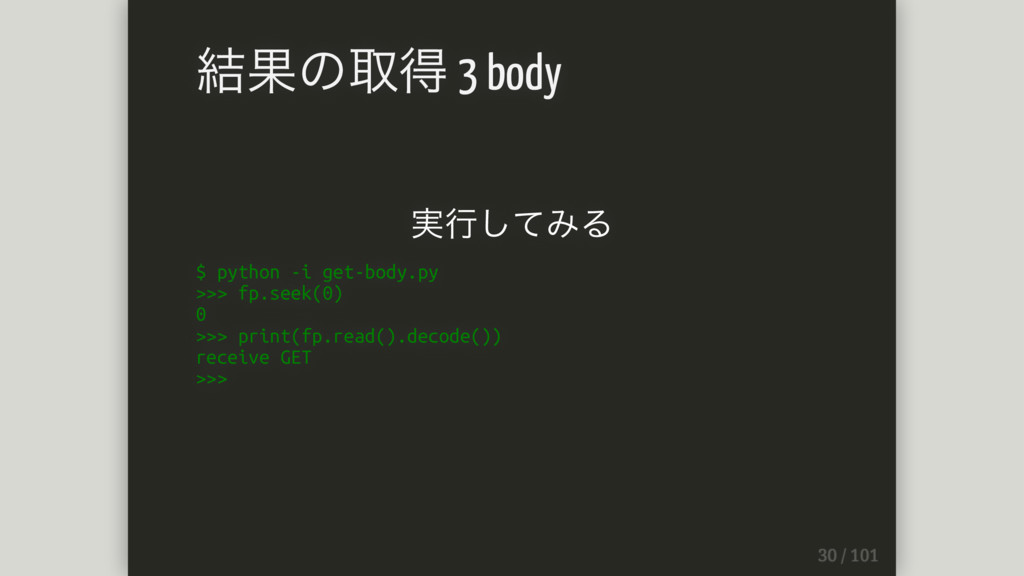
get-body.py import io import pycurl fp = io.BytesIO() curl =
pycurl.Curl() curl.setopt(pycurl.URL, 'http://127.0.0.1:8888') curl.setopt(pycurl.WRITEDATA, fp) curl.perform() 結果の取得 3 body
実⾏してみる $ python -i get-body.py >>> fp.seek(0) 0 >>> print(fp.read().decode())
receive GET >>> 結果の取得 3 body
結構⾯倒.... 結果の取得 3 body
ただし⼤きなファイルとかを ダウンロードするときは 直接ファイルに書き出せる 結果の取得 3 body
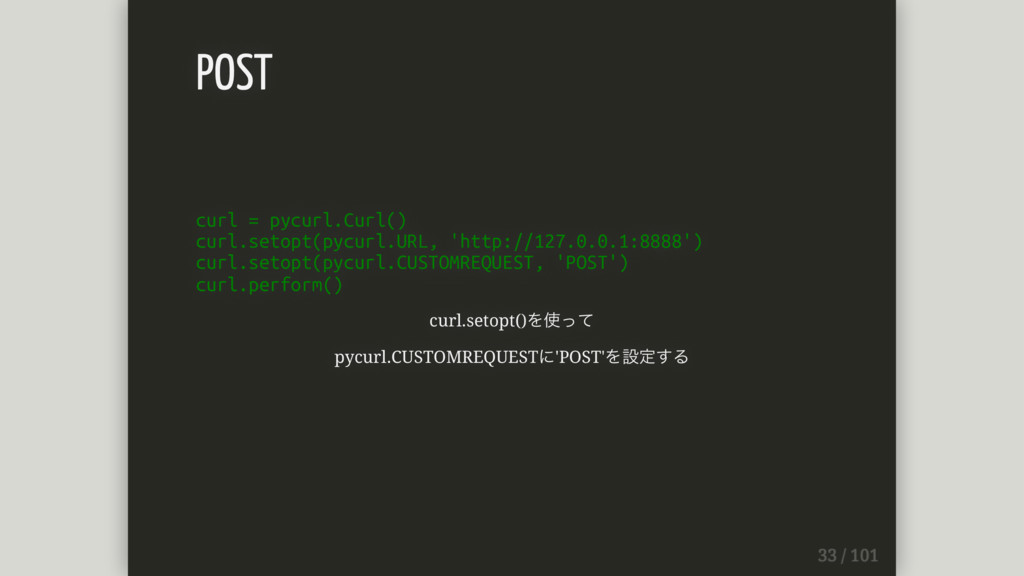
curl = pycurl.Curl() curl.setopt(pycurl.URL, 'http://127.0.0.1:8888') curl.setopt(pycurl.CUSTOMREQUEST, 'POST') curl.perform() curl.setopt()を使って pycurl.CUSTOMREQUESTに'POST'を設定する
POST
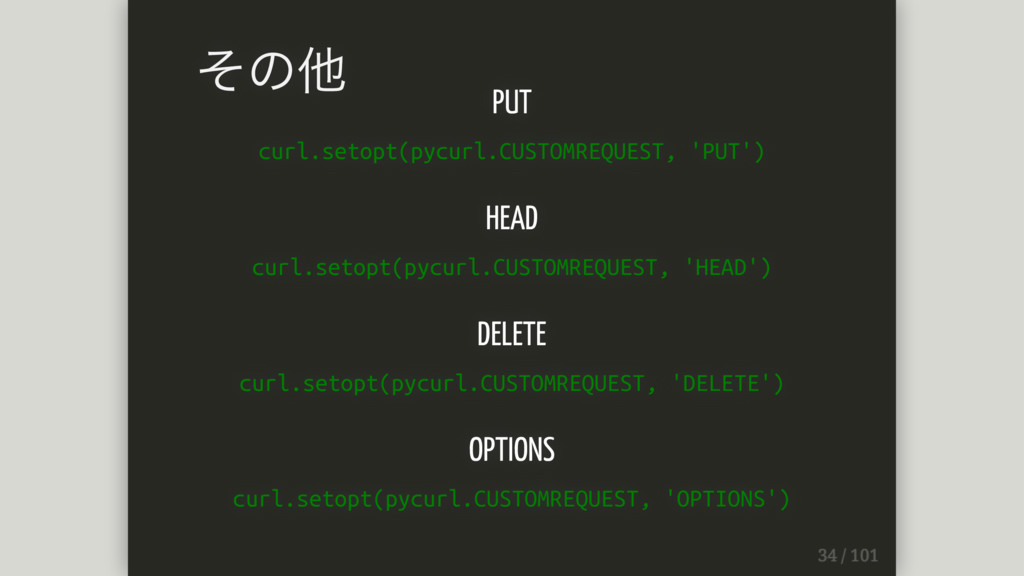
PUT curl.setopt(pycurl.CUSTOMREQUEST, 'PUT') HEAD curl.setopt(pycurl.CUSTOMREQUEST, 'HEAD') DELETE curl.setopt(pycurl.CUSTOMREQUEST, 'DELETE') OPTIONS
curl.setopt(pycurl.CUSTOMREQUEST, 'OPTIONS') その他
⼤きなファイルを途中からダウンロードしたり 複数のリクエストを送って分割してダウンロードしたり (ただしサーバがresumeに対応している必要がある) 分割ダウンロード
100byte⽬からダウンロードする例 import pycurl url = 'https://gist.githubusercontent.com/TakesxiSximada/d2792ef0b6ef2947402cca curl = pycurl.Curl() curl.setopt(pycurl.URL,
url) curl.setopt(pycurl.RESUME_FROM, 100) curl.perform() 分割ダウンロード
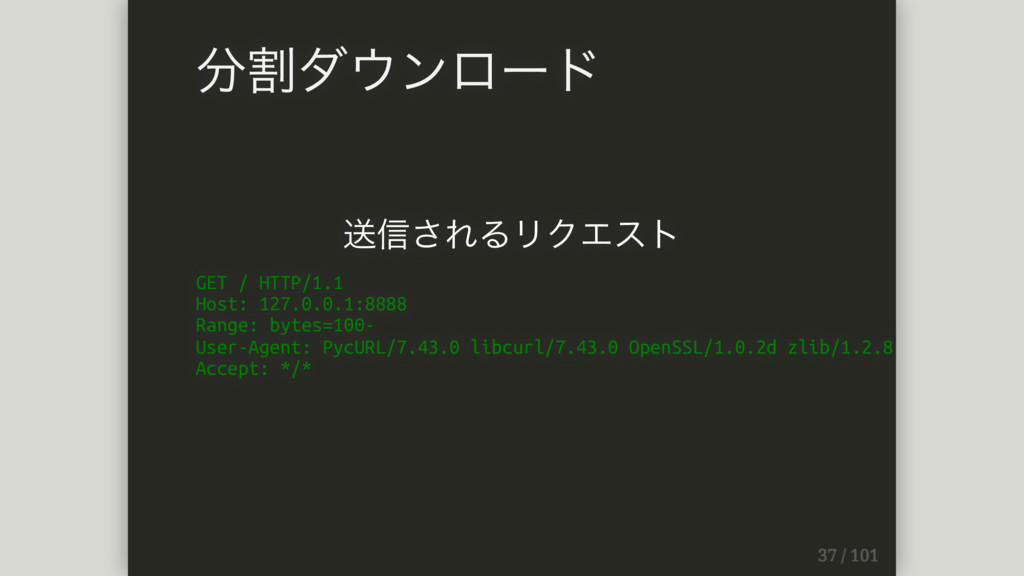
送信されるリクエスト GET / HTTP/1.1 Host: 127.0.0.1:8888 Range: bytes=100- User-Agent: PycURL/7.43.0
libcurl/7.43.0 OpenSSL/1.0.2d zlib/1.2.8 Accept: */* 分割ダウンロード
Rangeヘッダー Range: bytes=100- このヘッダがそのファイルのseek位置を指している。 requestsで同じことをやろうと思った場合は http://stackoverflow.com/questions/22894211/how-to-resume-file- download-in-python?answertab=votes#tab-top が参考になる。 分割ダウンロード
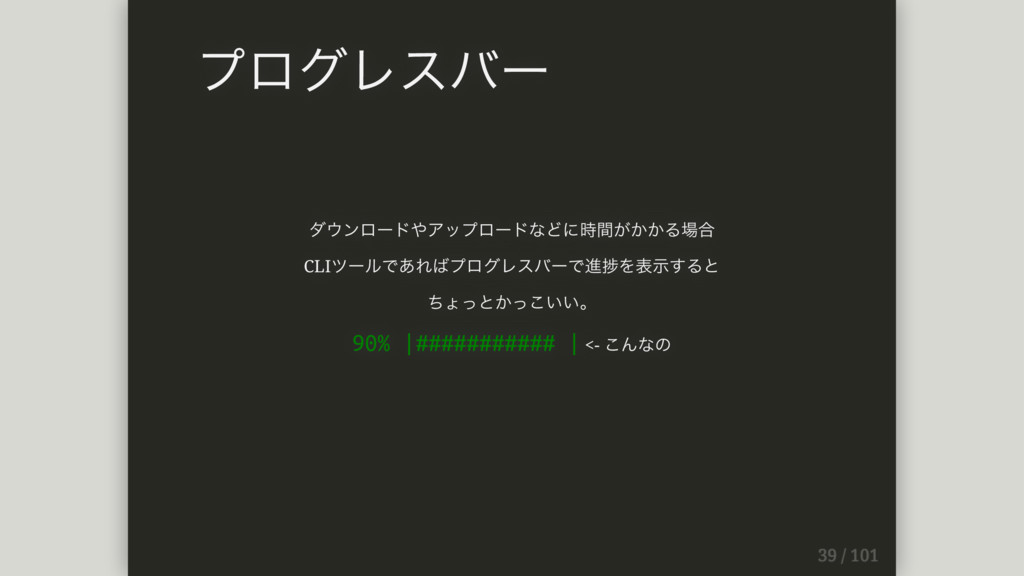
ダウンロードやアップロードなどに時間がかかる場合 CLIツールであればプログレスバーで進捗を表⽰すると ちょっとかっこいい。 90% |########### | <- こんなの プログレスバー
ライブラリあります!! progressbar https://pypi.python.org/pypi/progressbar プログレスバー
import io import pycurl import progressbar fp = io.BytesIO() curl
= pycurl.Curl() curl.setopt(pycurl.URL, 'おおきなファイルのURL') # noqa curl.setopt(pycurl.NOPROGRESS, 0) curl.setopt(pycurl.WRITEDATA, fp) progress = progressbar.ProgressBar() def update(total_to_download, total_downloaded, total_to_upload, total_uploaded if total_to_download: percent = int(total_downloaded / total_to_download * 100) progress.update(percent) curl.setopt(pycurl.PROGRESSFUNCTION, update) try: progress.start() curl.perform() finally: progress.finish() プログレスバー
コード収まらなかった... gistでどうぞ https://gist.github.com/TakesxiSximada/5f8d41cd81fe40e970249fc6da3aea60 プログレスバー
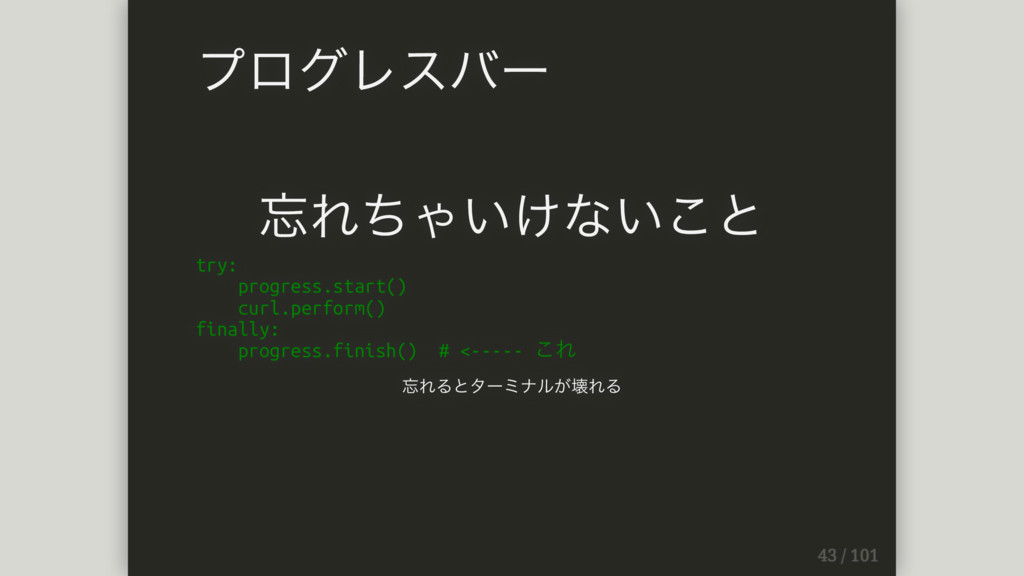
忘れちゃいけないこと try: progress.start() curl.perform() finally: progress.finish() # <----- これ 忘れるとターミナルが壊れる
プログレスバー
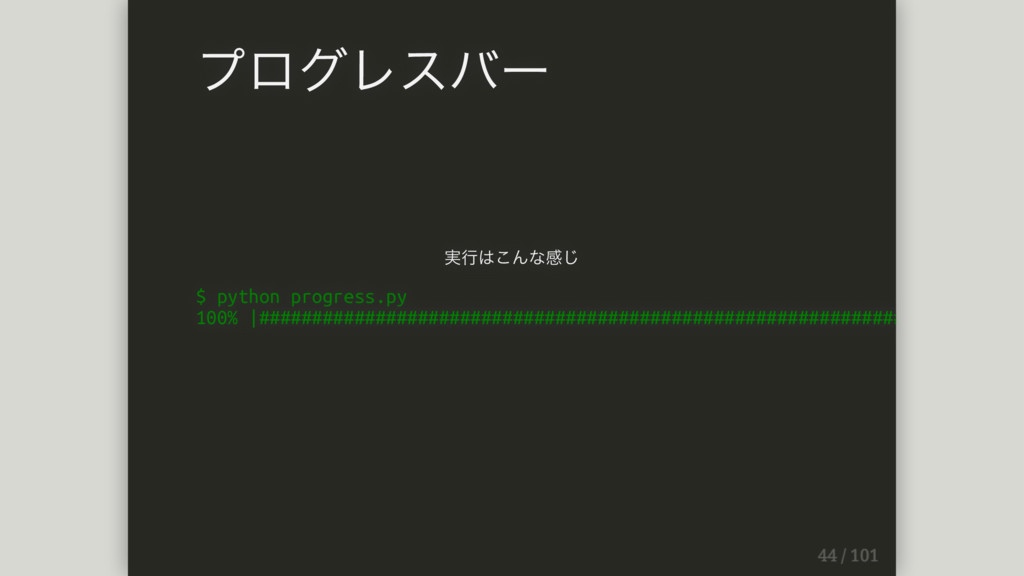
実⾏はこんな感じ $ python progress.py 100% |######################################################################### プログレスバー
(-_-;
pycurlのwrapperでhuman_curlというものもある https://pypi.python.org/pypi/human_curl 使ったことないけど... その他
次
BeautifulSoup4 https://pypi.python.org/pypi/beautifulsoup4
HTML/XMLパーサ とてもよく使われている pip install beautifulsoup でインストールされるのは beautifulsoupの version3系(旧バージョン)という罠 BeautifulSoup4使ってください sourceが欲しい⼈は
$ bzr branch lp:beautifulsoup gitじゃないよ!! BeautifulSoup4
ざっくり分けると2通り 解析⽅法
BeautifulSoup Style BeautifulSoupの独⾃スタイル 正式な呼び名は知らん soup.find_all(id='link2', class_="sister") 解析⽅法 1
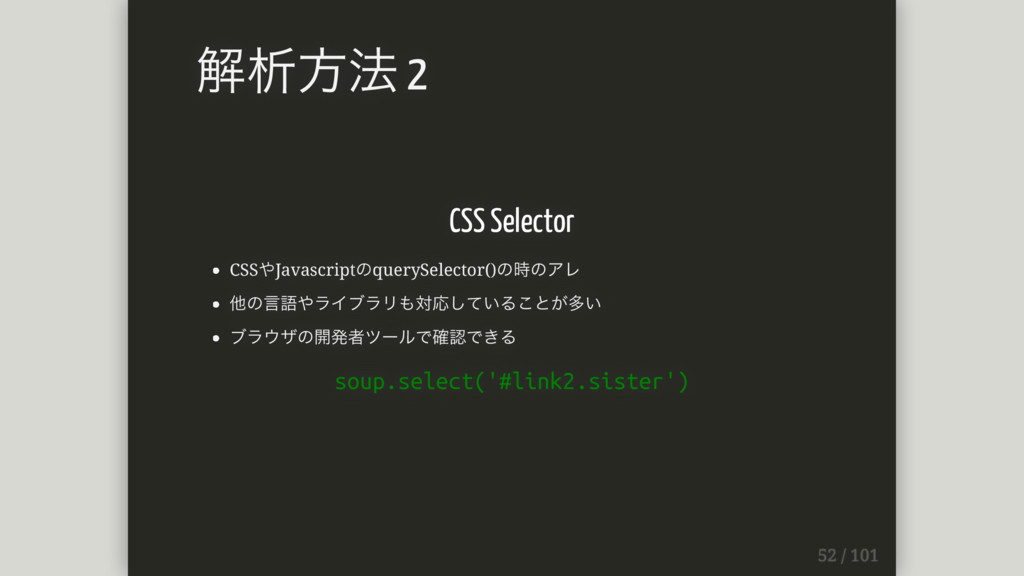
CSS Selector CSSやJavascriptのquerySelector()の時のアレ 他の⾔語やライブラリも対応していることが多い ブラウザの開発者ツールで確認できる soup.select('#link2.sister') 解析⽅法 2
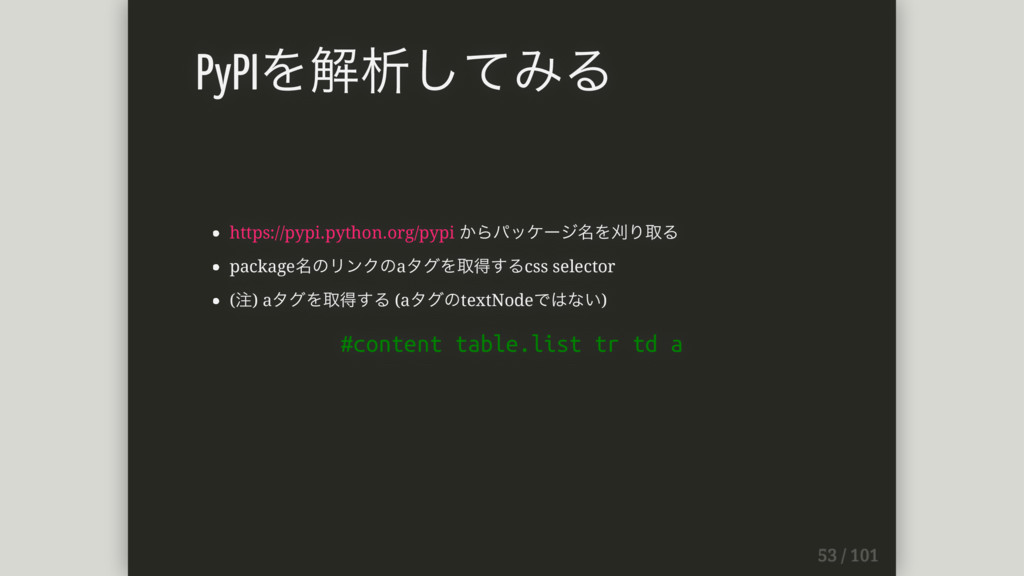
https://pypi.python.org/pypi からパッケージ名を刈り取る package名のリンクのaタグを取得するcss selector (注) aタグを取得する (aタグのtextNodeではない) #content table.list tr
td a PyPIを解析してみる
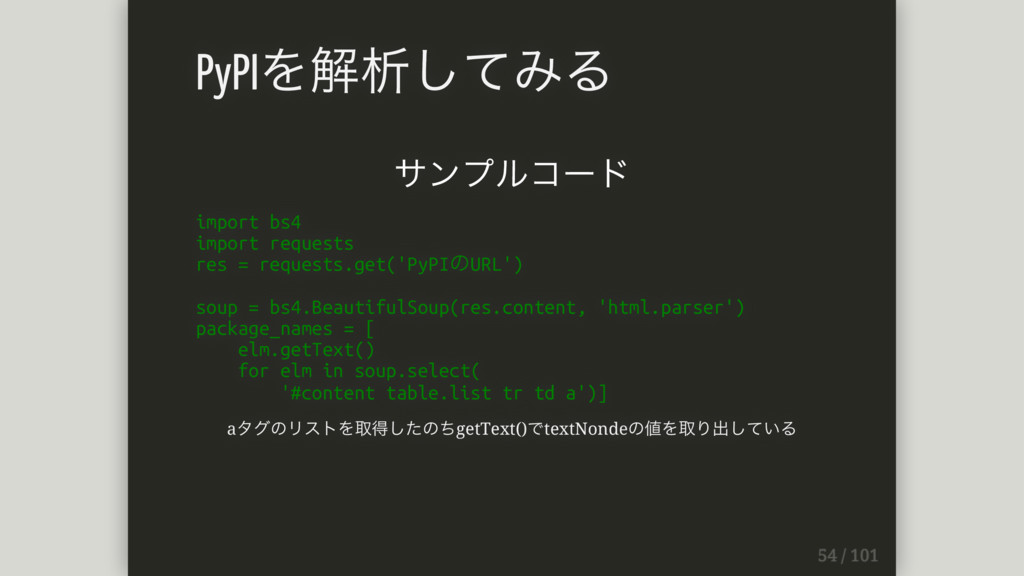
サンプルコード import bs4 import requests res = requests.get('PyPIのURL') soup =
bs4.BeautifulSoup(res.content, 'html.parser') package_names = [ elm.getText() for elm in soup.select( '#content table.list tr td a')] aタグのリストを取得したのちgetText()でtextNondeの値を取り出している PyPIを解析してみる
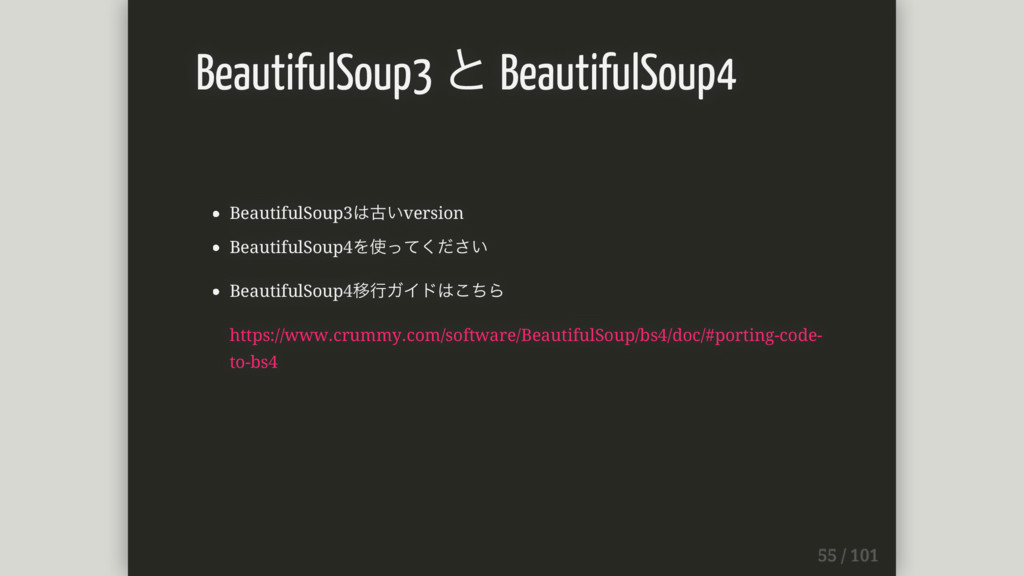
BeautifulSoup3は古いversion BeautifulSoup4を使ってください BeautifulSoup4移⾏ガイドはこちら https://www.crummy.com/software/BeautifulSoup/bs4/doc/#porting-code- to-bs4 BeautifulSoup3 と BeautifulSoup4
次
lxml https://pypi.python.org/pypi/lxml/3.6.0
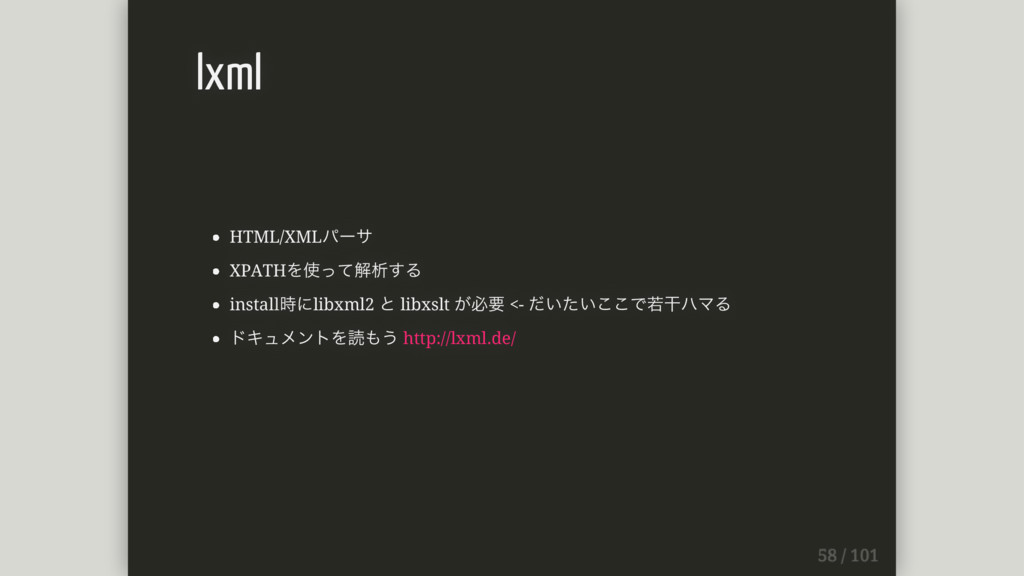
HTML/XMLパーサ XPATHを使って解析する install時にlibxml2 と libxslt が必要 <- だいたいここで若⼲ハマる ドキュメントを読もう http://lxml.de/
lxml
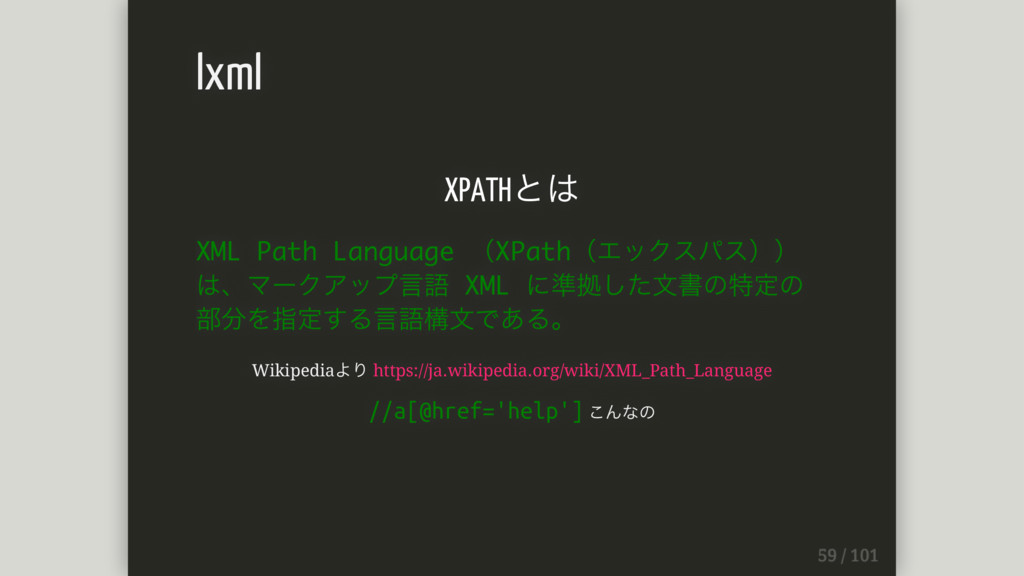
XPATHとは XML Path Language (XPath(エックスパス)) は、マークアップ⾔語 XML に準拠した⽂書の特定の 部分を指定する⾔語構⽂である。 Wikipediaより
https://ja.wikipedia.org/wiki/XML_Path_Language //a[@href='help'] こんなの lxml
https://pypi.python.org/pypi からパッケージ名を刈り取る https://pypi.python.org/pypi のpackage名をstrで取得するXPATH (注) textNodeの値をstrで取得している //div[@id="content"]//table[@class="list" ]//tr/td/a/text() pypiを解析してみる
サンプルコード from lxml import etree import requests xpath = '//div[@id="content"]//table[@class="list"]//tr/td/a/text()'
res = requests.get('PyPIのURL') html = etree.HTML(res.content) package_name = html.xpath(xpath) print(package_name) XPATHではtextNondeを直接指定できるため、 beautifulsoup4のように要素を取 得してから textNondeを取る必要がない pypiを解析してみる
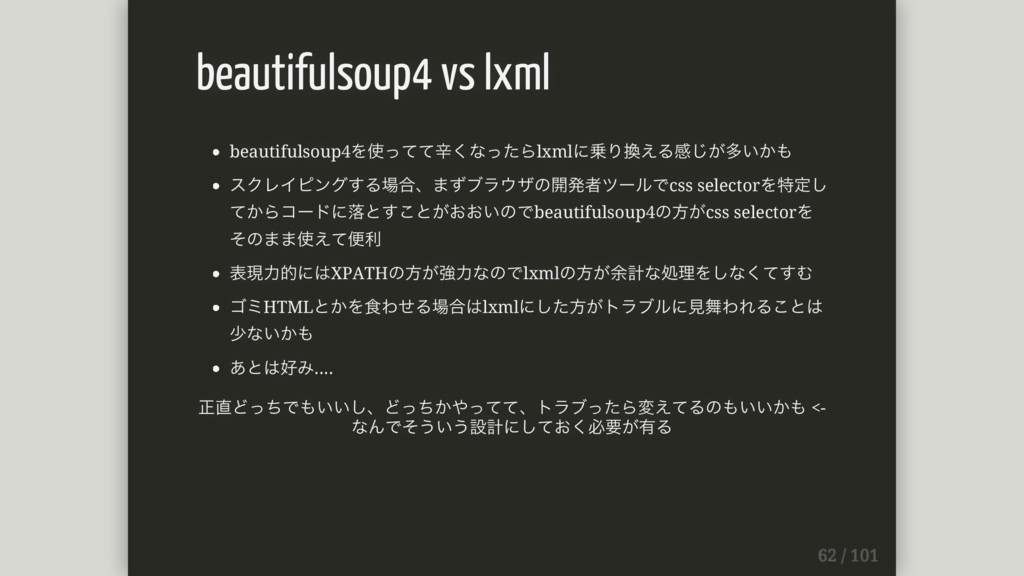
beautifulsoup4を使ってて⾟くなったらlxmlに乗り換える感じが多いかも スクレイピングする場合、まずブラウザの開発者ツールでcss selectorを特定し てからコードに落とすことがおおいのでbeautifulsoup4の⽅がcss selectorを そのまま使えて便利 表現⼒的にはXPATHの⽅が強⼒なのでlxmlの⽅が余計な処理をしなくてすむ ゴミHTMLとかを⾷わせる場合はlxmlにした⽅がトラブルに⾒舞われることは 少ないかも あとは好み....
正直どっちでもいいし、どっちかやってて、トラブったら変えてるのもいいかも <- なんでそういう設計にしておく必要が有る beautifulsoup4 vs lxml
次
feedparser https://pypi.python.org/pypi/feedparser
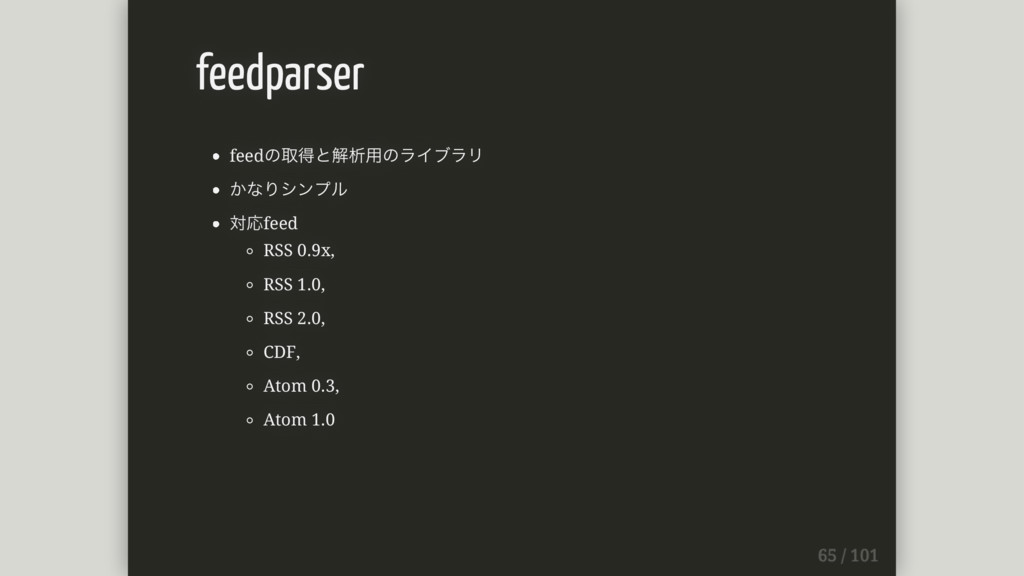
feedの取得と解析⽤のライブラリ かなりシンプル 対応feed RSS 0.9x, RSS 1.0, RSS 2.0, CDF,
Atom 0.3, Atom 1.0 feedparser
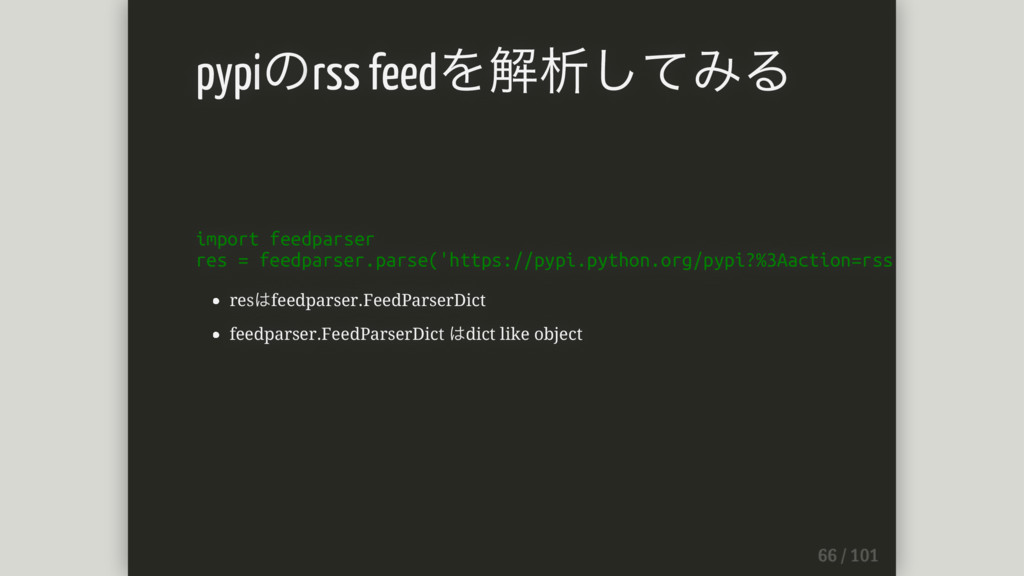
import feedparser res = feedparser.parse('https://pypi.python.org/pypi?%3Aaction=rss') resはfeedparser.FeedParserDict feedparser.FeedParserDict はdict like object
pypiのrss feedを解析してみる
次
selenium https://pypi.python.org/pypi/selenium
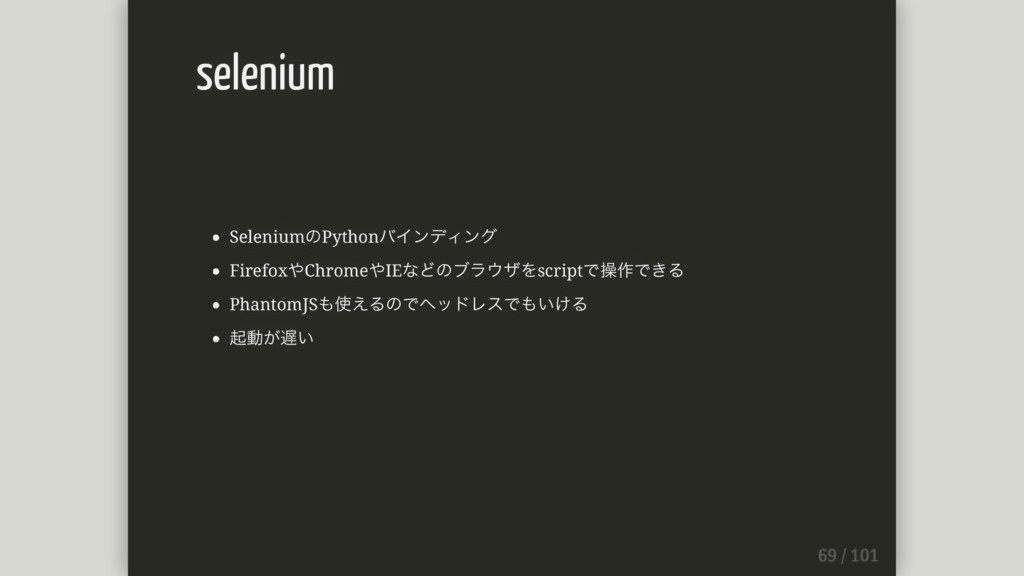
SeleniumのPythonバインディング FirefoxやChromeやIEなどのブラウザをscriptで操作できる PhantomJSも使えるのでヘッドレスでもいける 起動が遅い selenium
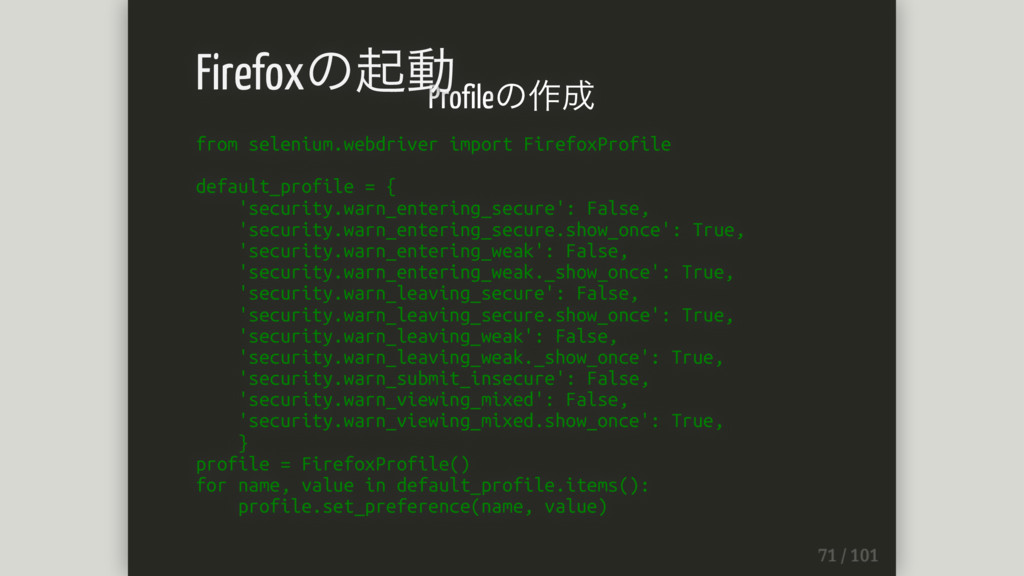
参考: http://qiita.com/TakesxiSximada/items/dedd81f1da4379f3006e Firefoxの起動
Profileの作成 from selenium.webdriver import FirefoxProfile default_profile = { 'security.warn_entering_secure': False,
'security.warn_entering_secure.show_once': True, 'security.warn_entering_weak': False, 'security.warn_entering_weak._show_once': True, 'security.warn_leaving_secure': False, 'security.warn_leaving_secure.show_once': True, 'security.warn_leaving_weak': False, 'security.warn_leaving_weak._show_once': True, 'security.warn_submit_insecure': False, 'security.warn_viewing_mixed': False, 'security.warn_viewing_mixed.show_once': True, } profile = FirefoxProfile() for name, value in default_profile.items(): profile.set_preference(name, value) Firefoxの起動
起動 from selenium.webdriver import Firefox browser = Firefox(firefox_profile=profile, proxy=proxy) #
pageをloadするまでの待ち時間を設定 browser.implicitly_wait = 10 # Cookieを全消し browser.delete_allcookies() Firefoxの起動
本当にFirefoxが起動する ちゃんと終了しないとブラウザが残る 起動しているブラウザを⼿で操作してしまうと scriptで操作できなくなる Firefoxの起動
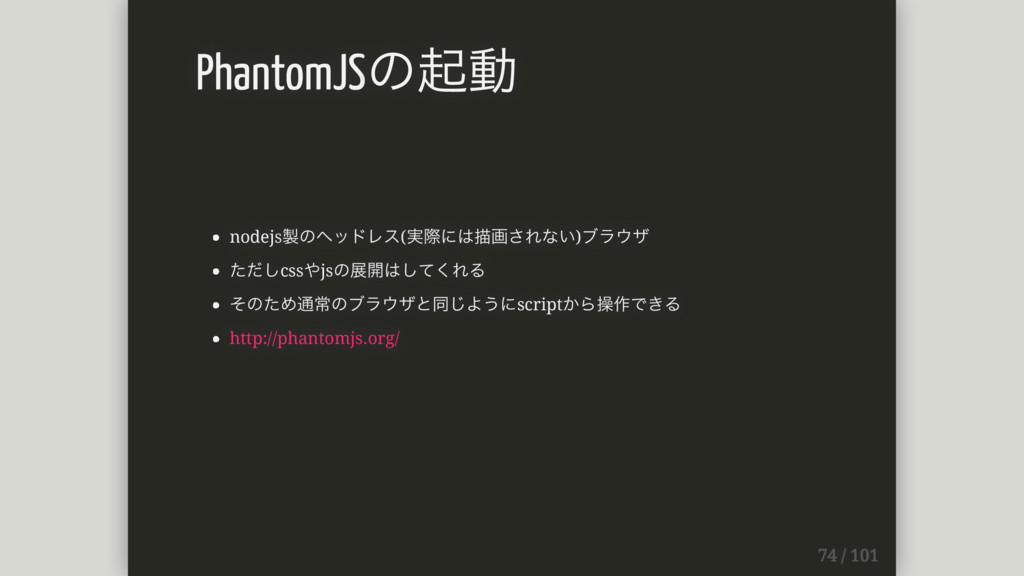
nodejs製のヘッドレス(実際には描画されない)ブラウザ ただしcssやjsの展開はしてくれる そのため通常のブラウザと同じようにscriptから操作できる http://phantomjs.org/ PhantomJSの起動
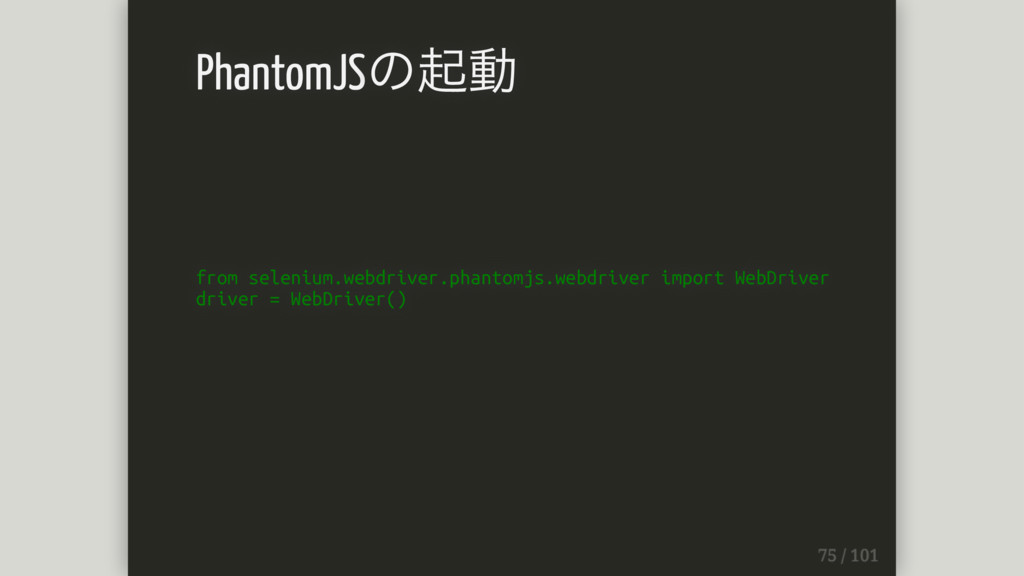
from selenium.webdriver.phantomjs.webdriver import WebDriver driver = WebDriver() PhantomJSの起動
ページ遷移 browser.get(url) タグの取得(id) browser.find_element_by_id('elemet-id') タグの取得(class) browser.find_elements_by_class_name('class-name') ブラウザの主な操作 1
タグの取得(css selector) browser.find_elements_by_css_selector('input') タグの取得(xpath) browser.find_element_by_xpath('input') ブラウザの主な操作 2
クリック tag.click() ⽂字の⼊⼒ textbox.send_keys('CHARACTOR') タグの主な操作
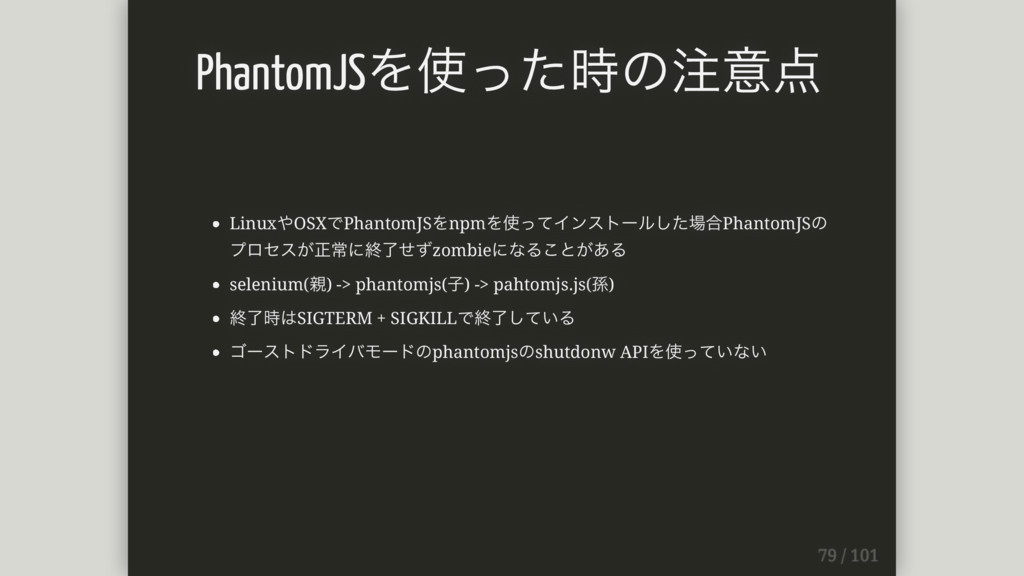
LinuxやOSXでPhantomJSをnpmを使ってインストールした場合PhantomJSの プロセスが正常に終了せずzombieになることがある selenium(親) -> phantomjs(⼦) -> pahtomjs.js(孫) 終了時はSIGTERM + SIGKILLで終了している
ゴーストドライバモードのphantomjsのshutdonw APIを使っていない PhantomJSを使った時の注意点
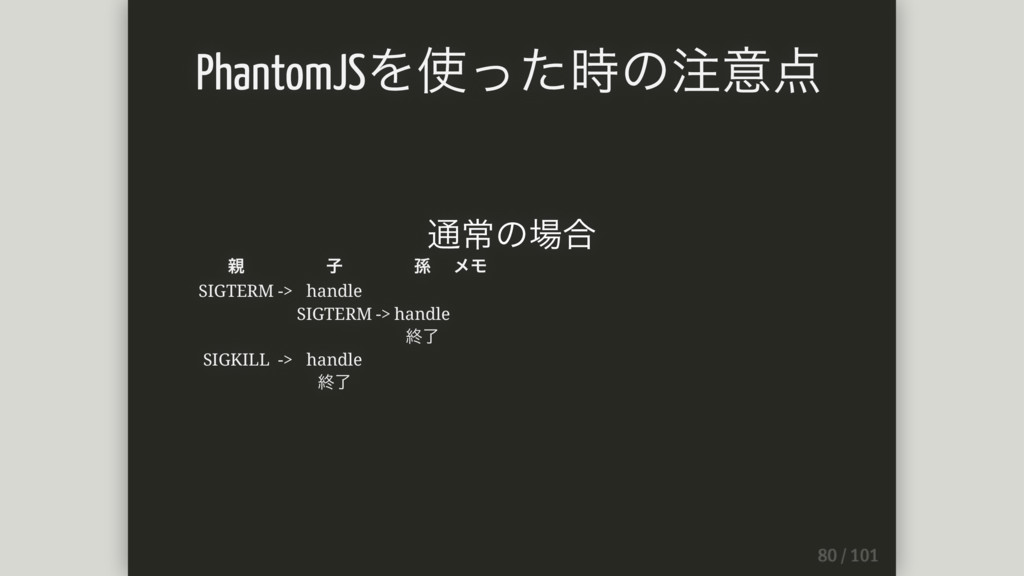
通常の場合 親 ⼦ 孫 メモ SIGTERM -> handle SIGTERM ->
handle 終了 SIGKILL -> handle 終了 PhantomJSを使った時の注意点
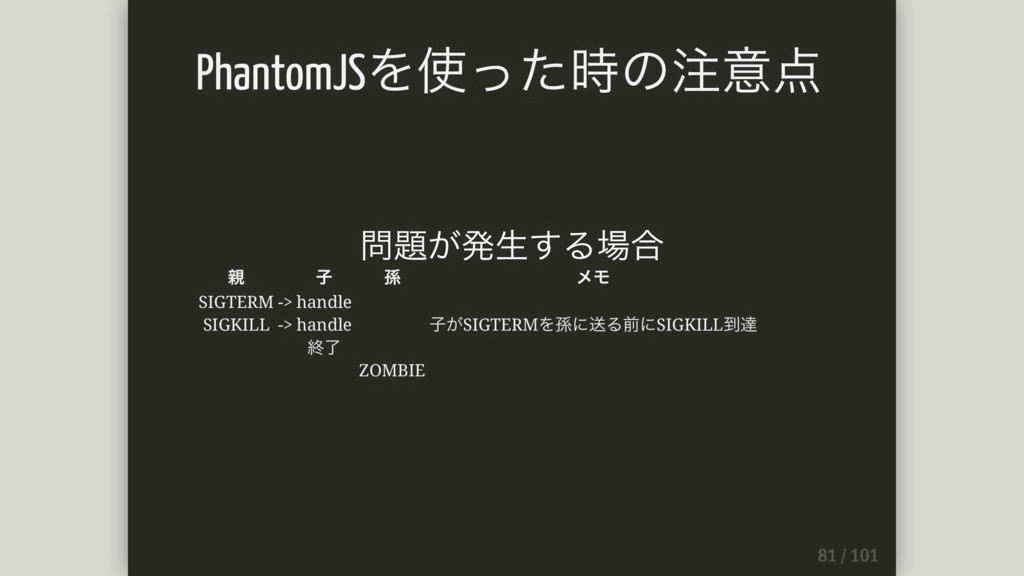
問題が発⽣する場合 親 ⼦ 孫 メモ SIGTERM -> handle SIGKILL ->
handle ⼦がSIGTERMを孫に送る前にSIGKILL到達 終了 ZOMBIE PhantomJSを使った時の注意点
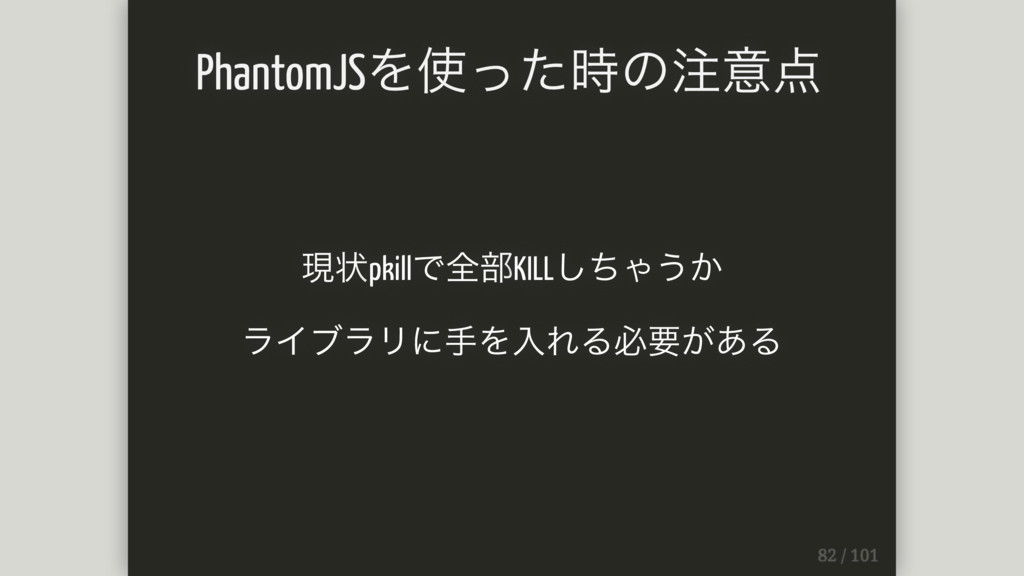
現状pkillで全部KILLしちゃうか ライブラリに⼿を⼊れる必要がある PhantomJSを使った時の注意点
(-_-;
次
scrapy https://pypi.python.org/pypi/Scrapy/1.1.0
スクレイピングとかクローラを作るためのフレームワーク Python3対応された!! scrapy
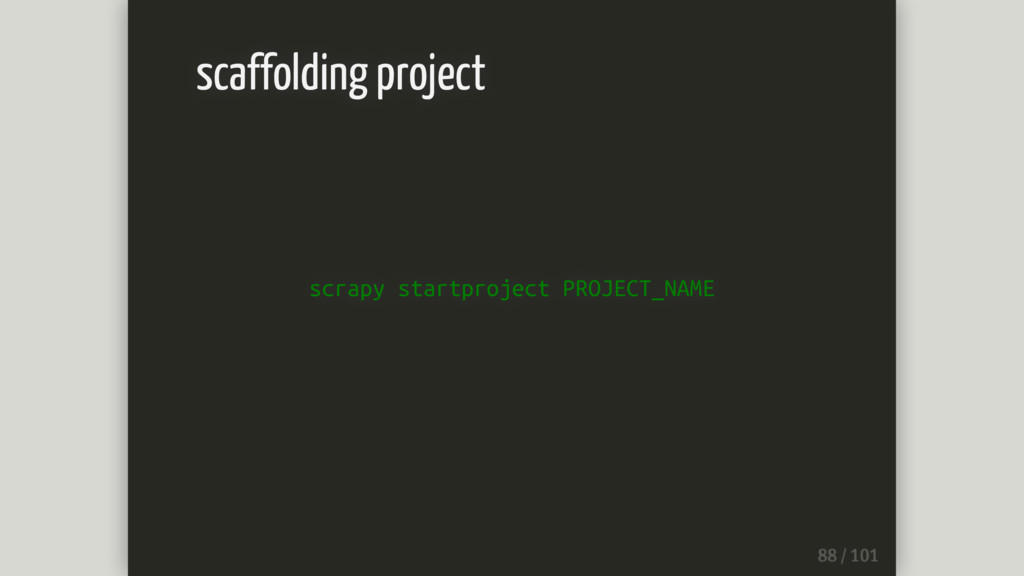
とりあえずscaffoldingしてみる scrapy
scrapy startproject PROJECT_NAME scaffolding project
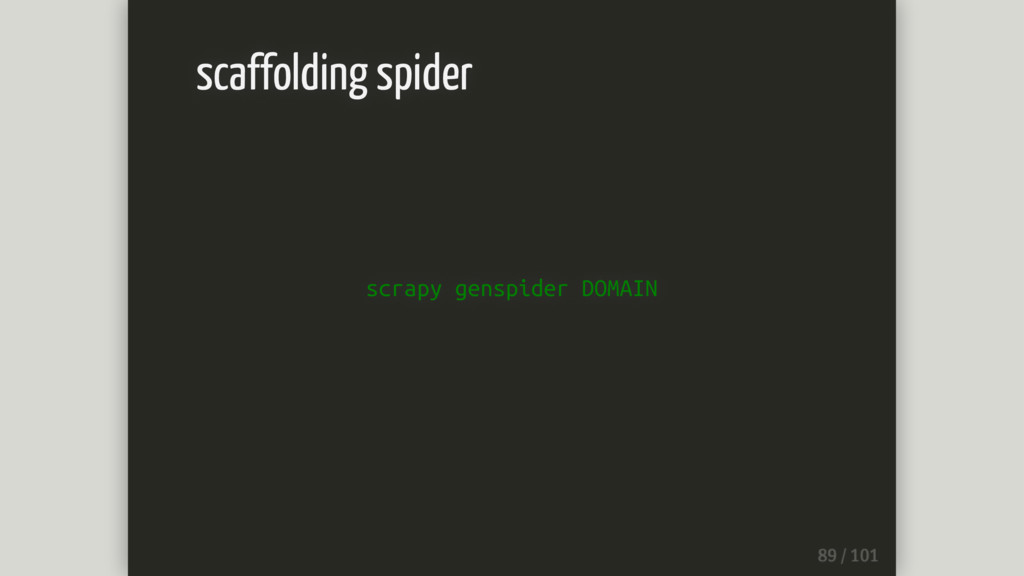
scrapy genspider DOMAIN scaffolding spider
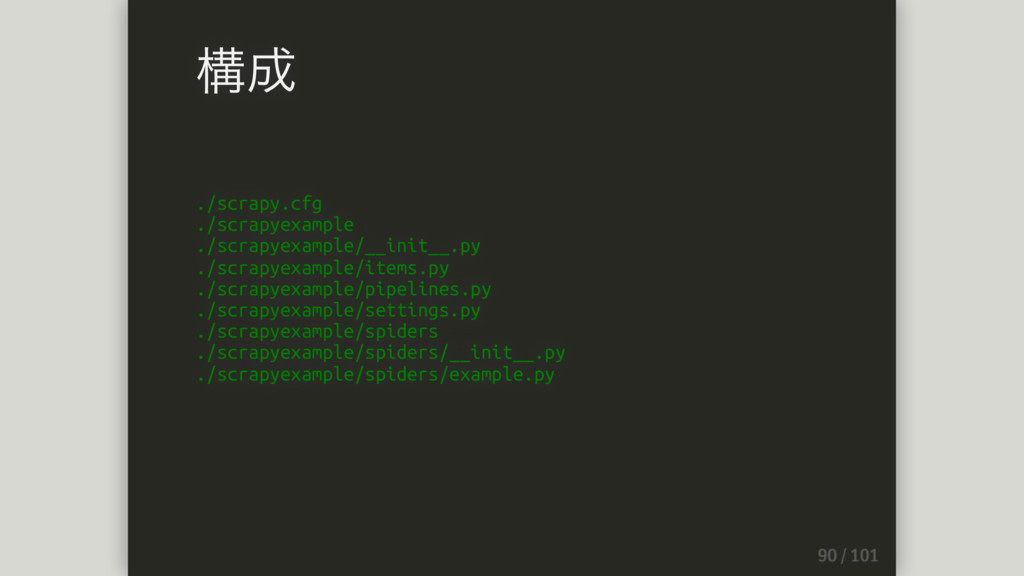
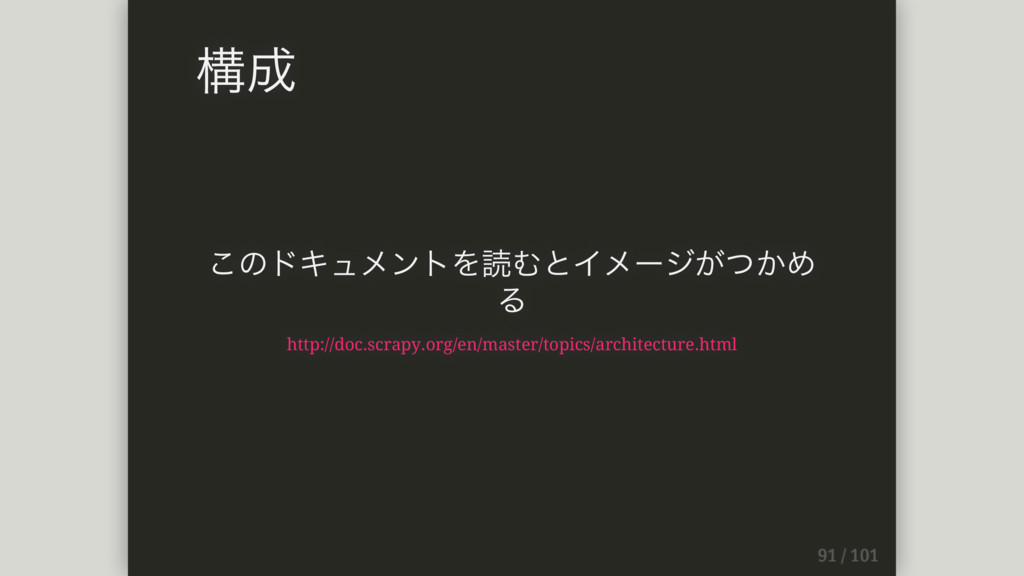
./scrapy.cfg ./scrapyexample ./scrapyexample/__init__.py ./scrapyexample/items.py ./scrapyexample/pipelines.py ./scrapyexample/settings.py ./scrapyexample/spiders ./scrapyexample/spiders/__init__.py ./scrapyexample/spiders/example.py 構成
このドキュメントを読むとイメージがつかめ る http://doc.scrapy.org/en/master/topics/architecture.html 構成
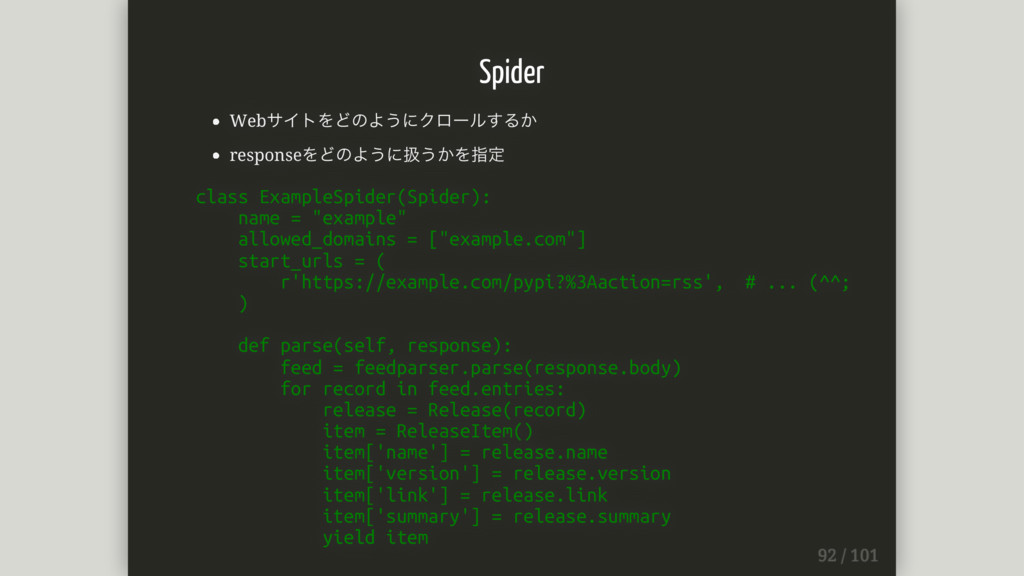
Spider Webサイトをどのようにクロールするか responseをどのように扱うかを指定 class ExampleSpider(Spider): name = "example" allowed_domains =
["example.com"] start_urls = ( r'https://example.com/pypi?%3Aaction=rss', # ... (^^; ) def parse(self, response): feed = feedparser.parse(response.body) for record in feed.entries: release = Release(record) item = ReleaseItem() item['name'] = release.name item['version'] = release.version item['link'] = release.link item['summary'] = release.summary yield item
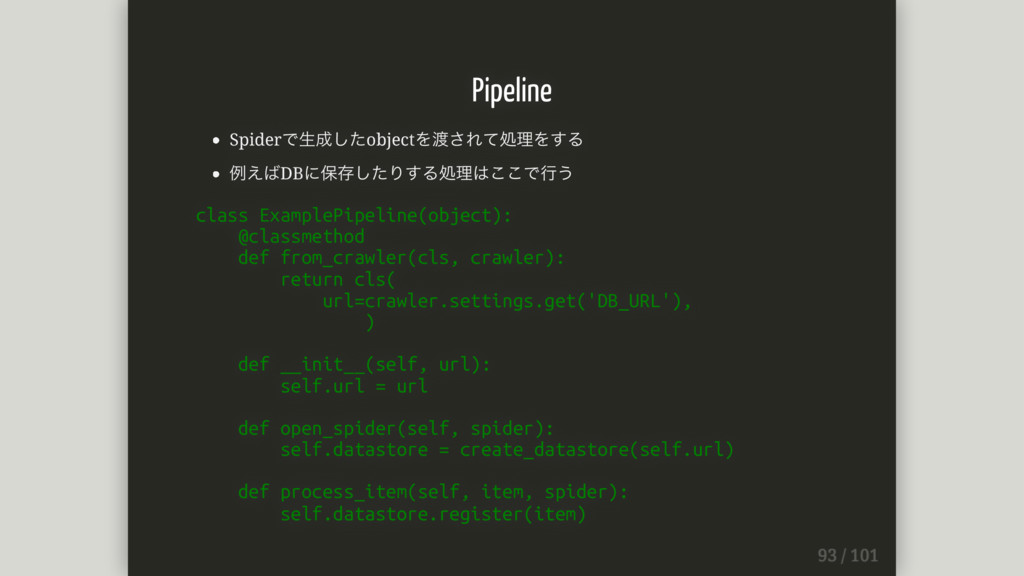
Pipeline Spiderで⽣成したobjectを渡されて処理をする 例えばDBに保存したりする処理はここで⾏う class ExamplePipeline(object): @classmethod def from_crawler(cls, crawler): return
cls( url=crawler.settings.get('DB_URL'), ) def __init__(self, url): self.url = url def open_spider(self, spider): self.datastore = create_datastore(self.url) def process_item(self, item, spider): self.datastore.register(item)
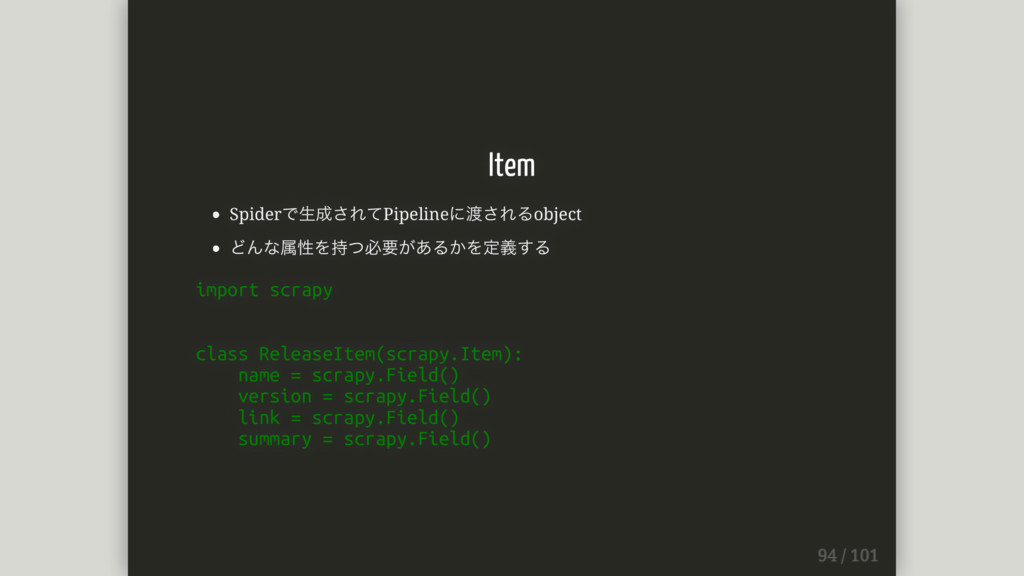
Item Spiderで⽣成されてPipelineに渡されるobject どんな属性を持つ必要があるかを定義する import scrapy class ReleaseItem(scrapy.Item): name = scrapy.Field()
version = scrapy.Field() link = scrapy.Field() summary = scrapy.Field()
実⾏
spider実⾏ $ scrapy runspider path_to_your/spiders/example.py crawl実⾏ $ scrapy crawl example
実⾏
おおがかり scrapyの流儀に従う必要がある ちょっとデータを抽出したい的案件には向かない システム化するときには導⼊を考えたい xpathもcss selectorも使える (good) scrapyべったりに実装するとscrapyと⼼中しそう scrapingはコマンドとか他の処理でも使いたいことが多いからcomponent化 したい
scrapy
フレームワークだからそう いうものか...
そろそろまとめ
スクレイピングで使われるライブラリの基本的な使い⽅を紹介した Tips的な⼩ネタを紹介した ただ必ずしもこうしなければいけないというわけではない まとめ
みんなやろうよ Webスクレピング
![https://pypi.python.org/pypi からパッケージ名を刈り取る https://pypi.python.org/pypi のpackage名をstrで取得するXPATH (注) textNodeの値をstrで取得している //div[@id="content"]//table[@class="list" ]//tr/td/a/text() pypiを解析してみる](https://files.speakerdeck.com/presentations/2995978fd79848b0a1f4d5788aa4b7de/slide_59.jpg)
![サンプルコード from lxml import etree import requests xpath = '//div[@id="content"]//table[@class="list"]//tr/td/a/text()'](https://files.speakerdeck.com/presentations/2995978fd79848b0a1f4d5788aa4b7de/slide_60.jpg)