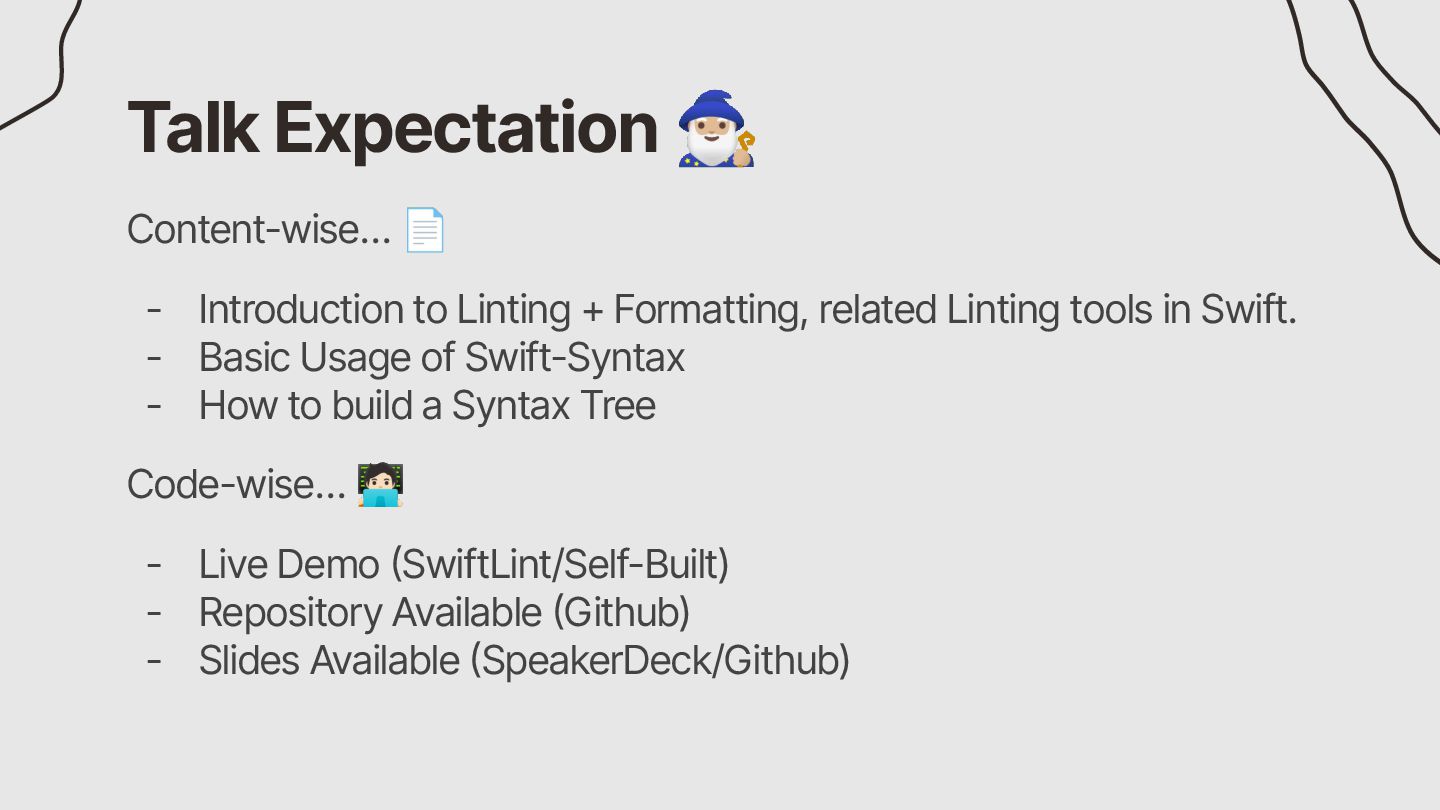
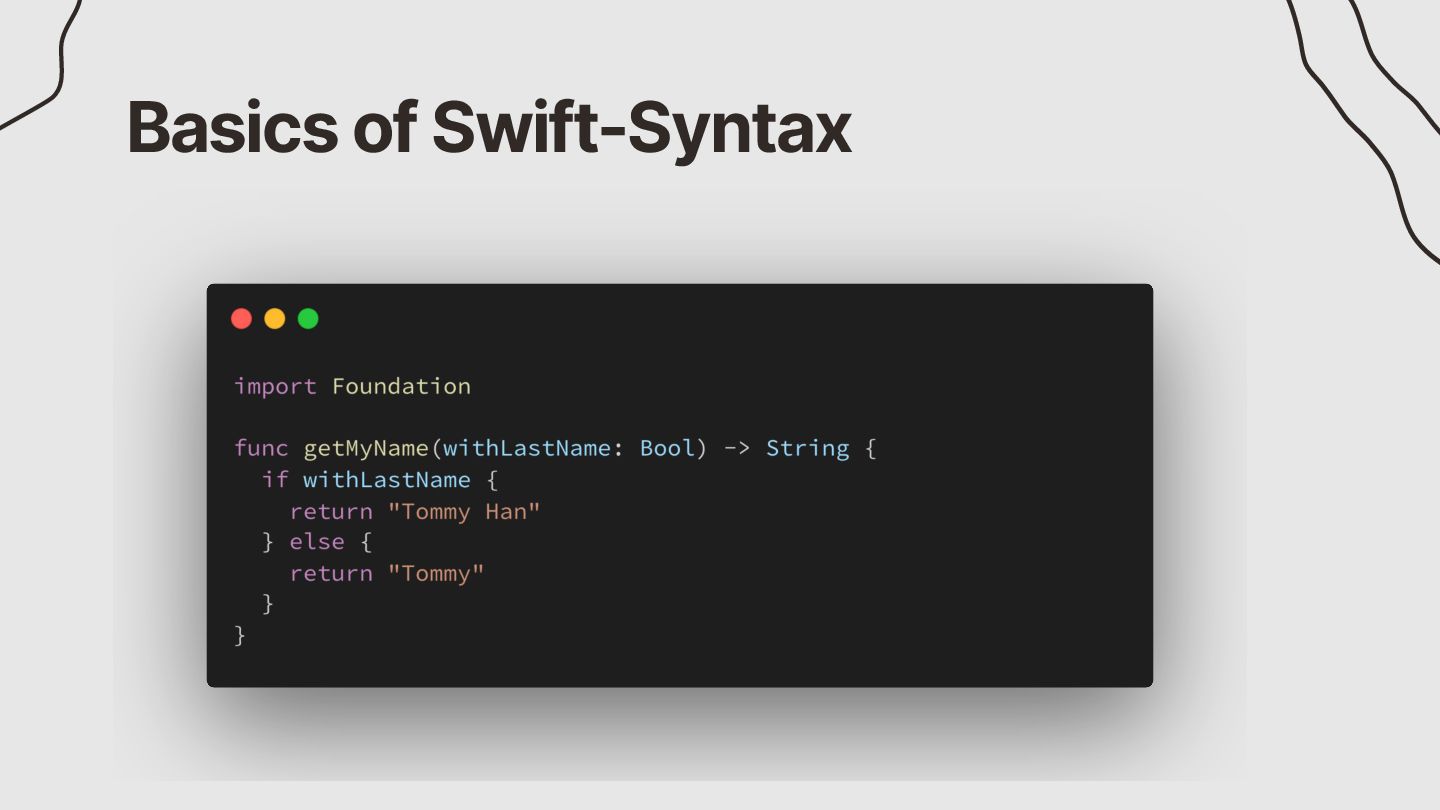
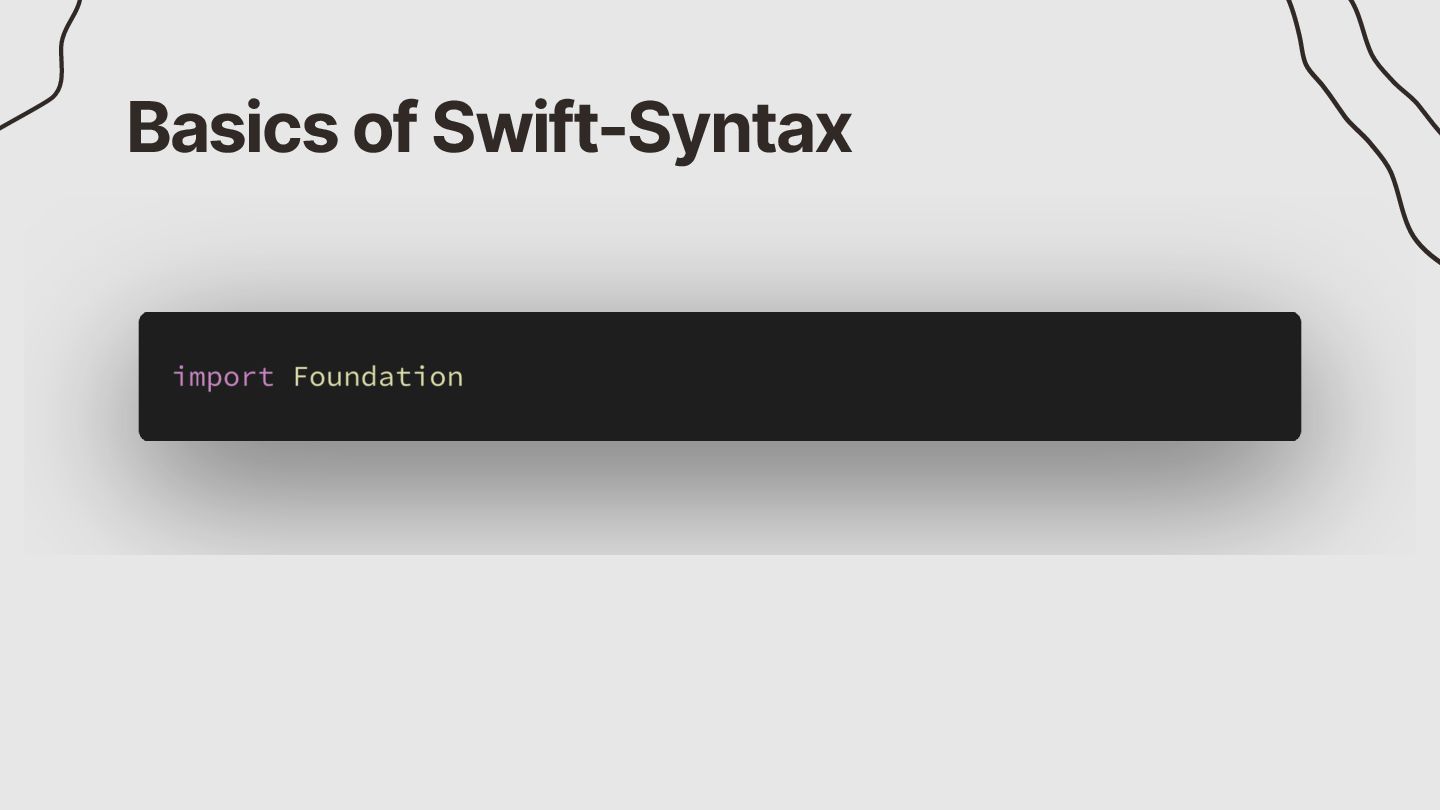
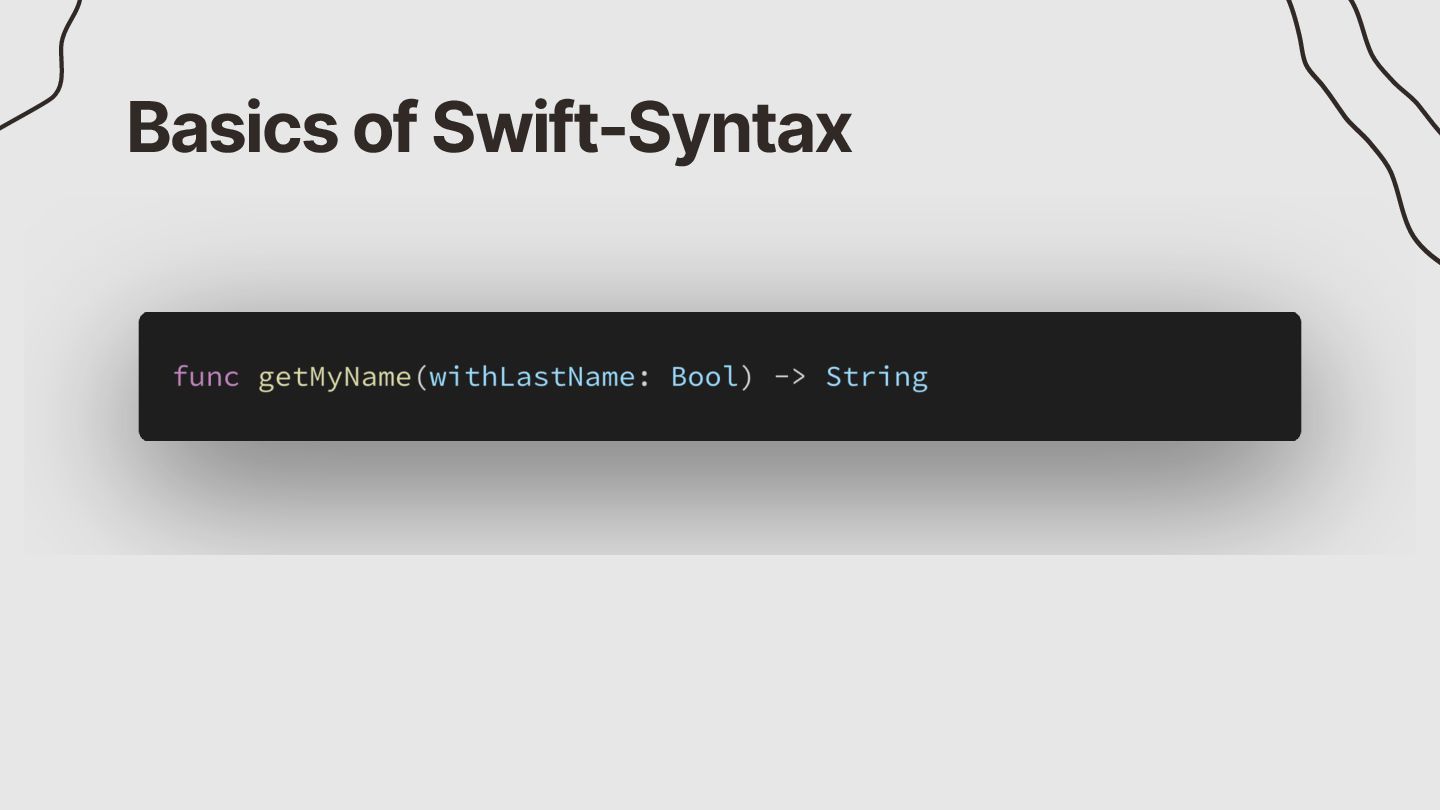
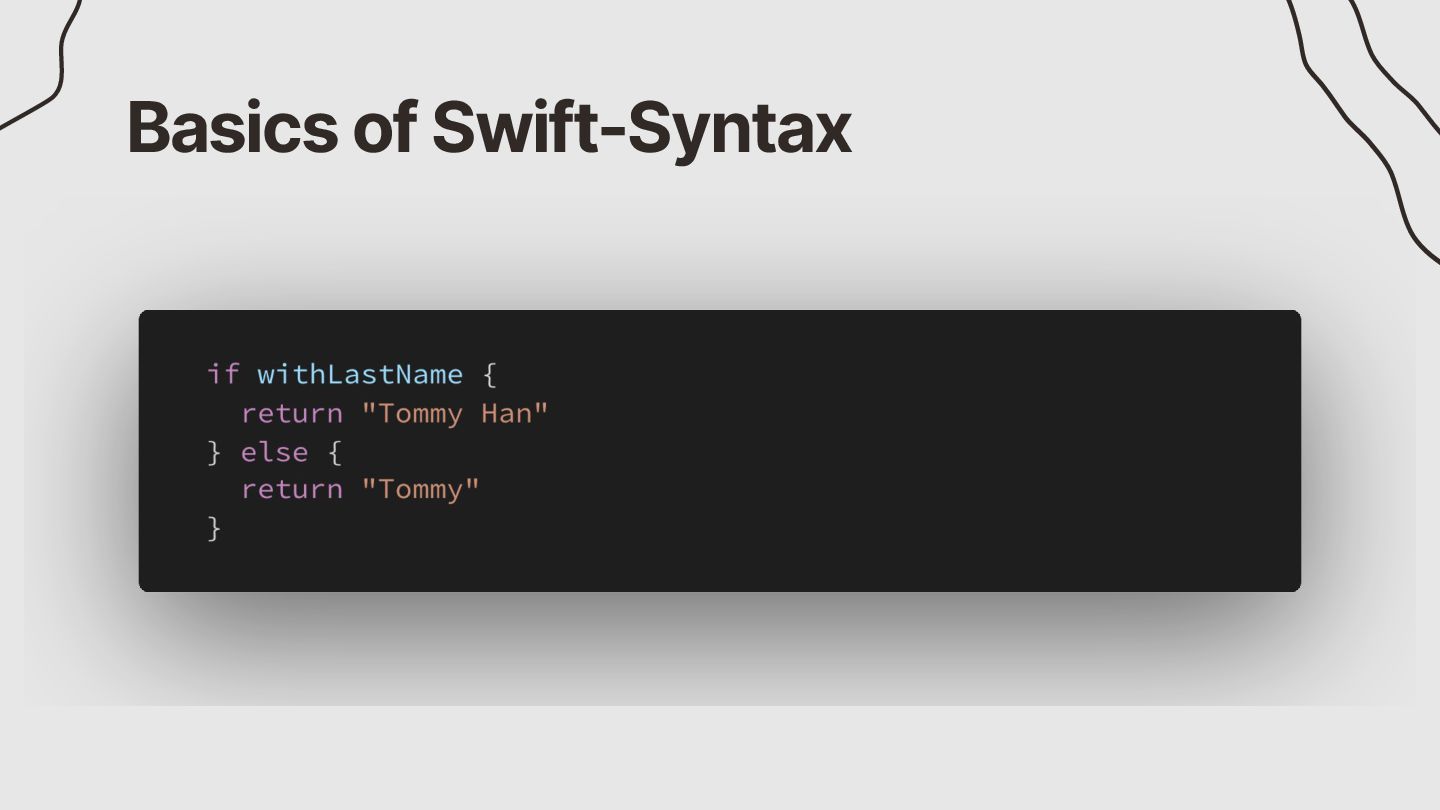
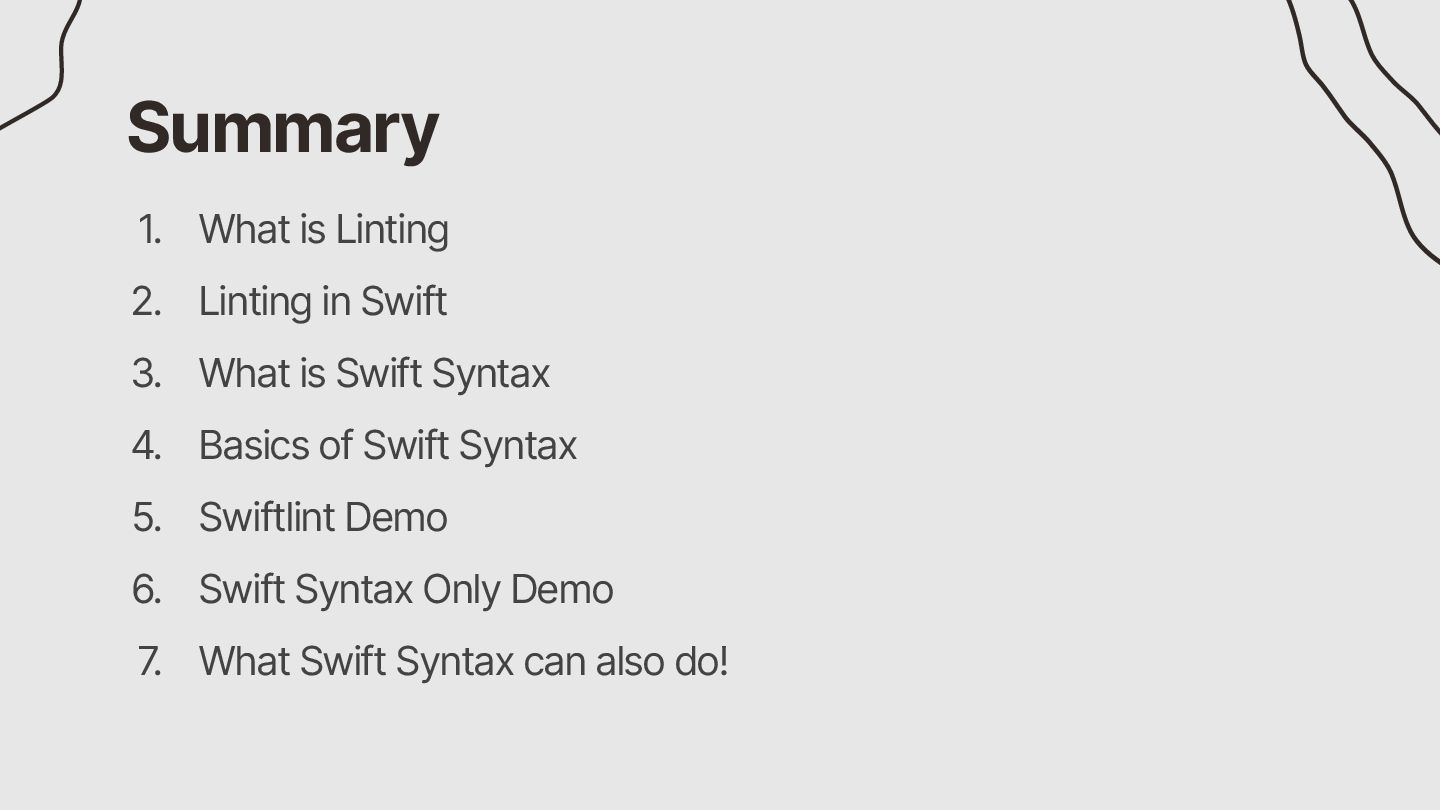
Formatting, related Linting tools in Swift. - Basic Usage of Swift-Syntax - How to build a Syntax Tree Code-wise… - Live Demo (SwiftLint/Self-Built) - Repository Available (Github) - Slides Available (SpeakerDeck/Github)
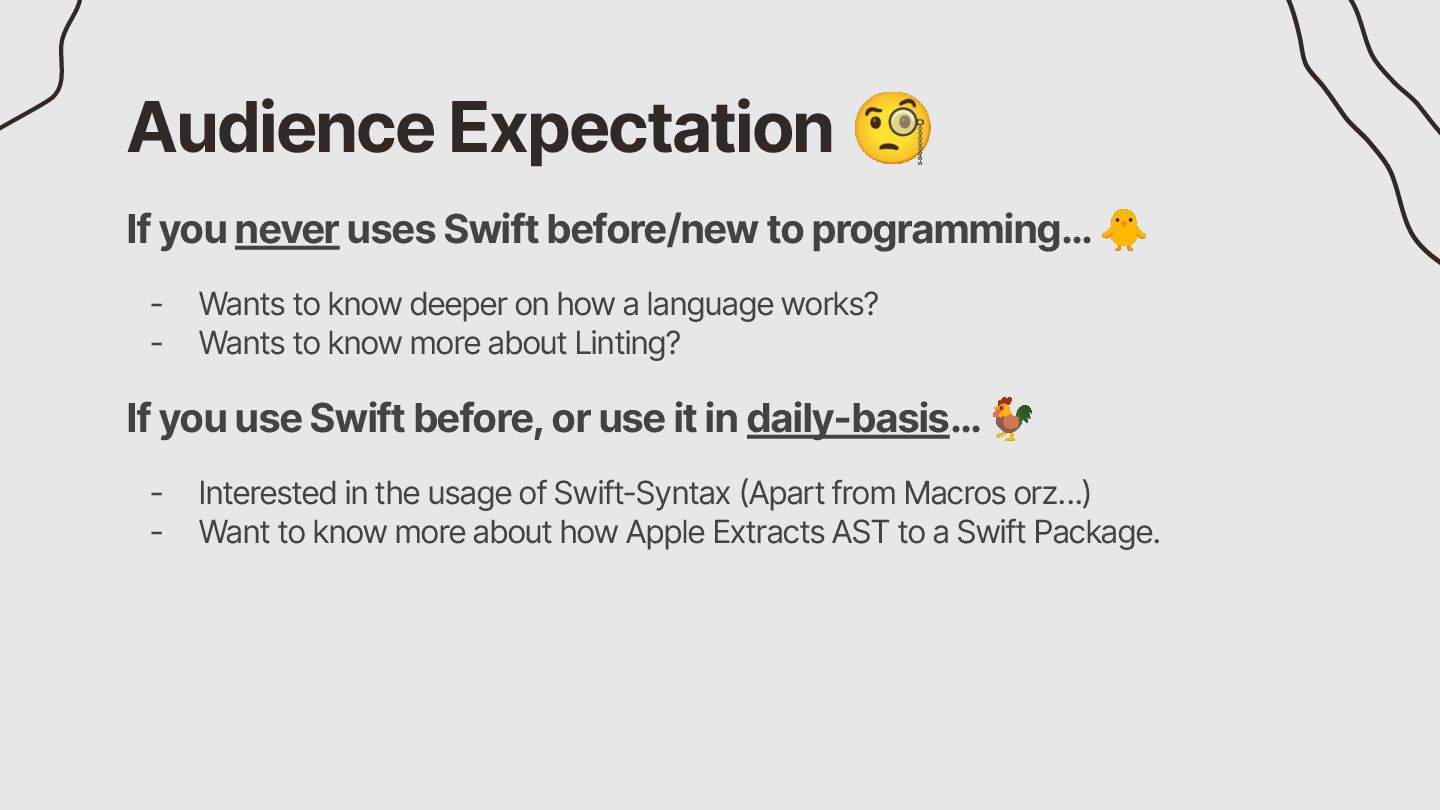
programming… 🐥 - Wants to know deeper on how a language works? - Wants to know more about Linting? If you use Swift before, or use it in daily-basis… 🐓 - Interested in the usage of Swift-Syntax (Apart from Macros orz…) - Want to know more about how Apple Extracts AST to a Swift Package.
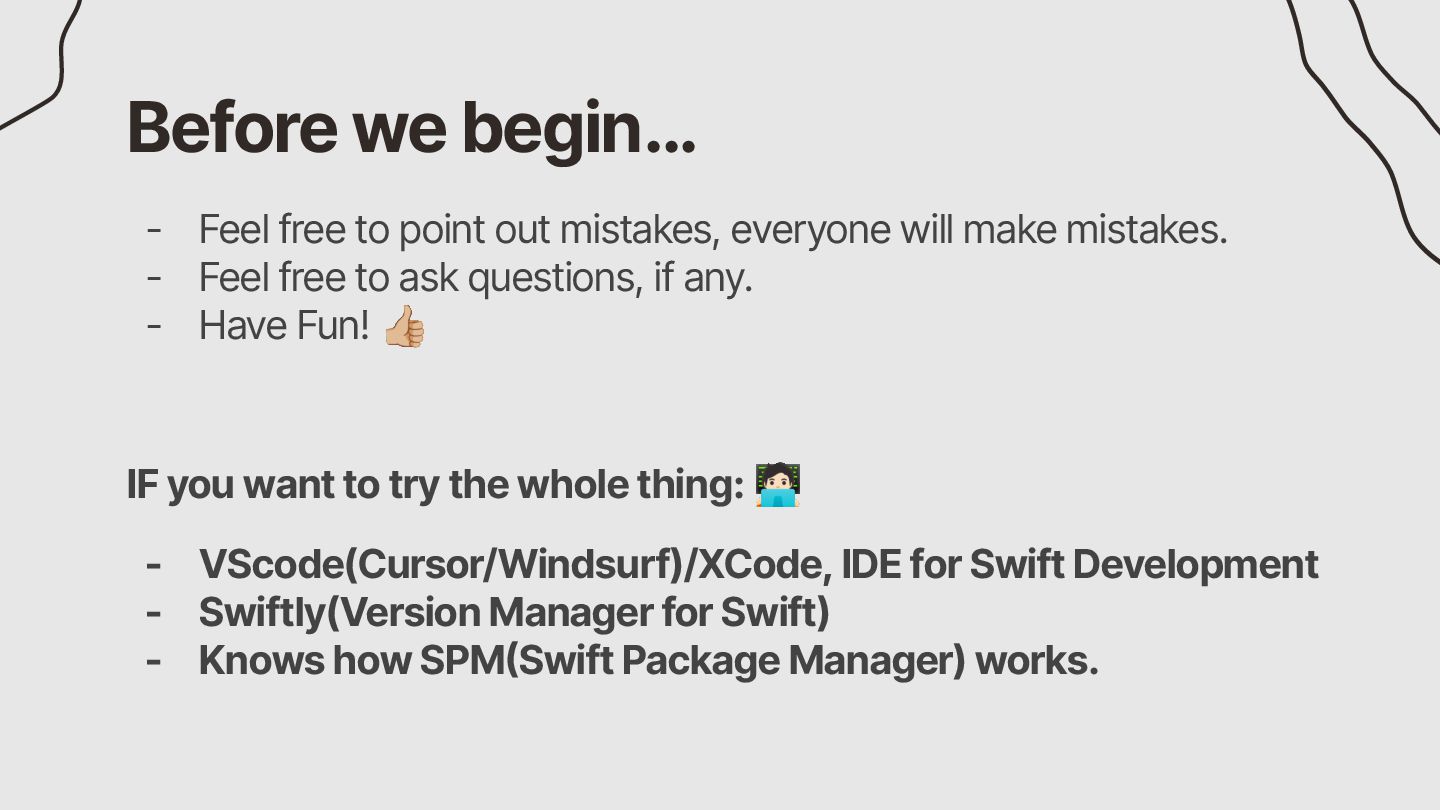
everyone will make mistakes. - Feel free to ask questions, if any. - Have Fun! IF you want to try the whole thing: - VScode(Cursor/Windsurf)/XCode, IDE for Swift Development - Swiftly(Version Manager for Swift) - Knows how SPM(Swift Package Manager) works.
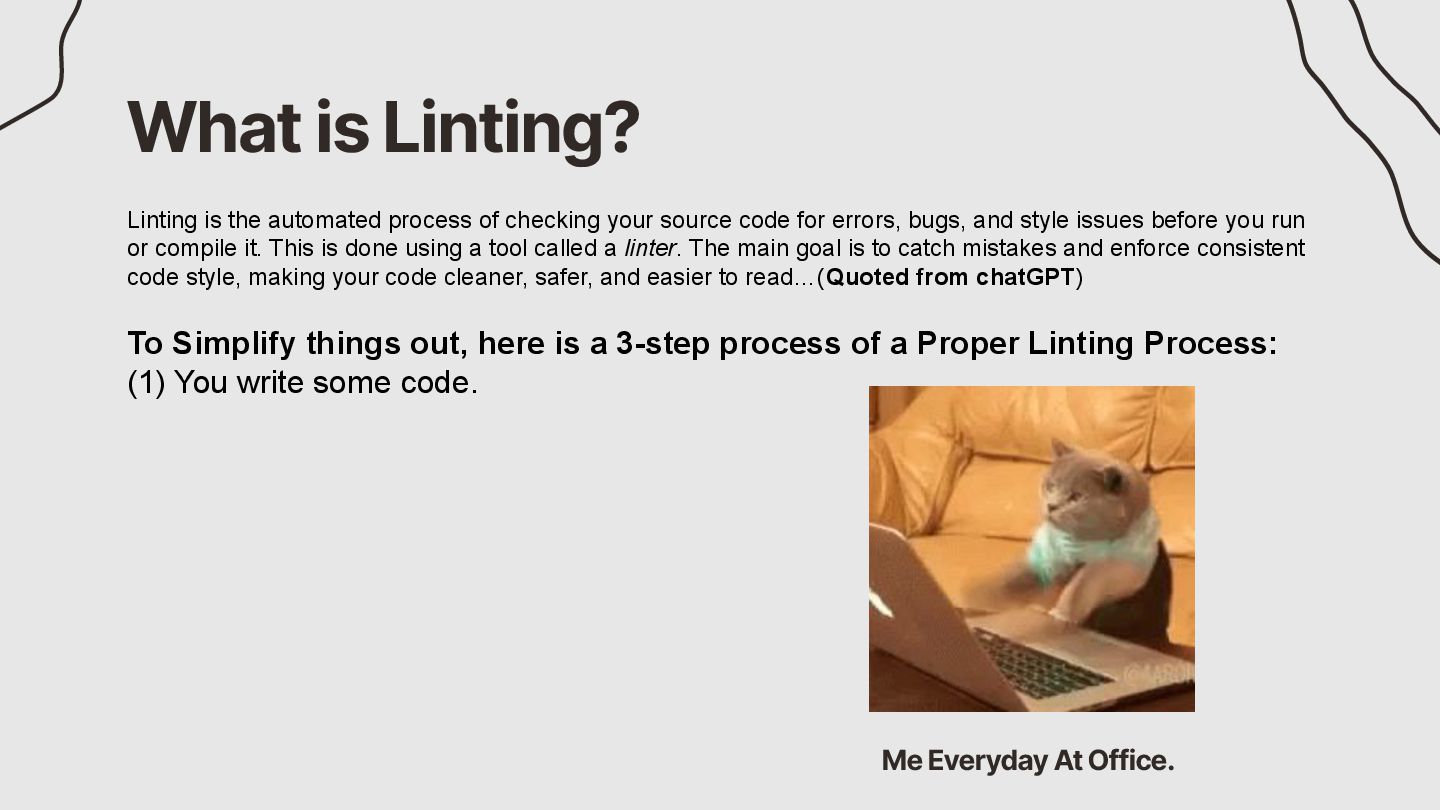
your source code for errors, bugs, and style issues before you run or compile it. This is done using a tool called a linter. The main goal is to catch mistakes and enforce consistent code style, making your code cleaner, safer, and easier to read…(Quoted from chatGPT) To Simplify things out, here is a 3-step process of a Proper Linting Process: (1) You write some code. Me Everyday At Office.
you even run your program. Enforces consistency: Ensures everyone on the team writes code in the same style, making it easier to read and maintain. Saves time: Reduces time spent on code reviews and debugging
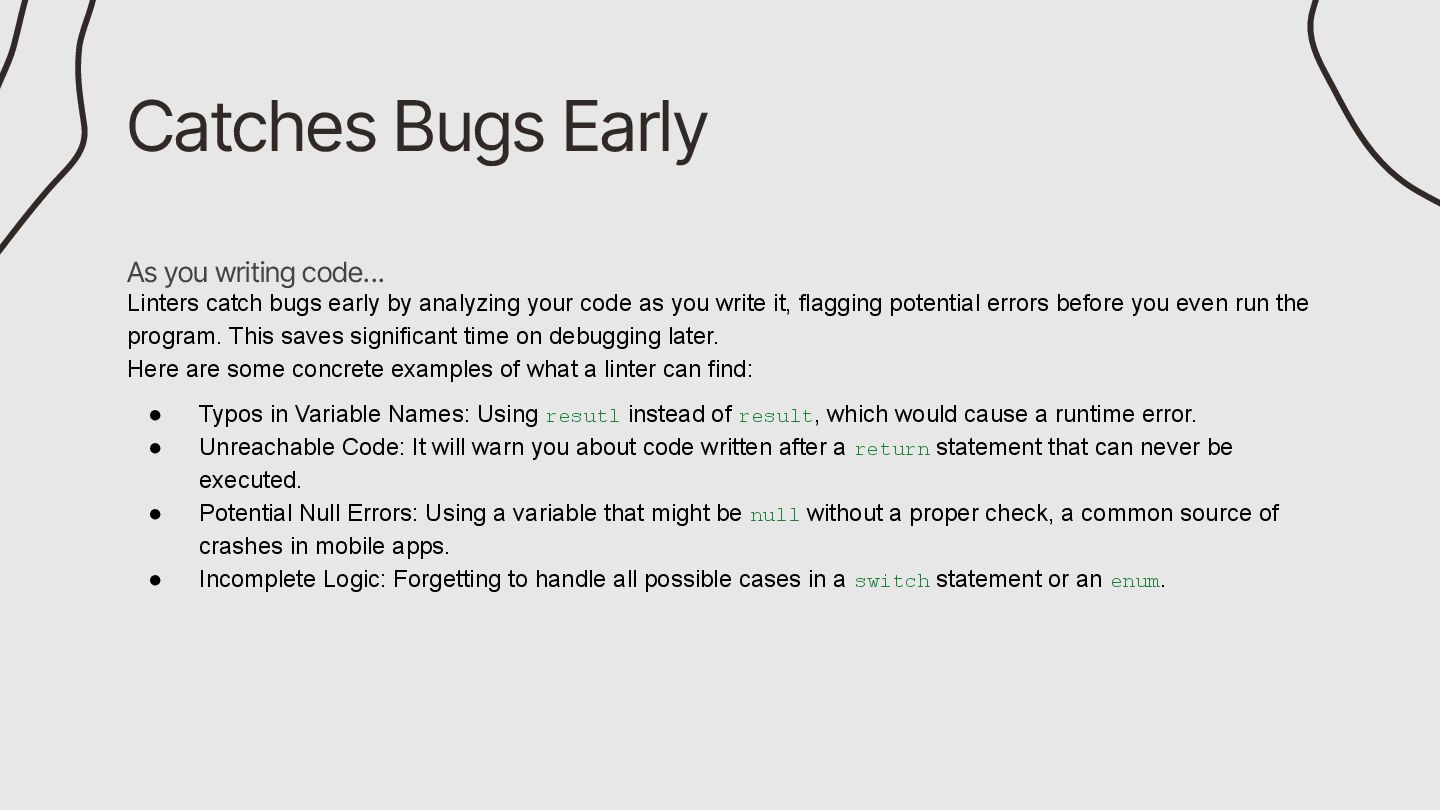
your code as you write it, flagging potential errors before you even run the program. This saves significant time on debugging later. Here are some concrete examples of what a linter can find: • Typos in Variable Names: Using resutl instead of result, which would cause a runtime error. • Unreachable Code: It will warn you about code written after a return statement that can never be executed. • Potential Null Errors: Using a variable that might be null without a proper check, a common source of crashes in mobile apps. • Incomplete Logic: Forgetting to handle all possible cases in a switch statement or an enum. Catches Bugs Early
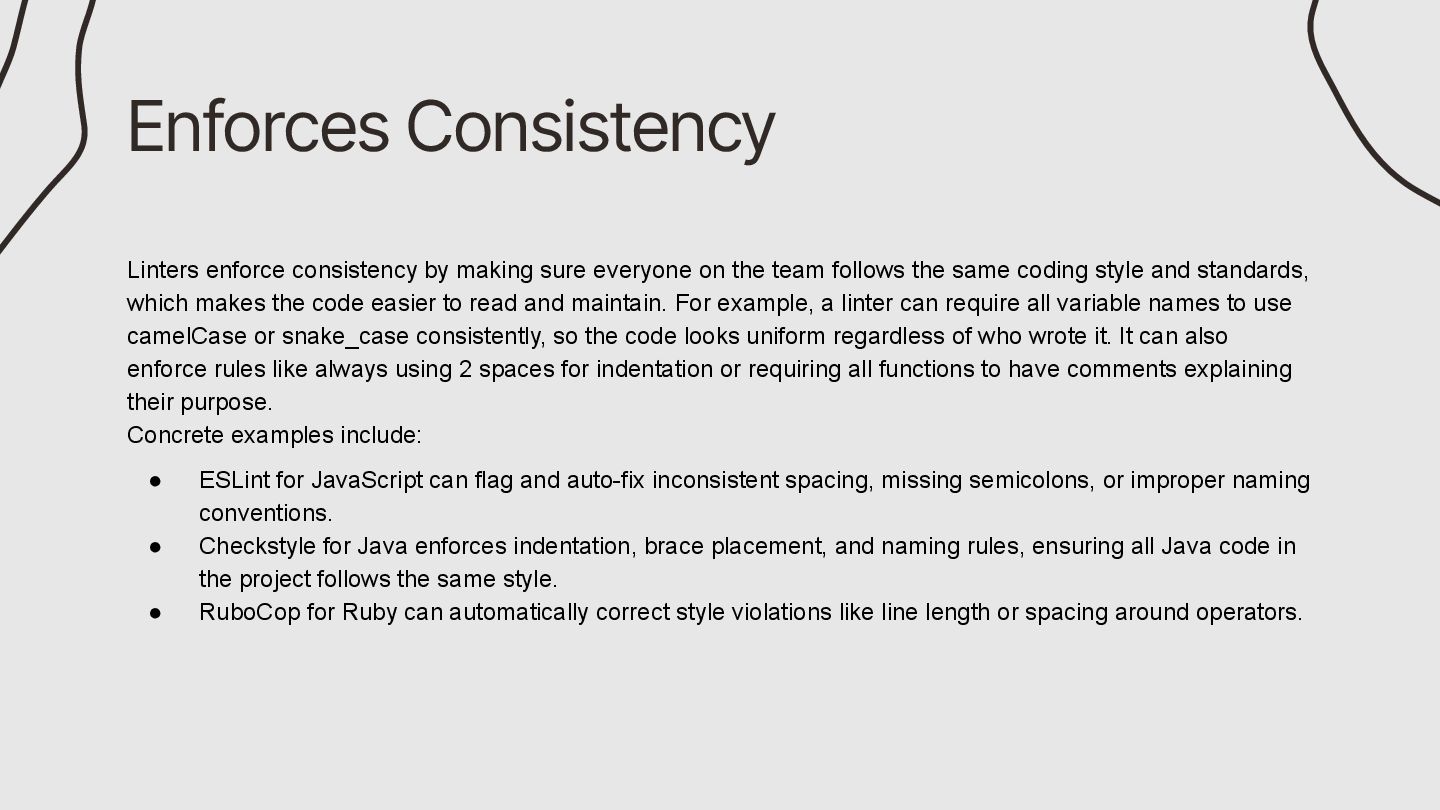
follows the same coding style and standards, which makes the code easier to read and maintain. For example, a linter can require all variable names to use camelCase or snake_case consistently, so the code looks uniform regardless of who wrote it. It can also enforce rules like always using 2 spaces for indentation or requiring all functions to have comments explaining their purpose. Concrete examples include: • ESLint for JavaScript can flag and auto-fix inconsistent spacing, missing semicolons, or improper naming conventions. • Checkstyle for Java enforces indentation, brace placement, and naming rules, ensuring all Java code in the project follows the same style. • RuboCop for Ruby can automatically correct style violations like line length or spacing around operators. Enforces Consistency
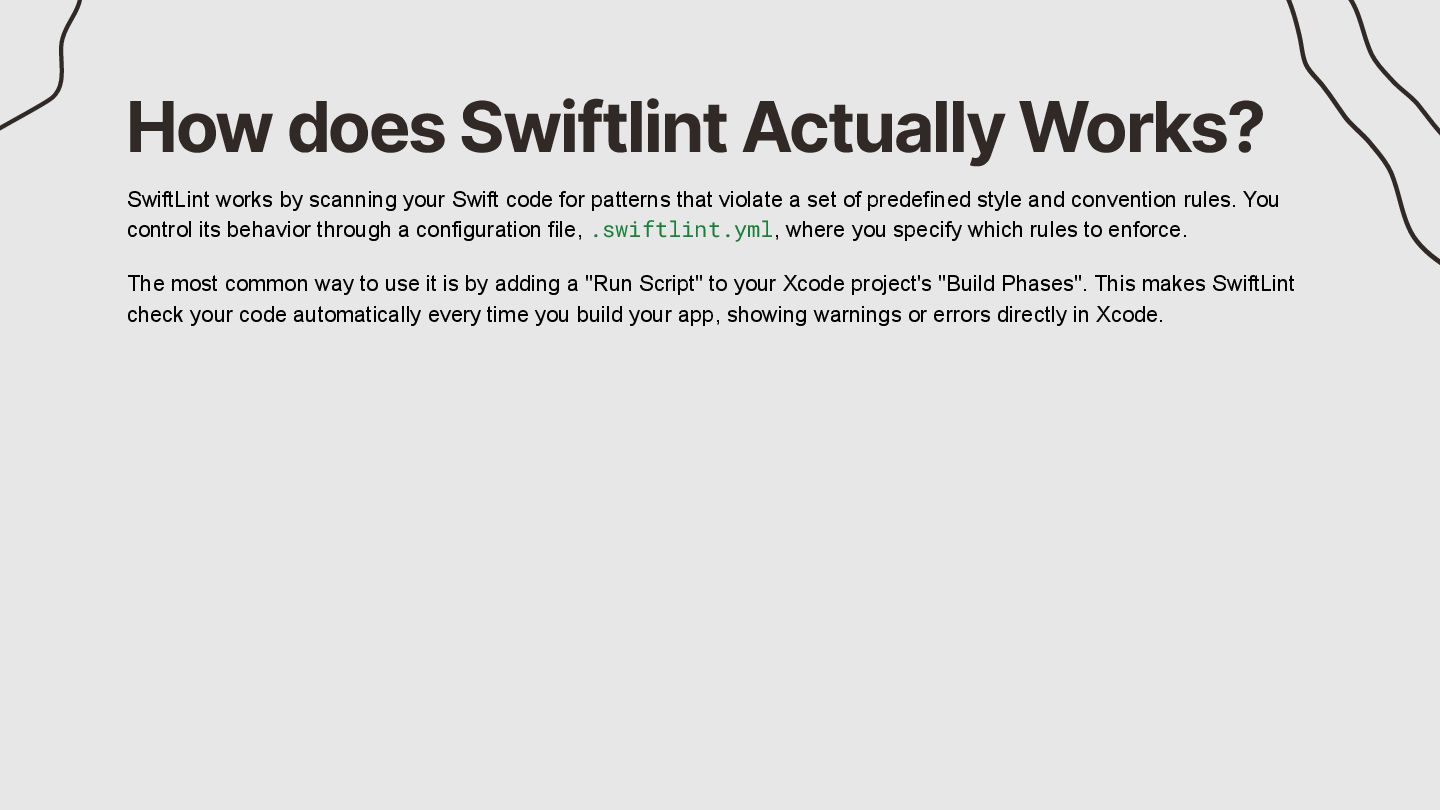
Swift code for patterns that violate a set of predefined style and convention rules. You control its behavior through a configuration file, .swiftlint.yml, where you specify which rules to enforce. The most common way to use it is by adding a "Run Script" to your Xcode project's "Build Phases". This makes SwiftLint check your code automatically every time you build your app, showing warnings or errors directly in Xcode.
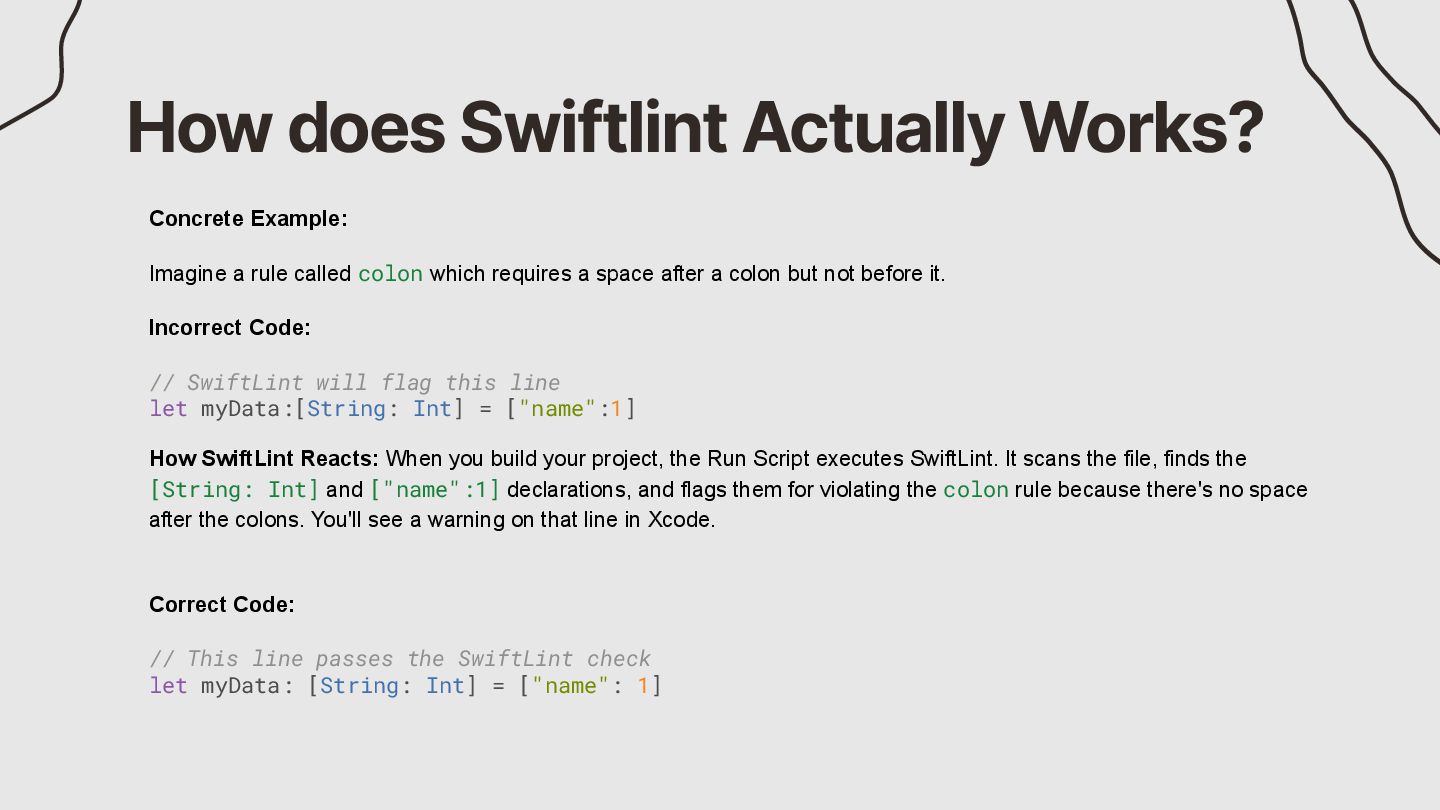
called colon which requires a space after a colon but not before it. Incorrect Code: // SwiftLint will flag this line let myData:[String: Int] = ["name":1] How SwiftLint Reacts: When you build your project, the Run Script executes SwiftLint. It scans the file, finds the [String: Int] and ["name":1] declarations, and flags them for violating the colon rule because there's no space after the colons. You'll see a warning on that line in Xcode. Correct Code: // This line passes the SwiftLint check let myData: [String: Int] = ["name": 1]
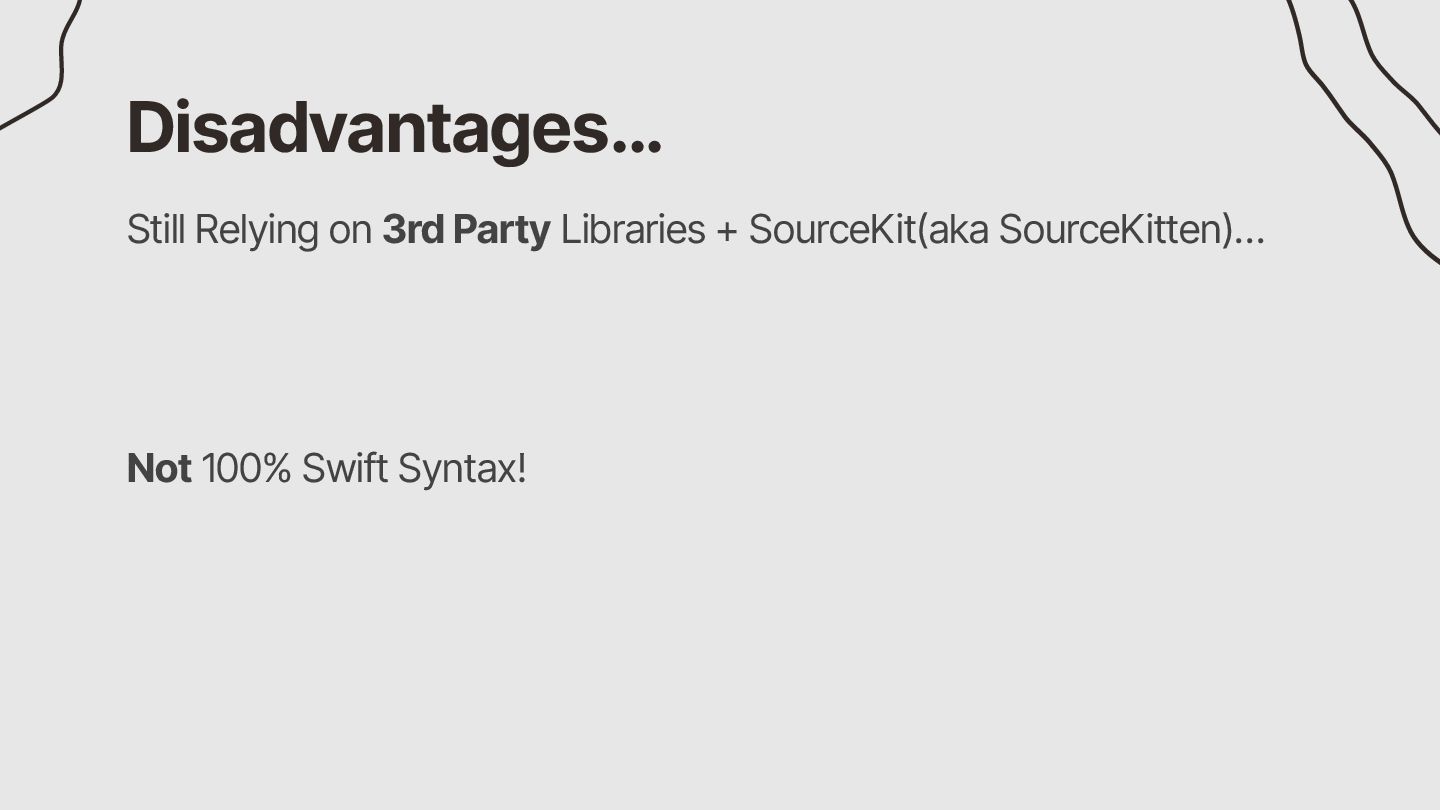
and accurate way to analyze the structure of your Swift code. It's an official library from Apple that parses your code into a detailed map called an Abstract Syntax Tree (AST), which SwiftLint can then inspect to find rule violations. This method is proving to be faster and results in fewer false positives compared to the older SourceKit-based approach, which is why SwiftLint is actively migrating its rules to use it.
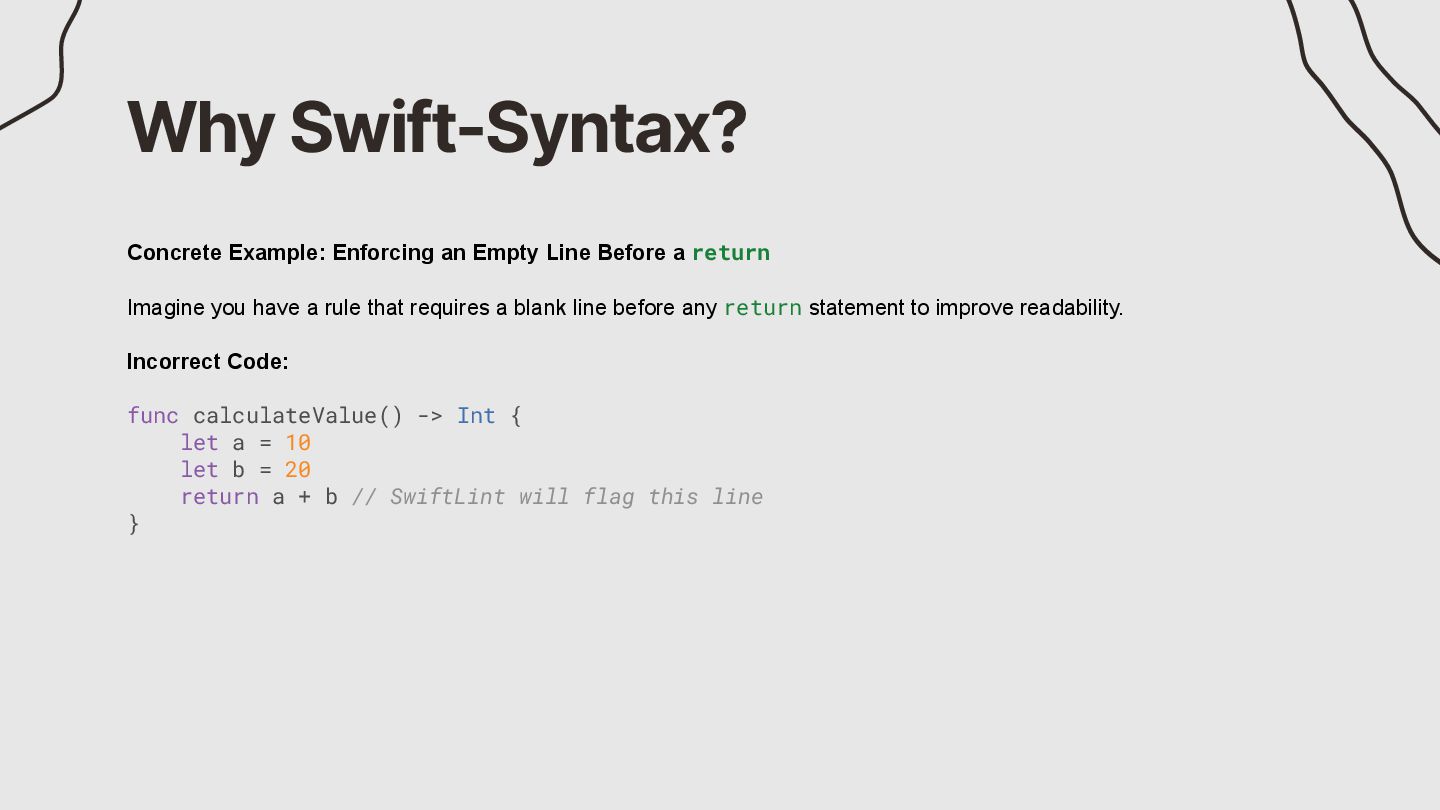
return Imagine you have a rule that requires a blank line before any return statement to improve readability. Incorrect Code: func calculateValue() -> Int { let a = 10 let b = 20 return a + b // SwiftLint will flag this line }
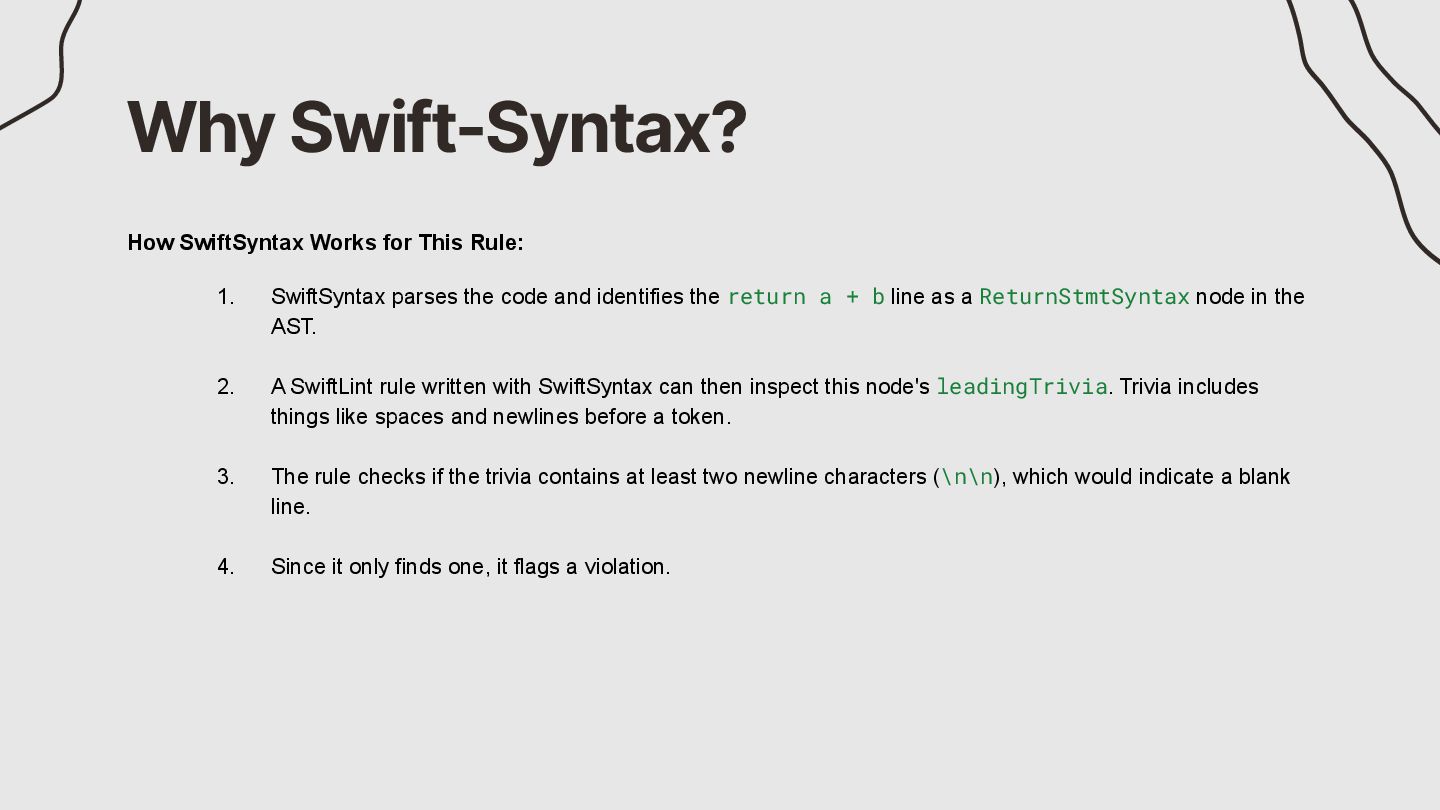
parses the code and identifies the return a + b line as a ReturnStmtSyntax node in the AST. 2. A SwiftLint rule written with SwiftSyntax can then inspect this node's leadingTrivia. Trivia includes things like spaces and newlines before a token. 3. The rule checks if the trivia contains at least two newline characters (\n\n), which would indicate a blank line. 4. Since it only finds one, it flags a violation.
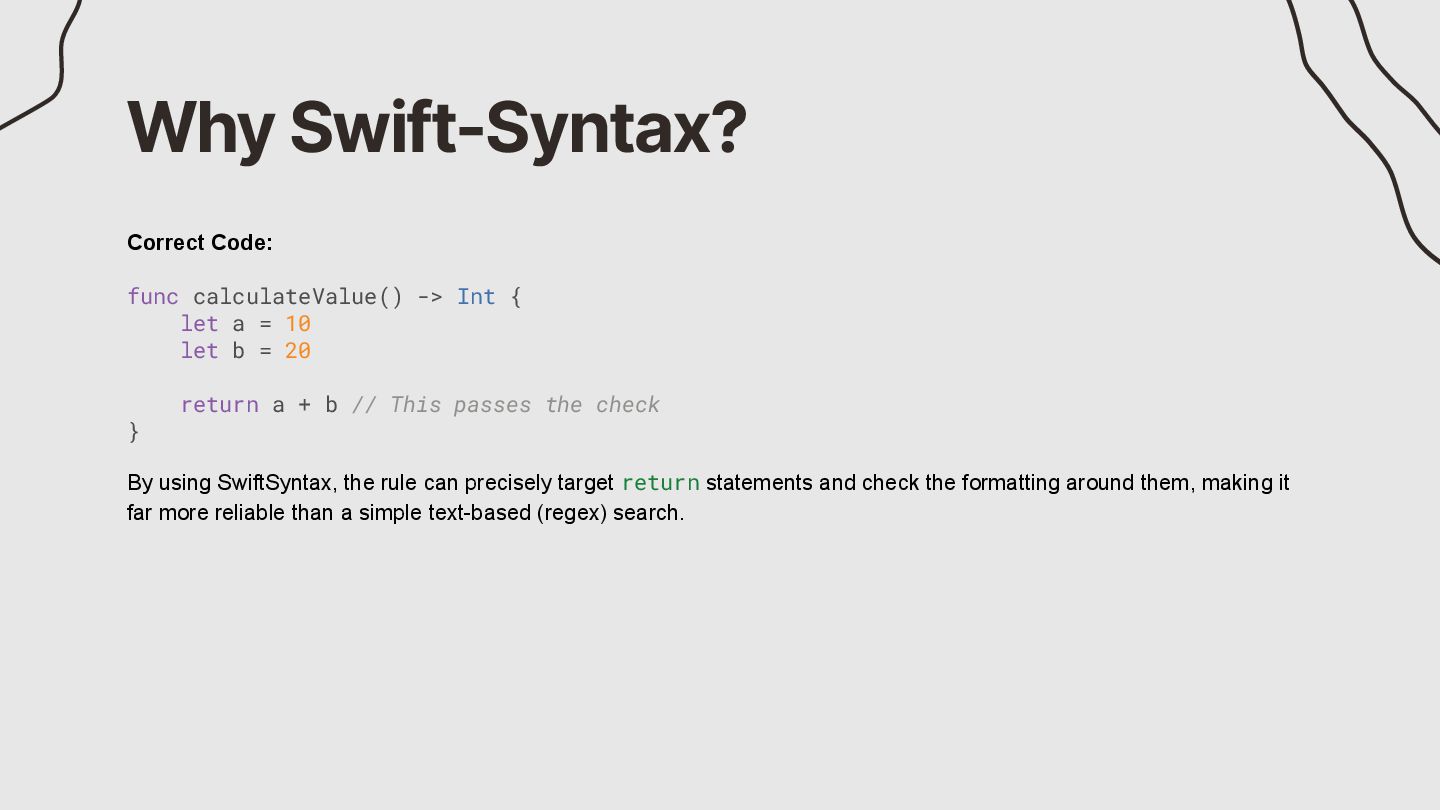
a = 10 let b = 20 return a + b // This passes the check } By using SwiftSyntax, the rule can precisely target return statements and check the formatting around them, making it far more reliable than a simple text-based (regex) search.
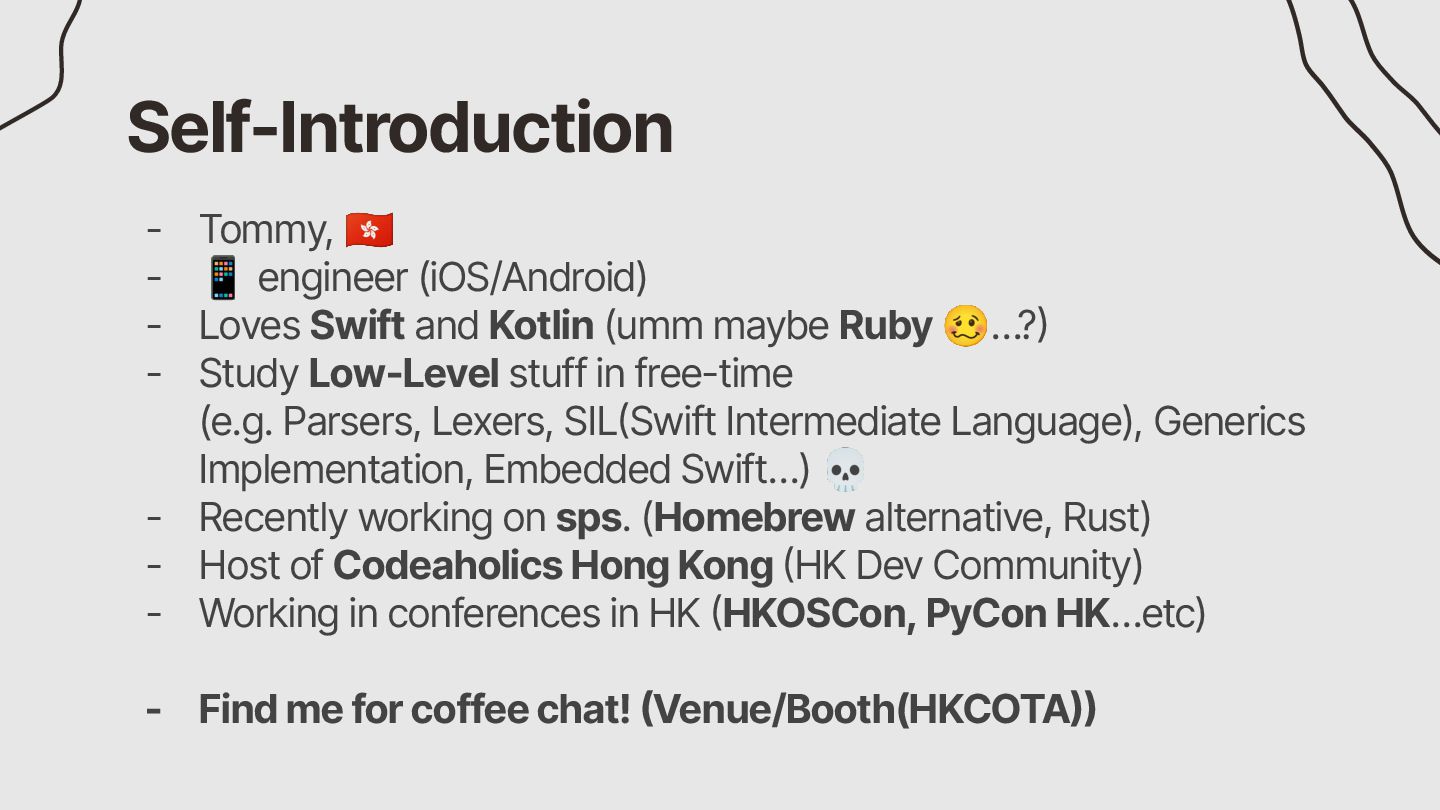
Swift and Kotlin (umm maybe Ruby 🥴…?) - Study Low-Level stuff in free-time (e.g. Parsers, Lexers, SIL(Swift Intermediate Language), Generics Implementation, Embedded Swift…) 💀 - Recently working on sps. (Homebrew alternative, Rust) - Host of Codeaholics Hong Kong (HK Dev Community) - Working in conferences in HK (HKOSCon, PyCon HK…etc) - Find me for coffee chat! (Venue/Booth(HKCOTA))


 tommyhonym
.png) codatum
codatum
 shogo4131
 occhi
occhi
 jozono
 iktakahiro
 brainpadpr
 nttcom
 ezaki
ezaki
 knishioka
 kmiya84377
 willnet
 endonanana
 tenderlove
 greggifford
 konakalab
 kristinabergwall1
 lynnandtonic
 sstephenson
 hannesfritz
 jct
jct
 inesmontani
 ipullrank
 tammyeverts
 bethany