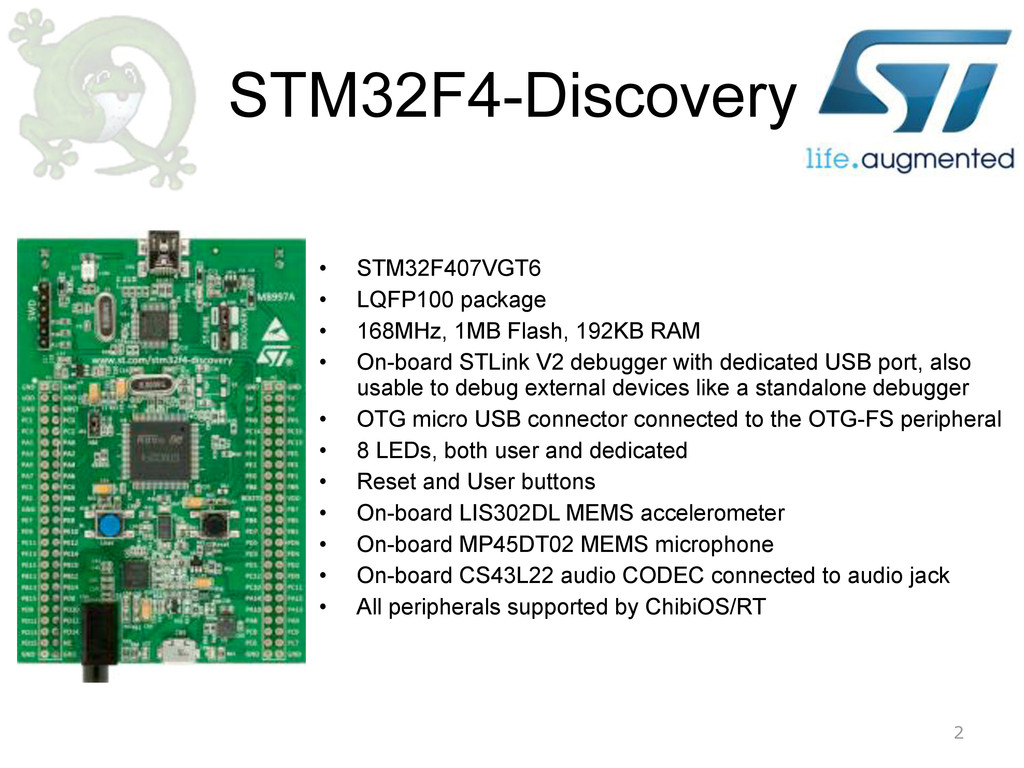
192KB RAM • On-board STLink V2 debugger with dedicated USB port, also usable to debug external devices like a standalone debugger • OTG micro USB connector connected to the OTG-FS peripheral • 8 LEDs, both user and dedicated • Reset and User buttons • On-board LIS302DL MEMS accelerometer • On-board MP45DT02 MEMS microphone • On-board CS43L22 audio CODEC connected to audio jack • All peripherals supported by ChibiOS/RT 2
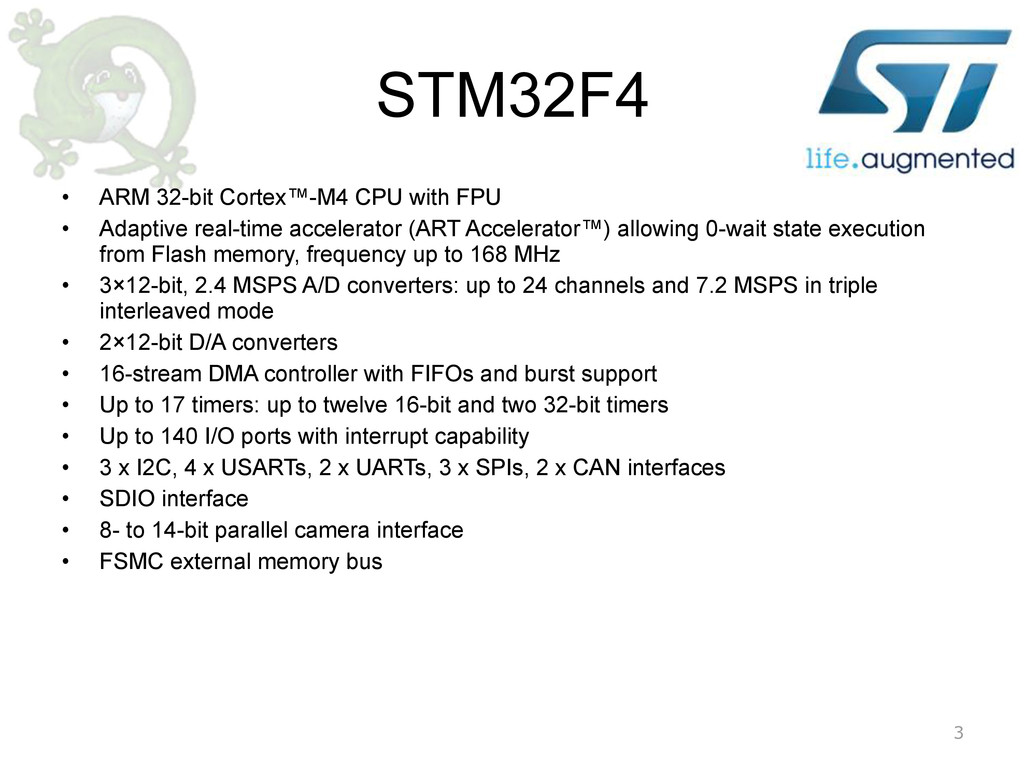
real-time accelerator (ART Accelerator™) allowing 0-wait state execution from Flash memory, frequency up to 168 MHz • 3×12-bit, 2.4 MSPS A/D converters: up to 24 channels and 7.2 MSPS in triple interleaved mode • 2×12-bit D/A converters • 16-stream DMA controller with FIFOs and burst support • Up to 17 timers: up to twelve 16-bit and two 32-bit timers • Up to 140 I/O ports with interrupt capability • 3 x I2C, 4 x USARTs, 2 x UARTs, 3 x SPIs, 2 x CAN interfaces • SDIO interface • 8- to 14-bit parallel camera interface • FSMC external memory bus 3
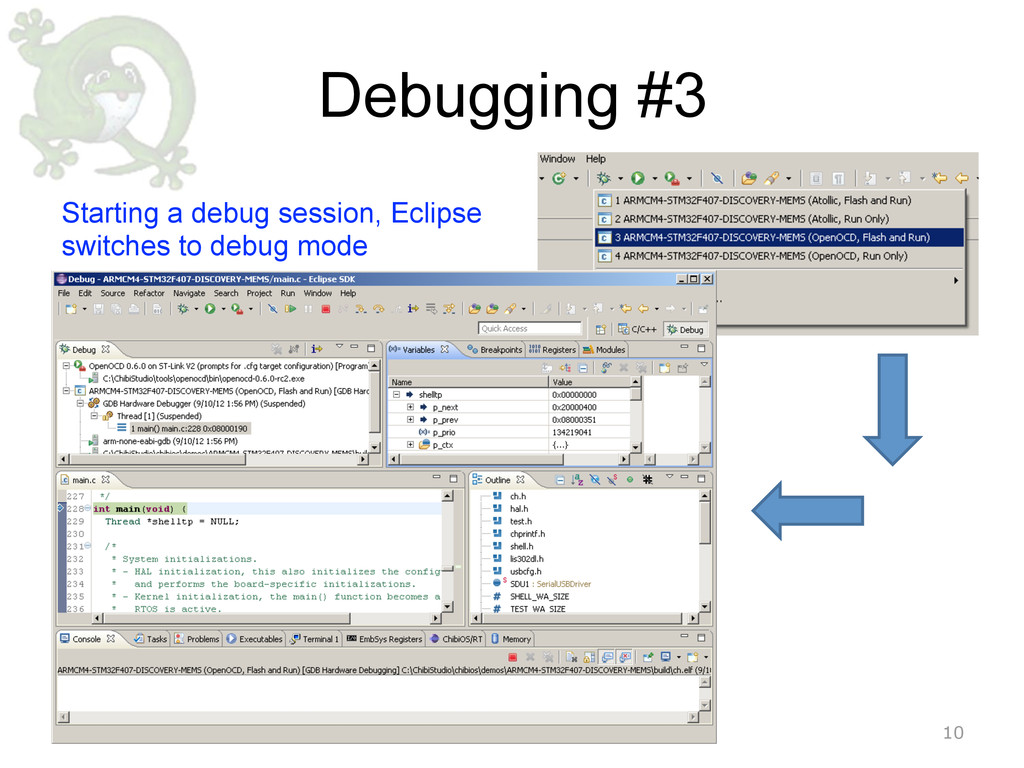
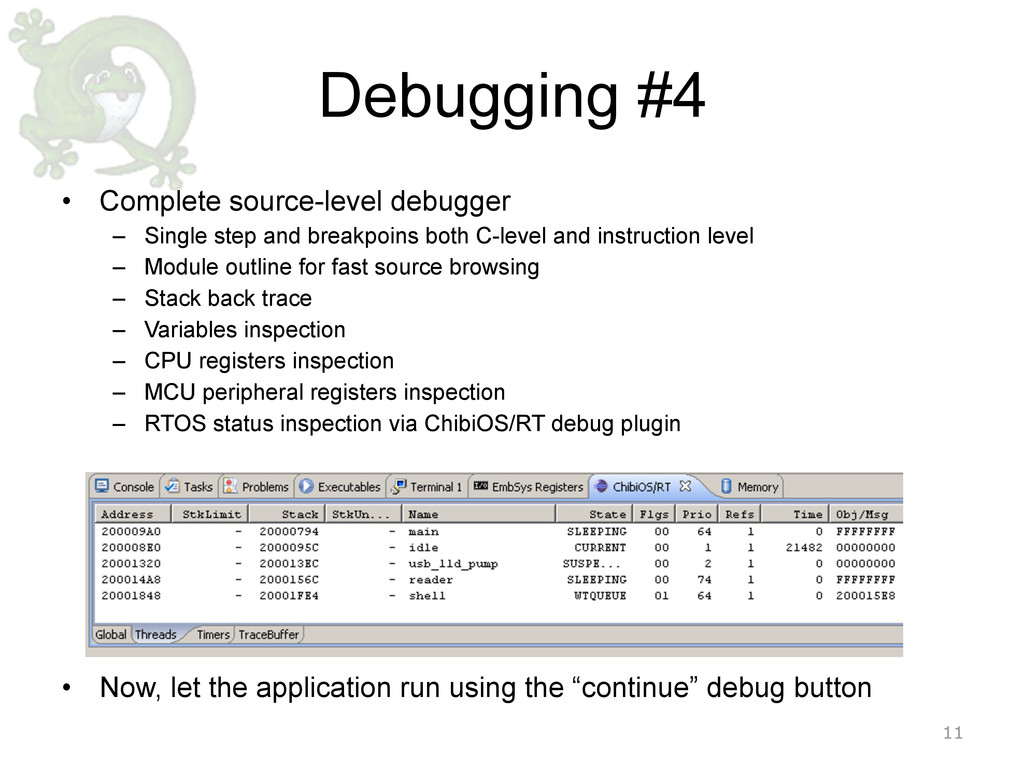
breakpoins both C-level and instruction level – Module outline for fast source browsing – Stack back trace – Variables inspection – CPU registers inspection – MCU peripheral registers inspection – RTOS status inspection via ChibiOS/RT debug plugin 11 • Now, let the application run using the “continue” debug button
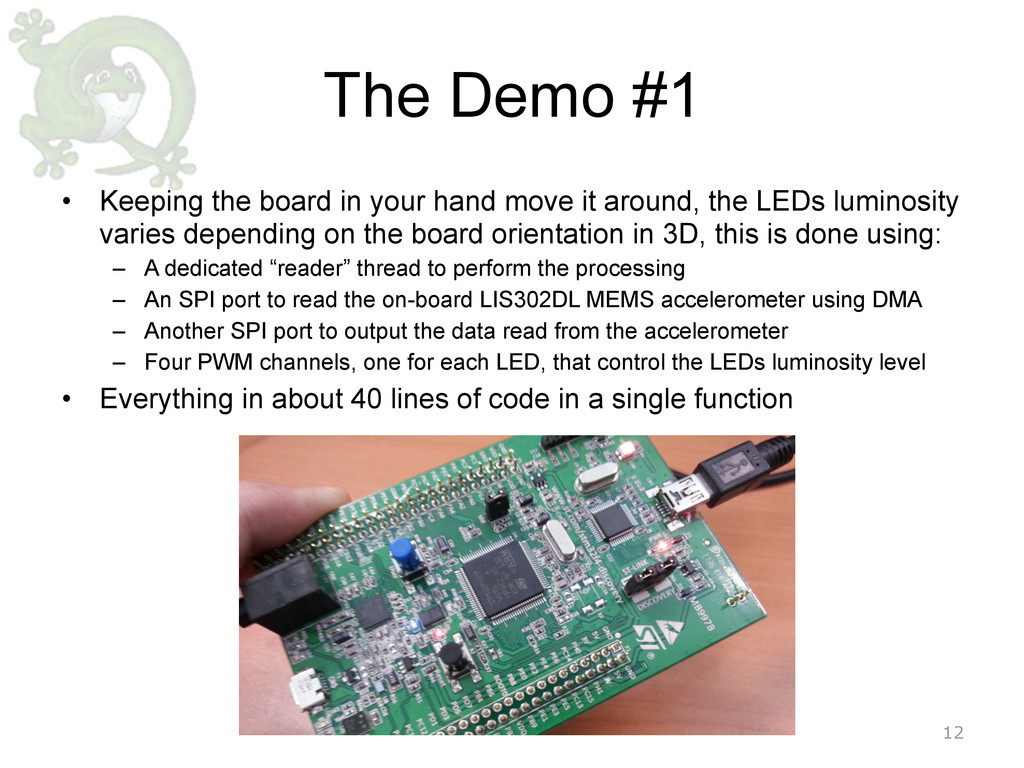
move it around, the LEDs luminosity varies depending on the board orientation in 3D, this is done using: – A dedicated “reader” thread to perform the processing – An SPI port to read the on-board LIS302DL MEMS accelerometer using DMA – Another SPI port to output the data read from the accelerometer – Four PWM channels, one for each LED, that control the LEDs luminosity level • Everything in about 40 lines of code in a single function 12
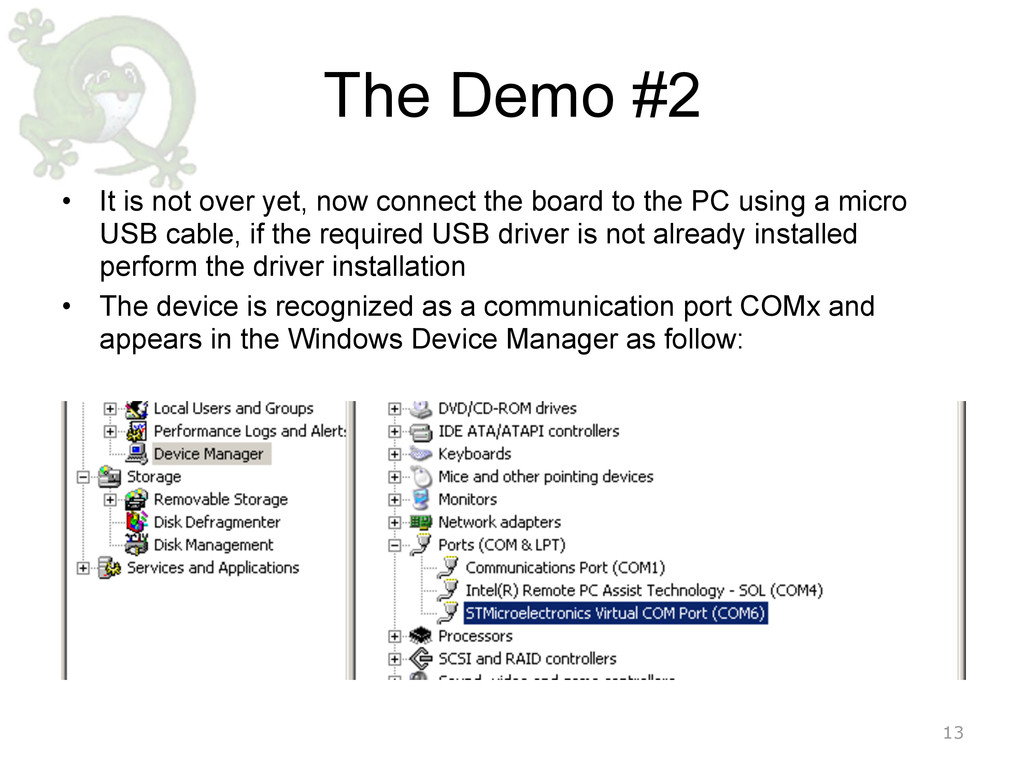
connect the board to the PC using a micro USB cable, if the required USB driver is not already installed perform the driver installation • The device is recognized as a communication port COMx and appears in the Windows Device Manager as follow: 13
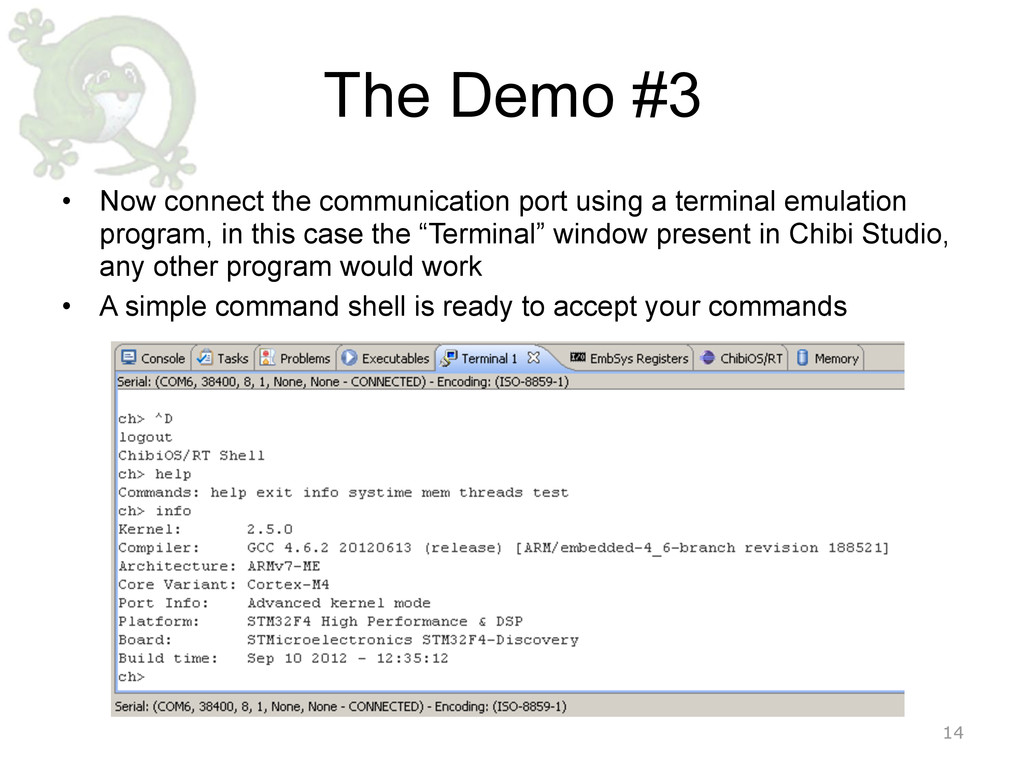
a terminal emulation program, in this case the “Terminal” window present in Chibi Studio, any other program would work • A simple command shell is ready to accept your commands 14