do-er for hire. He discovered computing around the time Intel released the 4004 chip, in 1971. After 1979 he worked across most sectors, educational, commercial and finance, in some seriously technical, managerial and hands-on roles. Brian organises Linuxing In London, co-organises London JavaScript Community and Covent Garden Pi Jam. He is rather fond of opera and history books. NB: Brian speaks in paragraphs. Raspberry Pi 101 by Brian Byrne. Twitter: @BrianLinuxing Email: [email protected]
up and running, obtaining the operating system, burning the media, fixing the networking and booting a RPi. Raspberry Pi 101 by Brian Byrne. Twitter: @BrianLinuxing Email: [email protected]
verbal equivalent of Wikipedia on everything in computing. However, it will provide: A detailed Raspberry 101, covering the theory, hands-on of installing and managing a Raspberry Pi system with Linux, and the gotchas! It will teach you to be proficient with a Raspberry Pi. Raspberry Pi 101 by Brian Byrne. Twitter: @BrianLinuxing Email: [email protected]
is used on 99.6% of the world’s supercomputer, other’s run AIX. Everyone runs Linux: AWS, Netflix, Google, Facebook, even Microsoft. Distrowatch lists 305 live distros (Linux, BSD, etc), as of Nov 2017. Linux is free. Raspberry Pi 101 by Brian Byrne. Twitter: @BrianLinuxing Email: [email protected]
home Over 13 million sold Used extensively in schools Used at hackathons Used in major iot projects A variety of models, many options Many many applications, browsers word processors, statistical packages, python R C++ Raspberry Pi 101 by Brian Byrne. Twitter: @BrianLinuxing Email: [email protected]
First technical demo. Then step by step on each architecture (Linux, Windows 7 and MacOS). Finally, boot up the Raspberry Pi. Raspberry Pi 101 by Brian Byrne. Twitter: @BrianLinuxing Email: [email protected]
work in teams download the images, burn, plug the RPi3 into a monitor, enable SSH and go Or do the long headless install. What do you think? 102 is better and more fun :) Raspberry Pi 101 by Brian Byrne. Twitter: @BrianLinuxing Email: [email protected]
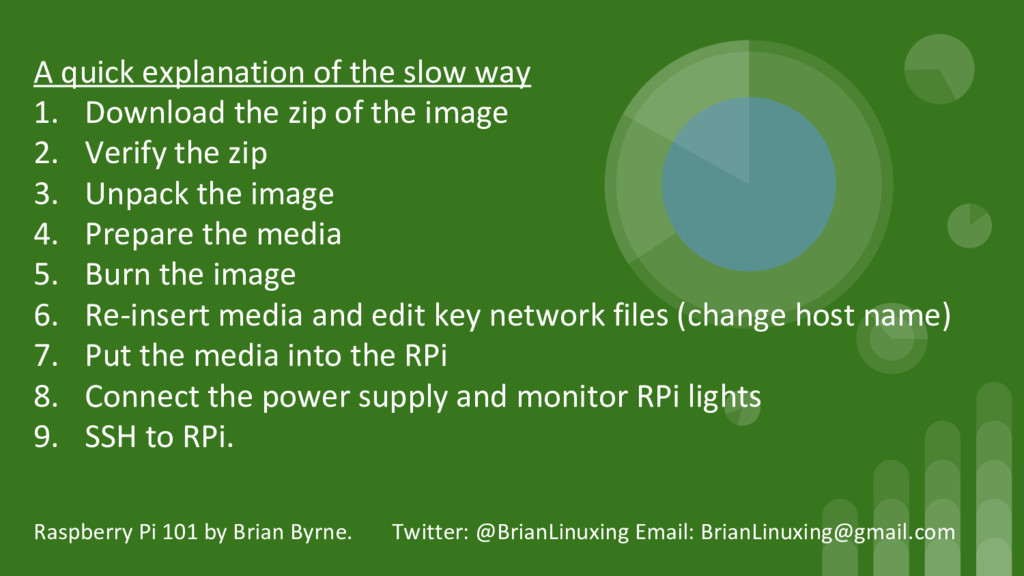
zip of the image 2. Verify the zip 3. Unpack the image 4. Prepare the media 5. Burn the image 6. Re-insert media and edit key network files (change host name) 7. Put the media into the RPi 8. Connect the power supply and monitor RPi lights 9. SSH to RPi. Raspberry Pi 101 by Brian Byrne. Twitter: @BrianLinuxing Email: [email protected]
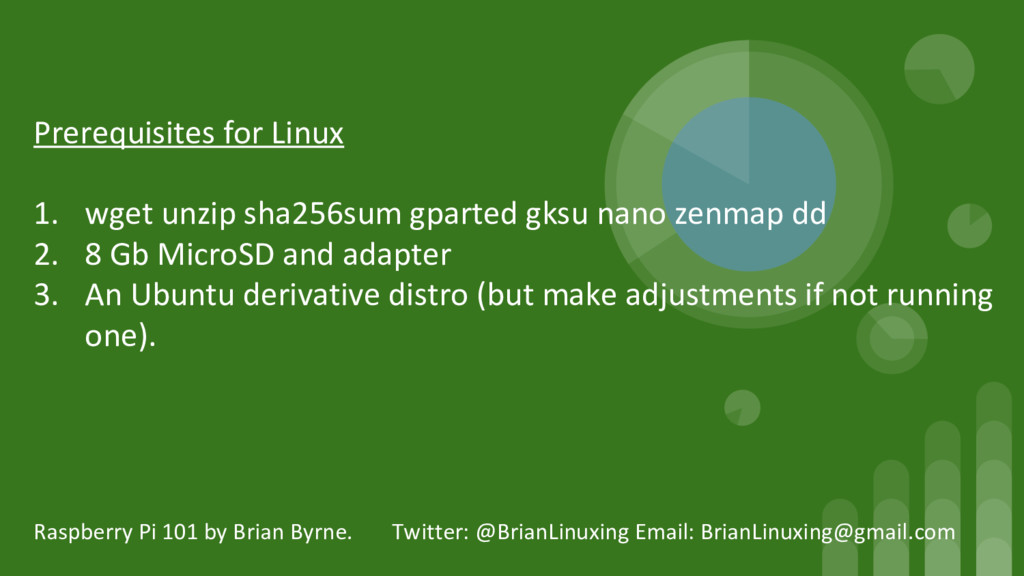
zenmap dd 2. 8 Gb MicroSD and adapter 3. An Ubuntu derivative distro (but make adjustments if not running one). Raspberry Pi 101 by Brian Byrne. Twitter: @BrianLinuxing Email: [email protected]
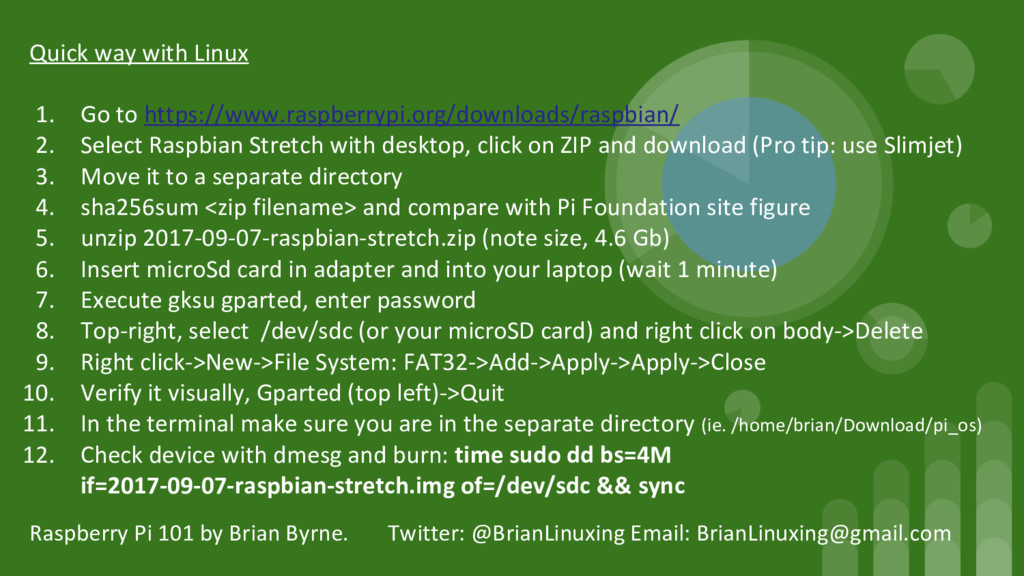
Raspbian Stretch with desktop, click on ZIP and download (Pro tip: use Slimjet) 3. Move it to a separate directory 4. sha256sum <zip filename> and compare with Pi Foundation site figure 5. unzip 2017-09-07-raspbian-stretch.zip (note size, 4.6 Gb) 6. Insert microSd card in adapter and into your laptop (wait 1 minute) 7. Execute gksu gparted, enter password 8. Top-right, select /dev/sdc (or your microSD card) and right click on body->Delete 9. Right click->New->File System: FAT32->Add->Apply->Apply->Close 10. Verify it visually, Gparted (top left)->Quit 11. In the terminal make sure you are in the separate directory (ie. /home/brian/Download/pi_os) 12. Check device with dmesg and burn: time sudo dd bs=4M if=2017-09-07-raspbian-stretch.img of=/dev/sdc && sync Raspberry Pi 101 by Brian Byrne. Twitter: @BrianLinuxing Email: [email protected]
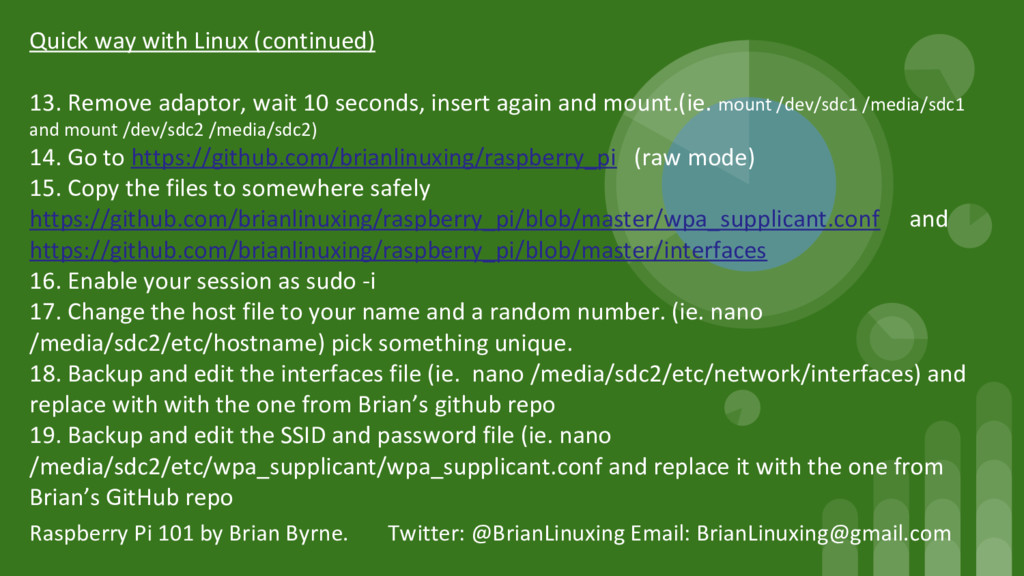
seconds, insert again and mount.(ie. mount /dev/sdc1 /media/sdc1 and mount /dev/sdc2 /media/sdc2) 14. Go to https://github.com/brianlinuxing/raspberry_pi (raw mode) 15. Copy the files to somewhere safely https://github.com/brianlinuxing/raspberry_pi/blob/master/wpa_supplicant.conf and https://github.com/brianlinuxing/raspberry_pi/blob/master/interfaces 16. Enable your session as sudo -i 17. Change the host file to your name and a random number. (ie. nano /media/sdc2/etc/hostname) pick something unique. 18. Backup and edit the interfaces file (ie. nano /media/sdc2/etc/network/interfaces) and replace with with the one from Brian’s github repo 19. Backup and edit the SSID and password file (ie. nano /media/sdc2/etc/wpa_supplicant/wpa_supplicant.conf and replace it with the one from Brian’s GitHub repo Raspberry Pi 101 by Brian Byrne. Twitter: @BrianLinuxing Email: [email protected]
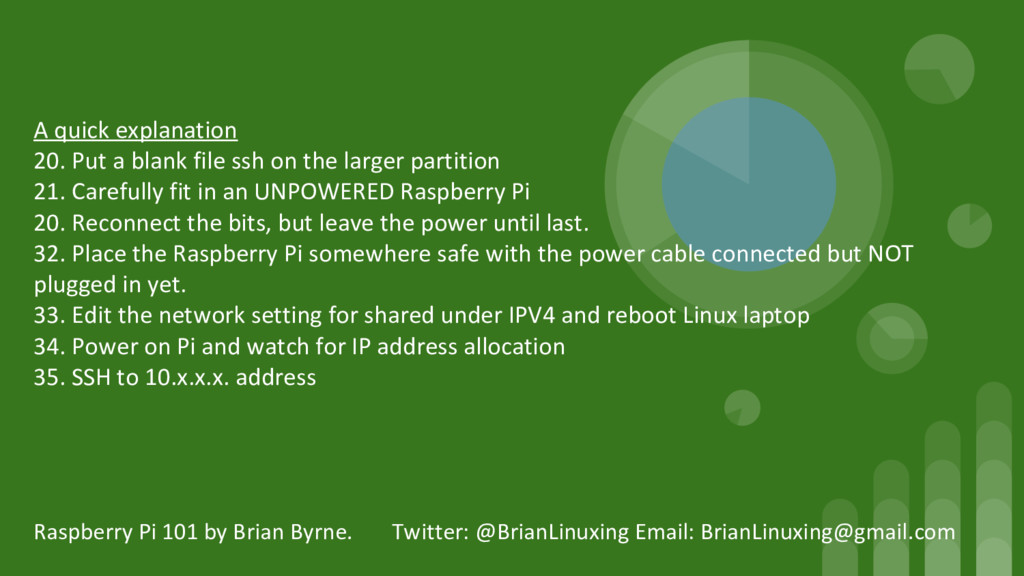
the larger partition 21. Carefully fit in an UNPOWERED Raspberry Pi 20. Reconnect the bits, but leave the power until last. 32. Place the Raspberry Pi somewhere safe with the power cable connected but NOT plugged in yet. 33. Edit the network setting for shared under IPV4 and reboot Linux laptop 34. Power on Pi and watch for IP address allocation 35. SSH to 10.x.x.x. address Raspberry Pi 101 by Brian Byrne. Twitter: @BrianLinuxing Email: [email protected]
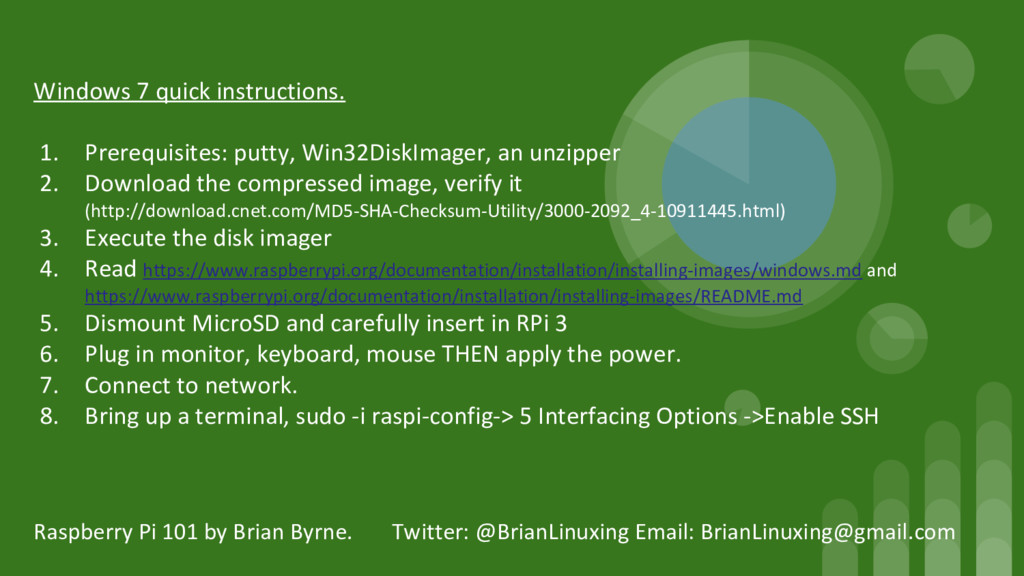
2. Download the compressed image, verify it (http://download.cnet.com/MD5-SHA-Checksum-Utility/3000-2092_4-10911445.html) 3. Execute the disk imager 4. Read https://www.raspberrypi.org/documentation/installation/installing-images/windows.md and https://www.raspberrypi.org/documentation/installation/installing-images/README.md 5. Dismount MicroSD and carefully insert in RPi 3 6. Plug in monitor, keyboard, mouse THEN apply the power. 7. Connect to network. 8. Bring up a terminal, sudo -i raspi-config-> 5 Interfacing Options ->Enable SSH Raspberry Pi 101 by Brian Byrne. Twitter: @BrianLinuxing Email: [email protected]
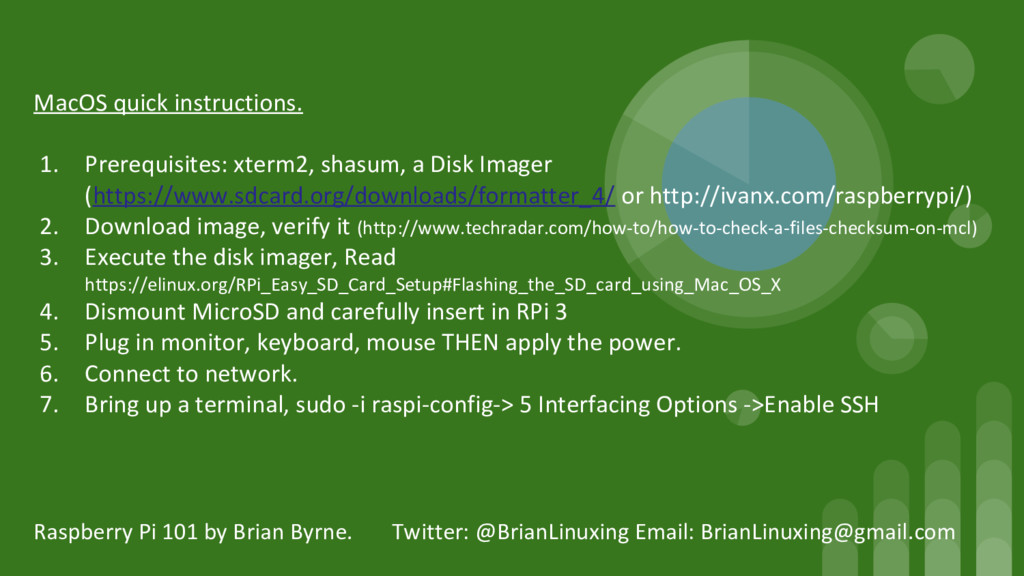
(https://www.sdcard.org/downloads/formatter_4/ or http://ivanx.com/raspberrypi/) 2. Download image, verify it (http://www.techradar.com/how-to/how-to-check-a-files-checksum-on-mcl) 3. Execute the disk imager, Read https://elinux.org/RPi_Easy_SD_Card_Setup#Flashing_the_SD_card_using_Mac_OS_X 4. Dismount MicroSD and carefully insert in RPi 3 5. Plug in monitor, keyboard, mouse THEN apply the power. 6. Connect to network. 7. Bring up a terminal, sudo -i raspi-config-> 5 Interfacing Options ->Enable SSH Raspberry Pi 101 by Brian Byrne. Twitter: @BrianLinuxing Email: [email protected]
is an easy operating system installer which contains Raspbian. It also provides a selection of alternative operating systems which are then downloaded from the internet and installed.” https://www.raspberrypi.org/downloads/noobs/ Q: What is the direct download link for Raspbian Stretch A: As of Nov 2017 (will change) http://director.downloads.raspberrypi.org/raspbian/images/raspbian-2017-09-08/2017-09-0 7-raspbian-stretch.zip Raspberry Pi 101 by Brian Byrne. Twitter: @BrianLinuxing Email: [email protected]
Linux? A: https://www.raspberrypi.org/documentation/installation/installing-images/linux.md Q: What is SHA-256? A: “The SHA (Secure Hash Algorithm) is one of a number of cryptographic hash functions. A cryptographic hash is like a signature for a text or a data file.” In this case it is 256 bit. http://www.xorbin.com/tools/sha256-hash-calculator Raspberry Pi 101 by Brian Byrne. Twitter: @BrianLinuxing Email: [email protected]