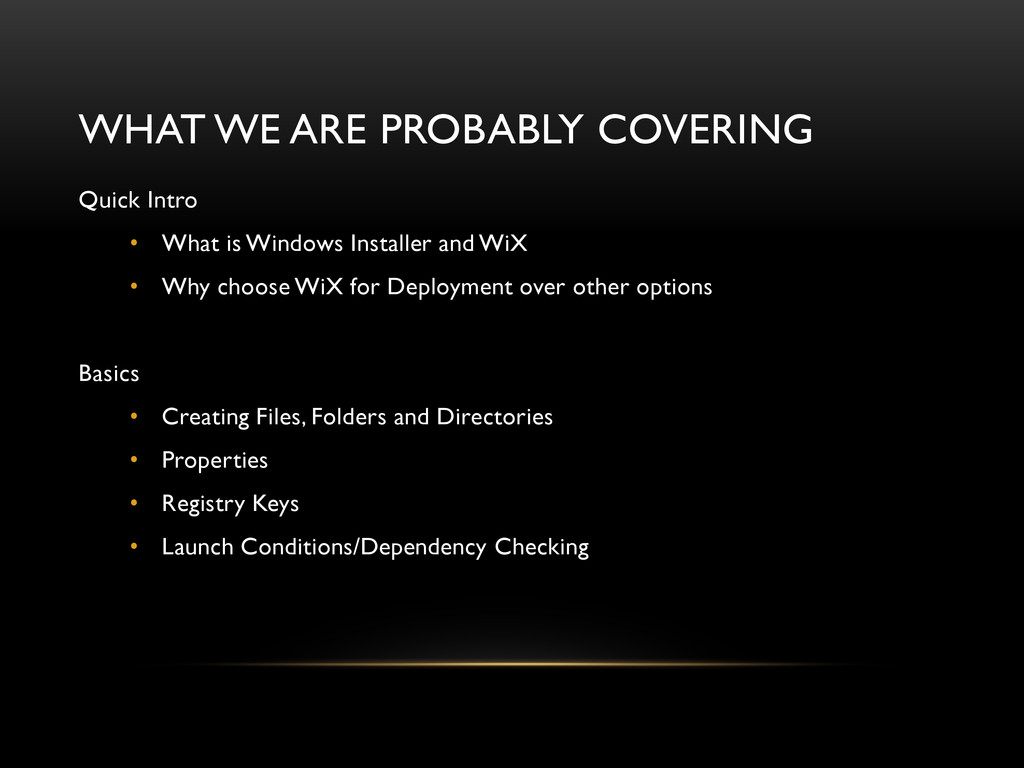
Windows Installer and WiX • Why choose WiX for Deployment over other options Basics • Creating Files, Folders and Directories • Properties • Registry Keys • Launch Conditions/Dependency Checking
• Manipulating XML Configuration Files • The WiX Preprocessor and WiX Variables UI • Using the Default UI • Adding a new Dialogue • Creating a Custom Base UI
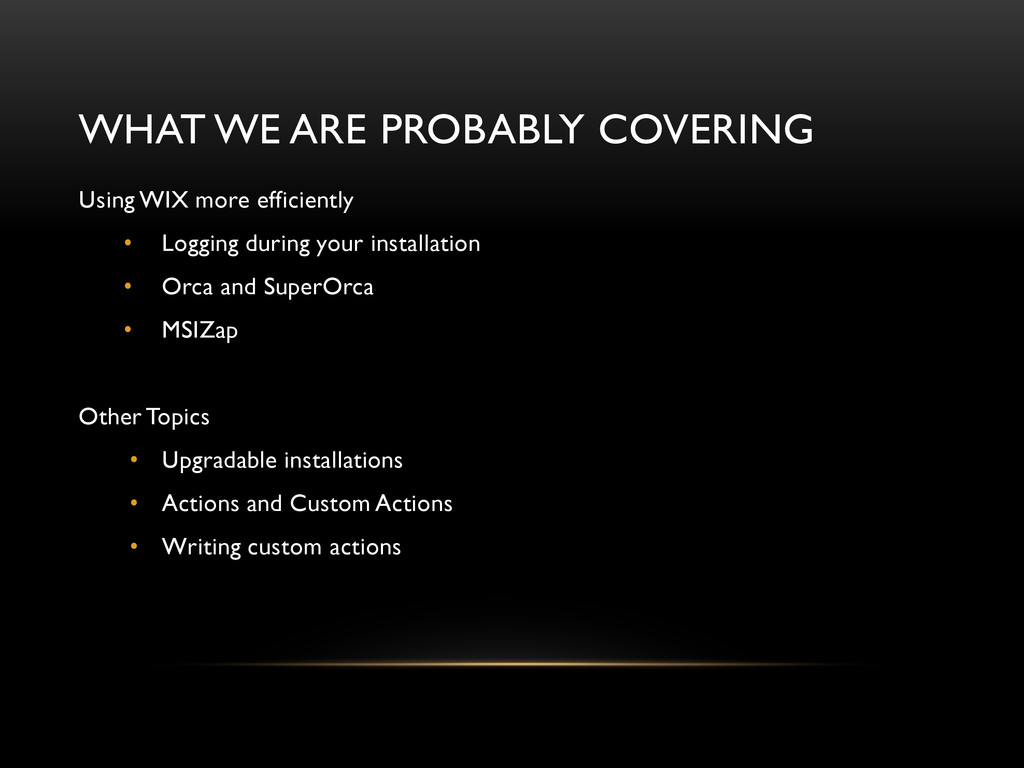
Logging during your installation • Orca and SuperOrca • MSIZap Other Topics • Upgradable installations • Actions and Custom Actions • Writing custom actions
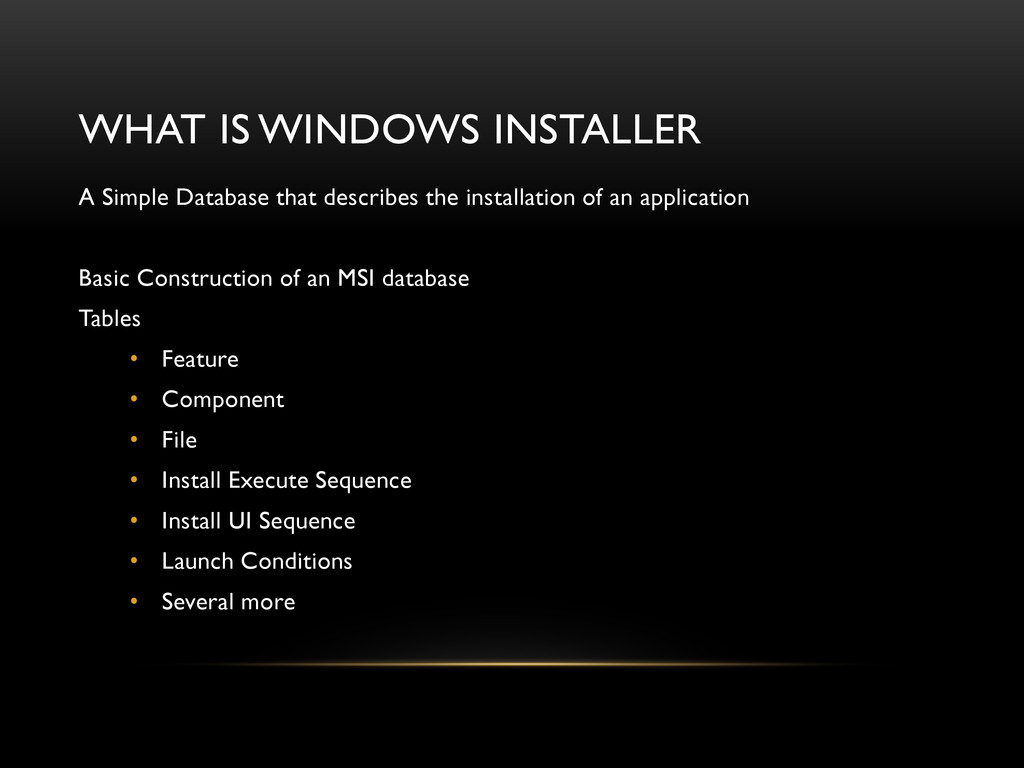
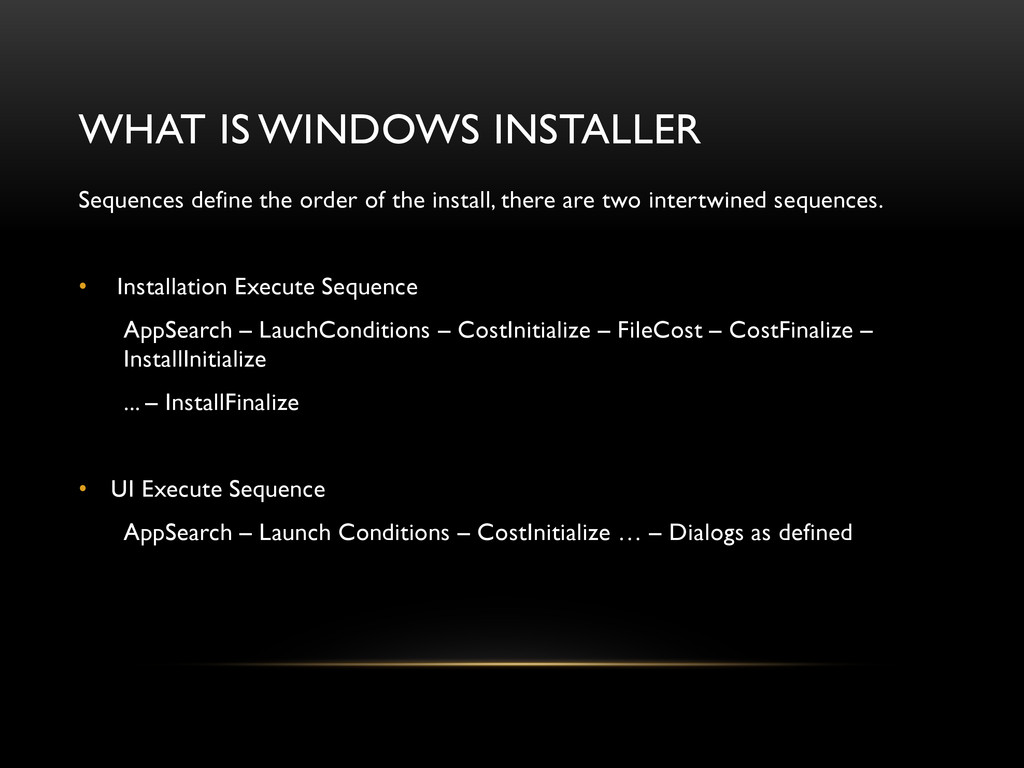
installation of an application Basic Construction of an MSI database Tables • Feature • Component • File • Install Execute Sequence • Install UI Sequence • Launch Conditions • Several more
describe an MSI Database • A basic set of extensible UI dialogues • Built in Custom Actions for common tasks • Candle, Light, and Dark • Candle – Compiler • Light – Linker • Dark – Decompiler • Lit, Tallow, Pyro, Burn – see the doc
package • Simpler maintenance than WISE or InstallShield • Easy extensibility, available source code • Large community support • Good for simple quick installers as well as more complex deployments
Nest <Directory> tags that represent the folder structure on the machine you are installing to Creating a Component • Create Components within the directory structure • Each Component has its own GUID • Components can contain files, IIS websites, XML Config File Edits, etc. Creating a <File> • Files or Directories have the source location of the file when building the MSI • Use Assembly attribute to Register in the GAC • Hidden and ReadOnly attributes can be set for the file
Each component must have a key path • The reference for the installation status of the component • One Key Path per Component, one Component per Key Path Creating a Feature Group • <Feature> Groups Contain <ComponentRef> tags • Features are independently installable units in an install • Level attribute 0 – Disabled, INSTALLLEVEL must be at Level or greater for the feature to be installed by default. Using built in paths for installation • InstallLocation, ProgramFilesFolder, CommonAppDataFolder, etc
• Define new properties with <Property> Tags, Reference Properties from included Libraries with <PropertyRef> • Properties can be set from the Registry Keys <RegistrySearch> tags within a Property • Windows installer has several built-in properties • http://msdn.microsoft.com/en-us/library/aa370905%28v=VS.85%29.aspx
(Create or CreateAndRemoveOnUninstall) Value(Write, Prepend and Append) • Type – String, binary, integer, etc • Root – HKLM, HKCU, etc • Key (Path and Key) – (i.e. Software/YourAppName/KeyYouNeed) Registry Values added are removed on uninstall or rollback You don’t need to create a new key to add a new value with a new key
your project, and adding the namespace at the top of your wix files that will use that extension WixUIExtension • UI Infrastructure for WiX WixUtilExtension • XMLConfig, XmlFile, DirectorySearch, FileSearch, Permissions, PerfCounters, RestartResource, CloseApplication, and many more! WixIISExtension • Create and Modify Websites and Web Applications with IIS 6 and 7 WixSqlExtension • Run queries of all kinds including database creation if you have the permissions Several other extensions are available for WiX, including the ability to write your own.
tags is evaluated to 0 or 1 for true or false. • CData Tags can be used to allow <,>,& in the condition statement without escaping them with > , < , & <![CDATA[CONDITION_HERE]]> • Properties are used without brackets within condition statements • “Installed” condition often useful for launch conditions and feature conditions to ensure checks are not performed when the application is being installed – You don’t want to force someone to install something to uninstall the product
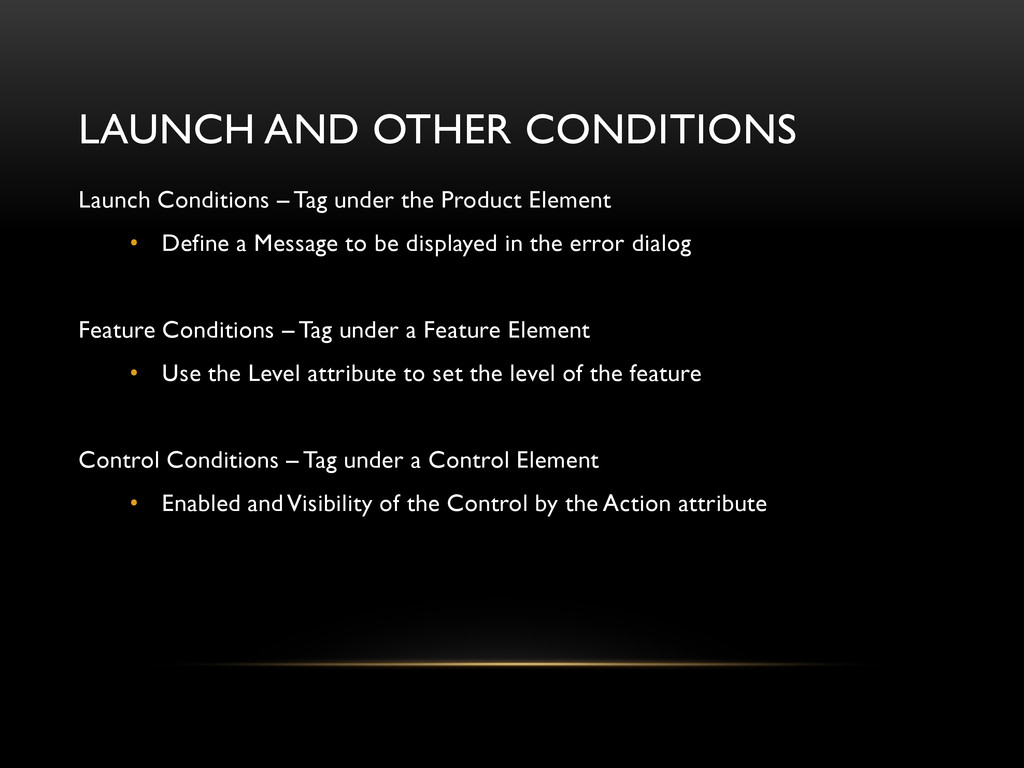
Product Element • Define a Message to be displayed in the error dialog Feature Conditions – Tag under a Feature Element • Use the Level attribute to set the level of the feature Control Conditions – Tag under a Control Element • Enabled and Visibility of the Control by the Action attribute
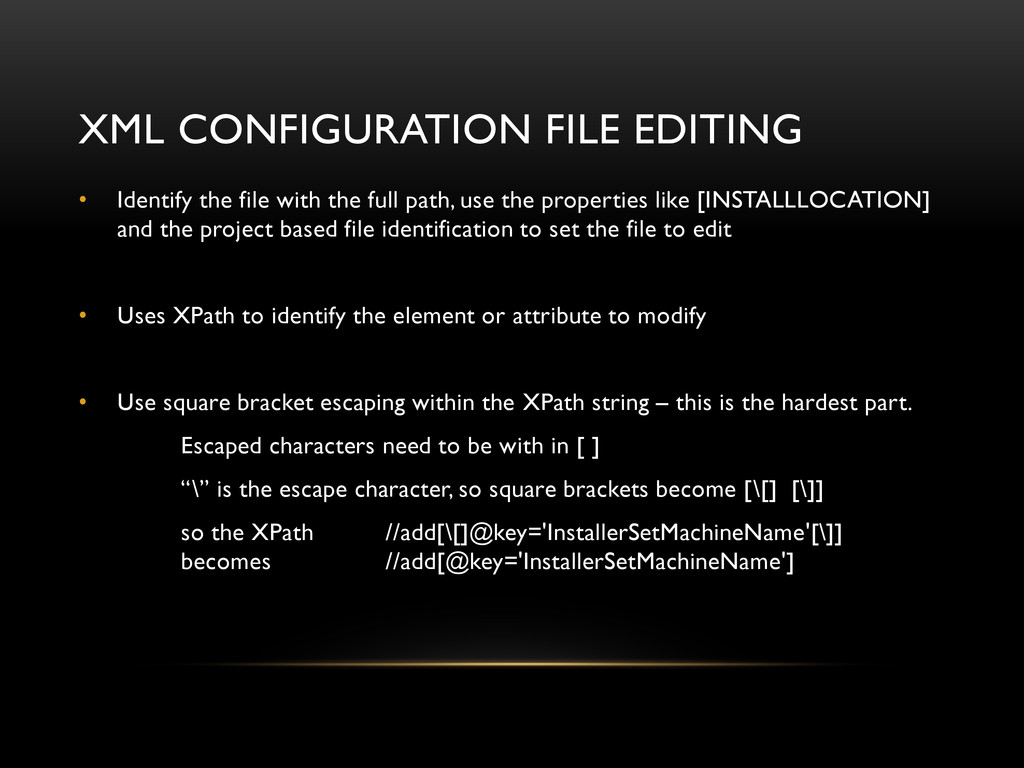
full path, use the properties like [INSTALLLOCATION] and the project based file identification to set the file to edit • Uses XPath to identify the element or attribute to modify • Use square bracket escaping within the XPath string – this is the hardest part. Escaped characters need to be with in [ ] “\” is the escape character, so square brackets become [\[] [\]] so the XPath //add[\[]@key='InstallerSetMachineName'[\]] becomes //add[@key='InstallerSetMachineName']
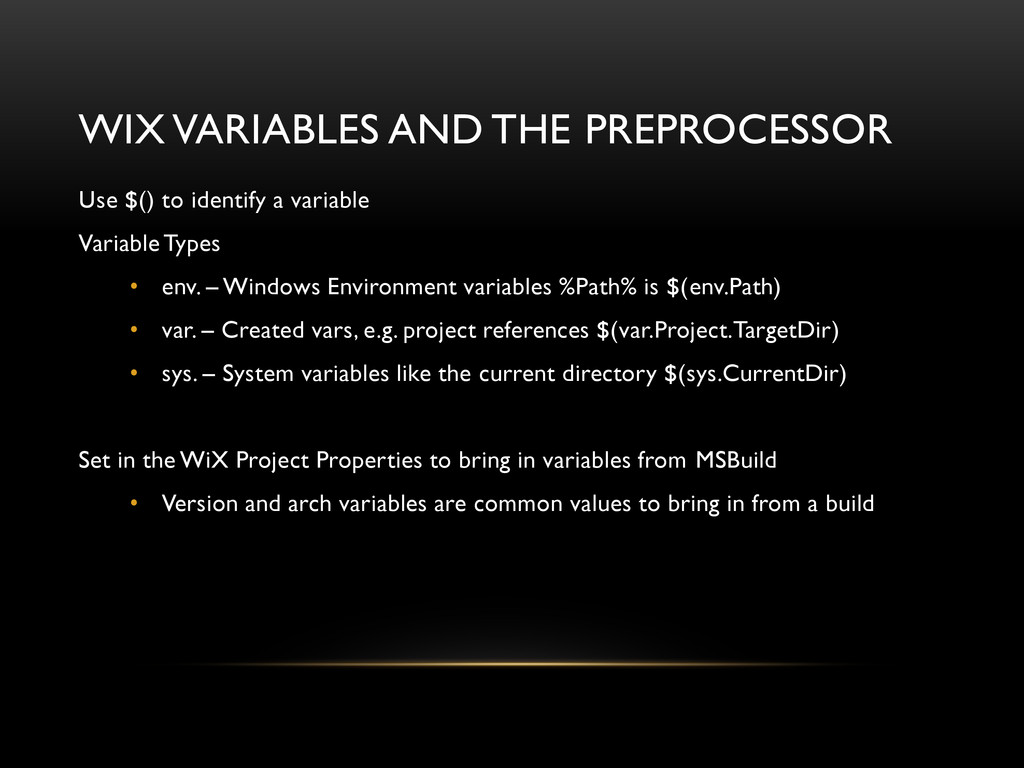
variable Variable Types • env. – Windows Environment variables %Path% is $(env.Path) • var. – Created vars, e.g. project references $(var.Project.TargetDir) • sys. – System variables like the current directory $(sys.CurrentDir) Set in the WiX Project Properties to bring in variables from MSBuild • Version and arch variables are common values to bring in from a build
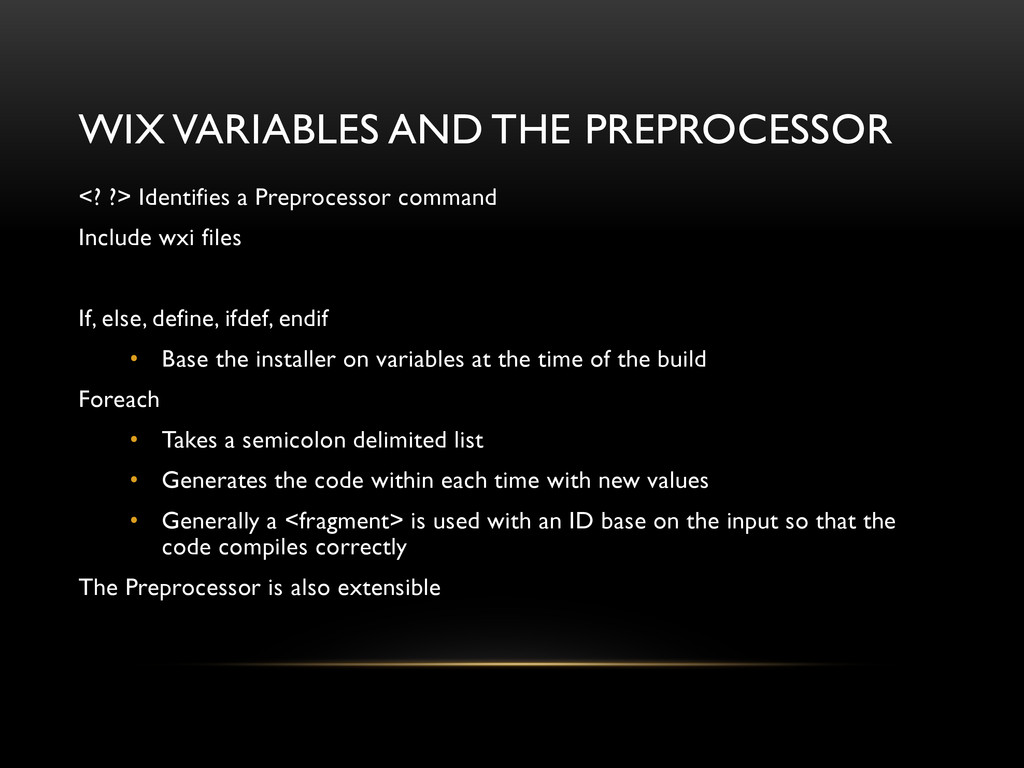
command Include wxi files If, else, define, ifdef, endif • Base the installer on variables at the time of the build Foreach • Takes a semicolon delimited list • Generates the code within each time with new values • Generally a <fragment> is used with an ID base on the input so that the code compiles correctly The Preprocessor is also extensible
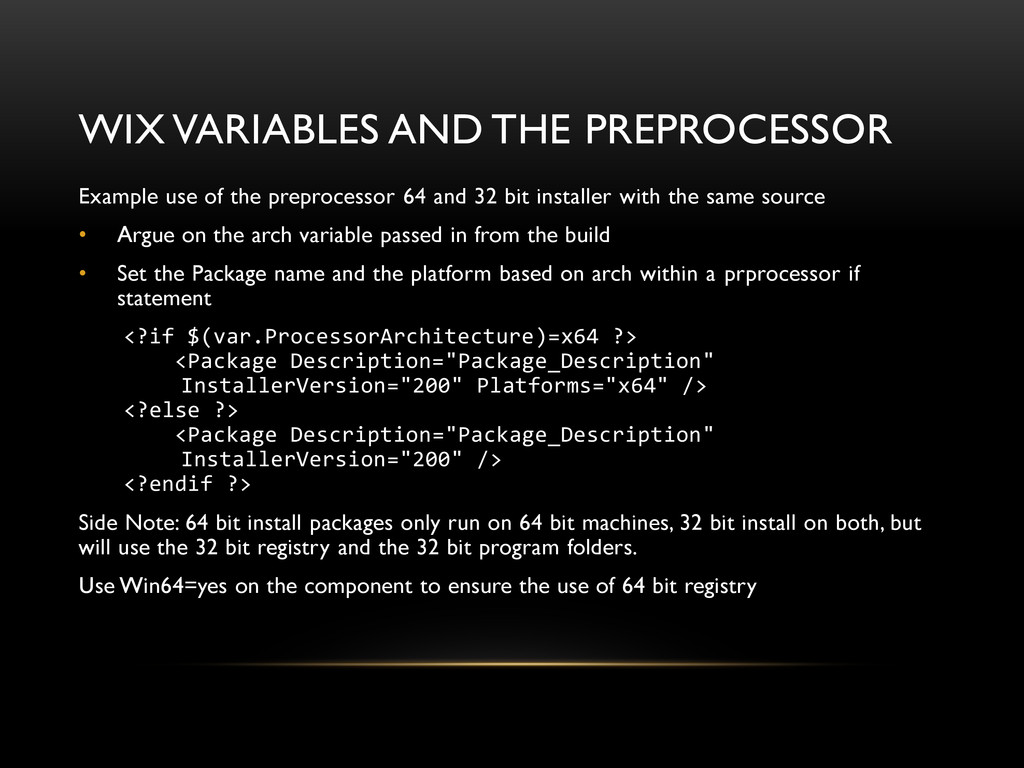
64 and 32 bit installer with the same source • Argue on the arch variable passed in from the build • Set the Package name and the platform based on arch within a prprocessor if statement <?if $(var.ProcessorArchitecture)=x64 ?> <Package Description="Package_Description" InstallerVersion="200" Platforms="x64" /> <?else ?> <Package Description="Package_Description" InstallerVersion="200" /> <?endif ?> Side Note: 64 bit install packages only run on 64 bit machines, 32 bit install on both, but will use the 32 bit registry and the 32 bit program folders. Use Win64=yes on the component to ensure the use of 64 bit registry
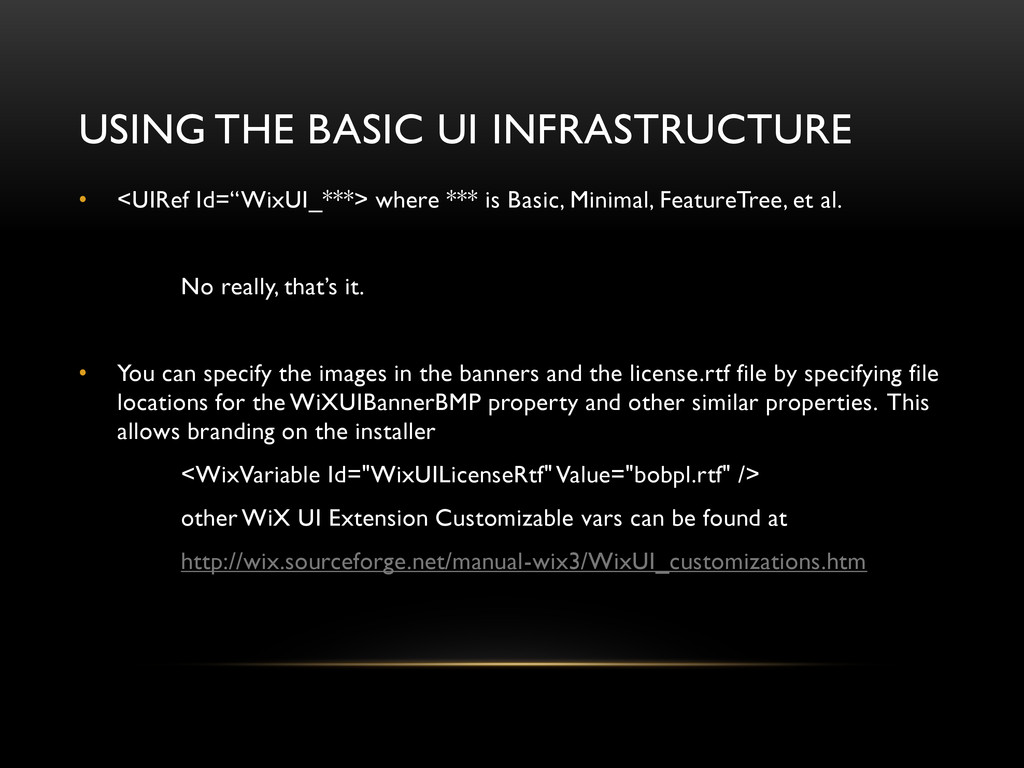
is Basic, Minimal, FeatureTree, et al. No really, that’s it. • You can specify the images in the banners and the license.rtf file by specifying file locations for the WiXUIBannerBMP property and other similar properties. This allows branding on the installer <WixVariable Id="WixUILicenseRtf" Value="bobpl.rtf" /> other WiX UI Extension Customizable vars can be found at http://wix.sourceforge.net/manual-wix3/WixUI_customizations.htm
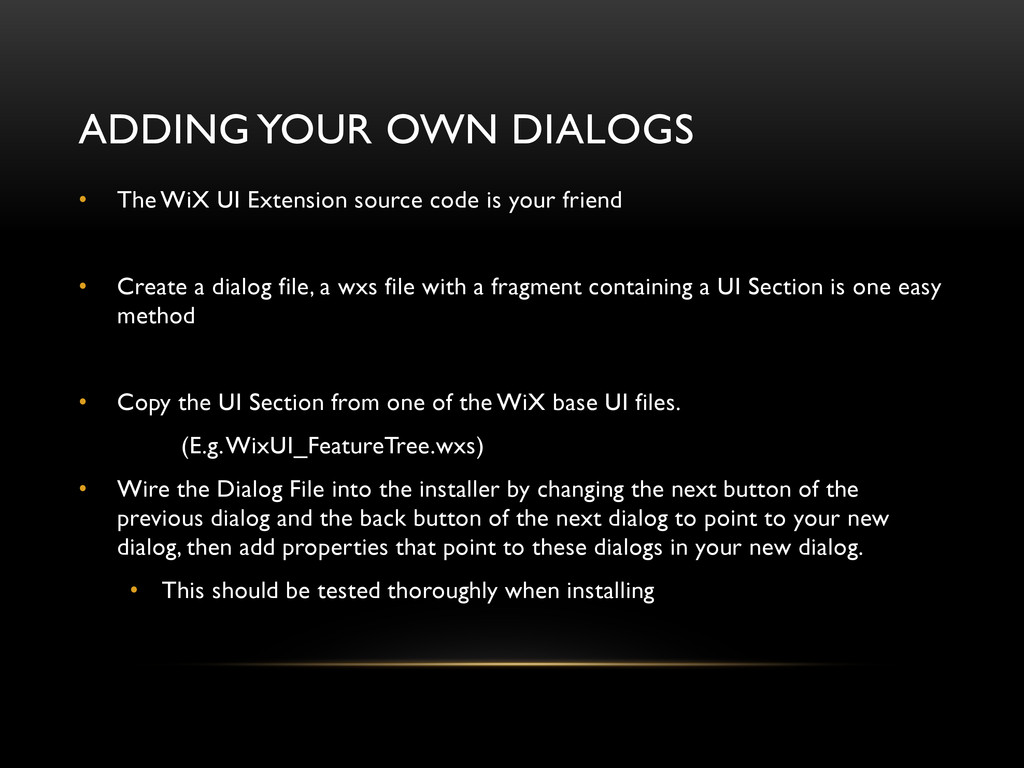
code is your friend • Create a dialog file, a wxs file with a fragment containing a UI Section is one easy method • Copy the UI Section from one of the WiX base UI files. (E.g. WixUI_FeatureTree.wxs) • Wire the Dialog File into the installer by changing the next button of the previous dialog and the back button of the next dialog to point to your new dialog, then add properties that point to these dialogs in your new dialog. • This should be tested thoroughly when installing
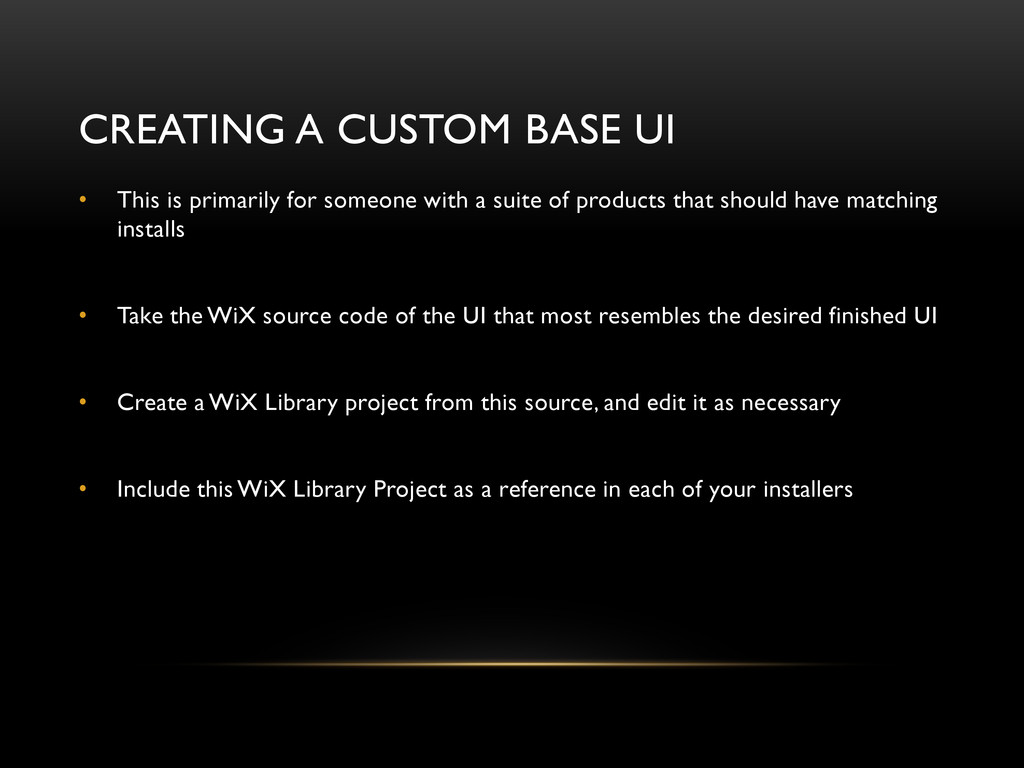
someone with a suite of products that should have matching installs • Take the WiX source code of the UI that most resembles the desired finished UI • Create a WiX Library project from this source, and edit it as necessary • Include this WiX Library Project as a reference in each of your installers
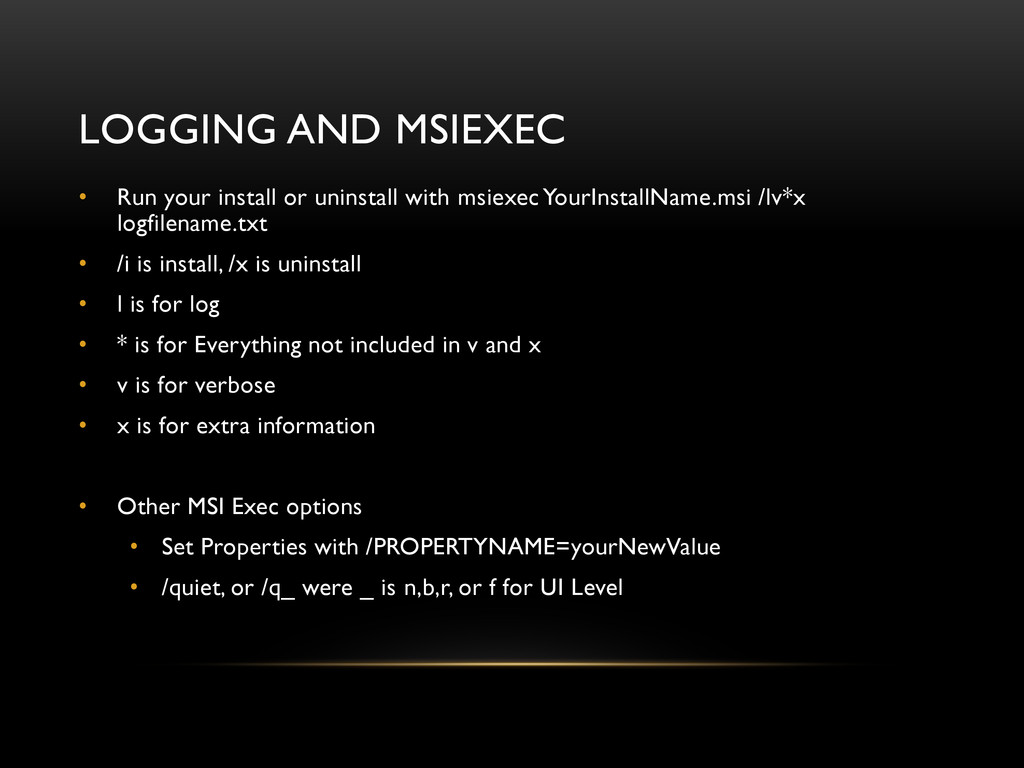
msiexec YourInstallName.msi /lv*x logfilename.txt • /i is install, /x is uninstall • l is for log • * is for Everything not included in v and x • v is for verbose • x is for extra information • Other MSI Exec options • Set Properties with /PROPERTYNAME=yourNewValue • /quiet, or /q_ were _ is n,b,r, or f for UI Level
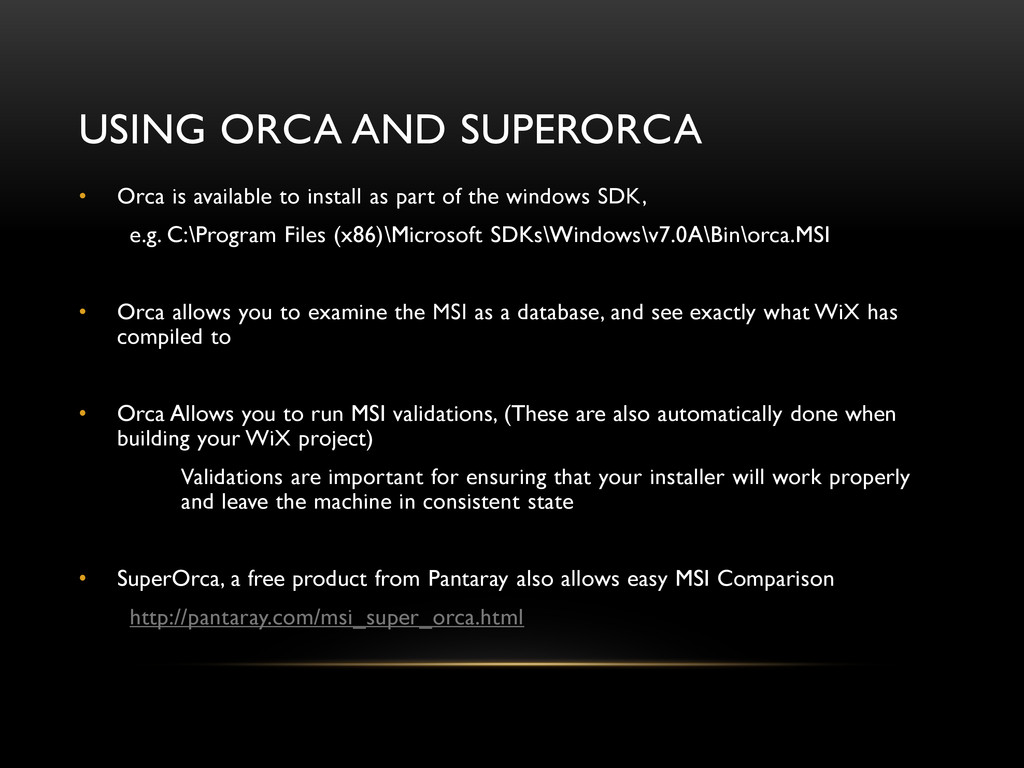
as part of the windows SDK, e.g. C:\Program Files (x86)\Microsoft SDKs\Windows\v7.0A\Bin\orca.MSI • Orca allows you to examine the MSI as a database, and see exactly what WiX has compiled to • Orca Allows you to run MSI validations, (These are also automatically done when building your WiX project) Validations are important for ensuring that your installer will work properly and leave the machine in consistent state • SuperOrca, a free product from Pantaray also allows easy MSI Comparison http://pantaray.com/msi_super_orca.html
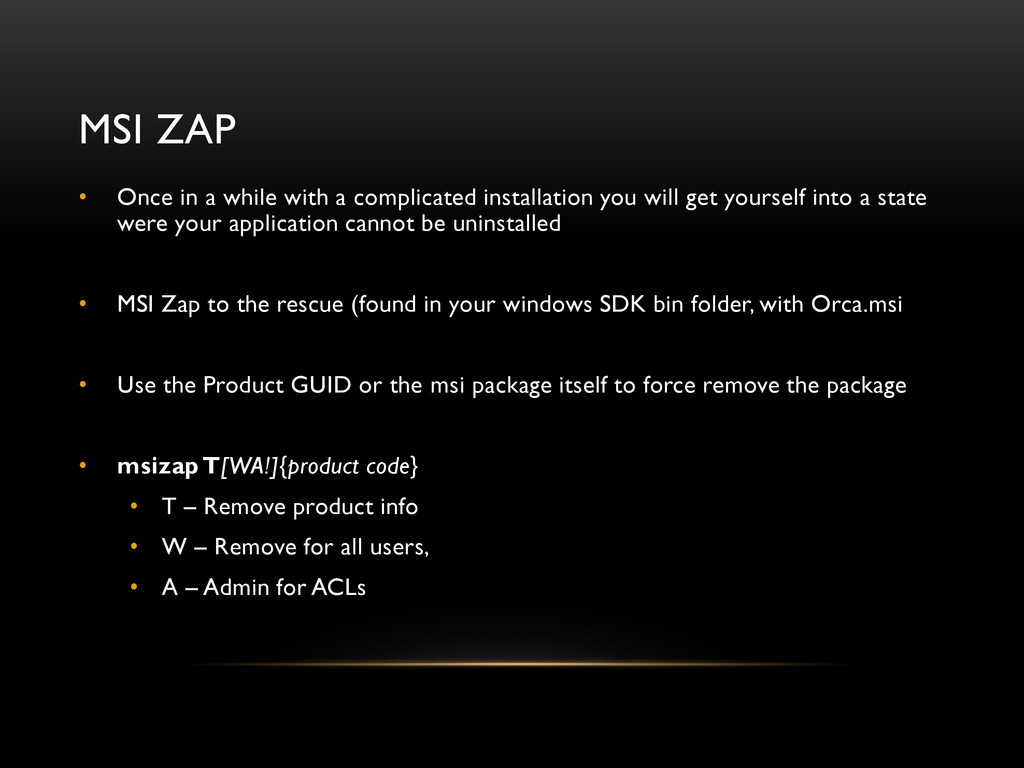
installation you will get yourself into a state were your application cannot be uninstalled • MSI Zap to the rescue (found in your windows SDK bin folder, with Orca.msi • Use the Product GUID or the msi package itself to force remove the package • msizapT[WA!]{product code} • T – Remove product info • W – Remove for all users, • A – Admin for ACLs
id – this id must be the same for all future versions of the product. • The Version property of the product is used to determine if this is a new version of the same product already installed on the machine. • The <UpgradeVersion> tag under the <Upgrade> tag has other options to • specify the versions this package can upgrade from • Set Features to remove during the upgrade • Base the upgrade on a matching language.
or UI Sequence Or • <Publish Event=“DoAction” Value=“CustomActionName” /> in UI Dialogs • Both of these can take a condition in the Text of the tag • Set the Before or after for that Action A few actions Schedule Reboot Stop/Start Services Custom
contains the custom action • Indicate a file and ID that can be referenced by the custom action <CustomAction> Tag to define the action to perform • Binary Key, DllEntry is a method name, Impersonate, many more options • Some Execution Types • Commit – on completion of the install script • Deferred – during the install script • Rollback – during rollback • Immediate – now <Custom> Tag in the Execute Sequence to schedule the action
created in C, C++, or C#. • Managed C# Custom Actions should have code in the installer that requires the Framework before product installation so that the managed code can run • Use Windows installer set properties, and set new properties for Windows installer to read upon returning from the custom action • Remember to write to the installer log so that debugging will be simpler
![WIX PROPERTIES • Use Brackets to read from properties [PROPERTY_NAME]](https://files.speakerdeck.com/presentations/f6db9b70d5320130ee5f76b8112197c9/slide_10.jpg)