How to turn the Raspberry Pi off ◦ From the command line: > sudo shutdown –h now ◦ From Raspbian 1. Top left corner of the desktop, click on “Shutdown” or 2. Bottom right corner, click the log off picture, and follow instructions above
need: ◦ A partner ◦ A Raspberry Pi per pair ◦ An SD card per Raspberry Pi (with Raspbian installed) ◦ A USB Keyboard and a USB mouse for each Raspberry Pi ◦ A monitor (with HDMI port + HDMI cable) ◦ A micro USB power adaptor ◦ All necessary cables
is the Raspberry Pi? ◦ It is a tiny computer smaller than a pack of cards, which can transform the way we perceive and approach computation. ◦ Learning Objectives ◦ Know the basic architectures of a computing device. ◦ Understand the difference between hardware and software. ◦ Be able to set up a Raspberry Pi, turn it on, load the graphical user interface, and navigate the desktop for the first time. ◦ Step 1 – Hardware! ◦ Plug everything into the Pi. ◦ Make sure you have the proper SD card with the proper software on it, and that it is plugged into the Pi. ◦ Think you have everything? How does it turn on? How does it turn off?
2 – Turn it on! ◦ Login: Pi ◦ Password: raspberry ◦ “My keyboard stopped working! I’m typing and I can’t see the letters on the screen!” ◦ It’s hidden for a reason
3 – Load the Raspbian* Graphical User Interface (GUI) ◦ Right now you can give instructions to the Pi using the command line interface ◦ We’d like to explore the Pi with Raspbian to start with, load the GUI by typing: >startx Task 1: Explore Raspbian, what do you see? What do you recognize? *What is Raspbian? Raspbian is a free operating system based on Debian optimized for the Raspberry Pi hardware. An operating system is the set of basic programs and utilities that make your Raspberry Pi run. However, Raspbian provides more than a pure OS: it comes with over 35,000 packages, pre-compiled software bundled in a nice format for easy installation on your Raspberry Pi. For more http://www.raspbian.org/
4 - have fun! ◦ Couple things to remember: ◦ Just like a regular computer, the Raspberry Pi doesn’t like to be turned off on a whim. Remember to log off and shutdown the Pi before unplugging anything.
◦ A partner ◦ A Raspberry Pi per pair ◦ An SD card per Raspberry Pi (with Raspbian installed) ◦ A USB Keyboard and a USB mouse for each Raspberry Pi ◦ A monitor (with HDMI port + HDMI cable) ◦ A micro USB power adaptor ◦ All necessary cables ◦ A Raspberry Pi Camera Module
caution when handling the Camera Module and the Raspberry Pi. Cameras are static sensitive. Earth yourself prior to handling the PCB. A sink tap or similar should suffice if you don’t have an earthing strap (aka, hold the USB port on the Pi to ground yourself to the board) Step 1 – Attach the Camera to the board While the board is off ◦ On the Raspberry Pi itself, pull up the tabs on each end of the connector. It should slide up easily, and be able to pivot around slightly. Fully insert the ribbon cable into the slot, ensuring it is set straight, then gently press down the tabs to clip it into place. ◦ The blue backing on the cable should face towards the Ethernet connection (or where the Ethernet connector would be if you are using a model A).
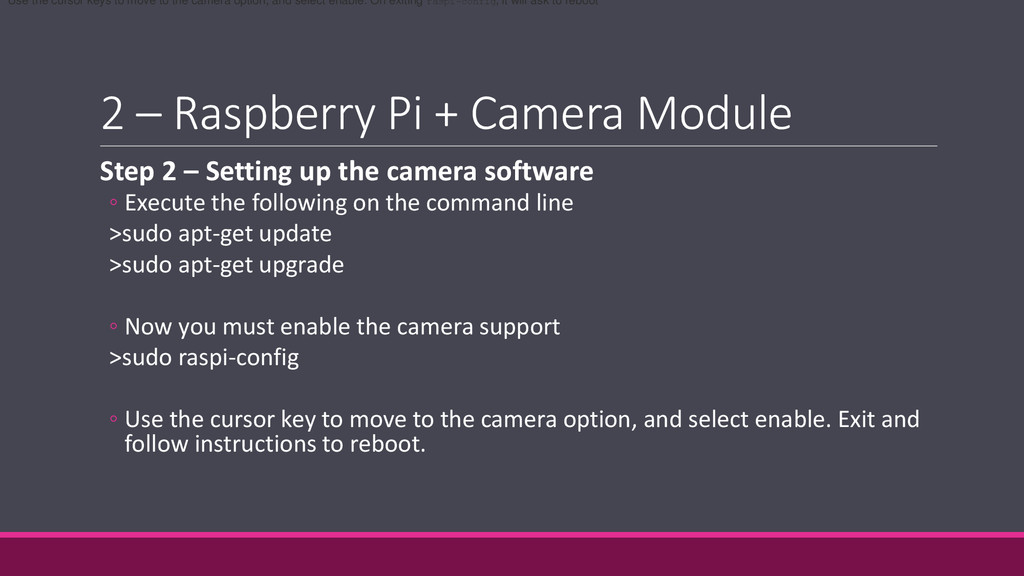
Setting up the camera software ◦ Execute the following on the command line >sudo apt-get update >sudo apt-get upgrade ◦ Now you must enable the camera support >sudo raspi-config ◦ Use the cursor key to move to the camera option, and select enable. Exit and follow instructions to reboot. Use the cursor keys to move to the camera option, and select enable. On exiting raspi-config, it will ask to reboot
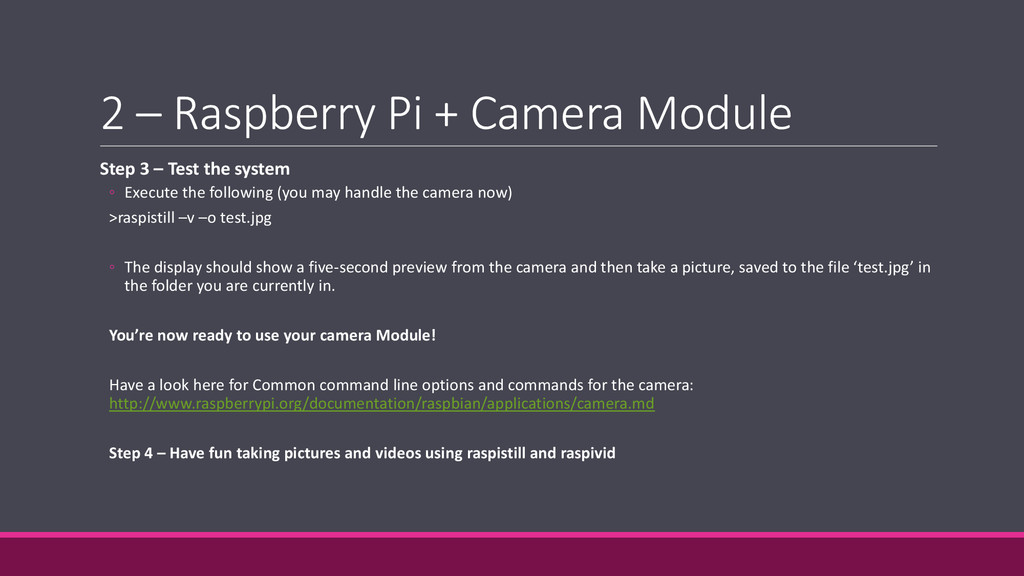
Test the system ◦ Execute the following (you may handle the camera now) >raspistill –v –o test.jpg ◦ The display should show a five-second preview from the camera and then take a picture, saved to the file ‘test.jpg’ in the folder you are currently in. You’re now ready to use your camera Module! Have a look here for Common command line options and commands for the camera: http://www.raspberrypi.org/documentation/raspbian/applications/camera.md Step 4 – Have fun taking pictures and videos using raspistill and raspivid
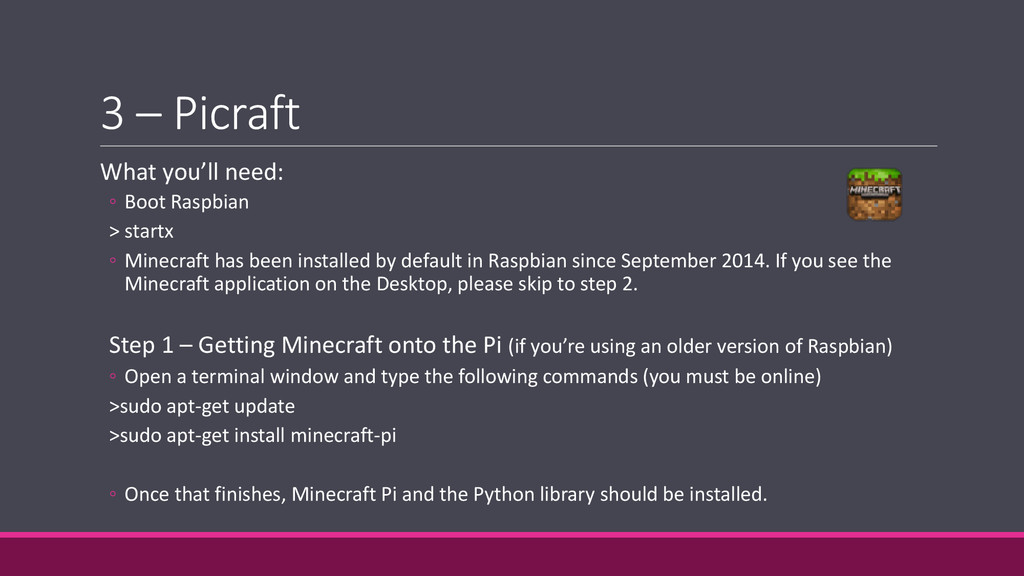
startx ◦ Minecraft has been installed by default in Raspbian since September 2014. If you see the Minecraft application on the Desktop, please skip to step 2. Step 1 – Getting Minecraft onto the Pi (if you’re using an older version of Raspbian) ◦ Open a terminal window and type the following commands (you must be online) >sudo apt-get update >sudo apt-get install minecraft-pi ◦ Once that finishes, Minecraft Pi and the Python library should be installed.
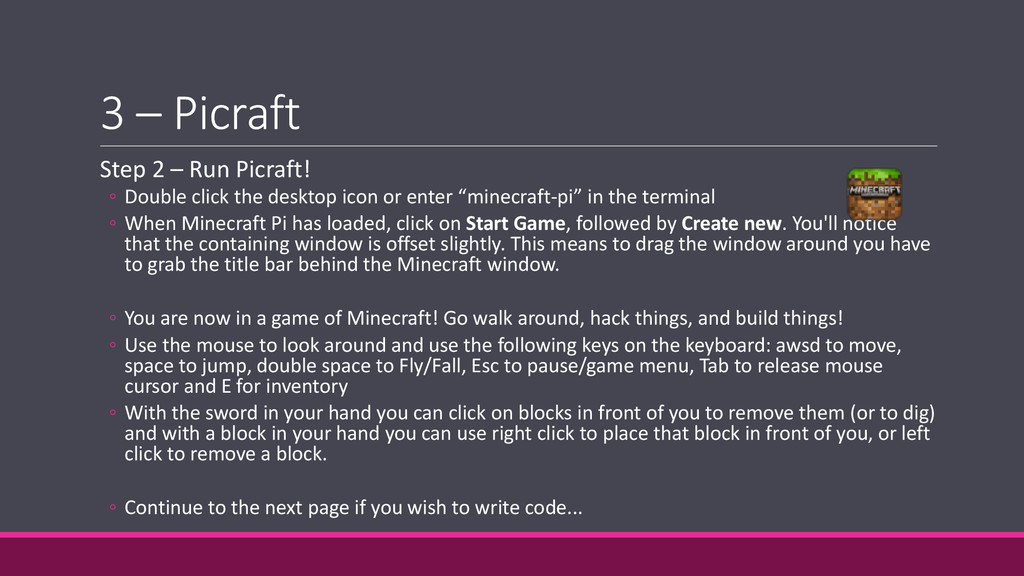
click the desktop icon or enter “minecraft-pi” in the terminal ◦ When Minecraft Pi has loaded, click on Start Game, followed by Create new. You'll notice that the containing window is offset slightly. This means to drag the window around you have to grab the title bar behind the Minecraft window. ◦ You are now in a game of Minecraft! Go walk around, hack things, and build things! ◦ Use the mouse to look around and use the following keys on the keyboard: awsd to move, space to jump, double space to Fly/Fall, Esc to pause/game menu, Tab to release mouse cursor and E for inventory ◦ With the sword in your hand you can click on blocks in front of you to remove them (or to dig) and with a block in your hand you can use right click to place that block in front of you, or left click to remove a block. ◦ Continue to the next page if you wish to write code...
your focus away from Minecraft (Tab) ◦ Open IDLE (NOT IDLE3) and move the windows so they’re side by side ◦ Now you’re ready to code! ◦ Create a file (File > New Window) and save it (File > Save) as helloworld.py You might want to create a new folder in your home folder. Your first Hello World Picraft Mod (save these three lines in the helloworld.py file ) >from mcpi import minecraft >mc = minecraft.Minecraft.create() >mc.postToChat("Hello world")
can find this tutorial along with other Python scripts for simple Picraft Mods here. (scroll down to the Programming Interface). You will be able to write scripts for: • Finding your location • Teleporting • Setting blocks • Dropping blocks as you walk • Having fun with TNT blocks • Etc!
this exercise ◦ Display an image during boot instead of the default command line scrolling text ◦ Learn a little bit about Bashscripts and the command line ◦ This will mostly all be done through the command line shell (not in Raspbian) ◦ Step 1 – install fbi > sudo apt-get install fbi ◦ Step 2 – splashscreen ◦ Make sure you have a png image with a high enough resolution (aim for 1920x1080px) somewhere accessible. ◦ Name it “splash.png”
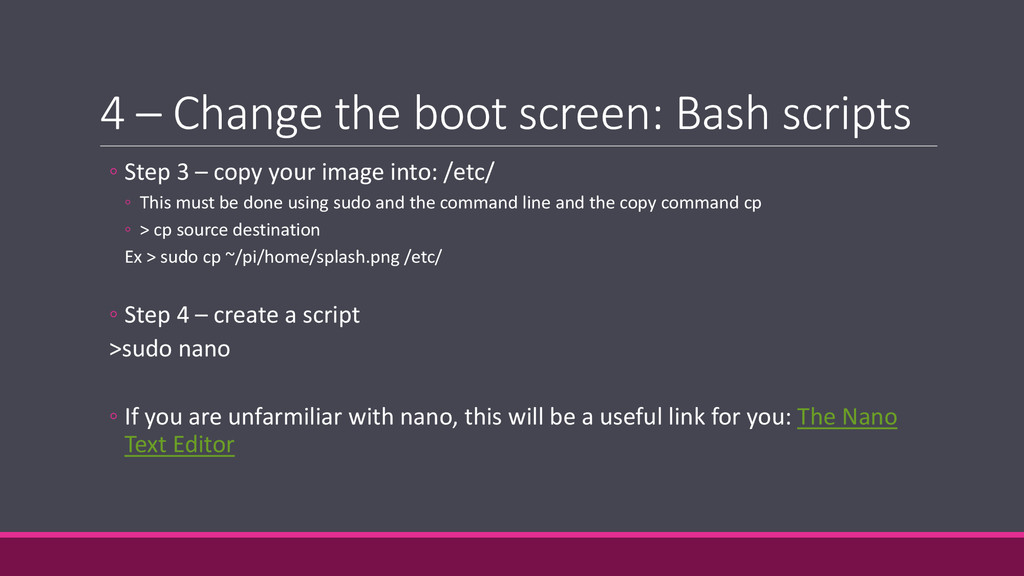
3 – copy your image into: /etc/ ◦ This must be done using sudo and the command line and the copy command cp ◦ > cp source destination Ex > sudo cp ~/pi/home/splash.png /etc/ ◦ Step 4 – create a script >sudo nano ◦ If you are unfarmiliar with nano, this will be a useful link for you: The Nano Text Editor
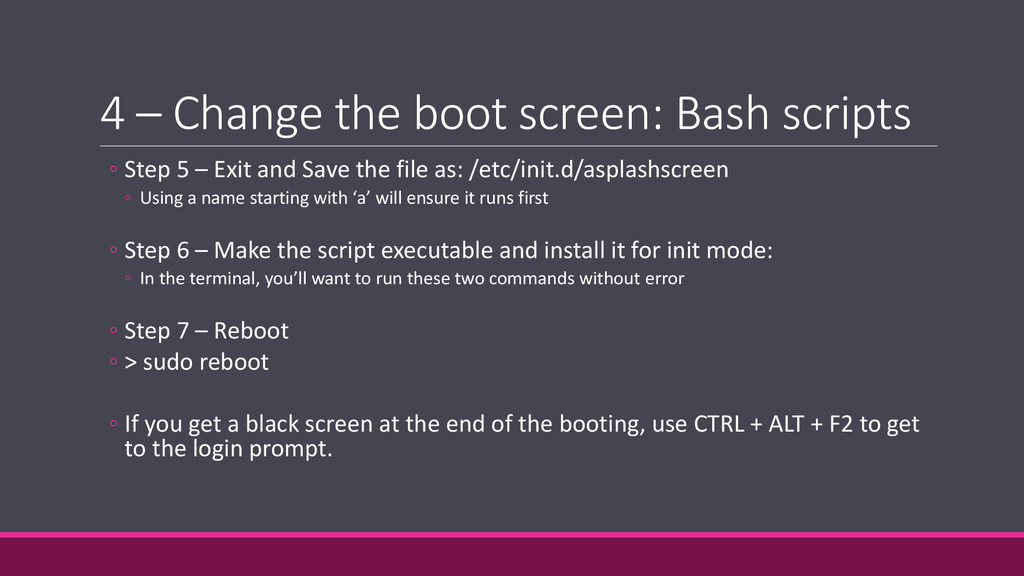
5 – Exit and Save the file as: /etc/init.d/asplashscreen ◦ Using a name starting with ‘a’ will ensure it runs first ◦ Step 6 – Make the script executable and install it for init mode: ◦ In the terminal, you’ll want to run these two commands without error ◦ Step 7 – Reboot ◦ > sudo reboot ◦ If you get a black screen at the end of the booting, use CTRL + ALT + F2 to get to the login prompt.
![Intro to the Raspberry Pi BY EMILIE COBBOLD – [email protected]](https://files.speakerdeck.com/presentations/187c1dd0792d013218024e4bbb8c2274/slide_0.jpg)