eat it? ! — Octopress: "#? Is it $? — This sounds hard to process… % — How to use it for our nefarious purposes & — Deploying the blog? ' — Why does every single item has an emoji❓
Basically it runs «above» Jekyll and automates most of the boring tasks that otherwise we would have to code by hand on the terminal ! and instead we just run a couple of rake commands.
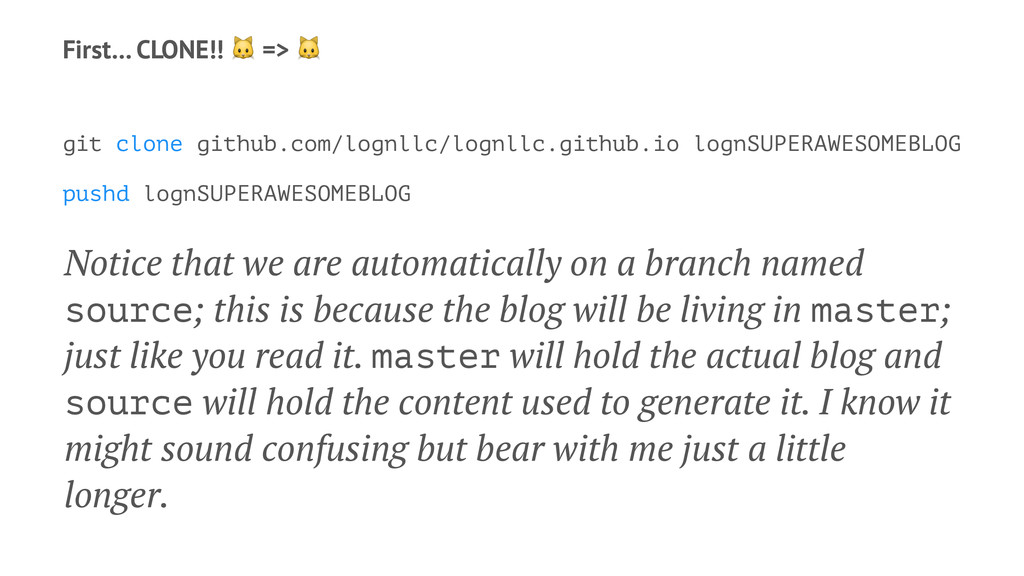
lognSUPERAWESOMEBLOG Notice that we are automatically on a branch named source; this is because the blog will be living in master; just like you read it. master will hold the actual blog and source will hold the content used to generate it. I know it might sound confusing but bear with me just a little longer.
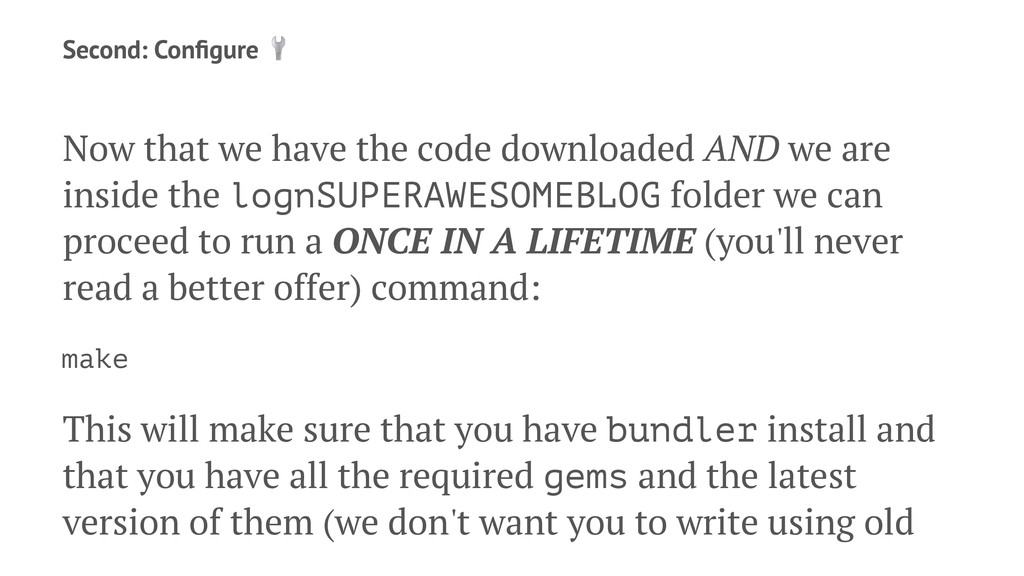
AND we are inside the lognSUPERAWESOMEBLOG folder we can proceed to run a ONCE IN A LIFETIME (you'll never read a better offer) command: make This will make sure that you have bundler install and that you have all the required gems and the latest version of them (we don't want you to write using old
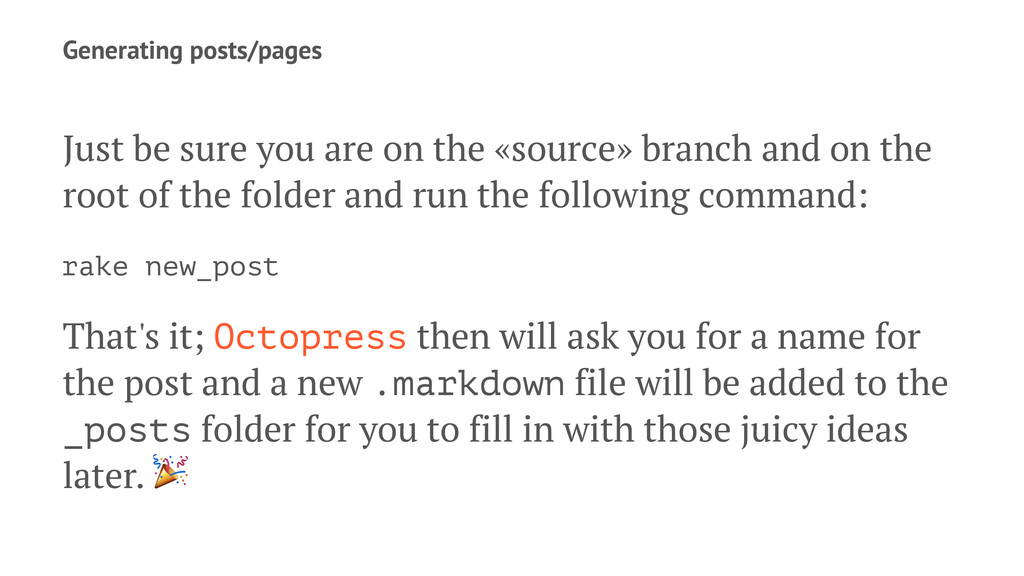
branch and on the root of the folder and run the following command: rake new_post That's it; Octopress then will ask you for a name for the post and a new .markdown file will be added to the _posts folder for you to fill in with those juicy ideas later. !
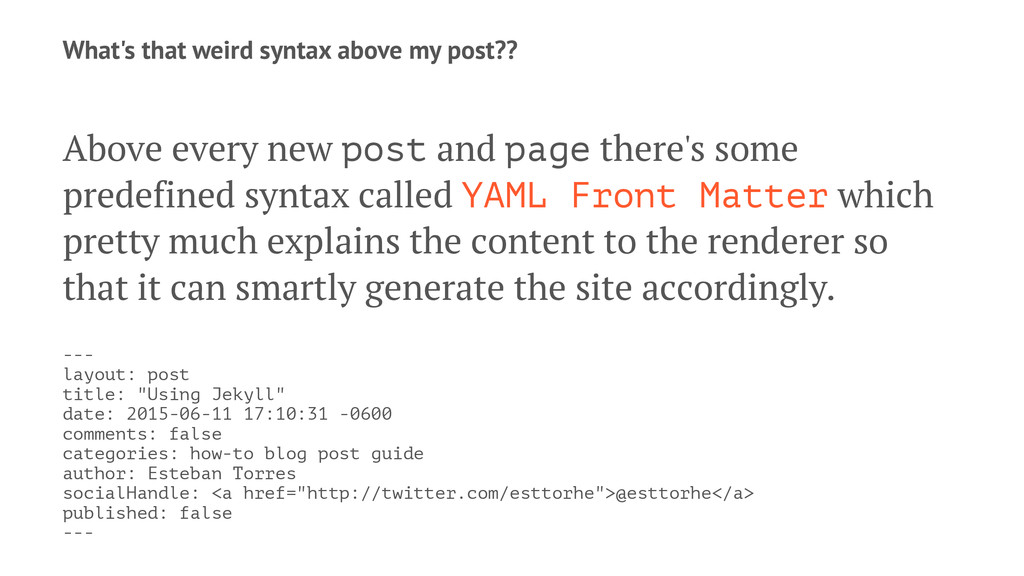
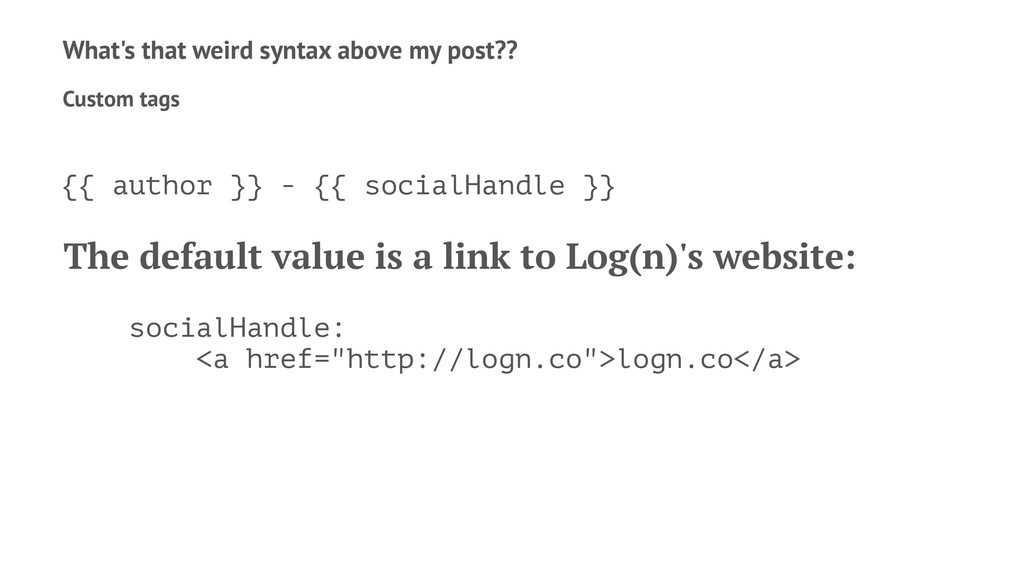
post and page there's some predefined syntax called YAML Front Matter which pretty much explains the content to the renderer so that it can smartly generate the site accordingly. --- layout: post title: "Using Jekyll" date: 2015-06-11 17:10:31 -0600 comments: false categories: how-to blog post guide author: Esteban Torres socialHandle: <a href="http://twitter.com/esttorhe">@esttorhe</a> published: false ---
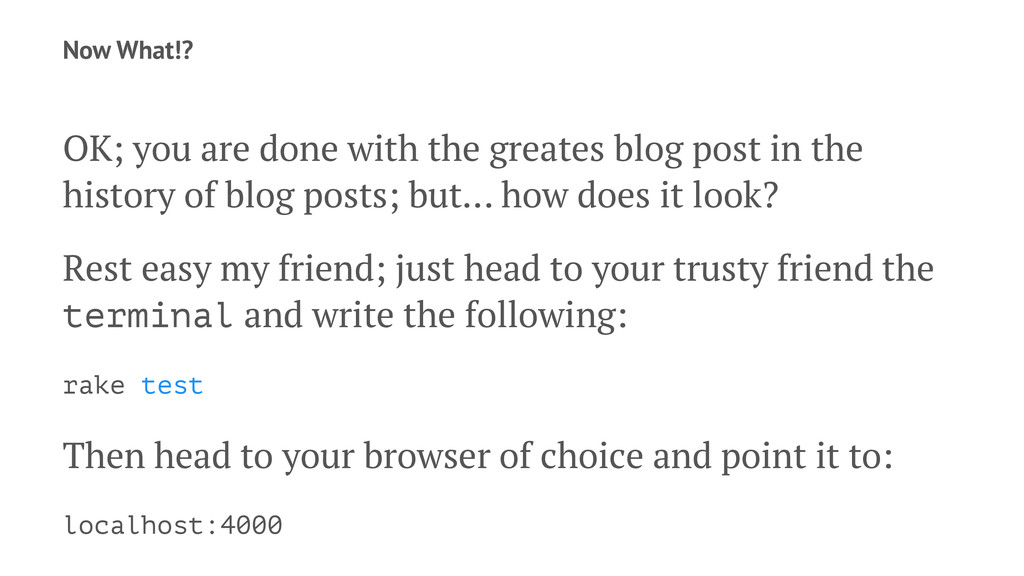
post in the history of blog posts; but… how does it look? Rest easy my friend; just head to your trusty friend the terminal and write the following: rake test Then head to your browser of choice and point it to: localhost:4000
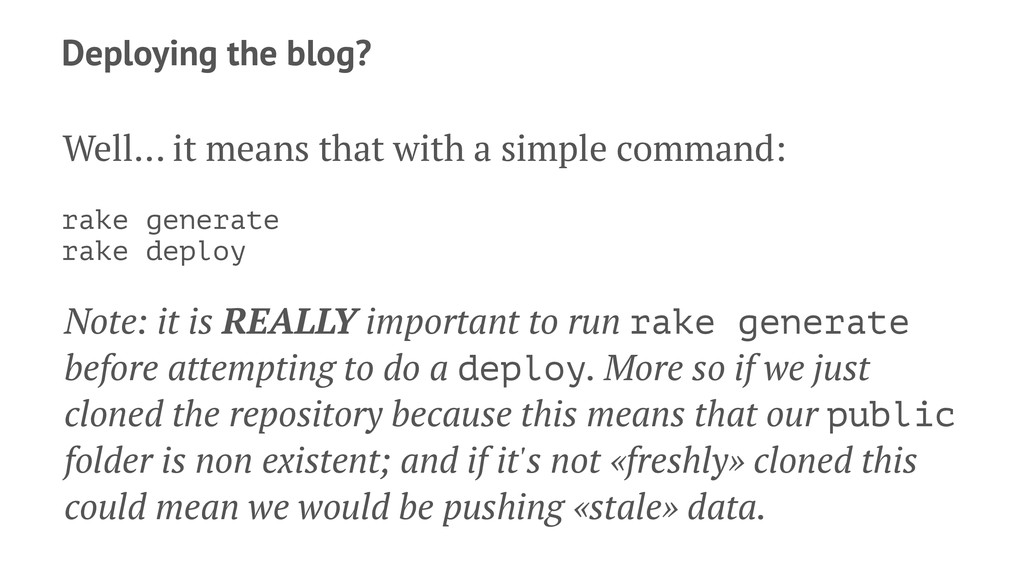
command: rake generate rake deploy Note: it is REALLY important to run rake generate before attempting to do a deploy. More so if we just cloned the repository because this means that our public folder is non existent; and if it's not «freshly» cloned this could mean we would be pushing «stale» data.
the worst… there's ALWAYS a «but». This blog will work as a blend between Gitflow and Pull Requests. This means that our master branch will be the same as in Gitflow, the latest stable version. Our development branch will source.
also do an editor job and «pre check» that there are no typos, grammar or syntax issues with the writing before hitting pubic ! to deliver the best content we can make to the rest of the world.