Upgrade to Pro — share decks privately, control downloads, hide ads and more …

Virtualize your dev workflow with Vagrant

Justin Filip
January 09, 2017

Virtualize your dev workflow with Vagrant

CC BY-SA 3.0 Justin Filip
- https://creativecommons.org/licenses/by-sa/3.0/

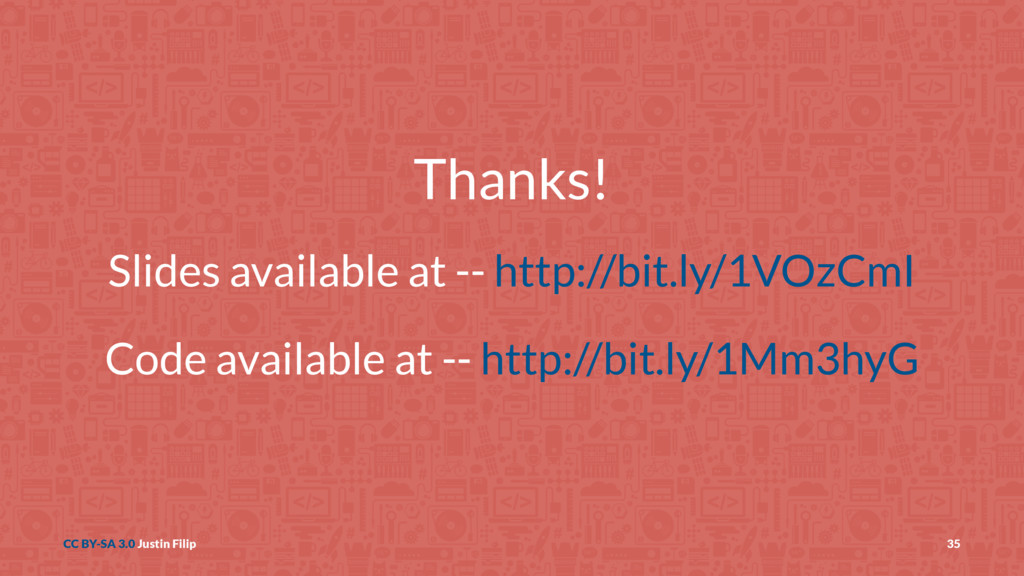
Code resources available at: https://github.com/jfilip/vagrant-workshop

Have you ever heard or used the phrase “well, it worked on my machine”? Have you ever tried to replicate your production environment locally and found it to be incredibly difficult, hard to accurately reproduce or completely impossible? Are you trying to do anything at all on a Windows machine?

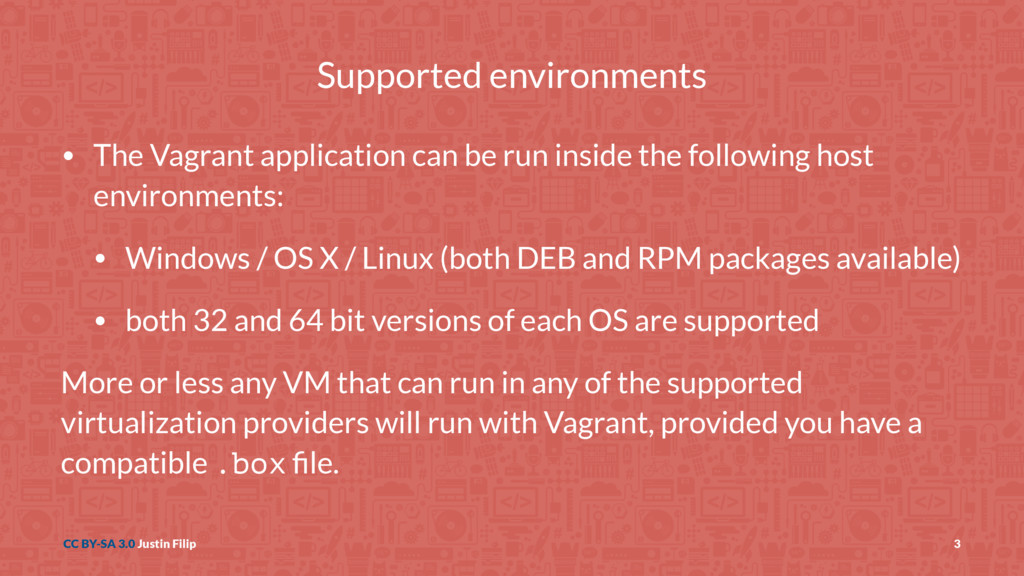
Vagrant is probably the answer to all of your problems. Whether you are developing by yourself, working with a team, or pushing to a very specific production environment, Vagrant can help you build repeatable, reliable virtual machines in Windows, Mac OS and Linux dev environments.

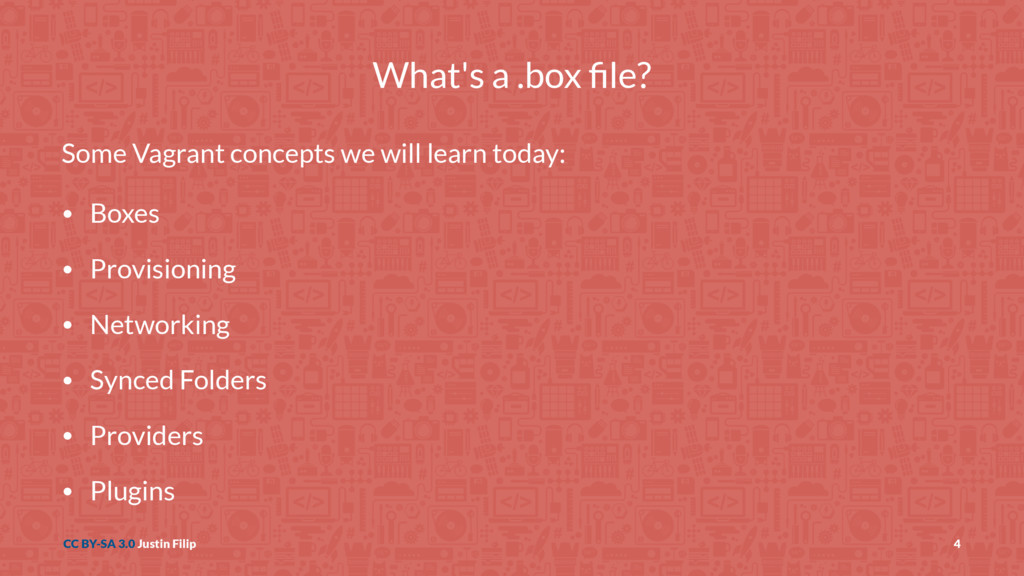
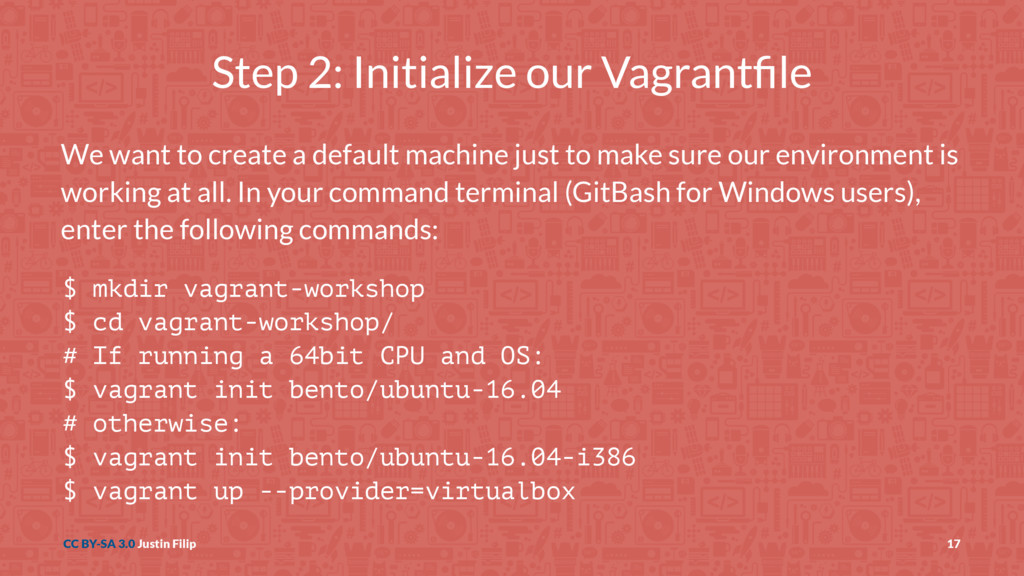
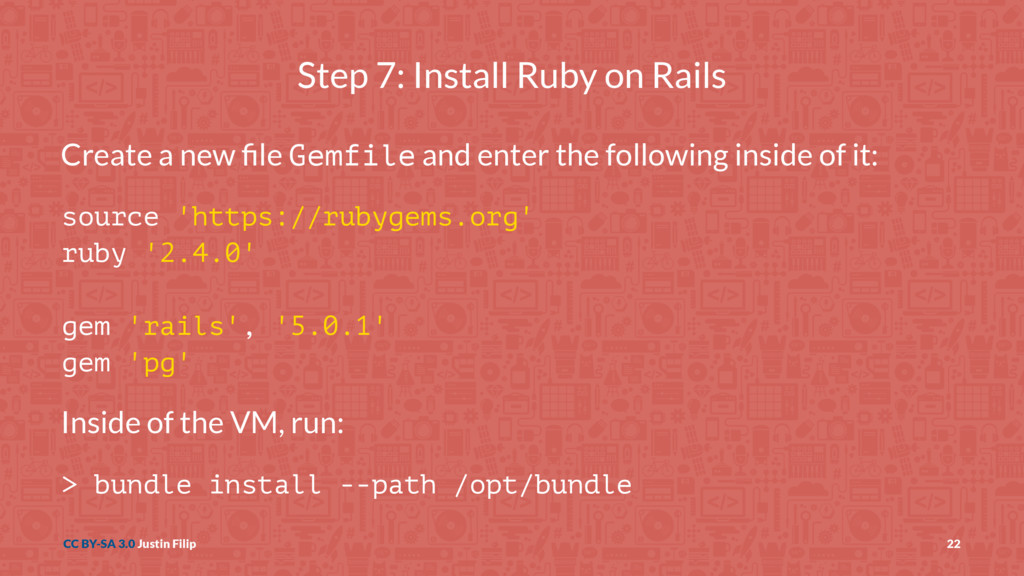
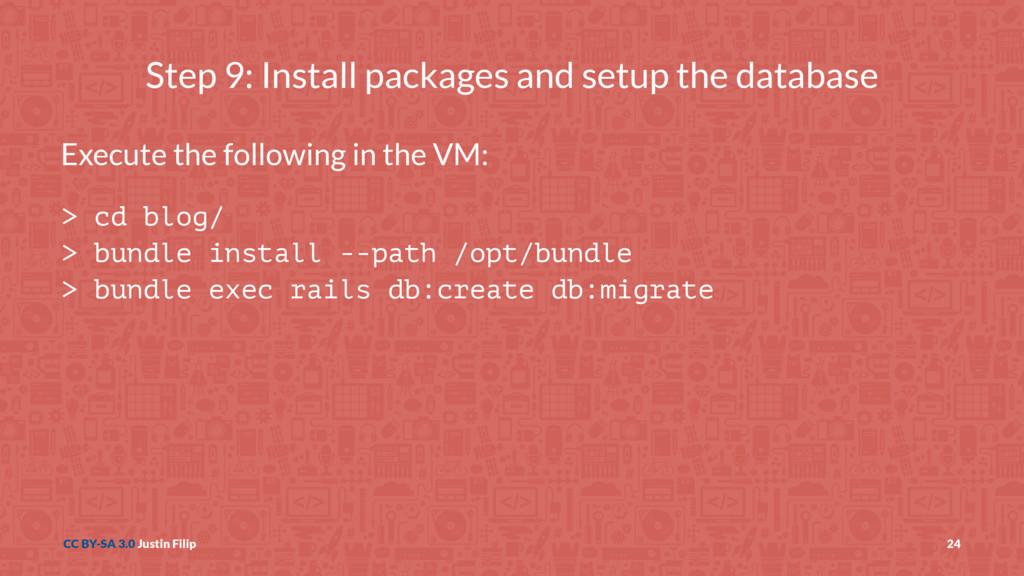
We will be using Vagrant to create a Ruby development environment that will allow us to create a sample Rails application running on a PostgreSQL database backend. We will touch on topics such as:

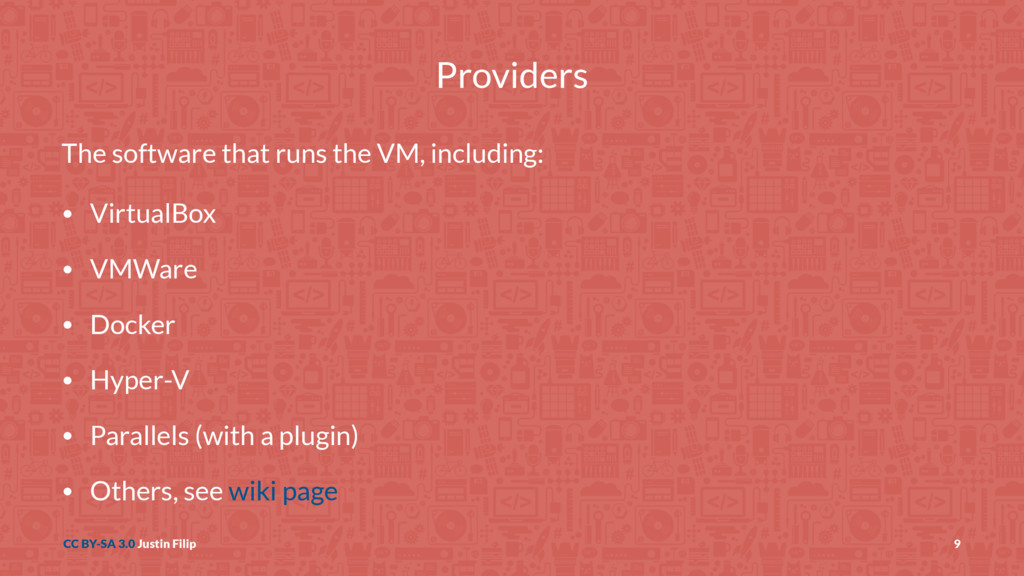
• box discovery and providers
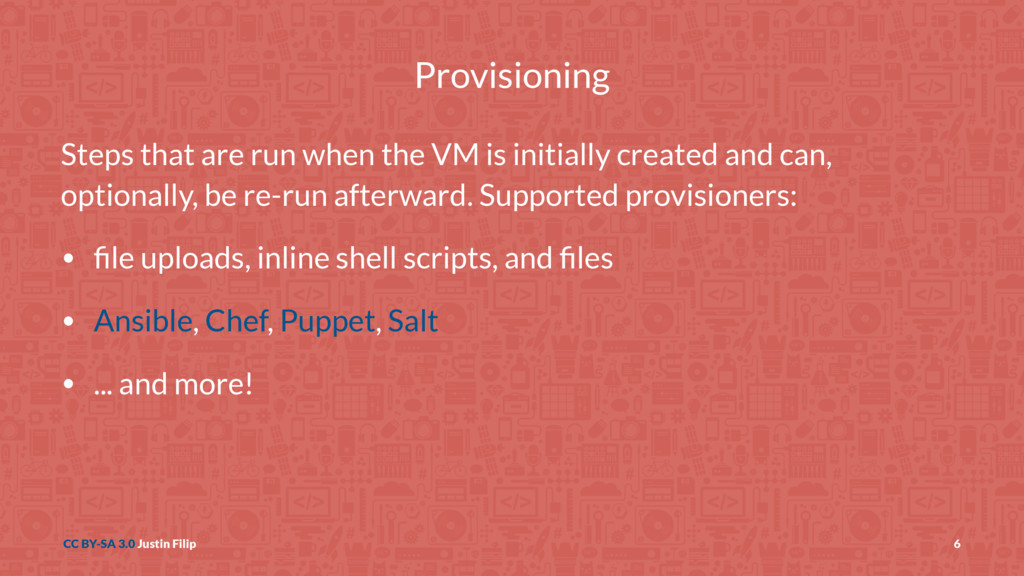
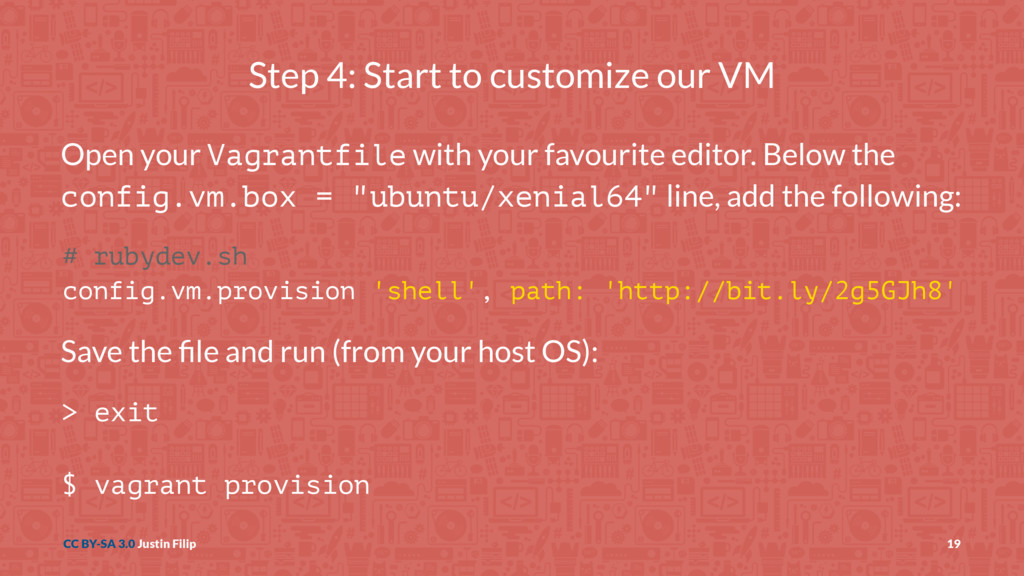
• machine provisioning
• plugins
• deployment

This workshop is suited for developers and people involved in deployment and release management. Designers who work in an existing code base for applications in development could also benefit from learning how to create a contained, sane environment to work in.

No coding or Virtual Machine experience is required but it will help with understanding advanced concepts.

Justin Filip

January 09, 2017
Tweet

Other Decks in Programming

Transcript

  1. Virtually improve your dev workflow with Vagrant Justin Filip -

    @jfilip Shopify Plus CC BY-SA 3.0 Justin Filip 1
  2. What even is Vagrant? Vagrant is a tool for building

    complete development environments. With an easy-to-use workflow and focus on automation, Vagrant lowers development environment setup time, increases development/production parity, and makes the "works on my machine" excuse a relic of the past. -- official Vagrant docs CC BY-SA 3.0 Justin Filip 2
  3. Supported environments • The Vagrant application can be run inside

    the following host environments: • Windows / OS X / Linux (both DEB and RPM packages available) • both 32 and 64 bit versions of each OS are supported More or less any VM that can run in any of the supported virtualization providers will run with Vagrant, provided you have a compatible .box file. CC BY-SA 3.0 Justin Filip 3
  4. What's a .box file? Some Vagrant concepts we will learn

    today: • Boxes • Provisioning • Networking • Synced Folders • Providers • Plugins CC BY-SA 3.0 Justin Filip 4
  5. Boxes Basically a specially packaged VM image with some extra

    metadata information contained inside to help control Vagrant. CC BY-SA 3.0 Justin Filip 5
  6. Provisioning Steps that are run when the VM is initially

    created and can, optionally, be re-run afterward. Supported provisioners: • file uploads, inline shell scripts, and files • Ansible, Chef, Puppet, Salt • ... and more! CC BY-SA 3.0 Justin Filip 6
  7. Networking Allows for easy configuration of the network interfaces running

    inside the VM. Makes it easy to configure: • private internal IP addresses • port forwarding • connecting to public networks CC BY-SA 3.0 Justin Filip 7
  8. Synced Folders Allows you to get folders from your machine

    into the Vagrant VM. Supported methods (host OS dependent): • NFS • RSync • SMB • provider-specific shared folders (plugin dependent) CC BY-SA 3.0 Justin Filip 8
  9. Providers The software that runs the VM, including: • VirtualBox

    • VMWare • Docker • Hyper-V • Parallels (with a plugin) • Others, see wiki page CC BY-SA 3.0 Justin Filip 9
  10. Plugins • Large list of available plugins in the Vagrant

    wiki • Some examples I use: • vagrant-vbguest -- automatically update VirtualBox guest additions if necessary • vagrant-cachier -- caches packages for different managers like apt, yum, Rubygems, NPM, Bower, etc. • vagrant-parallels -- allows running guests with Parallels on OS X CC BY-SA 3.0 Justin Filip 10
  11. Extras Tools that are used to build Vagrant environments for

    you: • Bento (automation for Hashicorp's Packer tool) • Veewee • PuPHPet Running OS X guest VMs with Vagrant: • https://github.com/AndrewDryga/vagrant-box-osx • https://github.com/radeksimko/vagrant-osx CC BY-SA 3.0 Justin Filip 11
  12. Conventions for this workshop Commands: # Commands run in your

    native OS, prefixed with '$' $ vagrant up $ ls -aFh # Commands run inside Vagrant VM, prefixed with '>' > uname -a > sudo apt-get update CC BY-SA 3.0 Justin Filip 12
  13. Requirements for this workshop Required software (for your specific operating

    system): • VirtualBox -- https://virtualbox.org/ • Vagrant -- https://vagrantup.com/ • GitBash -- https://git-scm.com/download/ (for Windows users only) CC BY-SA 3.0 Justin Filip 13
  14. Our goal for today We are going to create a

    Linux environment for doing Ruby on Rails development: 1. Use Ubuntu Linux 16.04 (Xenial) running on VirtualBox (64 bit or 32 bit depending on if whether you are running a 32bit / 64bit OS) 2. Use a simple, repeatable provisioning process to setup our environment 3. Install Ruby 2.4, Postgres 9.5, and NodeJS 4. Get a default Rails application up and running CC BY-SA 3.0 Justin Filip 14
  15. Step 1: Find a .box to start with We are

    going to make our own custom environment so we will pick a base box image that doesn't really have any extras pre-installed. We will use the Atlas box search feature to find a base Ubuntu box. In your browser, go to: • https://vagrantcloud.com/boxes/search • search for "bento ubuntu" • optionally click the virtualbox provider filter to narrow the search CC BY-SA 3.0 Justin Filip 16
  16. Step 2: Initialize our Vagrantfile We want to create a

    default machine just to make sure our environment is working at all. In your command terminal (GitBash for Windows users), enter the following commands: $ mkdir vagrant-workshop $ cd vagrant-workshop/ # If running a 64bit CPU and OS: $ vagrant init bento/ubuntu-16.04 # otherwise: $ vagrant init bento/ubuntu-16.04-i386 $ vagrant up --provider=virtualbox CC BY-SA 3.0 Justin Filip 17
  17. Step 3: Make sure everything is working fine $ vagrant

    ssh You should see a default Ubuntu login message. You are now logged into your Vagrant VM. Enter the following: > uname -a Linux vagrant 4.4.0-38-generic #57-Ubuntu SMP Tue Sep 6 15:42:33 UTC 2016 x86_64 x86_64 x86_64 GNU/Linux CC BY-SA 3.0 Justin Filip 18
  18. Step 4: Start to customize our VM Open your Vagrantfile

    with your favourite editor. Below the config.vm.box = "ubuntu/xenial64" line, add the following: # rubydev.sh config.vm.provision 'shell', path: 'http://bit.ly/2g5GJh8' Save the file and run (from your host OS): > exit $ vagrant provision CC BY-SA 3.0 Justin Filip 19
  19. Step 5: Name the VM and setup our shared folder

    Edit your Vagrantfile to add the following lines below what you added in Step 4: config.vm.hostname = 'rails-getting-started' config.vm.synced_folder '.', '/vagrant' Save the file and run (from your host OS): $ vagrant reload CC BY-SA 3.0 Justin Filip 20
  20. Step 6: Redirect to shared folder on login Edit your

    Vagrantfile to add the following lines below what you added in Step 5: config.vm.provision 'shell', inline: 'echo -e "\ncd /vagrant" >> /home/vagrant/.bashrc' Restart the VM, login and check where we end up: $ vagrant provision $ vagrant ssh > pwd /vagrant CC BY-SA 3.0 Justin Filip 21
  21. Step 7: Install Ruby on Rails Create a new file

    Gemfile and enter the following inside of it: source 'https://rubygems.org' ruby '2.4.0' gem 'rails', '5.0.1' gem 'pg' Inside of the VM, run: > bundle install --path /opt/bundle CC BY-SA 3.0 Justin Filip 22
  22. Step 8: Create a new Rails application Inside the VM:

    > bundle exec rails new blog -d postgresql CC BY-SA 3.0 Justin Filip 23
  23. Step 9: Install packages and setup the database Execute the

    following in the VM: > cd blog/ > bundle install --path /opt/bundle > bundle exec rails db:create db:migrate CC BY-SA 3.0 Justin Filip 24
  24. Step 10: Start the rails server > bundle exec rails

    s Great! Everything looks good here, we're probably done so let's go to the URL that the server says it is running on: • http://localhost:3000/ CC BY-SA 3.0 Justin Filip 25
  25. Step 11: Forward a port into the VM First off,

    we are listening on localhost which will only accept connections from inside the VM. Also, we need to forward a port into the VM from our host so we can access it in the browser. Edit your Vagrantfile and add the following line: config.vm.network 'forwarded_port', guest: 3000, host: 3000 And then run: $ vagrant reload CC BY-SA 3.0 Justin Filip 27
  26. Step 12: Start the rails server (again) $ vagrant ssh

    > cd blog/ > bundle exec rails s -b 0.0.0.0 Now, load the site up in your browser: • http://localhost:3000/ CC BY-SA 3.0 Justin Filip 28
  27. (Un-)Fuck up the VM 1 $ vagrant ssh > #

    Dangerous commands hidden to prevent disasters > exit $ vagrant reload Whoops. The SSH command isn't responding. We messed up the VM and prevented it from being bootable. That's bad. CC BY-SA 3.0 Justin Filip 30
  28. (Un-)Fuck up the VM 2 Fortunately our code lives outside

    of the VM so we can just recreate it from scratch without loosing any work! $ vagrant destroy $ vagrant up --provider=virtualbox $ vagrant ssh > cd blog/ > bundle install --path /opt/bundle/rails > bundle exec db:create db:migrate > bundle exec rails s -b 0.0.0.0 CC BY-SA 3.0 Justin Filip 31
  29. VM performance tuning We are running a database server and

    a web server at the same time inside our VM. It might be nice to use two CPUs to do this. Edit your Vagrantfile to add: config.vm.provider 'virtualbox' do |vb| vb.cpus = 2 vb.memory = 1024 end And run: $ vagrant reload CC BY-SA 3.0 Justin Filip 32
  30. Want to continue? Now that you have a Rails dev

    environment setup and configured, you can follow along with the Rails Getting Started Guide, if you wish: • http://guides.rubyonrails.org/getting_started.html CC BY-SA 3.0 Justin Filip 33
  31. Resources • Official Vagrant site • Vagrant Support • Atlas

    Vagrant Box Search CC BY-SA 3.0 Justin Filip 34
  32. Thanks! Slides available at -- http://bit.ly/1VOzCmI Code available at --

    http://bit.ly/1Mm3hyG CC BY-SA 3.0 Justin Filip 35