Upgrade to Pro — share decks privately, control downloads, hide ads and more …

Blogging Like A Hacker

Ji Guang
December 12, 2012

Blogging Like A Hacker

使用 github 搭建博客详解

Ji Guang

December 12, 2012
Tweet

More Decks by Ji Guang

Other Decks in Technology

Transcript

  1. About the Subject • from Tom Preston-Werner • cofounder of

    Github • author of Jekyll • http://tom.preston- werner.com/2008/11/17/blogging-like-a- hacker.html
  2. Github Pages • The easiest way to quickly publish beautiful

    pages for you and your projects • http://pages.github.com • only static assets • free & unlimited bandwidth • support custom domain • safe & fast
  3. Preparation • github account @github.com • github bash/client • github

    basics (add/commit/push…) • linux basics (cd/ls/rm…) • html/css/javascript • markdown • …
  4. Quick Start • proxy setting (optional): • $ git config

    –global http.proxy http://proxy.yourdomain.com:{yourport} • $ cd yourdir & git clone [email protected]:jiguang/jiguang.github.com.g it
  5. Quick Start • create a page: • $ echo "My

    GitHub Page" > index.html • $ git add index.html • $ git commit –m ‘First pages commit’ • $ git push • Test: http://jiguang.github.com
  6. Project Pages • User Page (username/username.github.com): • http://jiguang.github.com • Project

    Page (gh-pages branch): • http://ued.github.com/emberjs-doc-cn/
  7. Project Pages • username/project-name vs. • username.github.com/project-name • eg: •

    jiguang.github.com == 44ux.com • 44ux.com/demo == jiguang.github.com/demo • but, what about: jiguang/demo (gh-pages) • jiguang/demo will overwrites jiguang/jiguang.github.com/demo
  8. Custom Domain • just create a file named CNAME in

    the root of your pages and put the domain (or subdomain) into the file: example.com • A record pointing to 204.232.175.78 • github:help
  9. Automatic Generator • Go to the repo's admin page •

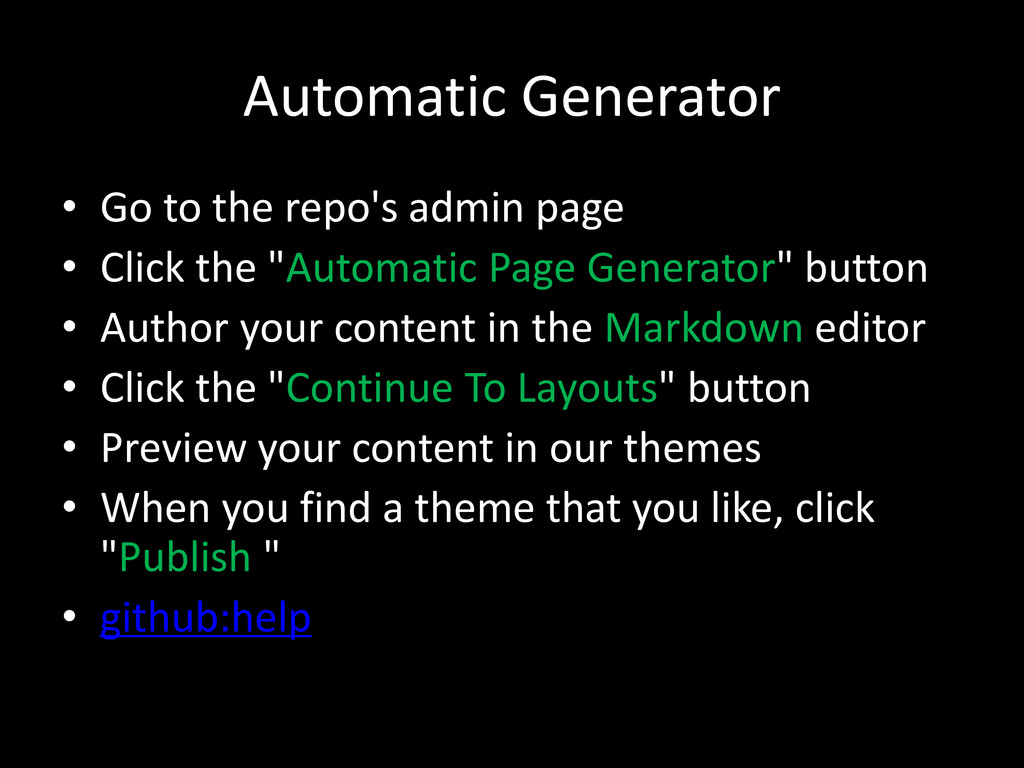
    Click the "Automatic Page Generator" button • Author your content in the Markdown editor • Click the "Continue To Layouts" button • Preview your content in our themes • When you find a theme that you like, click "Publish " • github:help
  10. Using Jekyll with Pages • Jekyll is a blog-aware, static

    site generator in Ruby — Read more • Install the gem • Read up about its Usage and Configuration • Migrate from your previous system • Learn how the YAML Front Matter works • Put information on your site with Template Data
  11. Markdown • # This is an H1 • [This link](http://example.net/)

    has no title attribute. • <http://example.com/> • http://daringfireball.net/projects/markdown/s yntax
  12. YAML Front Matter • --- • layout: post • title:

    Blogging Like a Hacker • --- • https://github.com/mojombo/jekyll/wiki/yaml -front-matter
  13. Liquid • http://liquidmarkup.org/ • {{ page.title }} • {% if

    page.tagline %} <small>{{ page.tagline }}</small>{% endif %} • Template Data: • https://github.com/mojombo/jekyll/wiki/tem plate-data
  14. Jekyll Bootstrap (JB) • Jekyll-Bootstrap is a lean blogging framework

    made for developers and designers. • http://jekyllbootstrap.com • Jekyll Quick Start • http://jekyllbootstrap.com/usage/jekyll-quick- start.html
  15. Run Jekyll Locally • install ruby (Source code or Windows

    Installer) • $ gem install jekyll • $ cd USERNAME.github.com • $ jekyll --server • Your blog is now available at: • http://localhost:4000
  16. Run Jekyll Locally • Create a Post • $ rake

    post title="Hello World" • Create a Page • $ rake page name="about.md" • Publish • $ git add . • $ git commit -m "Add new content" • $ git push origin master