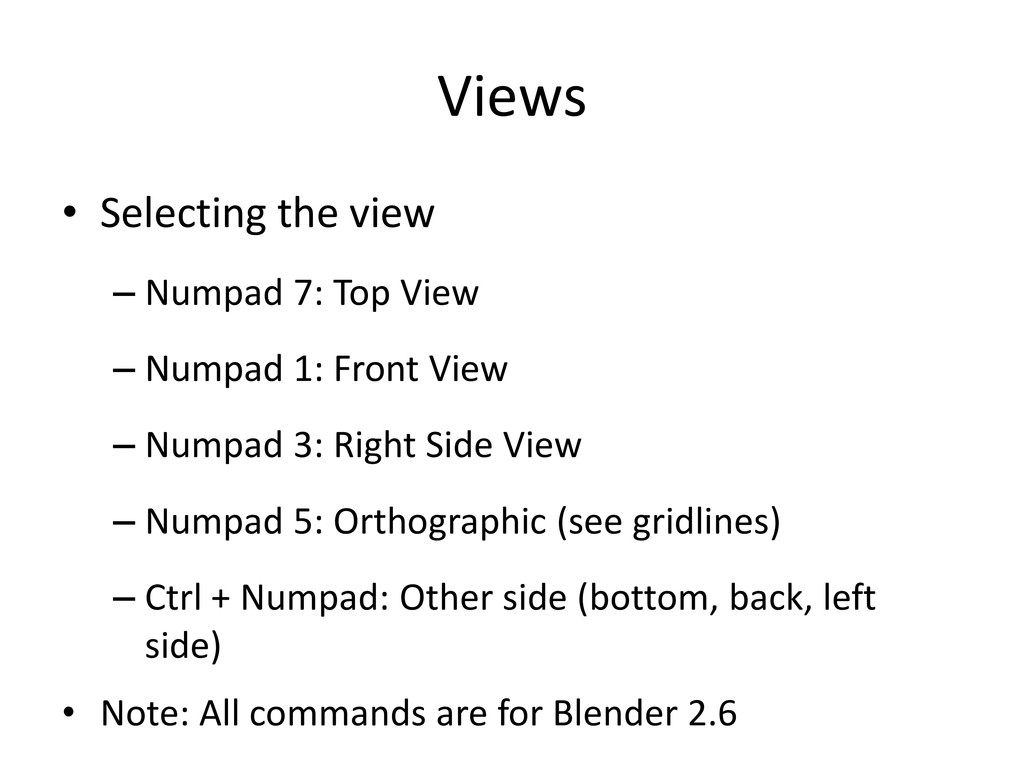
– Numpad 1: Front View – Numpad 3: Right Side View – Numpad 5: Orthographic (see gridlines) – Ctrl + Numpad: Other side (bottom, back, left side) • Note: All commands are for Blender 2.6
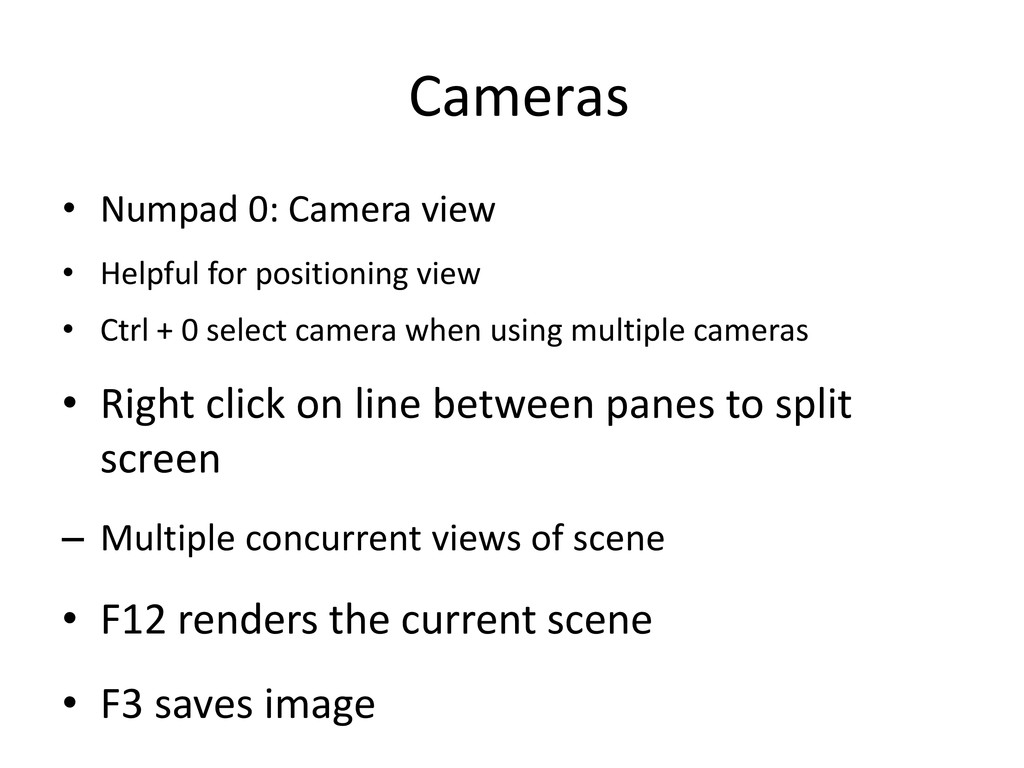
view • Ctrl + 0 select camera when using multiple cameras • Right click on line between panes to split screen – Multiple concurrent views of scene • F12 renders the current scene • F3 saves image
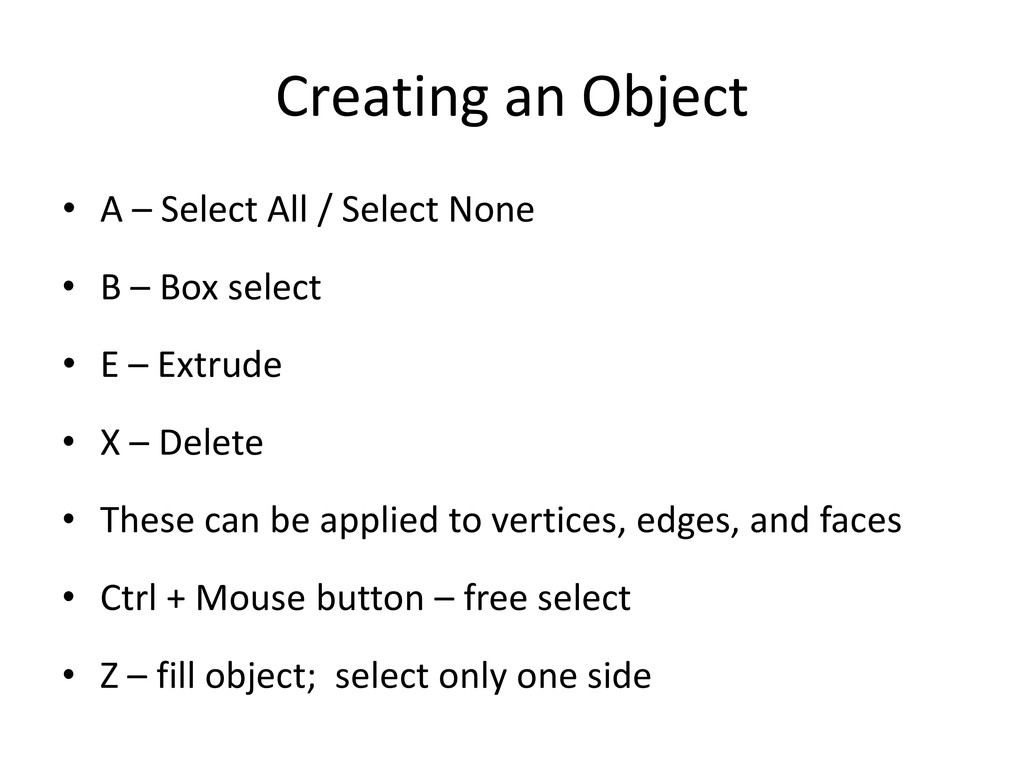
None • B – Box select • E – Extrude • X – Delete • These can be applied to vertices, edges, and faces • Ctrl + Mouse button – free select • Z – fill object; select only one side
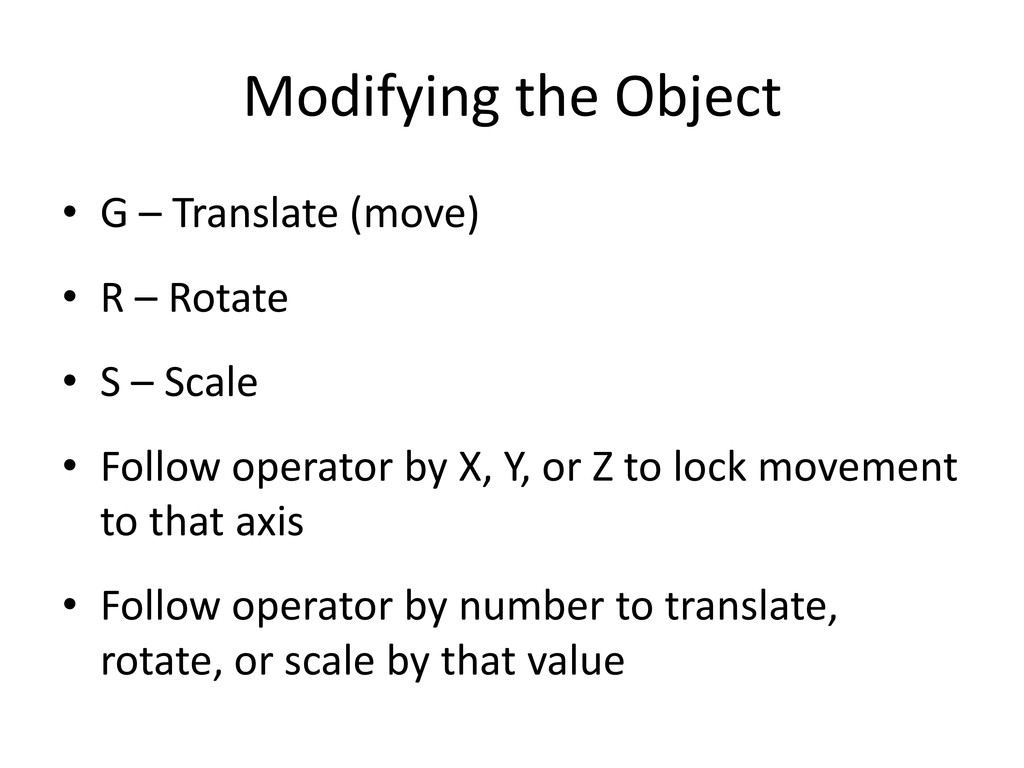
– Rotate • S – Scale • Follow operator by X, Y, or Z to lock movement to that axis • Follow operator by number to translate, rotate, or scale by that value
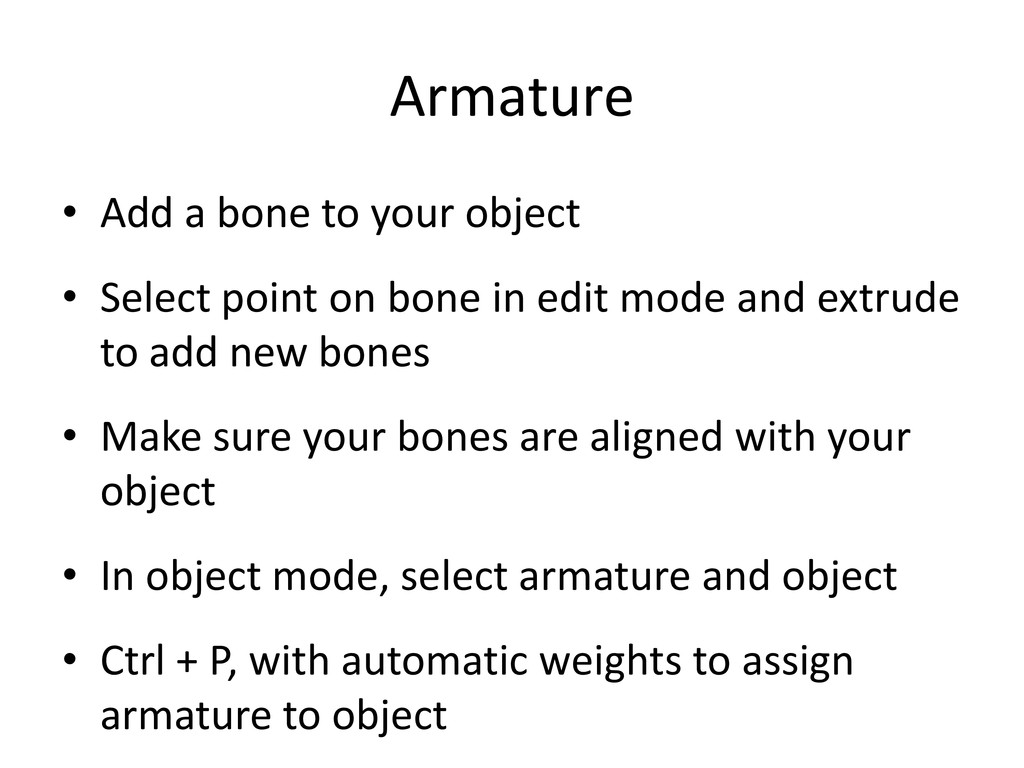
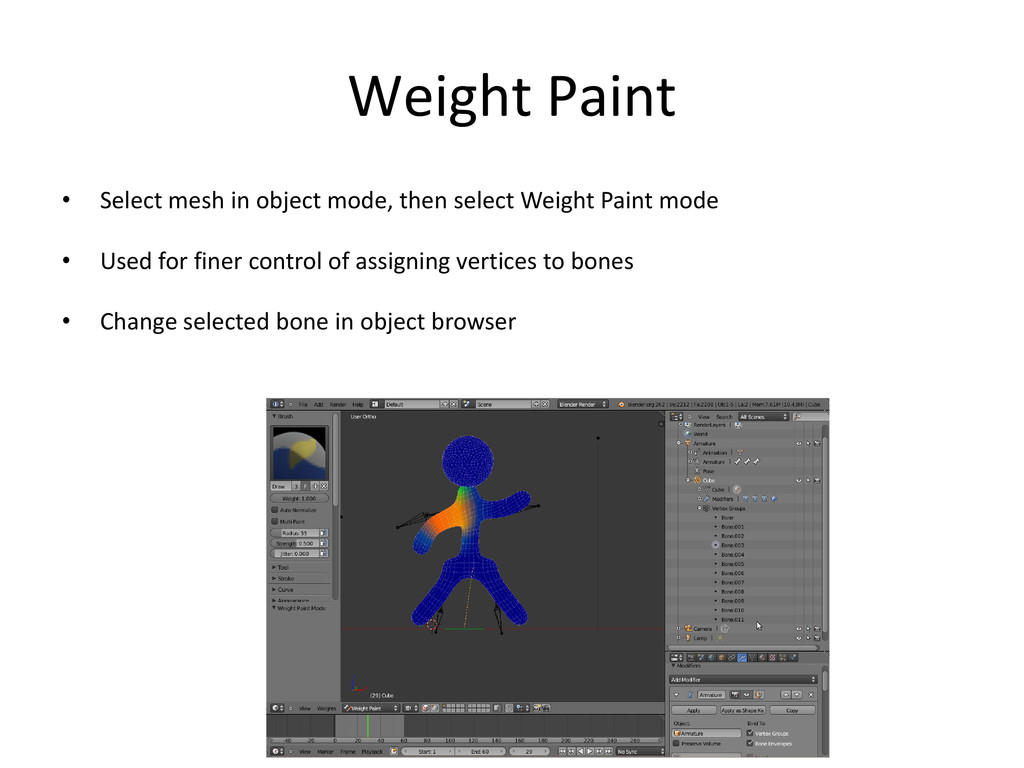
point on bone in edit mode and extrude to add new bones • Make sure your bones are aligned with your object • In object mode, select armature and object • Ctrl + P, with automatic weights to assign armature to object
armature selected to enter Pose mode • Record button - automatic keyframing – Not recommended • Dope sheet / action editor • I, LockRotScale – insert keyframe – Must be in Pose mode! – Make sure all bones are selected (A) • Can duplicate keyframe using select then Shift + D
modifier – High value for CG image, low value for objects to be rendered in real time (games) • Ctrl + R – Loop cut • Mirror modifier – Delete half of the object • Proportional Editing Tool – O Key
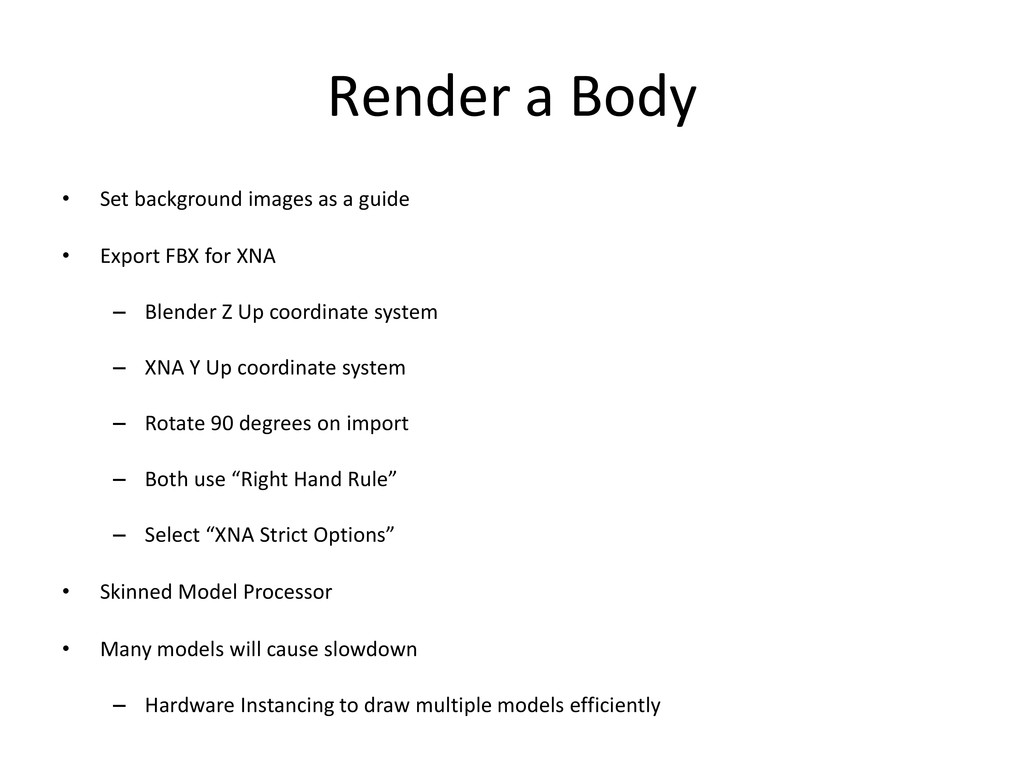
• Export FBX for XNA – Blender Z Up coordinate system – XNA Y Up coordinate system – Rotate 90 degrees on import – Both use “Right Hand Rule” – Select “XNA Strict Options” • Skinned Model Processor • Many models will cause slowdown – Hardware Instancing to draw multiple models efficiently
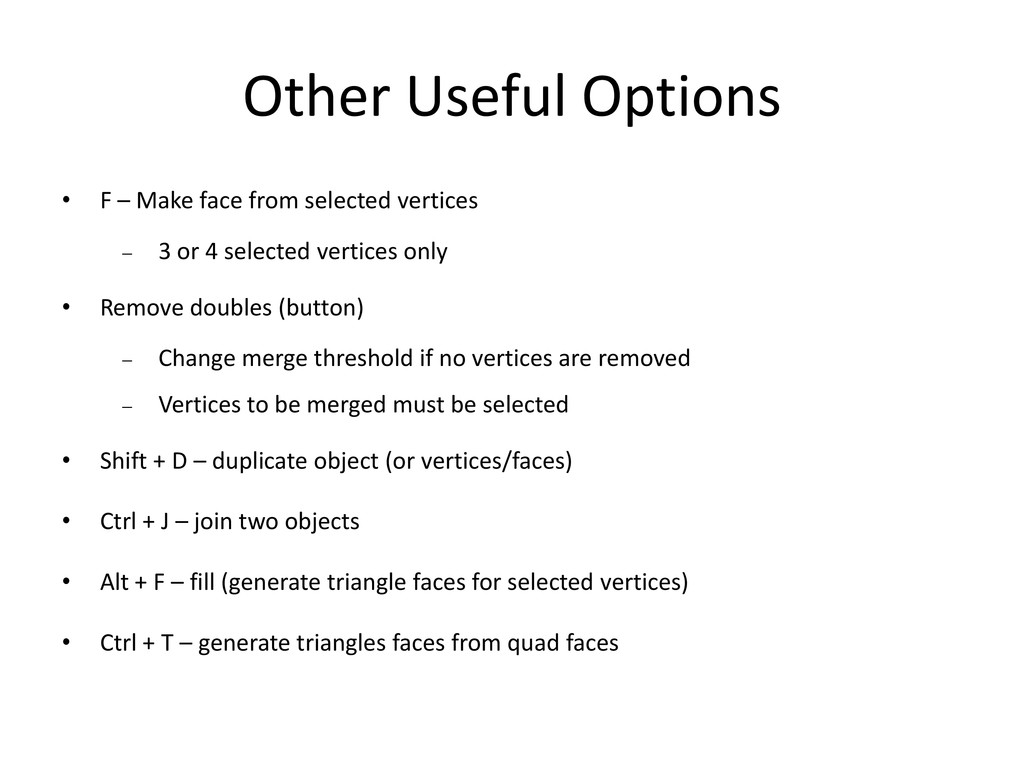
vertices 3 or 4 selected vertices only • Remove doubles (button) Change merge threshold if no vertices are removed Vertices to be merged must be selected • Shift + D – duplicate object (or vertices/faces) • Ctrl + J – join two objects • Alt + F – fill (generate triangle faces for selected vertices) • Ctrl + T – generate triangles faces from quad faces
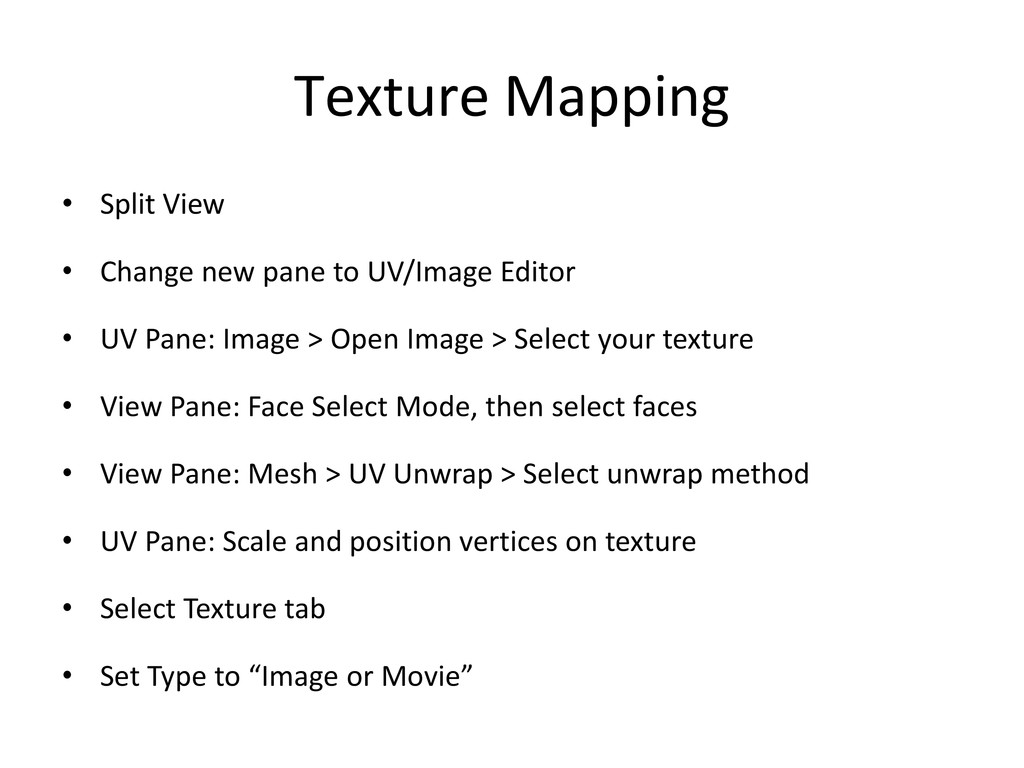
UV/Image Editor • UV Pane: Image > Open Image > Select your texture • View Pane: Face Select Mode, then select faces • View Pane: Mesh > UV Unwrap > Select unwrap method • UV Pane: Scale and position vertices on texture • Select Texture tab • Set Type to “Image or Movie”
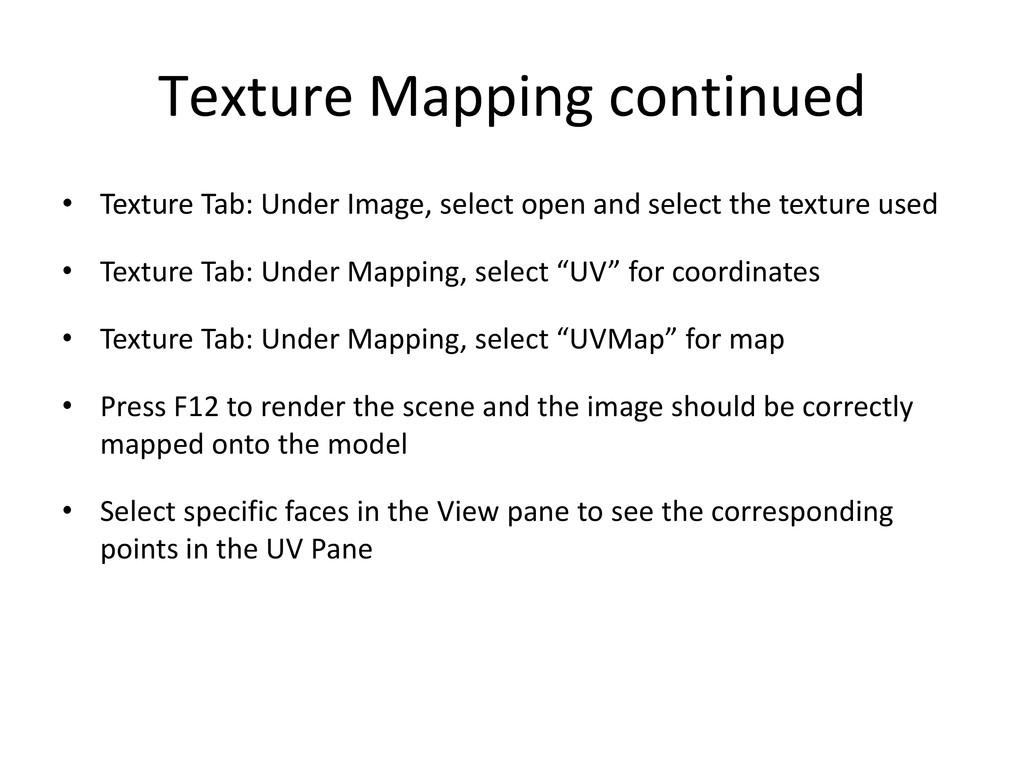
and select the texture used • Texture Tab: Under Mapping, select “UV” for coordinates • Texture Tab: Under Mapping, select “UVMap” for map • Press F12 to render the scene and the image should be correctly mapped onto the model • Select specific faces in the View pane to see the corresponding points in the UV Pane
models • Texture must be imported separately • SkinnedModelProcessor must be created to import animation data • XNA will only use first animation defined in an FBX model
the camera Trees in a racing game Text in a 3D world • Atlas Mapping Render many similar objects at once Allows object texture changing without sacrificing processing time
– Free online wiki book – http://en.wikibooks.org/wiki/Blender_3D:_Noob_to_Pro • Diabolical The Shooter – John C Brown Game developed using Blender models, with guides and tutorials http://blog.diabolicalgame.co.uk/ Blasting Bits My game using Blender models, with development process documented https://blastingbits.wordpress.com/