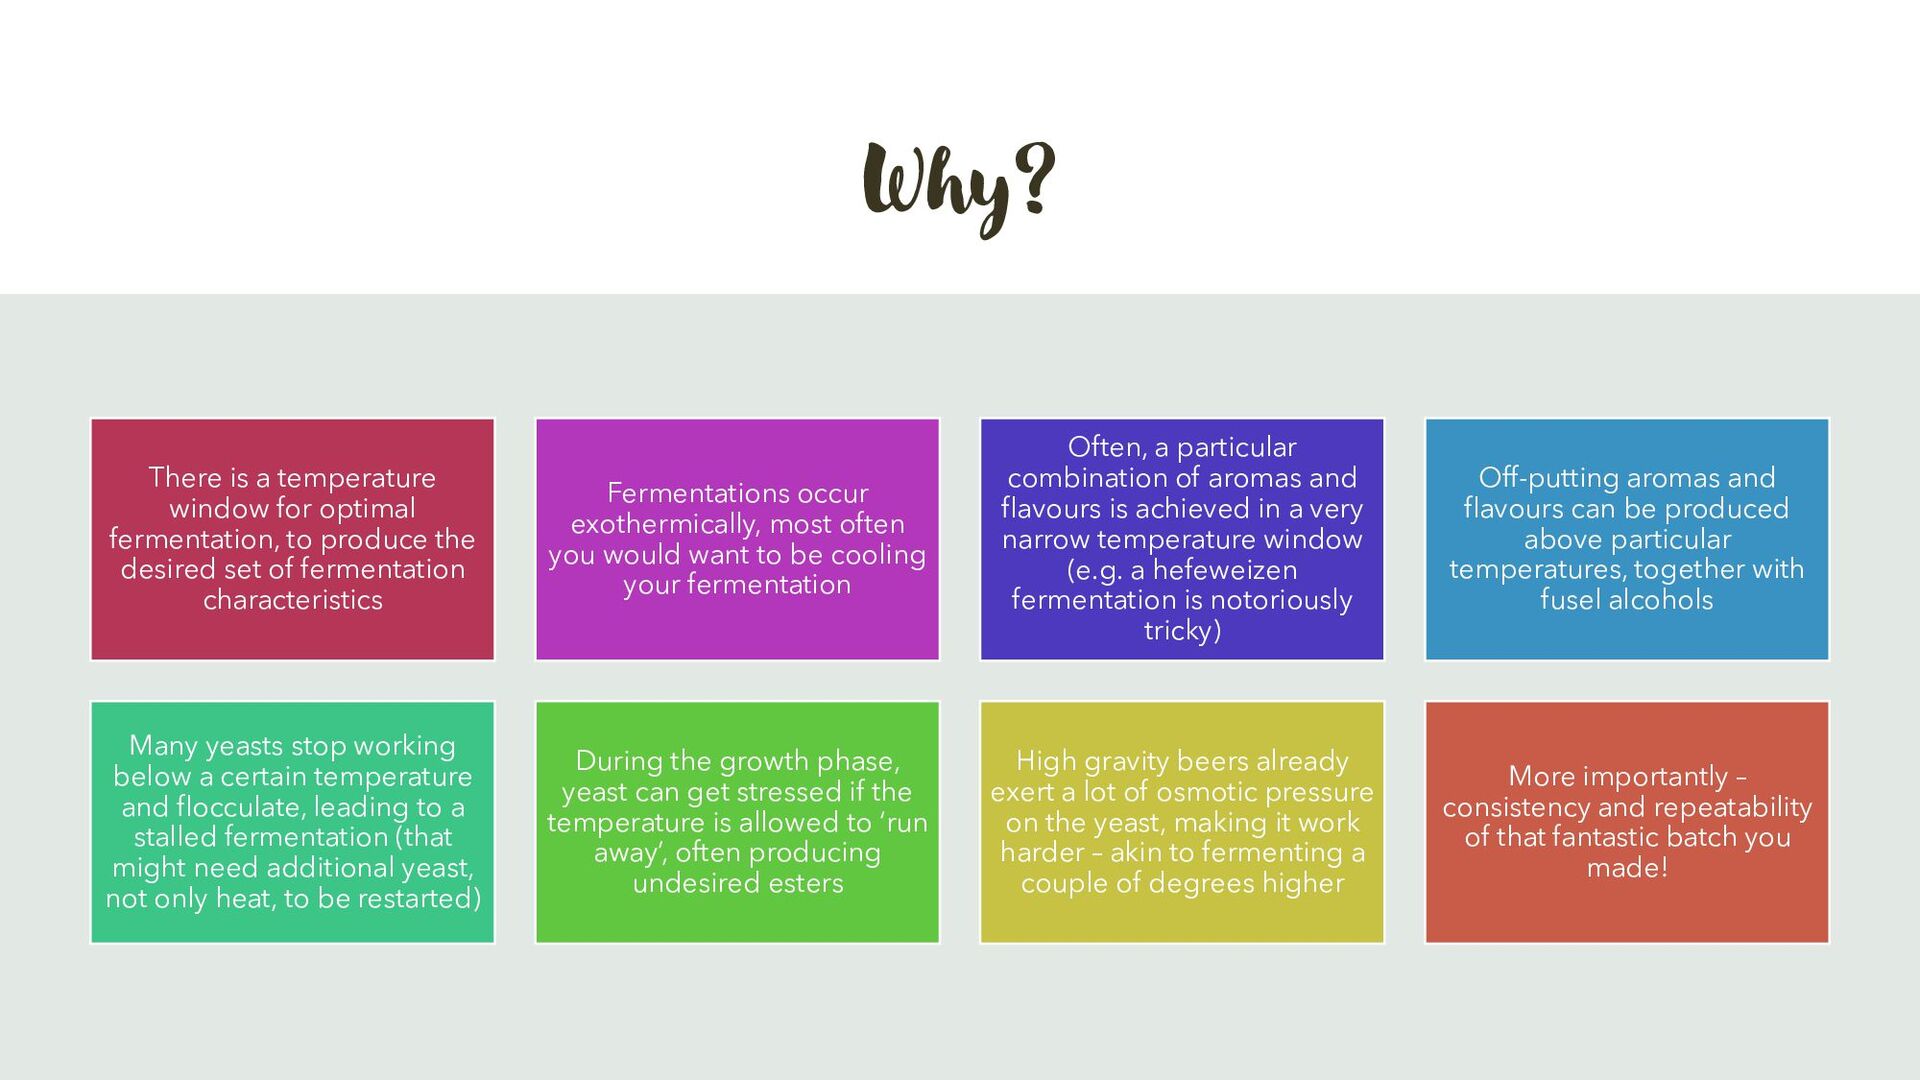
produce the desired set of fermentation characteristics Fermentations occur exothermically, most often you would want to be cooling your fermentation Often, a particular combination of aromas and flavours is achieved in a very narrow temperature window (e.g. a hefeweizen fermentation is notoriously tricky) Off-putting aromas and flavours can be produced above particular temperatures, together with fusel alcohols Many yeasts stop working below a certain temperature and flocculate, leading to a stalled fermentation (that might need additional yeast, not only heat, to be restarted) During the growth phase, yeast can get stressed if the temperature is allowed to ‘run away’, often producing undesired esters High gravity beers already exert a lot of osmotic pressure on the yeast, making it work harder – akin to fermenting a couple of degrees higher More importantly – consistency and repeatability of that fantastic batch you made!
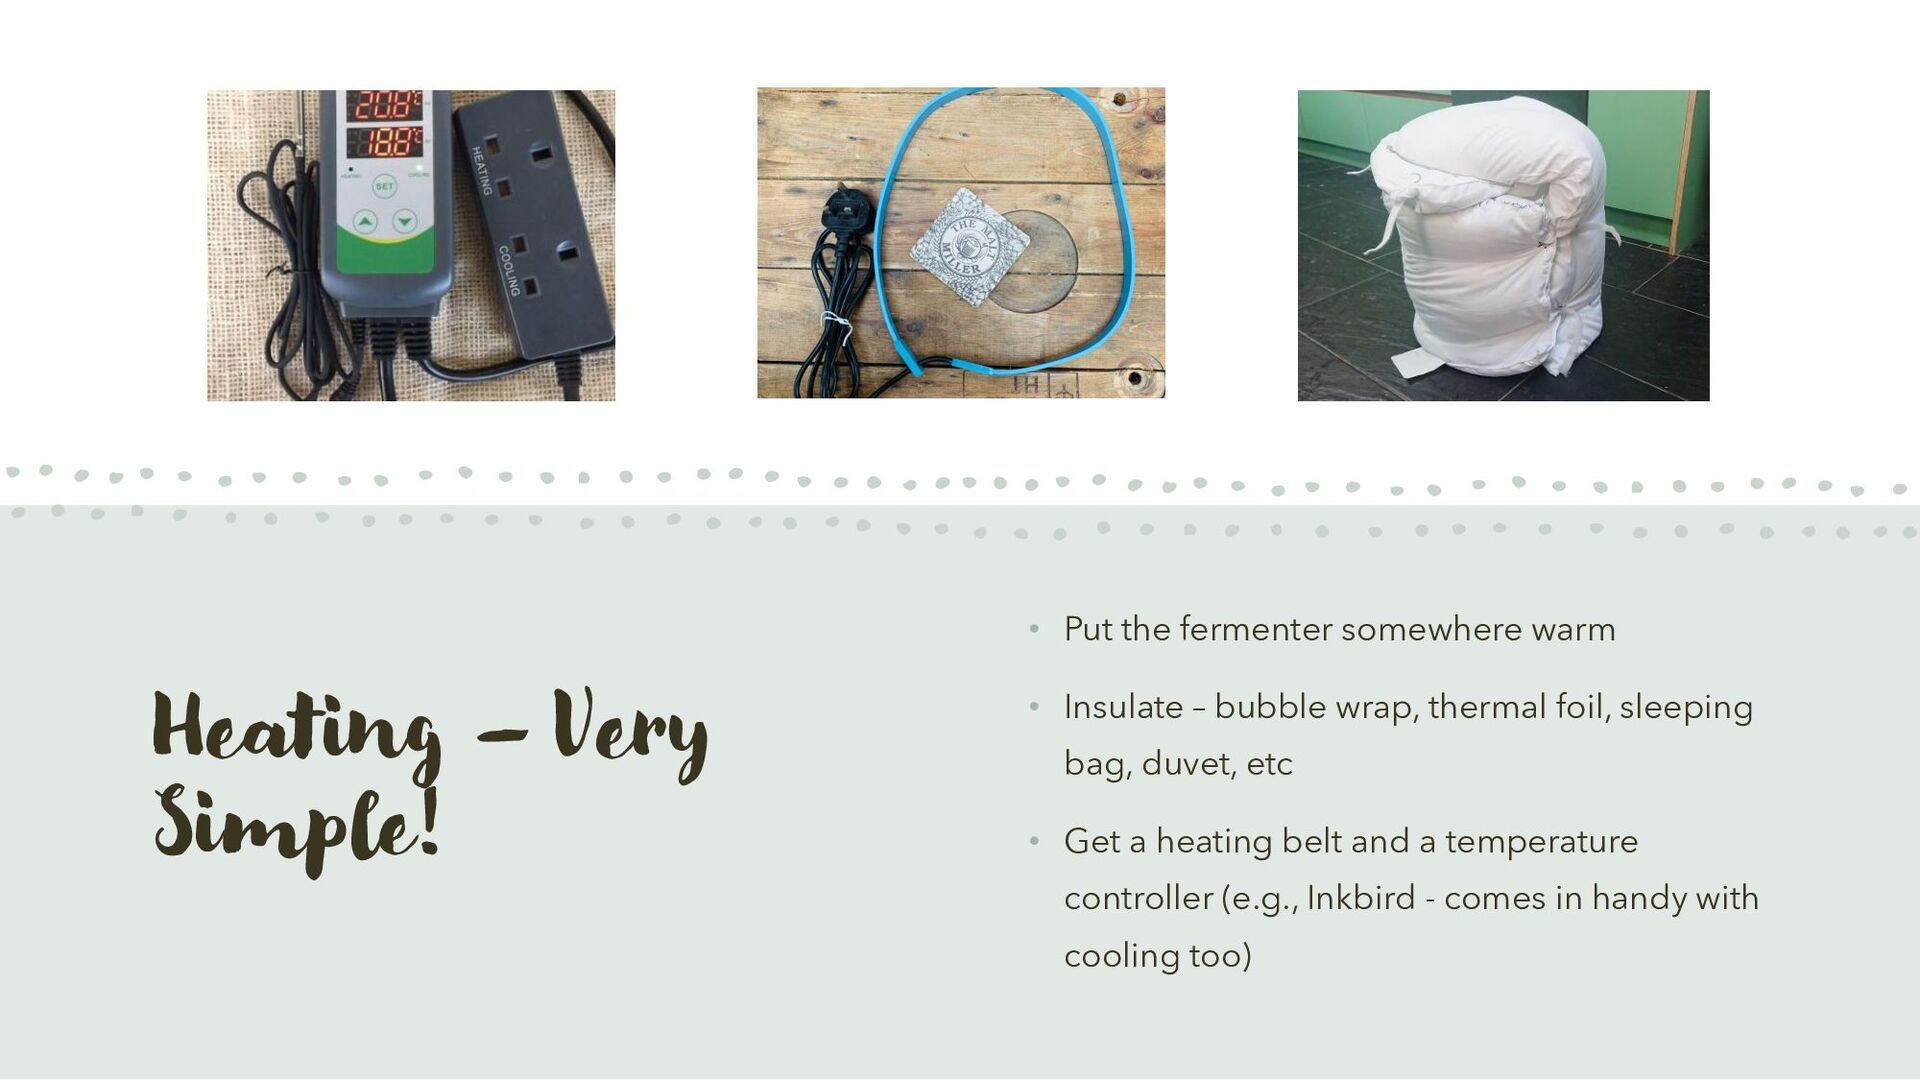
• Insulate – bubble wrap, thermal foil, sleeping bag, duvet, etc • Get a heating belt and a temperature controller (e.g., Inkbird - comes in handy with cooling too)
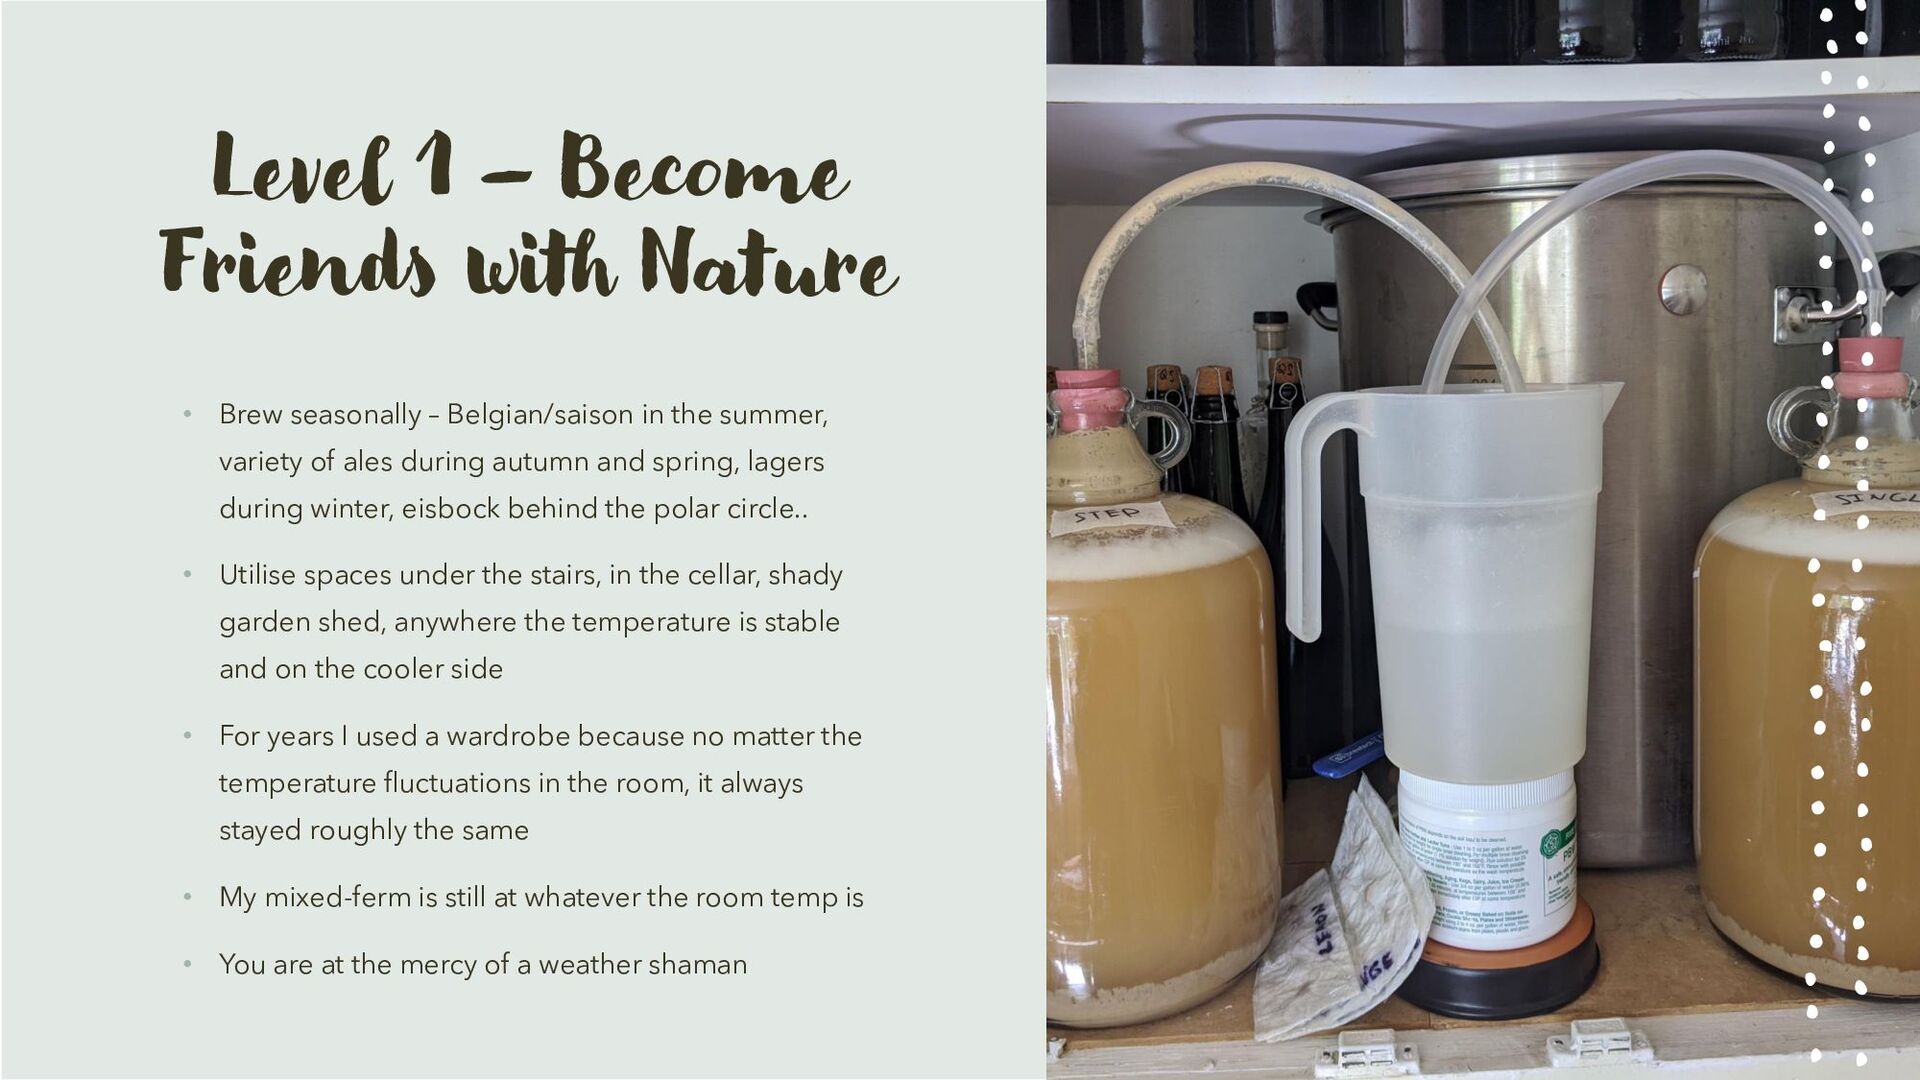
– Belgian/saison in the summer, variety of ales during autumn and spring, lagers during winter, eisbock behind the polar circle.. • Utilise spaces under the stairs, in the cellar, shady garden shed, anywhere the temperature is stable and on the cooler side • For years I used a wardrobe because no matter the temperature fluctuations in the room, it always stayed roughly the same • My mixed-ferm is still at whatever the room temp is • You are at the mercy of a weather shaman
things slightly cooler, benefitting from evaporation off the cloth • Needs manual temp monitoring and top up from time to time • Fill up with cold ground water and/or (ideally) ice • Temp fluctuates up and down • Lacks precision
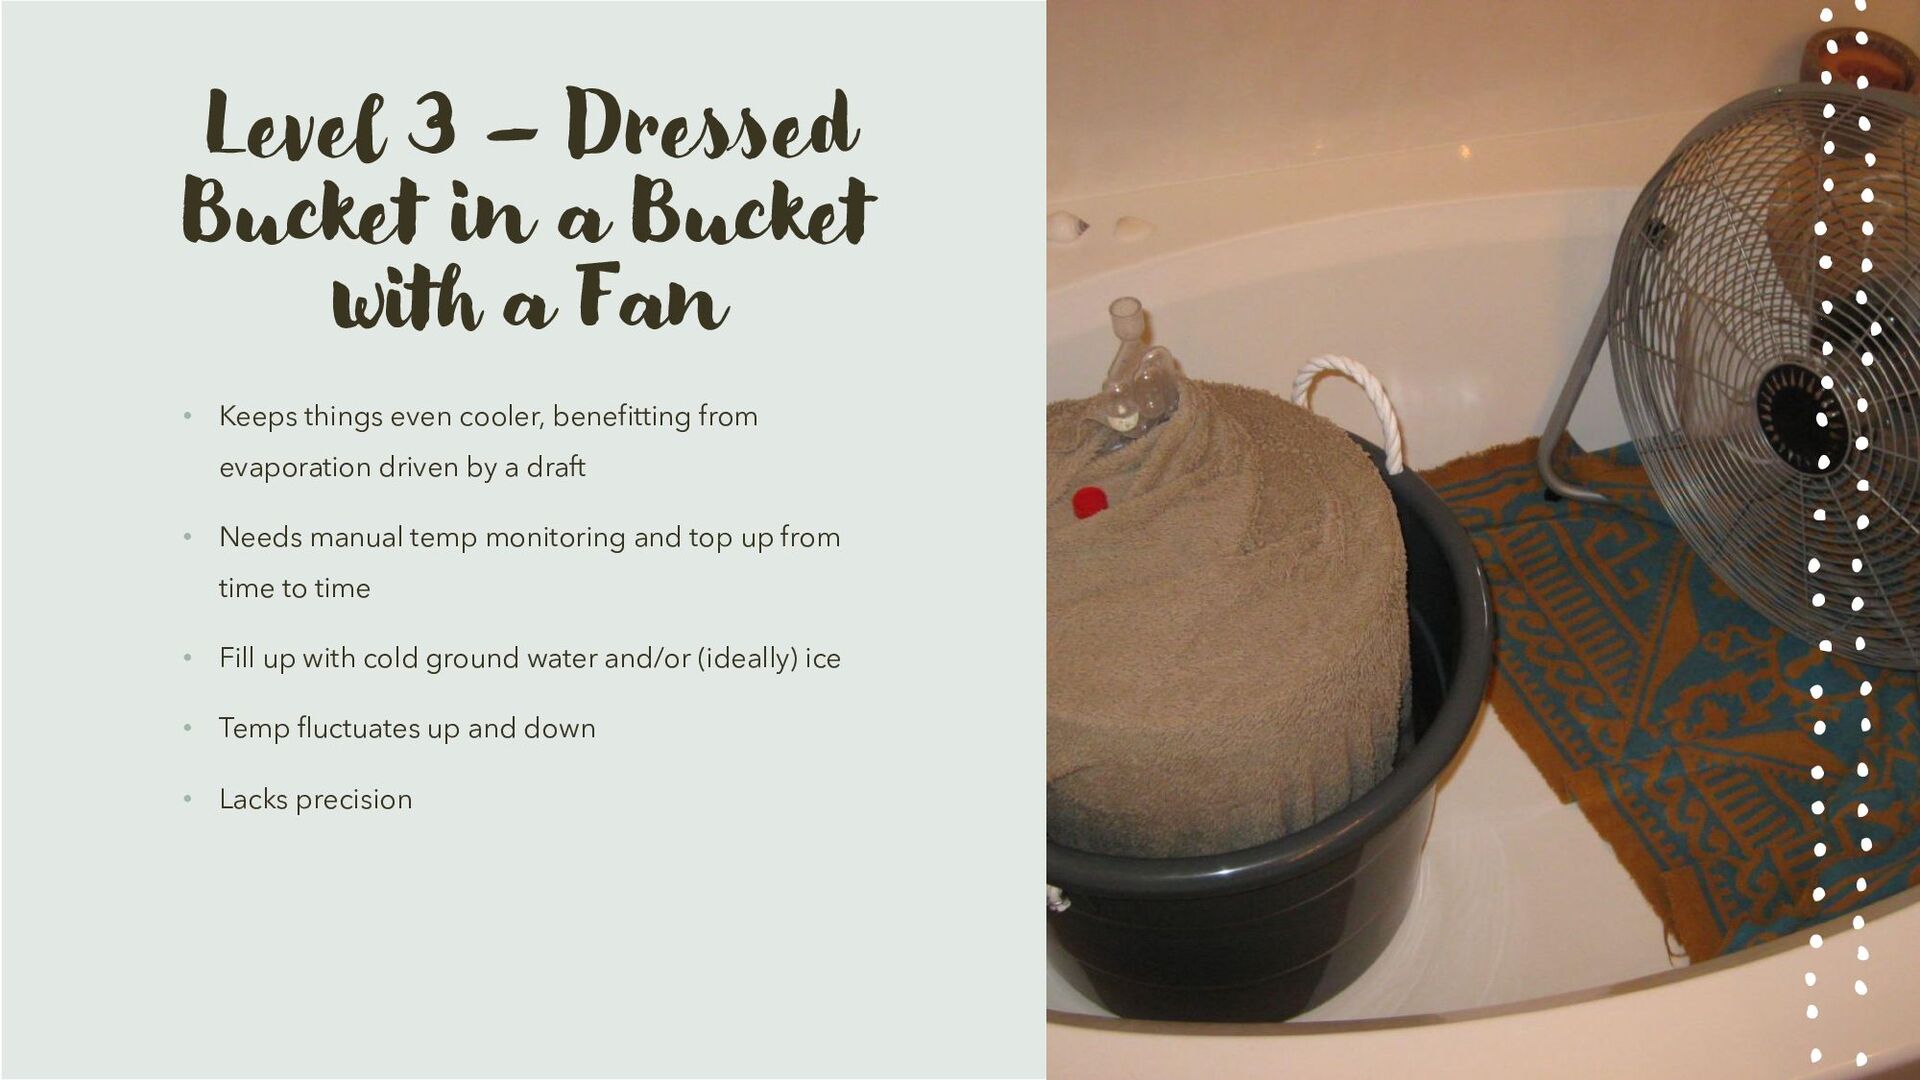
Fan • Keeps things even cooler, benefitting from evaporation driven by a draft • Needs manual temp monitoring and top up from time to time • Fill up with cold ground water and/or (ideally) ice • Temp fluctuates up and down • Lacks precision
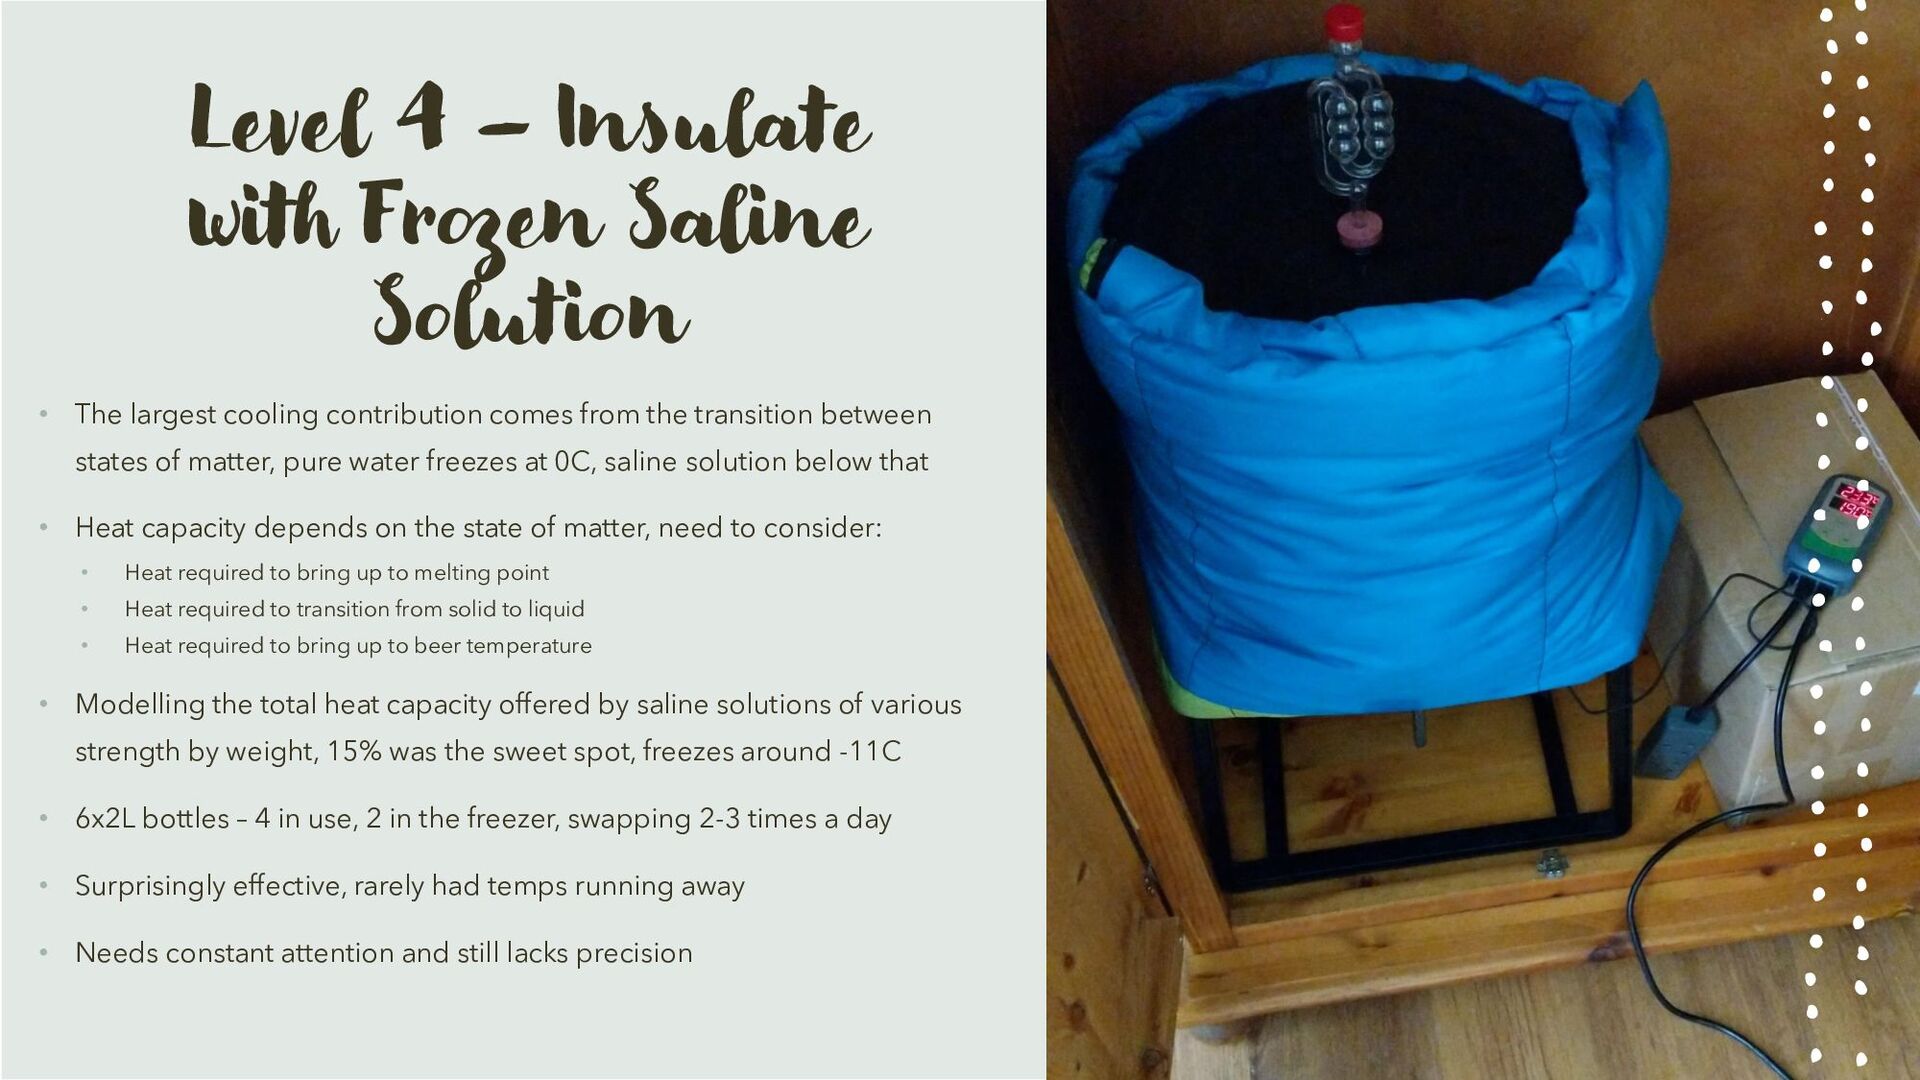
largest cooling contribution comes from the transition between states of matter, pure water freezes at 0C, saline solution below that • Heat capacity depends on the state of matter, need to consider: • Heat required to bring up to melting point • Heat required to transition from solid to liquid • Heat required to bring up to beer temperature • Modelling the total heat capacity offered by saline solutions of various strength by weight, 15% was the sweet spot, freezes around -11C • 6x2L bottles – 4 in use, 2 in the freezer, swapping 2-3 times a day • Surprisingly effective, rarely had temps running away • Needs constant attention and still lacks precision
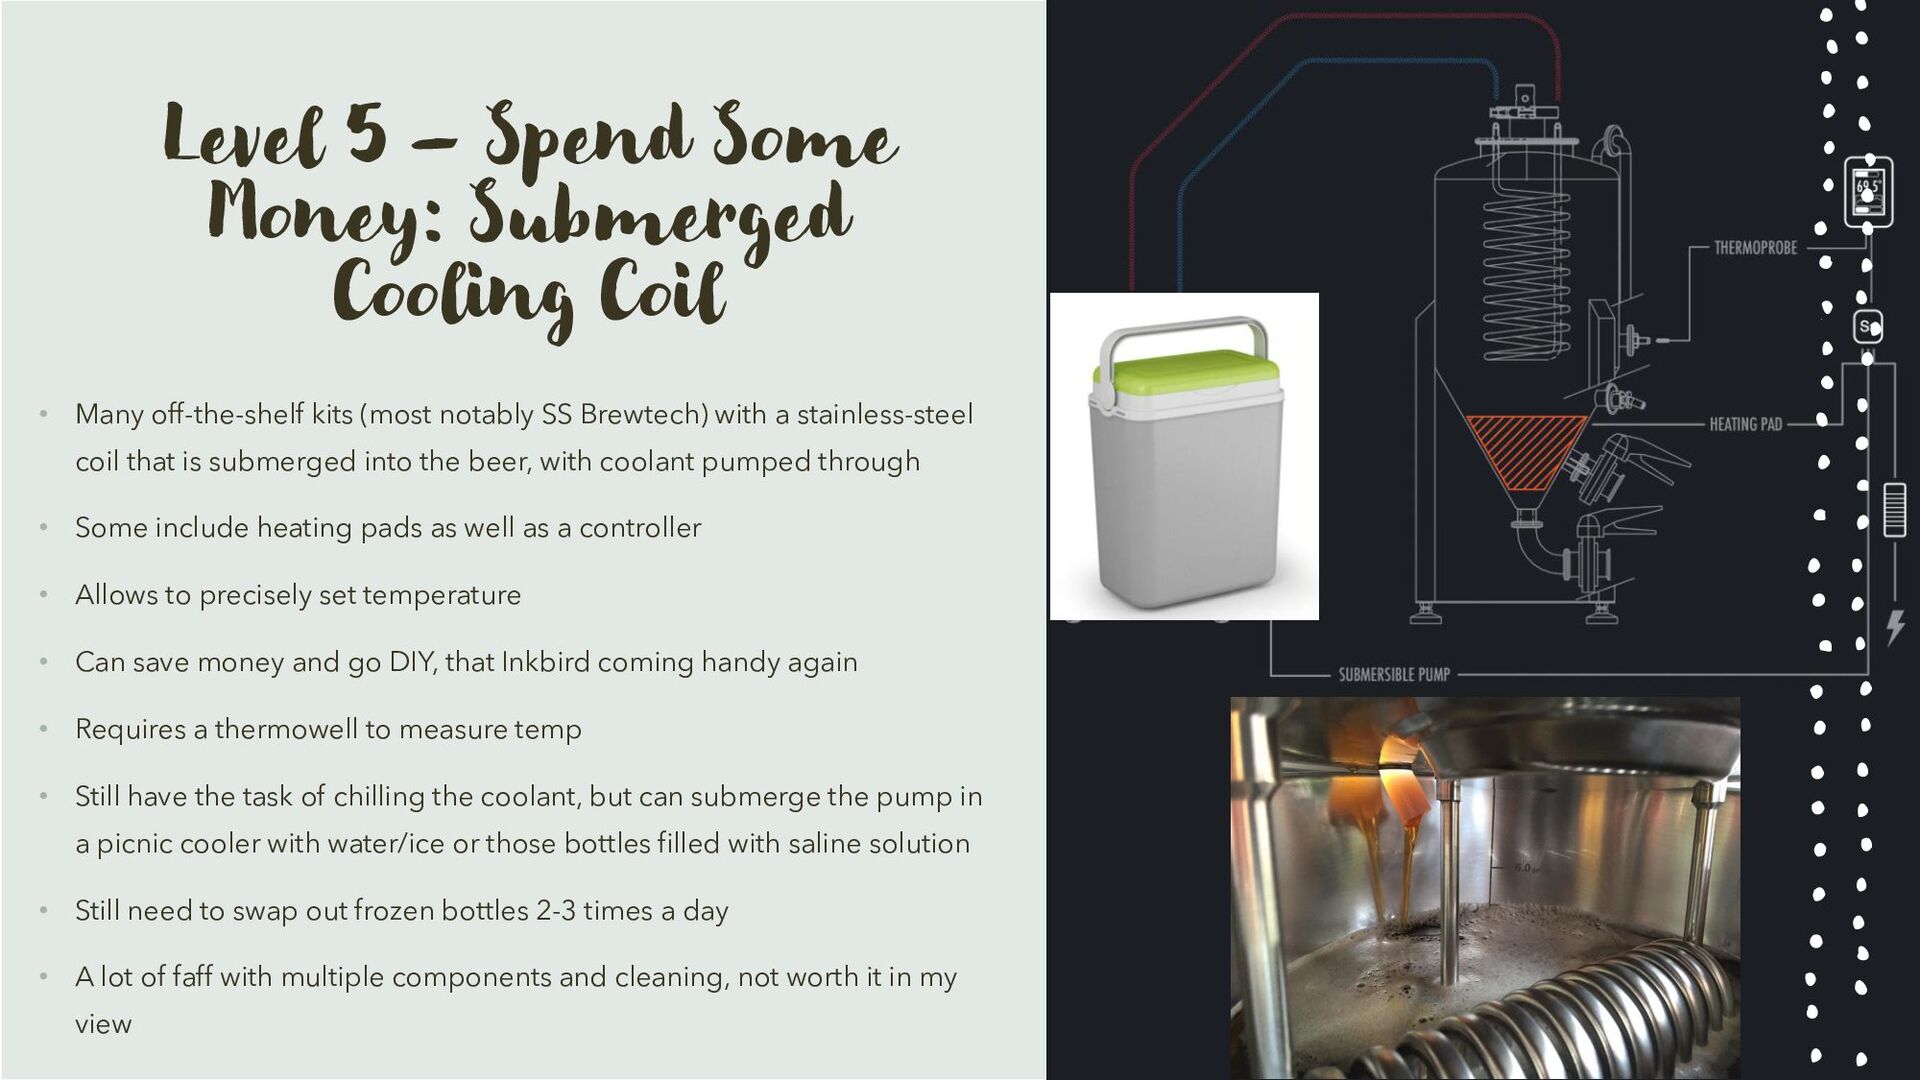
Many off-the-shelf kits (most notably SS Brewtech) with a stainless-steel coil that is submerged into the beer, with coolant pumped through • Some include heating pads as well as a controller • Allows to precisely set temperature • Can save money and go DIY, that Inkbird coming handy again • Requires a thermowell to measure temp • Still have the task of chilling the coolant, but can submerge the pump in a picnic cooler with water/ice or those bottles filled with saline solution • Still need to swap out frozen bottles 2-3 times a day • A lot of faff with multiple components and cleaning, not worth it in my view
• Some come with an inbuilt controller and heating pad, e.g., Grainfather Conical that let’s you program temp schedule • All the advantages of the submerged coil and none of the faff with cleaning • The same problem of chilling the coolant • Expensive
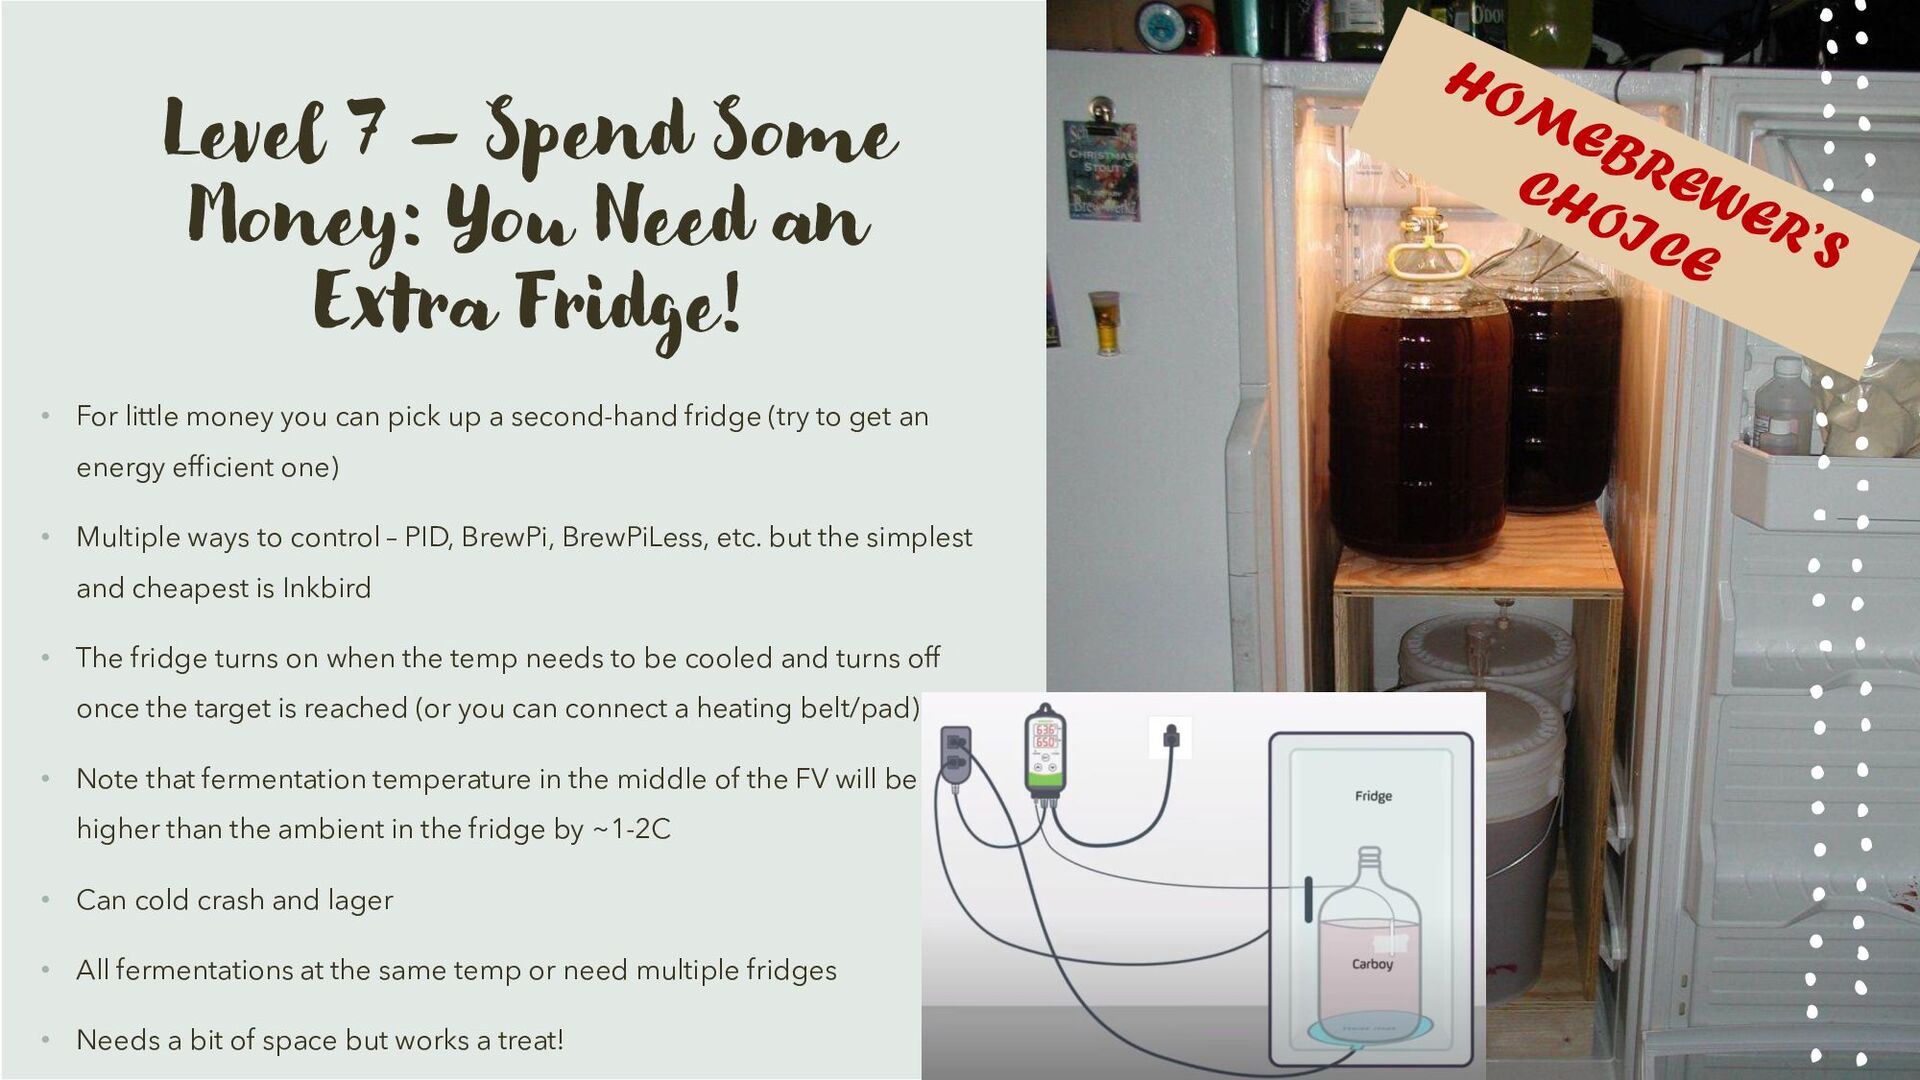
Fridge! • For little money you can pick up a second-hand fridge (try to get an energy efficient one) • Multiple ways to control – PID, BrewPi, BrewPiLess, etc. but the simplest and cheapest is Inkbird • The fridge turns on when the temp needs to be cooled and turns off once the target is reached (or you can connect a heating belt/pad) • Note that fermentation temperature in the middle of the FV will be higher than the ambient in the fridge by ~1-2C • Can cold crash and lager • All fermentations at the same temp or need multiple fridges • Needs a bit of space but works a treat!
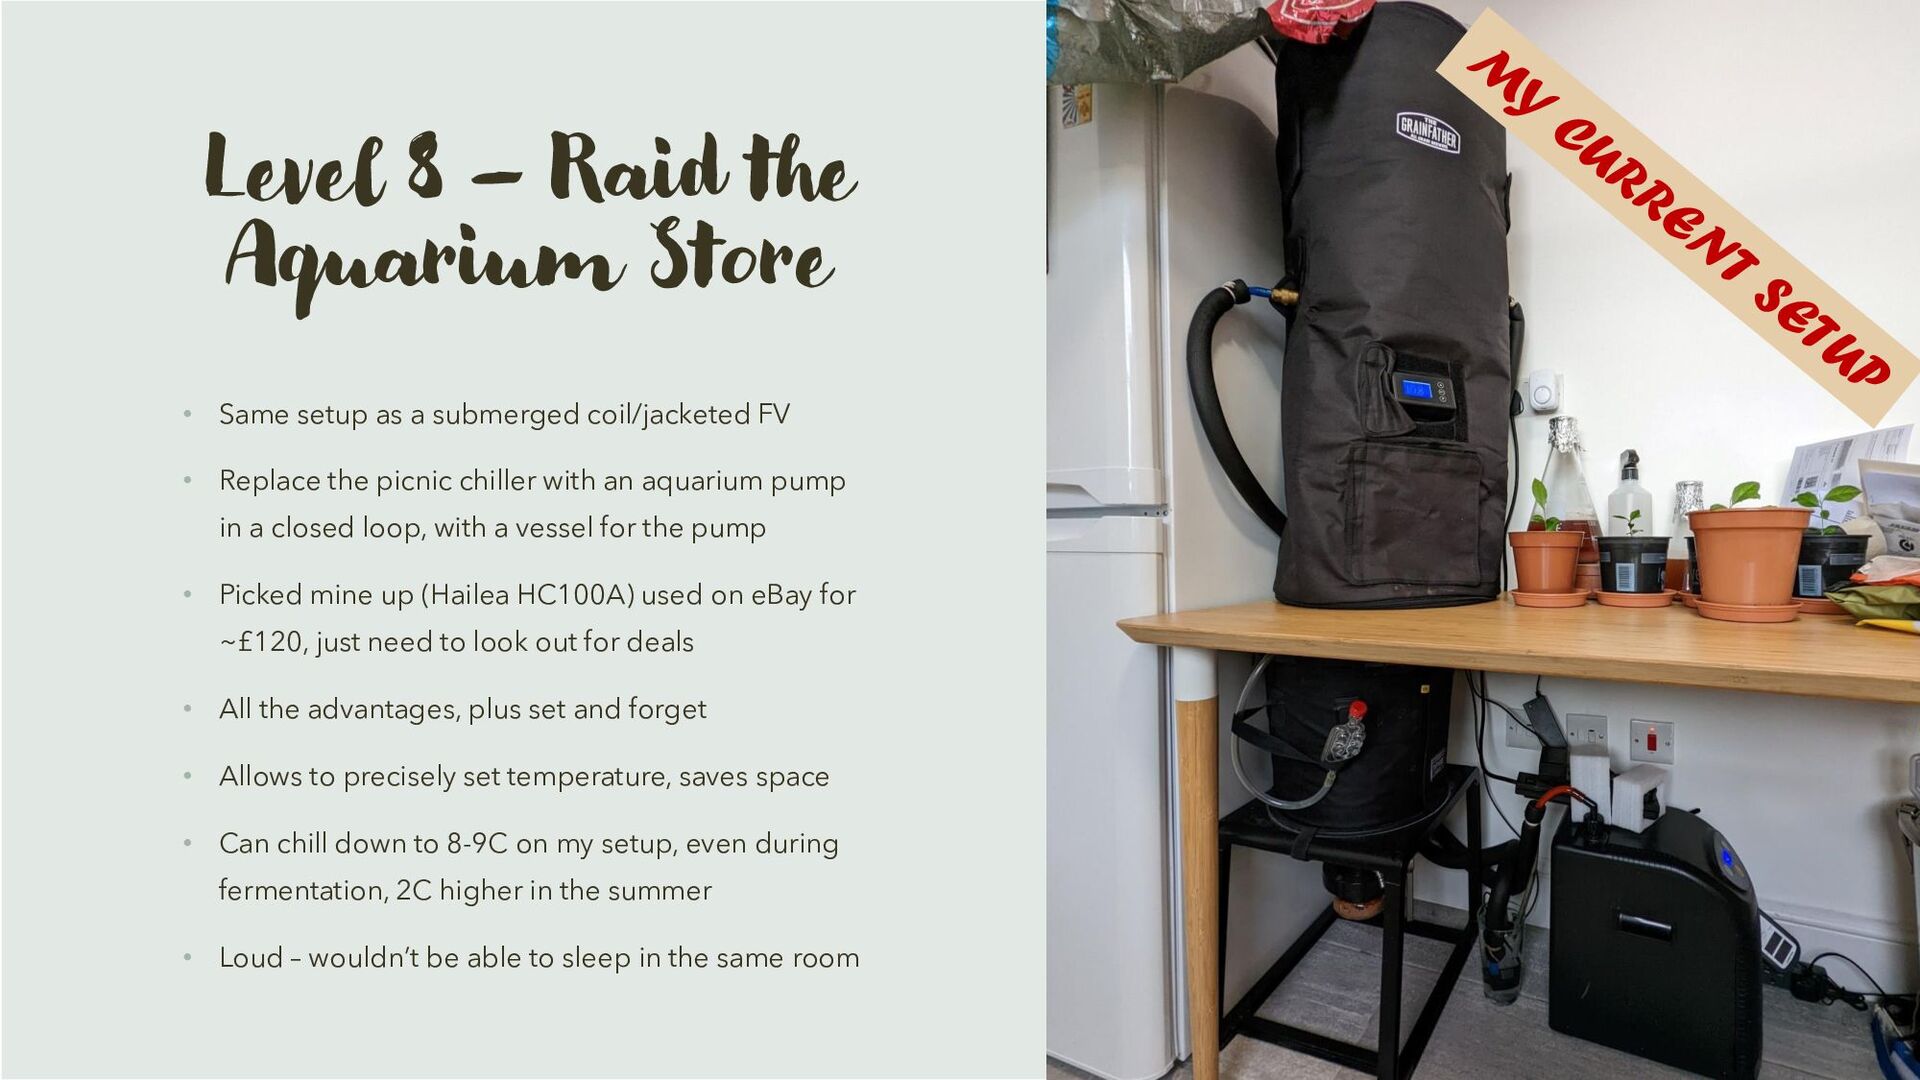
as a submerged coil/jacketed FV • Replace the picnic chiller with an aquarium pump in a closed loop, with a vessel for the pump • Picked mine up (Hailea HC100A) used on eBay for ~£120, just need to look out for deals • All the advantages, plus set and forget • Allows to precisely set temperature, saves space • Can chill down to 8-9C on my setup, even during fermentation, 2C higher in the summer • Loud – wouldn’t be able to sleep in the same room
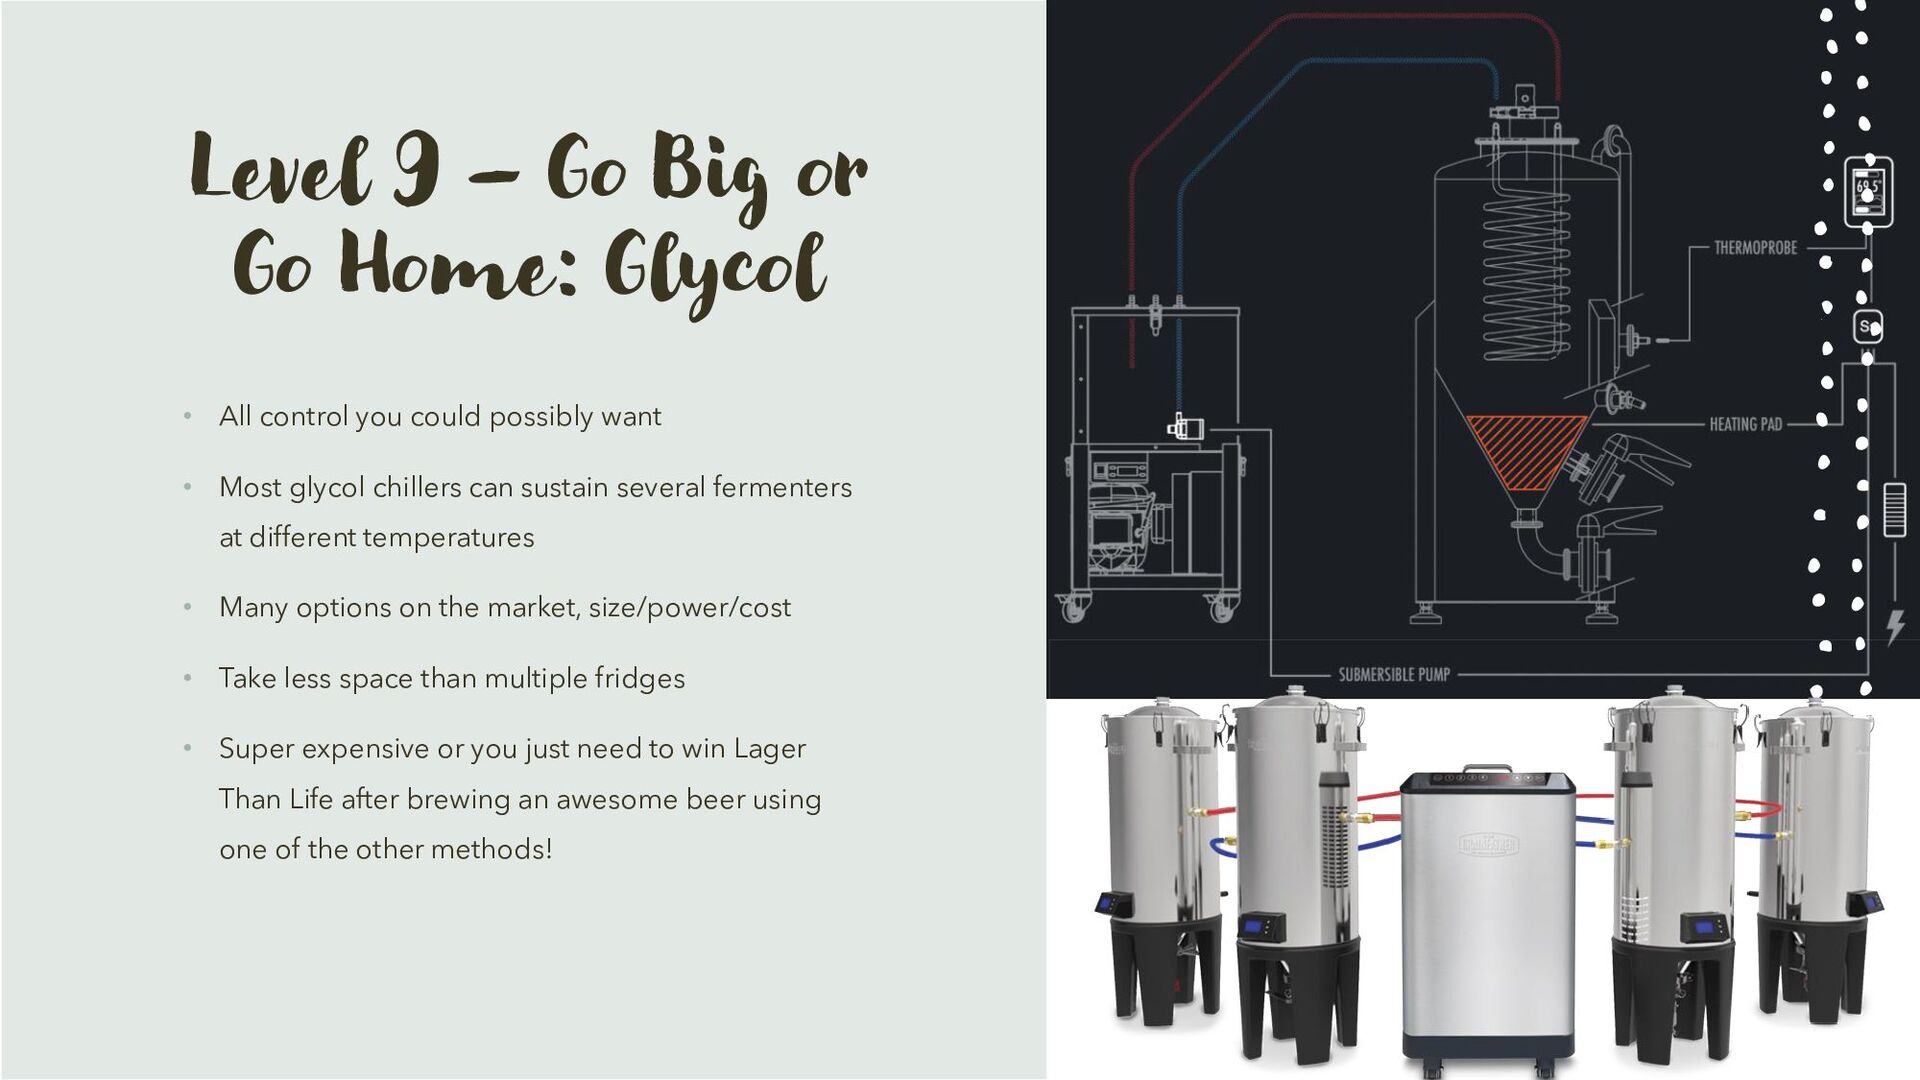
All control you could possibly want • Most glycol chillers can sustain several fermenters at different temperatures • Many options on the market, size/power/cost • Take less space than multiple fridges • Super expensive or you just need to win Lager Than Life after brewing an awesome beer using one of the other methods!