Taps on a fridge/freezer front, or from a font? • Corny kegs or sankey? • John Guest or DuoTight? Or barbs if you hate yourself… • Beer/gas line sizes? • Do you want to run lines at different pressures?
• Secondary regulators ◦ Optional, but allows different dispense/carbonation pressures. • Nitrogen/mixed gas regulator? ◦ Optional • Gas bottle & spanner ◦ Need a local supplier…
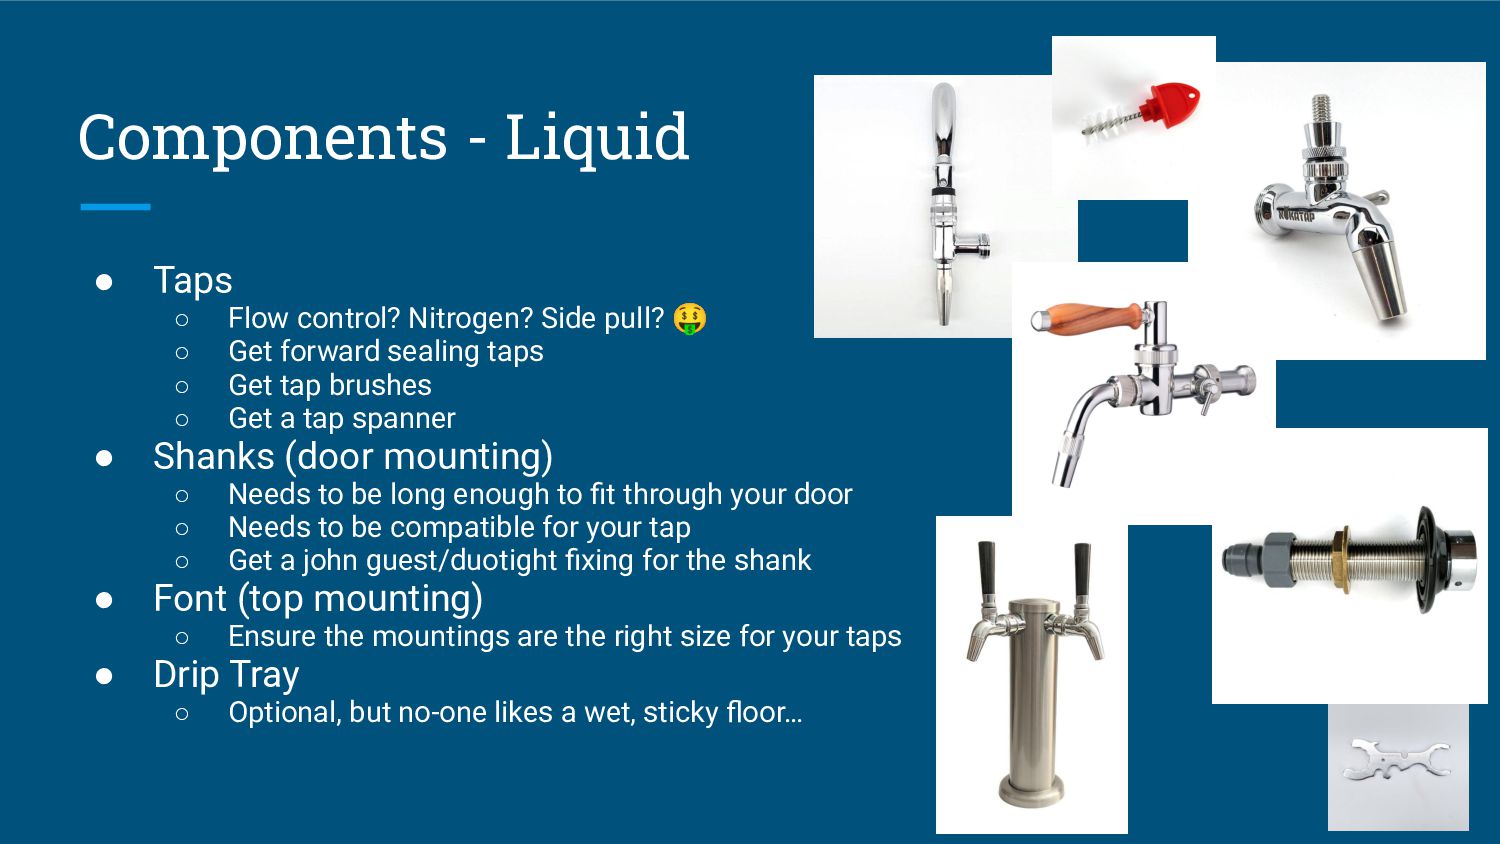
pull? 🤑 ◦ Get forward sealing taps ◦ Get tap brushes ◦ Get a tap spanner • Shanks (door mounting) ◦ Needs to be long enough to fit through your door ◦ Needs to be compatible for your tap ◦ Get a john guest/duotight fixing for the shank • Font (top mounting) ◦ Ensure the mountings are the right size for your taps • Drip Tray ◦ Optional, but no-one likes a wet, sticky floor…
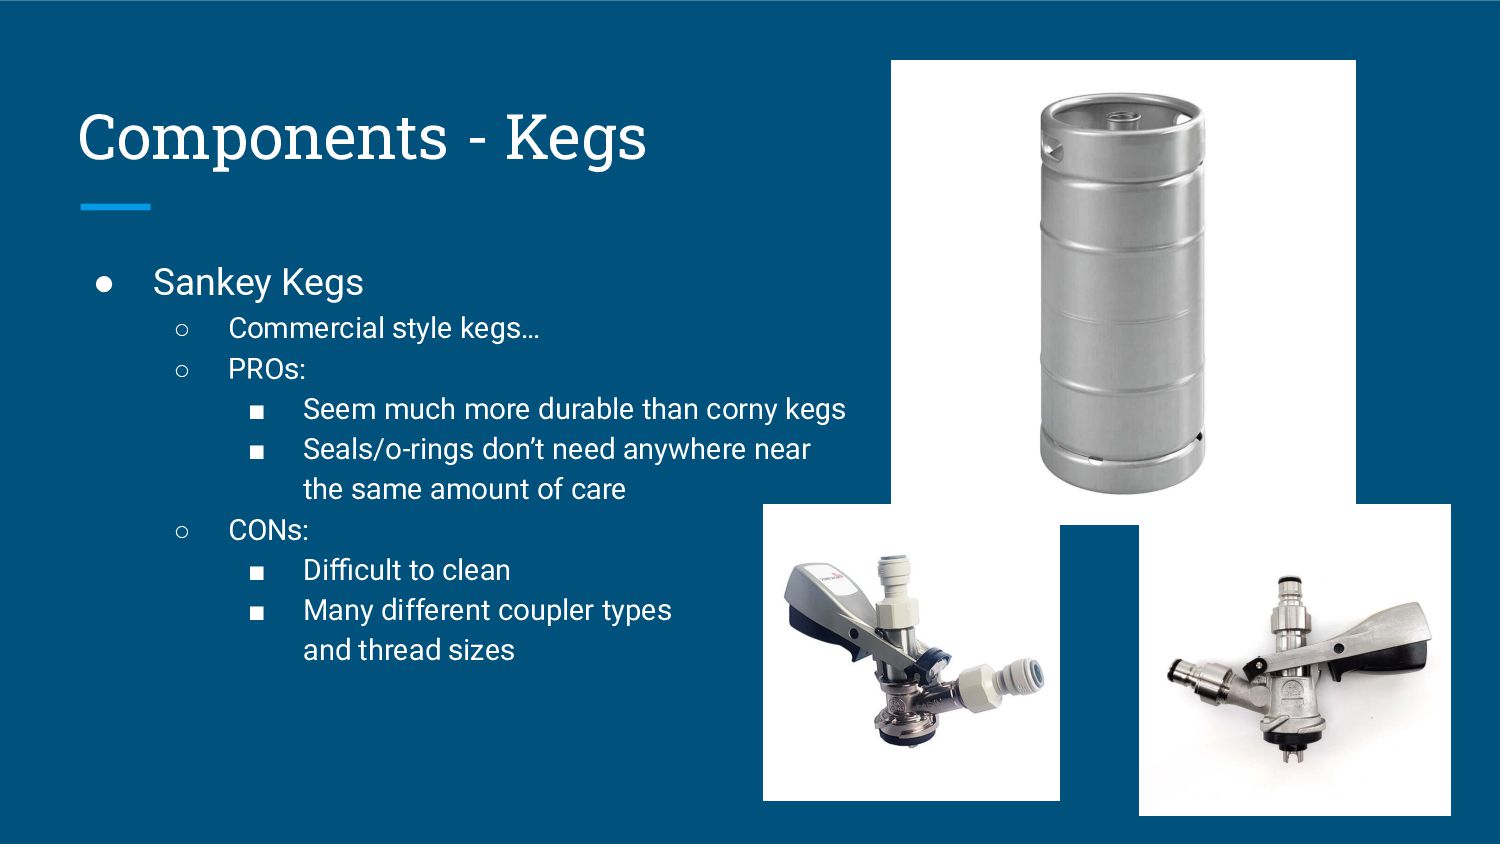
Easy to keep clean ▪ Most equipment/gadgets for homebrewers are aimed at corny kegs ◦ CONs: ▪ Seals/o-rings… Lots of them… They need regular TLC • Don’t get pin-lock kegs Components - Kegs
◦ PROs: ▪ Seem much more durable than corny kegs ▪ Seals/o-rings don’t need anywhere near the same amount of care ◦ CONs: ▪ Difficult to clean ▪ Many different coupler types and thread sizes
units make my brain hurt 😜 ◦ Reducing down to 5/16” gave me painfully slow pours in the past ◦ 3/8” line is very stiff and impossible to tame • 8mm or 9.5mm (Kegland Eva Barrier) ◦ Pick one size (8mm), no reducers, less things to fail/leak ◦ 8mm and short lines work perfectly with flow-control taps ◦ Flexible and easy to work with • For the beer line, just make sure you get dedicated beer line - it helps keep your beer (sat in the line) fresher • For gas line you don’t need to worry, but you can just use the same line as the beer line
don’t have to guess the temp or play hit and miss with the fridge dial ◦ If the fridge thermostat fails, you won’t freeze your beer ◦ No need for a fancy wifi one, the cheapest will do
bit ◦ https://www.screwfix.com/p/erbauer-hex-shank-holesaw-arbor-9-5mm/7518h ◦ and https://www.screwfix.com/p/erbauer-multi-material-bi-metal-holesaw-22mm/1883v ◦ or https://www.screwfix.com/p/erbauer-flat-wood-bit-22mm-x-152mm/939ph • 8-10mm drill bit if you’re putting the gas line through the side • Font Tap spanner ◦ I.e. https://www.themaltmiller.co.uk/product/font-tap-spanner/?v=79cba1185463 • Gas spanner ◦ I.e. https://tinyurl.com/wcuuvesd • MDF board / Wood ◦ Something to build a stand for the kegs - the glass shelf will not take the weight of kegs! ◦ Optional, but you can screw some into the door for mounting your shanks and other fittings to. I find it holds things better than screwing/drilling things directly into the plastic of the door inside.
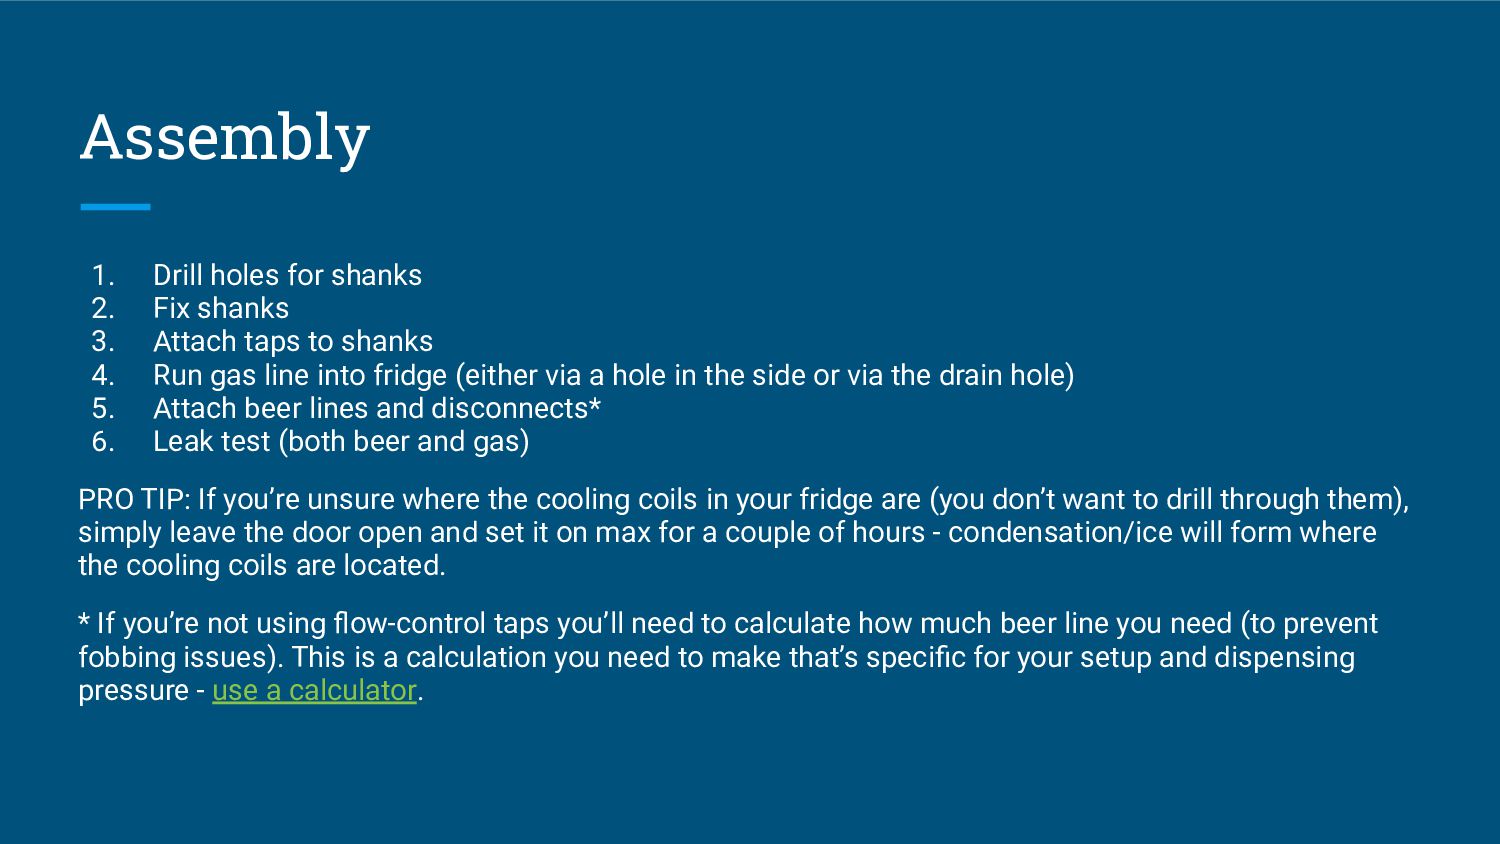
Attach taps to shanks 4. Run gas line into fridge (either via a hole in the side or via the drain hole) 5. Attach beer lines and disconnects* 6. Leak test (both beer and gas) PRO TIP: If you’re unsure where the cooling coils in your fridge are (you don’t want to drill through them), simply leave the door open and set it on max for a couple of hours - condensation/ice will form where the cooling coils are located. * If you’re not using flow-control taps you’ll need to calculate how much beer line you need (to prevent fobbing issues). This is a calculation you need to make that’s specific for your setup and dispensing pressure - use a calculator.
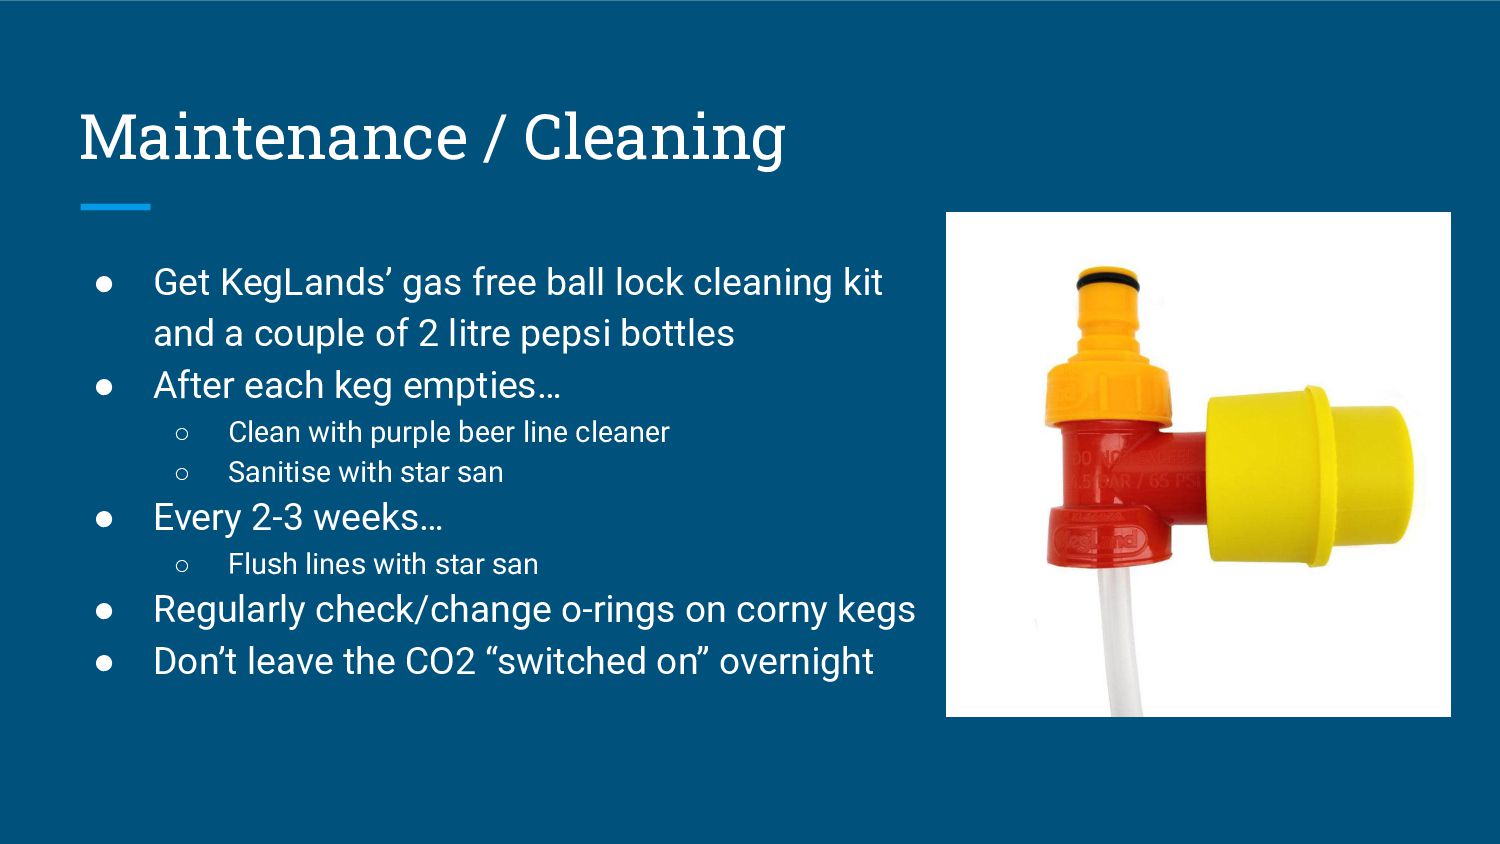
cleaning kit and a couple of 2 litre pepsi bottles • After each keg empties… ◦ Clean with purple beer line cleaner ◦ Sanitise with star san • Every 2-3 weeks… ◦ Flush lines with star san • Regularly check/change o-rings on corny kegs • Don’t leave the CO2 “switched on” overnight
kegs - 19L, 9.5L, 5L • 4 flow-control taps (2 perlic, 2 nukatap) • 8mm eva barrier tubing (beer and gas) • Duotight fittings and disconnects • Single CO2 regulator • Secondary regulator for each tap • External secondary regulator and long line for a Fermzilla
to a keezer build, it’s just the assembly that’s different. Why would you want to build a keezer instead? • Capacity - you can store more kegs • Possibly cheaper to run • If leaks happen, it’s contained within the freezer Downsides (vs Kegerator)? • Lifting heavy kegs into a freezer… • Space
a (wooden) collar to go around the top of the freezer base, then attach the freezer lid to this. This is for the tap shanks and gas line to be drilled into - you can’t drill the walls of a freezer… Everything else is the same. 😁