Upgrade to Pro — share decks privately, control downloads, hide ads and more …

DIY SmartHome - Build Your Own HomeKit Accessories

DIY SmartHome - Build Your Own HomeKit Accessories

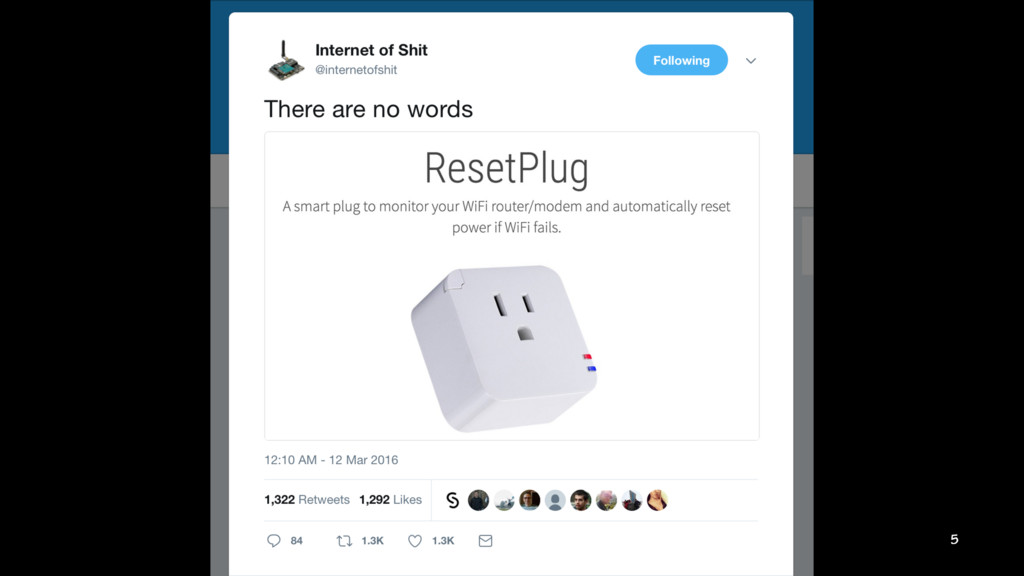
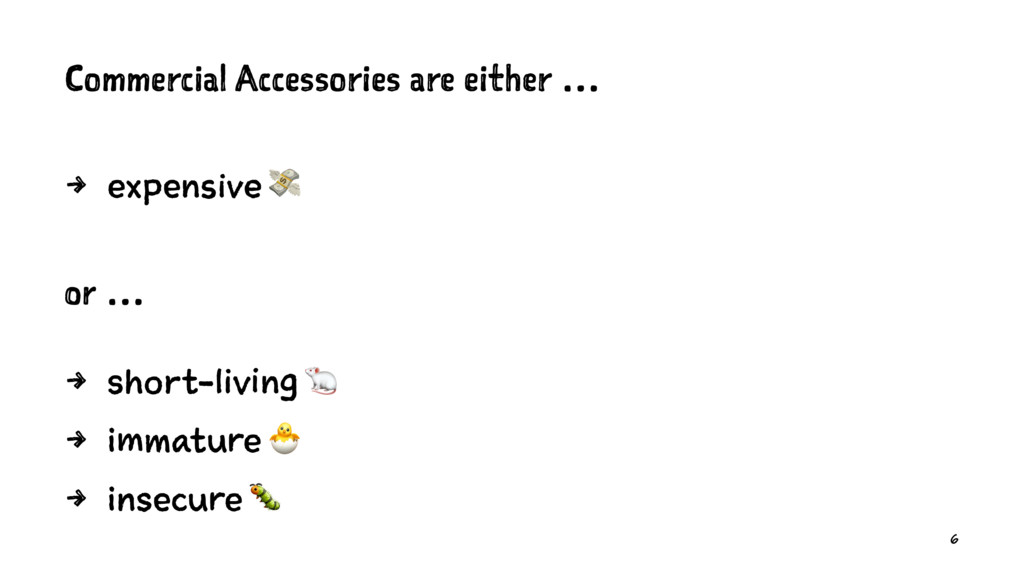
Too bad that a lot of the commercially available gear is either expensive, short-living or insecure. As a developer, why not just "wire up" what you already have and make your home smarter that way? At WWDC 17, Apple announced to open up HomeKit access to non-commercial individual developers and is now providing the documentation for the HomeKit Accessory Protocol (HAP) to the public. This hands-on introduction gives some ideas what’s possible and how to get started.

Marius Rackwitz

October 20, 2017
Tweet

More Decks by Marius Rackwitz

Other Decks in Programming

Transcript

  1. 5

  2. Commercial Accessories are either … 4 expensive ! or …

    4 short-living ! 4 immature " 4 insecure # 6
  3. 7

  4. 8

  5. HAP 4 used to be a closed program ⛔ 4

    requires special chips for encryption " 4 is documented on over 250 pages # 13
  6. HAP 4 used to be a closed program ⛔ 4

    is now publicly documented " 4 requires special chips for encryption # 4 does not require special chips anymore 4 is documented on over 250 pages $ 14
  7. Hardware Setup 4 Connect Arduino via GPIO pins to RasperryPi

    4 Connect LED strip driver to Arduino 4 Connect LED strip to driver 4 Connect RasperryPi and LED Strip Driver to power 24
  8. Software Setup 4 OS on RasperryPi, e.g. Raspian 4 Our

    own software in Swift on RasperryPi to bridge hardware to HomeKit 4 Our own firmware in C on Arduino to take commands via I2C and pass them to hardware 25
  9. Firmware #include <LEDStrip.h> #include <Wire.h> int i2cSlaveAddress = 4; LEDStrip

    strip(2, 3); void setup() { strip.setup(); strip.setColor(0x00, 0x00, 0x00); // Setup I2C slave Wire.begin(i2cSlaveAddress); Wire.onReceive(receiveData); } void loop() {} 26
  10. void receiveData(int byteCount) { while (Wire.available()) { int cmd =

    Wire.read(); switch (cmd) { case 0x1: int r = Wire.read(); int g = Wire.read(); int b = Wire.read(); int dUpper = Wire.read(); int dLower = Wire.read(); long delay = dUpper << 8 | dLower; strip.fadeToColor(delay, r, g, b); break; } } } 27
  11. Software 4 Use SwiftyGPIO for I2C 4 Write a framework

    as abstraction layer over communicating with hardware 4 Use HAP to bridge the hardware to HomeKit 28
  12. Software - Hardware Abstraction Layer import SwiftyGPIO class LedStrip {

    private let interface: I2CInterface private let address: Int init(connectedTo interface: I2CInterface, address: Int) { self.interface = interface self.address = address } public fadeTo(color: Color, delay: Int) { let (r, g, b) = color.toRGB() let dUpper = UInt8(delay >> 8) let dLower = UInt8(delay & 0xFF) interface.writeData(address: address, command: 0x1, values: [ r, g, b, dUpper, dLower ]) } } 29
  13. Software - HomeKit Bridging Server // Setup accessory let ledStripAccessory

    = Accessory.Lightbulb(info: .init(name: "LED Strip")) // Setup event handling /* … */ // Setup bridge let device = Device(name: "Bridge", pin: "123-44-321", storage: storage, accessories: [ledStrip]) // Run server let server = try! Server(device: device, port: 0) server.start() 30
  14. // Setup events lightbulbService.hue.onValueChange .append({ _ in changeListener() }) lightbulbService.saturation.onValueChange

    .append({ _ in changeListener() }) lightbulbService.brightness.onValueChange .append({ _ in changeListener() }) lightbulbService.on.onValueChange .append({ _ in changeListener() }) 31
  15. let interface = SwiftyGPIO.hardwareI2Cs(for: .RaspberryPiPlusZero) let hardware = SwiftyGrovePiLedStrip(connectedTo: interface)

    let lightbulbService = ledStripAccessory.lightbulb func changeListener() { let h = Float(lightbulbService.hue.value) / 360.0 let s = Float(lightbulbService.saturation.value) / 100.0 let v = Float(lightbulbService.brightness.value) / 100.0 let color = Color.fromHSV(h, s, v) if (lightbulbService.on.value) { hardware.fadeTo(color, 500) } else { hardware.fadeTo(Color.black, 500) } } 32
  16. Caveats 4 Swift on Linux ⊂ Swift 4 Swift on

    ARM ⊂ Swift on Linux 4 Swift on ARM requires custom built toolchain 33