Shiny • Learn how Shiny can be used for communicating data and/or results • Learn the basics so you can incorporate it in your work • Have fun and add to your programming toolbox
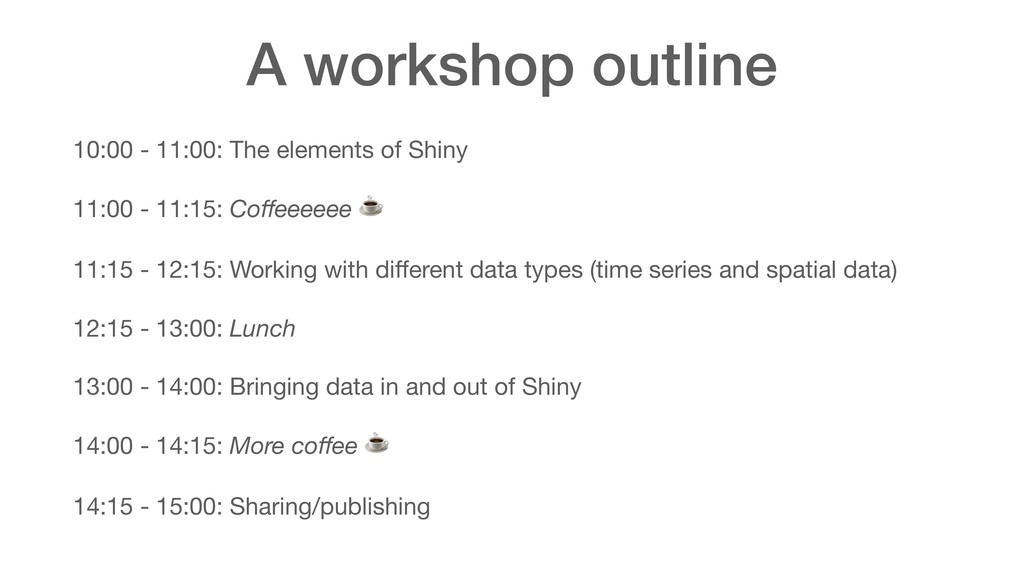
11:00 - 11:15: Coffeeeeee ☕ 11:15 - 12:15: Working with different data types (time series and spatial data) 12:15 - 13:00: Lunch 13:00 - 14:00: Bringing data in and out of Shiny 14:00 - 14:15: More coffee ☕ 14:15 - 15:00: Sharing/publishing
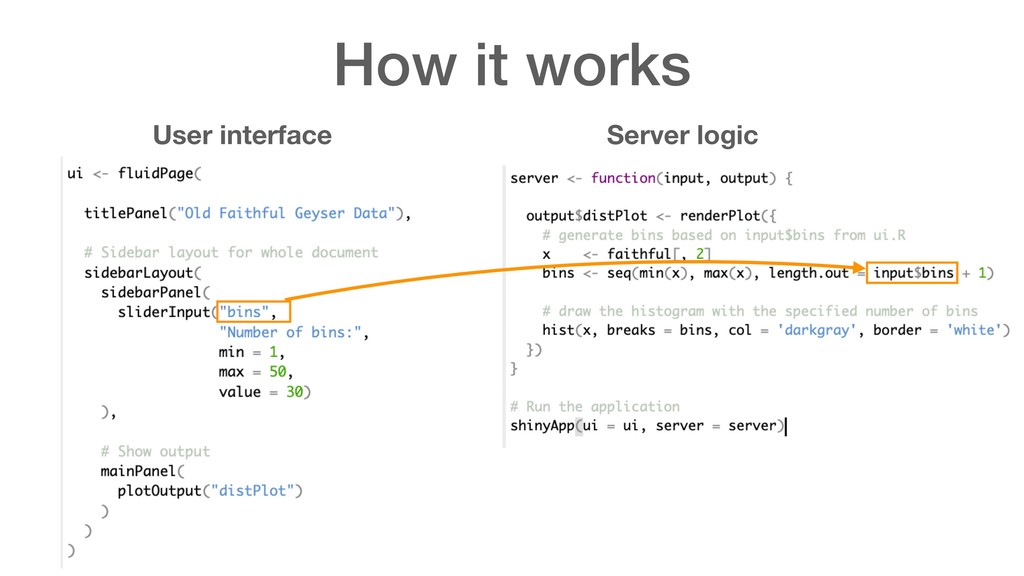
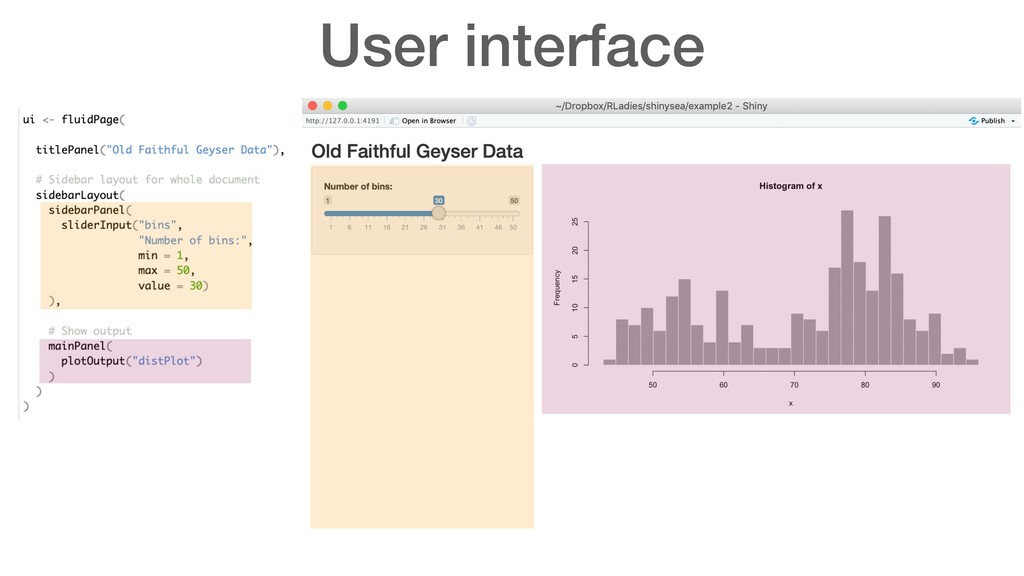
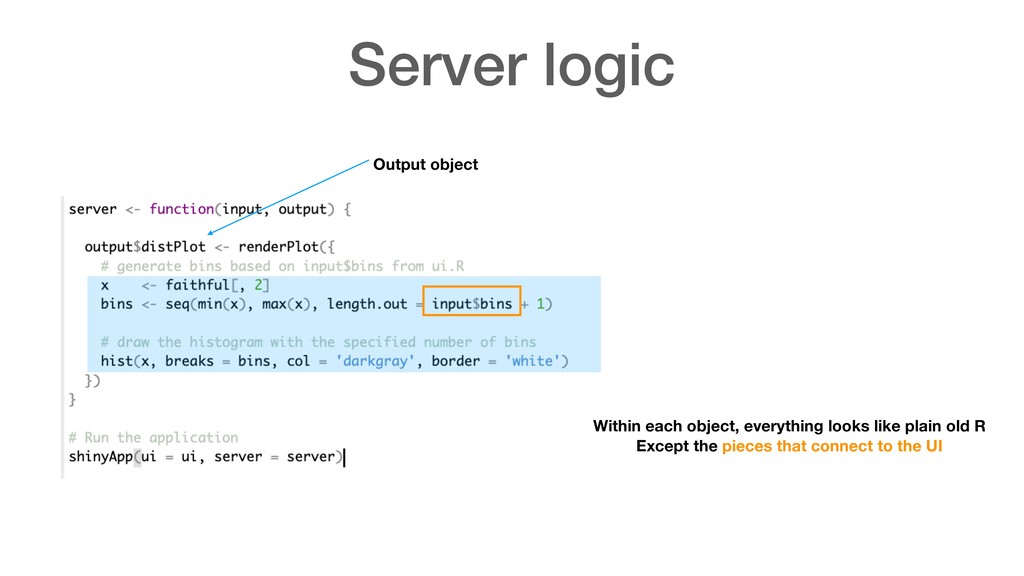
ui shows inputs and outputs • server performs all the operations • super flexible! you can use CSS themes, html widgets, and JavaScript actions. It is awesome.
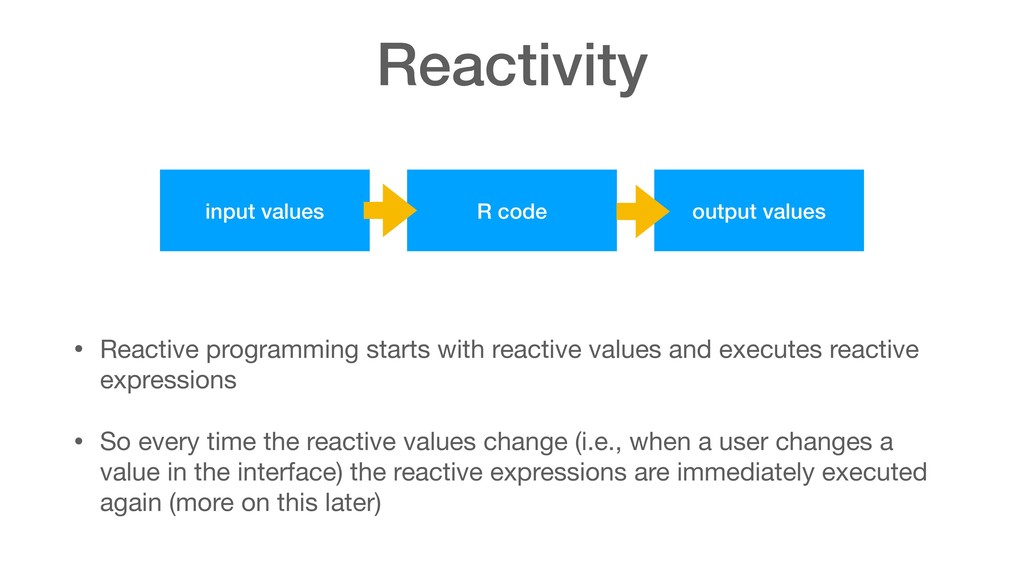
reactive expressions • So every time the reactive values change (i.e., when a user changes a value in the interface) the reactive expressions are immediately executed again (more on this later) input values R code output values