Upgrade to Pro — share decks privately, control downloads, hide ads and more …

Vagrant: Not just for developers - LOPSA-East 2014

Vagrant: Not just for developers - LOPSA-East 2014

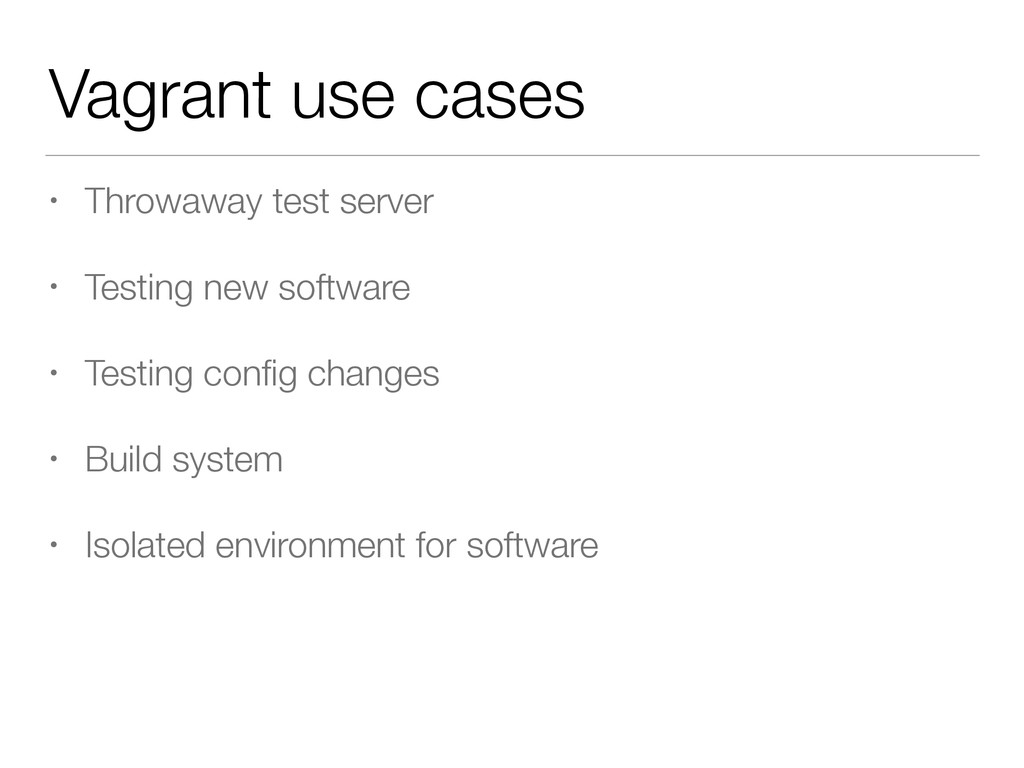
Vagrant’s tag line is ‘Development environments made easy’, and it is indeed a tool that vastly improves working with developer virtual machines. However, it can also make the life of a Systems Administrator much easier, providing throwaway test environments to help with troubleshooting, deploying new infrastructure, and playing with new technologies.

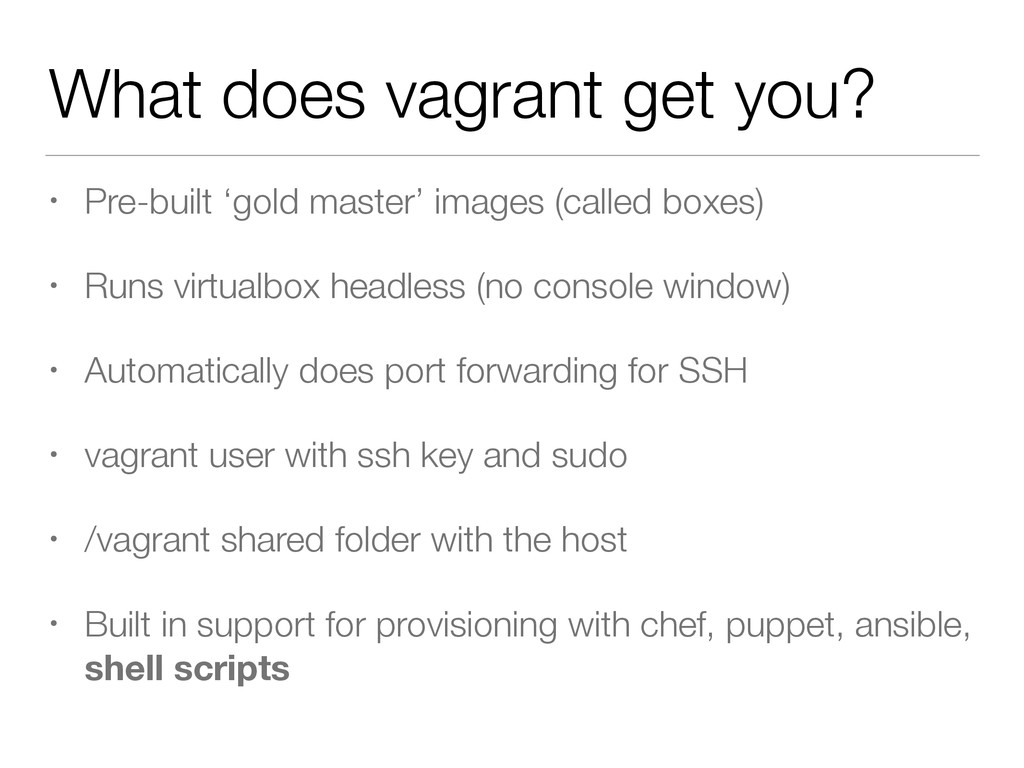
This class will take you through the fundamentals of vagrant, what it provides over and above virtualbox/vmware alone, getting your first virtual machine running, setting upnetworking, provisioning with configuration management tools, and creating your own boxes.

Mark Harrison

May 02, 2014
Tweet

More Decks by Mark Harrison

Other Decks in Technology

Transcript

  1. Who am I • Mark Harrison • @mivok on twitter

    • Senior Systems Administrator at Chef • Vagrant user
  2. Why am I here? • Tell you why vagrant is

    awesome. • Teach you how to use Vagrant. • Teach you how to do awesome things with Vagrant.
  3. What is Vagrant? Vagrant is a tool for building complete

    development environments. With an easy-to-use workflow and focus on automation, Vagrant lowers development environment setup time, increases development/production parity, and makes the "works on my machine" excuse a relic of the past. (From: http://www.vagrantup.com/about.html)
  4. What is Vagrant Vagrant is some developer tool that devs

    use because they don’t know how to install Linux or use Virtualbox. It helps you make dev environments, deploy your code, capistrano your ruby gems and other dev stuff that I’ll never use. (From: Me, before I actually started using vagrant)
  5. Normal VM workflow • Start virtualbox • Dismiss random error

    message • Click new • Enter a name for your VM • Pick memory, disk space, OS, favorite color • Start VM
  6. Normal VM Workflow • Realize you don’t have an ISO

    • Download ISO • Attach CD • Install OS • Wait… • Look at cat pictures
  7. Normal VM Workflow • Finish looking at cat pictures •

    Reboot • Configure networking, users, hostname, software • Forget why you wanted the stupid VM in the first place
  8. What does vagrant get you? • Pre-built ‘gold master’ images

    (called boxes) • Runs virtualbox headless (no console window) • Automatically does port forwarding for SSH • vagrant user with ssh key and sudo • /vagrant shared folder with the host • Built in support for provisioning with chef, puppet, ansible, shell scripts
  9. Vagrant use cases • Throwaway test server • Testing new

    software • Testing config changes • Build system • Isolated environment for software
  10. Example use cases • ATS and OmniOS build machines •

    Installing/testing logstash configurations • Developing OmniOS zone migration procedure • Testing firewall failover procedures • Developing cookbooks/playbooks/manifests • SRE interview VM
  11. Convinced? Good! • Install Virtualbox from http://www.virtualbox.org/ • Install vagrant

    from http://www.vagrantup.com/ downloads.html • Packages are provided for common linux distributions, and installers are available for Windows and Mac
  12. Starting out Vagrant < 1.5: $ mkdir -p ~/vagrant/precise_test $

    cd ~/vagrant/precise_test $ vagrant init hashicorp/precise32 \
 http://files.vagrantup.com/precise32.box
  13. Starting out Vagrant >= 1.5: $ mkdir -p ~/vagrant/precise_test $

    cd ~/vagrant/precise_test $ vagrant init hashicorp/precise32 (No URL required - uses boxes from vagrantcloud.com)
  14. Starting out When you have been using vagrant for a

    while: $ mkdir -p ~/vagrant/precise_test $ cd ~/vagrant/precise_test $ vim Vagrantfile
  15. Boxes • “Gold master” images • .box extension • Usually

    downloaded via http • List at http://www.vagrantbox.es/ (unofficial) • Also at https://vagrantcloud.com/ (newer, official) • Can create your own using Packer (http://packer.io)
  16. Starting the VM Steps vagrant performs when starting up: •

    Import the base box, downloading if needed • Create the VM in virtualbox • Set up port forwarding • Set up folder sharing • Boot the VM • Provision the VM (chef, puppet, ansible, shell scripts)
  17. Using the VM $ cd ~/vagrant/my_vm $ vagrant ssh •

    Vagrant automatically knows which port to connect to • Vagrant boxes automatically have a vagrant user with a common (insecure) ssh key • The insecure key isn’t normally an issue for test machines, but be aware of it
  18. Managing your VM • vagrant status - view the current

    state of the VM • vagrant halt - shut down the VM • vagrant up - bring it back up (and create if needed) • vagrant reload - halt + up in one command • vagrant destroy - delete the VM • vagrant suspend/resume - save VM state
  19. Managing boxes • Download/manage boxes without starting the VM •

    vagrant box add hashicorp/precise64 • vagrant box list • vagrant box remove BOXNAME • vagrant box outdated [--global] • vagrant box update
  20. Providers • Vagrant’s way of abstracting away different VM software

    • Comes with out of the box support for Virtualbox • Supports other providers too, including • Vmware fusion • ec2 • hyper-v (windows 8.1+)
  21. Vagrant configuration • Folder sharing • Port forwarding • Custom

    networking • Provisioning • Multi-VM projects
  22. Folder sharing • config.vm.synced_folder “some/folder", “/var/foo” • Not normally needed

    - /vagrant is usually sufficient • Uses Virtualbox shared folders • Somewhat slow, but not usually a problem • If performance is a concern, NFS or other options available.
  23. Folder sharing - nfs • To use nfs, add the

    “type” option: config.vm.synced_folder ".", "/vagrant", type: "nfs" • If you’re on Virtualbox, you also need to set up private networking to make this work: config.vm.network “private_network”, ip: “192.168.50.2”
  24. Folder sharing - rsync • Rsync is new in 1.5

    config.vm.synced_folder ".", "/vagrant", type: "rsync" • Need to run vagrant rsync or vagrant rsync-auto to sync • Sync is one-way - host to guest • Warning: rsync also uses the --delete option
  25. Port forwarding config.vm.network "forwarded_port", guest: 80, host: 8080 config.vm.network "forwarded_port",

    guest: 80, host: 8080, auto_correct: true • This is done automatically for port 22 (ssh)
  26. Custom networking • Port forwarding is usually enough, but sometimes

    you need something different • Multiple VMs that need to talk to each other (private networking) • VMs accessible to machines on the network other than the host (public networking)
  27. Private network • Used for when you want VMs to

    talk to each other • Uses ‘Host only’ networking option in virtualbox - only the host and other VMs can see the VM config.vm.network “private_network”, ip: “192.168.50.2”
  28. Public network • Used when you want the VM to

    be part of the same network as the host • Uses virtualbox ‘bridged’ networking config.vm.network “public_network” The VM is configured to use DHCP, and will get the address from your network’s DHCP server.
  29. Provisioning • One of the more powerful features of vagrant

    • Base boxes provide the bare minimum needed for vagrant to run • Provisioning lets you install and configure the rest • Vagrant supports chef, puppet, cfengine, ansible, salt, docker, shell scripts • We’ll cover chef, shell and ansible here
  30. Provisioning • Provisioning happens: • The initial run of ‘vagrant

    up’ that creates the VM • When you run ‘vagrant provision’ • Older versions of vagrant (before 1.3.0) would provision every time the VM was booted.
  31. Provisioning • Provisioners: • Run inside the VM, as root

    • Require that the relevant tools be installed (e.g. chef/ puppet) • Some base boxes provide chef/puppet already
  32. Provisioning: shell • Often used in conjunction with other provisioners,

    e.g. to install the chef package • Useful if your provisioning needs are simple • Other provisioners are more powerful and you should use those • If you do use shell, you should make the script idempotent
  33. Provisioning: shell • Simple command, directly in Vagrantfile: ! config.vm.provision

    "shell", inline: "which python2 || (pacman -Syy; pacman -S --noconfirm python2)”
  34. Provisioning: shell • Run a shell script from a file

    config.vm.provision "shell", path: “myscript.sh" • The path is relative to the vagrant project directory
  35. Provisioning: chef solo • Place your cookbooks/roles inside the vagrant

    project directory: myproject/
 Vagrantfile
 cookbooks/
 users/
 apache/
 roles/
 base.rb
  36. Provisioning: chef solo • Add the run list to your

    vagrant file: config.vm.provision "chef_solo" do |chef|
 chef.roles_path “roles” # You need to specify this
 chef.add_role "base"
 end
  37. Provisioning: chef solo • You can also include recipes directly,

    and set node configuration: config.vm.provision "chef_solo" do |chef|
 chef.add_recipe(“users”)
 chef.json = {
 “users" => [
 {“name” => “mark”, “uid” => 1000, …}
 ]
 }
 end
  38. Provisioning - installing chef • You can use the shell

    provisioner • Alternative - vagrant-omnibus plugin • install with ‘vagrant plugin install vagrant-omnibus’ • Then add the following to your Vagrantfile: config.omnibus.chef_version = :latest
  39. Provisioning - chef client • This requires you have a

    chef server • Provisioning is similar to chef-solo, with some changes: config.vm.provision "chef_client" do |chef|
 chef.chef_server_url = “https://...”
 chef.validation_key_path = "validation.pem"
 end
  40. Provisioning - chef client • Vagrant doesn’t delete the chef

    client for you by default • To do this, add the following to your Vagrantfile config.vm.provision "chef_client" do |chef|
 …
 chef.delete_node = true
 chef.delete_client = true
 end
  41. Provisioning: ansible • Like with chef, you put your configuration

    in the vagrant directory: myproject/
 Vagrantfile
 site.yml
 roles/
 …
  42. Provisioning: ansible • Add the path to the playbook in

    the Vagrantfile: config.vm.provision "ansible" do |ansible|
 ansible.playbook = "site.yml"
 end • You don’t need to generate an inventory file, vagrant will create one for you.
  43. Multi-VM Projects • A vagrant project doesn’t need to be

    just one VM, you can have multiple. • The usual example given is allowing you to have a web server and database server on separate machines. • But, this is a really useful for SAs in that you can easily test failover with two identical machines. • This is done using ‘config.vm.define’ in your Vagrantfile
  44. Multi-VM Projects Vagrant.configure("2") do |config| config.vm.box = “omnios-151006c-r1" config.vm.provision :shell,

    :path => "provision-common.sh" config.vm.define :src do |src| src.vm.hostname = "src" src.vm.provision :shell, :path => "provision-src.sh" src.vm.network :private_network, ip: "192.168.50.3" end config.vm.define :dst do |dst| dst.vm.hostname = "dst" dst.vm.network :private_network, ip: "192.168.50.4" end end
  45. Multi-VM projects • You need to append the VM name

    to most vagrant commands now: • vagrant up vmname • vagrant ssh vmname • vagrant destroy vmname • If you leave out the VM name, it will assume you want to work on all VMs (e.g. vagrant up brings up all VMs)
  46. Recap • What makes vagrant better than virtualbox alone •

    How to create and use a simple VM • Networking and shared folder configuration • Provisioning • Multiple VMs
  47. Bonus Section: Vagrant 1.6 • New release of vagrant in

    the next few weeks • Global status - show all your vagrant VMs • Global control - no need to cd into vagrant dir • Full windows guest support • Docker guest support (in a linux VM on OSX/Windows)
  48. Building your own Boxes • You will nearly always use

    pre-built vagrant boxes • What if you need to build your own? • OS or OS version for which a box doesn’t exist already • Custom software preinstalled • Special configuration/disk layout
  49. What’s in a box • VM image with some special

    properties • ssh server running on boot • vagrant user with ssh key and sudo access • provisioning software (optionally) installed • guest additions/vmware tools • Metadata • vagrant package command
  50. Packer - automation • This process is error prone and

    tedious • Packer was created to automate the process • Uses a json template to build VMs • I’ll be walking through a simple example to make an Arch Linux box for Virtualbox.
  51. Packer - installation • Written in go, distributed as a

    zip file containing binaries • Download from packer.io • unzip to ~/packer (or elsewhere) • Mac Homebew - binary tap • brew tap homebrew/binary • brew install packer
  52. Packer - template.json From: https://github.com/mivok/arch_scripts/tree/master/packer { "builders": [ { "type":

    "virtualbox-iso", "guest_os_type": "ArchLinux", "iso_url": "http://mirror.umd.edu/archlinux/iso/2014.04.01/archlinux-2014.04.01-dual.iso", "iso_checksum": "ae8caf8cd356dfcc24a4b645fd815185", "iso_checksum_type": "md5", "http_directory": ".", "ssh_username": "root", "ssh_password": "vagrant",
  53. Packer - template.json "boot_command": [ "<enter><wait10><wait10>", "curl -O http://{{ .HTTPIP

    }}:{{ .HTTPPort }}/install.sh<enter><wait5>", "bash ./install.sh<enter>" ], "vboxmanage": [ ["modifyvm", "{{.Name}}", "--memory", "384"]] } ], "provisioners": [{ "type": "shell", "script": "provision.sh" }], "post-processors": [{"type": “vagrant", "compression_level": 9}] }
  54. Packer - template.json • 4 main sections: • description •

    builders - create the vm image • provisioners - install and configure additional software • post-processors - generate a box from the image
  55. Packer - builders • The ‘meat’ of the VM building

    • Specifies which VM software to use (virtualbox-iso) • Specifies VM parameters • Commands needed to install the OS • Finishes with a rebooted machine and SSH available
  56. Packer - builders {
 "type": "virtualbox-iso",
 "guest_os_type": "ArchLinux",
 "iso_url": "http://mirror.umd.edu/archlinux/iso/

    2014.04.01/archlinux-2014.04.01-dual.iso",
 "iso_checksum": "ae8caf8cd356dfcc24a4b645fd815185",
 "iso_checksum_type": "md5",
 "http_directory": “.",
 "ssh_username": "root",
 "ssh_password": "vagrant",

  57. Packer - builders "shutdown_command": "shutdown -h now",
 "boot_command": [
 "<enter><wait10><wait10>",


    "curl -O http://{{ .HTTPIP }}:{{ .HTTPPort }}/ install.sh<enter><wait5>",
 "bash ./install.sh<enter>"
 ],
 "vboxmanage": [
 ["modifyvm", "{{.Name}}", "--memory", "384"]
 ]
 }
  58. Packer - install script • See https://github.com/mivok/arch_scripts/blob/master/packer/ install.sh for specifics

    • Partitions drives • Installs packages • Sets up networking (dhcp) • Sets ssh to start on boot • Sets the root password • Reboots
  59. Packer - provisioners • Identical to vagrant • Can use

    chef, puppet, ansible, salt, shell "provisioners": [
 {
 "type": "shell",
 "script": "provision.sh"
 }
 ]
  60. Packer - provisioning tasks • Add a vagrant user •

    Add ssh key for vagrant user • Set up sudo • Disable root user (optional) • Install guest additions (packer drops an iso in place for you) • Install chef/puppet (optional)
  61. Packer - running • packer build [template.json] • Downloads the

    iso • Creates a new VM • Installs the OS • Provisions the machine • Creates a box
  62. Packer - recommendations • boot-command covers much more than booting

    • do as little as possible in boot-command • install a base system • get ssh access • use provisioners for the rest • use chef/puppet if you have it already • shell if you have simple needs