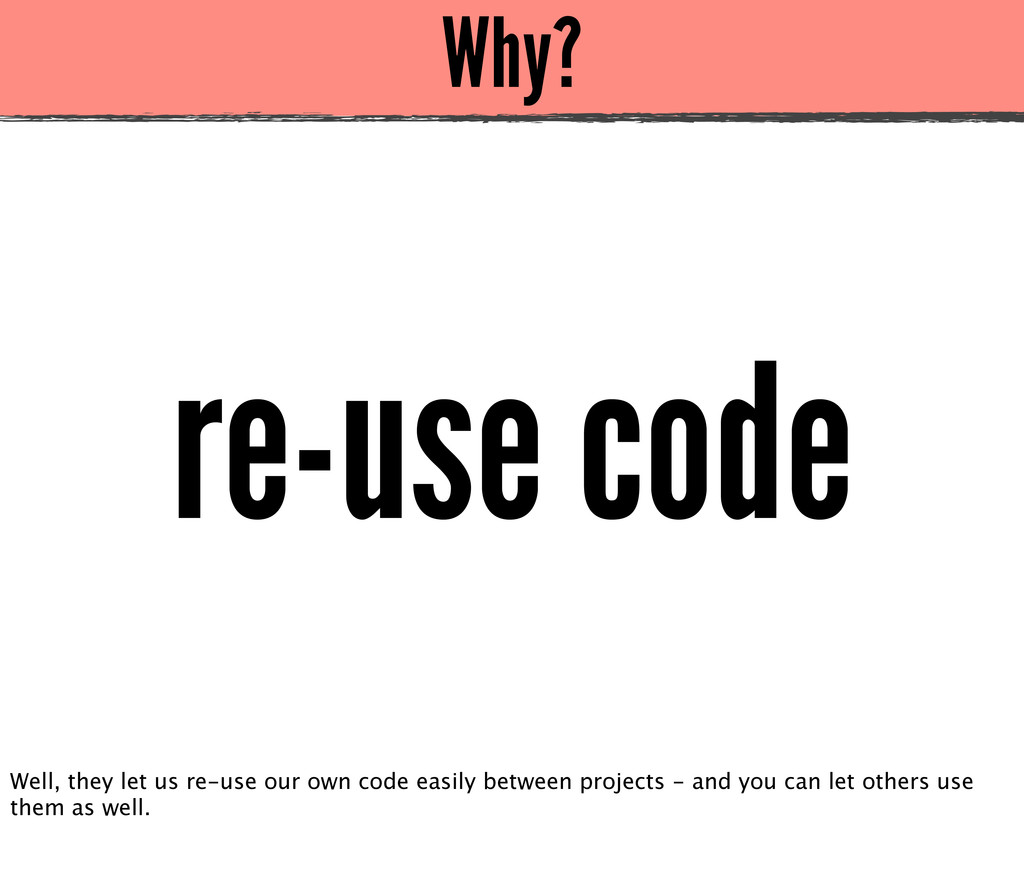
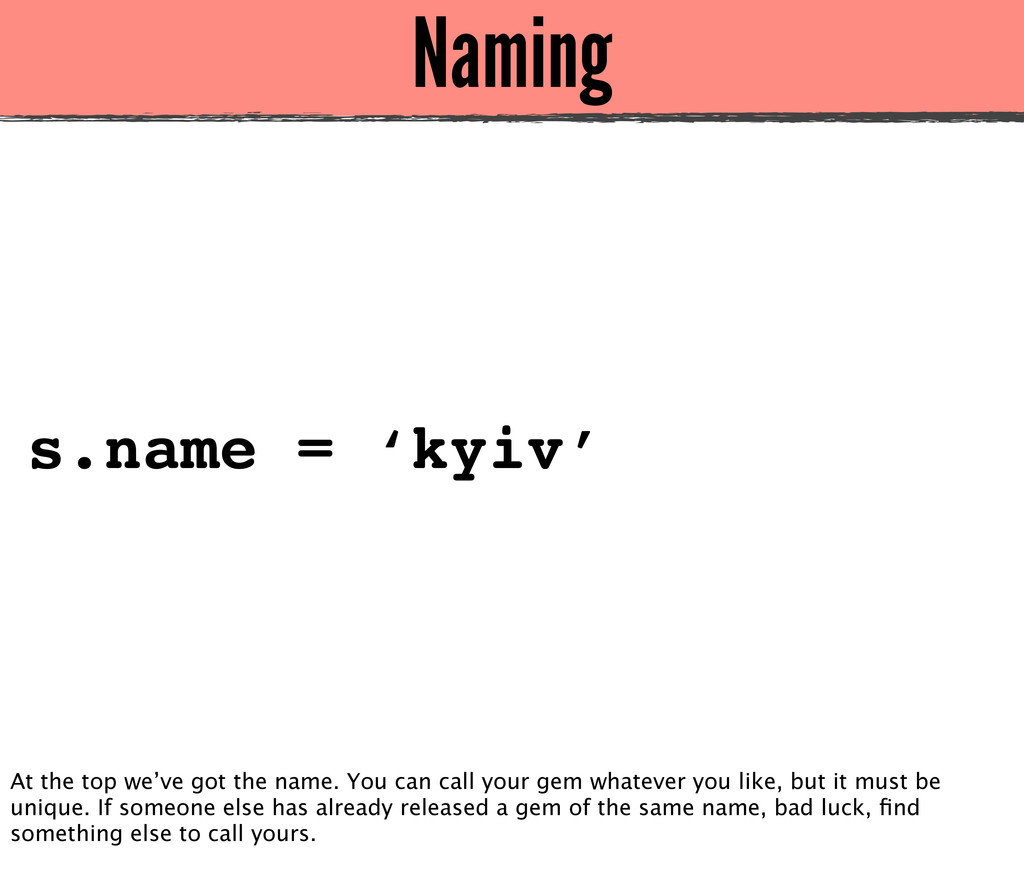
Gems underpin almost every piece of Ruby code we write – and so, being able to write your own gems is not only incredibly useful, it provides an avenue for code reuse and open source sharing.
During this session, Pat will talk about the ecosystem around gems and the knowledge required to write your own gems. He’ll also cover some of the tools available to assist with this, along with ideal approaches and best practices for gem development.
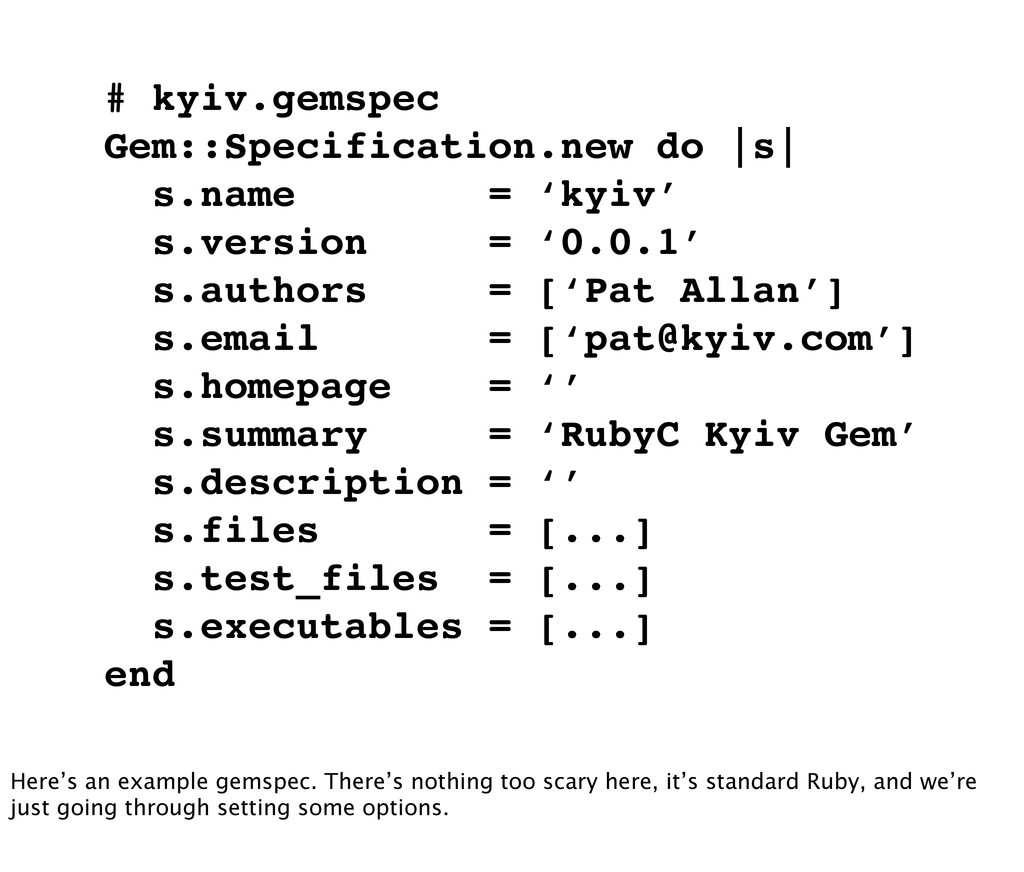
![Authors, Emails & Homepage s.authors = [‘Pat Allan’] s.email =](https://files.speakerdeck.com/presentations/4eb6712bb5fbcd005400cfaa/slide_40.jpg)
![Files s.files = [ ‘lib/kyiv.rb’, ‘lib/kyiv/version.rb’, ‘README.textile’, ‘LICENCE’ ] Now](https://files.speakerdeck.com/presentations/4eb6712bb5fbcd005400cfaa/slide_42.jpg)
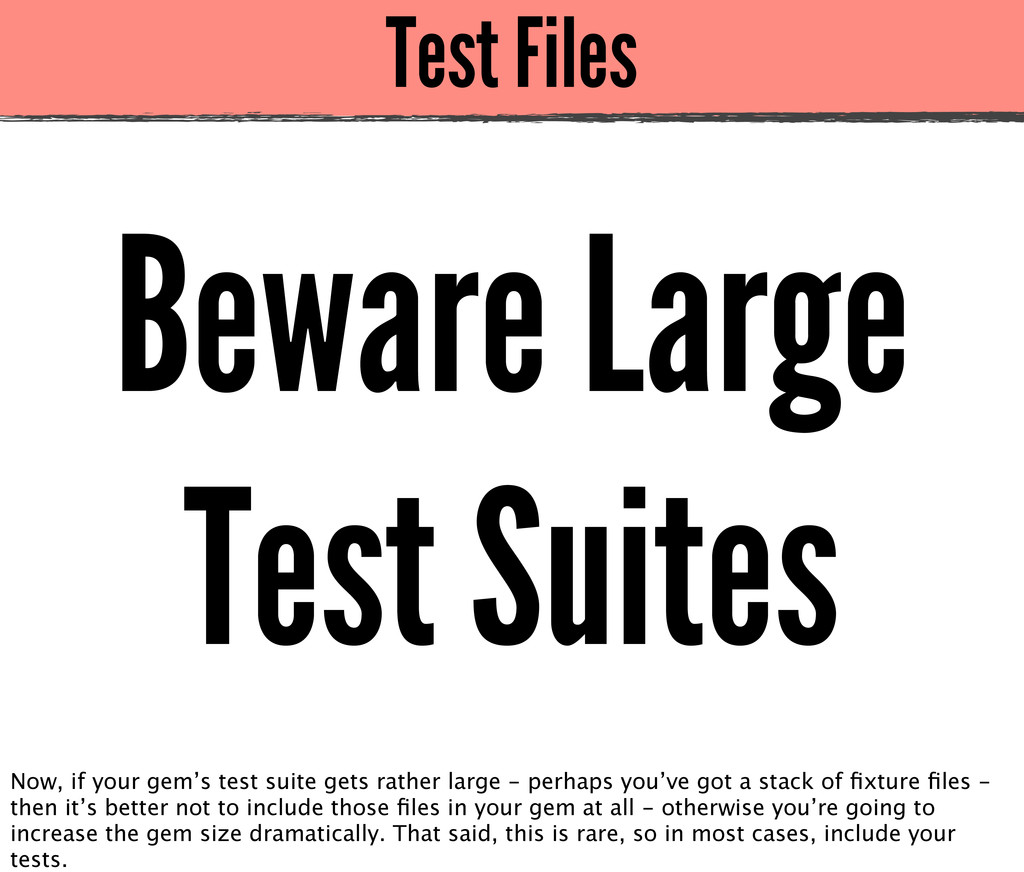
![Test Files s.test_files = [ ‘spec/kyiv_spec.rb’, ‘spec/spec_helper.rb’ ] And of](https://files.speakerdeck.com/presentations/4eb6712bb5fbcd005400cfaa/slide_49.jpg)
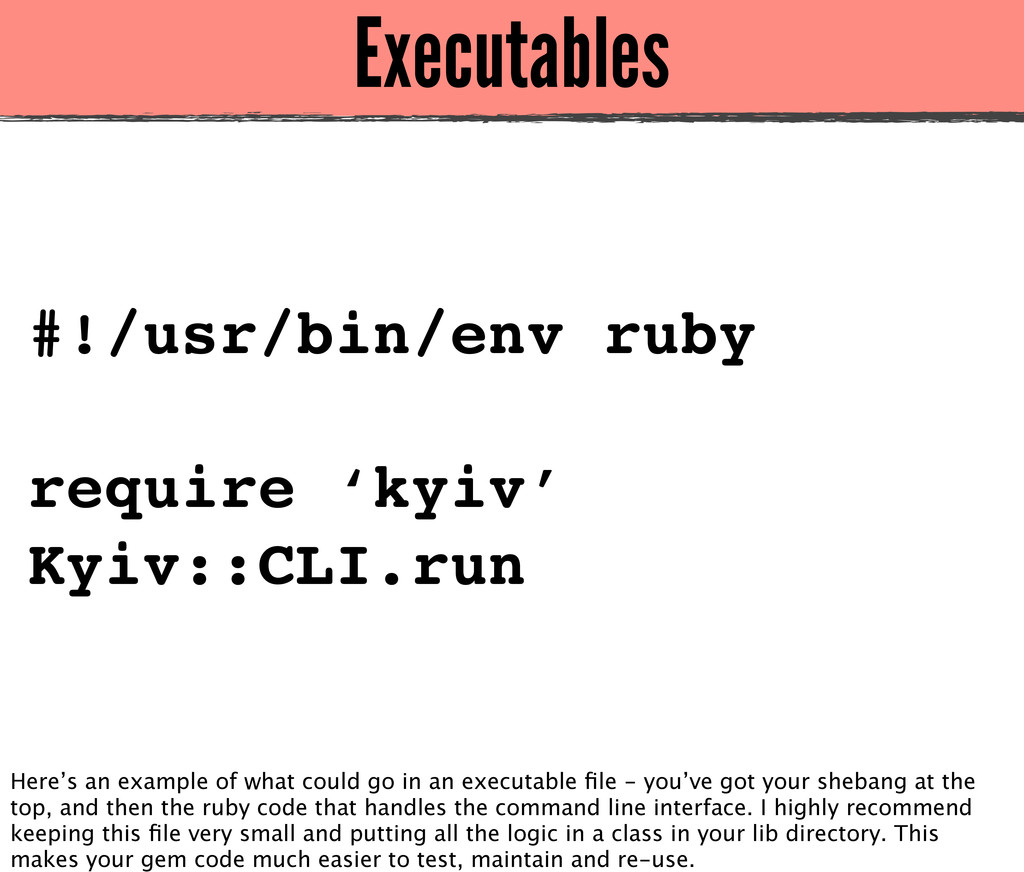
![Executables s.executables = [ ‘bin/kyiv’ ] Not all gems will](https://files.speakerdeck.com/presentations/4eb6712bb5fbcd005400cfaa/slide_52.jpg)
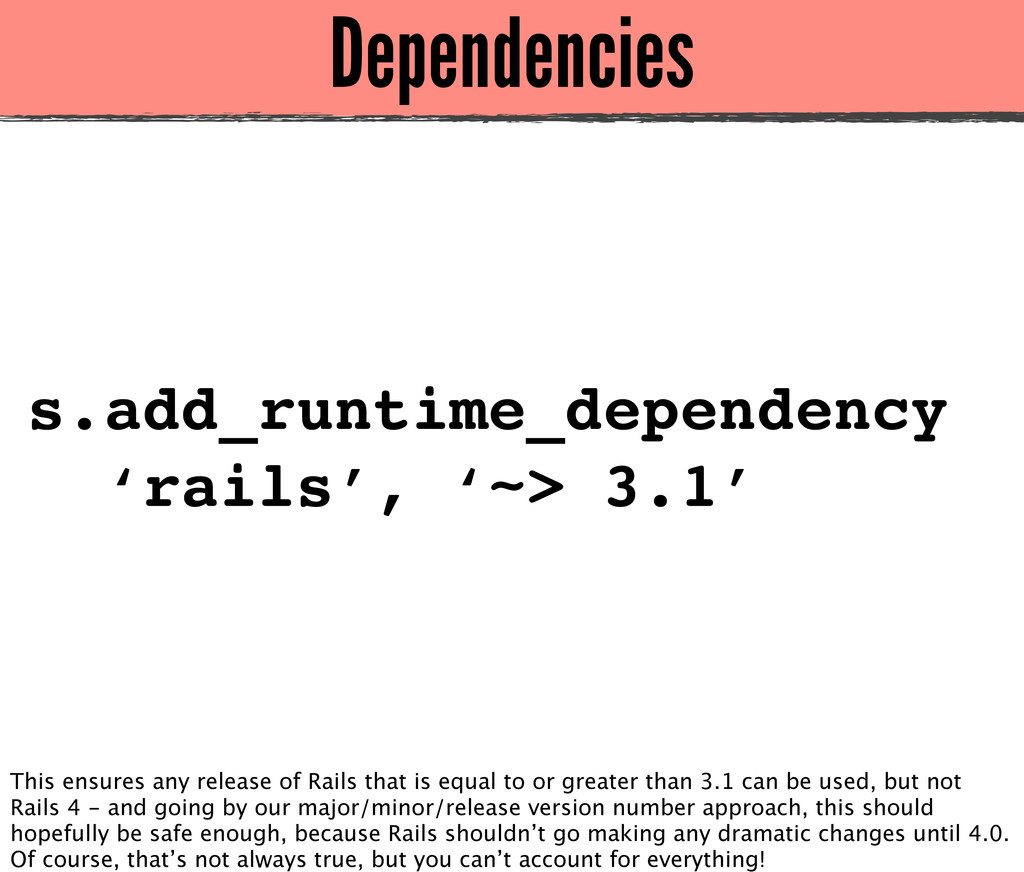
![Dependencies ~> 3.1 == [>= 3.1 && < 4.0] ~>](https://files.speakerdeck.com/presentations/4eb6712bb5fbcd005400cfaa/slide_60.jpg)