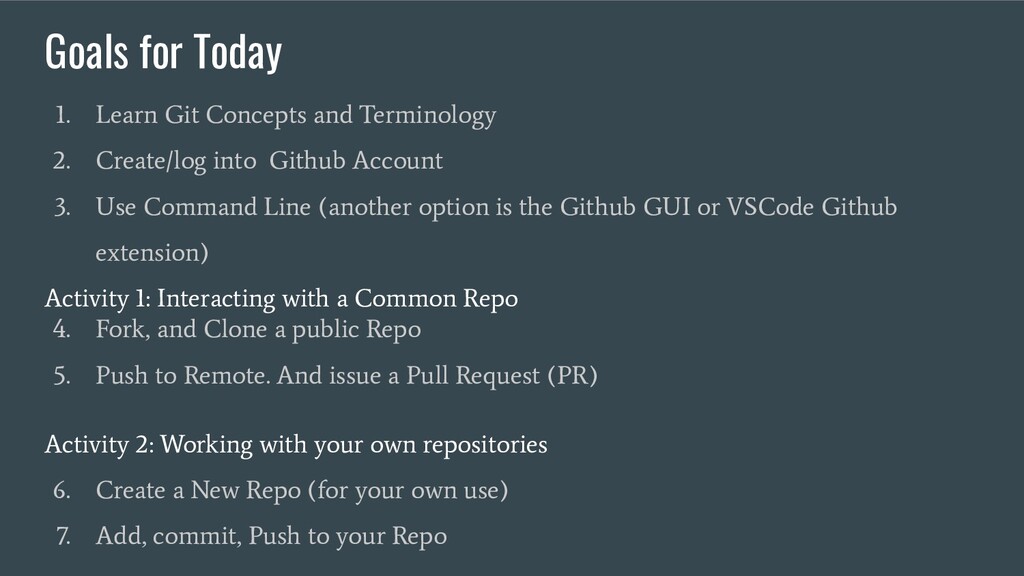
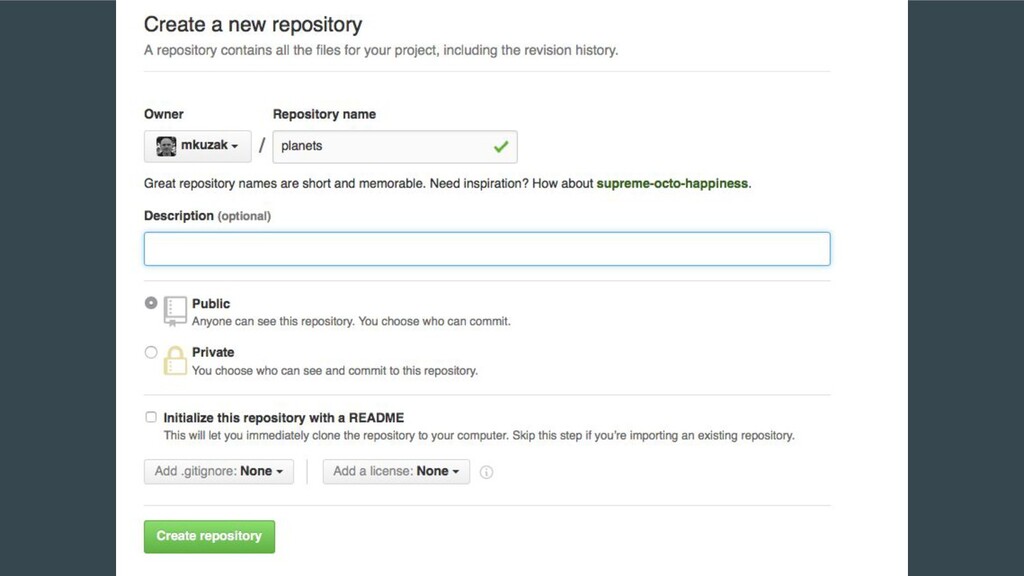
Create/log into Github Account 3. Use Command Line (another option is the Github GUI or VSCode Github extension) Activity 1: Interacting with a Common Repo 4. Fork, and Clone a public Repo 5. Push to Remote. And issue a Pull Request (PR) Activity 2: Working with your own repositories 6. Create a New Repo (for your own use) 7. Add, commit, Push to your Repo
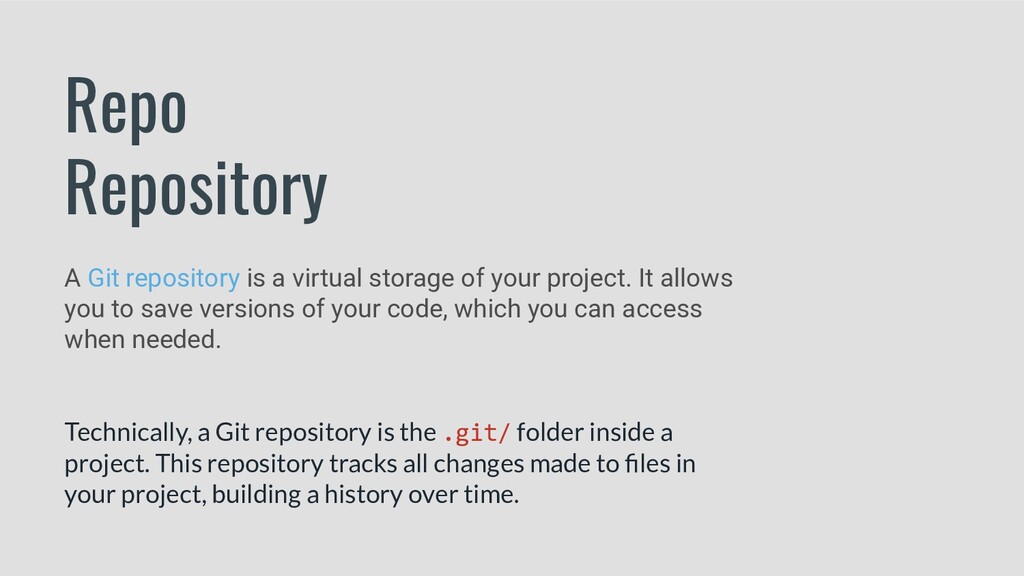
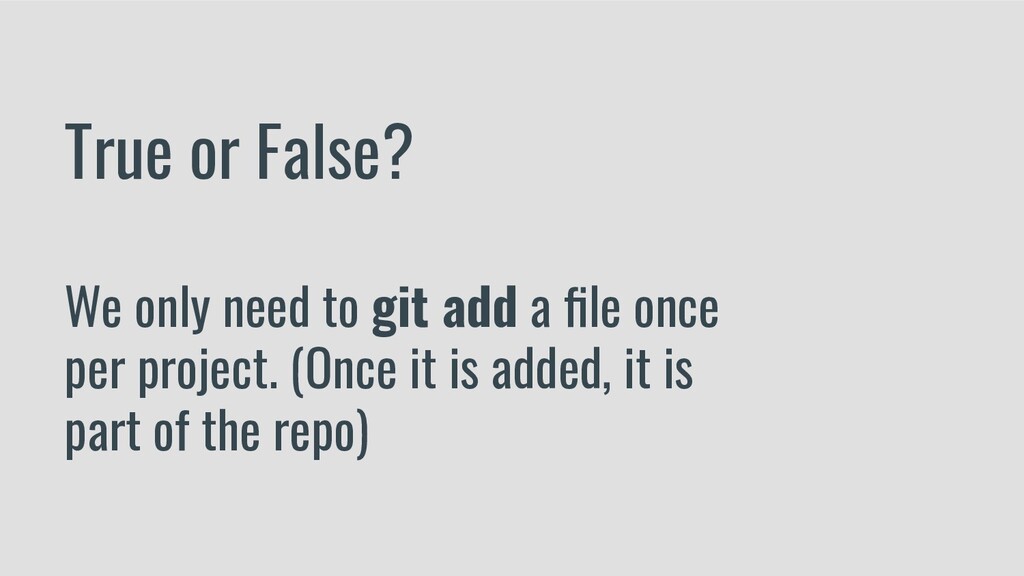
your project. It allows you to save versions of your code, which you can access when needed. Technically, a Git repository is the .git/ folder inside a project. This repository tracks all changes made to files in your project, building a history over time.
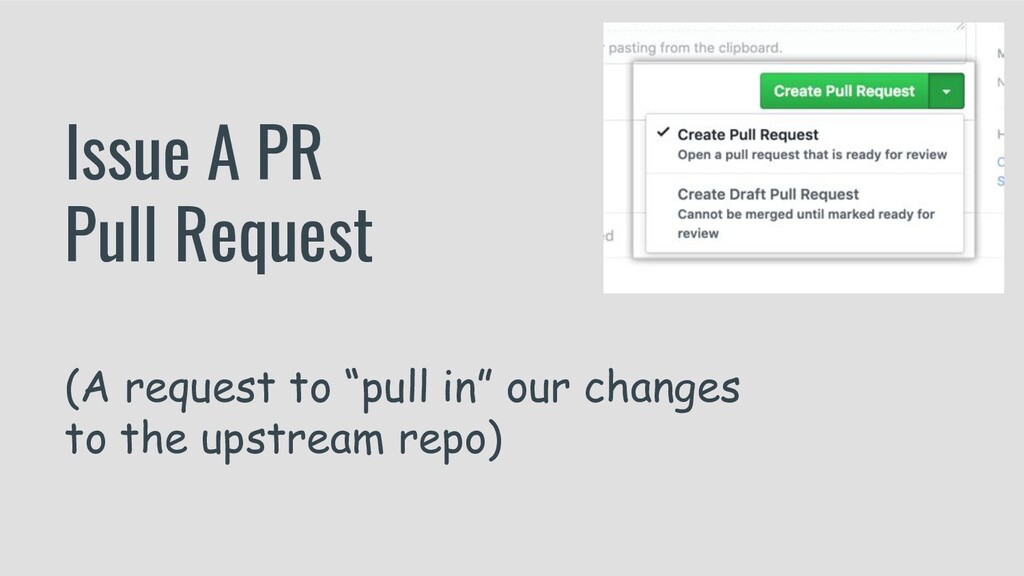
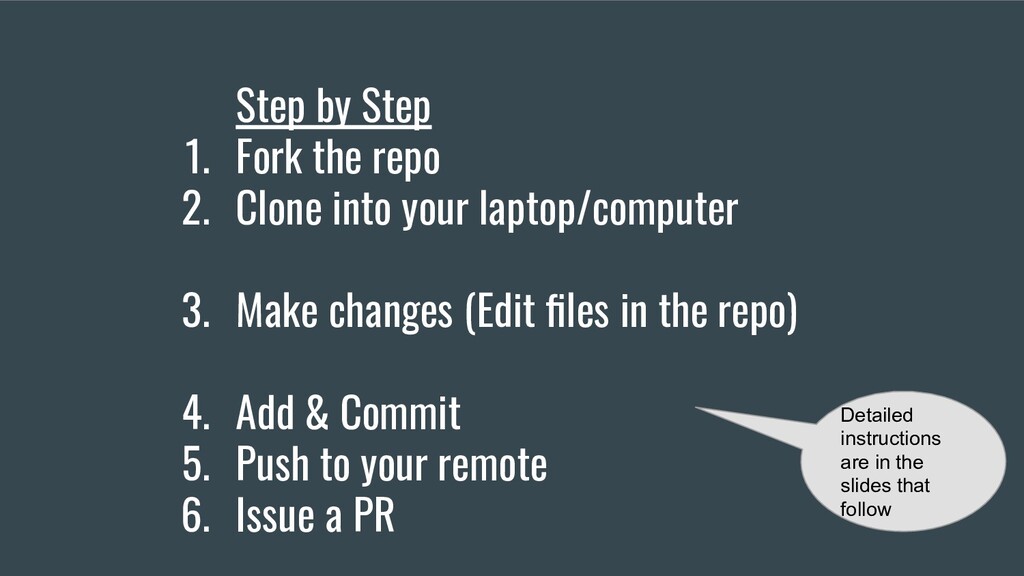
your laptop/computer 3. Make changes (Edit files in the repo) 4. Add & Commit 5. Push to your remote 6. Issue a PR Detailed instructions are in the slides that follow
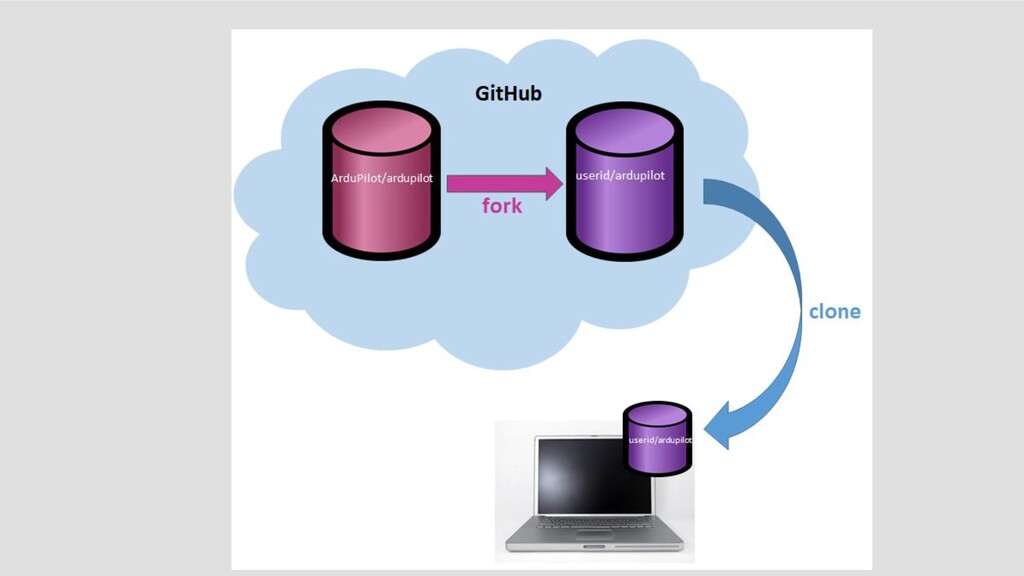
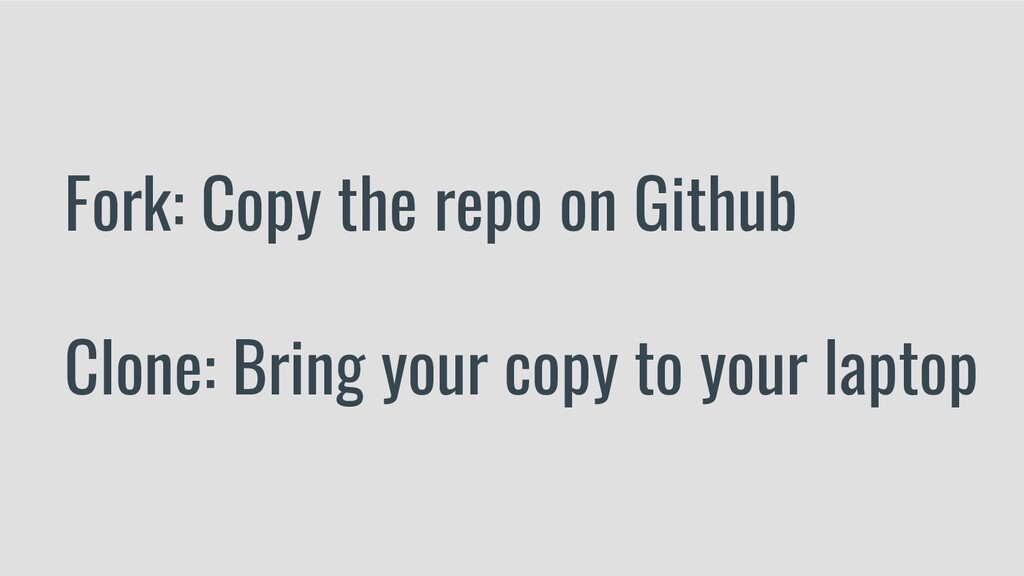
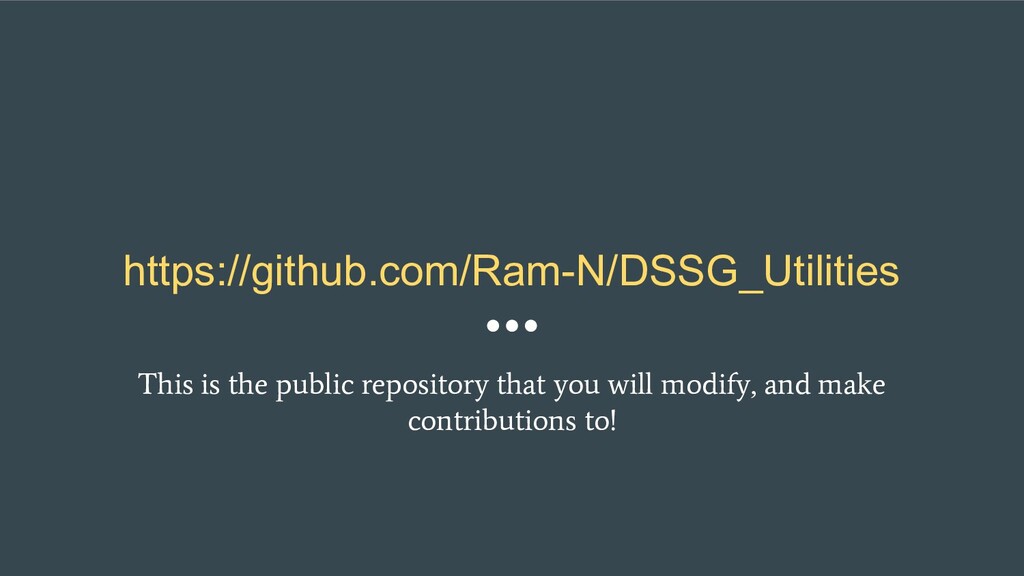
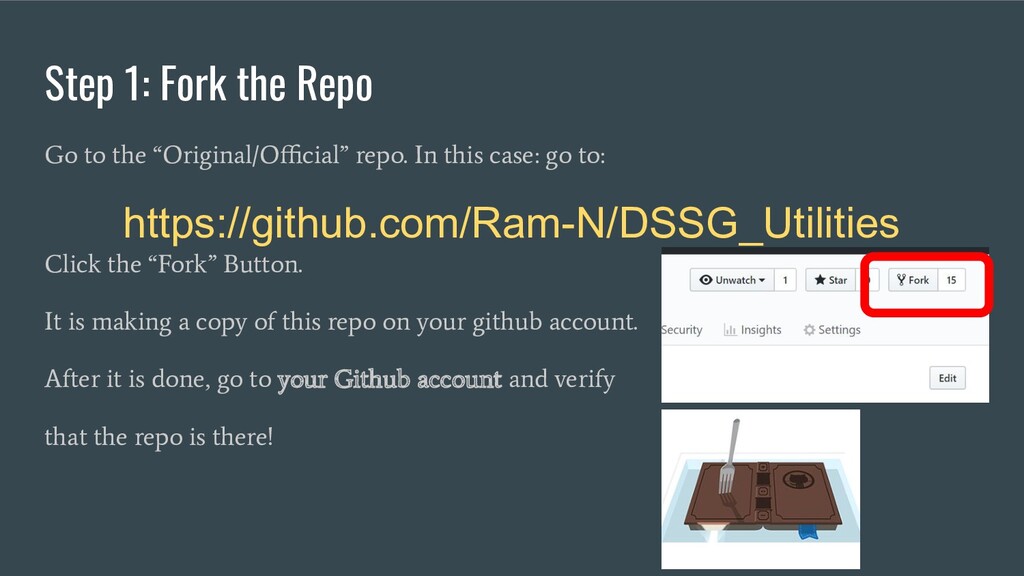
In this case: go to: https://github.com/Ram-N/DSSG_Utilities Click the “Fork” Button. It is making a copy of this repo on your github account. After it is done, go to your Github account and verify that the repo is there!
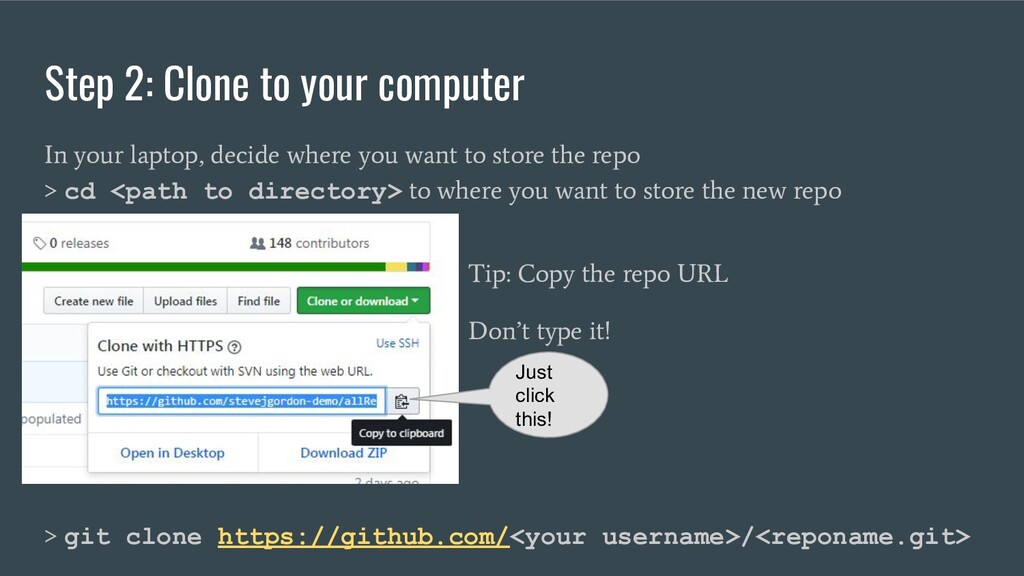
where you want to store the repo > cd <path to directory> to where you want to store the new repo > git clone https://github.com/<your username>/<reponame.git> Just click this! Tip: Copy the repo URL Don’t type it!
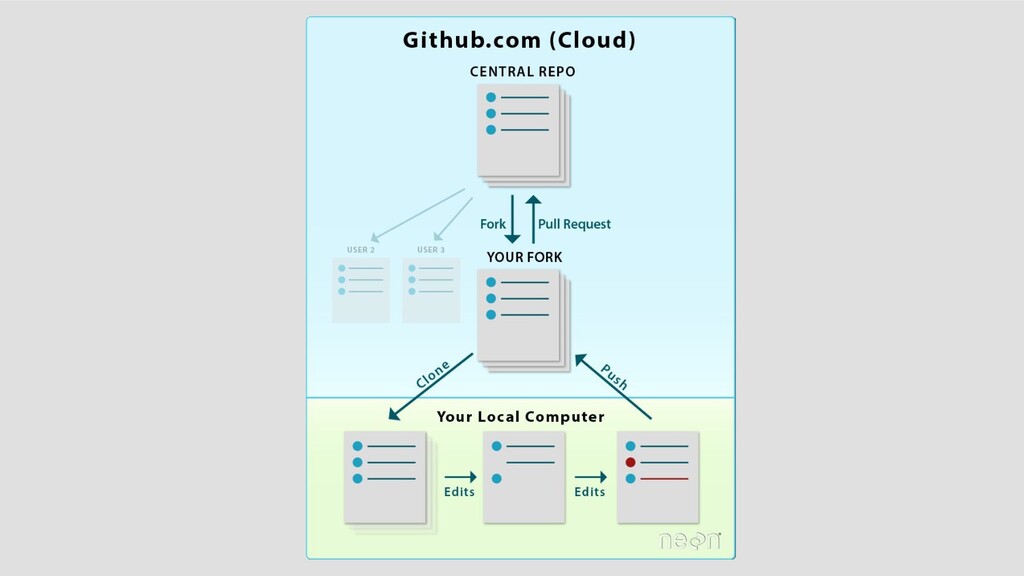
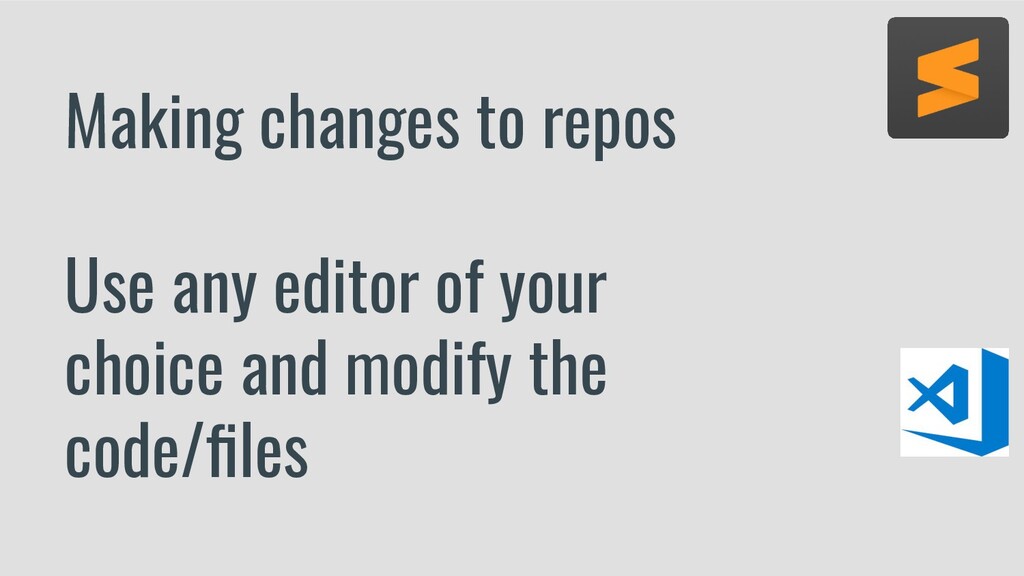
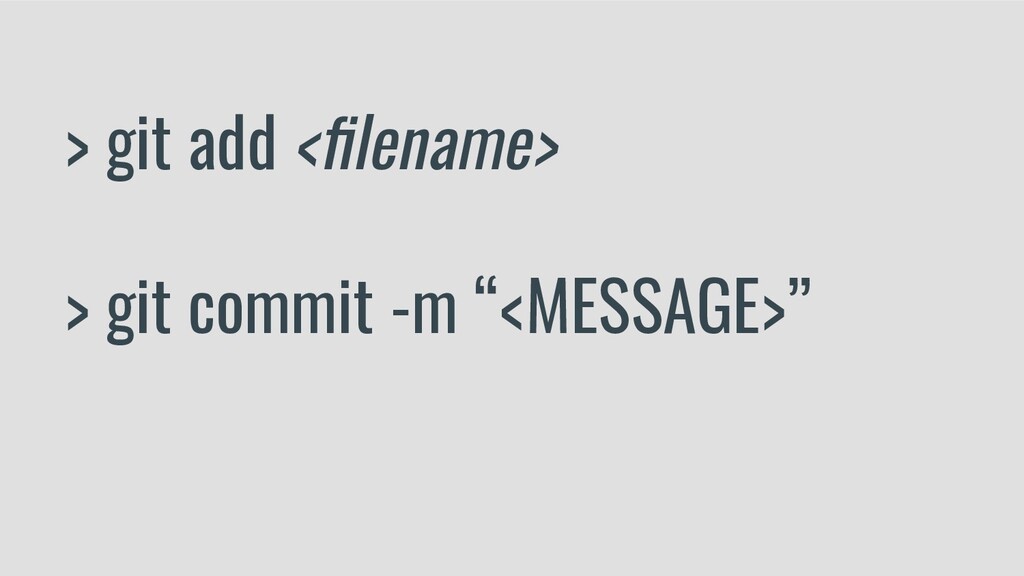
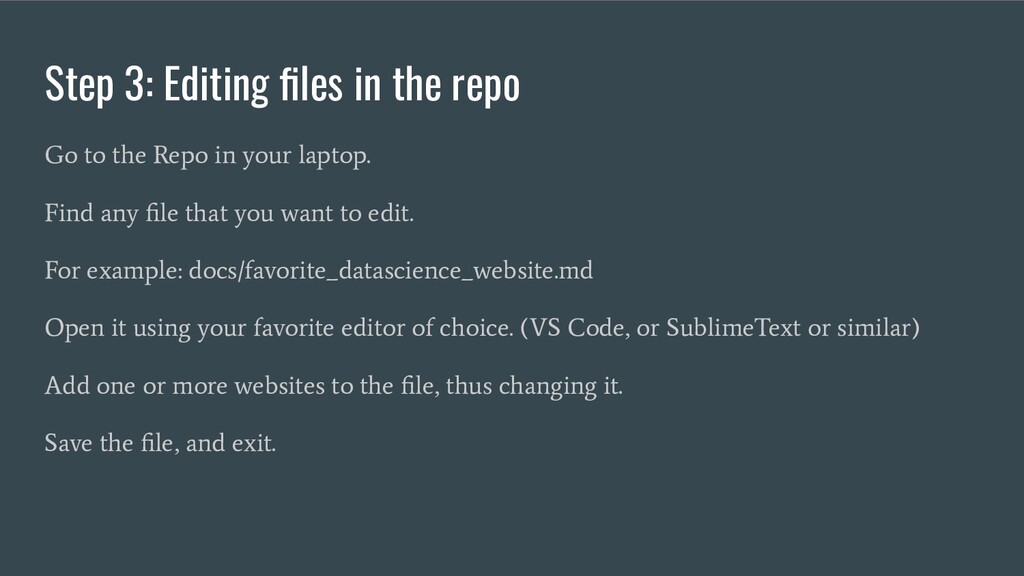
Repo in your laptop. Find any file that you want to edit. For example: docs/favorite_datascience_website.md Open it using your favorite editor of choice. (VS Code, or SublimeText or similar) Add one or more websites to the file, thus changing it. Save the file, and exit.
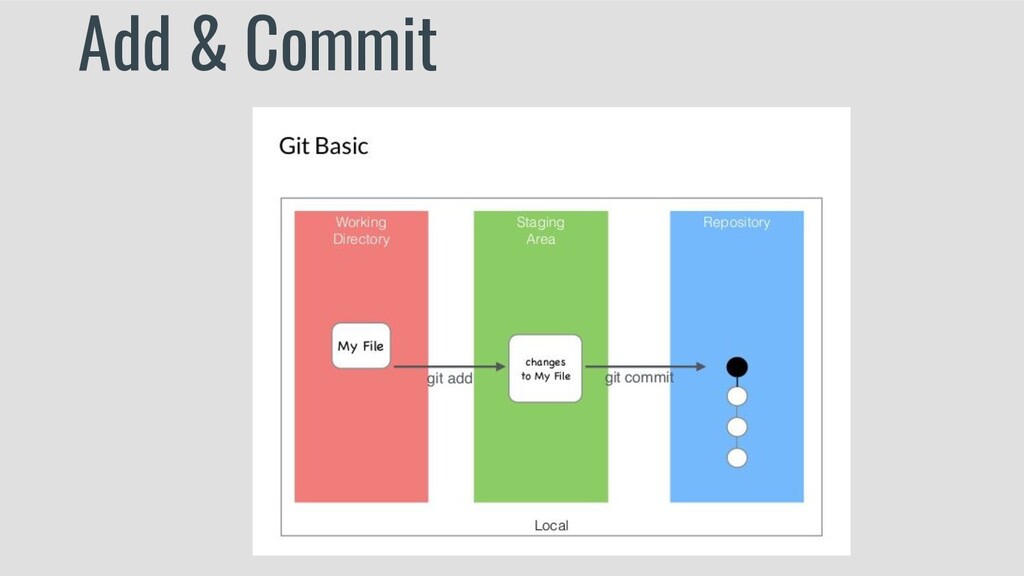
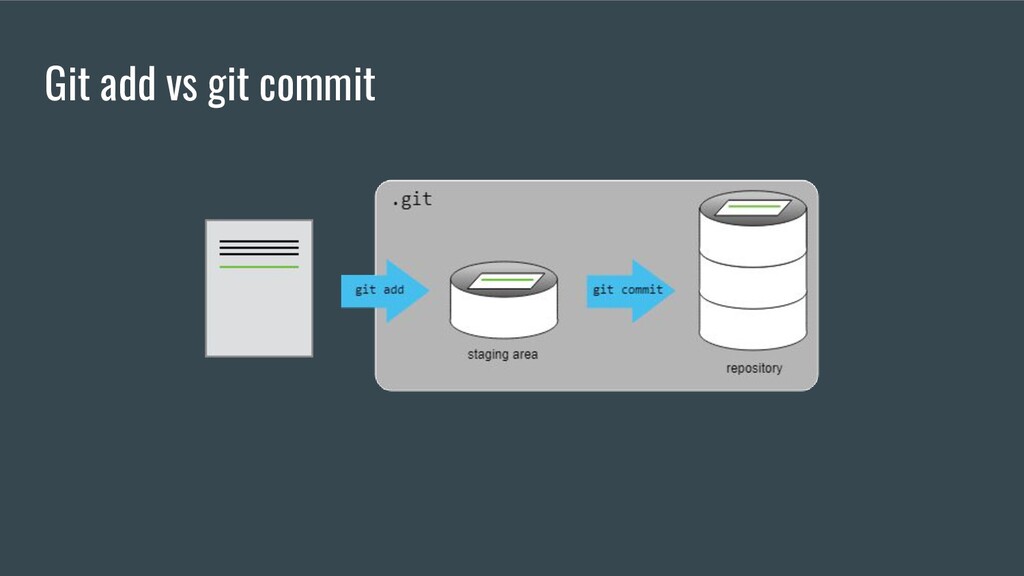
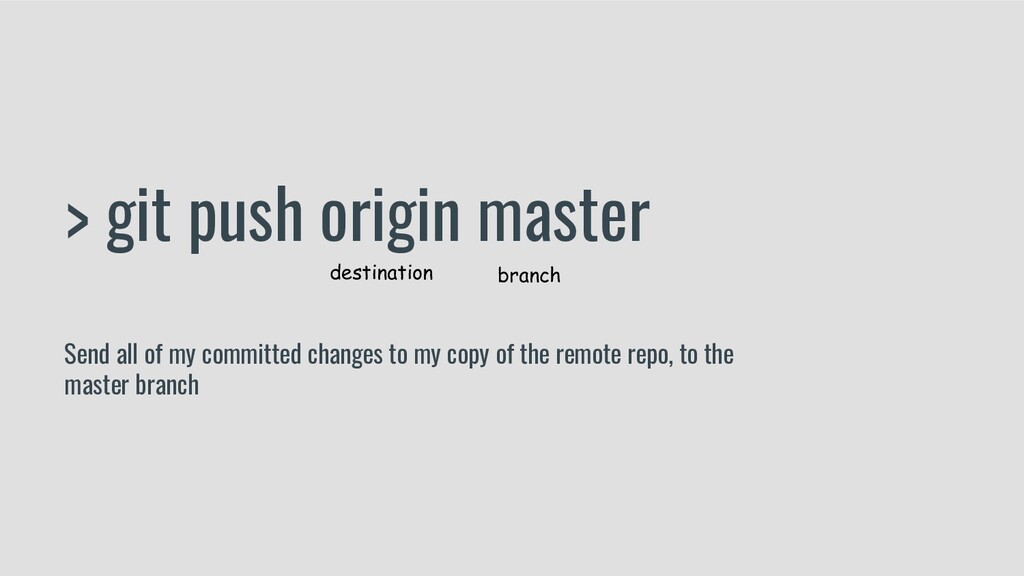
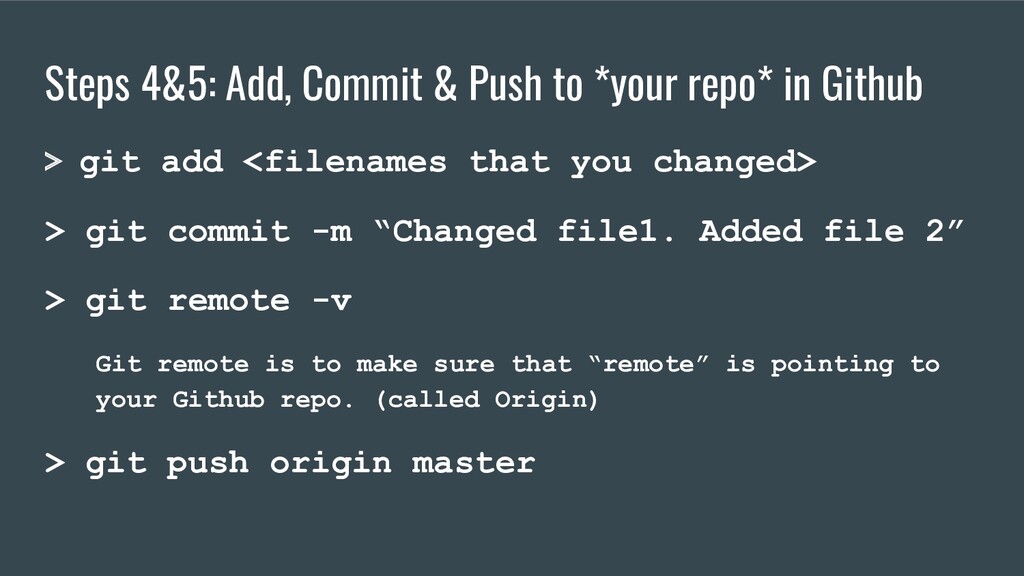
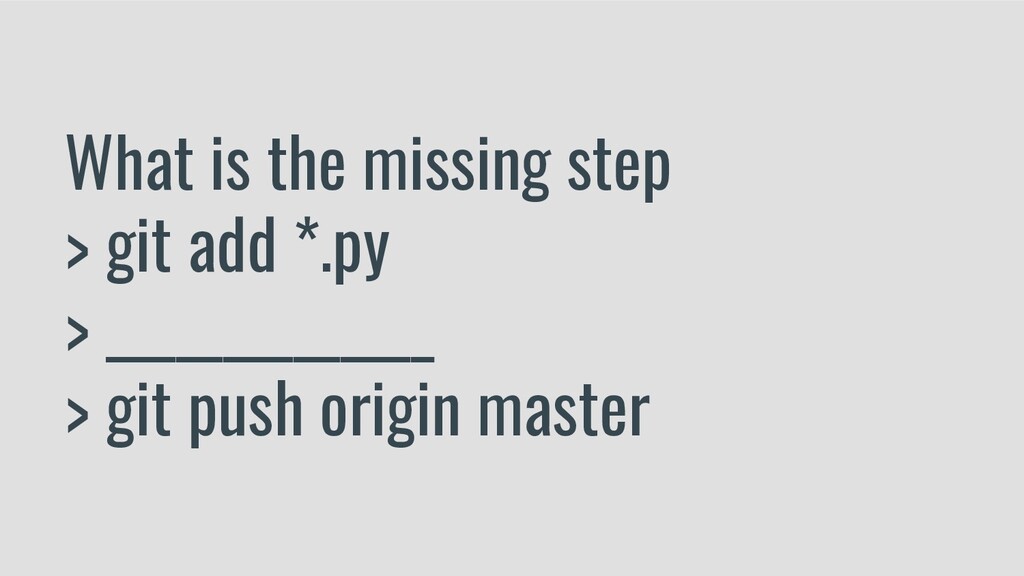
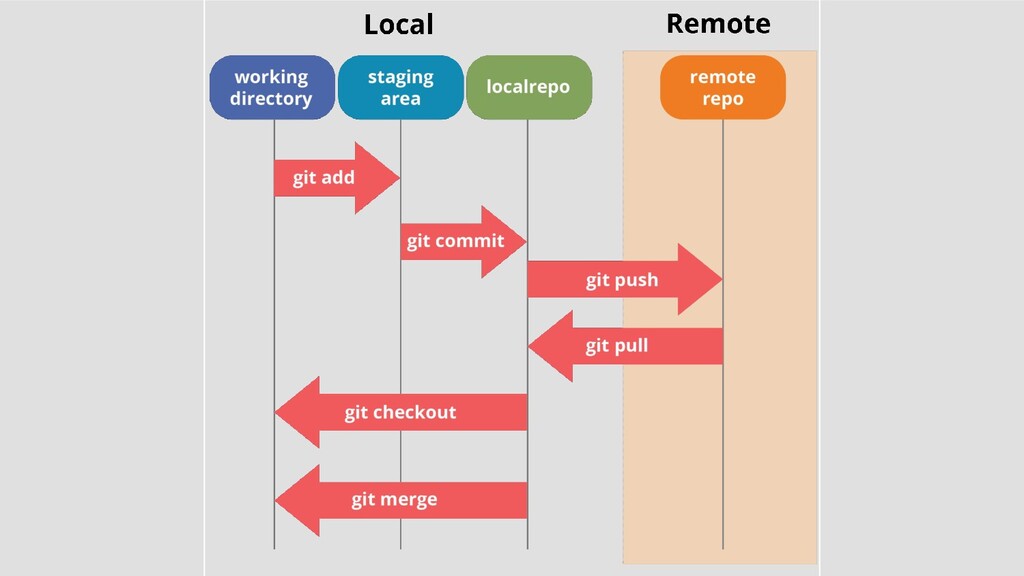
Github > git add <filenames that you changed> > git commit -m “Changed file1. Added file 2” > git remote -v Git remote is to make sure that “remote” is pointing to your Github repo. (called Origin) > git push origin master
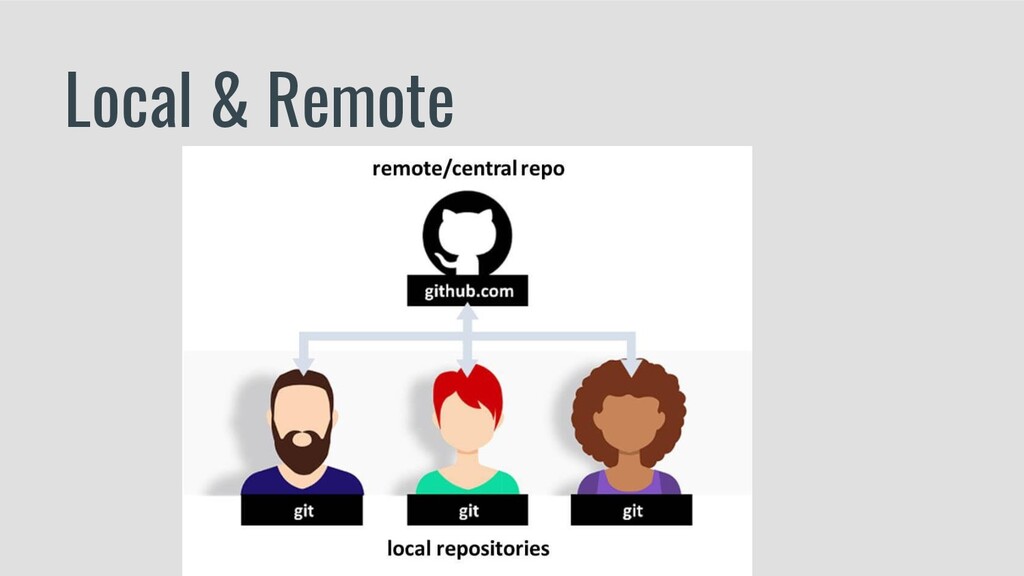
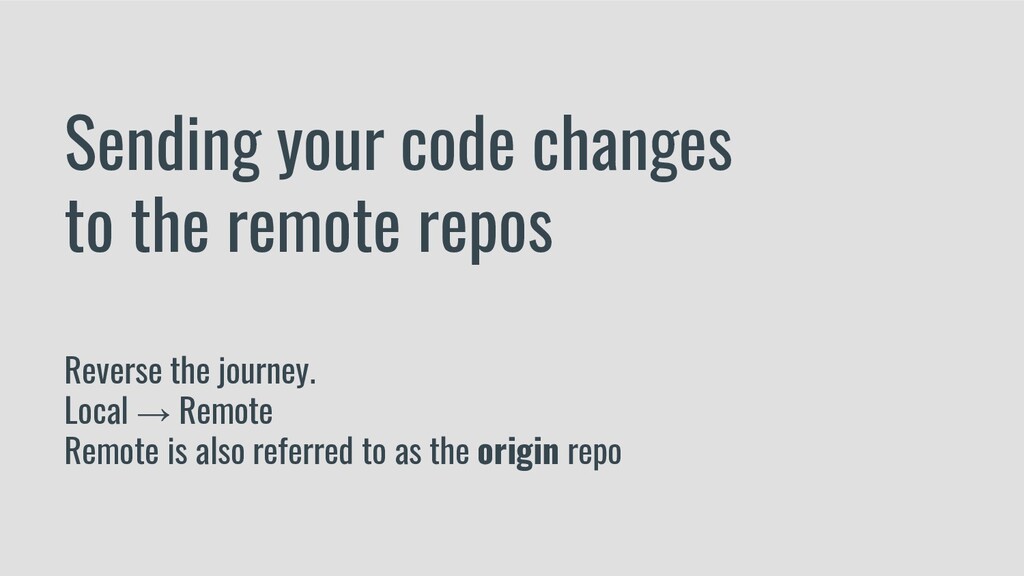
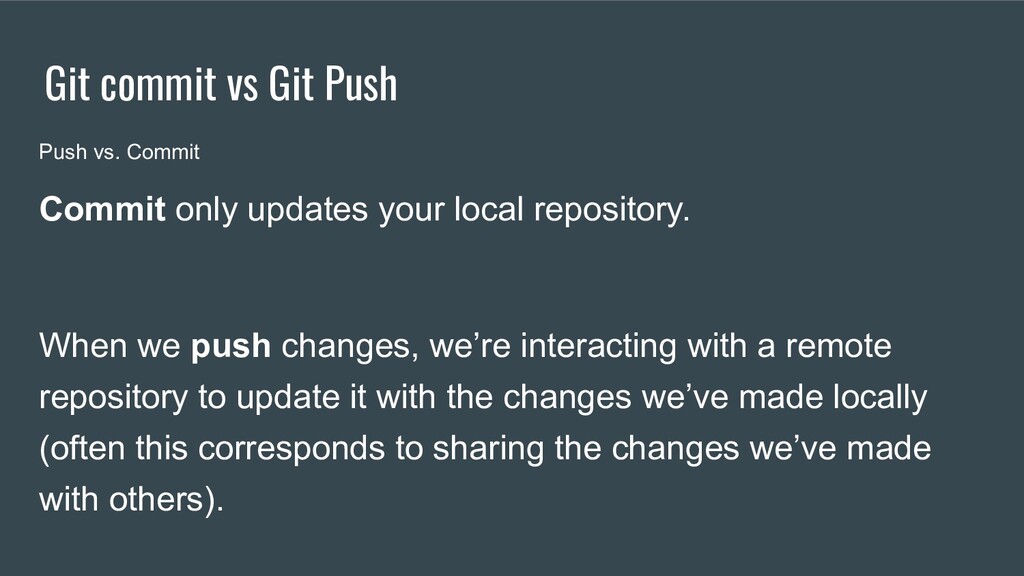
updates your local repository. When we push changes, we’re interacting with a remote repository to update it with the changes we’ve made locally (often this corresponds to sharing the changes we’ve made with others).
add <filename that you changed> > git commit -m “Changed file1. Added file 2” > git remote -v Git remote is to make sure that “remote” is pointing to your Github repo. (called Origin) > git push origin master
these anyway) • Git branches • Git checkout • Push to a specific branch • Git Merge • Delete the ‘bugfix’ branch, once it has served its purpose. We can try and arrange an Intermediate git workshop, if there is interest.
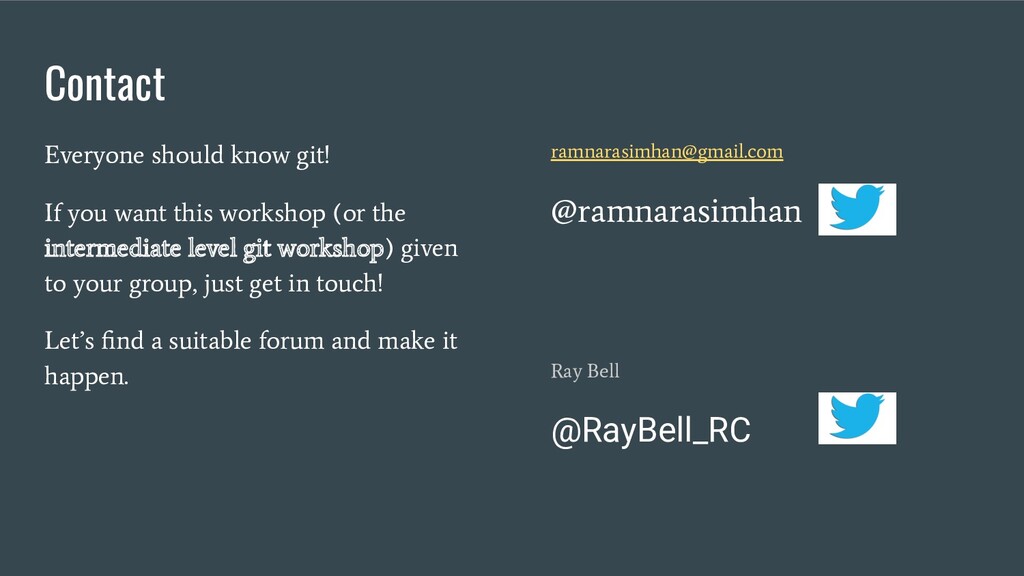
(or the intermediate level git workshop) given to your group, just get in touch! Let’s find a suitable forum and make it happen. [email protected] @ramnarasimhan Ray Bell @RayBell_RC