Mule-specific application. This server can host any Java specific code, web services and Mule application. It can also host web application with the help of embedded Jetty server in Mule application. To deploy an application on Mule Standalone server we require Mule application in deployable zip format, just like a .war file in case of tomcat server . Mule Standalone Server Ramya
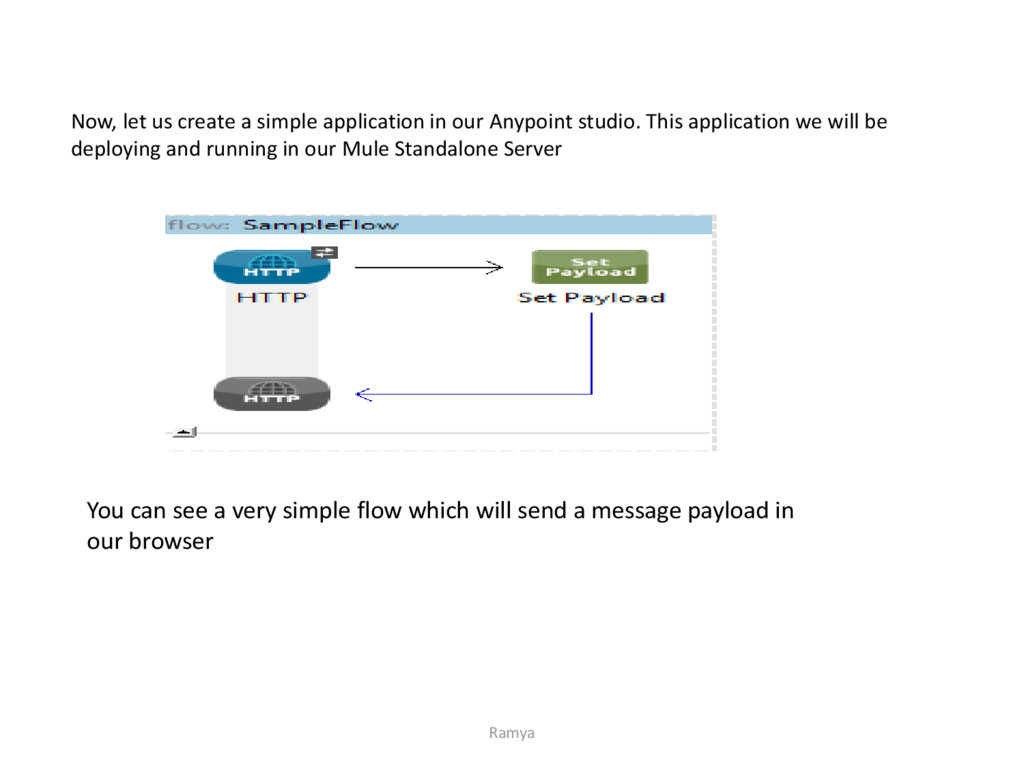
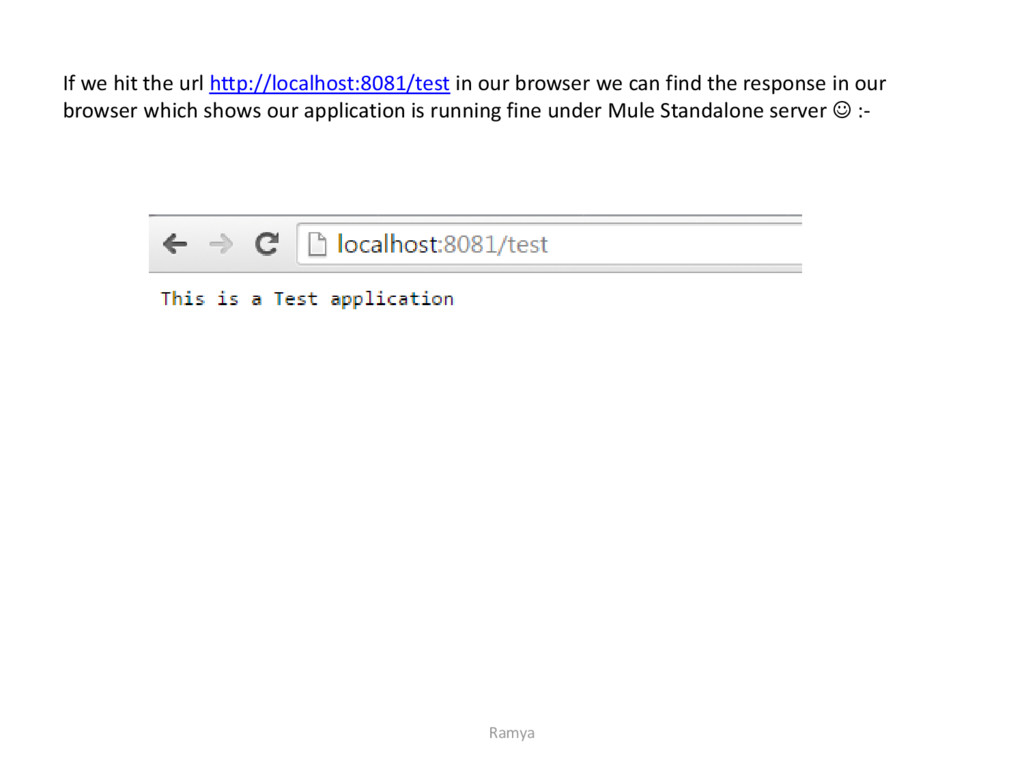
studio. This application we will be deploying and running in our Mule Standalone Server You can see a very simple flow which will send a message payload in our browser Ramya
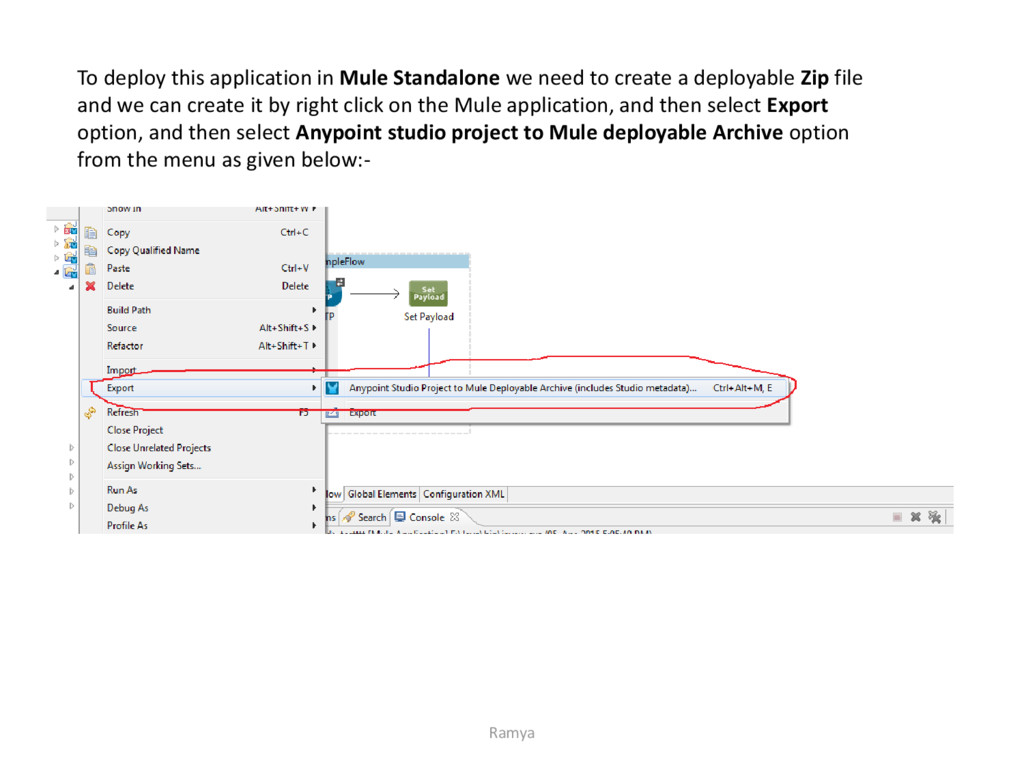
create a deployable Zip file and we can create it by right click on the Mule application, and then select Export option, and then select Anypoint studio project to Mule deployable Archive option from the menu as given below:- Ramya
need to deploy that. Now, we need to copy the zip file and paste it into app folder under Mule Standalone folder as shown below:- This app folder will contain all the Mule application to be deployed under the server Ramya
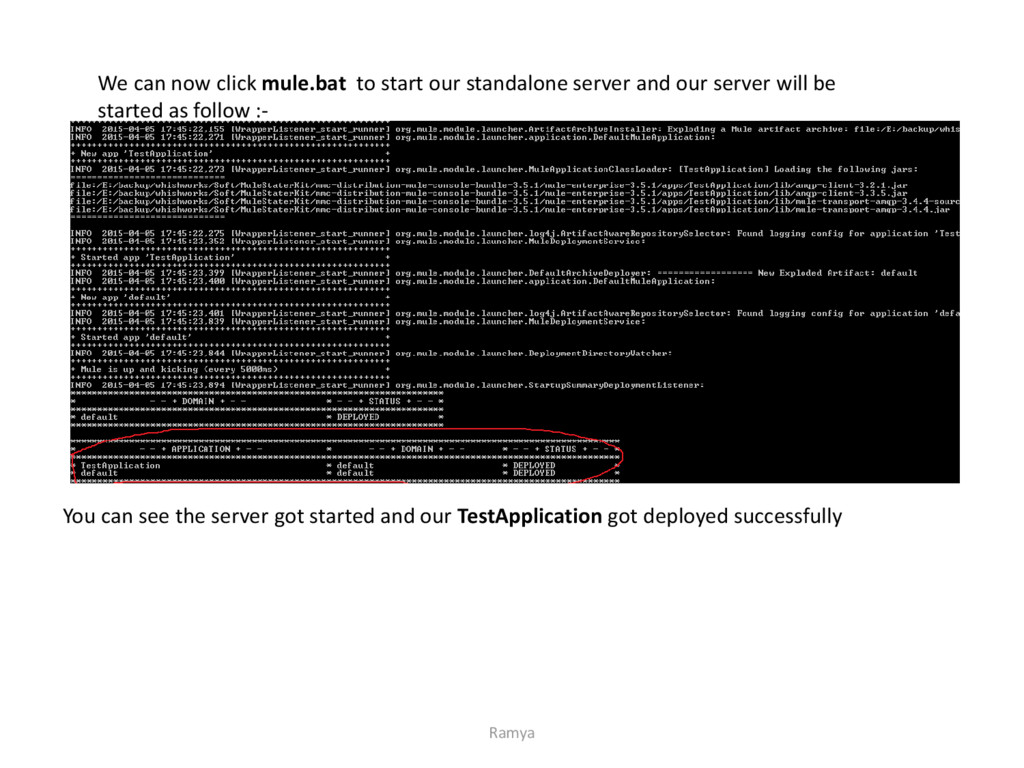
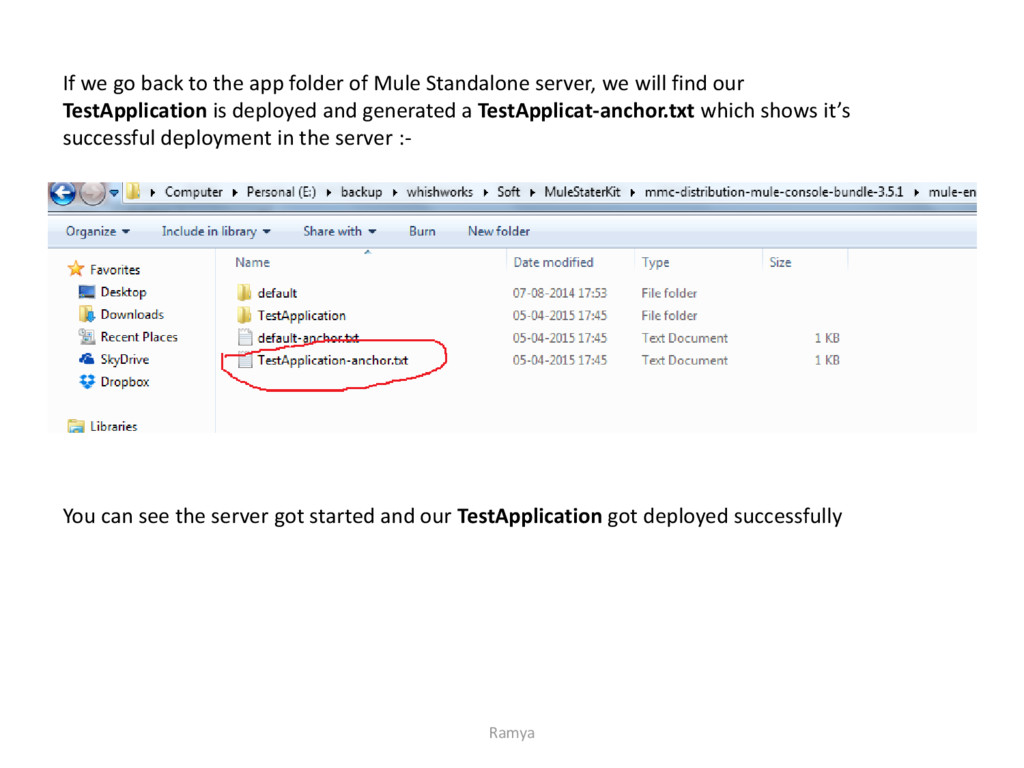
got deployed successfully If we go back to the app folder of Mule Standalone server, we will find our TestApplication is deployed and generated a TestApplicat-anchor.txt which shows it’s successful deployment in the server :- Ramya