YouTube is a great source for inspiration and entertainment. There are over 400 million videos on YouTube according to YouTube stats page. What is more exciting is that YouTube isn’t only a video hosting platform, it’s an active social media hub or social video network. YouTube surpassed TV in number of views late in 2011. The YouTube community is really wide. The site is popular in 70+ countries. It mean that if you publish your content on YouTube being in Brazil, people from Portugal, Denmark and Japan can find it and comment it.
To enlarge audience coverage and to meet viewer’s quality requirements, YouTube team empowers YouTube video publishers or so-called YouTube creators with various tools and options. There are apps for mobile use: a YouTube for iPhone, iPad, Android, Xbox One, and PlayStation4. Also Google developers provide users YouTube video editor, a simple, yet powerful multimedia service, a lengthy library of audio tracks that creators may add as soundtracks for free to their video. They also made quite simple website interface, so that video upload to Google online video hosting will be as easy as can be.
Today in my slideshow, I'll show you how to post your videos on YouTube easily. The slideshow covers basic steps that you need to go through. I've used "YouTube Upload 101: Account, Specs, Limits, Formats" resource page http://www.freemake.com/blog/youtube-upload-tips-specs-limits-formats/ as a complete tutorial. So if you want to unlock all secrets, don't forget to check it.
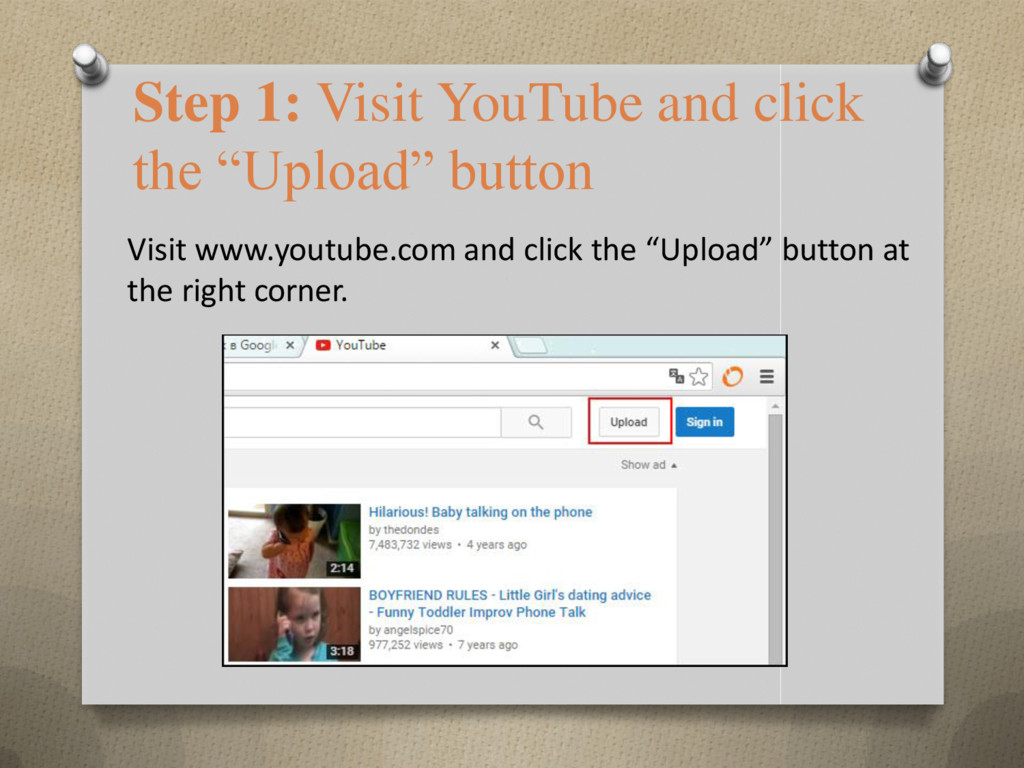
Slide #1: Visit YouTube and click the “Upload” button
Visit youtube.com and click the “Upload” button at the right corner.
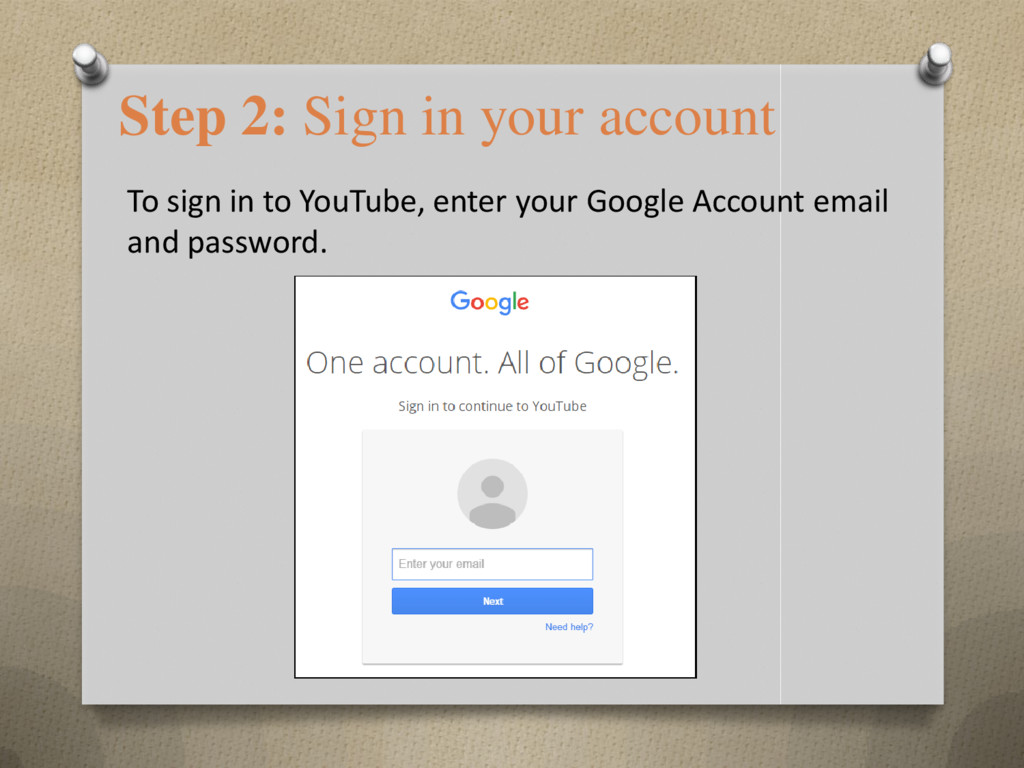
Slide #2: Sign in your account
To sign in to YouTube, enter your Google Account email and password.
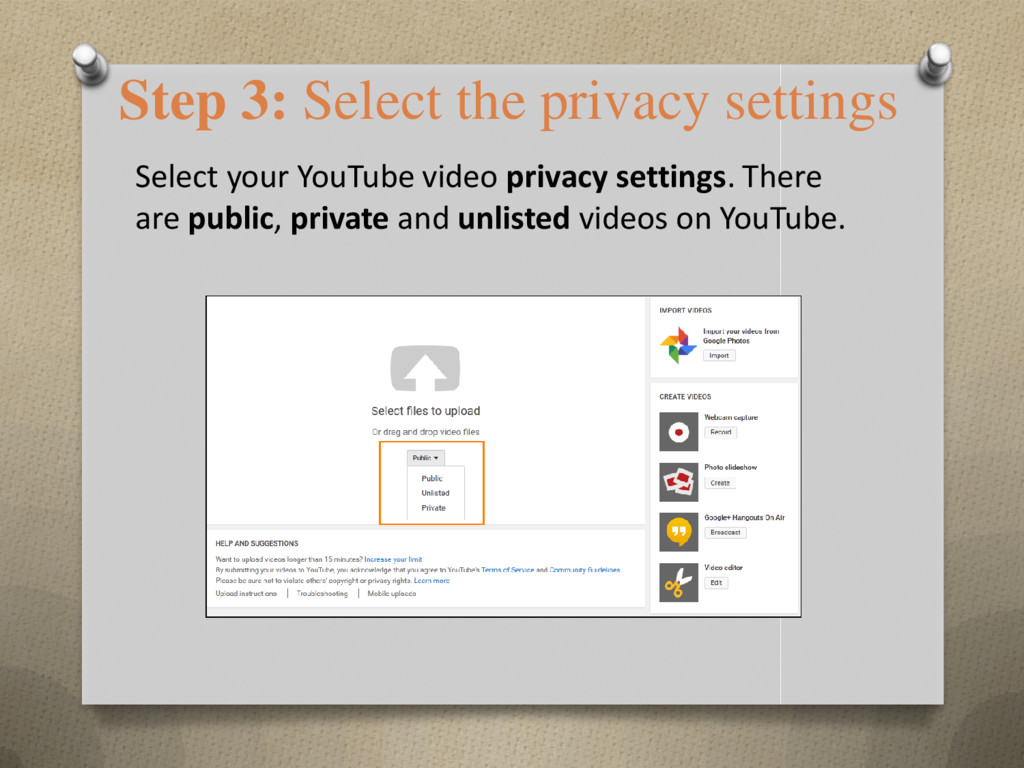
Slide #3: Select the privacy settings
Select your YouTube video privacy settings. There are public, private and unlisted videos on YouTube.
Slide #4
Public videos are visible for everyone. Private videos are visible for you. Unlisted videos are seen by anyone who has a direct link to it. Let’s say you need to share a family photo slideshow, you can pick the “Unlisted” setting and email a link to YouTube video to your family members.
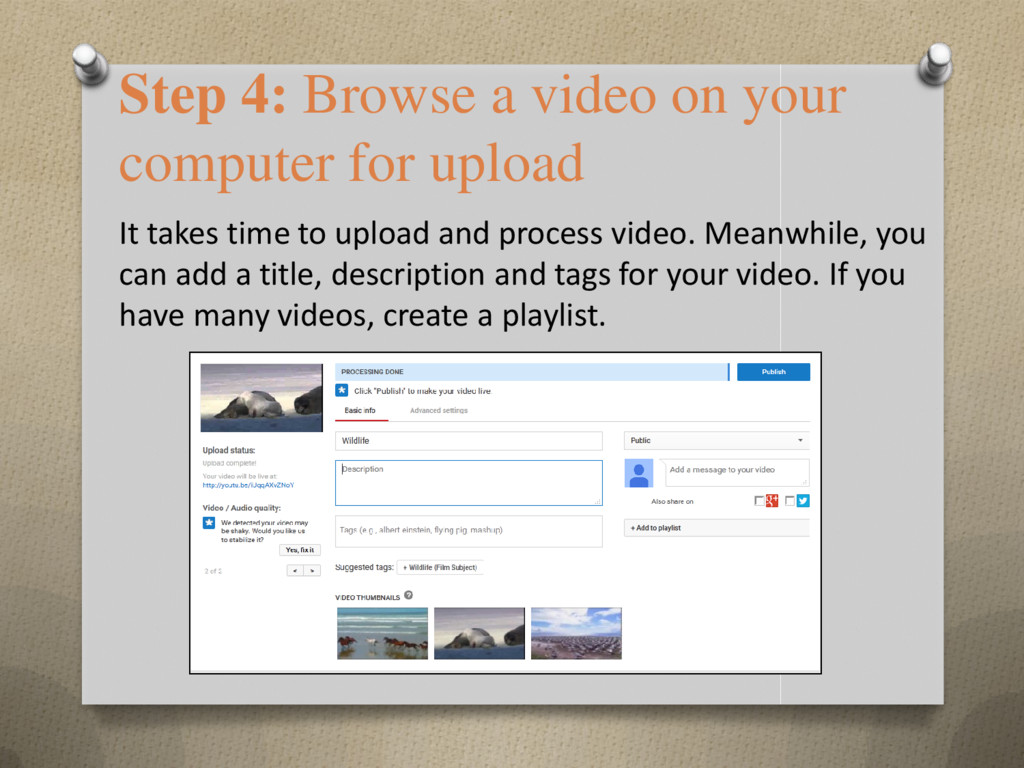
Slide #5: Browse a video on your computer for upload
It takes time to upload and process video. Meanwhile, you can add a title, description and tags for your video. If you have many videos, create a playlist.
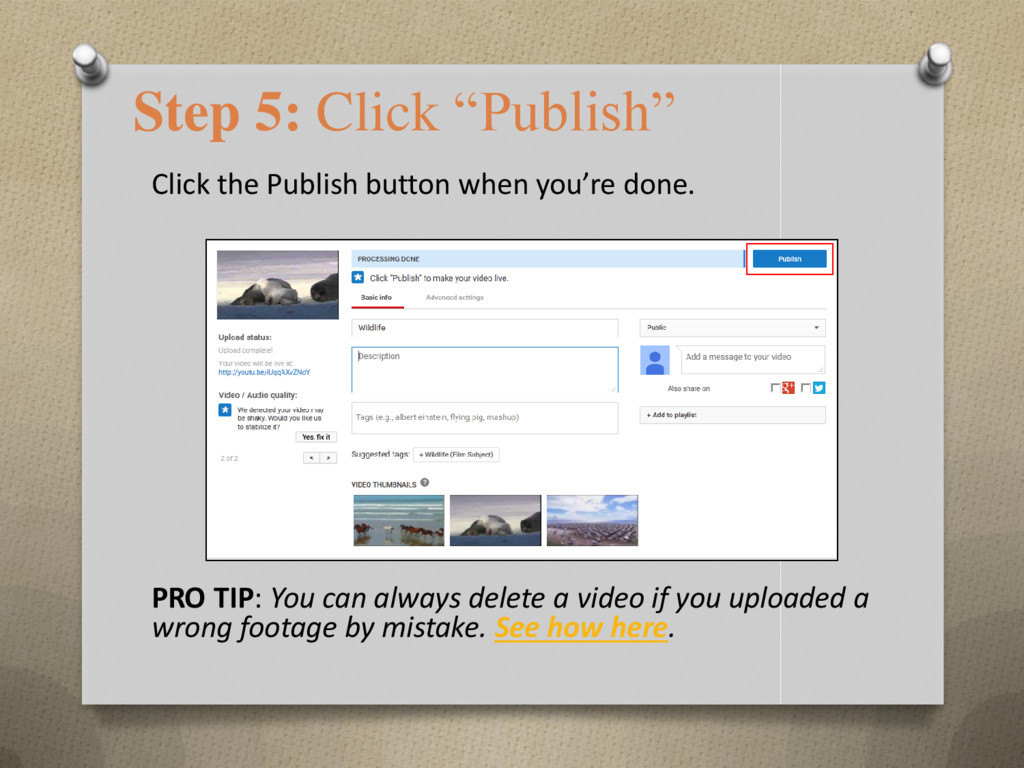
Slide #6: Click “Publish”
Click the Publish button when you’re done.
PRO TIP: You can always delete a video if you uploaded a wrong footage by mistake.
Last Slide:
If you have a multimedia file in an unsupported format from your camera, then you can convert video and upload it directly from your PC. Lean how to do it in the post (see the link above).
I hope you enjoy my presentation. If you like it, please star my slides. Thank you!