Upgrade to Pro — share decks privately, control downloads, hide ads and more …

Node Builder Workshop - 13 Nov 2025

Avatar for RRBTC RRBTC
November 13, 2025
14

Node Builder Workshop - 13 Nov 2025

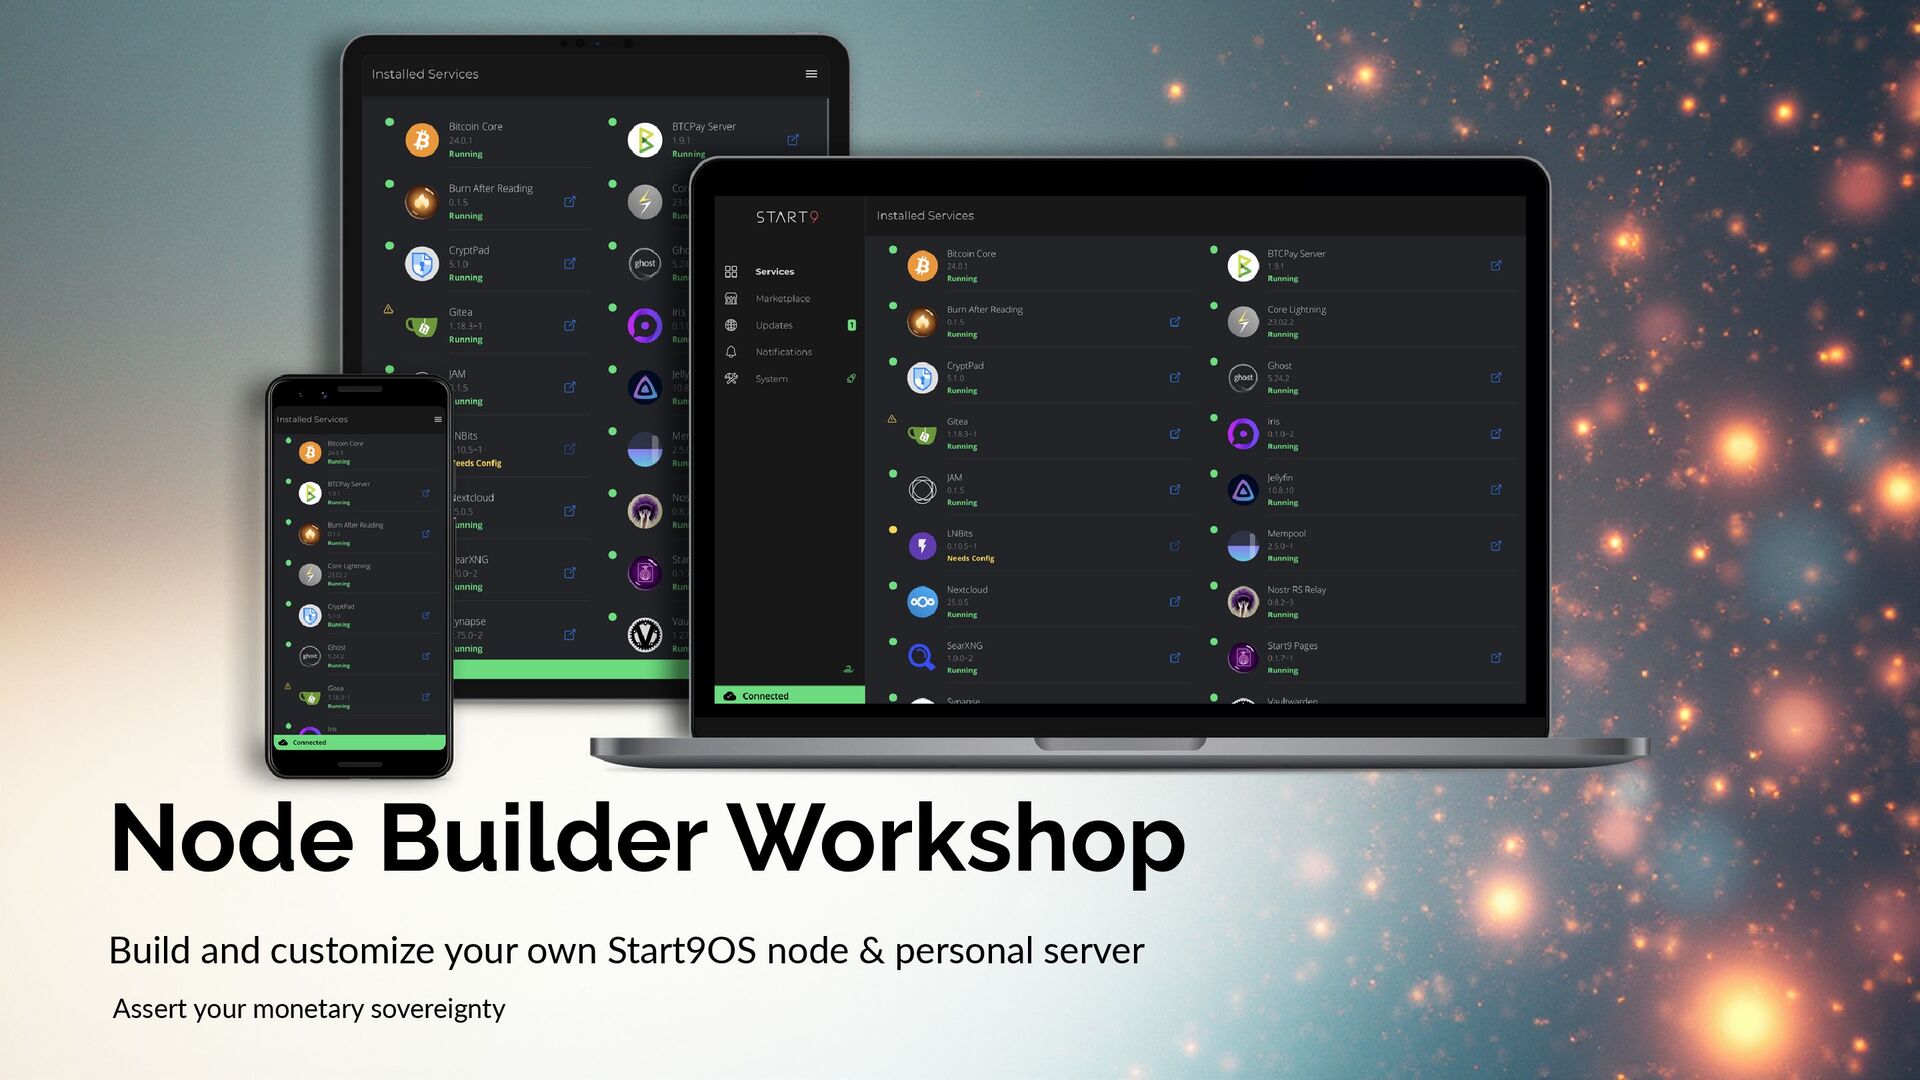
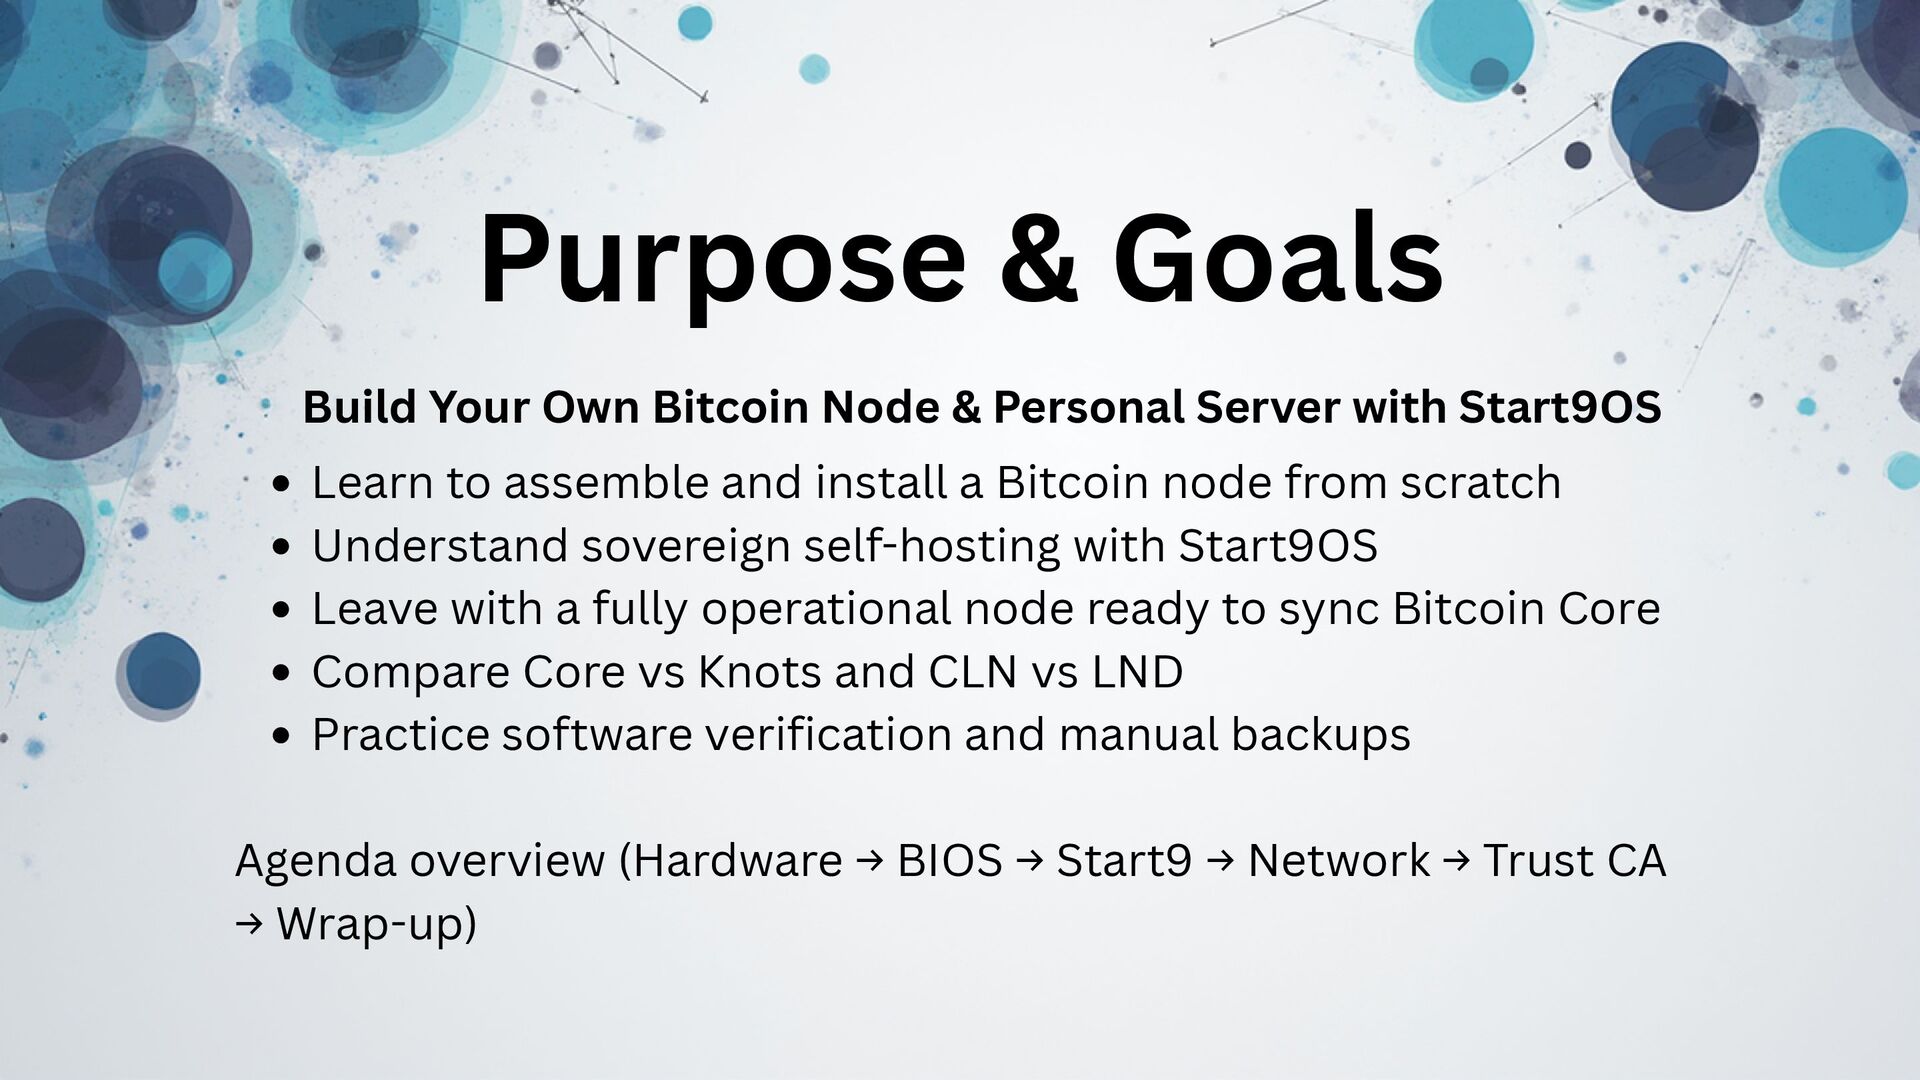
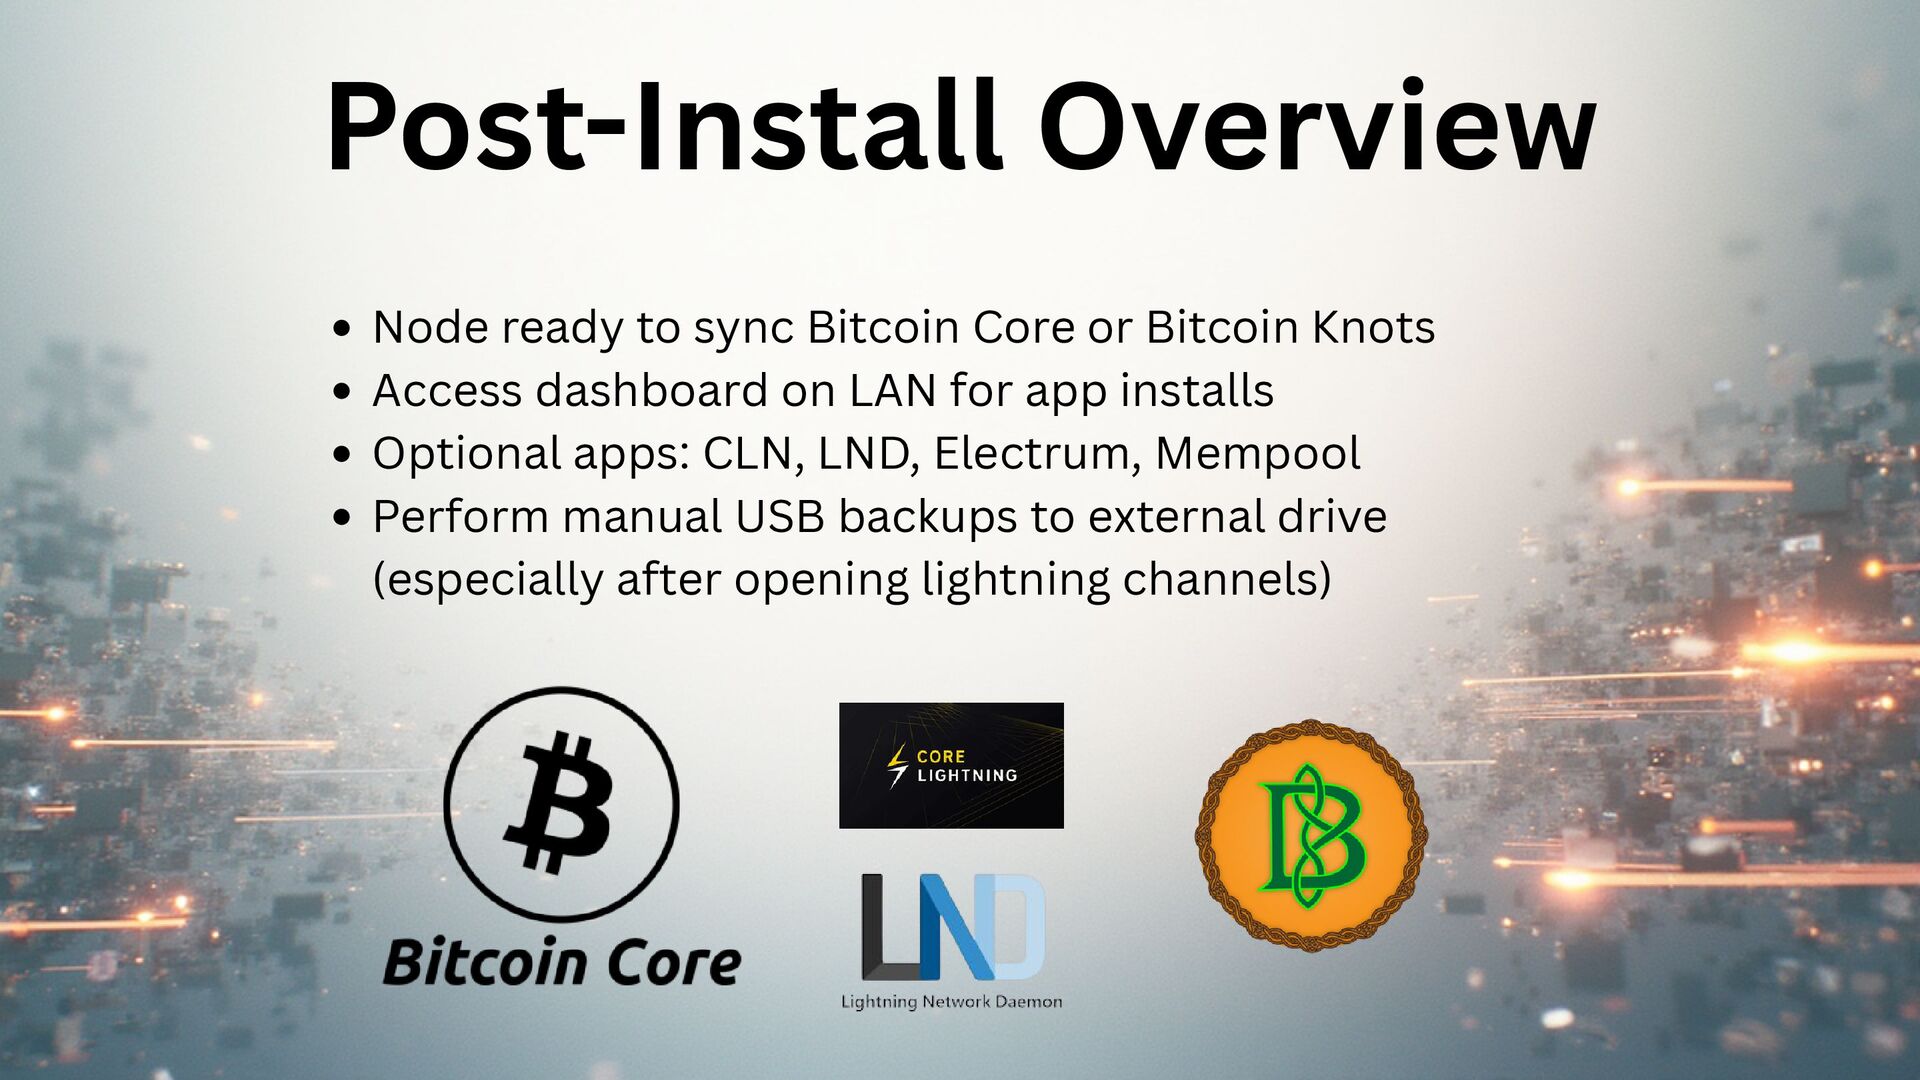
Are you growing sick of the core vs. knots drama? Ever wanted to setup your own bitcoin node with your rules and assert your monetary sovereignty? We want to make it easy for you to do just that regardless of which client you choose.

Come join us to build your very own DIY x86 - Start9OS node & personal server.

Don't have all the parts?

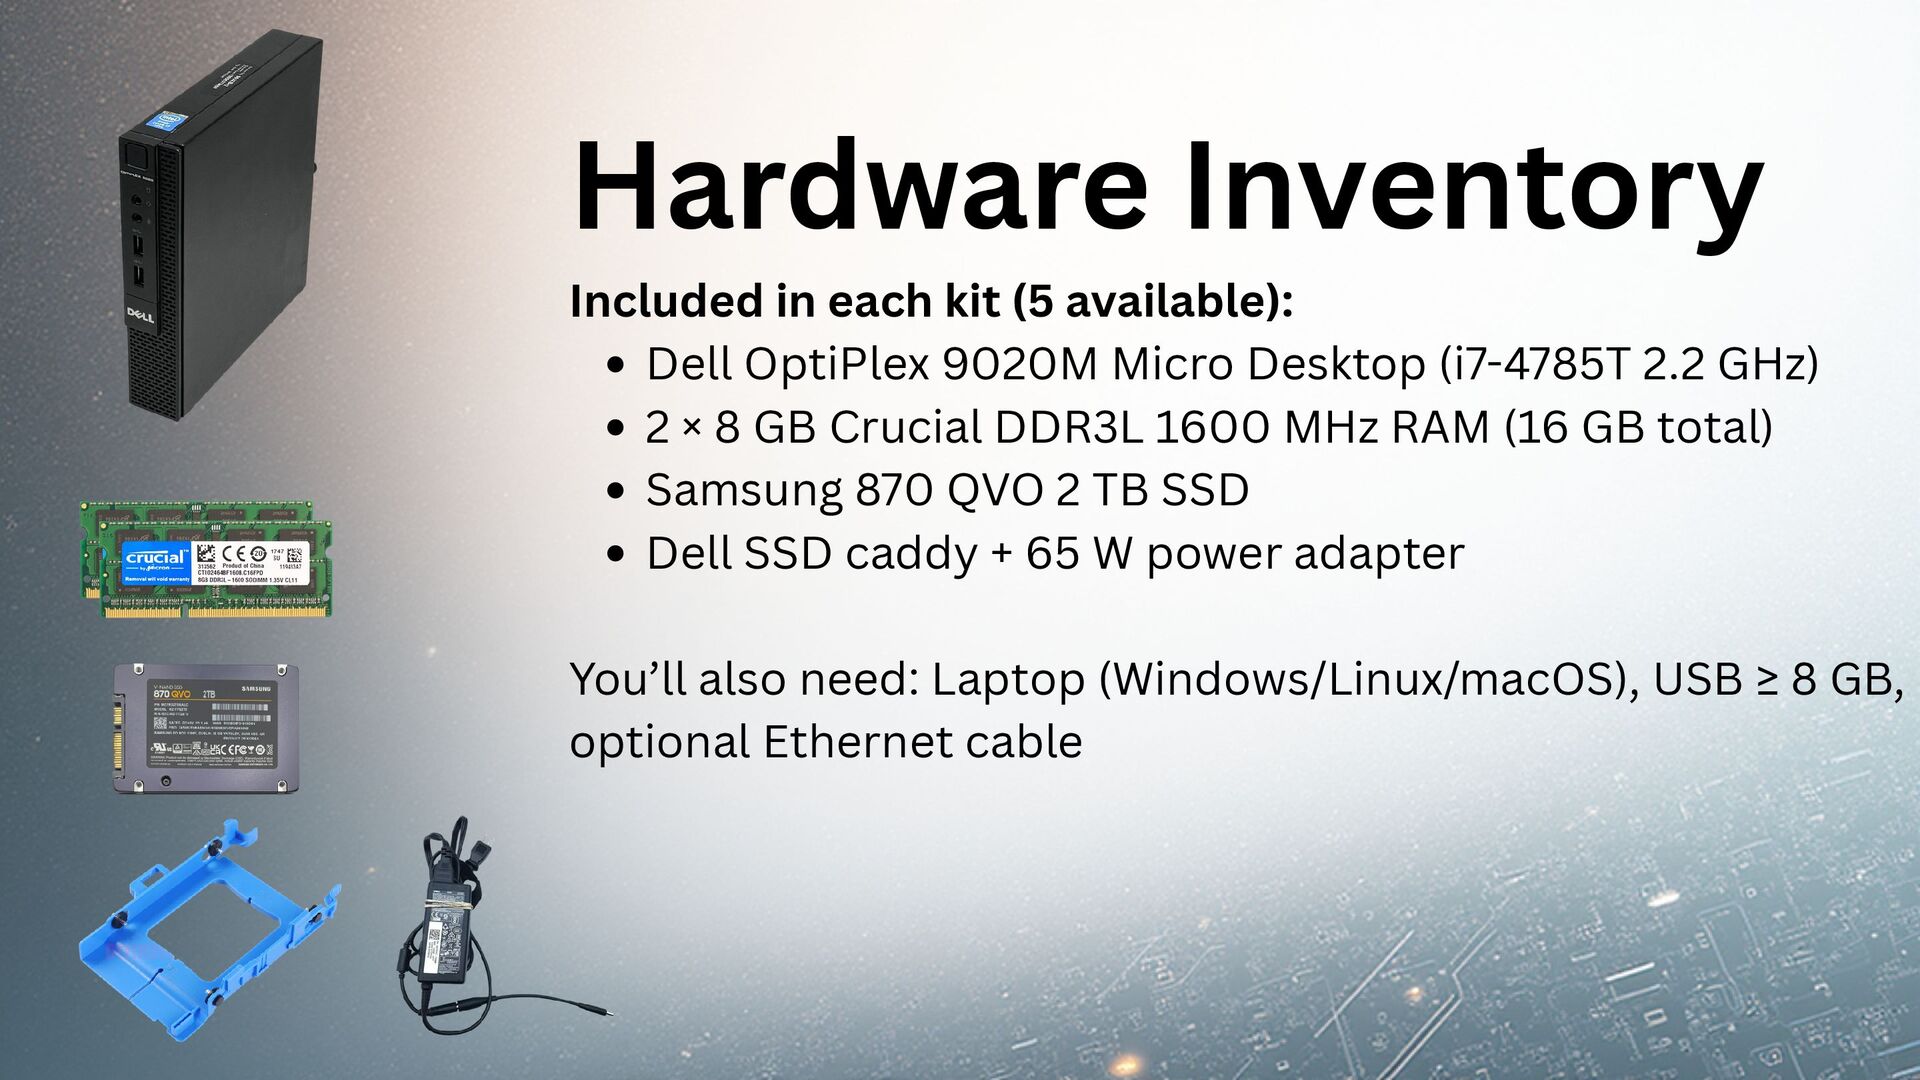
Don't worry. Show up with your laptop and we will provide the following hardware to the first 5 people who purchase a ticket:

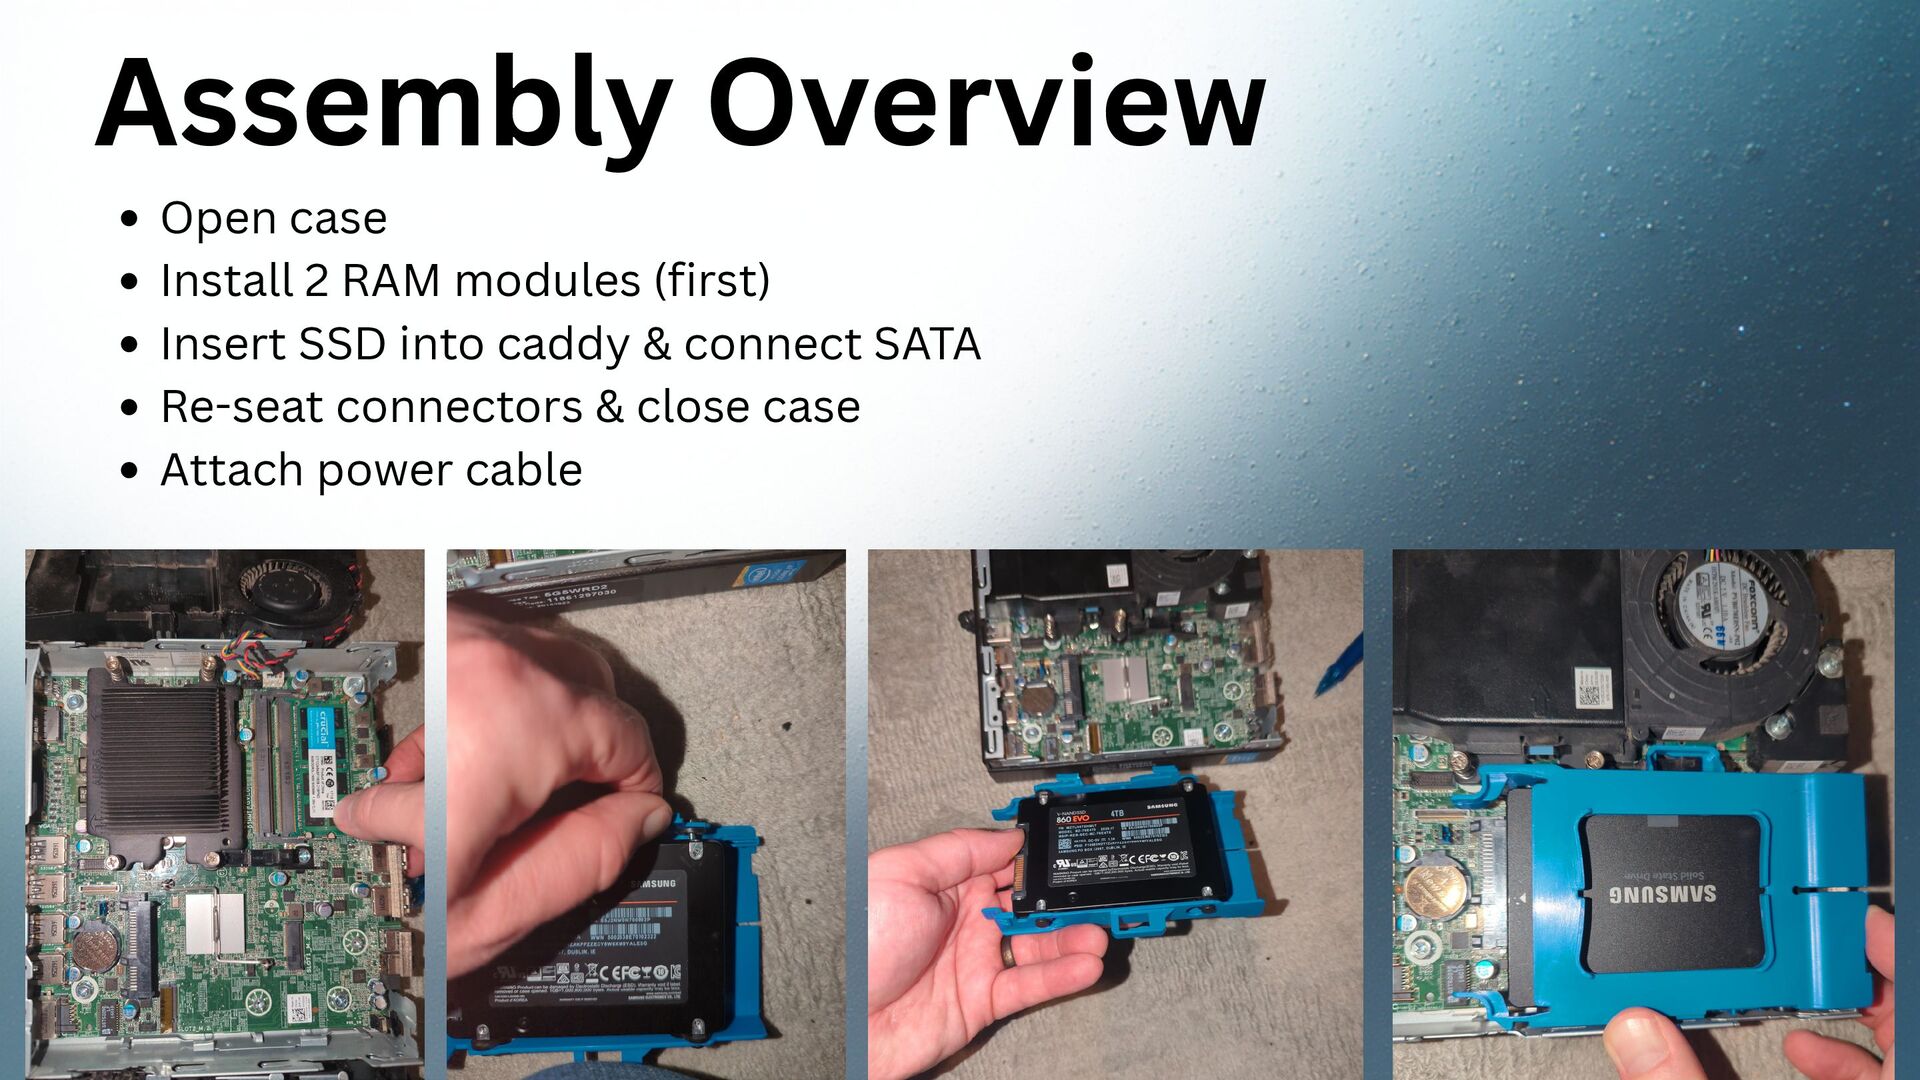
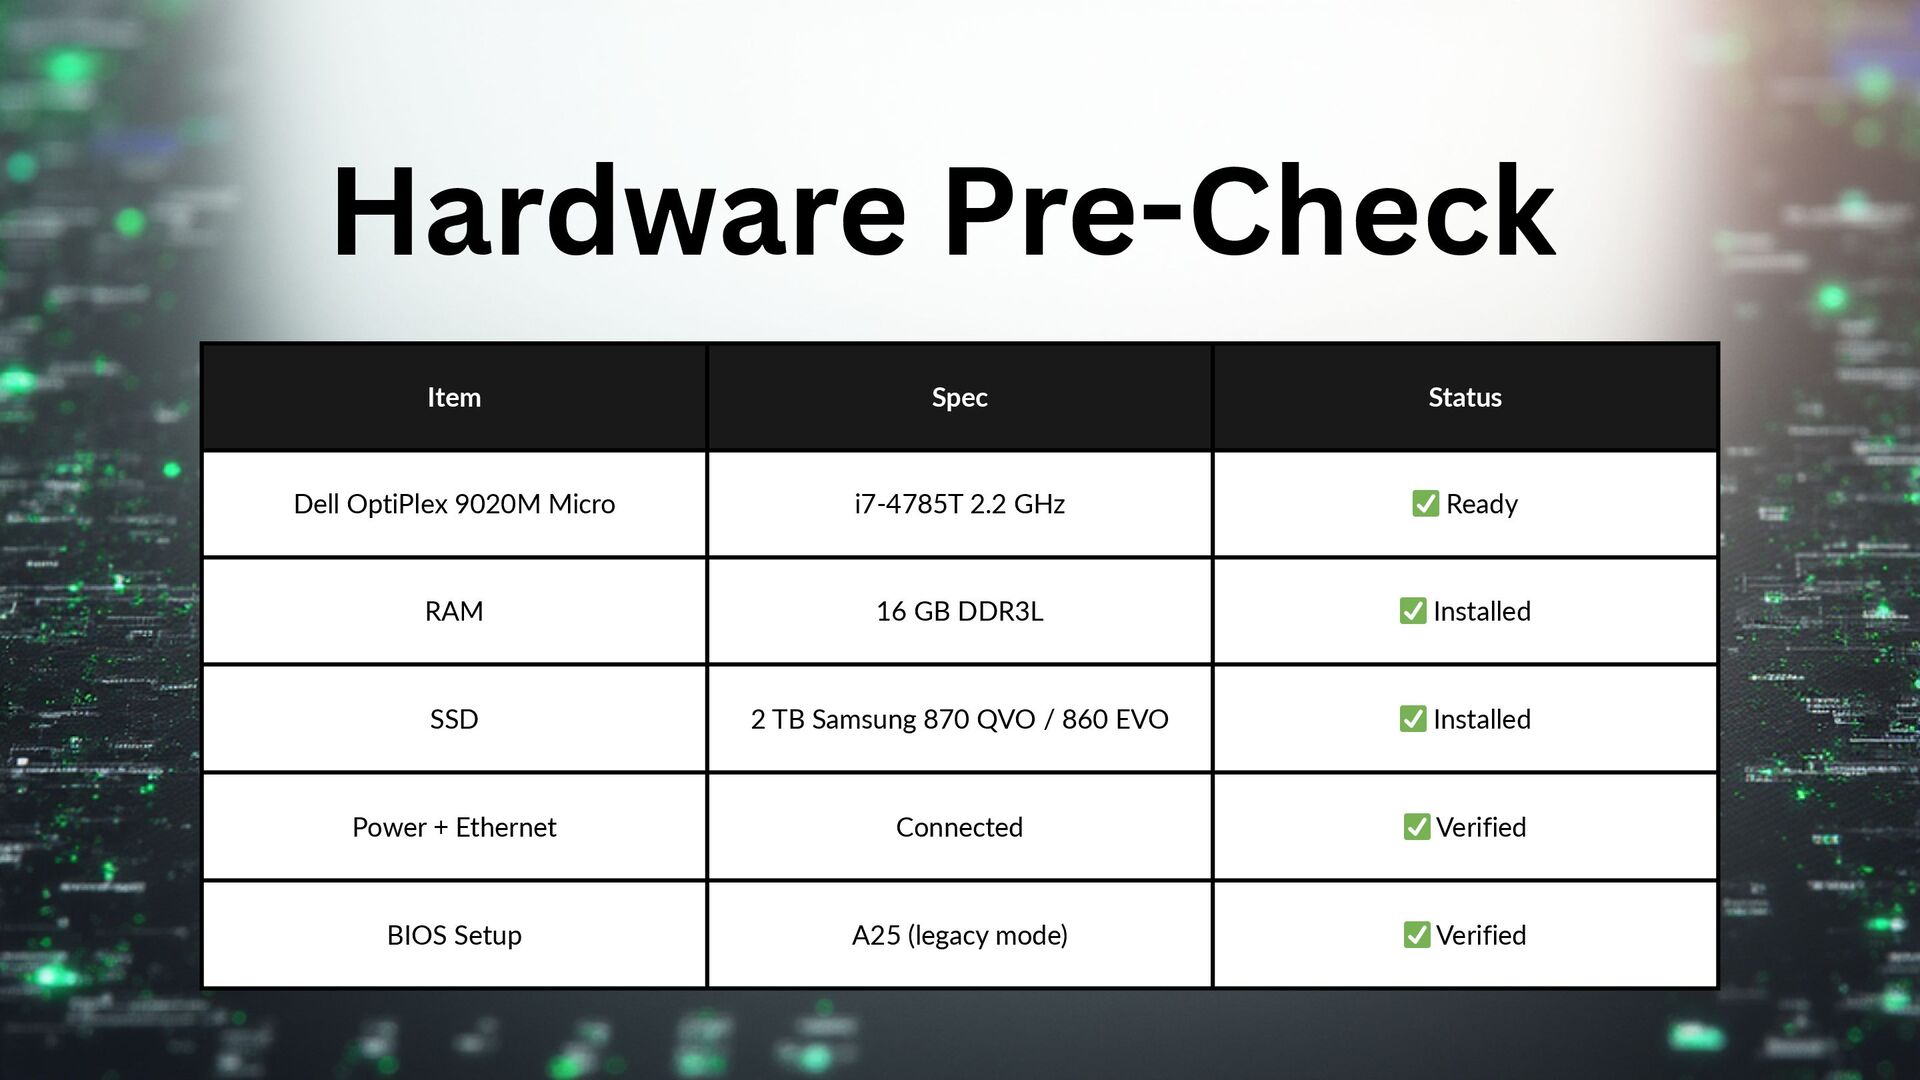
Dell OptiPlex 9020M Micro Desktop PC i7-4785T 2.2GHz
16 GB Crucial DDR3L 1600Mhx RAM
SAMSUNG 870 QVO 2TB 2.5-inch SATA Internal Solid State Drive (SSD)
Hard Drive Caddy For DELL OptiPlex
Dell 65W AC Adapter Power Supply
Purchase your hardware ticket here!

Missed out on a ticket? We got ya covered fam. We'll be raffling off a 6th (demo) node once we build it.

Still no luck? Just grab the parts listed here, a laptop, and follow along.

Avatar for RRBTC

RRBTC

November 13, 2025
Tweet

Transcript

  1. Node Builder Workshop Build and customize your own Start9OS node

    & personal server Assert your monetary sovereignty
  2. Purpose & Goals Learn to assemble and install a Bitcoin

    node from scratch Understand sovereign self-hosting with Start9OS Leave with a fully operational node ready to sync Bitcoin Core Compare Core vs Knots and CLN vs LND Practice software verification and manual backups Agenda overview (Hardware → BIOS → Start9 → Network → Trust CA → Wrap-up) Build Your Own Bitcoin Node & Personal Server with Start9OS
  3. Why Run Your Own Node Verify don’t trust — enforce

    your own rules Avoid 3rd-party reliance & censorship by validating your own transactions Support Bitcoin’s decentralization Run Lightning, Electrum, Mempool, etc. privately Learn how nodes interact across the network
  4. Start9OS Turnkey sovereign server OS for self-hosting Privacy-first design with

    encrypted backups Web dashboard for services and updates Installs on commodity x86 hardware Perfect for Bitcoin Core + Lightning + Electrum stack
  5. Included in each kit (5 available): Dell OptiPlex 9020M Micro

    Desktop (i7-4785T 2.2 GHz) 2 × 8 GB Crucial DDR3L 1600 MHz RAM (16 GB total) Samsung 870 QVO 2 TB SSD Dell SSD caddy + 65 W power adapter You’ll also need: Laptop (Windows/Linux/macOS), USB ≥ 8 GB, optional Ethernet cable Hardware Inventory
  6. Assembly Overview Open case Install 2 RAM modules (first) Insert

    SSD into caddy & connect SATA Re-seat connectors & close case Attach power cable
  7. Setting Value Boot Mode Legacy Secure Boot Disabled SATA Operation

    AHCI Virtualization Enabled USB 3.0 Support Enabled Boot Order USB → Internal SSD Verify BIOS Settings 💡 F2 = BIOS  F12 = One-Time Boot Menu
  8. Item Spec Status Dell OptiPlex 9020M Micro i7-4785T 2.2 GHz

    ✅ Ready RAM 16 GB DDR3L ✅ Installed SSD 2 TB Samsung 870 QVO / 860 EVO ✅ Installed Power + Ethernet Connected ✅ Verified BIOS Setup A25 (legacy mode) ✅ Verified Hardware Pre-Check
  9. Download Start9 image file on GitHub Verify SHA-256 checksum against

    what is posted in GitHub for your build sha256sum startos-0.3.5.1-39de098_x86_64-nonfree.iso ------------ 29b0f1e0211568ea66d6b729536ff84aed3b6cbc1c38540a7c80a391fd01616e startos-0.3.5.1-39de098_x86_64-nonfree.iso ------------ Compare to official hash values 🔗 docs.start9.com/0.3.5.x/flashing-guides/os-x86.html Download and Verify Software
  10. Download & Open Balena Etcher Select startos-0.3.5.1-39de098_x86_64-nonfree.iso Choose target drive

    (USB stick) Flash + verify → Done Safely eject device 1 2 3 4 5 Flash Start9OS
  11. Install Start9OS ✅ Boots directly into Start9OS setup wizard 1.Insert

    Start9 USB → Power on → tap F12 2.Select USB device → Enter 3.When prompted → choose Install Start9OS 4.Select internal SSD (/dev/sda) 5.Confirm erase → Install 6.Remove USB → Reboot
  12. Internet / Gateway │ [WAN Port] │ ┌─────────────────┐ │ Tomato

    Router (DHCP + Wi-Fi) │ │ IP: 192.168.79.1 SSID: Tomato 50 │ └─────┬───────────┘ │ │ │ ┌────────┐ │ │ GS105 Switch │ │ └────────┘ │ ├ Node 1 │ ├ Node 2 │ ├ Node 3 │ ├ Node 4 │ ├ Node 5 │ Networking Overview
  13. Test Command Expected Router reach ping 192.168.79.1 Replies ✔️ Internet

    ping 8.8.8.8 Replies ✔️ Node visible ping 192.168.79.xxx Replies ✔️ Dashboard Browser → https://adjective-noun.local Loads ✔️ LAN Testing
  14. Post-Install Overview Node ready to sync Bitcoin Core or Bitcoin

    Knots Access dashboard on LAN for app installs Optional apps: CLN, LND, Electrum, Mempool Perform manual USB backups to external drive (especially after opening lightning channels)
  15. What You’re Leaving With Fully built & configured Start9OS node

    Understanding of hardware, network, and sovereign stack Confidence to replicate and expand at home