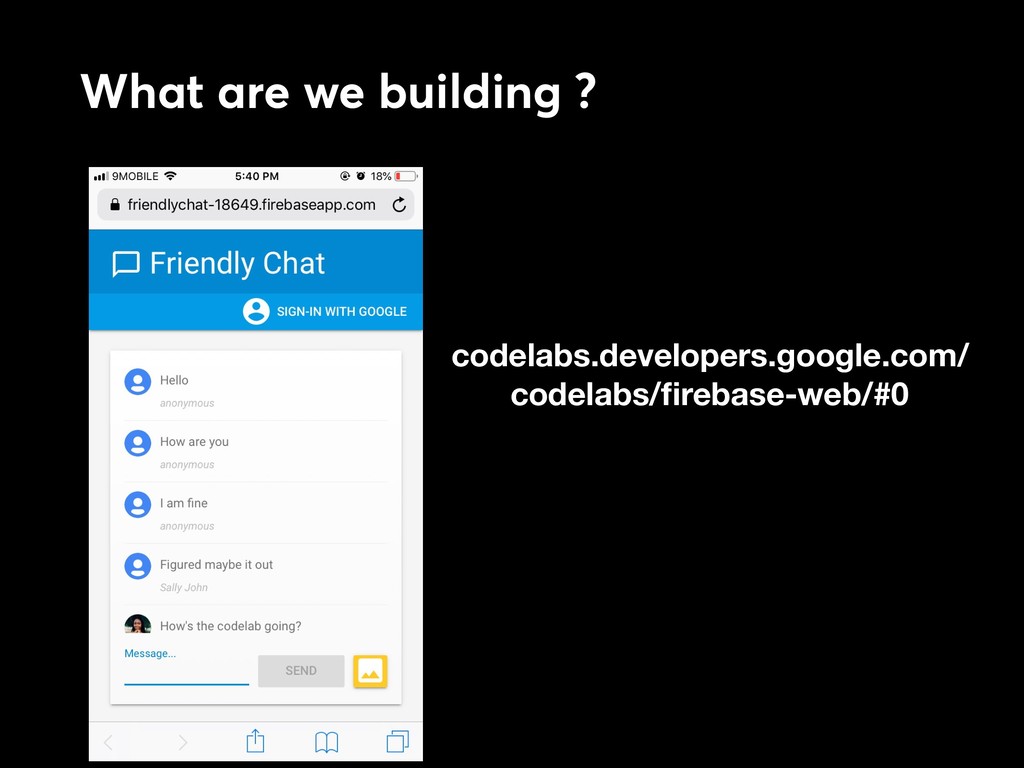
During this codelab, participants will learn how to use Firebase to create web applications by implementing and deploying a chat client using Firebase.
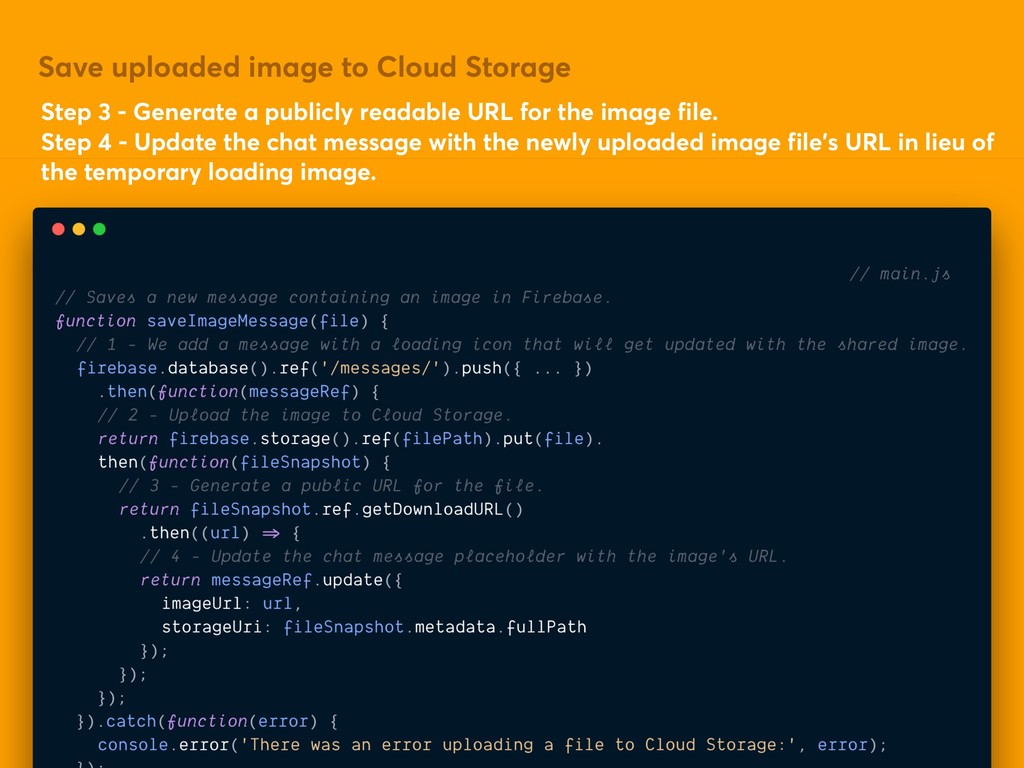
a publicly readable URL for the image file. Step 4 - Update the chat message with the newly uploaded image file's URL in lieu of the temporary loading image.
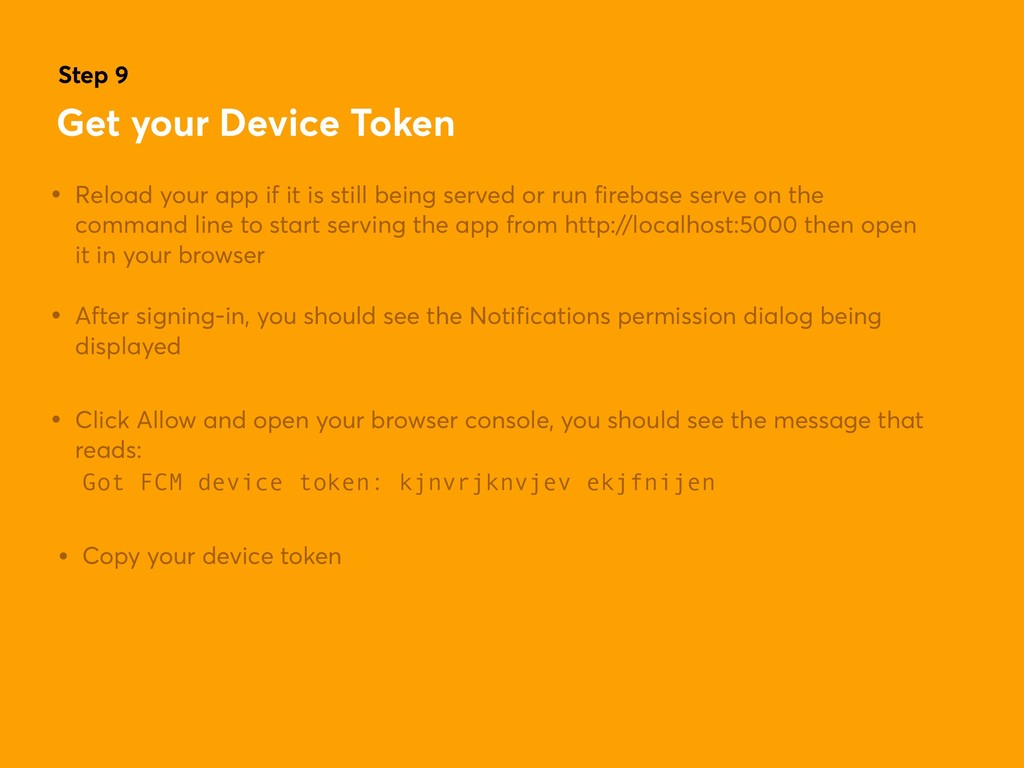
if it is still being served or run firebase serve on the command line to start serving the app from http://localhost:5000 then open it in your browser. • After signing-in, you should see the Notifications permission dialog being displayed • Click Allow and open your browser console, you should see the message that reads: Got FCM device token: kjnvrjknvjev ekjfnijen • Copy your device token.
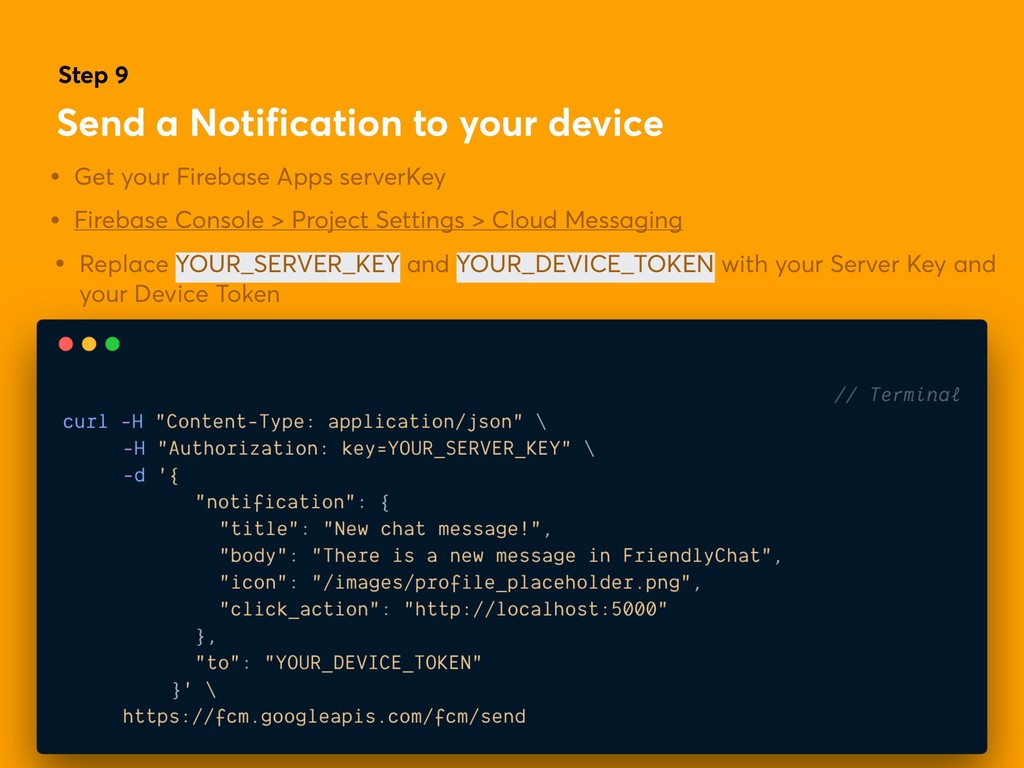
your Firebase Apps serverKey • Firebase Console > Project Settings > Cloud Messaging • Replace YOUR_SERVER_KEY and YOUR_DEVICE_TOKEN with your Server Key and your Device Token.
your Firebase Apps serverKey • Firebase Console > Project Settings > Cloud Messaging • Replace YOUR_SERVER_KEY and YOUR_DEVICE_TOKEN with your Server Key and your Device Token.