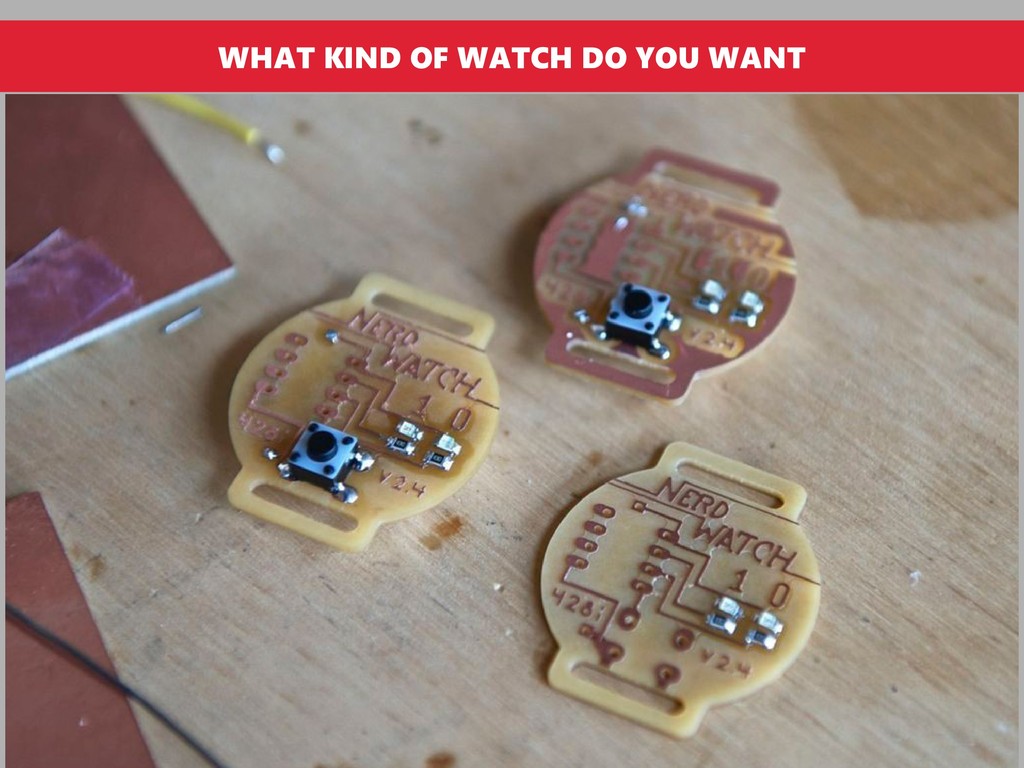
circuit / signal circuit 2. If SMD components are needed or not 3. If there are too many components for difficult wiring 4. What’s the final goal for the price
type of vice or third hand 3. Use the thinnest solder appropriate for the project 4. Use the right-size time for the project 5. Allow the soldering iron the reach the right temperature 6. Apply the iron to the joint first then solder to allow the spread. 7. Don’t put too much solder … bigger the blob, more trouble 8. Tin your wires by placing small solder first and wipe it off 9. Clean the tip often with iron wool, a wet sponge and tip cleaner 10. Don’t apply pressure on the soldering iron 11. Don’t move the joint while its cooling and don’t blow it 12. Practice on scrap before starting the joint, and practice practice !!! SOLDERING TIPS
When you burn yourself - because you will - be sure to have first aid kit 4. Wear pants to protect your legs, safety glasses 5. Don’t wear polyester clothing 6. Work in a clean area free of oils, grease and anything that is flammable 7. Solder slowly and stay focused 8. Always return the soldering iron to the stand after each use 9. Remember !!! It takes a long time for the soldering iron to cool off 10. Always unplug the soldering iron when you’re done SOLDERING SAFETY