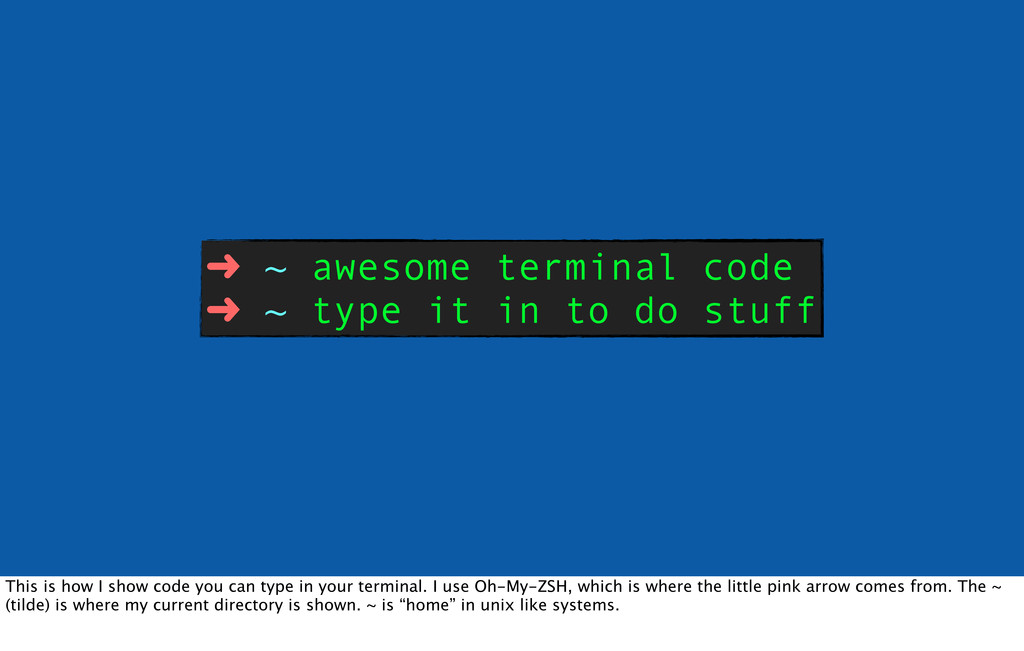
to do stuff This is how I show code you can type in your terminal. I use Oh-My-ZSH, which is where the little pink arrow comes from. The ~ (tilde) is where my current directory is shown. ~ is “home” in unix like systems.
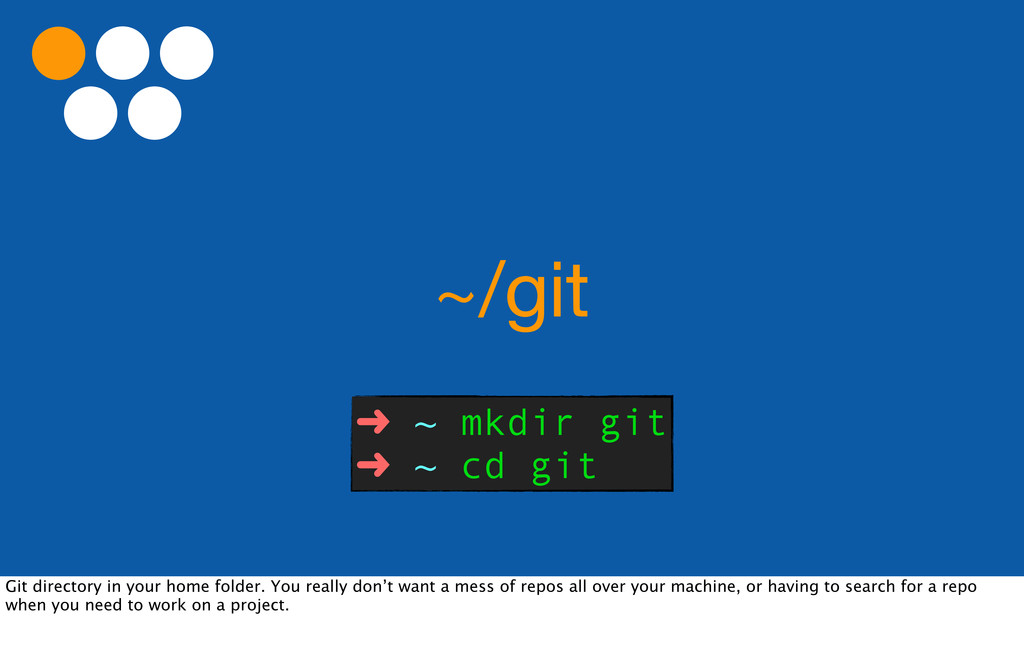
directory in your home folder. You really don’t want a mess of repos all over your machine, or having to search for a repo when you need to work on a project.
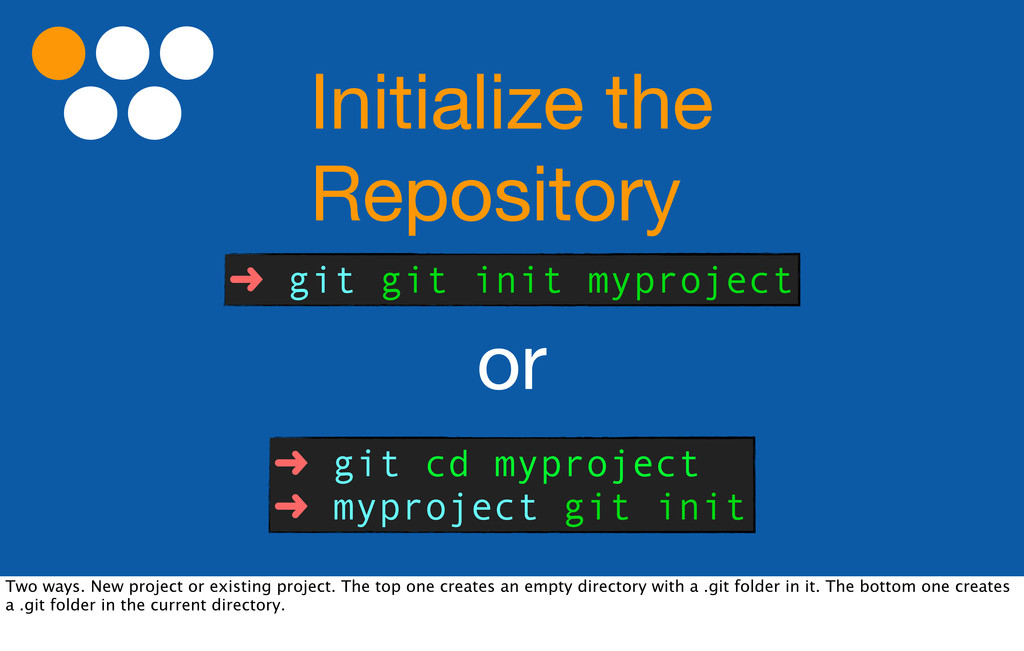
git cd myproject ➜ myproject git init Two ways. New project or existing project. The top one creates an empty directory with a .git folder in it. The bottom one creates a .git folder in the current directory.
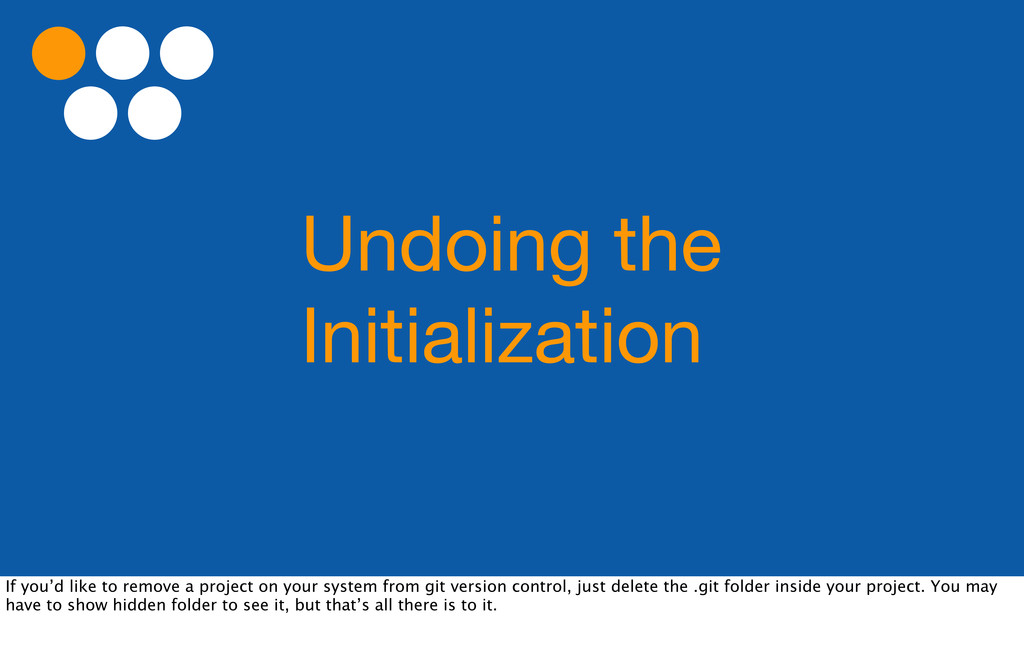
on your system from git version control, just delete the .git folder inside your project. You may have to show hidden folder to see it, but that’s all there is to it.
commit as a snapshot. It saves your code at a particular point in time. You can then go back and view your code at any committed point in time. There are more technical details behind it, but you don’t need to know about those to use git. (Talk to me after if you’d like.)
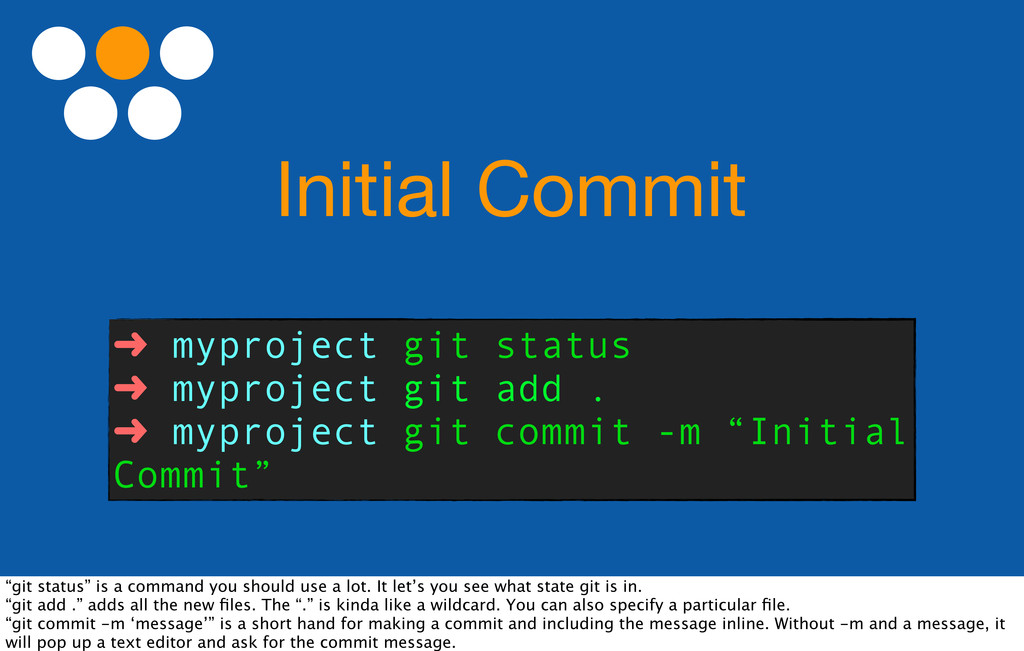
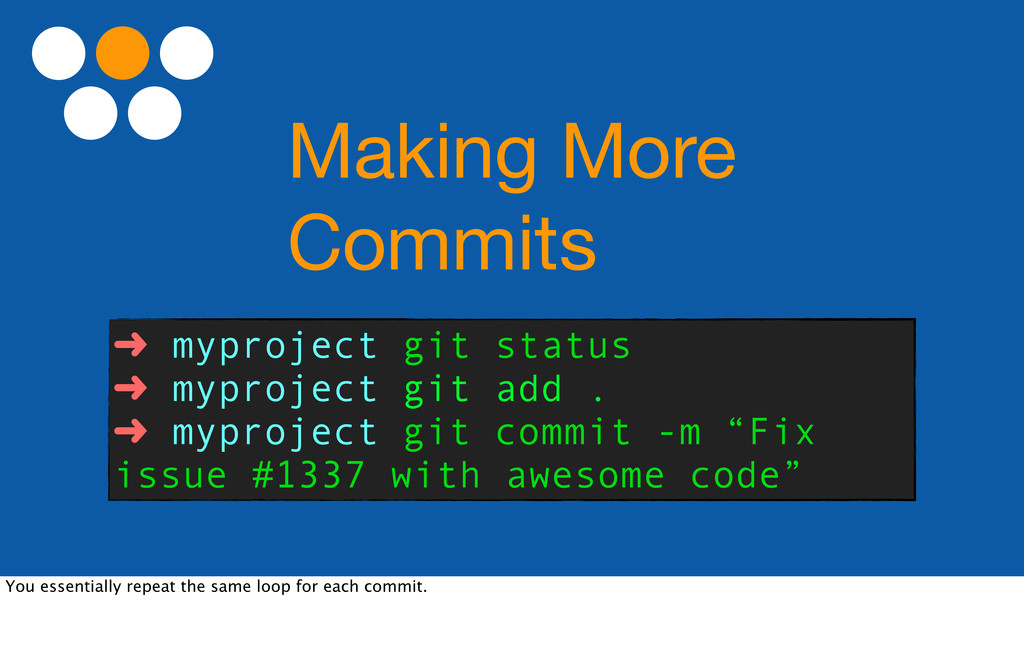
. ➜ myproject git commit -m “Initial Commit” “git status” is a command you should use a lot. It let’s you see what state git is in. “git add .” adds all the new files. The “.” is kinda like a wildcard. You can also specify a particular file. “git commit -m ‘message’” is a short hand for making a commit and including the message inline. Without -m and a message, it will pop up a text editor and ask for the commit message.
use present tense. Ideally, since most people work with git in a terminal, it’s best to keep the title short. (72 characters, if you’re counting.) If you need a really long message, just do...
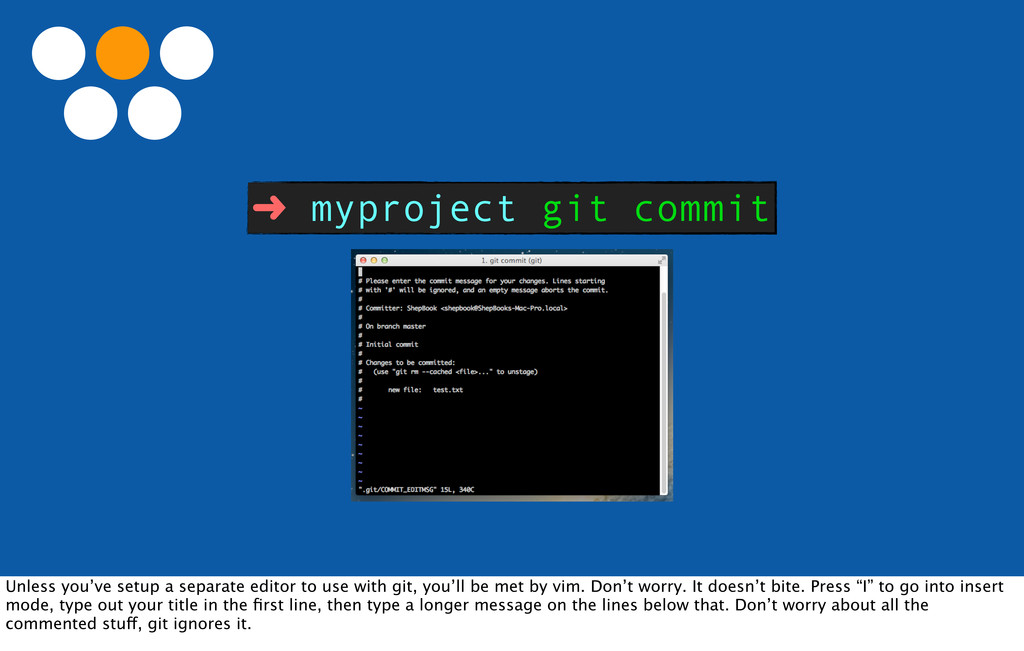
to use with git, you’ll be met by vim. Don’t worry. It doesn’t bite. Press “I” to go into insert mode, type out your title in the first line, then type a longer message on the lines below that. Don’t worry about all the commented stuff, git ignores it.
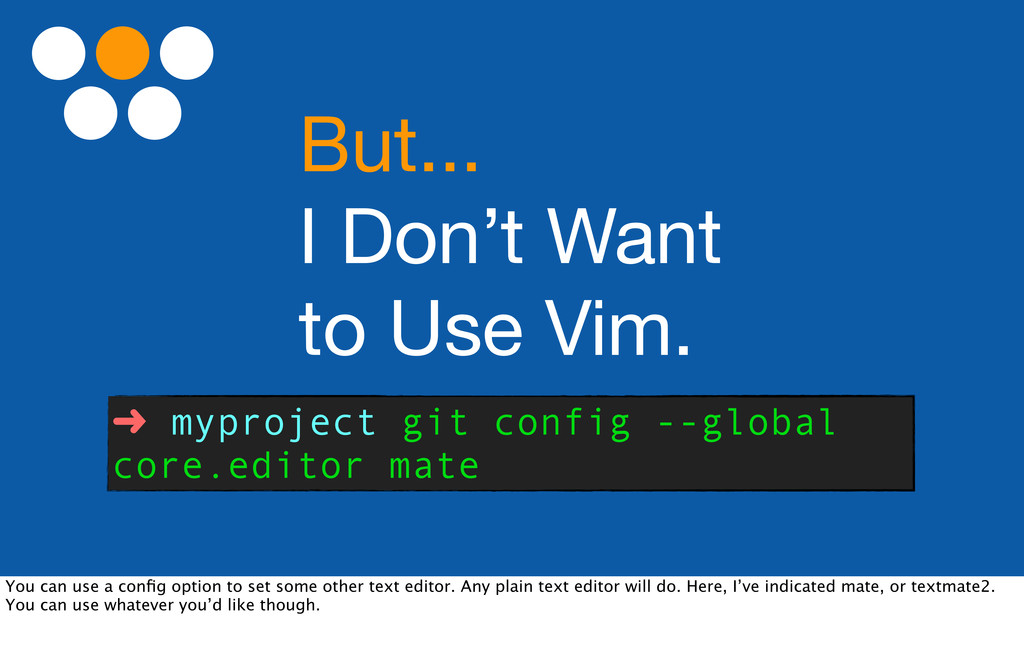
config --global core.editor mate You can use a config option to set some other text editor. Any plain text editor will do. Here, I’ve indicated mate, or textmate2. You can use whatever you’d like though.
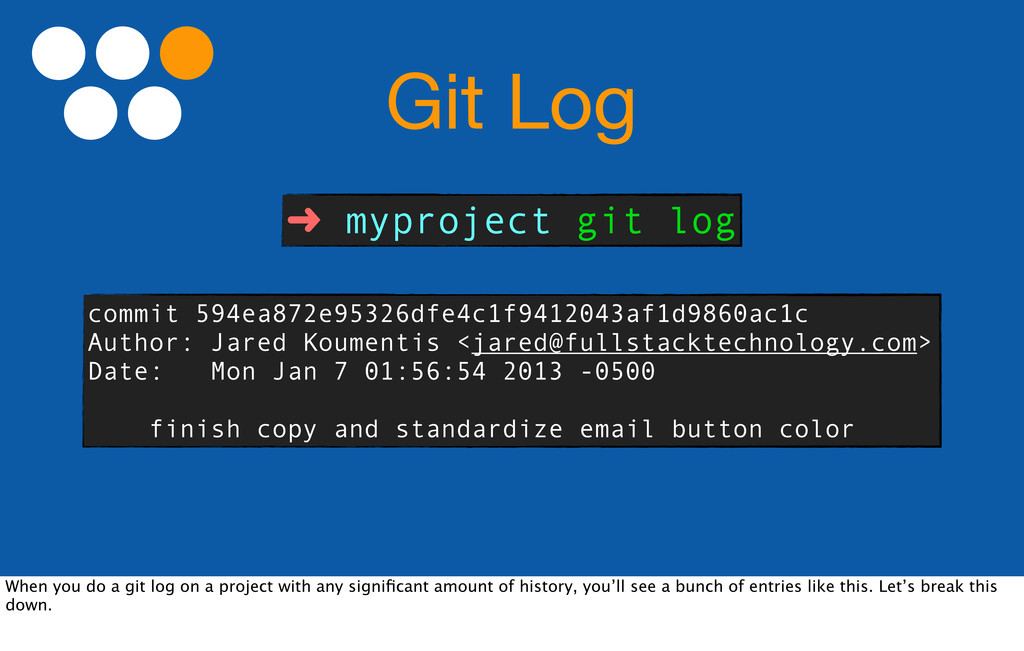
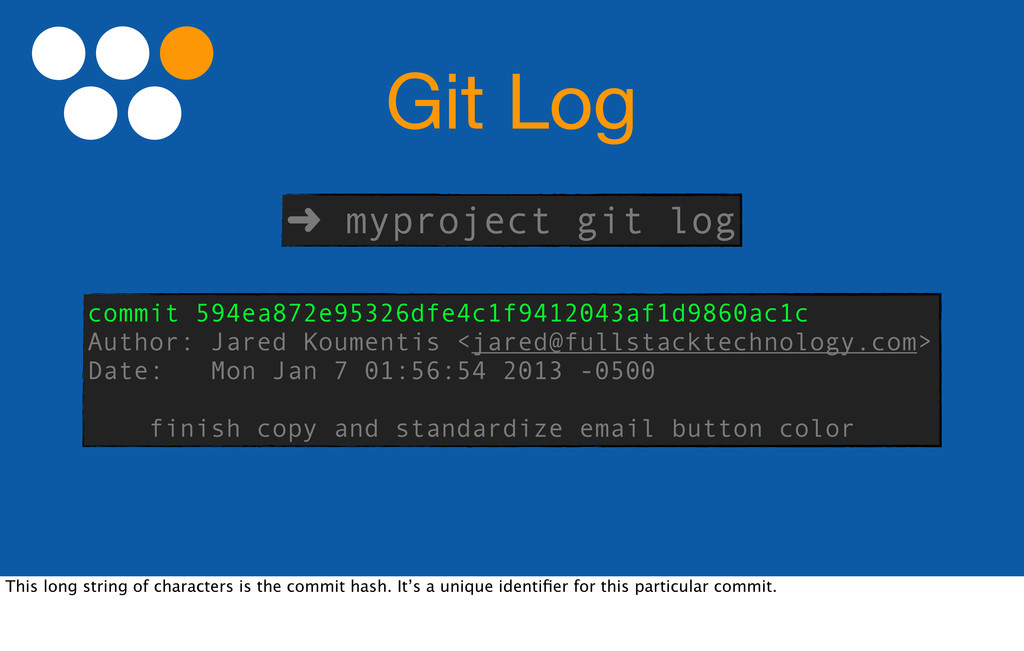
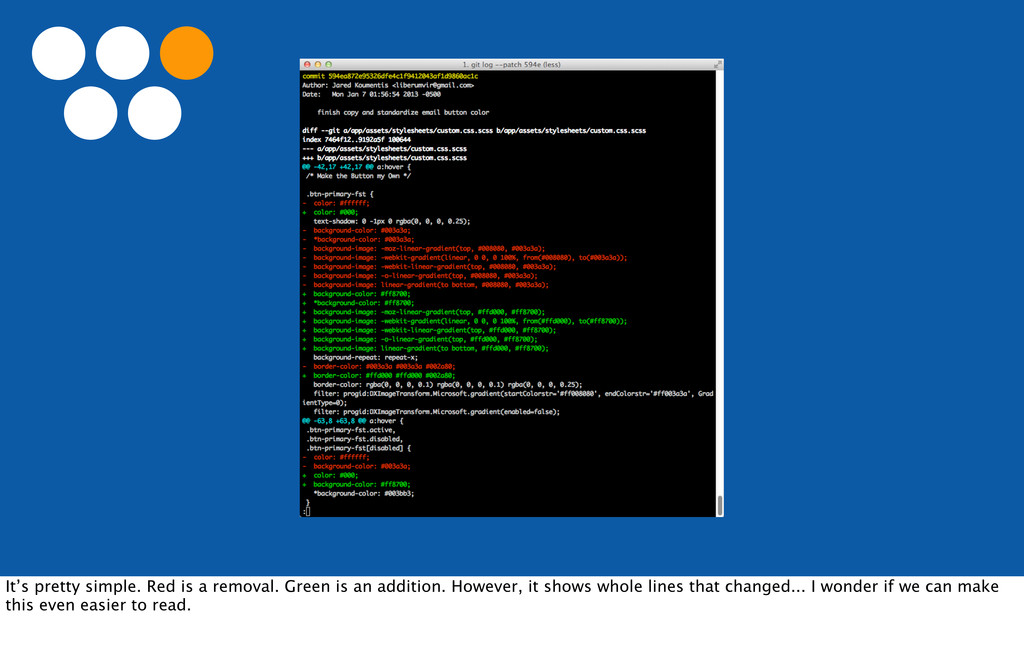
Koumentis <[email protected]> Date: Mon Jan 7 01:56:54 2013 -0500 finish copy and standardize email button color When you do a git log on a project with any significant amount of history, you’ll see a bunch of entries like this. Let’s break this down.
Koumentis <[email protected]> Date: Mon Jan 7 01:56:54 2013 -0500 finish copy and standardize email button color This long string of characters is the commit hash. It’s a unique identifier for this particular commit.
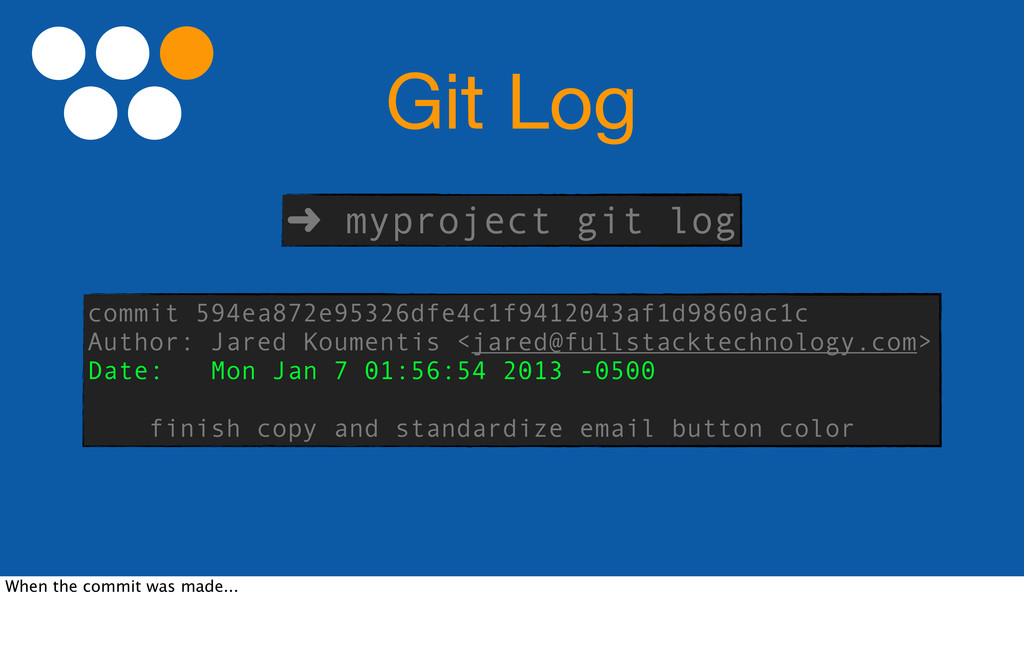
Koumentis <[email protected]> Date: Mon Jan 7 01:56:54 2013 -0500 finish copy and standardize email button color Here, we see the person who made this commit.
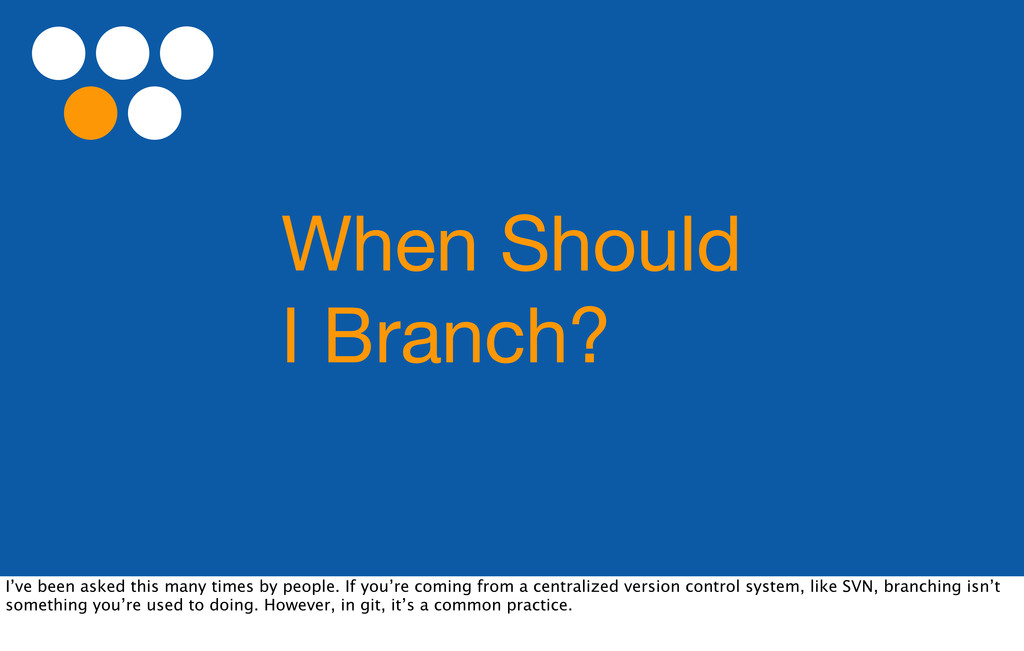
by people. If you’re coming from a centralized version control system, like SVN, branching isn’t something you’re used to doing. However, in git, it’s a common practice.
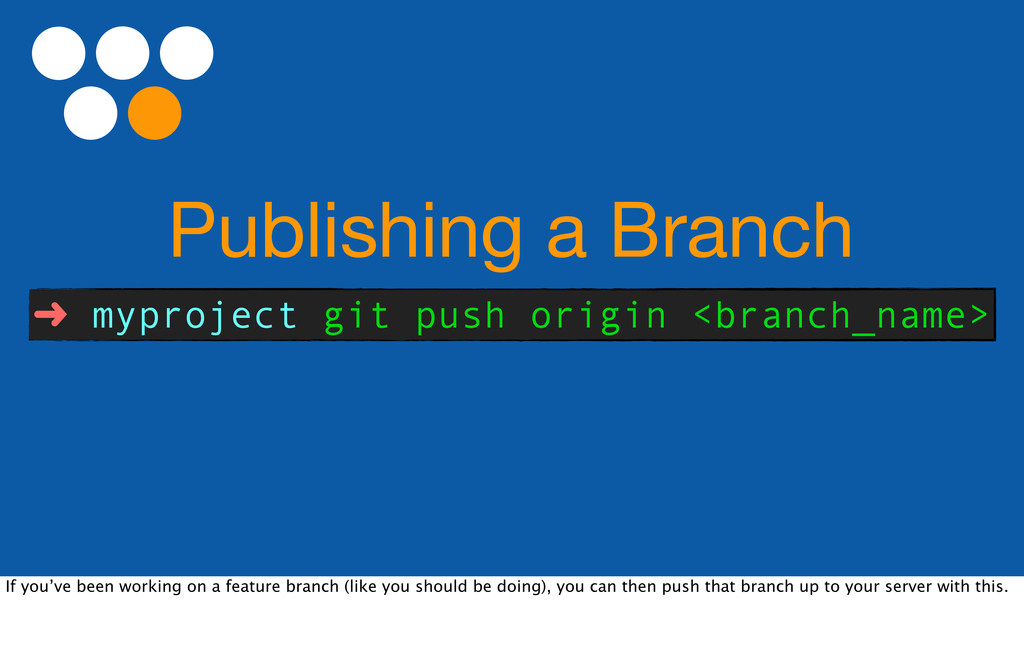
review. Supported by both GitHub and BitBucket, you make a branch, do your changes, and then publish your branch. I’m going to make you wait though. We’ll cover this right after branching.
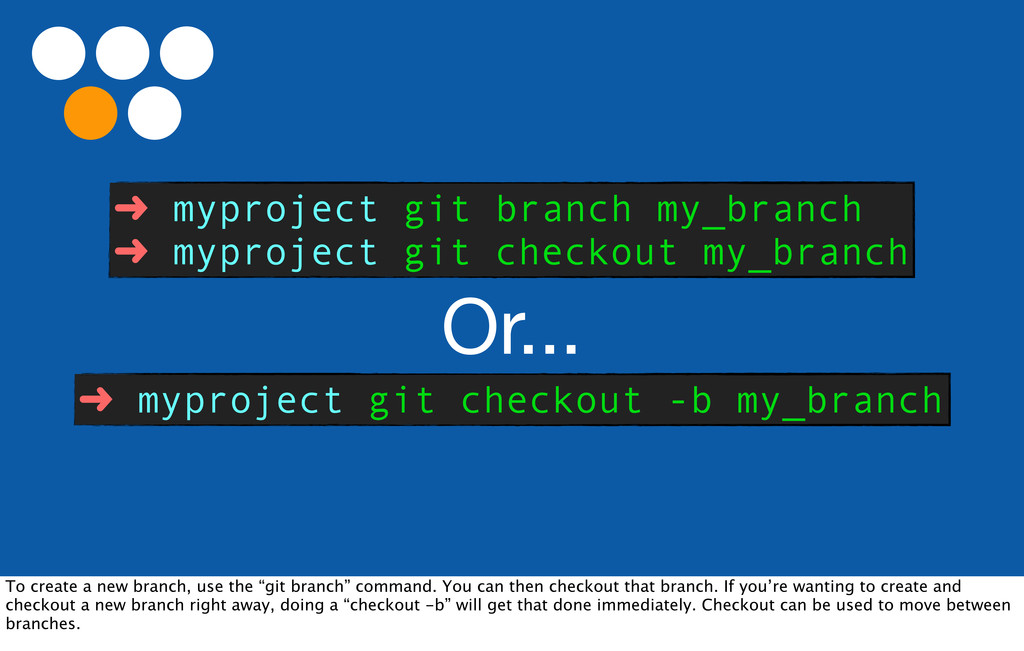
Or... ➜ myproject git checkout -b my_branch To create a new branch, use the “git branch” command. You can then checkout that branch. If you’re wanting to create and checkout a new branch right away, doing a “checkout -b” will get that done immediately. Checkout can be used to move between branches.
branch, you’re essentially working in your own sandbox, separate from the “Master” branch of your copy of the code. Feel free to experiment. Commit early and often. Preferable, commit with every little “unit” of work that you do with your code. That way, you’ve got a nice history explaining why you’ve made the changes you have.
hosting. There are numerous smaller ones, however, these two are the ones most people use. Their main differences are in their pricing models. If you’re looking to do open source work, GitHub is probably the best option. If you’re looking to integrate into other Atlassian tools you use, BitBucket is probably better.
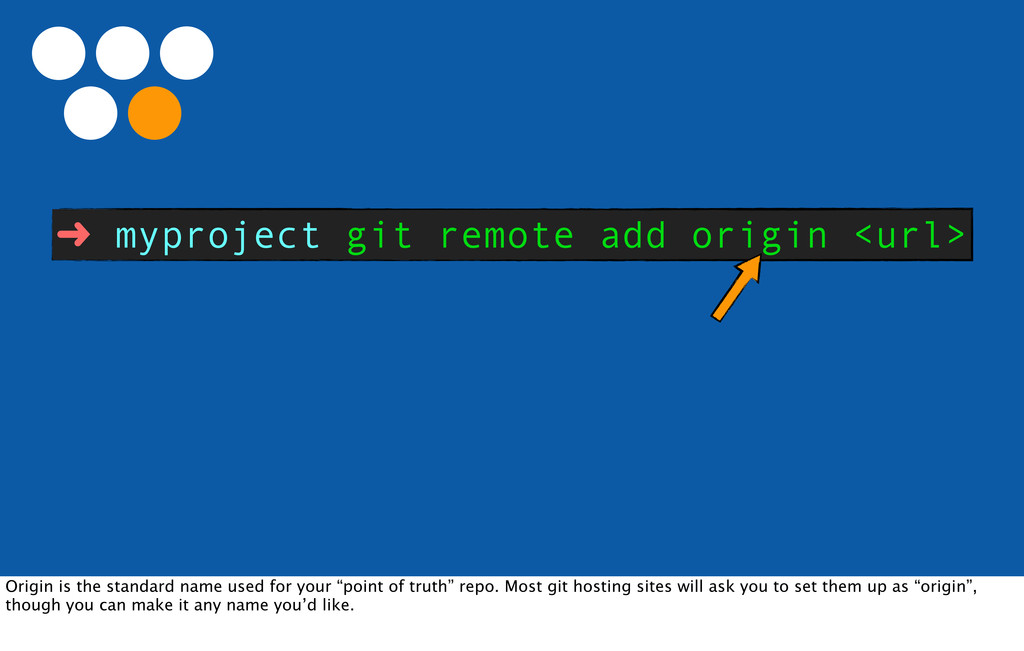
standard name used for your “point of truth” repo. Most git hosting sites will ask you to set them up as “origin”, though you can make it any name you’d like.
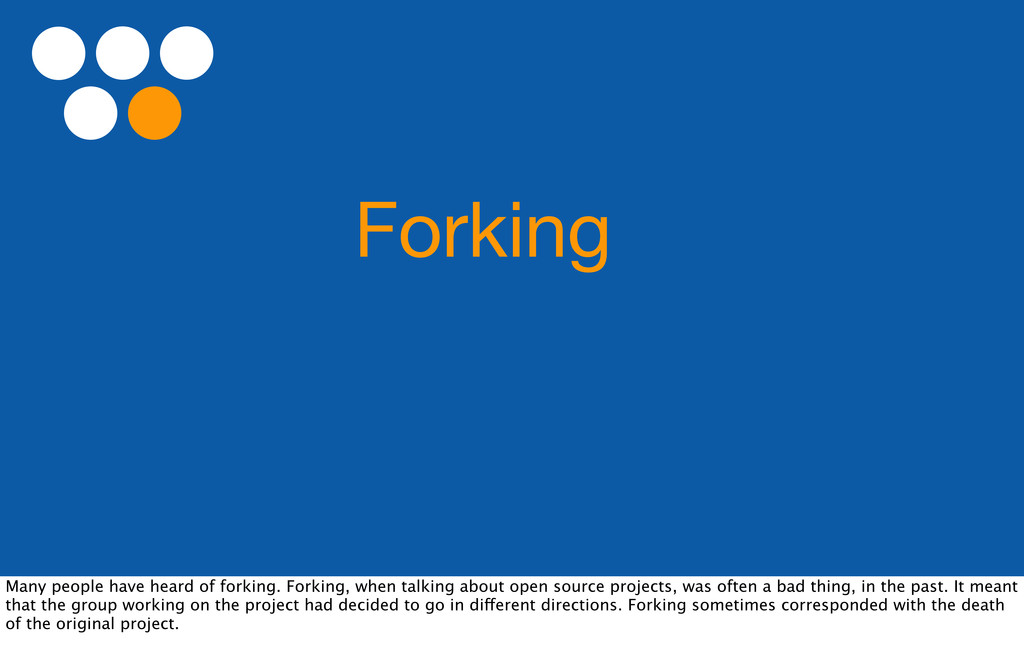
about open source projects, was often a bad thing, in the past. It meant that the group working on the project had decided to go in different directions. Forking sometimes corresponded with the death of the original project.
of forking. Forking, when talking about open source projects, was often a bad thing, in the past. It meant that the group working on the project had decided to go in different directions. Forking sometimes corresponded with the death of the original project.
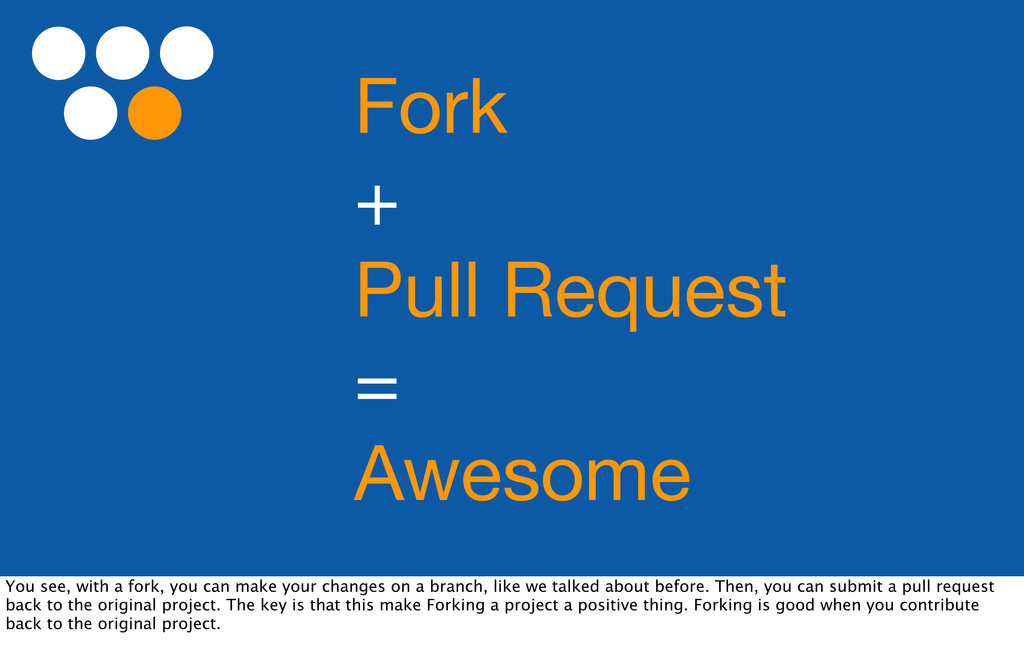
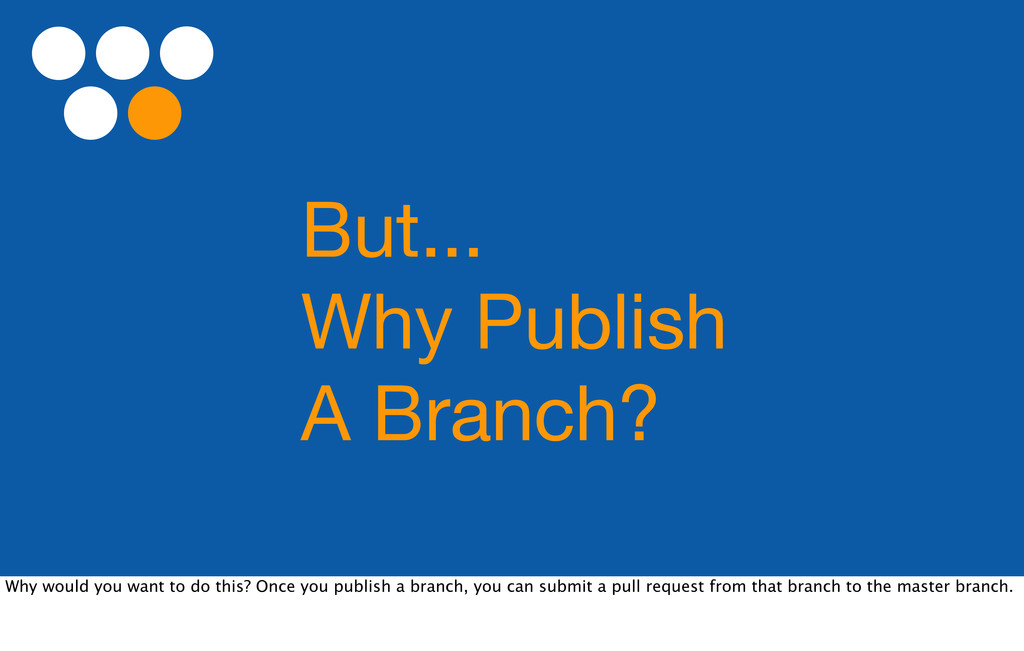
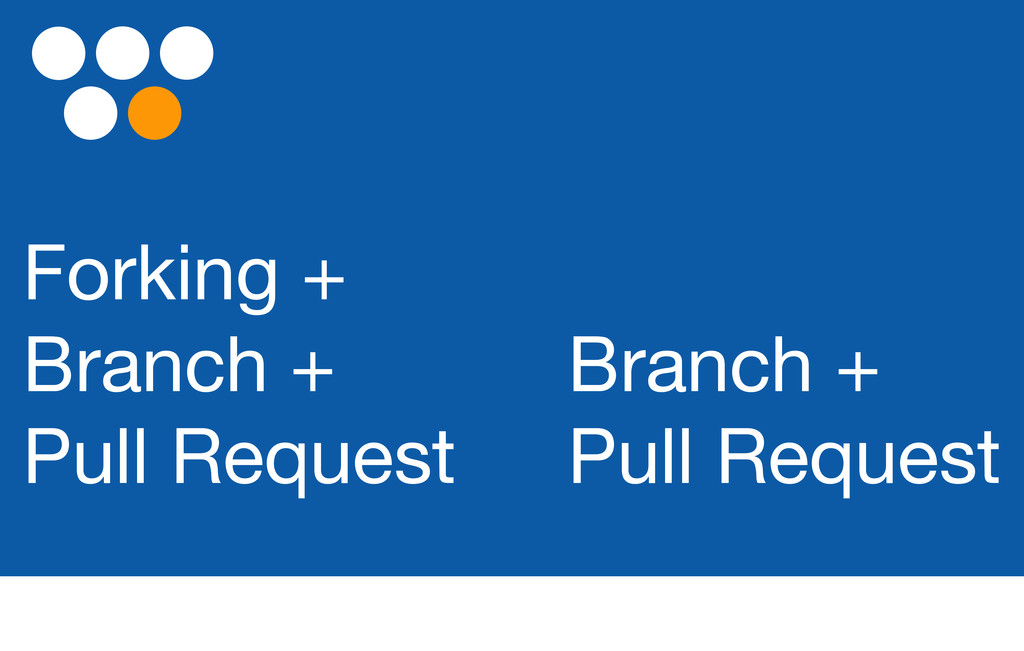
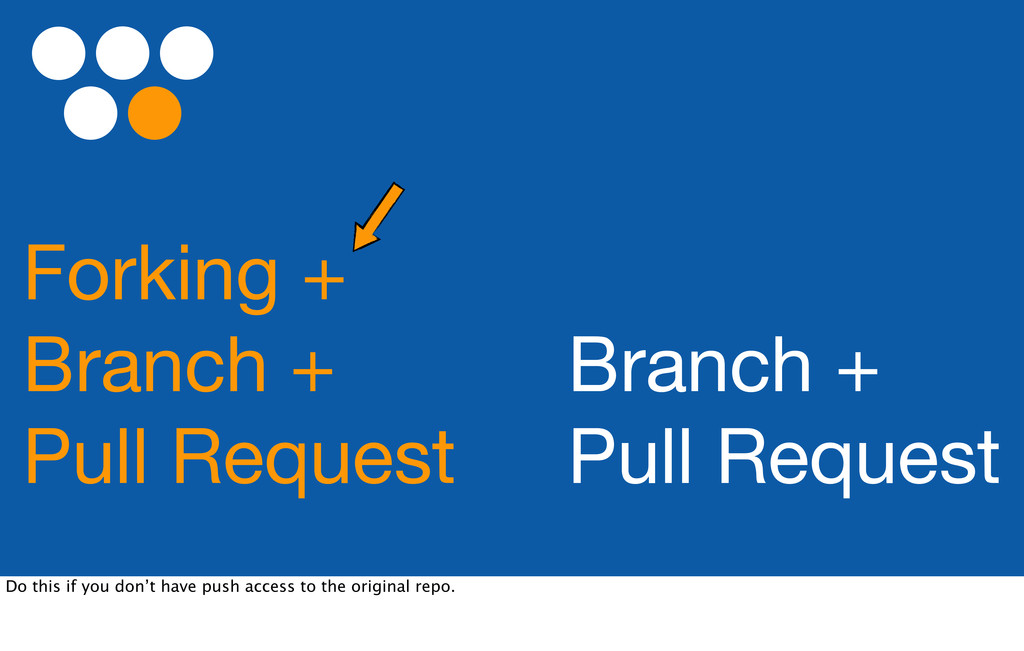
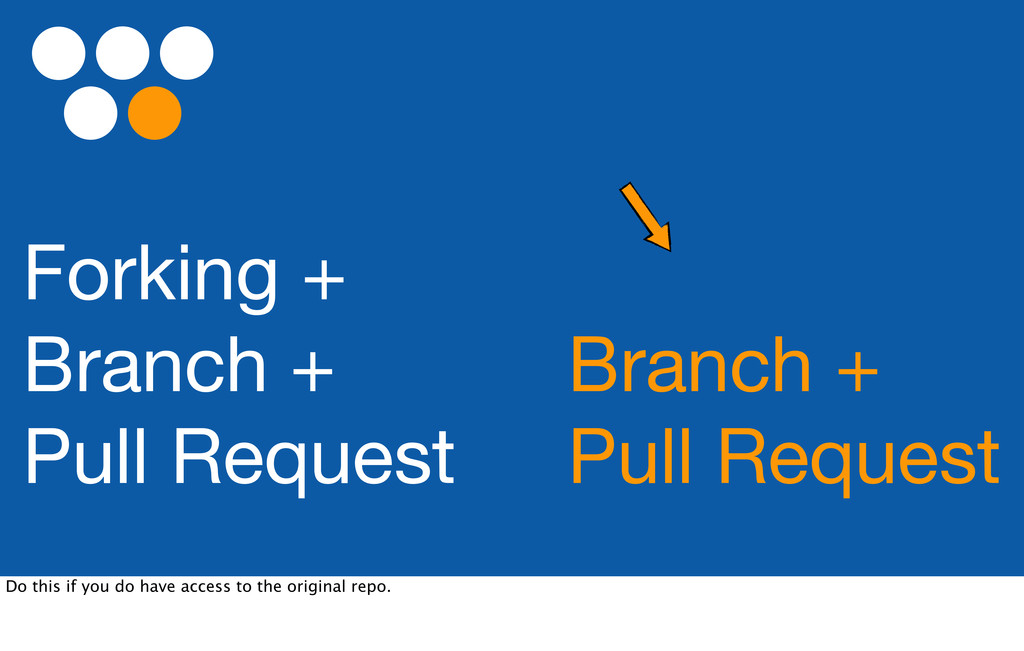
fork, you can make your changes on a branch, like we talked about before. Then, you can submit a pull request back to the original project. The key is that this make Forking a project a positive thing. Forking is good when you contribute back to the original project.
BitBucket, getting your code online and letting people fork and submit pull requests will help you develop a community. Also, as they say, many eyes make for shallow bugs.
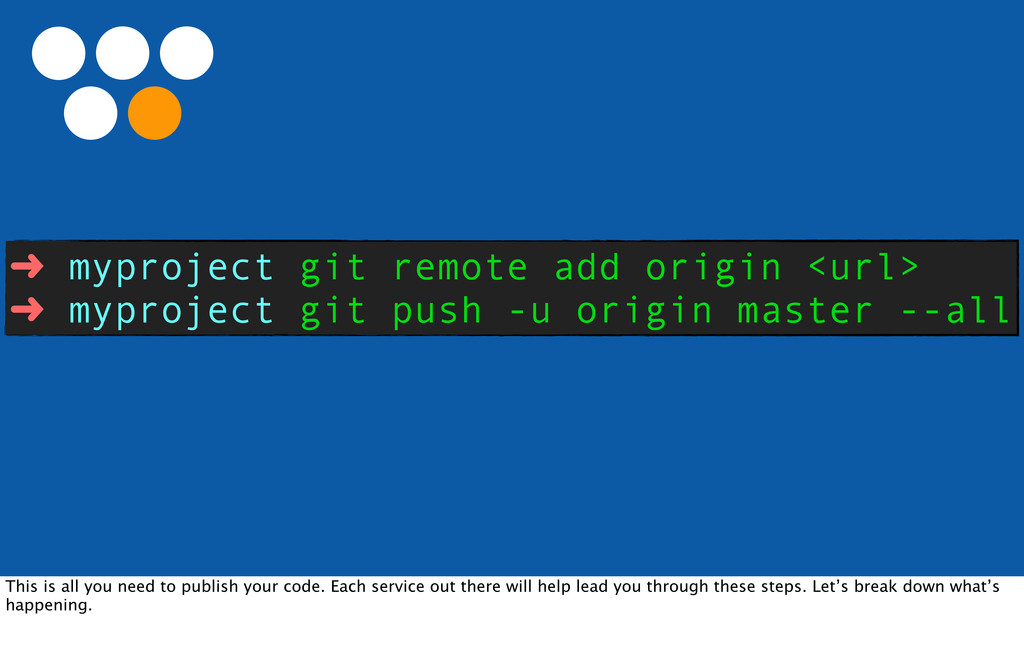
push -u origin master --all This is all you need to publish your code. Each service out there will help lead you through these steps. Let’s break down what’s happening.
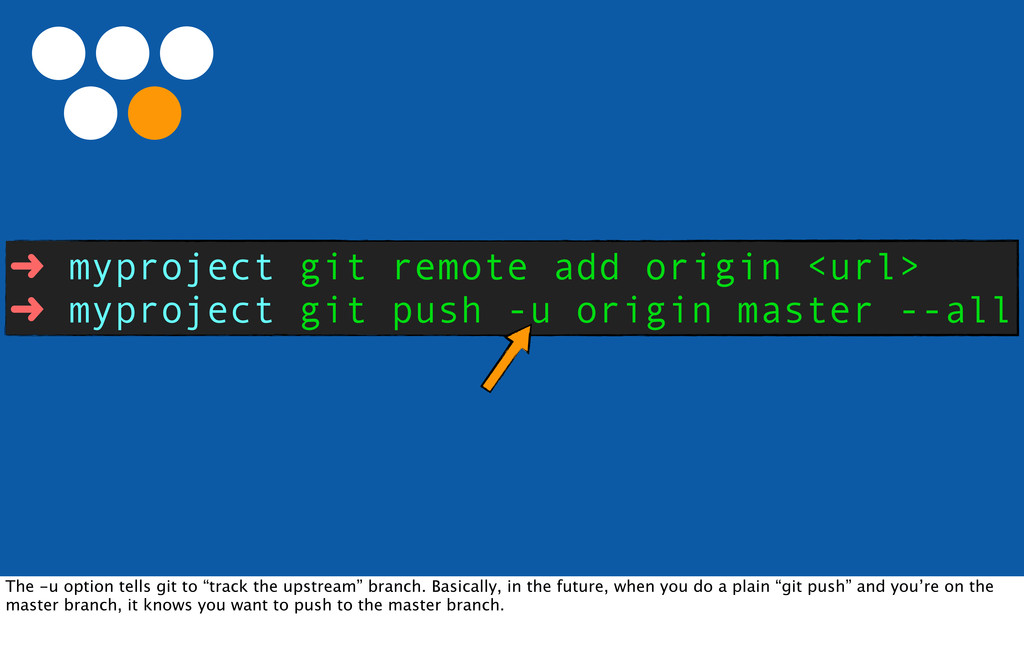
push -u origin master --all The -u option tells git to “track the upstream” branch. Basically, in the future, when you do a plain “git push” and you’re on the master branch, it knows you want to push to the master branch.
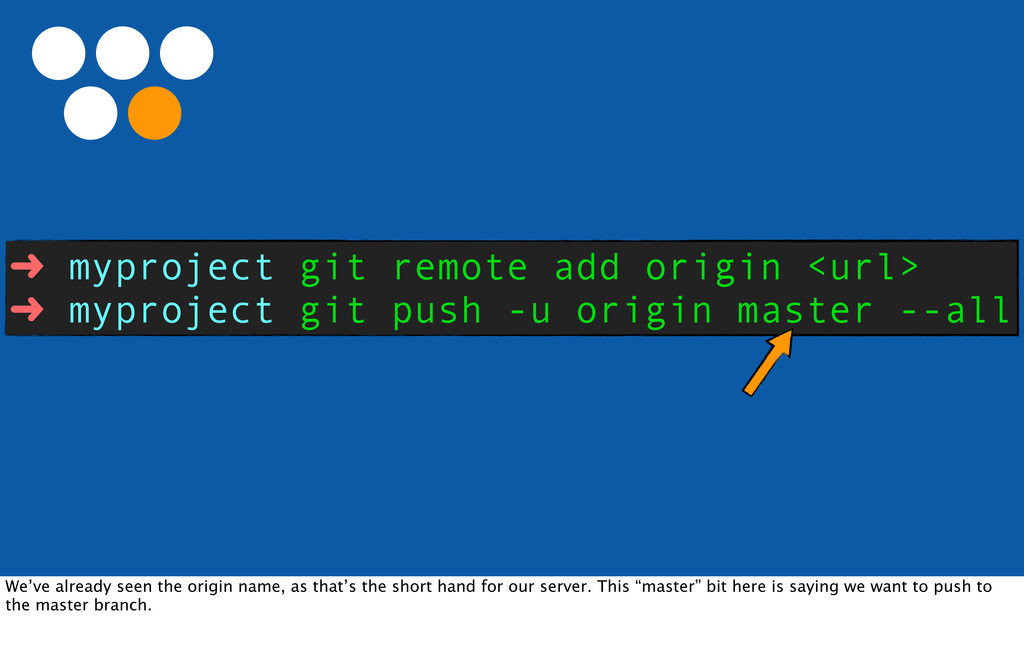
push -u origin master --all We’ve already seen the origin name, as that’s the short hand for our server. This “master” bit here is saying we want to push to the master branch.
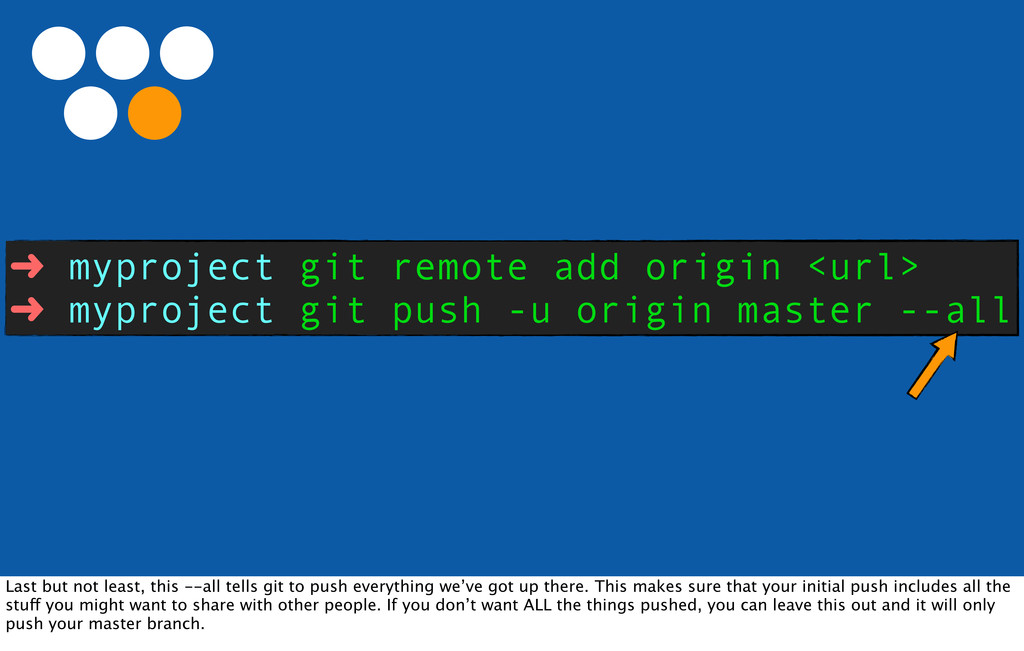
push -u origin master --all Last but not least, this --all tells git to push everything we’ve got up there. This makes sure that your initial push includes all the stuff you might want to share with other people. If you don’t want ALL the things pushed, you can leave this out and it will only push your master branch.
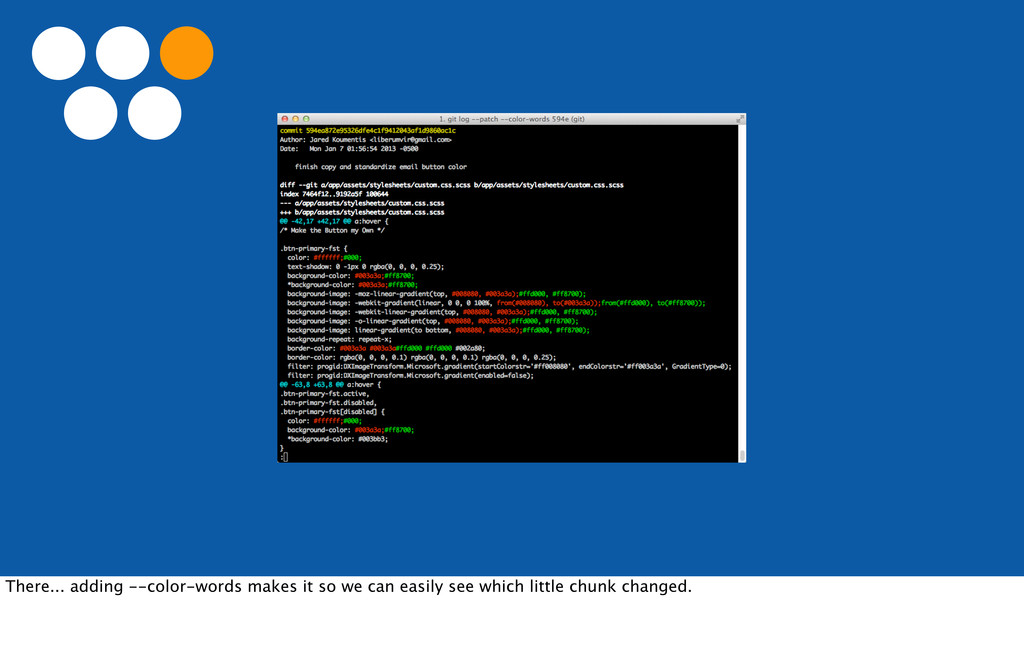
![Turns This... commit 594ea872e95326dfe4c1f9412043af1d9860ac1c Author: Jared Koumentis <[email protected]> Date: Mon](https://files.speakerdeck.com/presentations/9eadc3805b73013047bd1231381b2567/slide_36.jpg)
![Into This... commit 594ea872e95326dfe4c1f9412043af1d9860ac1c Author: Jared Koumentis <[email protected]> Date: Mon](https://files.speakerdeck.com/presentations/9eadc3805b73013047bd1231381b2567/slide_37.jpg)