Share
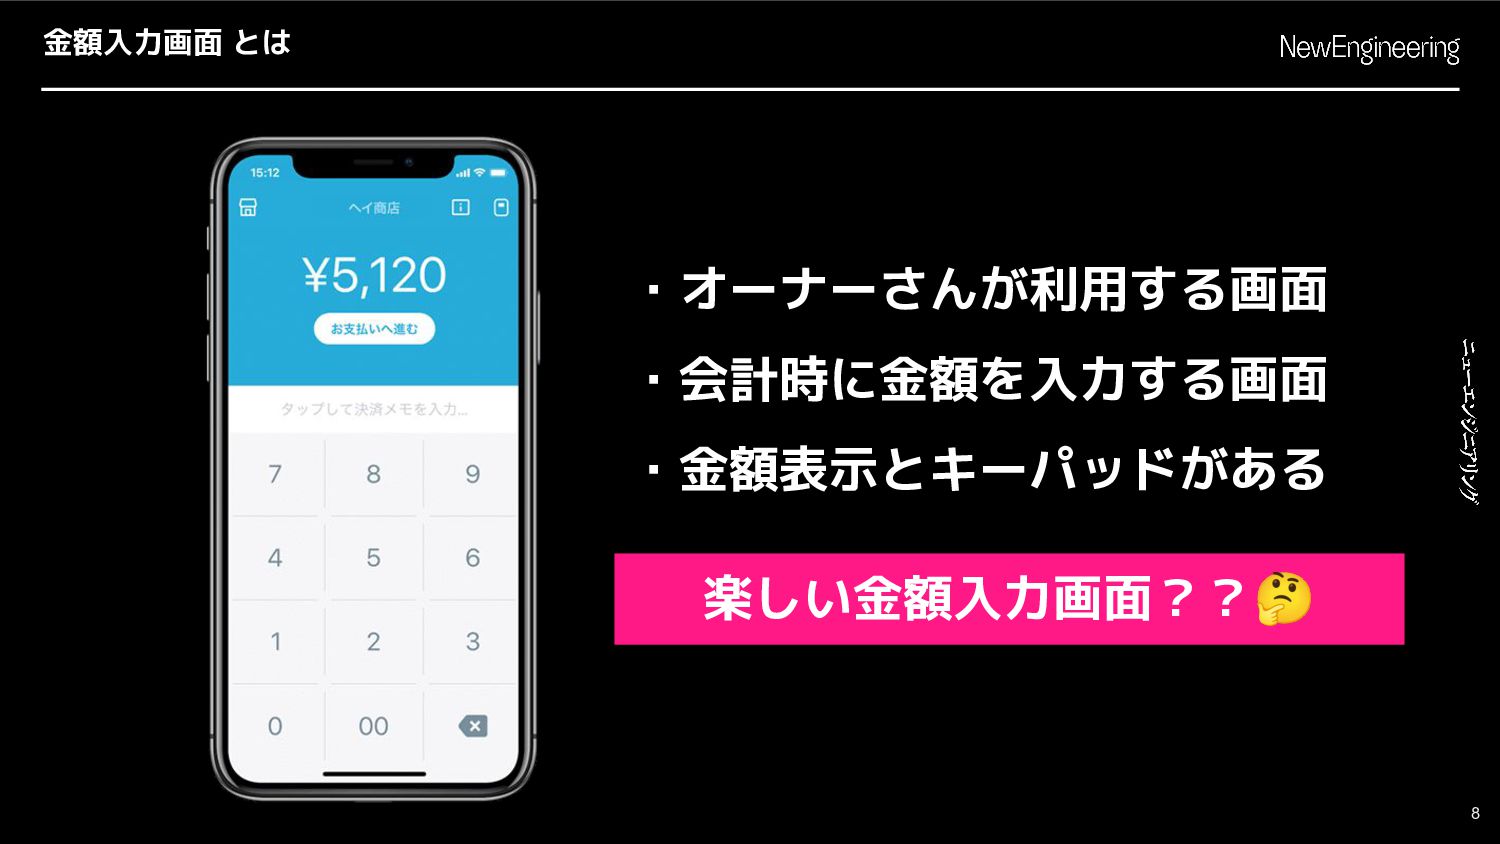
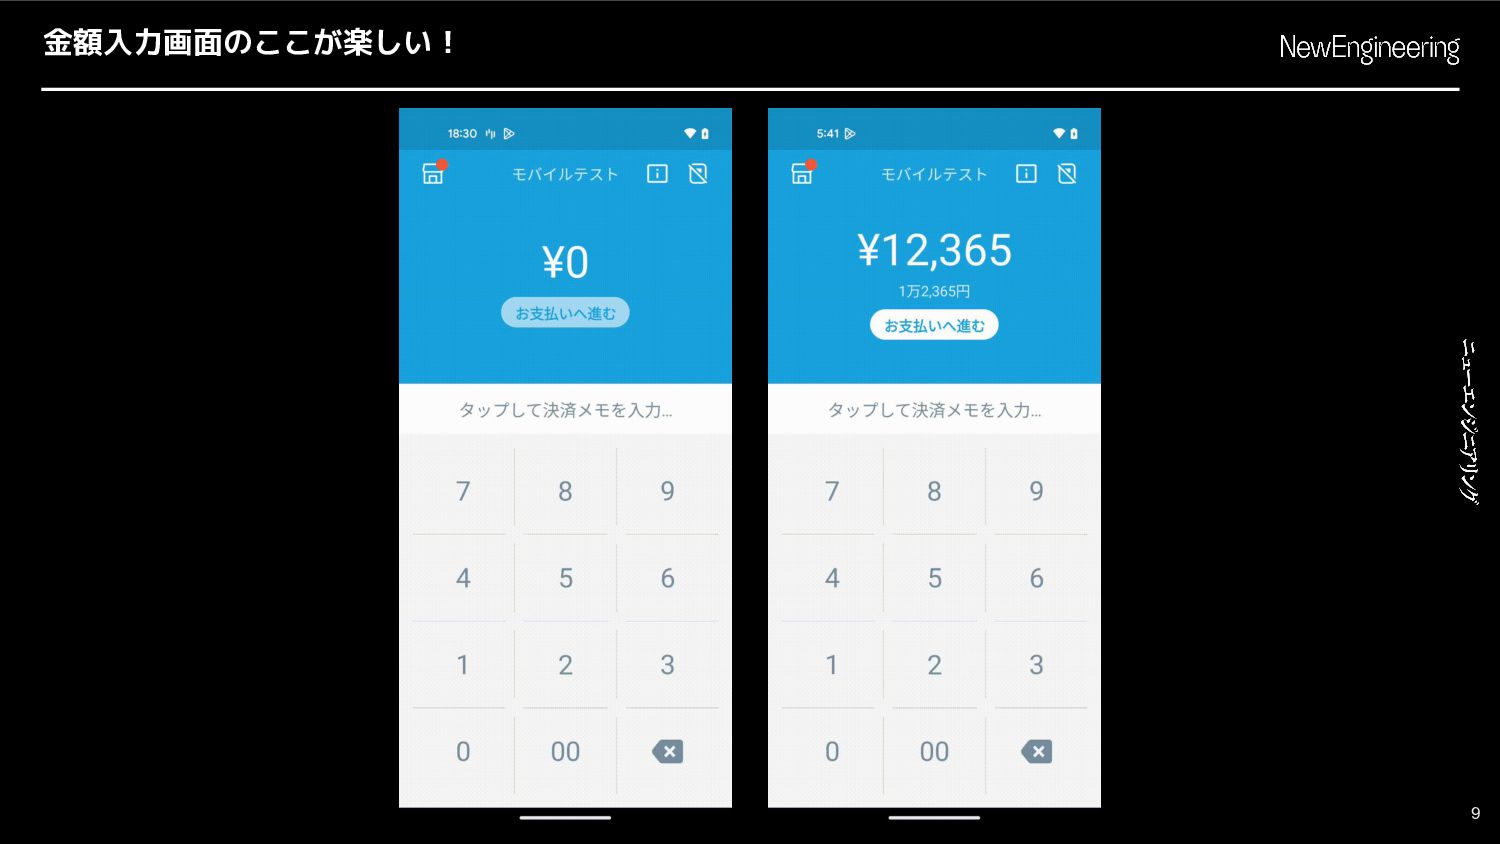
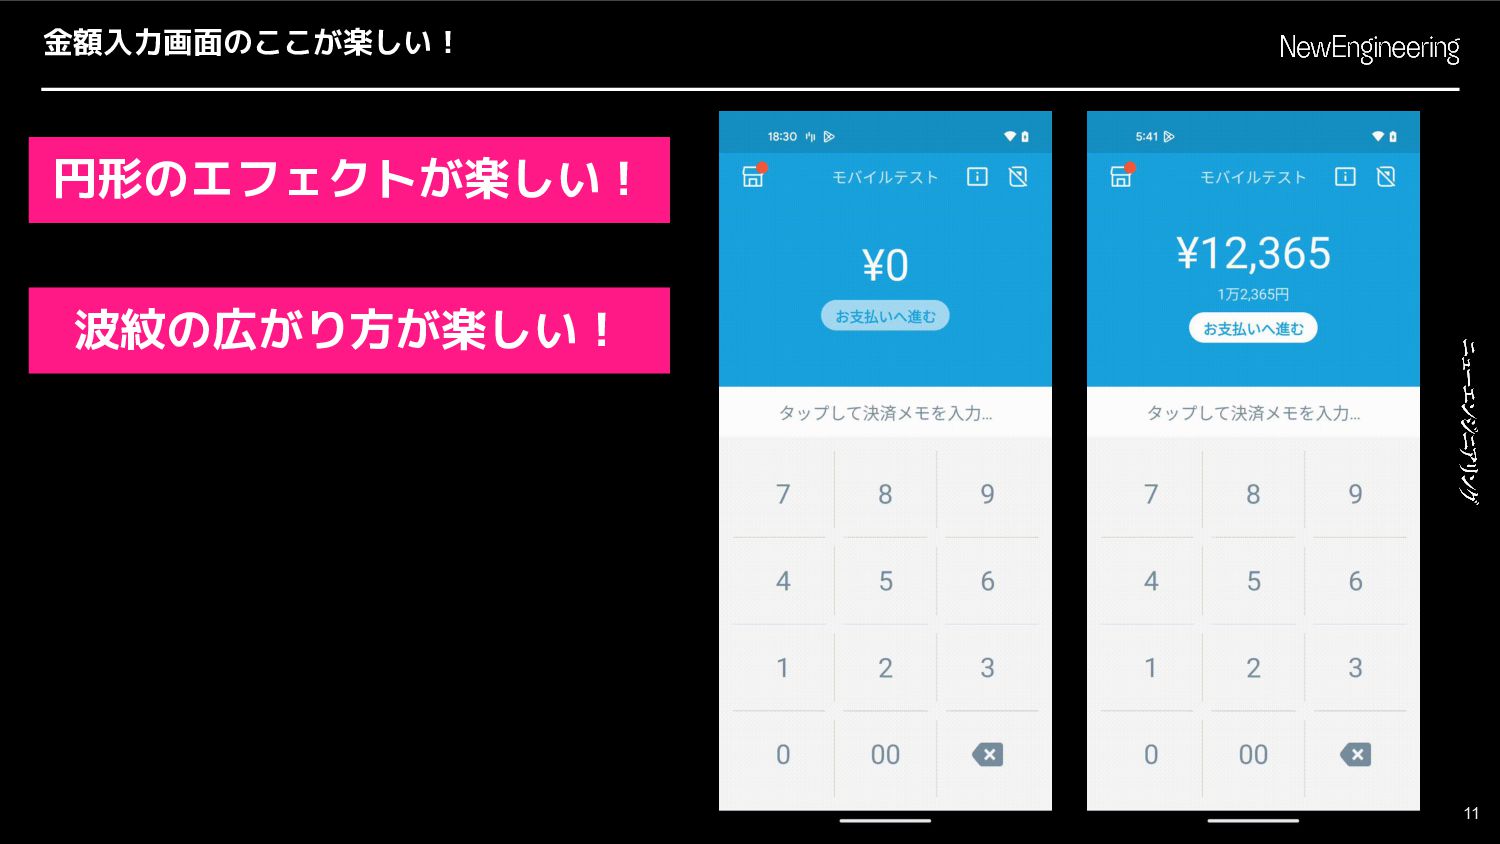
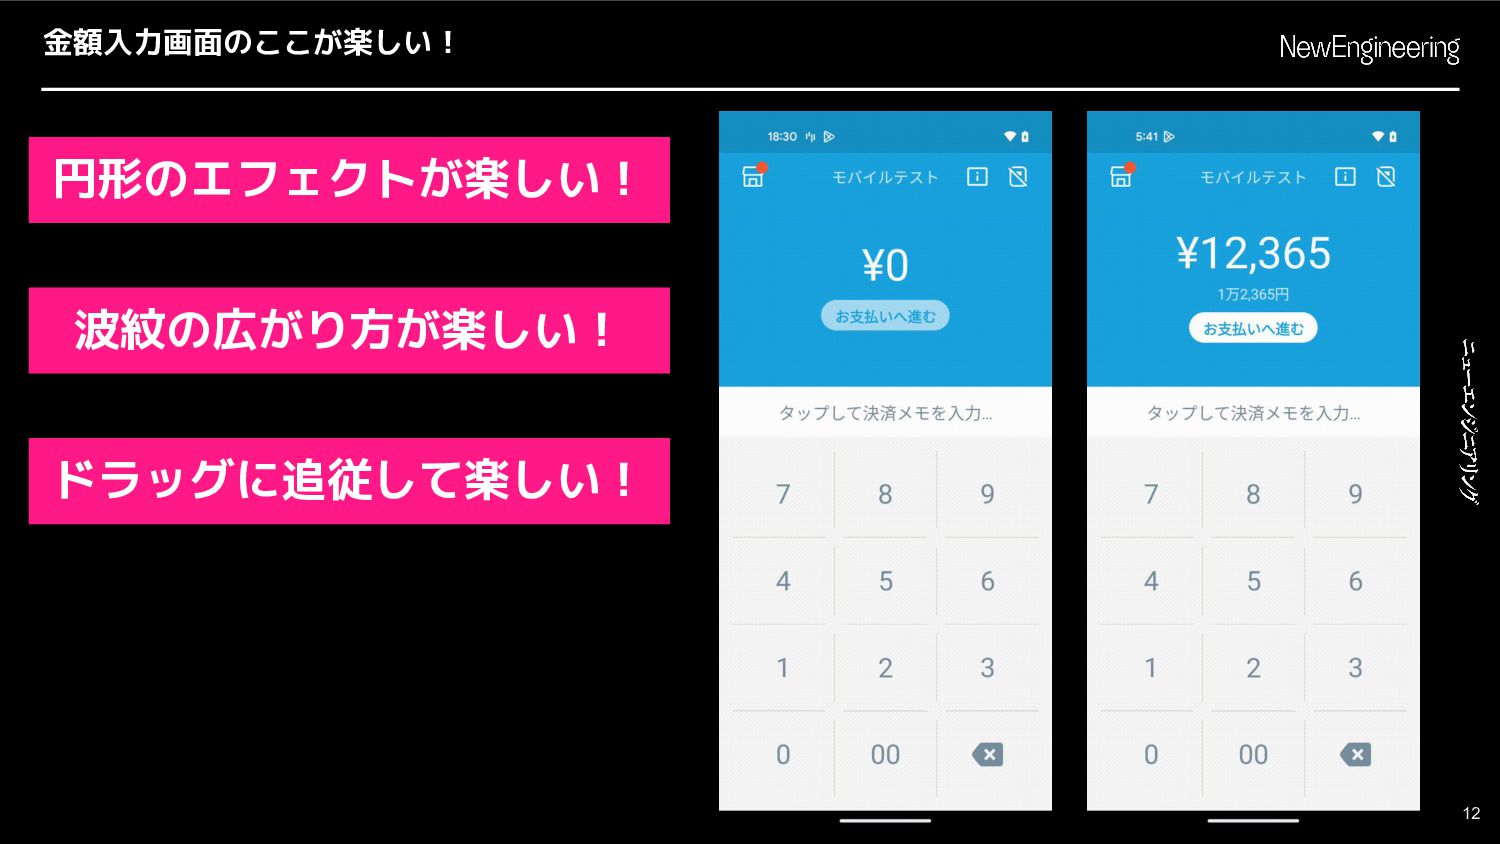
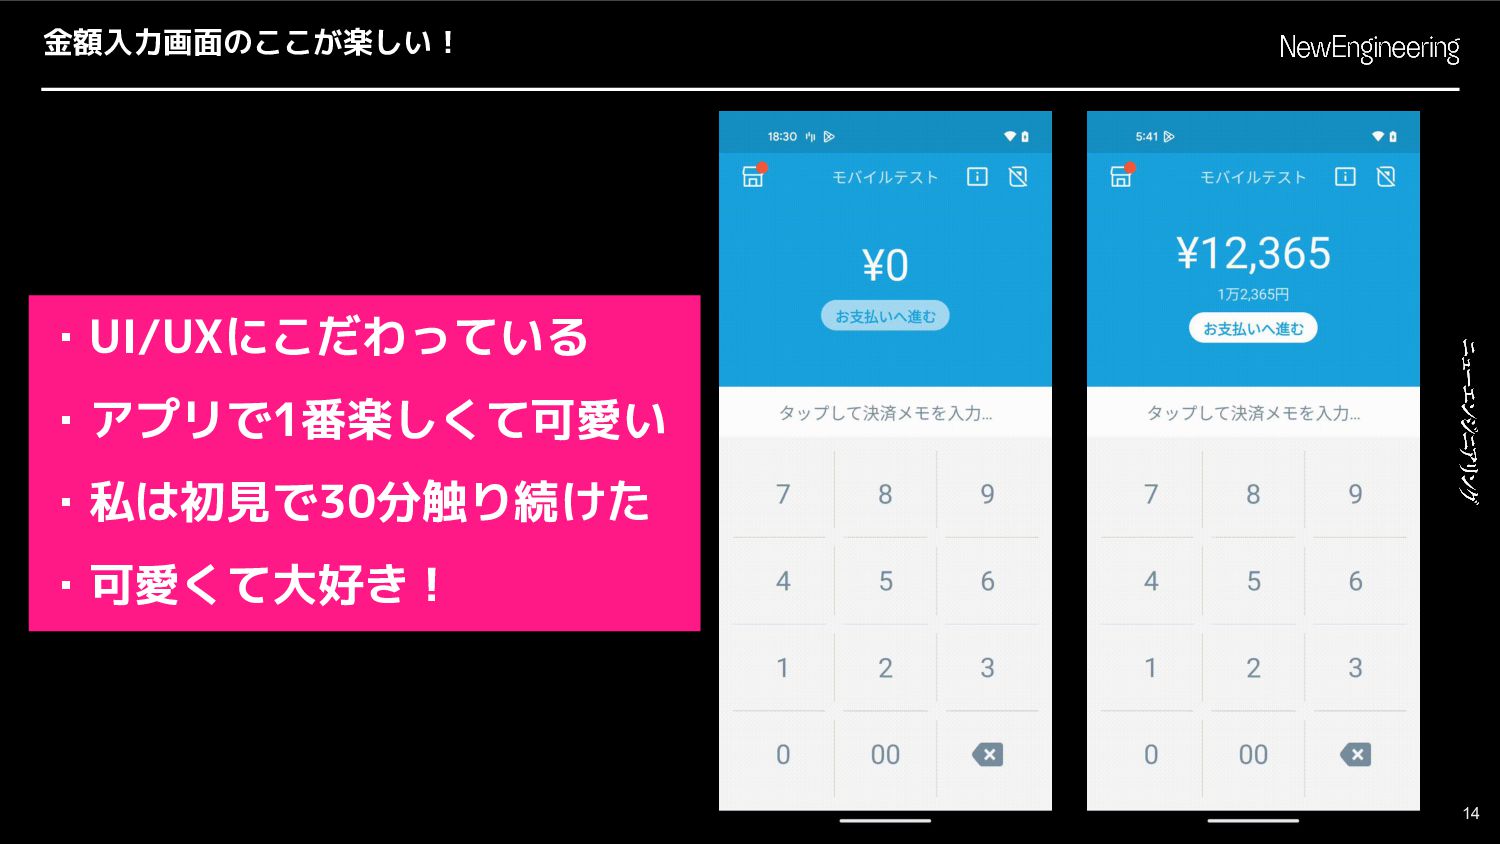
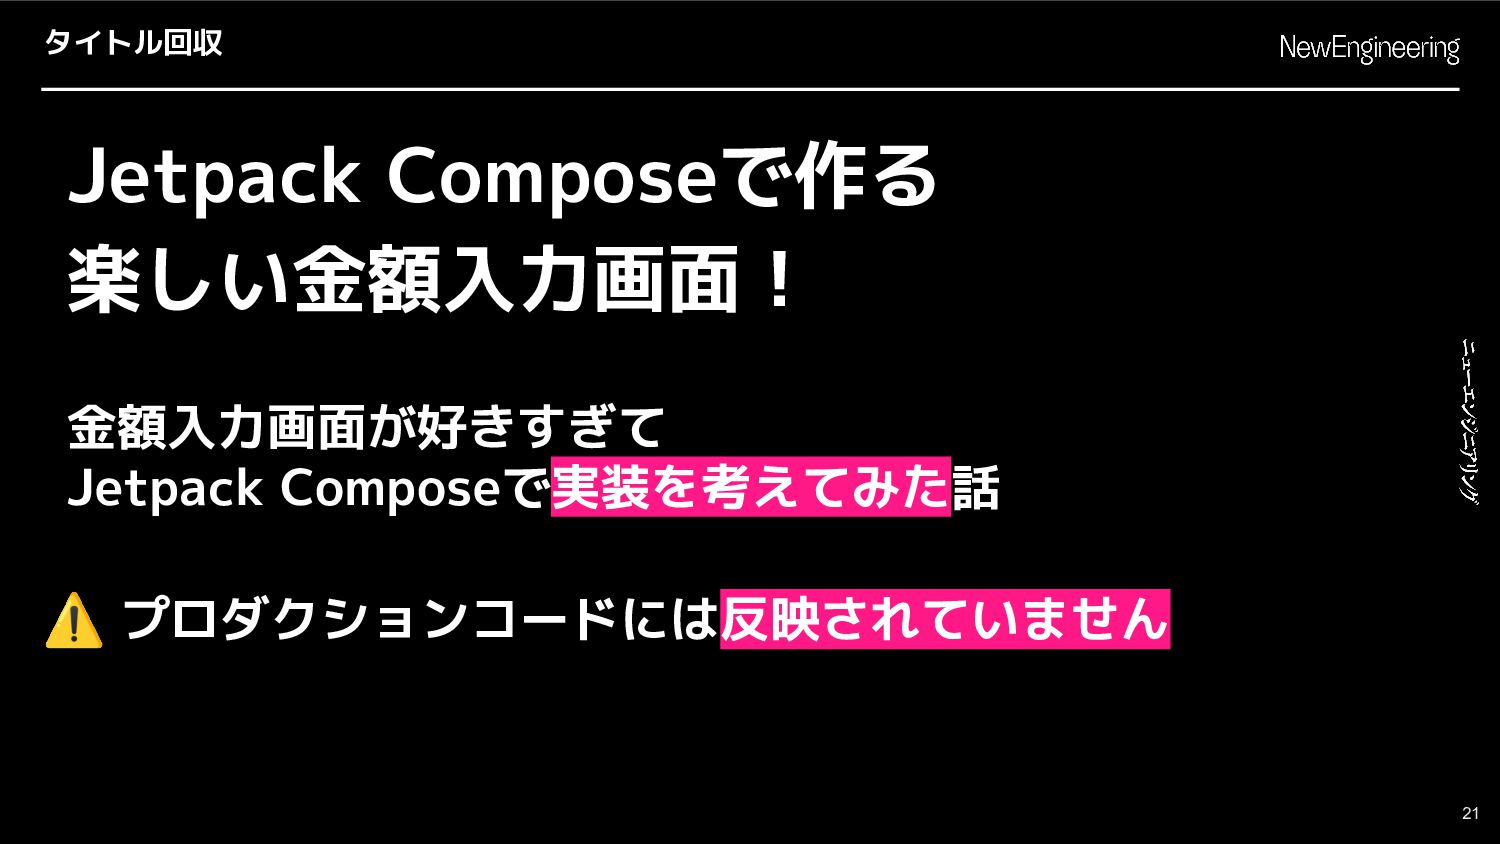
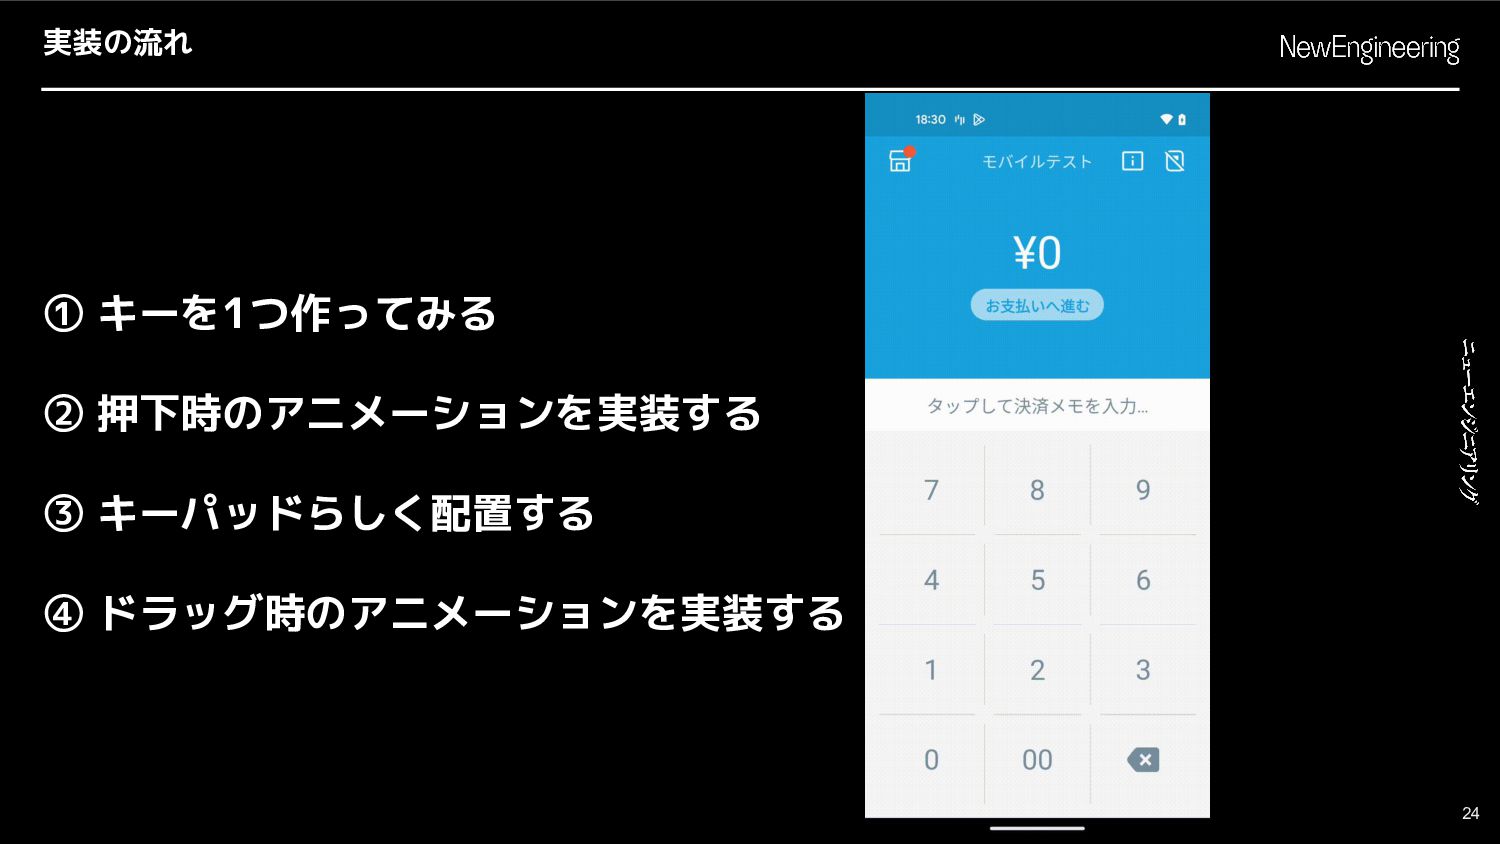
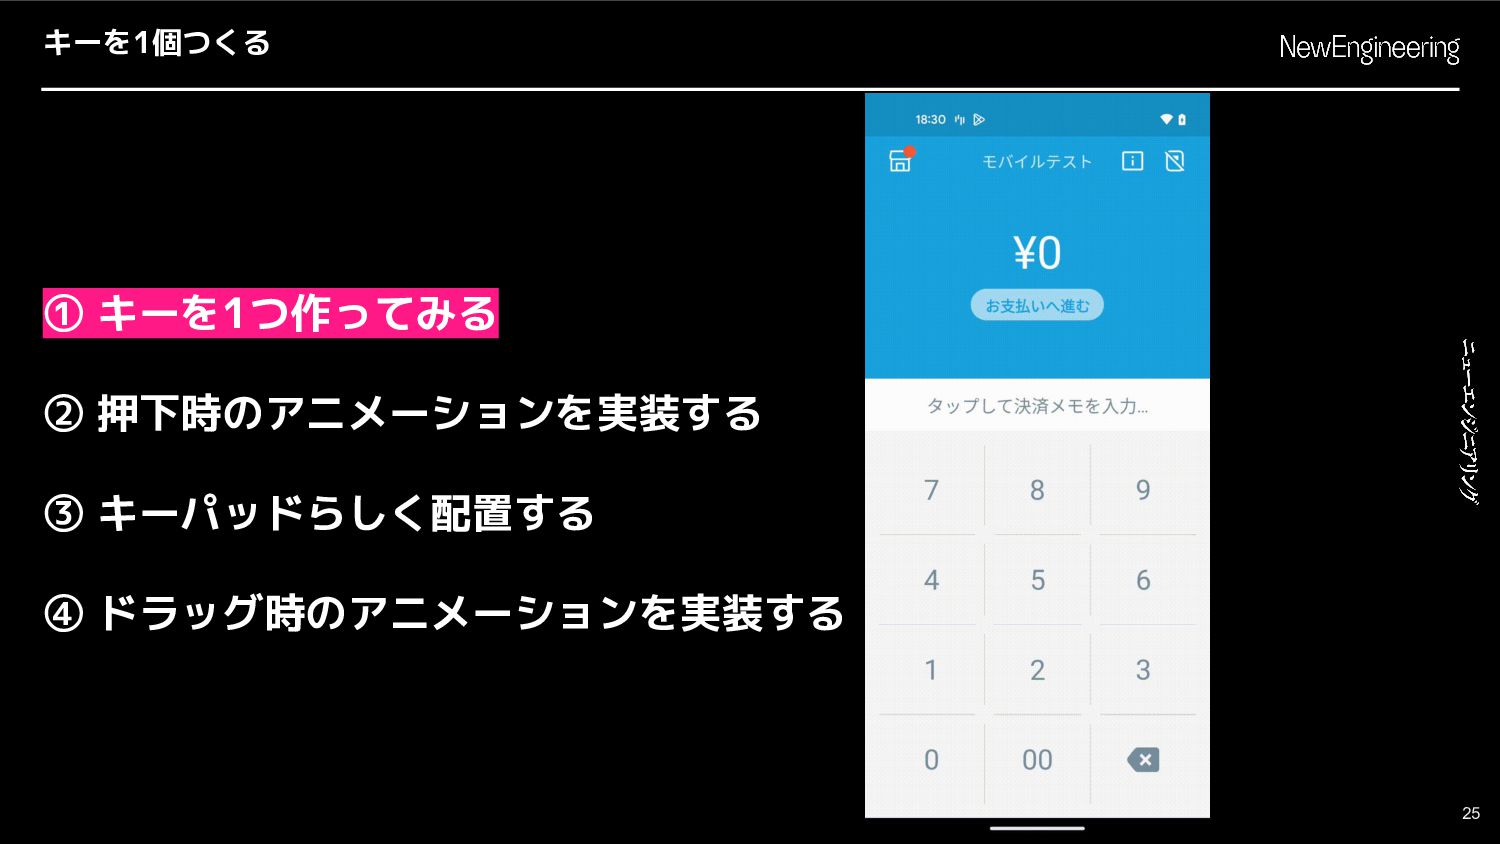
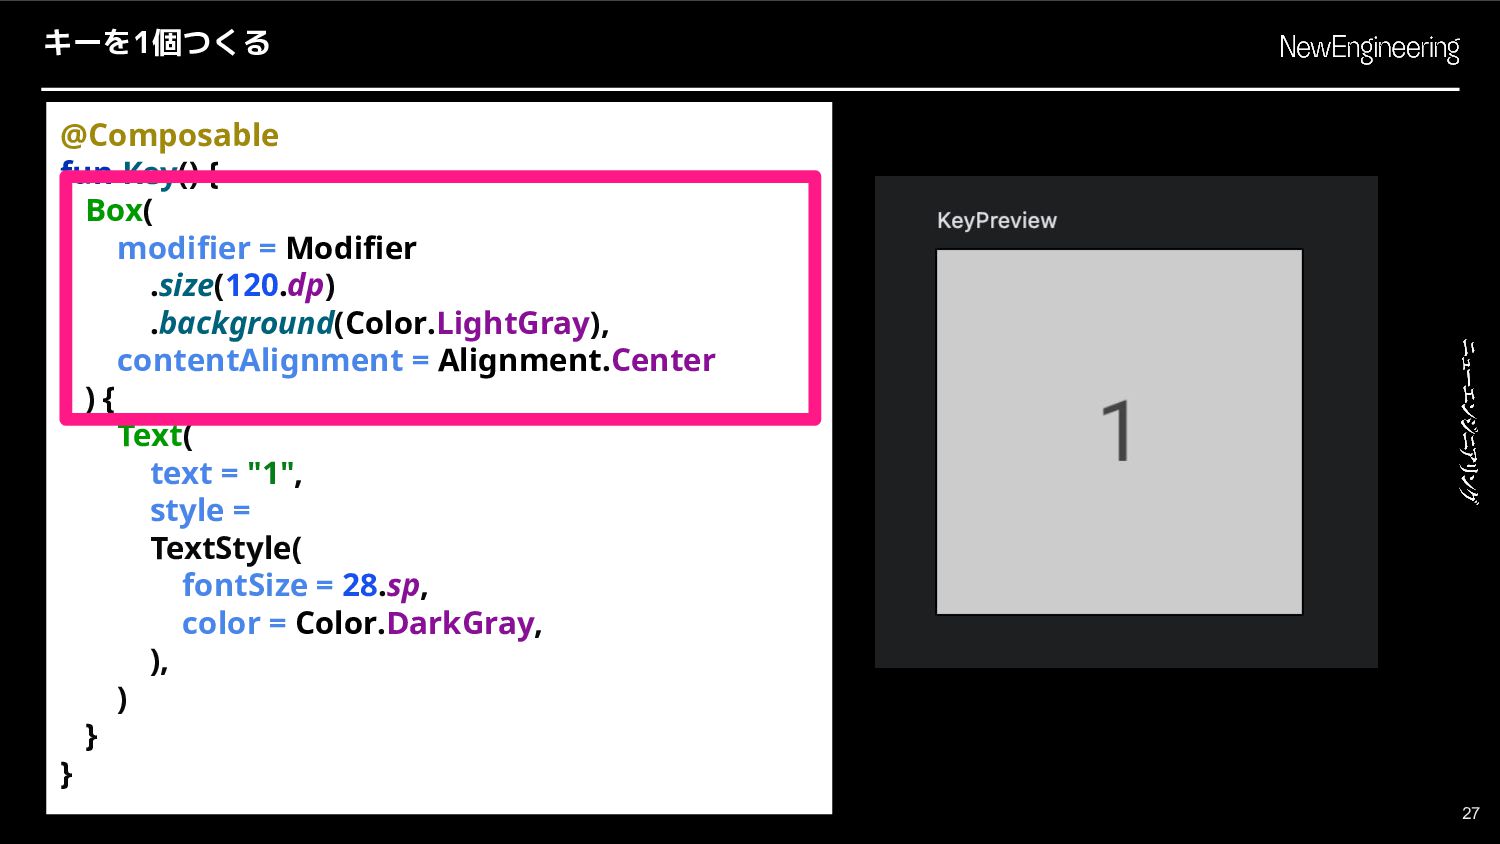
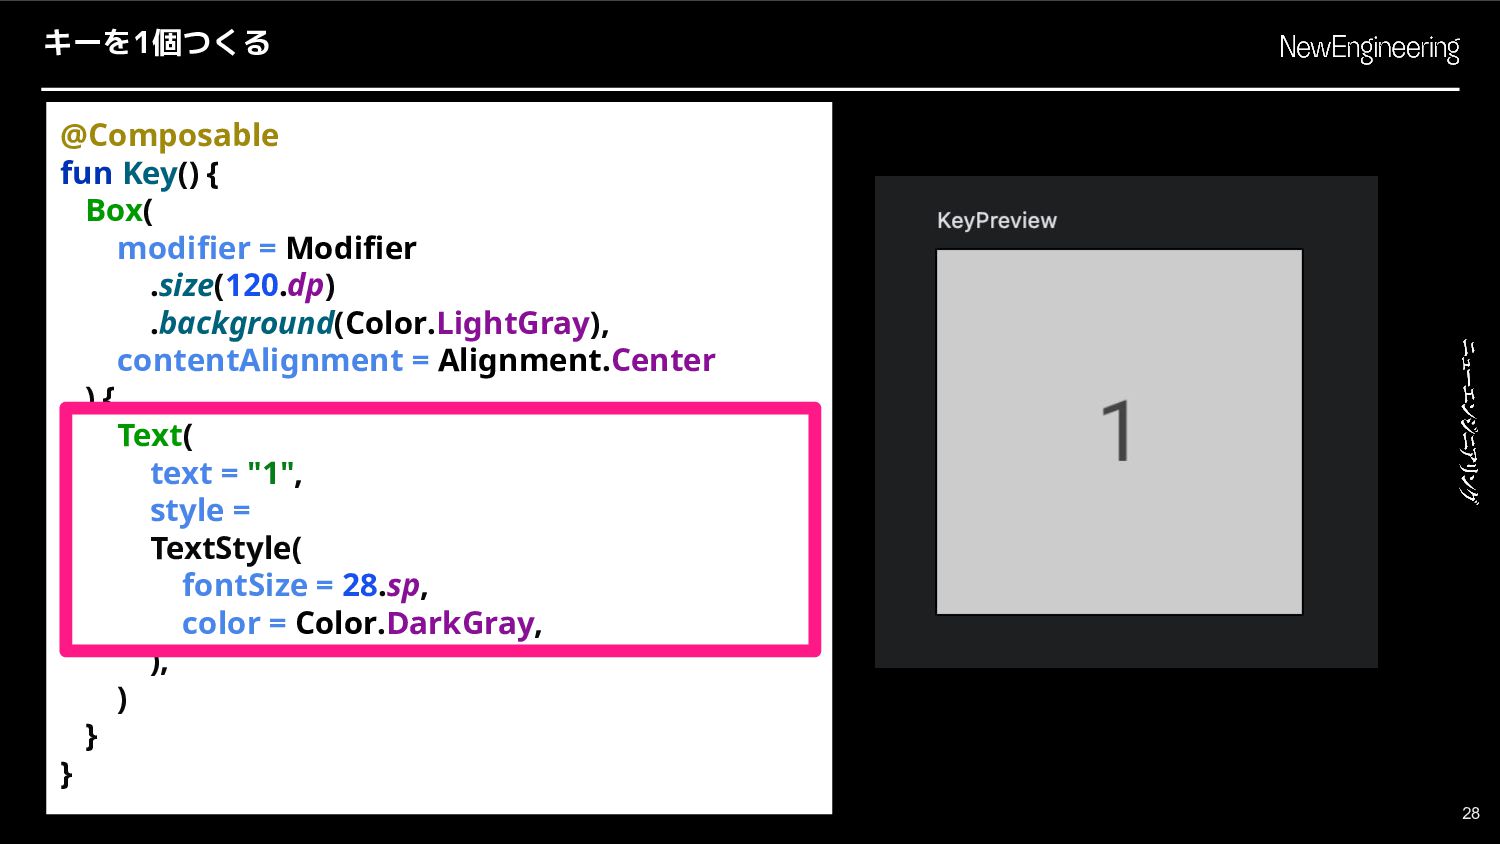
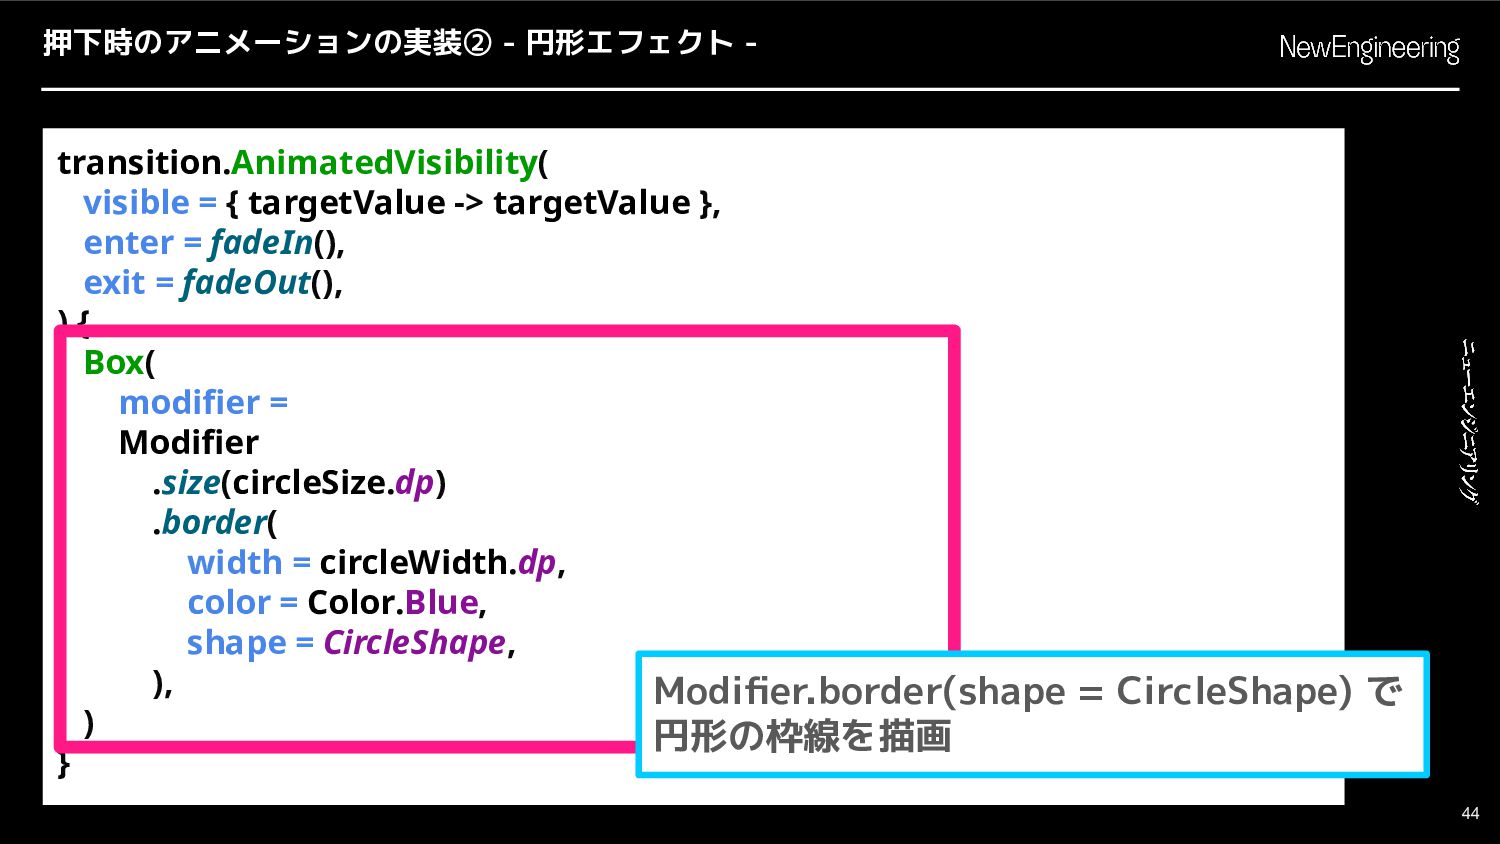
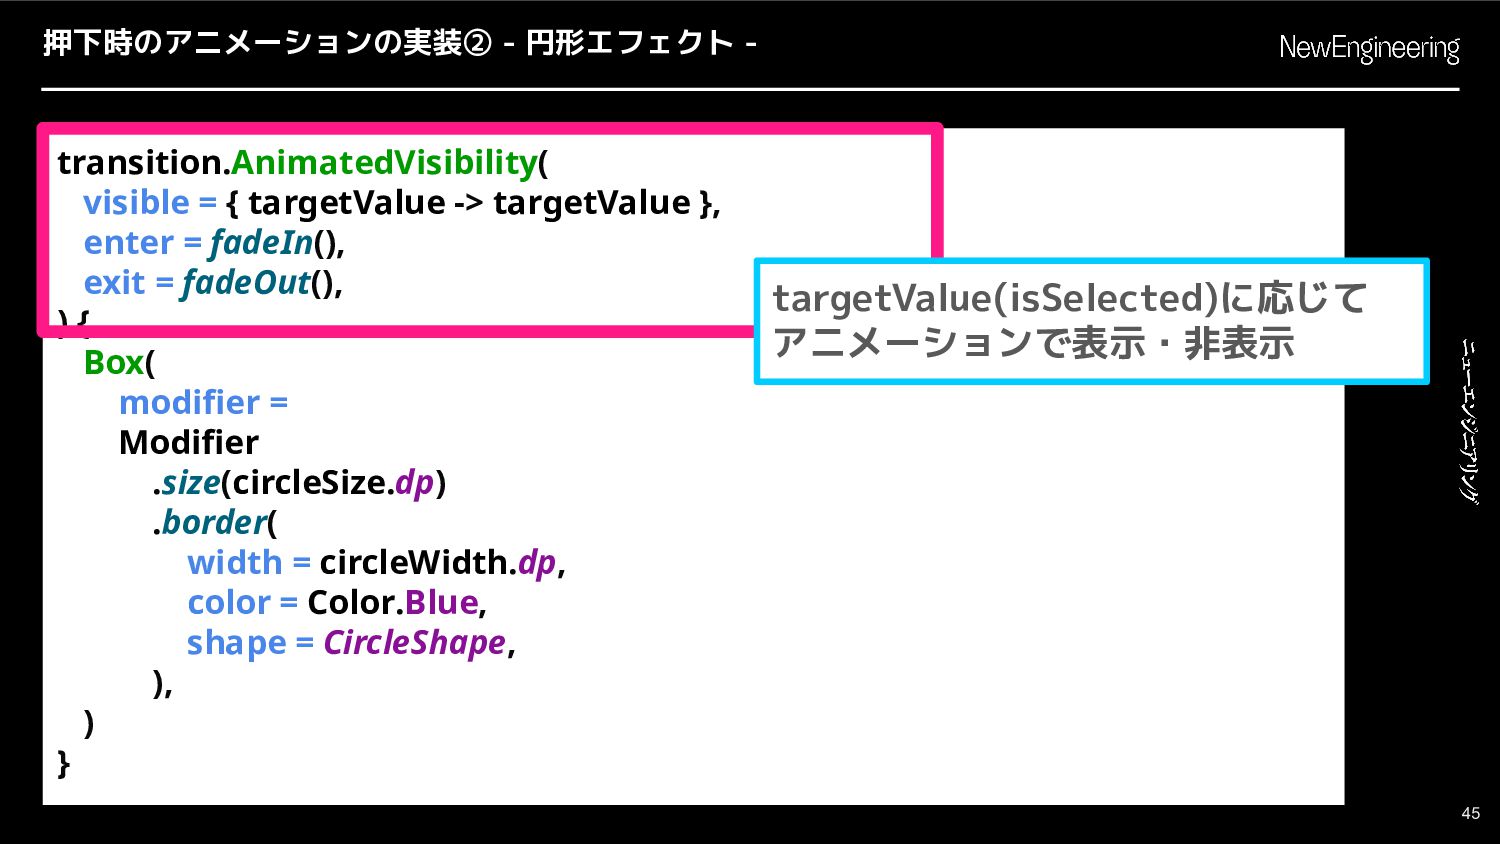
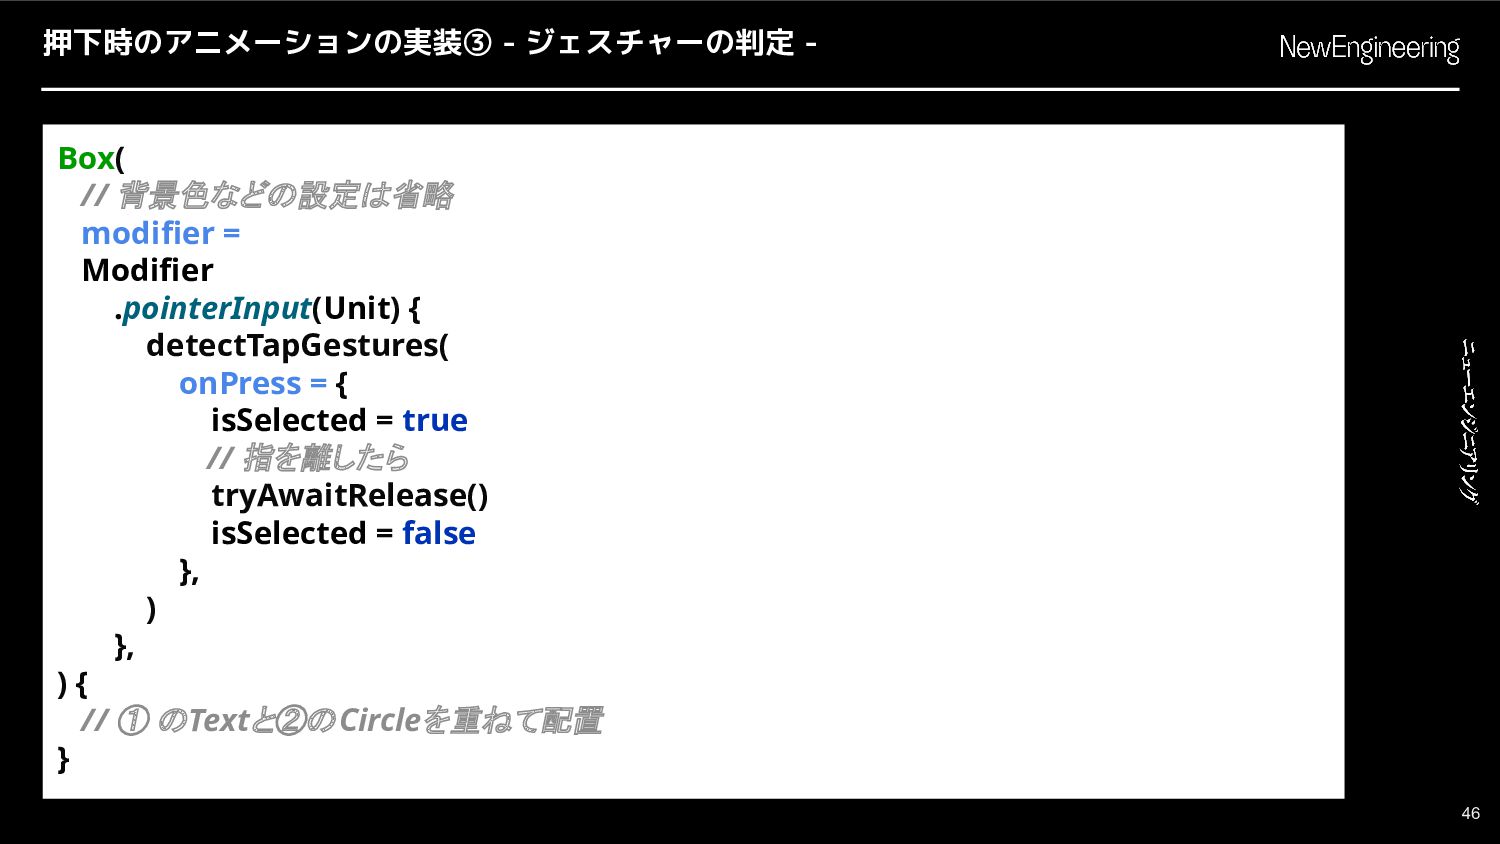
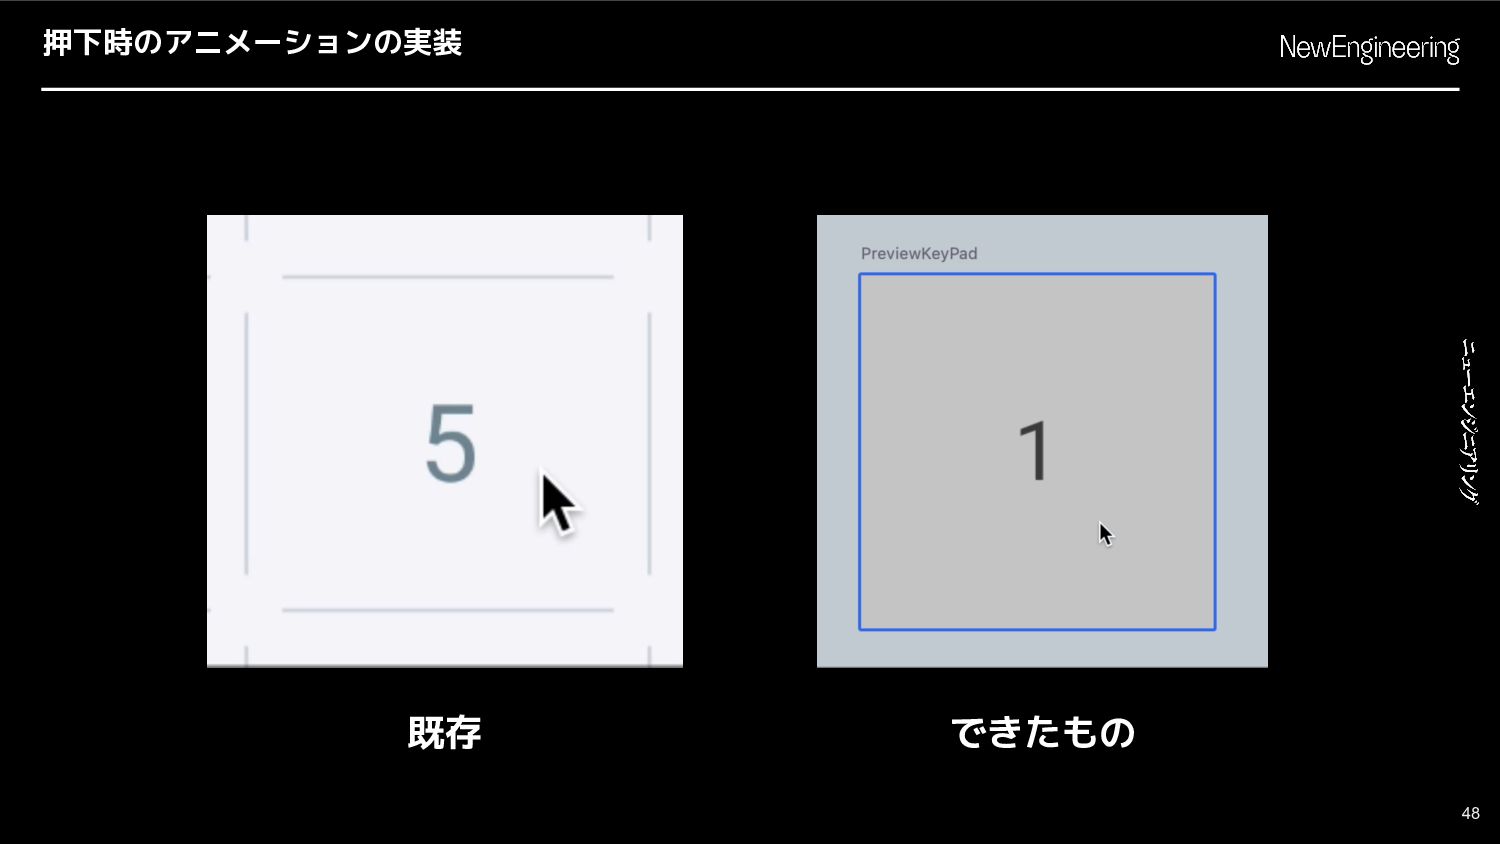
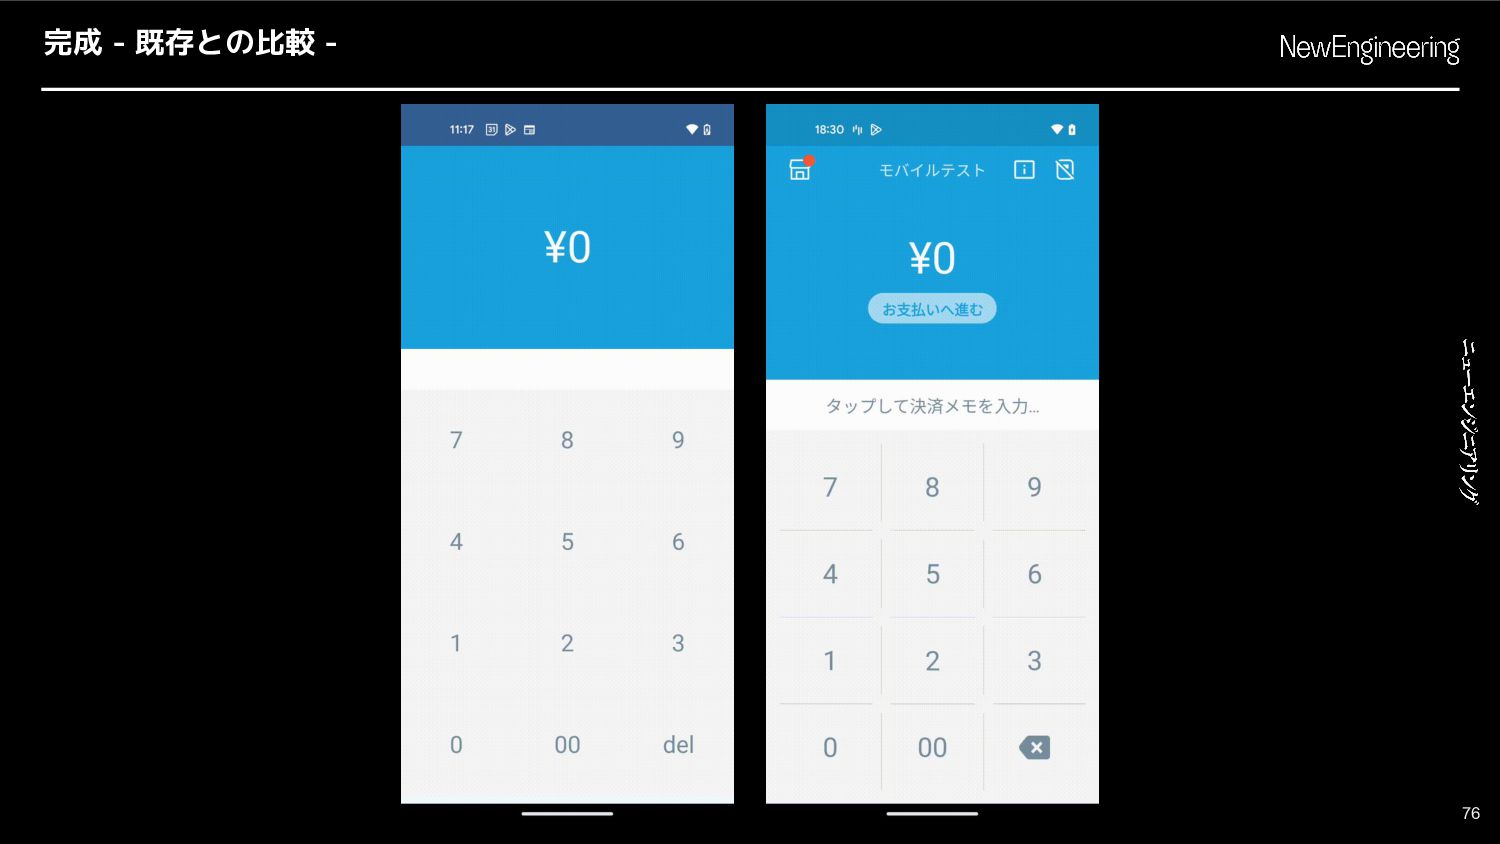
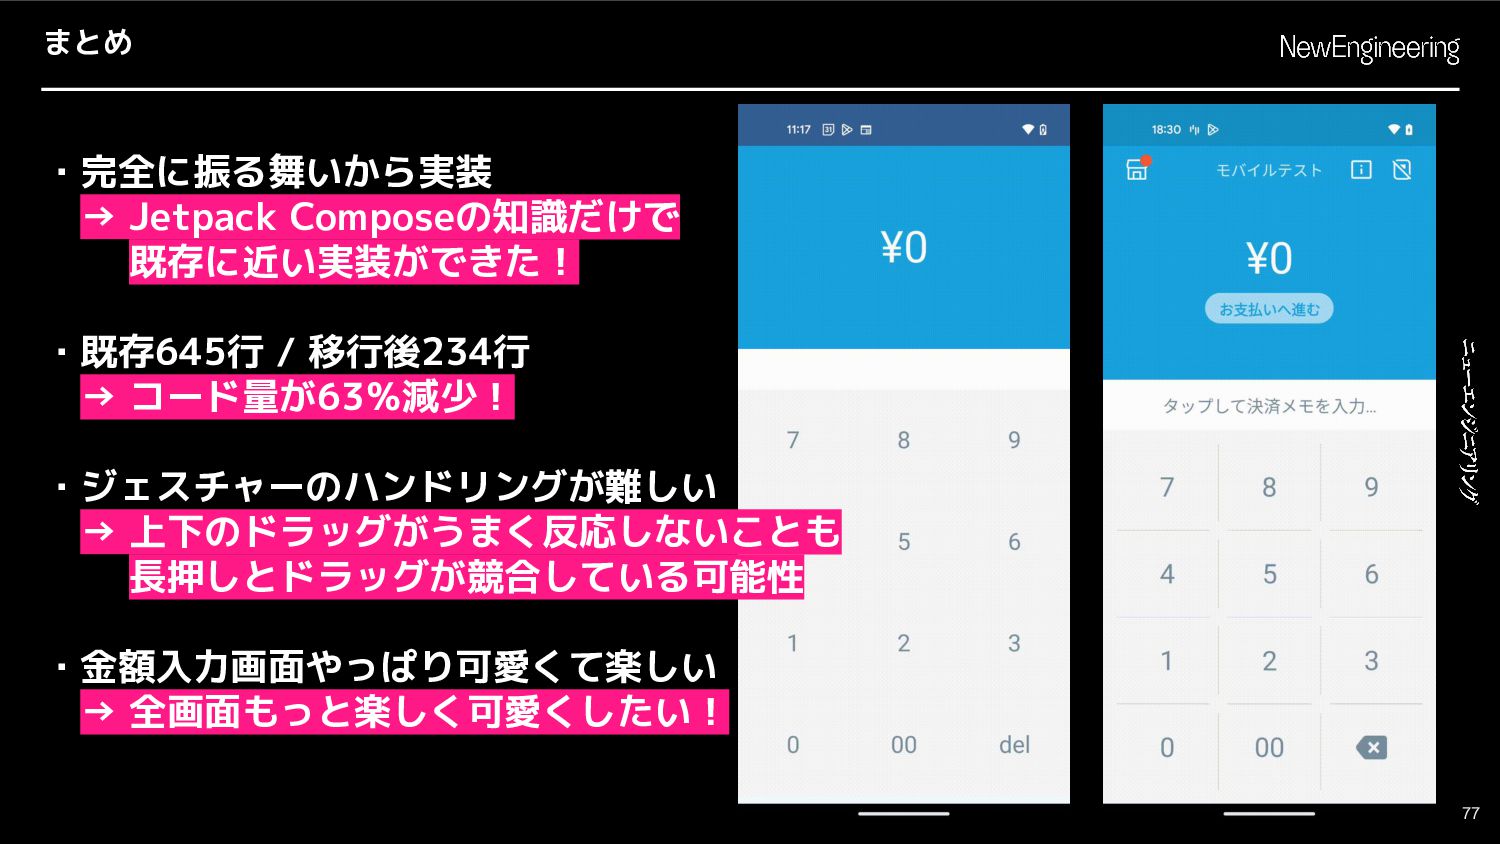
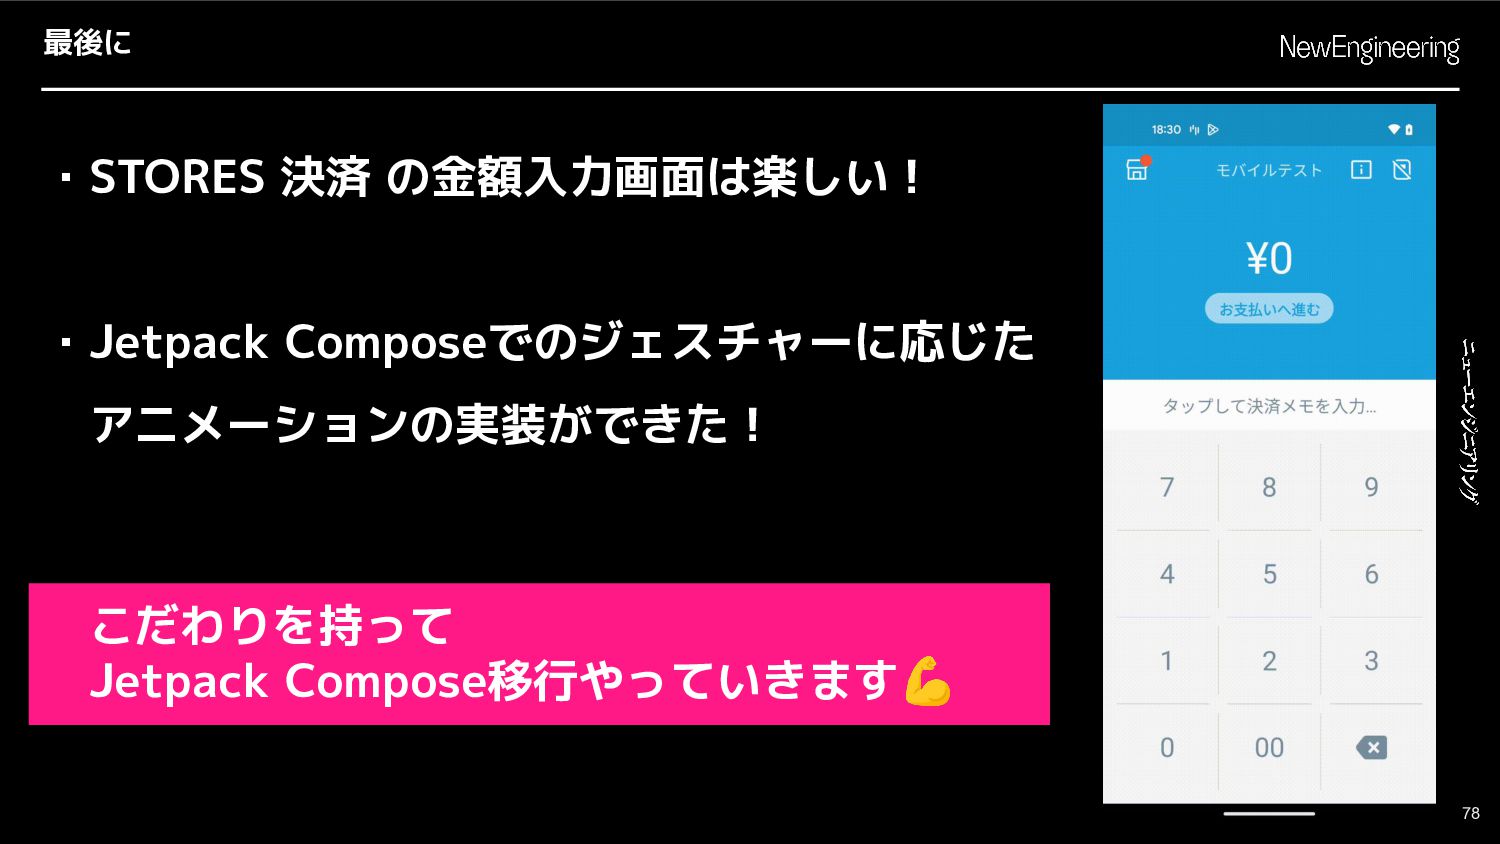
Jetpack Composeで作る楽しい金額入力画面!
STORES Tech Conf 2024 "New Engineering" 登壇資料です。 https://storesinc.tech/conf/2024