Achieving user centered design through usability and accessibility testing
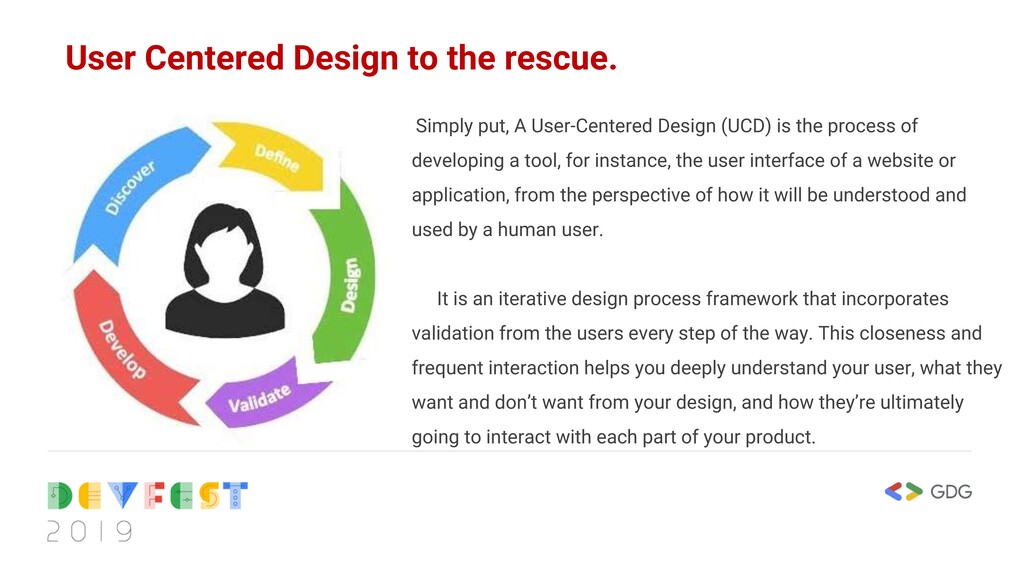
A User-Centered Design (UCD) is the process of developing a tool, for instance, the user interface of a website or application, from the perspective of how it will be understood and used by a human user
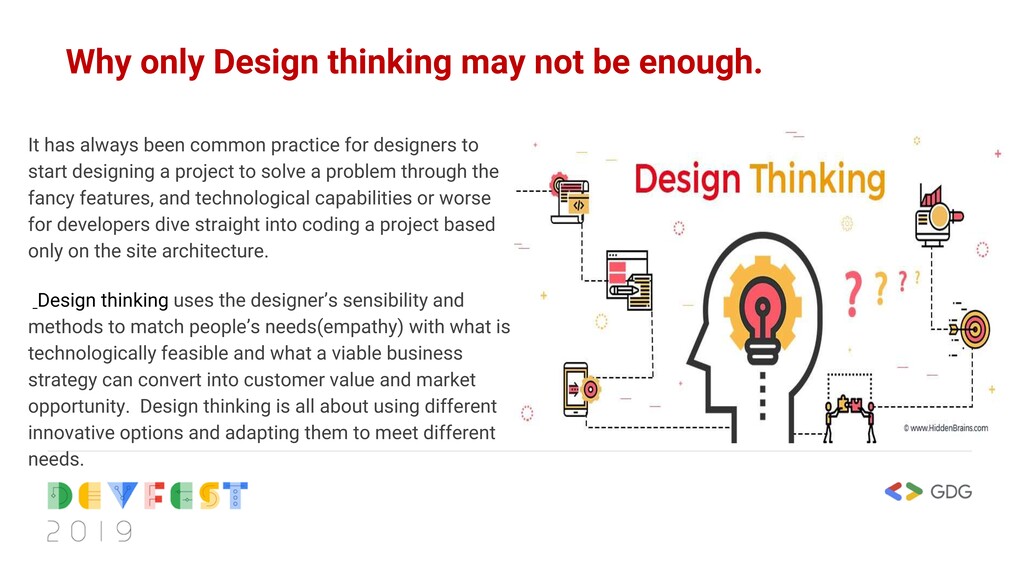
always been common practice for designers to start designing a project to solve a problem through the fancy features, and technological capabilities or worse for developers dive straight into coding a project based only on the site architecture. Design thinking uses the designer’s sensibility and methods to match people’s needs(empathy) with what is technologically feasible and what a viable business strategy can convert into customer value and market opportunity. Design thinking is all about using different innovative options and adapting them to meet different needs.
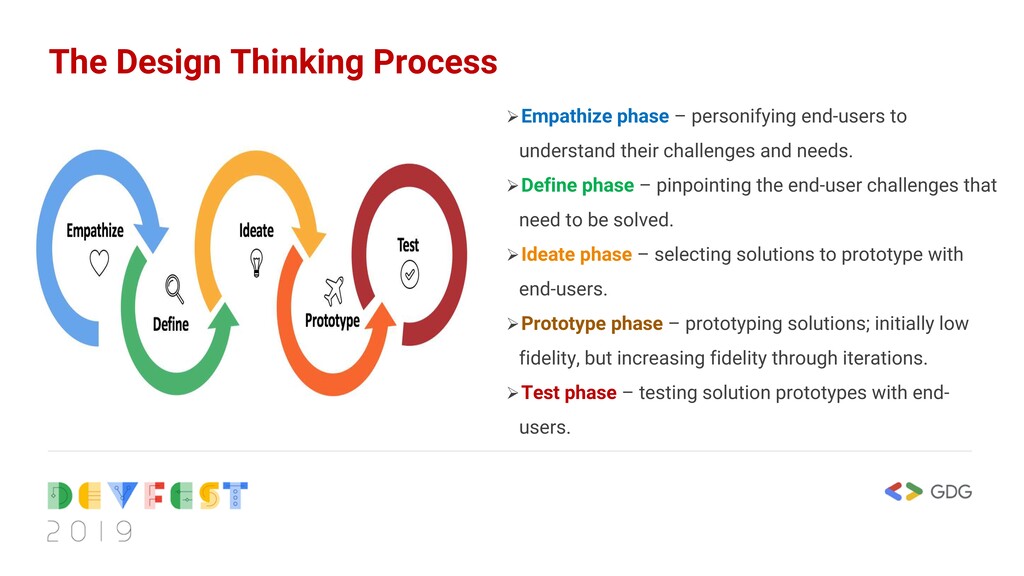
understand their challenges and needs. Define phase – pinpointing the end-user challenges that need to be solved. Ideate phase – selecting solutions to prototype with end-users. Prototype phase – prototyping solutions; initially low fidelity, but increasing fidelity through iterations. Test phase – testing solution prototypes with end- users.
wear shoe know where e dey pain am”. Which tries to explain the fact that no matter how much you think you understand the peculiar problem someone else is having, the only person that can truly tell you the real nature of the challenge is the person having it. As detailed as this approach is, one obvious part it is missing is that we are omitting the end user, which is an essential part of the process and this can create a very big problem where we end up building a great project that no body needs or we end up building a great project that users need but cannot use. “A real world example of this problem was faced by the founder of “InstaCart” who spent a whole year developing a social network for lawyers without realizing an obvious truth that lawyers don’t share. So at the end of the he had a product that his users don’t need.”
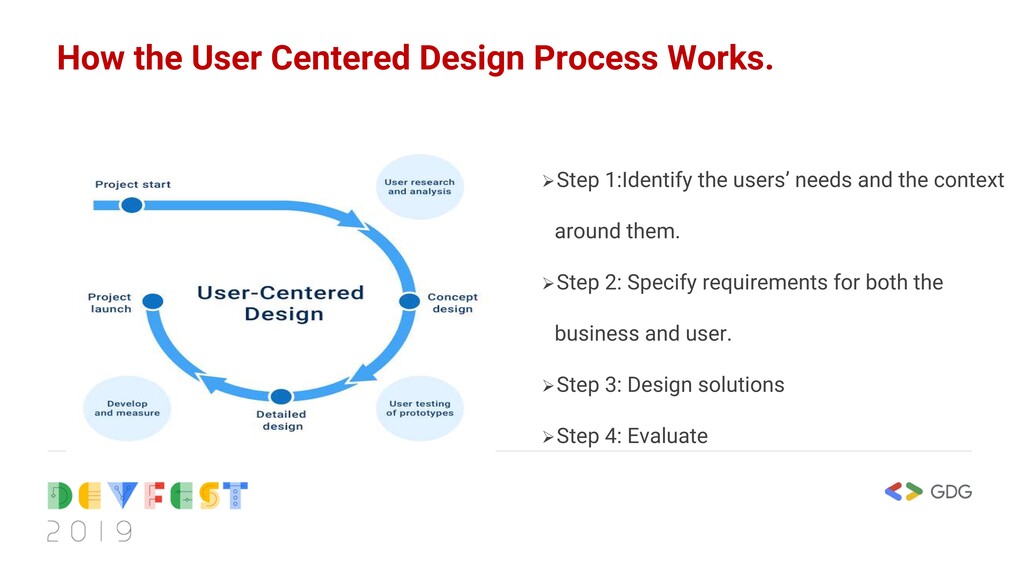
Design (UCD) is the process of developing a tool, for instance, the user interface of a website or application, from the perspective of how it will be understood and used by a human user. It is an iterative design process framework that incorporates validation from the users every step of the way. This closeness and frequent interaction helps you deeply understand your user, what they want and don’t want from your design, and how they’re ultimately going to interact with each part of your product.
Allows rapid testing and validation of story concepts before time consuming coding. Provides a clear, sociable visual representation of the project vision. You discover potential UX problems even before they arise Provides usability by stealth. Engaging the end user as a customer. Improves basis for estimation. Mitigates project risk.
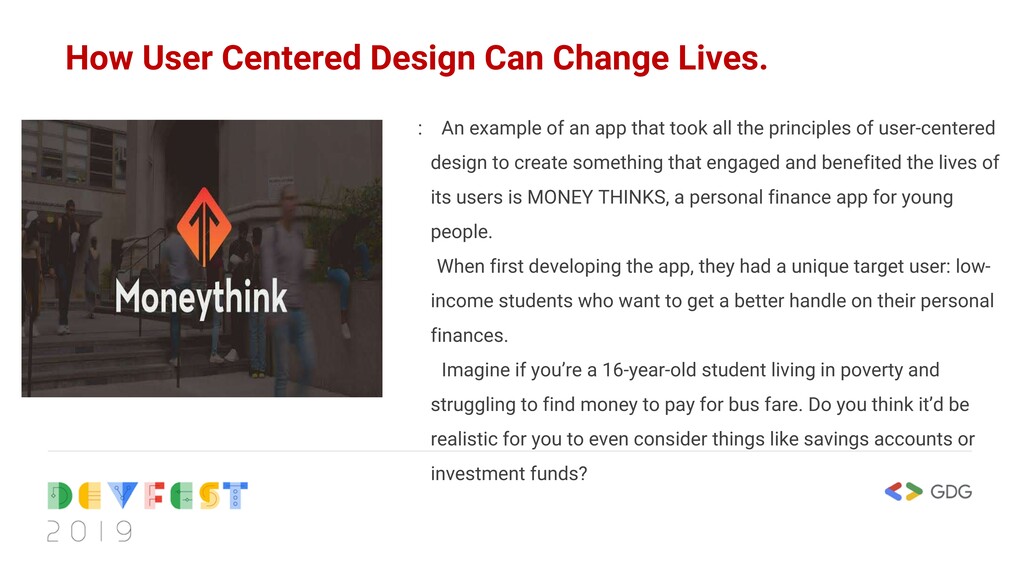
of an app that took all the principles of user-centered design to create something that engaged and benefited the lives of its users is MONEY THINKS, a personal finance app for young people. When first developing the app, they had a unique target user: low- income students who want to get a better handle on their personal finances. Imagine if you’re a 16-year-old student living in poverty and struggling to find money to pay for bus fare. Do you think it’d be realistic for you to even consider things like savings accounts or investment funds?
:- They conducted interviews with 90 students across 7 different campuses. They immersed themselves into the apps that their target users liked to use: Snapchat and Instagram. They went into the classrooms, as well as the homes, of students to see how they lived. The result was an app dubbed the “Instagram for money,” as one student called it.
construct a mental model of the app or website. Users should be able to tell from a glance what they can and cannot do with the document. Accessibility Users should be able to find information quickly and easily throughout the document, regardless of its length Legibility Text should be easy to read: Through analysis of the rhetorical situation, the designer should be able to determine a useful font style. Dark text against a light background is most legible. Language Depending on the rhetorical situation, certain types of languages are needed. Short and a simple sentence structure are helpful.
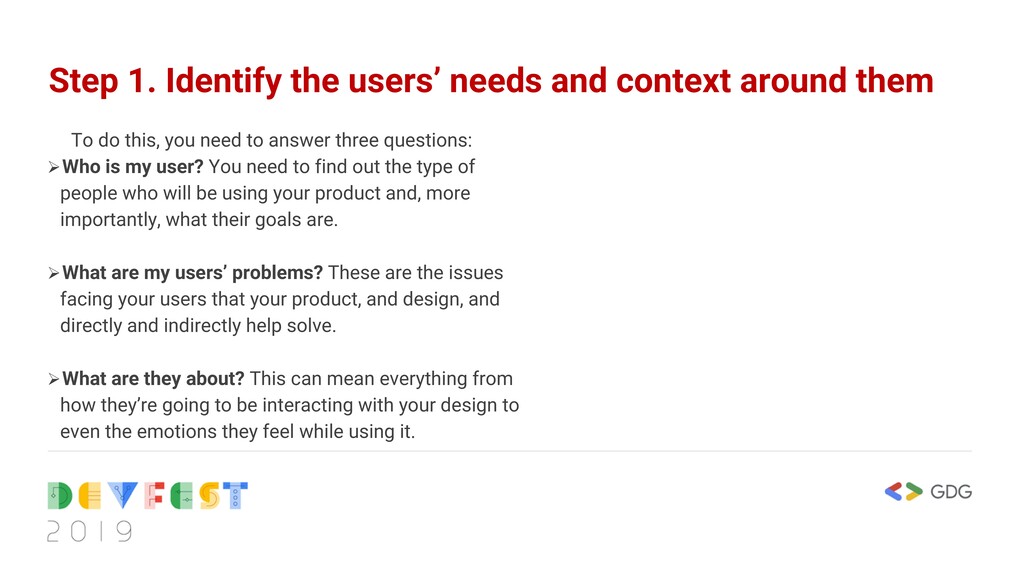
is my user? You need to find out the type of people who will be using your product and, more importantly, what their goals are. What are my users’ problems? These are the issues facing your users that your product, and design, and directly and indirectly help solve. What are they about? This can mean everything from how they’re going to be interacting with your design to even the emotions they feel while using it. Step 1. Identify the users’ needs and context around them
is my user? You need to find out the type of people who will be using your product and, more importantly, what their goals are. What are my users’ problems? These are the issues facing your users that your product, and design, and directly and indirectly help solve. What are they about? This can mean everything from how they’re going to be interacting with your design to even the emotions they feel while using it. Step 1. Identify the users’ needs and context around them
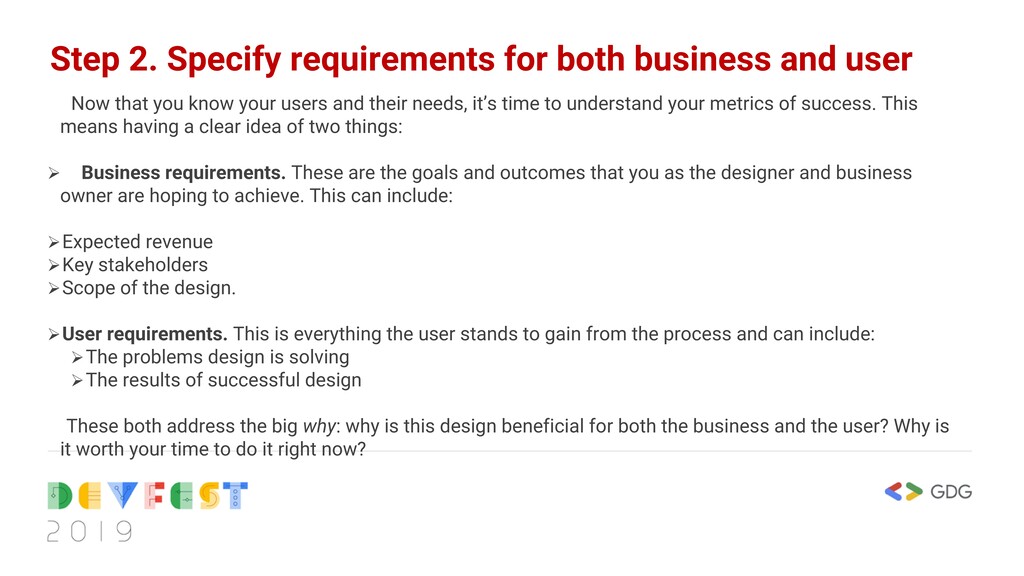
time to understand your metrics of success. This means having a clear idea of two things: Business requirements. These are the goals and outcomes that you as the designer and business owner are hoping to achieve. This can include: Expected revenue Key stakeholders Scope of the design. User requirements. This is everything the user stands to gain from the process and can include: The problems design is solving The results of successful design These both address the big why: why is this design beneficial for both the business and the user? Why is it worth your time to do it right now? Step 2. Specify requirements for both business and user
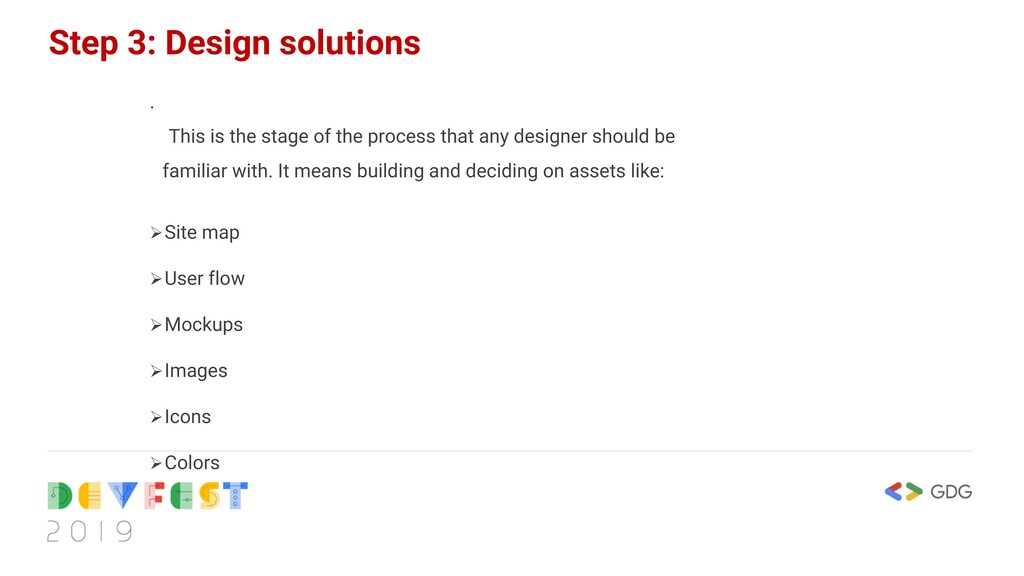
designer should be familiar with. It means building and deciding on assets like: Site map User flow Mockups Images Icons Colors Step 3: Design solutions
your final product to see if it meets all of the goals you set out for yourself in step two. • Some questions you might ask: • Where did our process go right? Why? • Where did we struggle? Why? • How are our users responding to the product? • Did it solve their issues and pain points? • Where can we improve the product? • And the we take the lessons learnt and iterate by going back to step one to fix it. Step 4: Evaluate
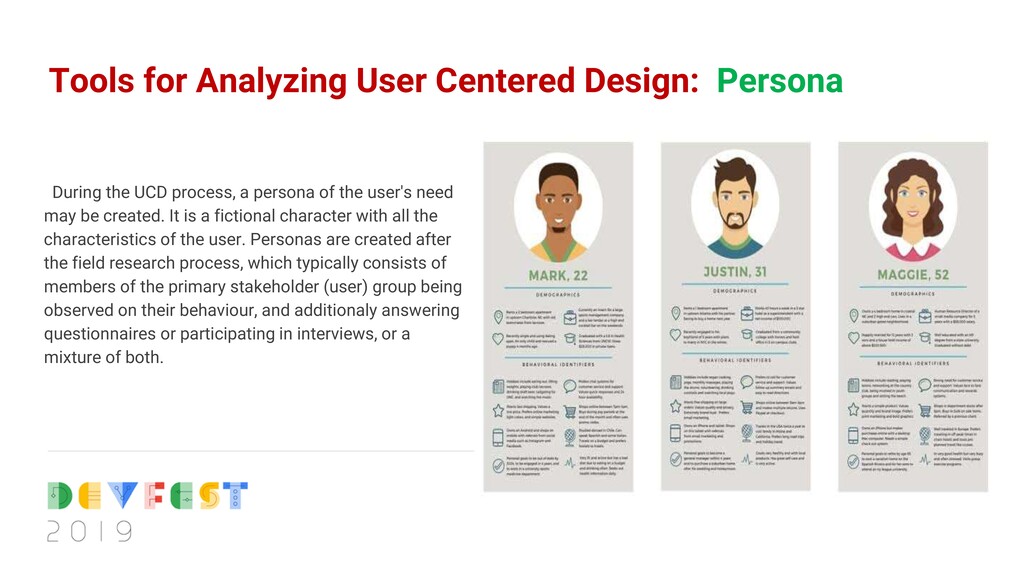
may be created. It is a fictional character with all the characteristics of the user. Personas are created after the field research process, which typically consists of members of the primary stakeholder (user) group being observed on their behaviour, and additionaly answering questionnaires or participating in interviews, or a mixture of both. Tools for Analyzing User Centered Design: Persona
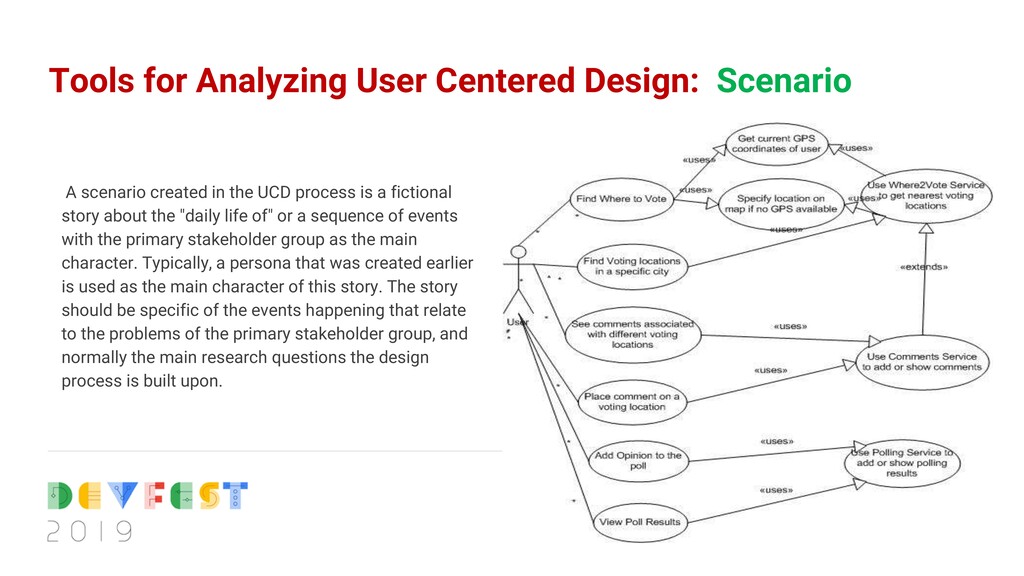
story about the "daily life of" or a sequence of events with the primary stakeholder group as the main character. Typically, a persona that was created earlier is used as the main character of this story. The story should be specific of the events happening that relate to the problems of the primary stakeholder group, and normally the main research questions the design process is built upon. Tools for Analyzing User Centered Design: Scenario
between an individual and the rest of the world. Each use case describes an event that may occur for a short period of time in real life, but may consist of intricate details and interactions between the actor and the world. It is represented as a series of simple steps for the character to achieve his or her goal, in the form of a cause-and effect scheme. A use case should: Describe what the system shall do for the actor to achieve a particular goal. Include no implementation-specific language. Be at the appropriate level of detail. Not include detail regarding user interfaces and screens. This is done in user-interface design, which references the use case and its business rules. Tools for Analyzing User Centered Design : USE CASE
see how easy to use something is by testing it with real users. Usability testing provides quantitative and qualitative data from real users performing real tasks with a product. Users are asked to complete tasks, typically while they are being observed by a researcher, to see where they encounter problems and experience confusion. If more people encounter similar problems, recommendations will be made to overcome these usability issues.
give things simple, I like to categorize usability testing into three groups with additional variation : 1. Moderated In-Person 2. Moderated Remote 3. Unmoderated Remote. Variations of these methods include: Hallway Testing Controlled Experiments Remote Usability Testing Expert Review Paper Prototype Testing Questionnaires and Instruments Do-It-Yourself Walkthrough Automated Usability Evaluation .
goals and target group As mentioned before, the first step is to define which tasks you Intend to test, which target group and scenarios you would like to consider. Once you have it all defined, it is time to recruit some testers. 2. Recruit testers Look for volunteers who fit in the desired profile. Since tests will be carried out remotely, you can recruit people from just about anywhere. Social media channels such as Face book, Twitter and LinkedIn are good options for contacting people who may be interested in testing out our product/prototype. As an incentive, you can offer gift cards for those willing to participate. How many people do we need? Naturally the number may vary according to product complexity, but considering cost-benefit ratio, 5 to 8 people are likely to provide you with the feedback you need. It is also advisable to schedule with at least 3 extra volunteers Setup Depending on the platform in which the product will be tested, you will need a minimal setup. For desktops, use a teleconference tool that offers screen sharing and recording. You can also use a combination of tools to achieve the same result. For smartphones, we recommend tools that are integrated with the app or prototype, such as lookback.
test script A test script will help you to structure and facilitate the session. It can be divided in 3 parts: Contextual Questions; Scenarios and tasks; Questions about the experience. Contextual questions They help as “ice breakers” and aim to make testers feel more relaxed and comfortable with the remote environment. Think of questions like: How do you to get to work? How long does it take? How reasonable do you consider this time? Scenario Here we present testers with them with hypothetical scenario in which they will perform a particular task, while we observe. Questions about the experience Finally, it is time to collect tester's impressions about the proposed solution. You can ask questions like: How was the experience like? What did you like and what did you dislike about it? How would you describe the product to a friend or family?
test session Following your test script, you will start by asking some contextual questions. Bear in mind that the tone of this first exchange will set the mood for the entire session. Pay close attention to the answers. They can trigger more questions about a particular subject worth exploring. You can take advantage of this moment to discover unmapped needs. Make it clear that the goal is to test a product, not the user; Ask testers to describe what are they thinking about while executing the task at hand. Try to capture their emotional state throughout the process. Encourage testers to be as blunt and critical as possible so you can get honest and valuable feedbacks. Assure them that they will not hurt your feelings by doing so. try to avoid any interference while the tester is performing a task, except when they get stuck and ask for help. If they ask you “what should I do?” or “where should I click?”, you can reply with a question: “what do you think you should do?” or “where do you think you should click?
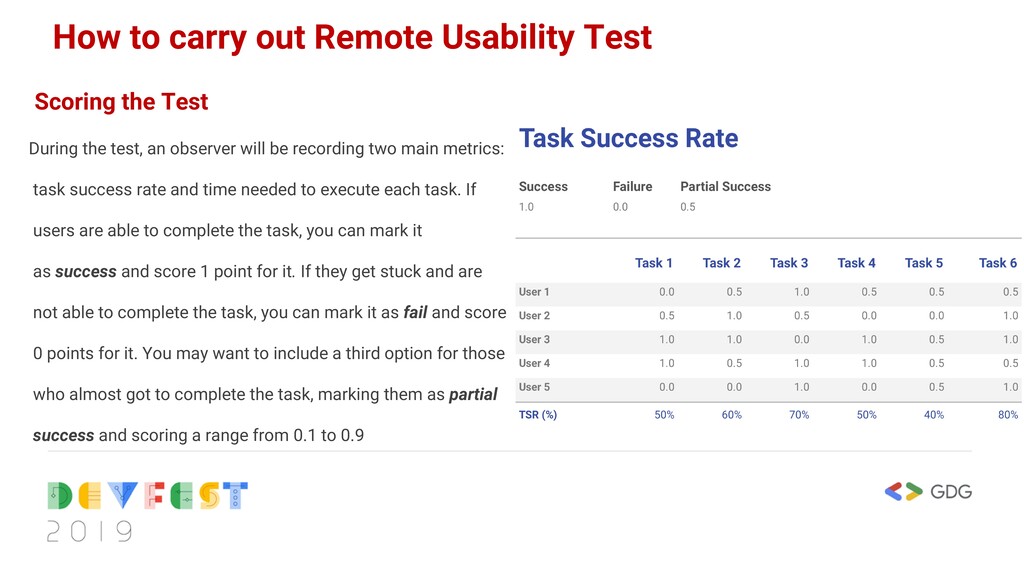
During the test, an observer will be recording two main metrics: task success rate and time needed to execute each task. If users are able to complete the task, you can mark it as success and score 1 point for it. If they get stuck and are not able to complete the task, you can mark it as fail and score 0 points for it. You may want to include a third option for those who almost got to complete the task, marking them as partial success and scoring a range from 0.1 to 0.9
you have learned If everything goes well, it will have been a very intense and enlightening day. Now it's time to consolidate, analyze and extract insights for the following development sprints. How you will present results is up to you. As long as you clearly communicate your learnings, you can choose a spreadsheet, a slide presentation, a video recording or any other format you consider adequate to your context.
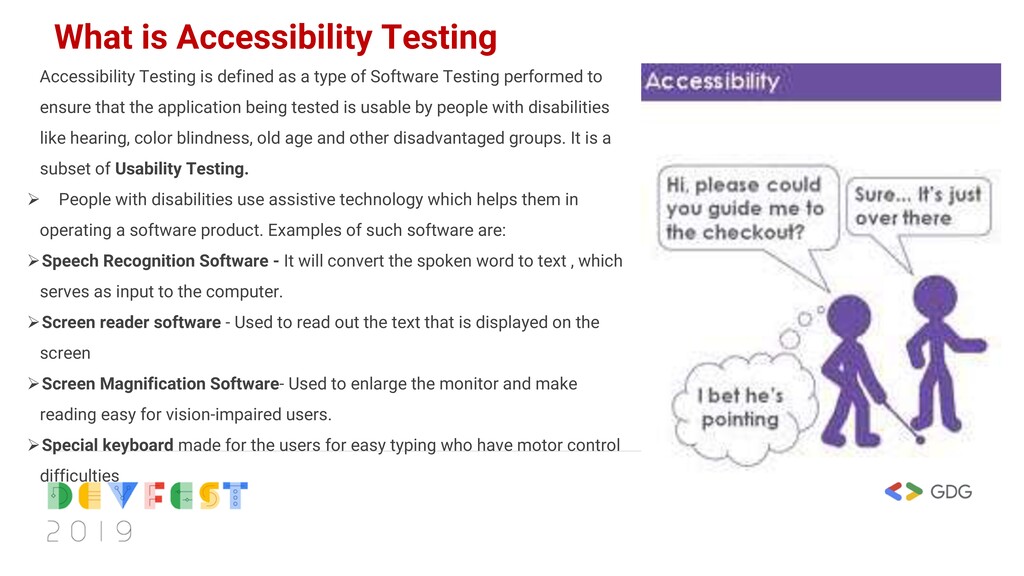
type of Software Testing performed to ensure that the application being tested is usable by people with disabilities like hearing, color blindness, old age and other disadvantaged groups. It is a subset of Usability Testing. People with disabilities use assistive technology which helps them in operating a software product. Examples of such software are: Speech Recognition Software - It will convert the spoken word to text , which serves as input to the computer. Screen reader software - Used to read out the text that is displayed on the screen Screen Magnification Software- Used to enlarge the monitor and make reading easy for vision-impaired users. Special keyboard made for the users for easy typing who have motor control difficulties
disabilities or challenges Increases market share and audience reach Improves maintainability and efficiency Satisfied existing and future legal requirements and helps follow ethics Support internationalization Assists in access for low-bandwidth users. .
be measured with the help of web accessibility standards created by the W3C known as Web Content Accessibility Guidelines (WCAG). As always, it is a good practice to implement web accessibility techniques in the initial stage of the project. Fixing in-accessible websites requires additional efforts. A few simple example techniques are: Verification of page title Image text alternatives (“alt text”) Headings Contrast ratio (“color contrast”).. etc
high contrast mode: Using high contrast mode we can highlight the content of the website. When we turn the high contrast mode, the content of the website gets highlighted automatically as it turns into white or yellow and the background turns black. #2) By not accessing the Images: Temporarily for time being, you can turn off the access and see if the text-justify the content as some people may not have access to that or sometimes it takes too long to load the images. #3) Checking for captions: Check if a caption is available and make sure it is pretty much descriptive. Many times we come across links on the facebook page where the images or videos may take a long time to display but the captions will help us a lot.
the keyboard: If you are a gamer or excel expert, then this test must be easier for you. Try not to touch the mouse and access the website with the help of a keyboard. You can use the “Tab” key to switch between links. “Tab”+”Shift” will take to you where you were before. #6) Use field label: It is useful while filling a form, field label is what you will see while viewing a template. By using this, one can fill out the necessary information while signing up or ordering something online. #7) Changing the font size to large: Use large font size and continuer accessibility checking. #10) By disabling the style: Disable the style and check if the content of the table is properly lined up or not. #11) Content scaling: Try to zoom out the image and check if it is readable
widely in the testing field, we can go with automation for accessibility checking as well. We have several tools for automated testing. #1) WebAnywhere: It acts as a screen reader and requires no special installation. #2) TAW online: It gives you the option to test check if the software is developed as per the guideline of WCAG 1.0 or WCAG 2.0. It also has the option of selecting the level of analysis. #3) Color Contrast Analyzer: It checks for color combination and analyzes the visibility.
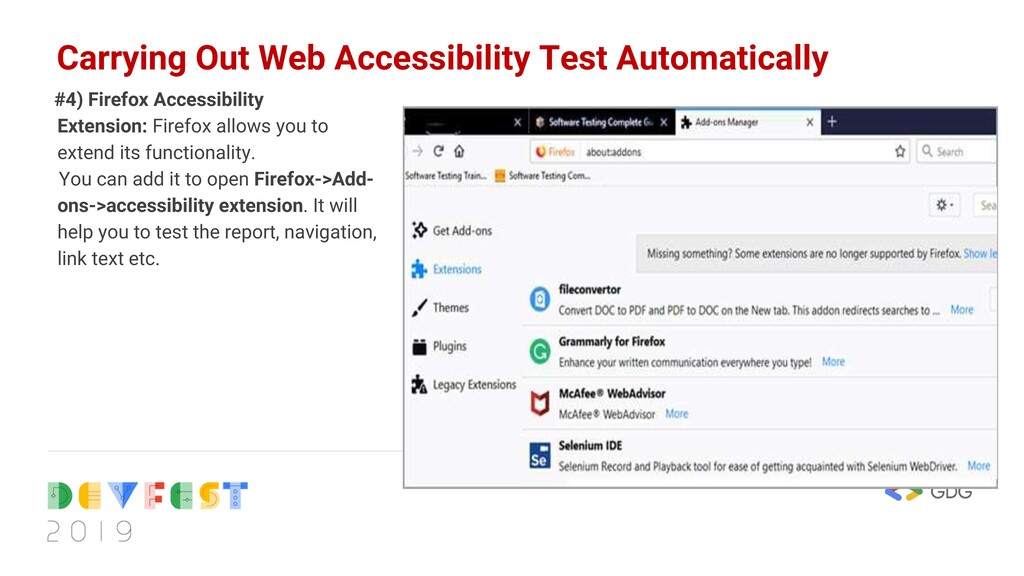
Firefox allows you to extend its functionality. You can add it to open Firefox->Add- ons->accessibility extension. It will help you to test the report, navigation, link text etc.
key points that the website should satisfy for accessibility:’ Link text should be descriptive. Visually disabled user access web page by clicking on the tab button from the keyboard and move from link to link. So it’s essential the description of the links is properly defined. Make sure the hyperlinks are accessible by using the tab key. Provide appropriate pictures where possible. A picture speaks louder than words. Try to add appropriate pictures for text whenever possible. Pictures can describe the content of the website for Literacy challenged users. Use simple language. The cognitively disabled user has learning difficulties, it is very important to make sentences simple and easily readable for them.
throughout pages is also very important for users with cognitive disabilities. It is a good practice to maintain the consistency of the website and not to modify the pages on a regular basis. Adjusting to the new layout is time-consuming and can become difficult. Ignore pop-ups. Users who use a screen reader to read the web pages, pop-ups can be really inconvenient for them. The screen reader reads out the page from top to bottom and a sudden pop up arrives the reader will start reading it out first before the actual content. It can confuse visually disabled users. CSS layout. CSS based websites are more accessible than HTML code based websites. Divide large sentence into a small simple sentence. Visually disabled users listen to the information on the webpage and try to remember it. By dividing the large sentence into a small simple sentence can help recall things easily. Don’t use marquee text. Avoid shiny text and keep it simple