Share
Embed
Coco Auto-Layout
The first edition of Auto Layout could be considered a comedy or even a tragedy. With the updates in Xcode 5 and IOS 7, the sequel is bound to be a blockbuster hit (maybe). The fundamentals are the same, but the tooling has improved immensely. In this deeper dive into Auto Layout, we will look at some practical examples of how to make use of this powerful but sometimes frustrating layout system.
Atomic Object
December 12, 2013
Transcript
41 slides
-
@atomicobject Springs and struts With springs and struts, you always
had to hard-code the frames of your views, either by placing them at specific coordinates in Interface Builder, by passing a rectangle into initWithFrame, or by setting the view’s frame, bounds or center properties in code. -
@atomicobject Reactive Design • 3.5” and 4” retina displays •
IOS 6 and 7 control/screen changes • Portrait and landscape • Localization • Dynamic text size feature User can change the size of their font on the fly. -
@atomicobject Layout Containers Most other platforms have layout containers that
your UI elements are contained in to achieve the same thing as constraints. -
@atomicobject Auto Layout is a Constraint-Based, Descriptive Layout System Example
human readable constraints -
@atomicobject Auto Layout is a Human readable way we describe
interfaces Example human readable constraints -
@atomicobject Auto Layout is a Human readable way we describe
interfaces “Label A and Label B should be centered vertically. The right edge of label A is connected to the left edge of button B with 8 points of empty space between them.” Example human readable constraints -
@atomicobject “Label A and Label B should be centered vertically.
The right edge of label A is connected to the left edge of button B with 8 points of empty space between them.” Example human readable constraints -
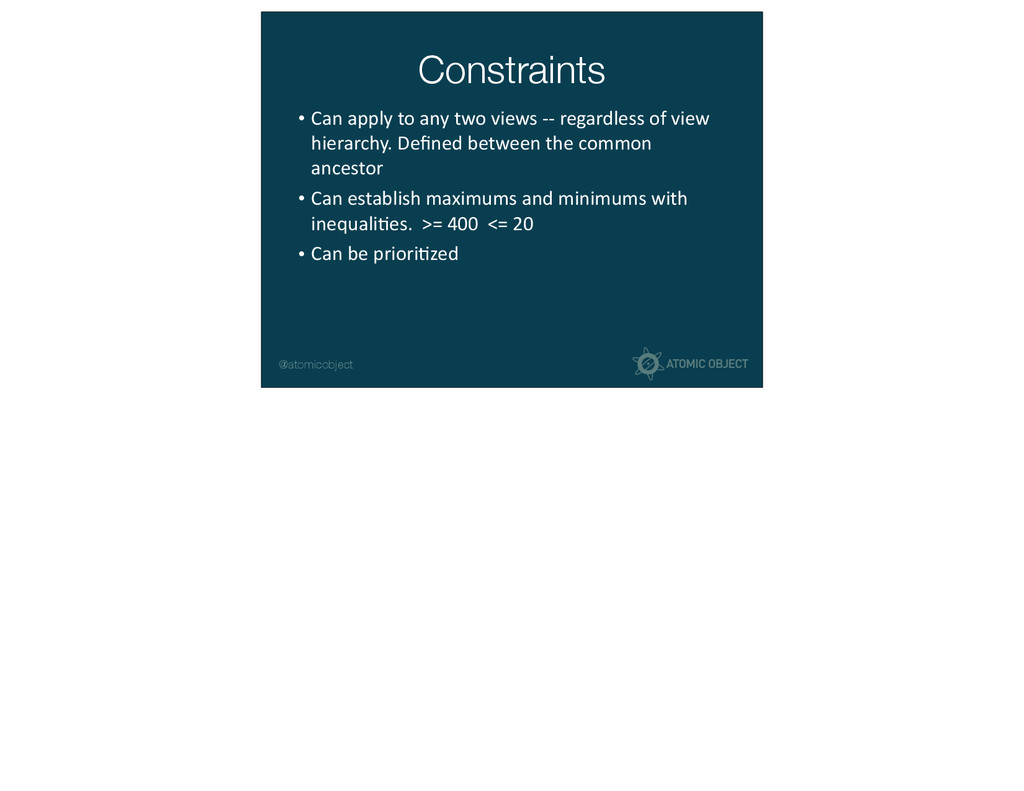
@atomicobject Constraints • Can apply to any two views -‐-‐
regardless of view hierarchy. Defined between the common ancestor View 1 View 2 View 3 = = -
@atomicobject Constraints • Can apply to any two views -‐-‐
regardless of view hierarchy. Defined between the common ancestor • Can establish maximums and minimums with inequaliCes. >= 400 <= 20 -
@atomicobject Constraints • Can apply to any two views -‐-‐
regardless of view hierarchy. Defined between the common ancestor • Can establish maximums and minimums with inequaliCes. >= 400 <= 20 • Can be prioriCzed -
@atomicobject Constraints • Can apply to any two views -‐-‐
regardless of view hierarchy. Defined between the common ancestor • Can establish maximums and minimums with inequaliCes. >= 400 <= 20 • Can be prioriCzed • You can define width and height as percentages 80% 20% -
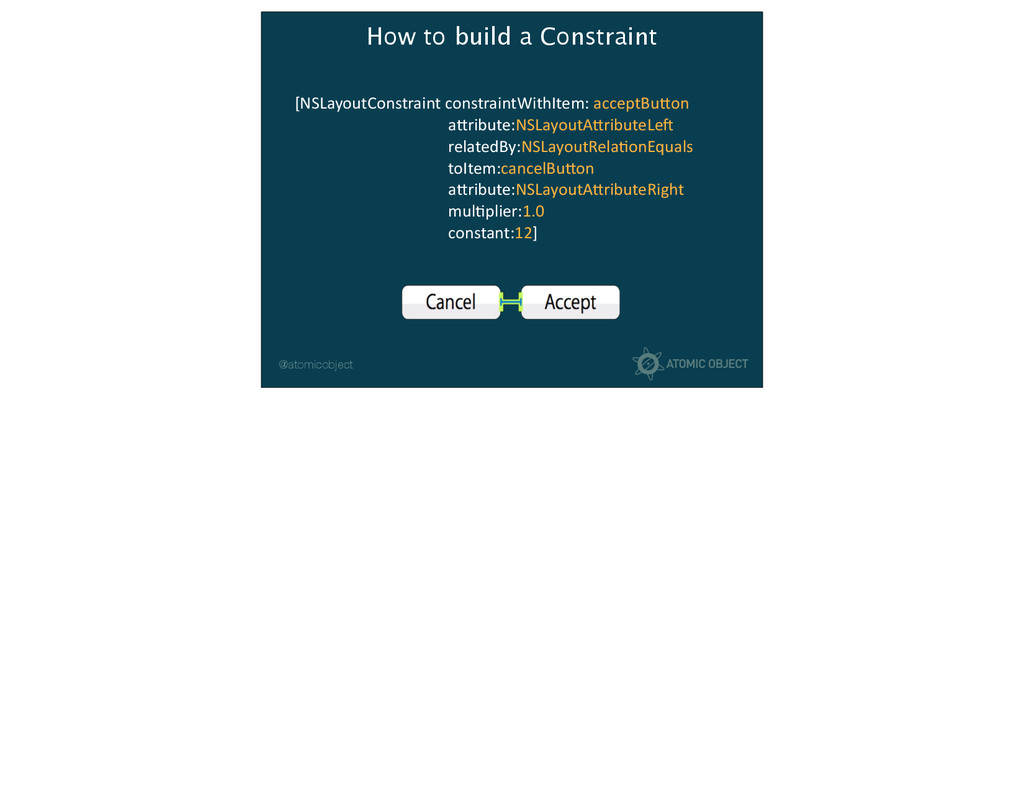
@atomicobject [NSLayoutConstraint constraintWithItem: acceptBuTon
aTribute:NSLayoutATributeLeV relatedBy:NSLayoutRelaConEquals toItem:cancelBuTon aTribute:NSLayoutATributeRight mulCplier:1.0 constant:12] How to build a Constraint -
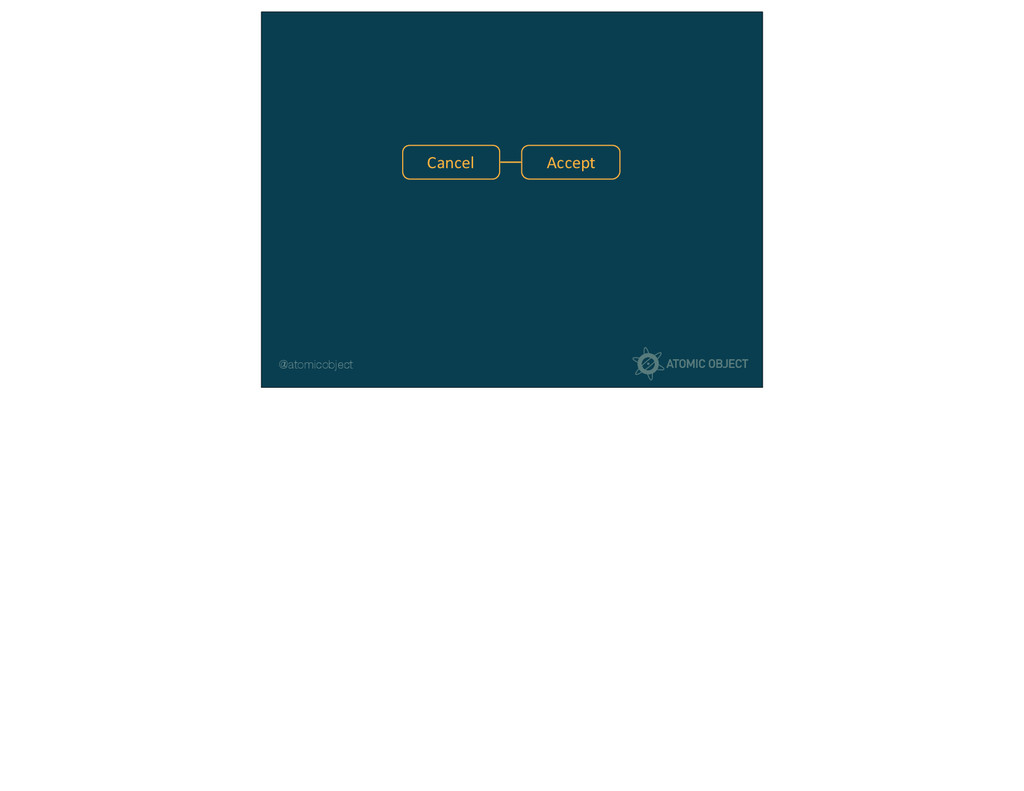
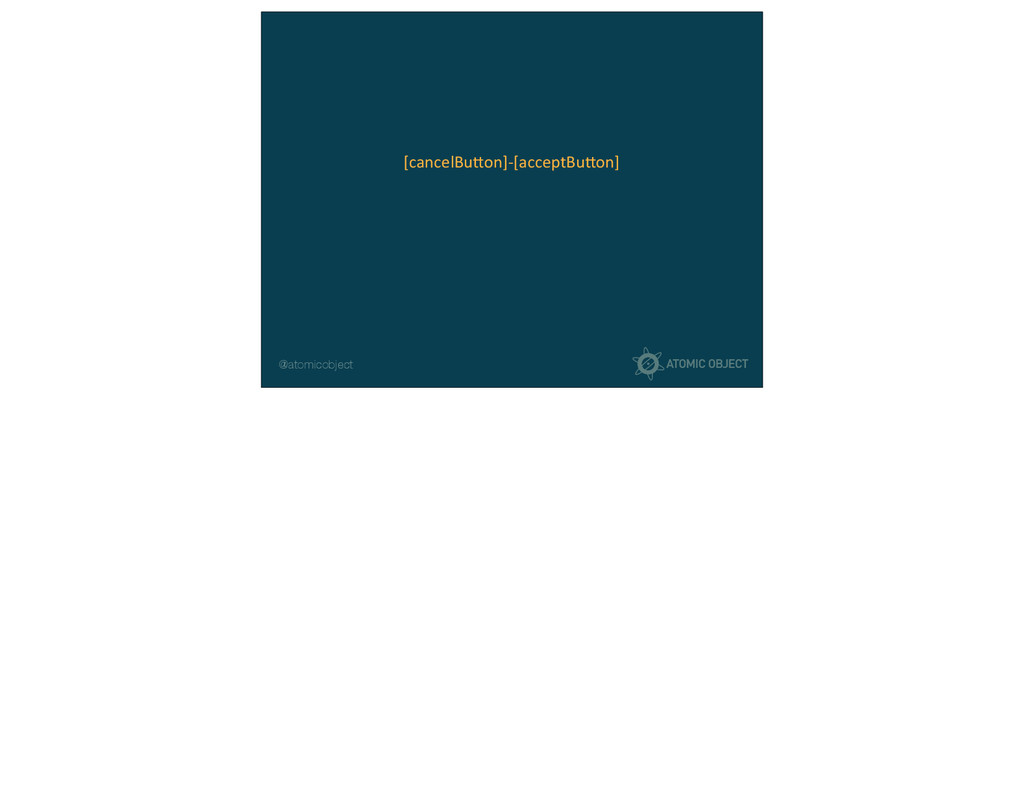
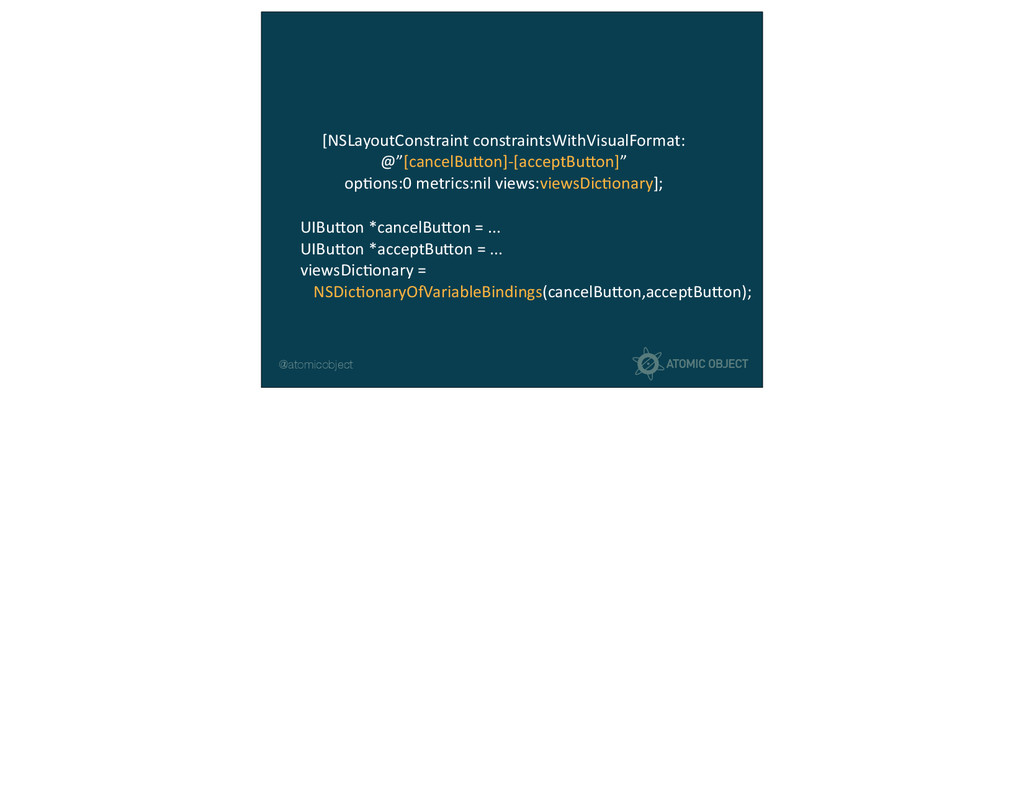
@atomicobject [NSLayoutConstraint constraintsWithVisualFormat: @”[cancelBuTon]-‐[acceptBuTon]” opCons:0 metrics:nil views:viewsDicConary]; UIBuTon
*cancelBuTon = ... UIBuTon *acceptBuTon = ... viewsDicConary = NSDicConaryOfVariableBindings(cancelBuTon,acceptBuTon); -
@atomicobject [NSLayoutConstraint constraintsWithVisualFormat: @”H:|-‐[Find]-‐[FindNext]-‐[FindField(>=20)]-‐|” opCons:NSLayoutFormatAlignAllBaseline metrics:nil views:viewsDicConary];
hTp://developer.apple.com/library/mac/#documentaCon/UserExperience/Conceptual/AutolayoutPG/ArCcles/formatLanguage.html Good visual format reference: combination -
@atomicobject [NSLayoutConstraint constraintWithItem: CtleView
aTribute:NSLayoutATributeHeight relatedBy:NSLayoutRelaConEquals toItem:superView aTribute:NSLayoutATributeHeight mulCplier:0.1 constant:0] withItem.aTribute = toItem.aTribute * mulCplier + constant MulCplier [NSLayoutConstraint constraintWithItem: CtleView aTribute:NSLayoutATributeHeight relatedBy:NSLayoutRelaConEquals toItem:superView aTribute:NSLayoutATributeHeight mulCplier:0.1 constant:0] withItem.aTribute = toItem.aTribute * mulCplier + constant CtleView.height = superView.height * mulCplier + constant -
@atomicobject • Interface builder will no longer enforce that you
have satisfactory constraints at all times! -
@atomicobject • Interface builder will no longer enforce that you
have satisfactory constraints at all times! • Interface builder will not create or delete constraints without your permission. -
@atomicobject • Interface builder will no longer enforce that you
have satisfactory constraints at all times! • Interface builder will not create or delete constraints without your permission. • Control + Drag filters the suggested constraints. -
@atomicobject • Interface builder will no longer enforce that you
have satisfactory constraints at all times! • Interface builder will not create or delete constraints without your permission. • Control + Drag filters the suggested constraints. • Preview your UI in three different layouts at the same time. -
@atomicobject • Interface builder will no longer enforce that you
have satisfactory constraints at all times! • Interface builder will not create or delete constraints without your permission. • Control + Drag filters the suggested constraints. • Preview your UI in three different layouts at the same time. • Placeholder Constraints and Intrinsic content size. -
@atomicobject • Interface builder will no longer enforce that you
have satisfactory constraints at all times! • Interface builder will not create or delete constraints without your permission. • Control + Drag filters the suggested constraints. • Preview your UI in three different layouts at the same time. • Placeholder Constraints and Intrinsic content size. • Auto Layout Trace -
@atomicobject Initial Layout Add constraints when you are ready. !
If you haven’t added constraints, it uses fixed position and size. ! Run and see what landscape looks like. -
@atomicobject Adding Constraints Add constraints to Next button using control
drag. Left, Right, Top, and height. ! Now add constraints to sibling button. Hold command or shift to add multiple constraints. ! Add constraints to final button, but use the Reset to Suggested Constraints. It will delete any constraints you have on that view and add appropriate ones. ! Everything above the line applies to the selected view. Below the line is global to the superview. ! Run it. Rotate it. -
@atomicobject Priorities Add two buttons height 75, equal widths. Use
Add Constraints popup. ! Add two labels. Add vertical spacing, then add missing constraints ! Add slider and make it centered vertically. Leading and trailing. Run it. ! Add a constraint between slider and label. Make it greater than standard. ! Show preview window. Option shift ! Now take main view and put it to landscape. This is called simulated metrics. Fix priority. ! ! -
@atomicobject Debugging Problems • Ambiguous Frames: Not enough information •
Conflicting Constraints: Too much information • Misplaced Views: Mismatched position or size. Show demo of Misplaced Views -
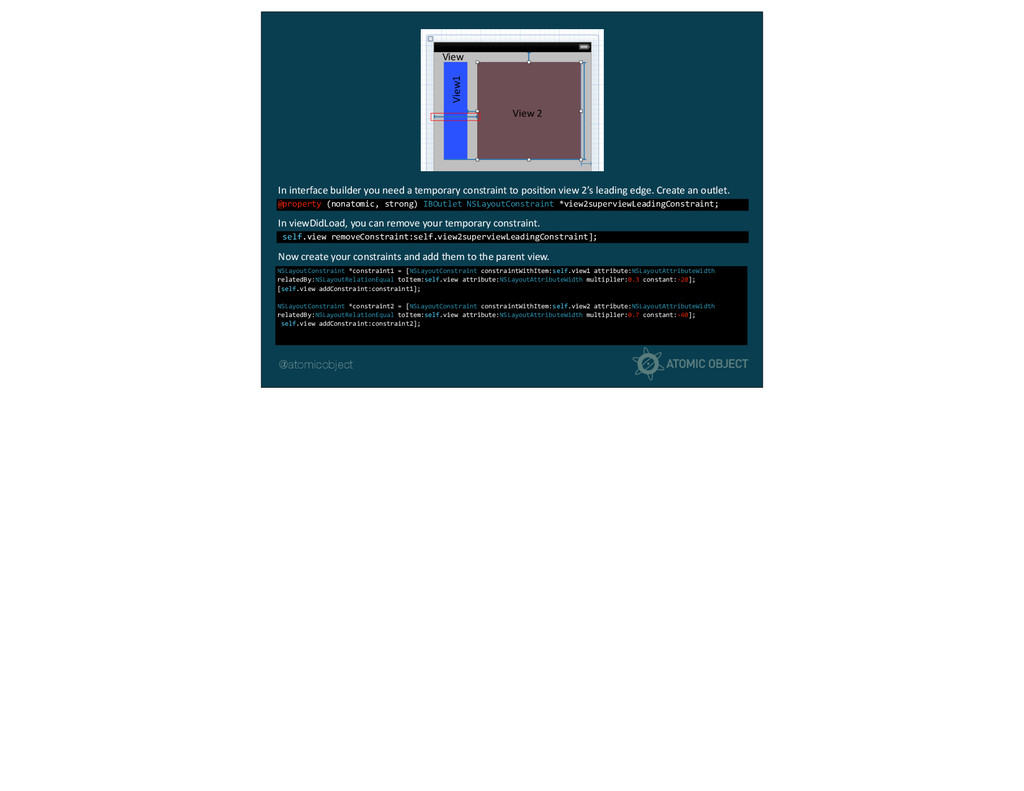
@atomicobject View1 View View 2 @property (nonatomic, strong) IBOutlet NSLayoutConstraint
*view2superviewLeadingConstraint; In interface builder you need a temporary constraint to posiCon view 2’s leading edge. Create an outlet. [self.view removeConstraint:self.view2superviewLeadingConstraint]; In viewDidLoad, you can remove your temporary constraint. NSLayoutConstraint *constraint1 = [NSLayoutConstraint constraintWithItem:self.view1 attribute:NSLayoutAttributeWidth relatedBy:NSLayoutRelationEqual toItem:self.view attribute:NSLayoutAttributeWidth multiplier:0.3 constant:-‐20]; [self.view addConstraint:constraint1]; ! NSLayoutConstraint *constraint2 = [NSLayoutConstraint constraintWithItem:self.view2 attribute:NSLayoutAttributeWidth relatedBy:NSLayoutRelationEqual toItem:self.view attribute:NSLayoutAttributeWidth multiplier:0.7 constant:-‐40]; [self.view addConstraint:constraint2]; Now create your constraints and add them to the parent view.