look and feel to all of their webpages Usually, the layout, logo, fonts, colors, & graphics are the same for all webpages For example, check out KHON’S website: http://khon2.com In particular, note that the logo, menu, and search box are always the same We can do this by using a template for our webpages called a master page When the master page is updated, all of the webpages are also automatically updated
displays the following: 1. Website’s name at top 2. A navigation breadcrumb at top 3. A navigation treeview on the left 4. Copyright statement at bottom 5. Links at bottom
Regions of the page that are the same on all webpages 2. Regions of the page that are customizable on each webpage (use the ContentPlaceHoder Web control)
we created in the previous lecture 2. Right click on the website’s name in Solution Explorer window 3. Click Add New Item 4. Click on Master Page 5. Click the checkbox for “Place code in separate file” (if not checked already) 6. Click the Add button
controls This is the part of the page that is editable by other webpages Example ContentPlaceHolder Web control code: <asp:ContentPlaceHolder id="ContentPlaceHolder1" runat="server"> </asp:ContentPlaceHolder> Also, a master page has the <%@ Master %> directive, while a regular webpage has a <%@ Page %> directive
divide the page into four sections At top: header region for the title On middle left: navigation region with TreeView control On middle right: main region with SiteMapPath control and ContentPlaceHolder control On bottom: footer region with links and copyright
3 rows & 2 columns, where the top and bottom rows will span two columns 1. In the Source view, add a line just below the <form> tag 2. In the Design view, click Table, then Insert Table 3. Change it to 3 rows and 2 columns 4. Click Specify width to 100% (in percent) 5. Set Cell padding to 5 pixels 6. Set Cell spacing to 0 (zero) pixels 7. Click OK
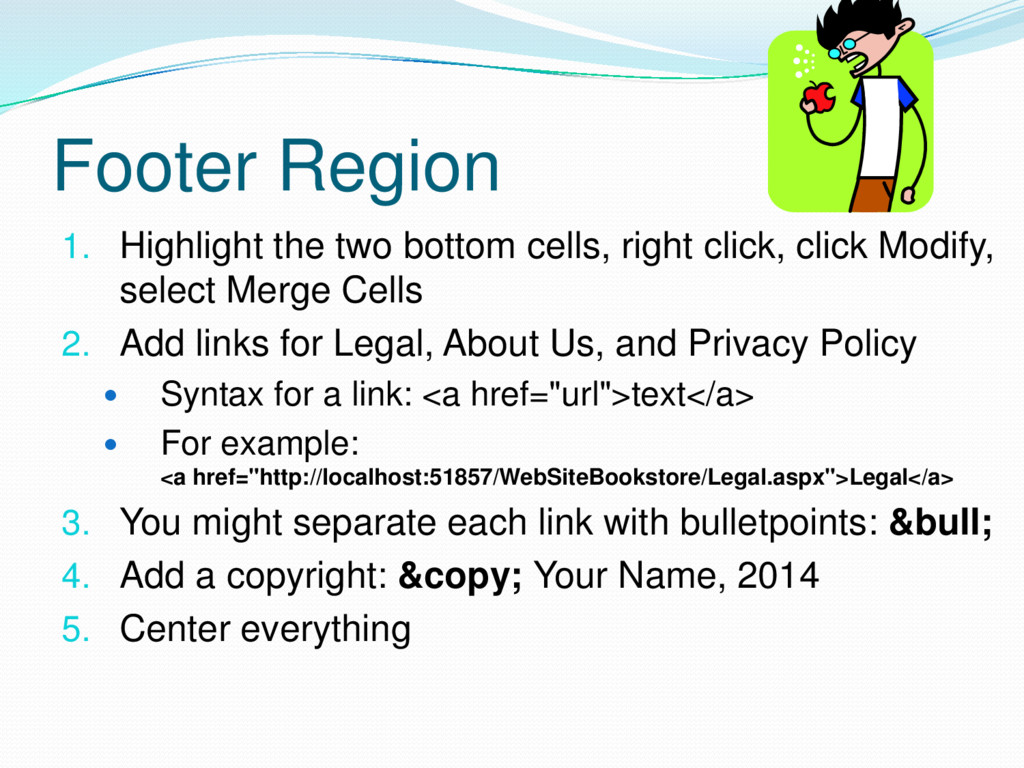
is already on the webpage) and drag it into the 2nd row, 2nd column 2. Highlight the two cells in the first row of the table, do a right-click, click Modify, then Merge Cells 3. In the first row, enter the text “Welcome to My Website!” 4. Format the text: center, bold, X-large font size 5. In the Source view, click on the first row (the <td> tag), then go to Properties window 6. Click the Style property, click the ellipsis (…) 7. Set the font & background colors for the first row
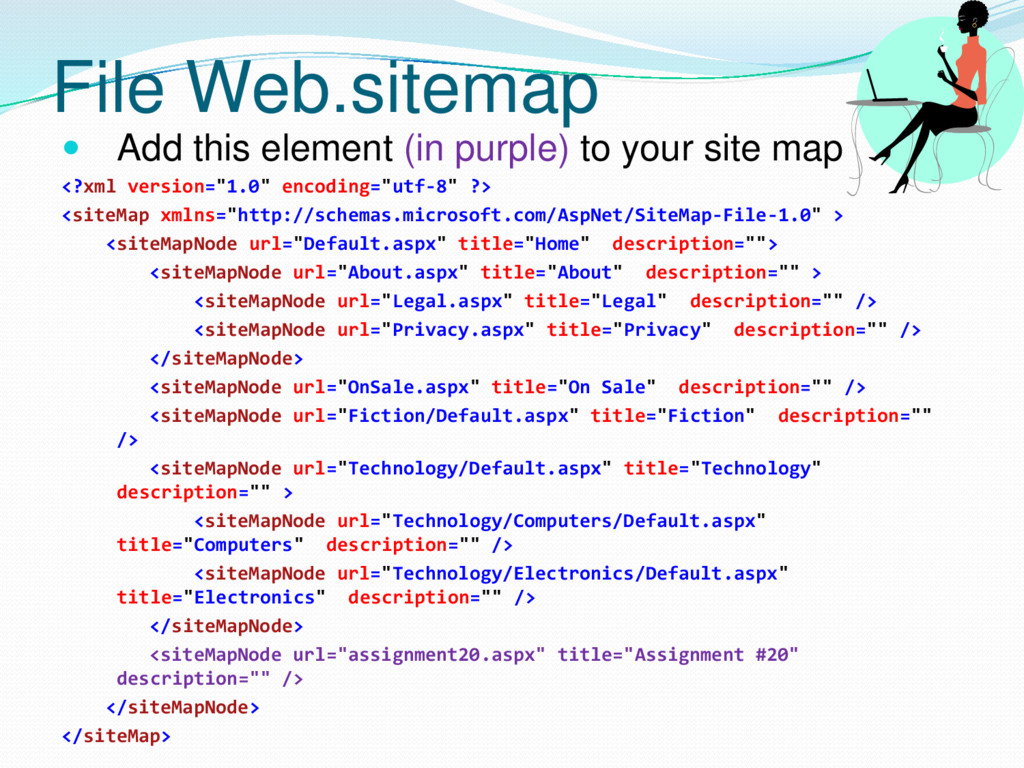
page, we will create a TreeView using the Web.sitemap file from the previous lesson 1. In the 2nd row, 1st column of the table, add a SiteMapDataSource from the Data section of the Toolbox 2. In the 2nd row, 1st column of the table, add a TreeView from the Navigation section of Toolbox 3. Click the TreeView smart tag 4. For Choose Data Source, select SiteMapDataSource1 5. Click Auto Format and select a scheme
the TreeView is displayed at the top of the cell (not in the middle of the cell) and specify the width 1.Click inside the 2nd row, 1st column 2.Open the Properties window 3.Set the valign property to “top” 4.Set the Width property to 150px
is to the right of the navigation region 1.From the Toolbar, Navigation section, drag a SiteMapPath into the main region 2.Switch to the Source view 3.Make sure that the SiteMapPath is just above the ContentPlaceHolder opening tag 4.Switch to Design view 5.Click the SiteMapPath’s smart tag, click Auto Format, and select a scheme 6.Click on the main region, open the Properties window, and set the valign to “top”
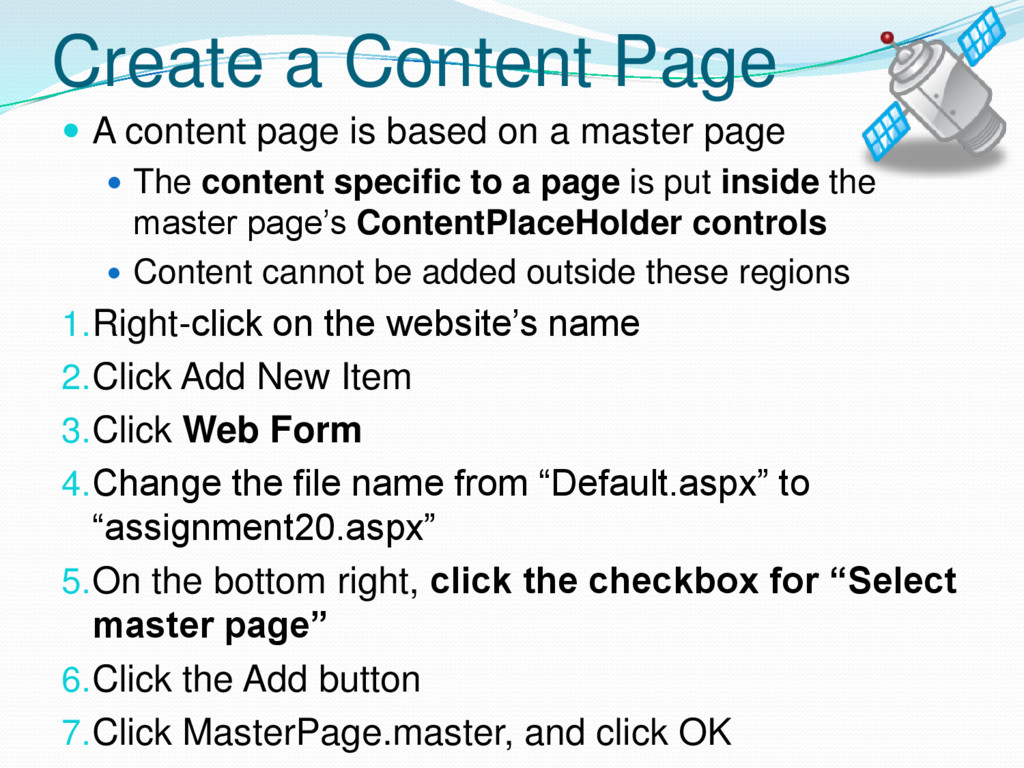
on a master page The content specific to a page is put inside the master page’s ContentPlaceHolder controls Content cannot be added outside these regions 1.Right-click on the website’s name 2.Click Add New Item 3.Click Web Form 4.Change the file name from “Default.aspx” to “assignment20.aspx” 5.On the bottom right, click the checkbox for “Select master page” 6.Click the Add button 7.Click MasterPage.master, and click OK
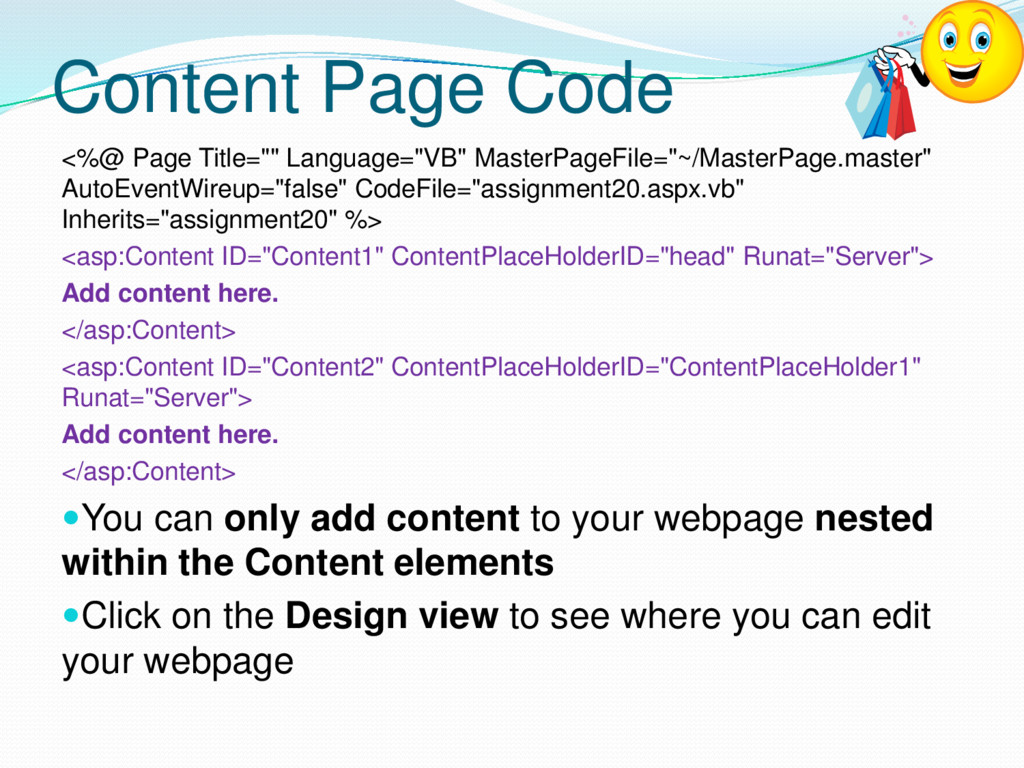
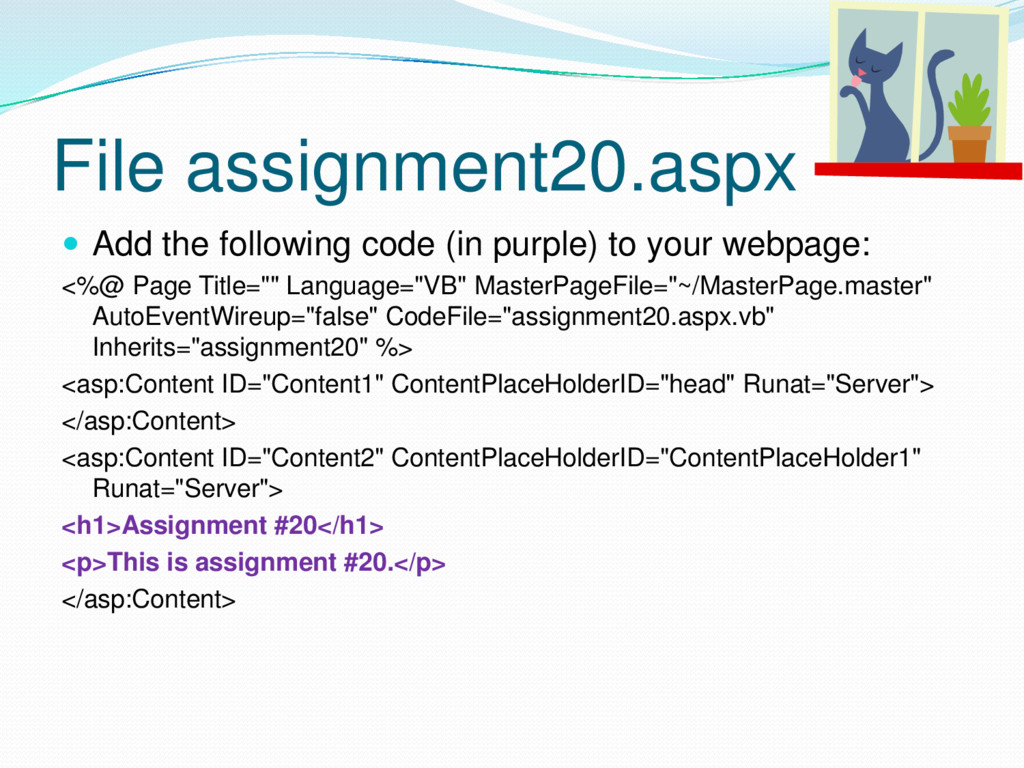
Inherits="assignment20" %> <asp:Content ID="Content1" ContentPlaceHolderID="head" Runat="Server"> Add content here. </asp:Content> <asp:Content ID="Content2" ContentPlaceHolderID="ContentPlaceHolder1" Runat="Server"> Add content here. </asp:Content> You can only add content to your webpage nested within the Content elements Click on the Design view to see where you can edit your webpage
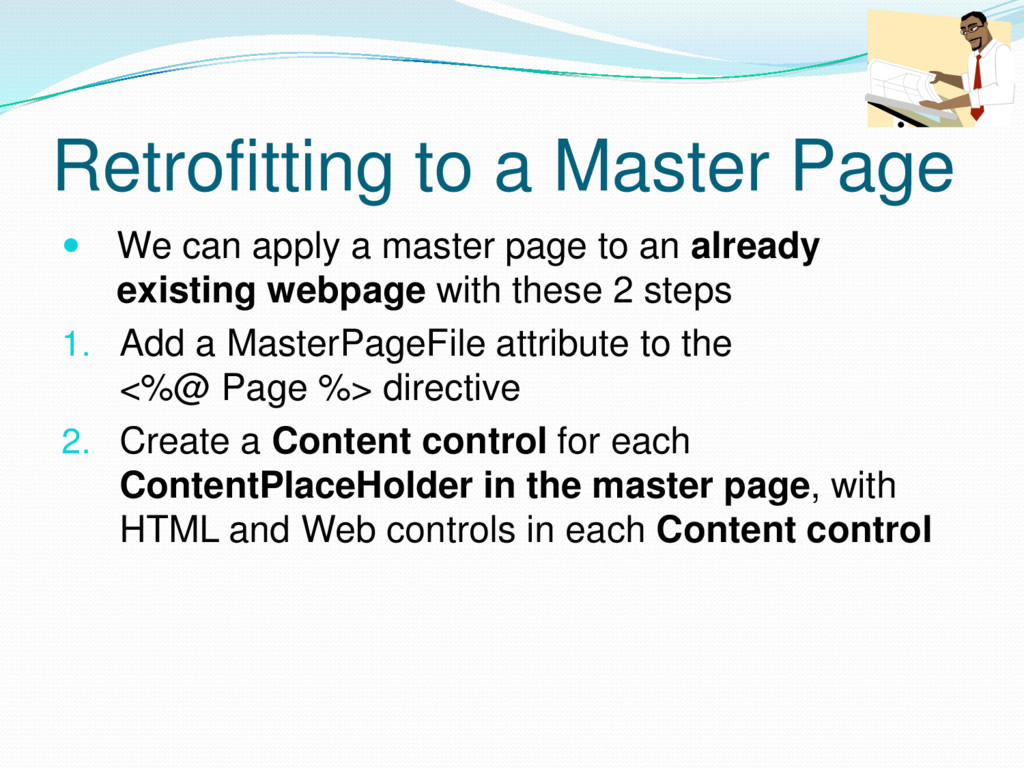
master page to an already existing webpage with these 2 steps 1. Add a MasterPageFile attribute to the <%@ Page %> directive 2. Create a Content control for each ContentPlaceHolder in the master page, with HTML and Web controls in each Content control
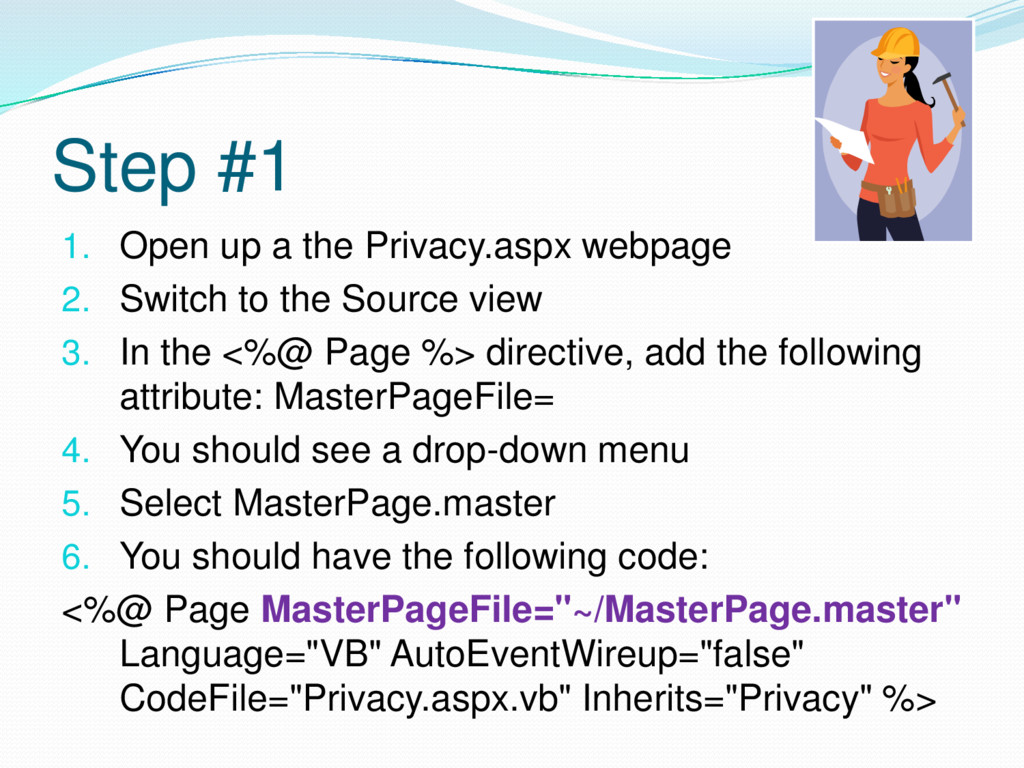
Switch to the Source view 3. In the <%@ Page %> directive, add the following attribute: MasterPageFile= 4. You should see a drop-down menu 5. Select MasterPage.master 6. You should have the following code: <%@ Page MasterPageFile="~/MasterPage.master" Language="VB" AutoEventWireup="false" CodeFile="Privacy.aspx.vb" Inherits="Privacy" %>
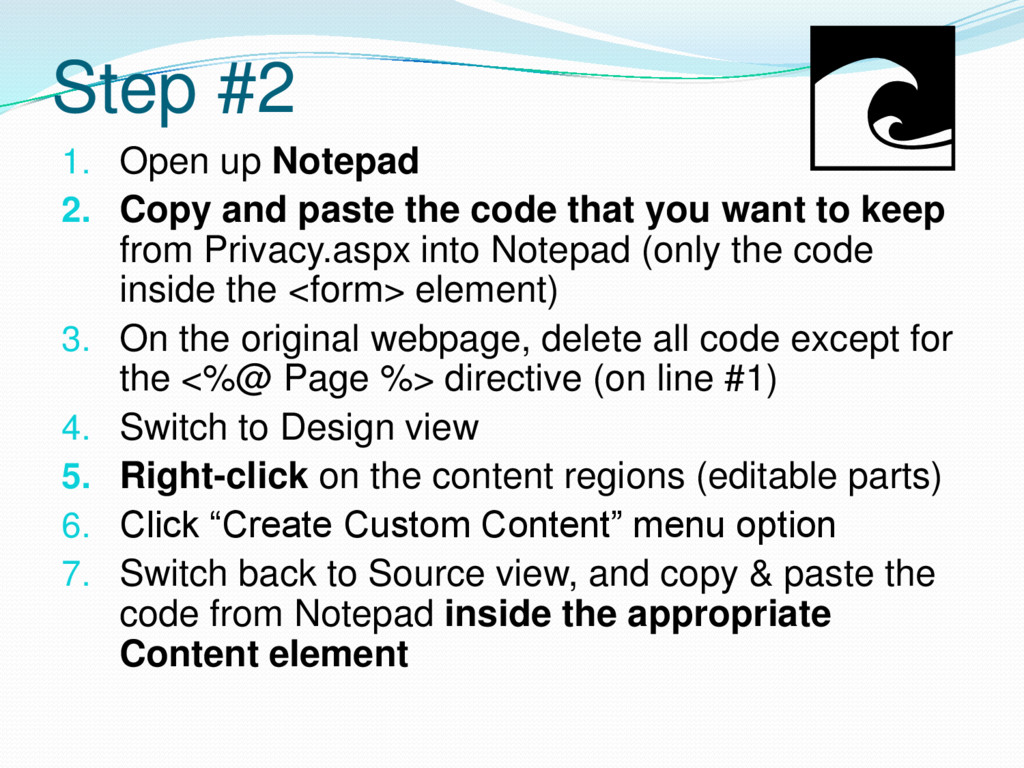
the code that you want to keep from Privacy.aspx into Notepad (only the code inside the <form> element) 3. On the original webpage, delete all code except for the <%@ Page %> directive (on line #1) 4. Switch to Design view 5. Right-click on the content regions (editable parts) 6. Click “Create Custom Content” menu option 7. Switch back to Source view, and copy & paste the code from Notepad inside the appropriate Content element
webpage you can change 1. Open the file MasterPage.master 2. Switch to Source view 3. From the Toolbox, Standard category, drag the ContentPlaceHolder to the line below the message “Welcome to My Webpage!” 4. Change the ContentPlaceHolder ID to: ID="HeaderRegion" 5. Move the message “Welcome to My Website!” to the inside of the ContentPlaceHolder element 6. Open up assignment20.aspx, right click on the header region, click “Create Custom Content” menu option, and change the text to: This is Assignment #20
Basic code to run server-side code 1. Add a Label Web control to the MasterPage.master file somewhere: <asp:Label ID="output" runat="server" ></asp:Label> 2. Open the MasterPage.master.vb file 3. Add a Page_Load method 4. Add this code: output.Text = "The current time is: " & DateTime.Now 5. Test your webpage