in mind Keep It Simple, Silly! Adding additional folders, other than the automatically created folders may cause problems Save any images in the WebSiteX folder If images are in other folders, they might not display If you get lost in your code, start over For example, it is easy to have errors if you copy and paste code to another file
to creating ASP.NET web pages: 1. Design: decide on purposes, features, and functionality 2. Development: create the folders, files, and code 3. Testing: look for and fix bugs and errors
home mortgage calculator We need 3 inputs from our user to calculate the monthly cost of the mortgage 1. Principle: amount of money being borrowed 2. Rate: the annual interest rate of the loan 3. Term: the number of years of the mortgage
Create the WebSite2 web site You should store at the web site on the T Drive, so that it stored on the classroom computer even when it is turned off, or on your flash drive
do the following: 1. In Solution Explorer, right click on WebSite2 2. Click Add New Item 3. Click Web Form 4. Change the name to assignment2.aspx for the web page 5. Click Place code in separate file 6. Click the Add button
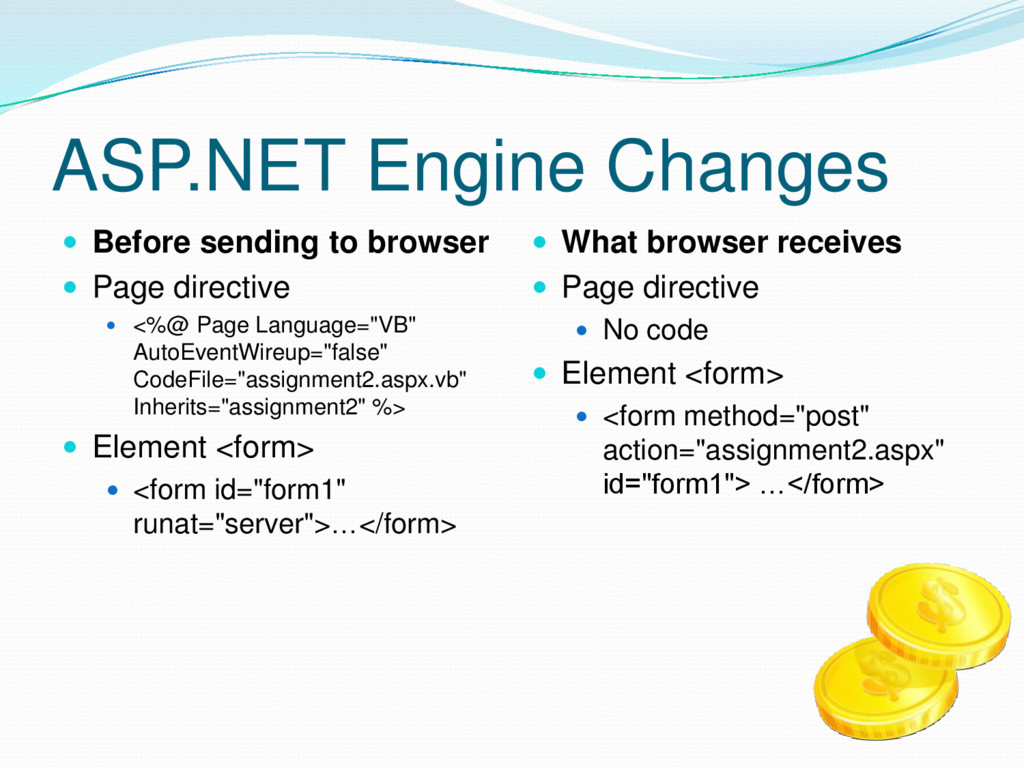
the subject, theme, or topic) to your webpage in the <h1> element, which is nested in the <body> element, just below the <body> element Use "Assignment #2" as the title Also put "Assignment #2" in the <title> element, which is nested in the <head> element
the subject, theme, or topic) to your webpage in the <h2> element, which is nested in the <body> element, below the <h1> element Use "Mortgage Calculator" as the subtitle Set the alignment and colors as you wish
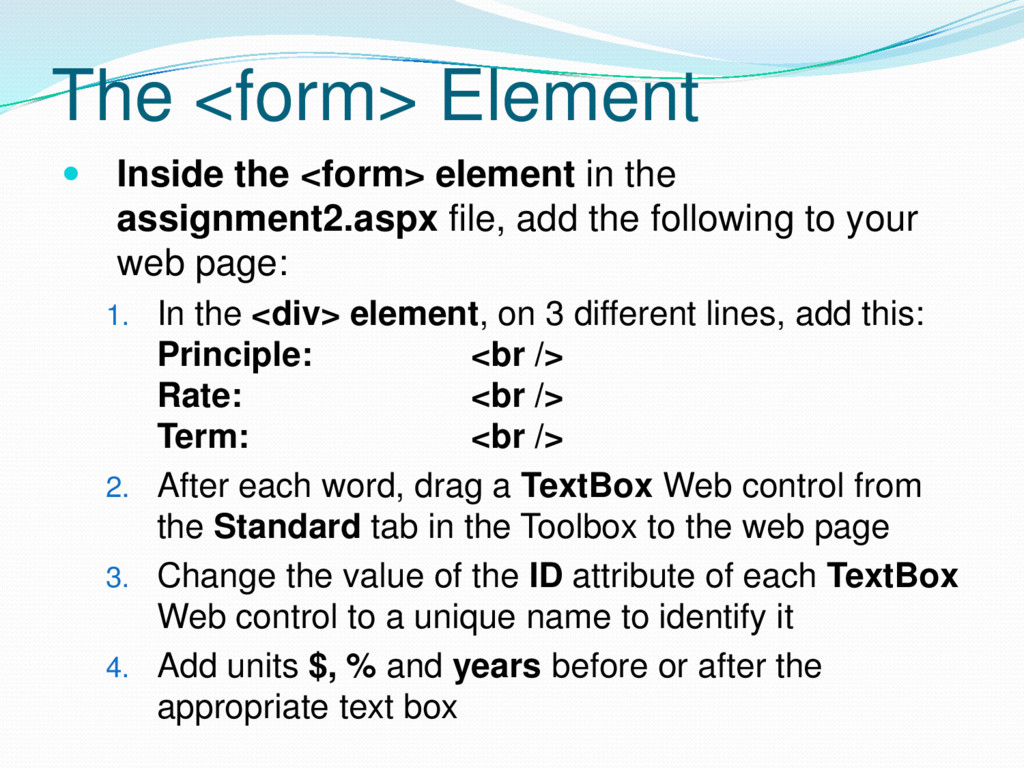
assignment2.aspx file, add the following to your web page: 1. In the <div> element, on 3 different lines, add this: Principle: <br /> Rate: <br /> Term: <br /> 2. After each word, drag a TextBox Web control from the Standard tab in the Toolbox to the web page 3. Change the value of the ID attribute of each TextBox Web control to a unique name to identify it 4. Add units $, % and years before or after the appropriate text box
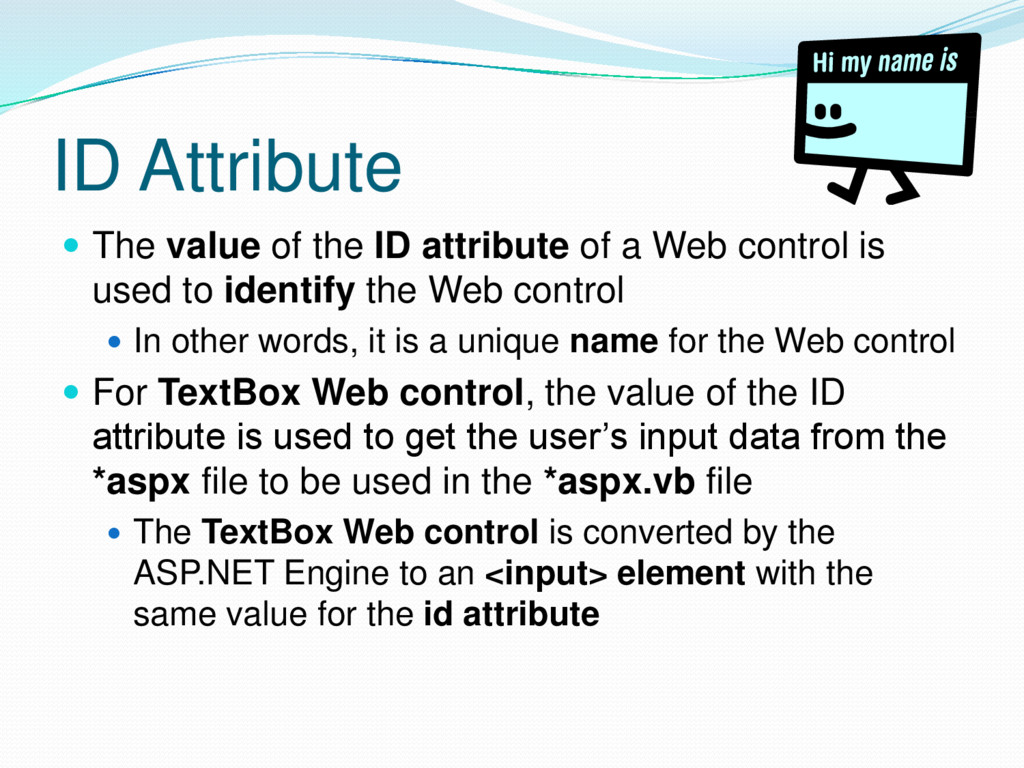
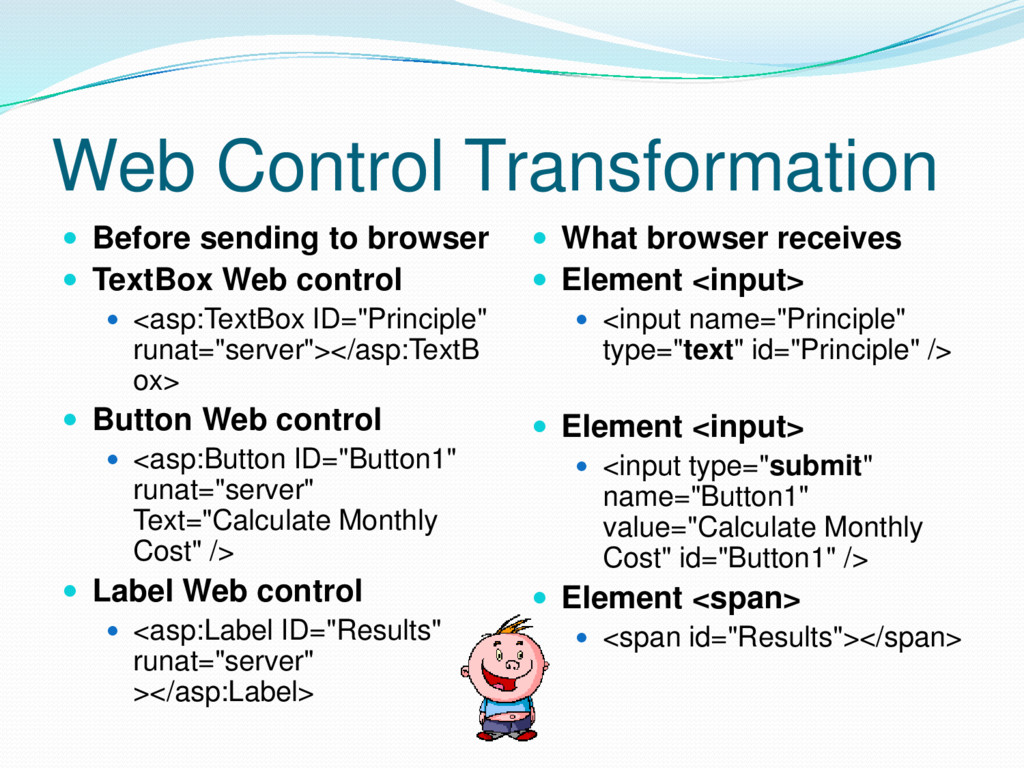
a Web control is used to identify the Web control In other words, it is a unique name for the Web control For TextBox Web control, the value of the ID attribute is used to get the user’s input data from the *aspx file to be used in the *aspx.vb file The TextBox Web control is converted by the ASP.NET Engine to an <input> element with the same value for the id attribute
is sent from the server to the user’s browser, the user types input into the text boxes Next, the user needs to press a button that will send the input to the server for processing
the Button Web control from the Toolbox to the web page above the closing </div> tag 2. For the Button Web control, change the value of the Text attribute to "Calculate Monthly Cost" 3. Since there is only one button, no need to change the value of the ID attribute from “Button1" 4. Add a <br /> element after the Button Web control, so that there is a new line
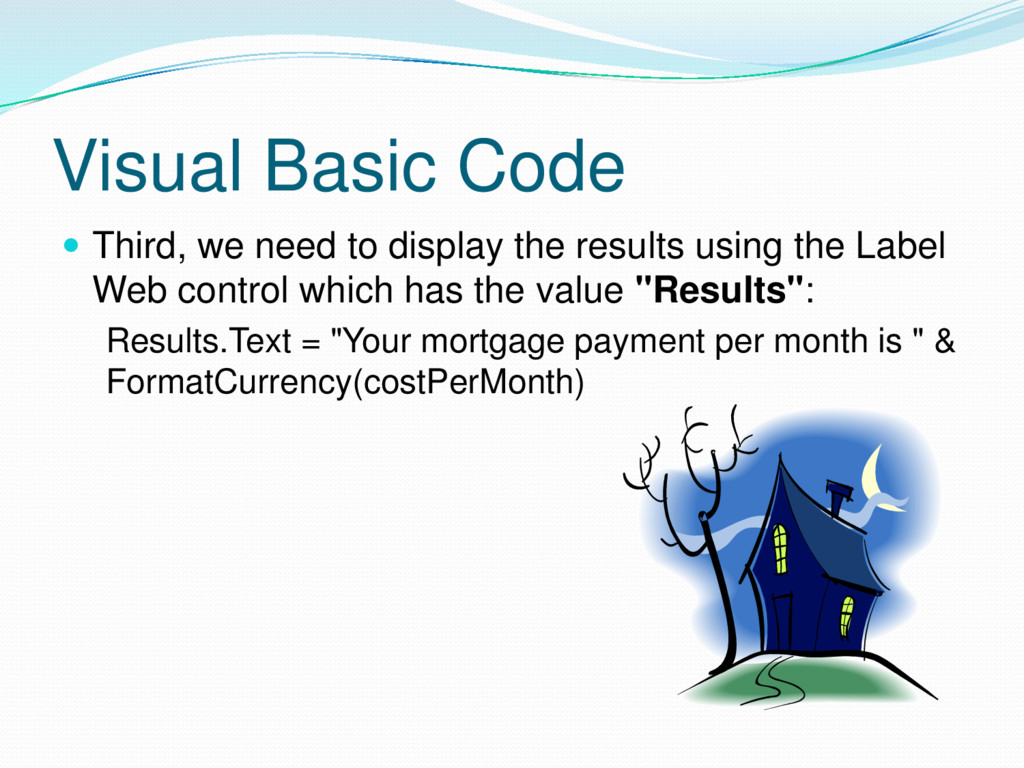
Web control to display the results of the calculations 1. Drag a Label Web control from the Toolbox to somewhere inside the <form> element 2. Delete the Text attribute and value (Text="Label") from the Label Web control 3. Change the value of the ID attribute of the Label Web control to “Results"
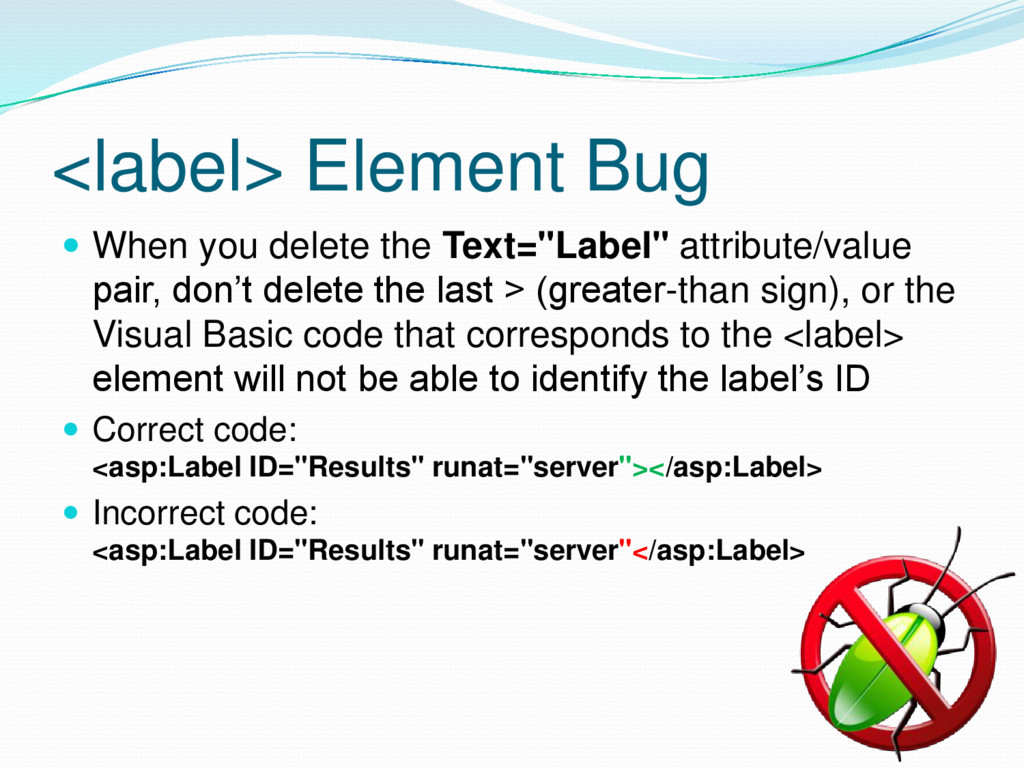
pair, don’t delete the last > (greater-than sign), or the Visual Basic code that corresponds to the <label> element will not be able to identify the label’s ID Correct code: <asp:Label ID="Results" runat="server"></asp:Label> Incorrect code: <asp:Label ID="Results" runat="server"</asp:Label>
control button, this fires a Click event To create an event handler for a Button Web control’s Click event 1. Put the assignment2.aspx file in Design view 2. Double-click on the button 3. This will automatically create an event handler for this button in the assignment2.aspx.vb file
of the data fields (properties) and methods (actions) for a particular set of objects In the assignment2.aspx.vb file, we are writing the code for class assignment2, which inherits (uses the methods and data fields) from class System.Web.UI.Page
class and are used to get the object to do something Event handlers are special methods that execute (run) when specific events occur In the assignment2.aspx.vb file, we are writing code for the method Button1_Click, which is the event handler for Button1 in the assignment2.aspx file
correspond to each of the Web controls For example, there is a TextBox Web control element for the *.aspx file and a corresponding TextBox class for the *aspx.vb file This TextBox class in the *aspx.vb file is used to represent the TextBox Web control element in the *.aspx file
rate TextBox Web control on our assignment2.aspx file: <asp:TextBox ID="Rate" runat="server"></asp:TextBox> Visual Basic creates a corresponding TextBox Web control object also called "Rate" that can be used to access the input in the "Rate" TextBox To access the text, we use this Visual Basic code: Rate.Text In this code, Rate is an object and Text is one of the data fields of this object (a data field is a place in the object to store data)
Click event handler in the assignment2.aspx.vb file First, we need to instantiate objects to contain the values entered by the user: Dim P As Decimal = Principle.Text Dim R As Decimal = Rate.Text / 100.0 Dim T As Decimal = Term.Text
a space to store data for an object P, R, and T are objects (also called variables) that are used to store data In this case, P, R, and T are decimal numbers Decimal is the type of object that is being stored In this case, a decimal number Principle, Rate, and Term are objects that correspond to the TextBox Web controls in the assignment2.aspx file
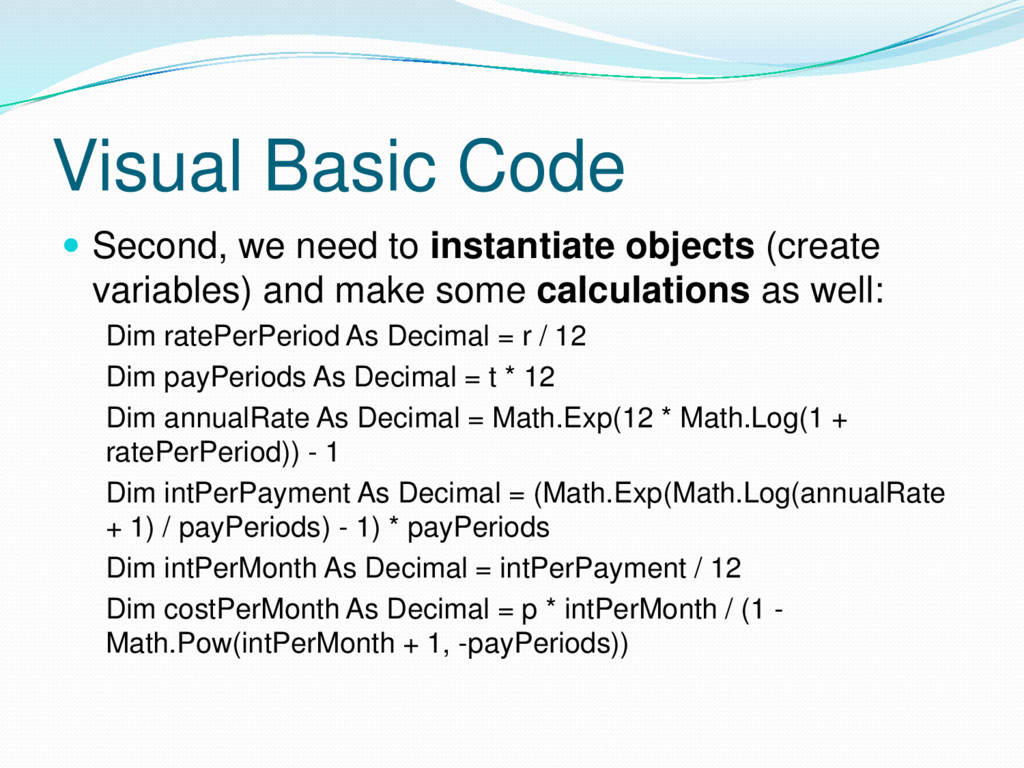
(create variables) and make some calculations as well: Dim ratePerPeriod As Decimal = r / 12 Dim payPeriods As Decimal = t * 12 Dim annualRate As Decimal = Math.Exp(12 * Math.Log(1 + ratePerPeriod)) - 1 Dim intPerPayment As Decimal = (Math.Exp(Math.Log(annualRate + 1) / payPeriods) - 1) * payPeriods Dim intPerMonth As Decimal = intPerPayment / 12 Dim costPerMonth As Decimal = p * intPerMonth / (1 - Math.Pow(intPerMonth + 1, -payPeriods))
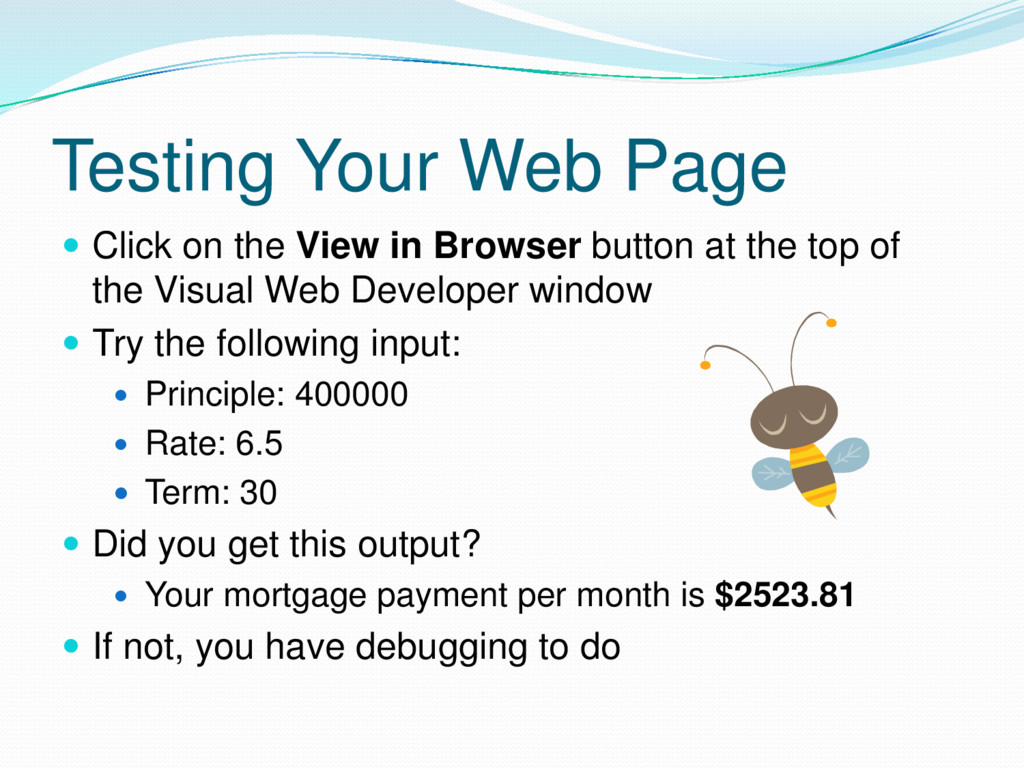
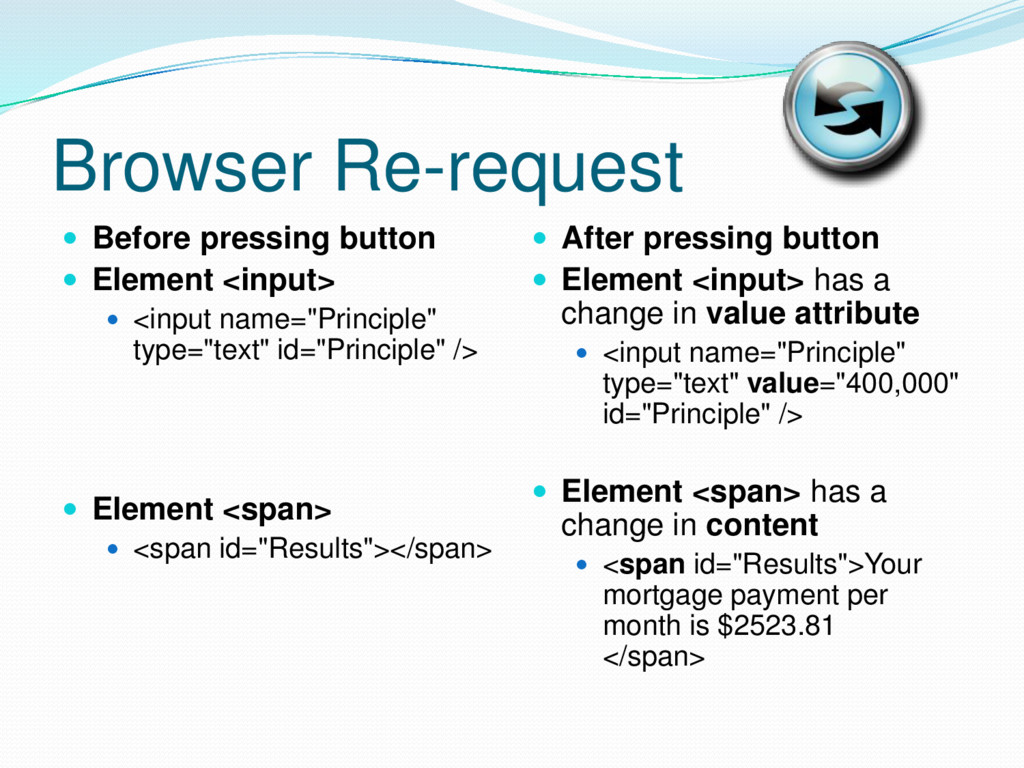
Browser button at the top of the Visual Web Developer window Try the following input: Principle: 400000 Rate: 6.5 Term: 30 Did you get this output? Your mortgage payment per month is $2523.81 If not, you have debugging to do
following: 1. The browser re-requests assignment2.aspx 2. The input from the user is included in the request, which is a process called postback 3. The ASP.NET engine raises Button1’s Click event 4. The event handler method Button1_Click is run 5. The event handler method Button1_Click calculates the value of the Label Web control’s text attribute 6. The 3 TextBox Web controls’ text attribute is set to the user’s inputs
<input name="Principle" type="text" id="Principle" /> Element <span> <span id="Results"></span> After pressing button Element <input> has a change in value attribute <input name="Principle" type="text" value="400,000" id="Principle" /> Element <span> has a change in content <span id="Results">Your mortgage payment per month is $2523.81 </span>
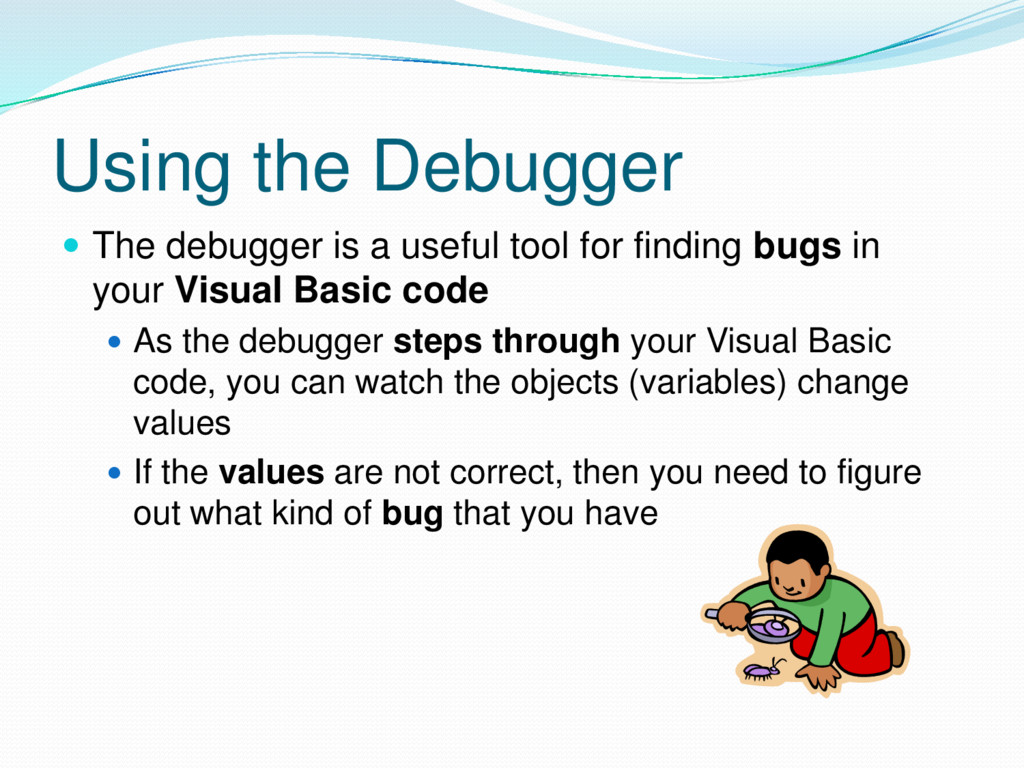
for finding bugs in your Visual Basic code As the debugger steps through your Visual Basic code, you can watch the objects (variables) change values If the values are not correct, then you need to figure out what kind of bug that you have
which is needed to make the debugger start at that point: 1. Open the assignment2.aspx.vb file 2. Right-click on the first line of code inside the method 3. Click Breakpoint 4. Click Insert Breakpoint 5. A red circle should appear on the left-hand side of the file and the line of code will be highlighted in red
Click on the Debug menu 2. Click Start Debugging 3. Click OK (Modify the Web.config file to enable debugging) 4. You do not need to enable script debugging in a browser, since this is for client-side script debugging, so click Yes 5. At this point, assignment2.aspx should be displayed in the browser window 6. Enter some values and press the button
line at a time: 1. The current line of code should be highlighted in yellow 2. To go to the next line of code, click the Step Over button, or press F10 3. In the Locals Window (bottom left), you will see the objects (variables) change their values 4. To go to the next breakpoint, press the Continue button or press F5 5. To stop the debugger, click Stop Debugging
of the features of Visual Web Developer will be unavailable, such as: Toolbar Properties window Add New Item… To stop the debugger, click Debug, Stop Debugging