page designer to practice “defense programming” In other words, the web page designer needs to make sure that the user enters the data in the correct format This is not the user’s responsibility! In addition, if your website crashes, this might give hackers a way to gain access to your Visual Basic program or database through your website
textboxes for the following questions 1. What is your name? 2. What is your age? 3. What is your zip code? Because textboxes allow any type of input, the user can easily enter the data in the wrong format Leave the name blank Write the age as 25 1/2, or 25.5 Write the zip code as “nine six seven eight two”
down into five different types 1. Required field (a field that must be completed) 2. Data type (for example, Integer instead of String) 3. Range (a value that is in a specific range) 4. Comparison (a value that must be greater or less than a specific value) 5. Pattern (string input that has a specific pattern, such as an email address, Social Security number, telephone number, etc.)
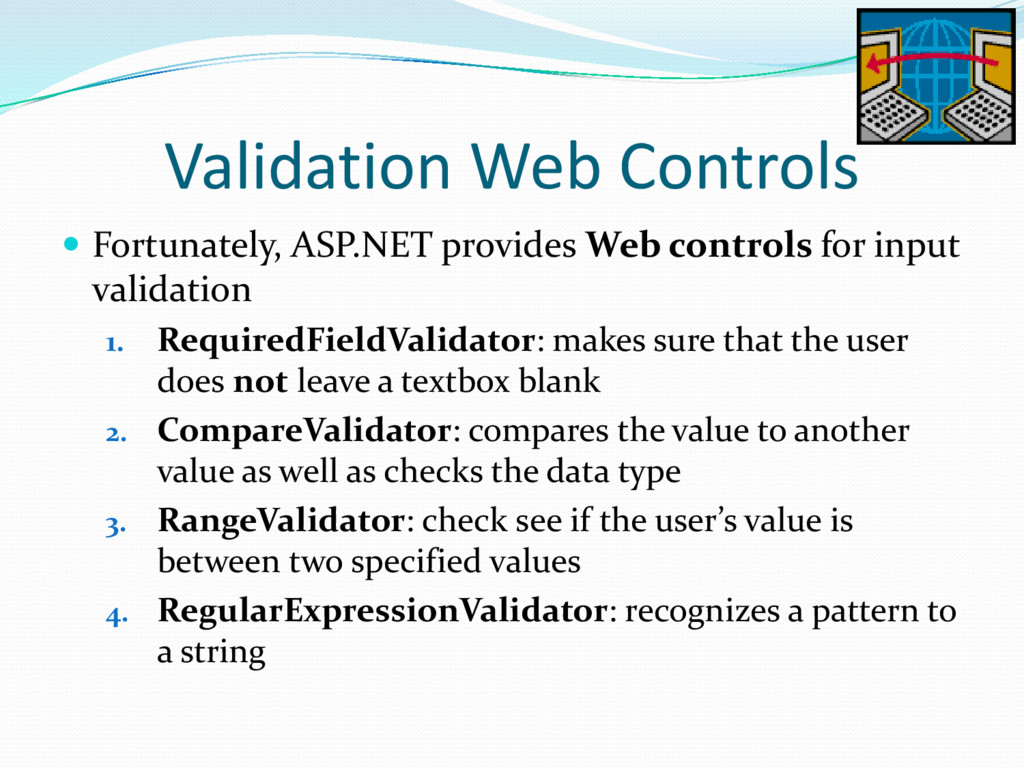
input validation 1. RequiredFieldValidator: makes sure that the user does not leave a textbox blank 2. CompareValidator: compares the value to another value as well as checks the data type 3. RangeValidator: check see if the user’s value is between two specified values 4. RegularExpressionValidator: recognizes a pattern to a string
validation works, let’s make a web page as described in Hour 12 Add 5 textboxes to get the user’s input for the following information: 1. Name 2. Age 3. Social Security number 4. Number of kids 5. Number of sons
each ID property For example, ID="TextBoxSSN" for the Social Security number text box Set the columns property to 4 for the Textboxes for Age, Number of Kids, Number of Sons 1. Click on the Textbox you want to change 2. Go to the Properties window in the bottom right 3. Go to the Appearance category 4. Set the Columns property to 4 5. Here is the property-value pair: Columns="4"
add a Button Web control Change the ID property: ID="ButtonSubmit" Change the Text property: Text="Submit Form" Below the button Web control, add a Label Web control Delete the Text property: Text="Label" Change the ID property: ID="output" Check the display of your web page and note that you can enter any crazy data that you wish into the text boxes
types 1. Optional input 2. Required input By default, all input is optional We need to use the RequiredFieldValidator validation Web control to create a required input text box For our web page, we will only make the user’s Name a required field, while all other fields are optional
Go to the Toolbox 2. Find the Validation section 3. Click on the RequiredFieldValidator 4. Drag it just below the Name TextBox Web control We need one RequiredFieldValidator Web control for each required input field So if we have 4 required input fields, we need 4 RequiredFieldValidator Web controls
a specific TextBox Web control: 1. Click on the RequiredFieldValidator Web control 2. See the Properties window on the bottom right 3. Go to the Behavior category 4. Find the ControlToValidate property 5. To the right of the ControlToValidate property, type the ID of the TextBox Web control that is required 6. For example, ControlToValidate="TextBoxName"
to enter the correct data, you should display an error message 1. Click on the RequiredFieldValidator Web control 2. See the Properties window on the bottom right 3. Go to the Appearance category 4. Find the ErrorMessage property 5. To the right of the ErrorMessage property, type the error message that you want to display 6. For example, ErrorMessage="Please enter your name"
web server to download a web page, the user’s computer is called a “client”, and the web server is called a “server” Therefore, we can have two kinds of validation: 1. Client-side validation, in which the user’s computer validates the data before it is sent to the server 2. Server-side validation, in which bad data can be sent from your computer to the server, and the server validates the data
to validate the user’s data Client-side script is JavaScript code that is executed on the user’s browser If the data is valid, the data is sent to the server If the data is not valid, no data is sent to the server, & the client-side script displays an error message
script, users can disable JavaScript in their browser 1. On the top right, click the Chrome menu 2. Click Settings 3. Click Show advanced settings 4. In the Privacy section, click the Content settings 5. In the "JavaScript" section, click "Do not allow any site to run JavaScript", then click Done 6. When you are finished with this exercise, click "Allow all sites to run JavaScript (recommended)"
server-side validation is used instead for ASP.NET web pages Server-side validation is code that is executed on a web server Just in case a user disables JavaScript, we can use server-side validation for our web pages Because client-side validation is executed on the user’s computer, it is much faster than server-side validation
Basic file in order to check for input validation Double click on the Button Web control Write the following code in the Click event handler (method) in the Visual Basic file output.Text = " " If Page.IsValid = True Then output.Text = "Input is valid!" Else output.Text = "Input is <b>NOT</b> valid!" End If
you enter incorrect data, you will not see the “Input is not valid!” message If JavaScript (client-side script) is enabled, and you enter the correct data, you will still see the “Input is valid!” message This is because, if there is an error, the client-side validation catches the error, and re-displays the web page without re-sending any data to the server, so the Click event handler (method) is never executed
you enter incorrect data, you will see the “Input is not valid!” message If JavaScript (client-side script) is disabled, and you enter the correct data, you will see the “Input is valid!” message This is because, only the server-side validation is being done, so the data is sent to the server whether it is valid or not
One validation Web control can be used to validate only one input Web control (using the ControlToValidate property) All validation controls can be used to display an error message (using the ErrorMessage property) The validation controls use client-side validation scripts to display an error message for incorrect data, and hide an error message for correct data
If the input is not valid, the validation controls use client-side validation scripts to prevent the data from being sent to the server If the user disables JavaScript (client-side script), the validation controls use server-side validation, which can be verified with the Page.IsValid property in the Click method (event handler) in the Visual Basic file
compare the input value to another value For example, to see if the input value is greater than another value For our web page, we need to check to see if the number of kids is zero or greater Drag the CompareValidator from the Toolbox to just below the TextBox Web control for “number of kids”
Web control with the “Number of kids” TextBox Web control 1. Click inside the CompareValidator control 2. In the Properties window, go to Behavior, and change the value of the ControlToValidate property to "TextBoxKids" 3. So you should have this property-value pair: ControlToValidate="TextBoxKids "
to something more appropriate 1. Click inside the CompareValidator control 2. In the Properties window, go to Appearance, and change the value of the ErrorMessage property to "You must enter a whole number greater than or equal to zero" 3. So your property-value pair will be: ErrorMessage="You must enter a whole number greater than or equal to zero"
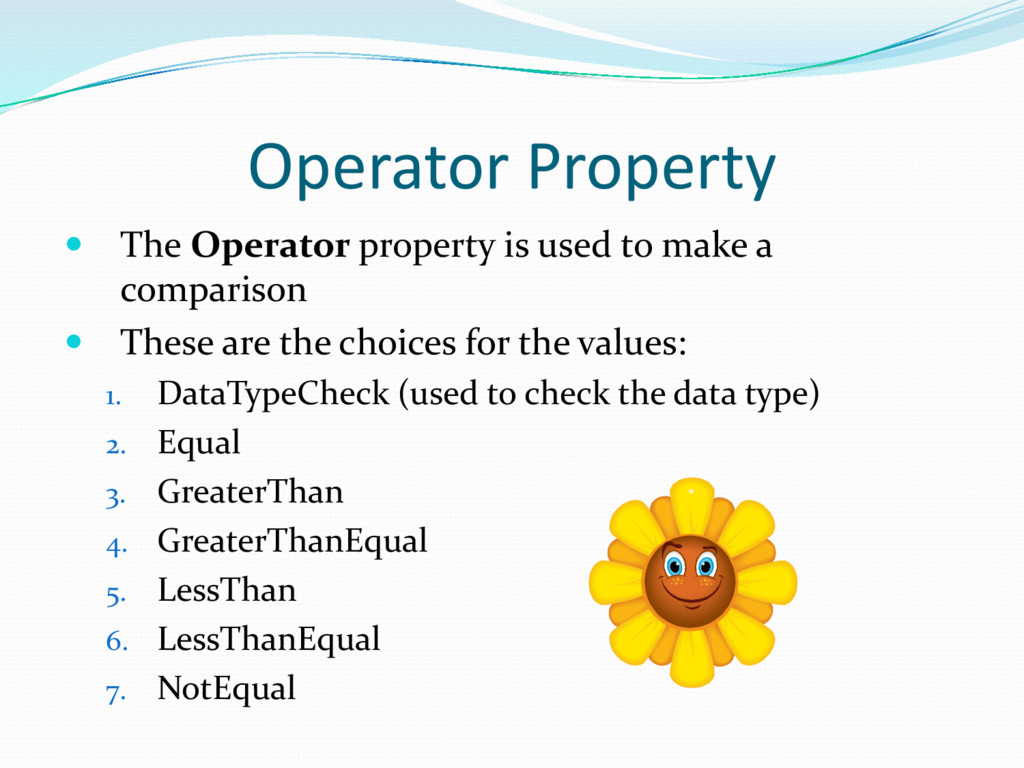
a comparison These are the choices for the values: 1. DataTypeCheck (used to check the data type) 2. Equal 3. GreaterThan 4. GreaterThanEqual 5. LessThan 6. LessThanEqual 7. NotEqual
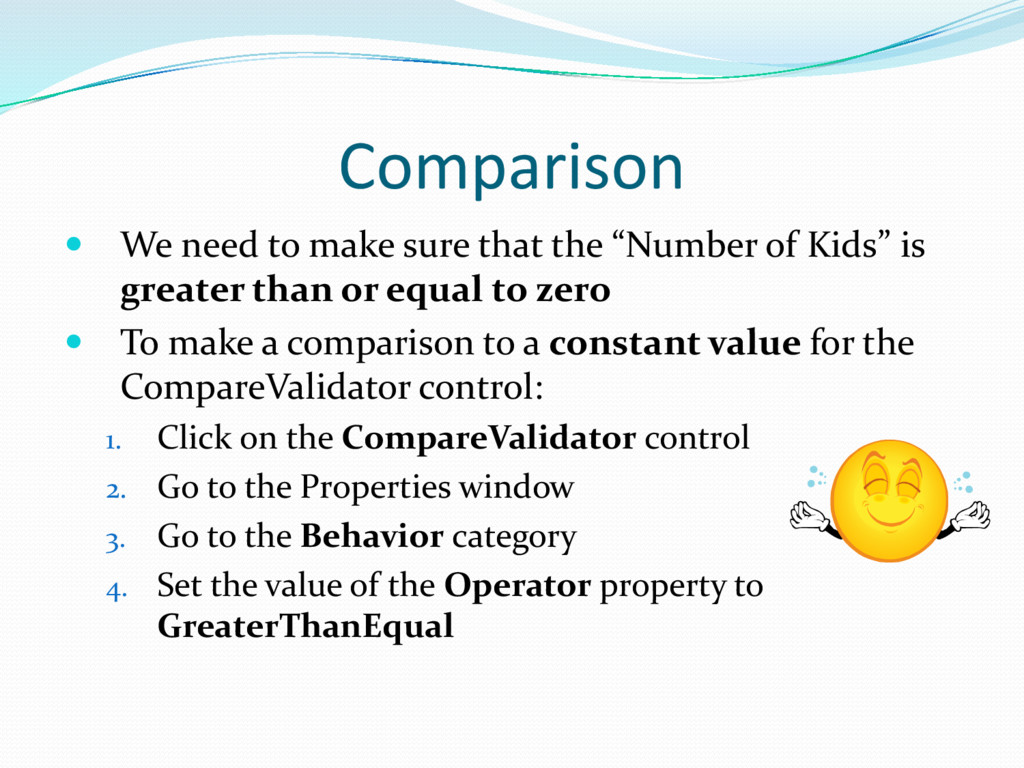
of Kids” is greater than or equal to zero To make a comparison to a constant value for the CompareValidator control: 1. Click on the CompareValidator control 2. Go to the Properties window 3. Go to the Behavior category 4. Set the value of the Operator property to GreaterThanEqual
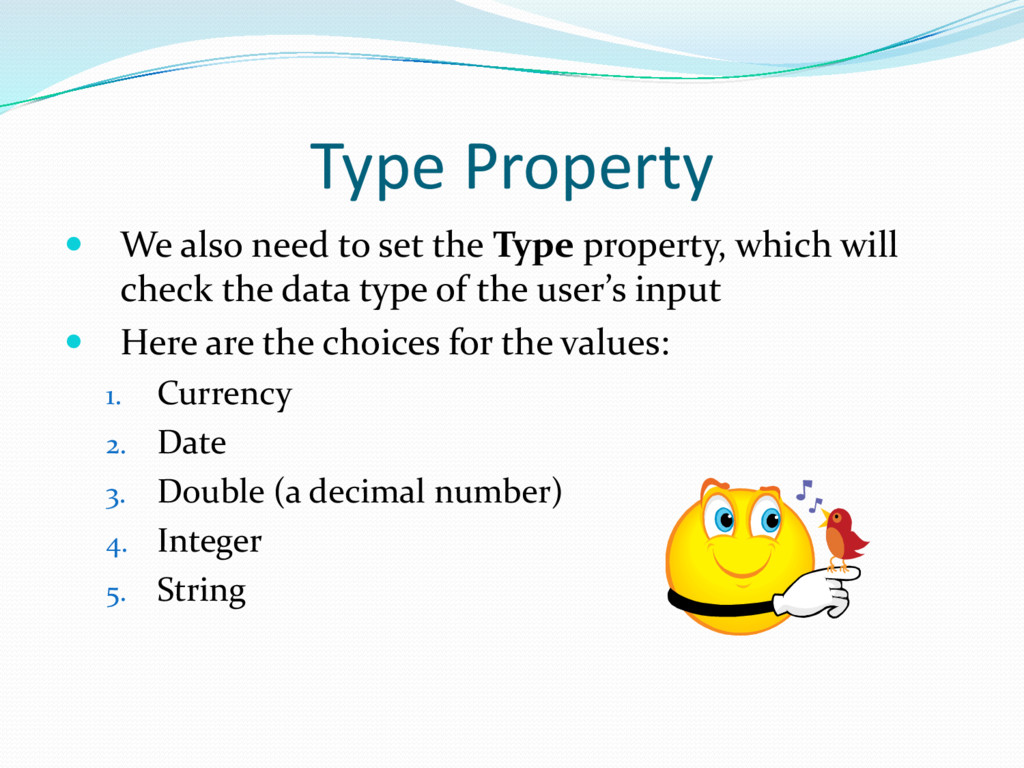
property, which will check the data type of the user’s input Here are the choices for the values: 1. Currency 2. Date 3. Double (a decimal number) 4. Integer 5. String
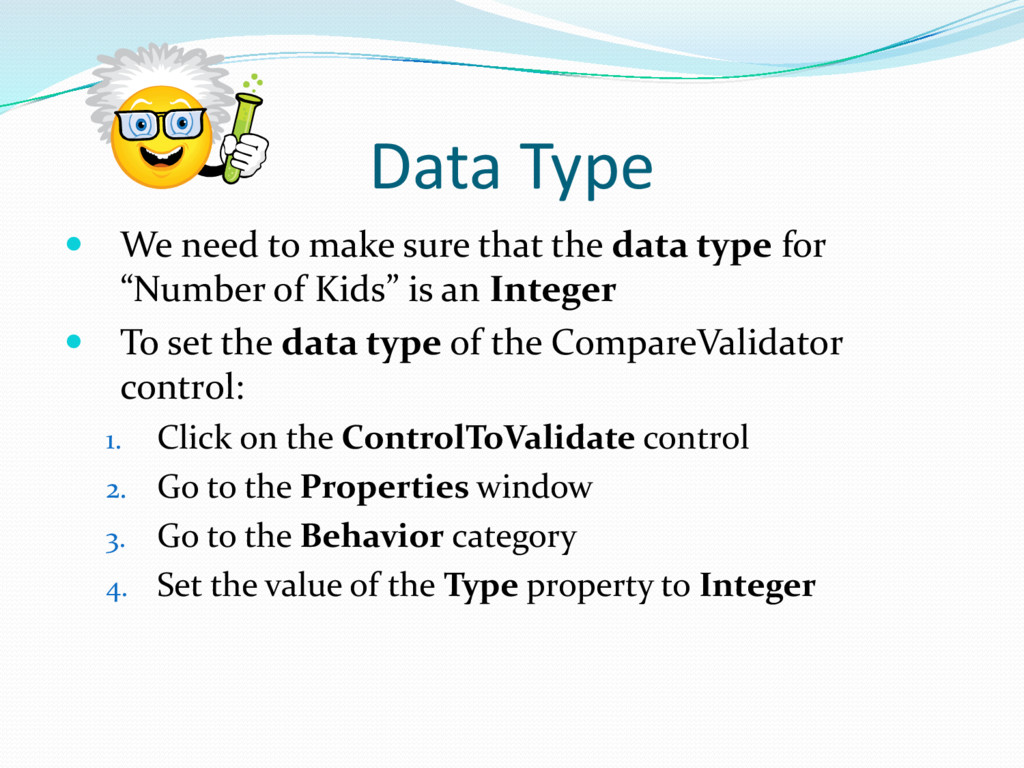
data type for “Number of Kids” is an Integer To set the data type of the CompareValidator control: 1. Click on the ControlToValidate control 2. Go to the Properties window 3. Go to the Behavior category 4. Set the value of the Type property to Integer
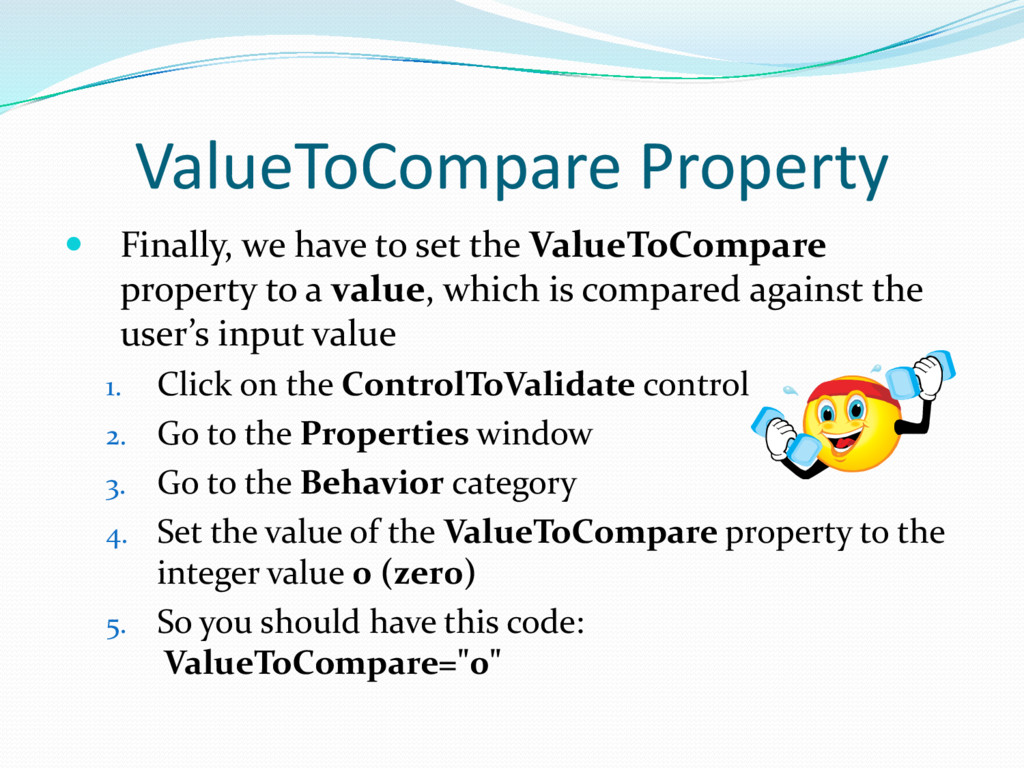
property to a value, which is compared against the user’s input value 1. Click on the ControlToValidate control 2. Go to the Properties window 3. Go to the Behavior category 4. Set the value of the ValueToCompare property to the integer value 0 (zer0) 5. So you should have this code: ValueToCompare="0"
display an error message, if the user does not enter any data in the Name textbox, or if the user enters incorrect data in the Number of Kids textbox Note that if we leave the Number of Kids textbox blank this is not an error, as this textbox does not have a RequiredFieldValidator Web control We can have more than one validation Web control for each TextBox Web control, so if we wish, we could add another RequiredFieldValidator control for the Number of Kids TextBox control
input validation works, let’s make a web page as described in Hour 12 Add 5 textboxes to get the user’s input for the following information (also add button & label) 1. Name 2. Age 3. Social Security number 4. Number of kids 5. Number of sons
inputs to one another To do this, we need to set the ControlToCompare property to the ID of the TextBox Web control whose value that will be compared In this case, we need the number of sons to be less than or equal to the number of total kids Therefore, the ControlToCompare property should be set to the ID of the TextBox for total kids For example, ControlToCompare="TextBoxKids"
of the text box for “number of sons” Set the properties to the following values 1. ErrorMessage property to the value “The number of sons must be less than or equal to the number of kids” 2. ControlToCompare property to the value TextBoxKids 3. ControlToValidate property to the value TextBoxSons 4. Operator property to the value LessThanEqual 5. Type property should be the value Integer
window, don’t forget to press the Enter key Otherwise, what you type in will NOT be saved You can double-check by looking at the ASP.NET code to see if the appropriate property-value pair has been added to the Web control
If we compare to value in another textbox Then we need the ControlToCompare property However, if we compare to a constant value (such as the number zero) Then we need to use the ValueToCompare property
kids” and “Number of sons” text boxes Unfortunately, we can put negative numbers for the “Number of sons” text box! So we need to add another CompareValidator to correct this
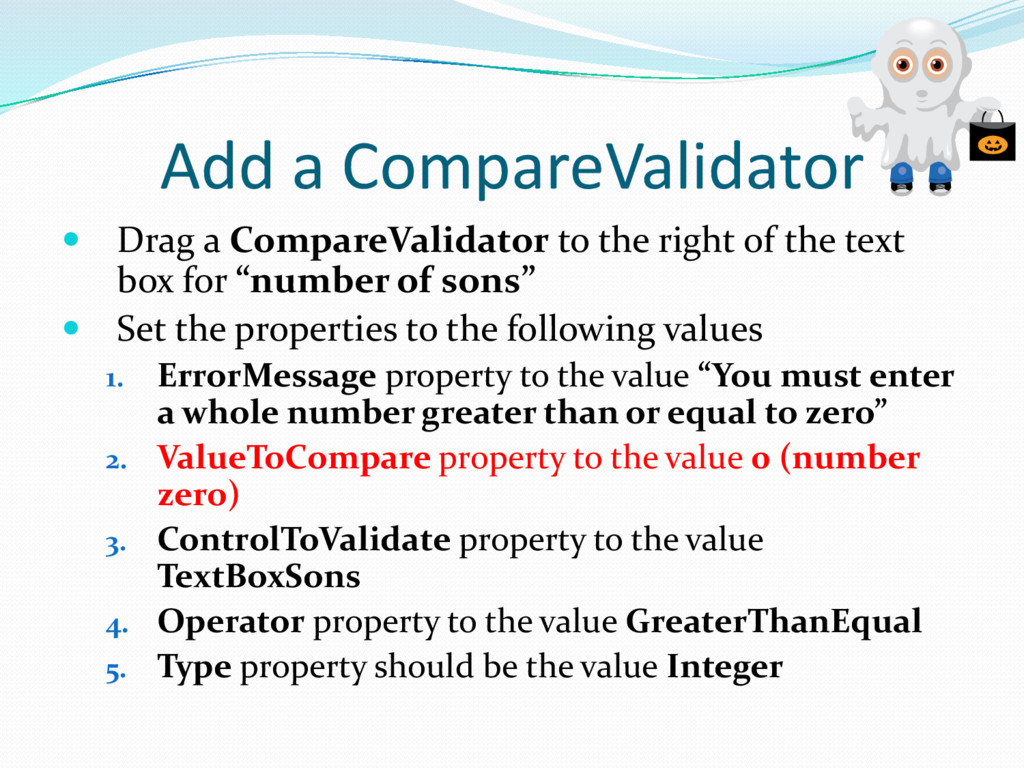
of the text box for “number of sons” Set the properties to the following values 1. ErrorMessage property to the value “You must enter a whole number greater than or equal to zero” 2. ValueToCompare property to the value 0 (number zero) 3. ControlToValidate property to the value TextBoxSons 4. Operator property to the value GreaterThanEqual 5. Type property should be the value Integer
of kids” and “Number of sons” text boxes Unfortunately, the error message “You must enter a whole number greater than or equal to zero” is placed a large distance from the text box This is because the Display property for all the validation Web controls are set to Static by default
Dynamic 2. None 3. Static If the Display property is set to Dynamic, the error message does not take up any space when it is not displayed However, if the Display property is set to Static, the error message does take up space even when it is not displayed
Web page when the user enters a negative number for the “number of sons”, we must do the following: Click on the CompareValidator that compares the “number of sons” to the “number of kids” On the Properties window, go to the Appearance category, and set the Display property to the value Dynamic
of kids” and “Number of sons” text boxes Now, the error message “You must enter a whole number greater than or equal to zero” should be placed right next to the text box
lower bound limit and an upper bound limit, then we can use a RangeValidator Web control We can also use two CompareValidator Web controls, but this is more work, and also increases the possibility of more bugs We can only use the RangeValidator Web control only for constant values This is why we cannot use the RangeValidator Web control to compare the “number of sons” to the “number of kids”, as this is not a constant value
to make sure that the user enters a value between 0 and 150 for the user’s age 1. Drag the RangeValidator from the Toolbox to the right of the TextBox Web control for the Age 2. Set the ErrorMessage property to the value “Enter an age between 0 and 150” 3. Set the ControlToValidate property to the value AgeTextBox 4. Set the MaximumValue property to value 150 5. Said the MinimumValue property to value 0 6. Set the Type property to the value Integer
data type For data type String: “20” is NOT between “0” and “125” Your web page will display an error message: “You must enter an age between o and 125." For data type Integer: 20 is between 0 and 125
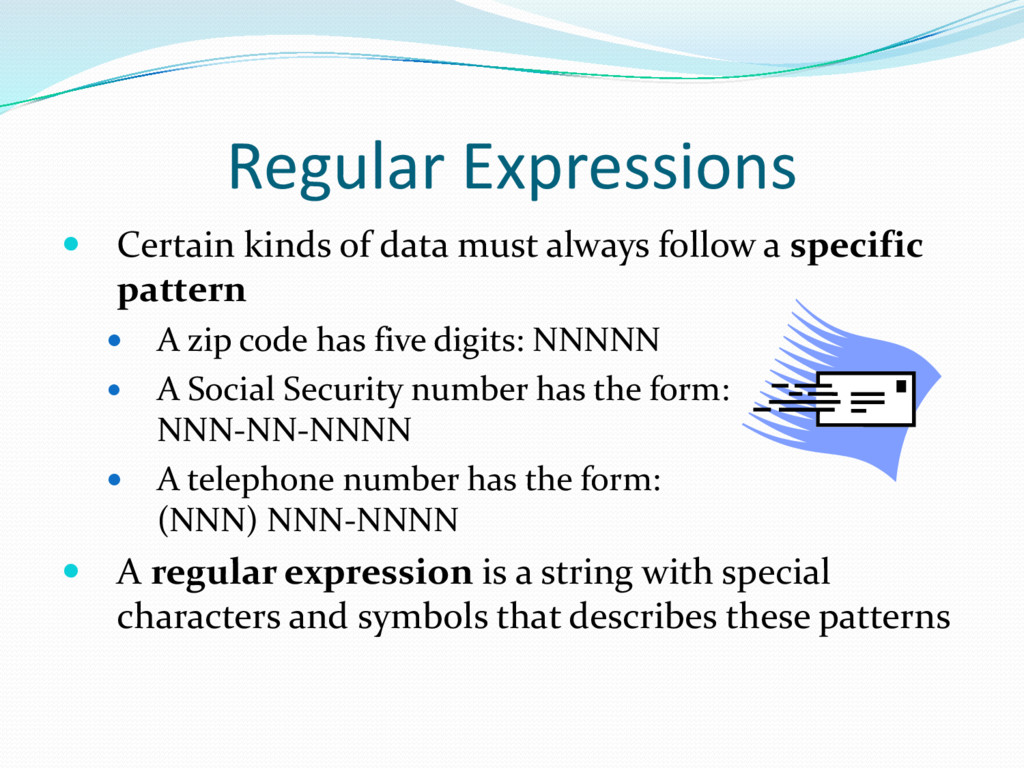
a specific pattern A zip code has five digits: NNNNN A Social Security number has the form: NNN-NN-NNNN A telephone number has the form: (NNN) NNN-NNNN A regular expression is a string with special characters and symbols that describes these patterns
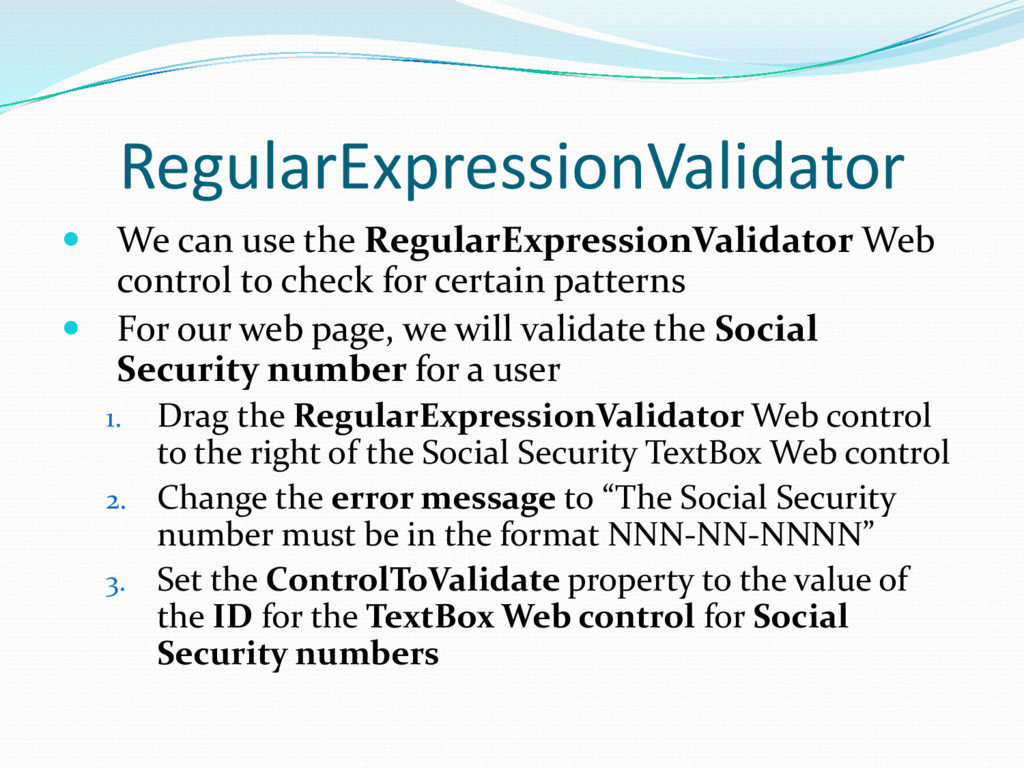
check for certain patterns For our web page, we will validate the Social Security number for a user 1. Drag the RegularExpressionValidator Web control to the right of the Social Security TextBox Web control 2. Change the error message to “The Social Security number must be in the format NNN-NN-NNNN” 3. Set the ControlToValidate property to the value of the ID for the TextBox Web control for Social Security numbers
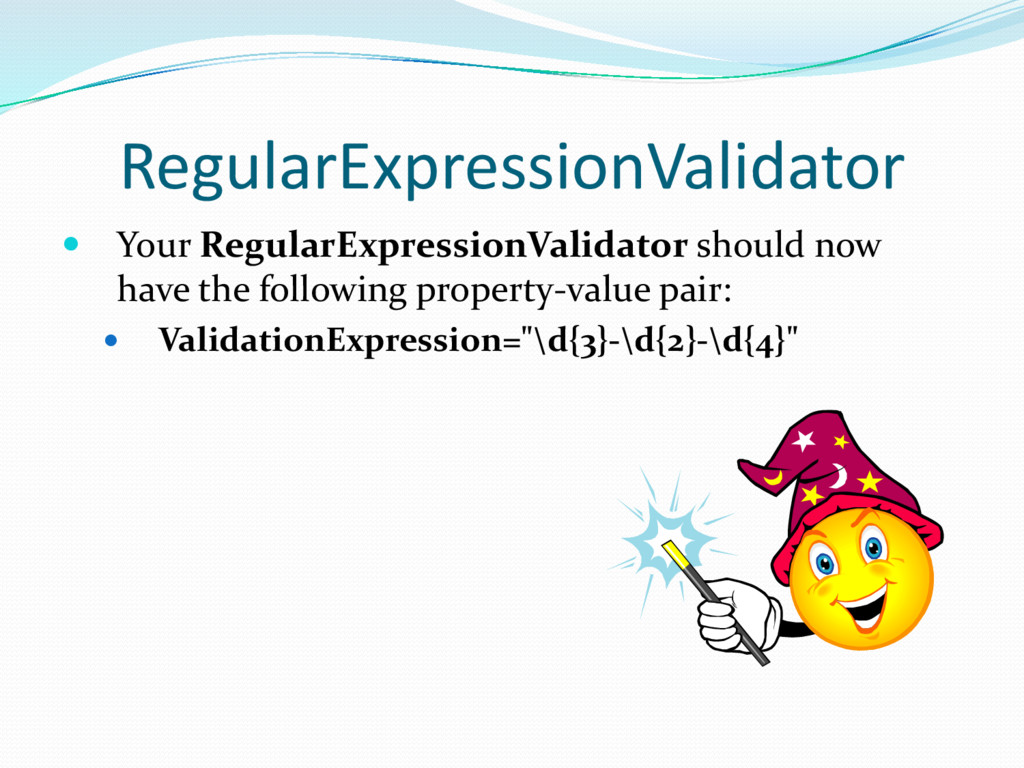
to the RegularExpressionValidator Web control 1. In the Properties window, in the Behavior category, click on the ValidationExpression property 2. To the right you will see an ellipsis (3 dots) 3. Click on the ellipsis 4. This should display the Regular Expression Editor dialog box 5. Select the appropriate validation expression