(can be used) within one method Variables in one method are not visible (cannot be used) in a second method See Methods.aspx and Methods.aspx.vb files an example
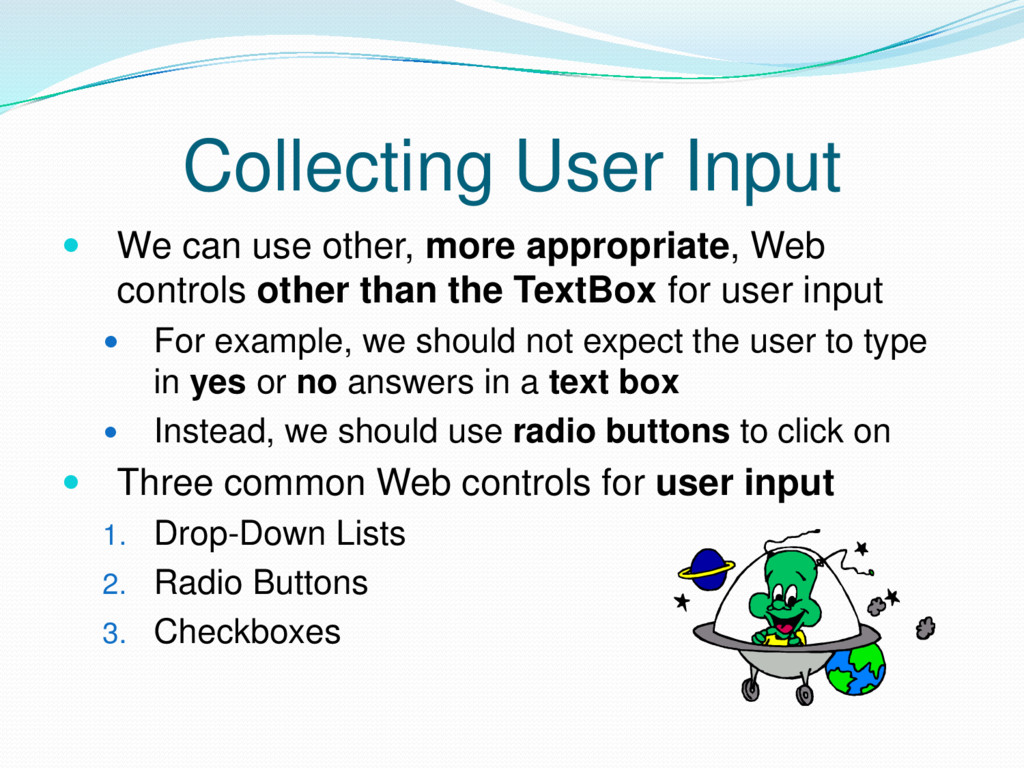
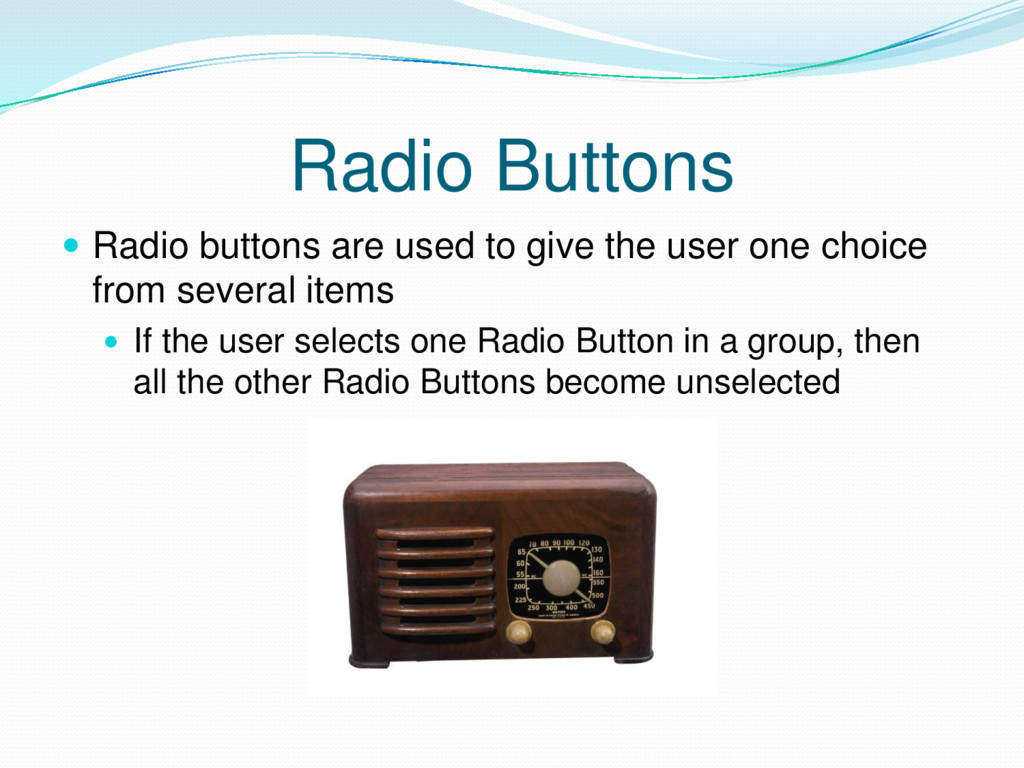
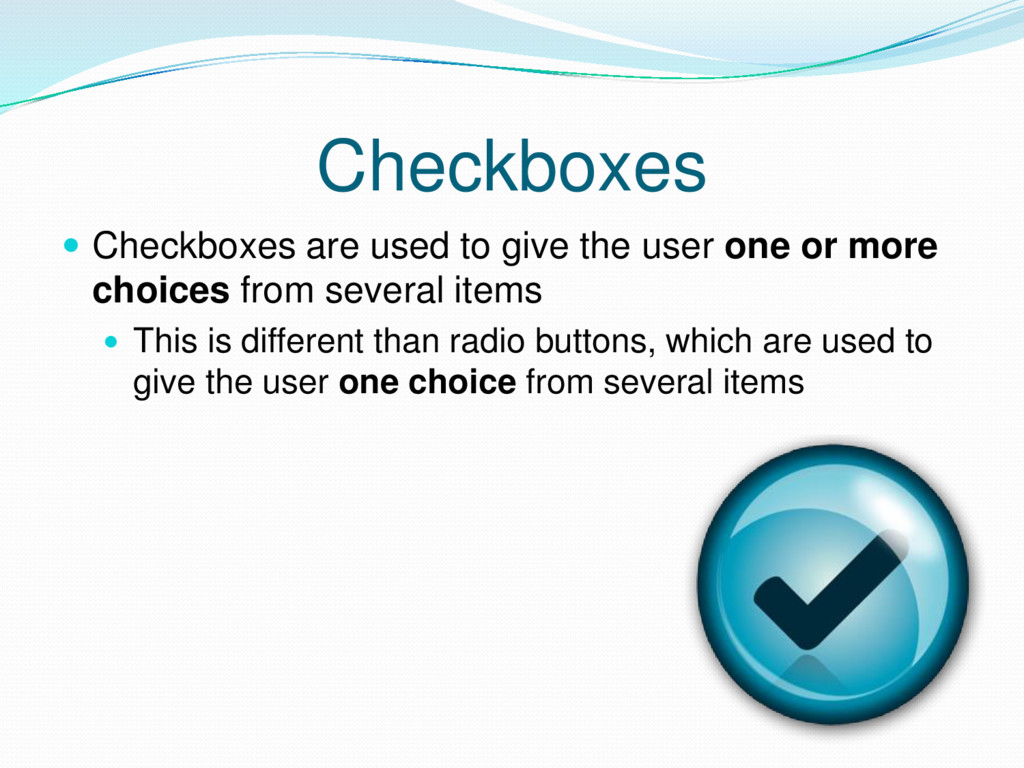
Web controls other than the TextBox for user input For example, we should not expect the user to type in yes or no answers in a text box Instead, we should use radio buttons to click on Three common Web controls for user input 1. Drop-Down Lists 2. Radio Buttons 3. Checkboxes
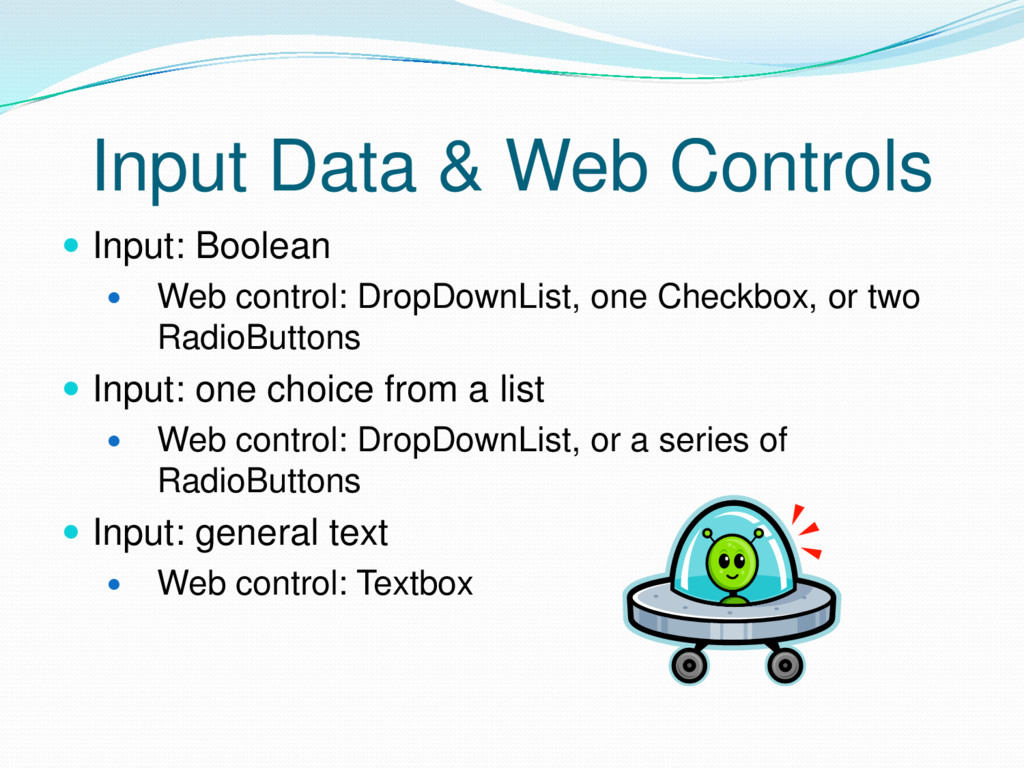
into 3 different types 1. Boolean (true or false; yes or no) 2. A choice from a list (a list of 50 states; a list of countries) 3. General text (names; comments) Depending on the type of input, some input Web controls are more suitable than others
control: DropDownList, one Checkbox, or two RadioButtons Input: one choice from a list Web control: DropDownList, or a series of RadioButtons Input: general text Web control: Textbox
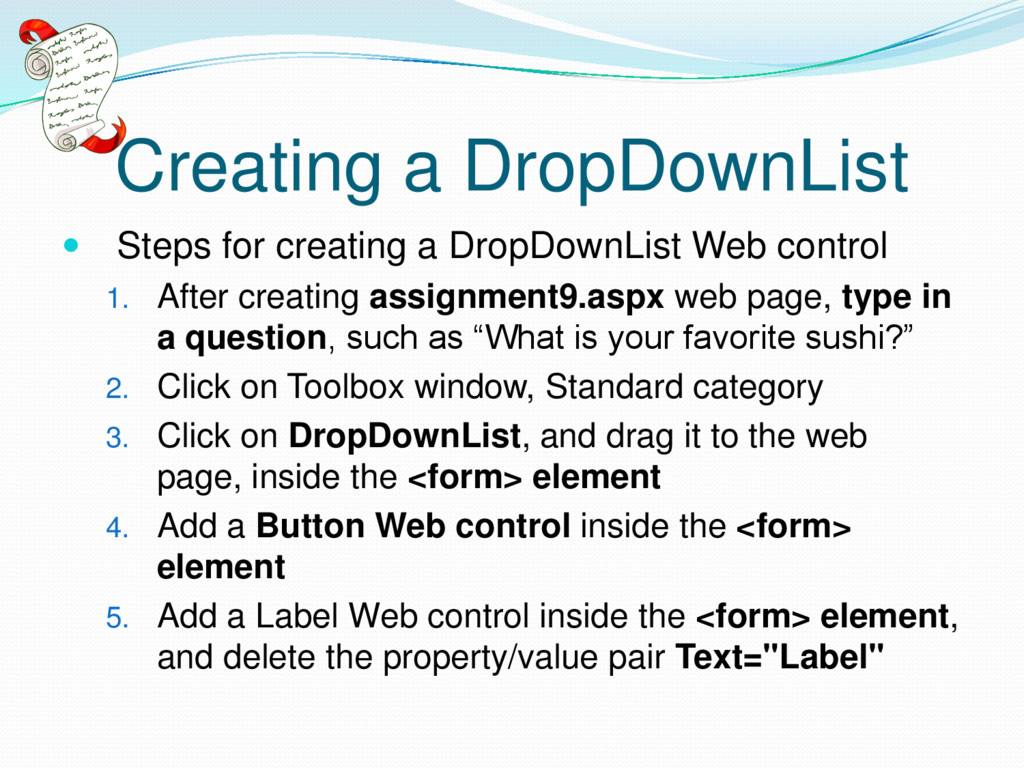
control 1. After creating assignment9.aspx web page, type in a question, such as “What is your favorite sushi?” 2. Click on Toolbox window, Standard category 3. Click on DropDownList, and drag it to the web page, inside the <form> element 4. Add a Button Web control inside the <form> element 5. Add a Label Web control inside the <form> element, and delete the property/value pair Text="Label"
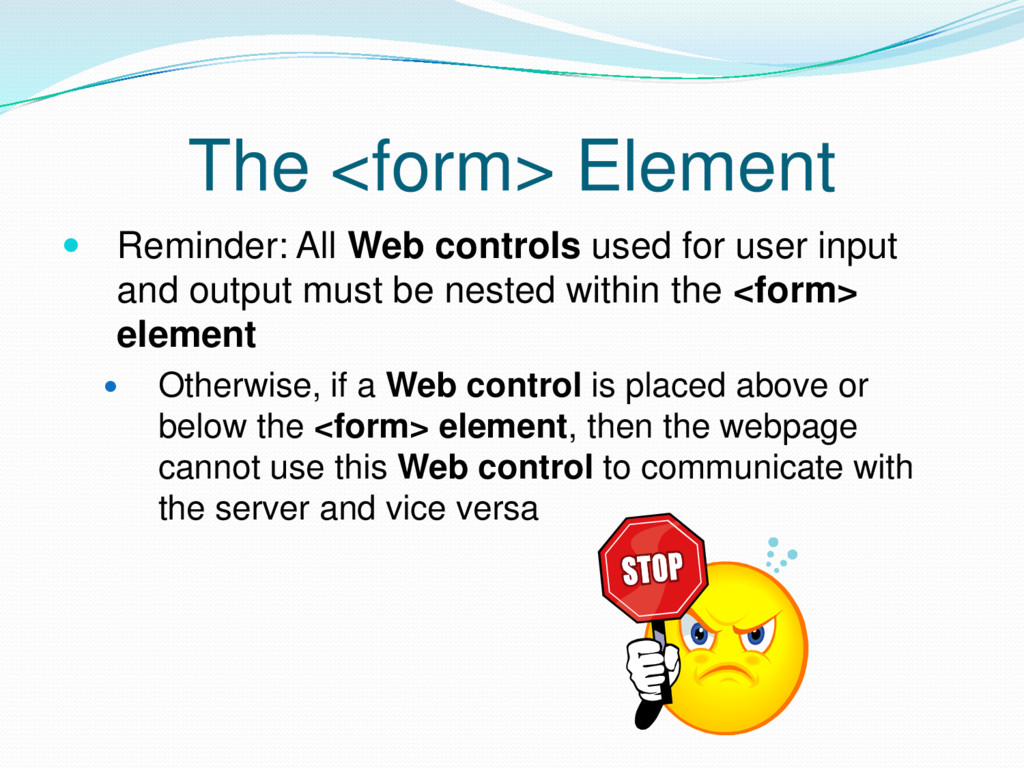
user input and output must be nested within the <form> element Otherwise, if a Web control is placed above or below the <form> element, then the webpage cannot use this Web control to communicate with the server and vice versa
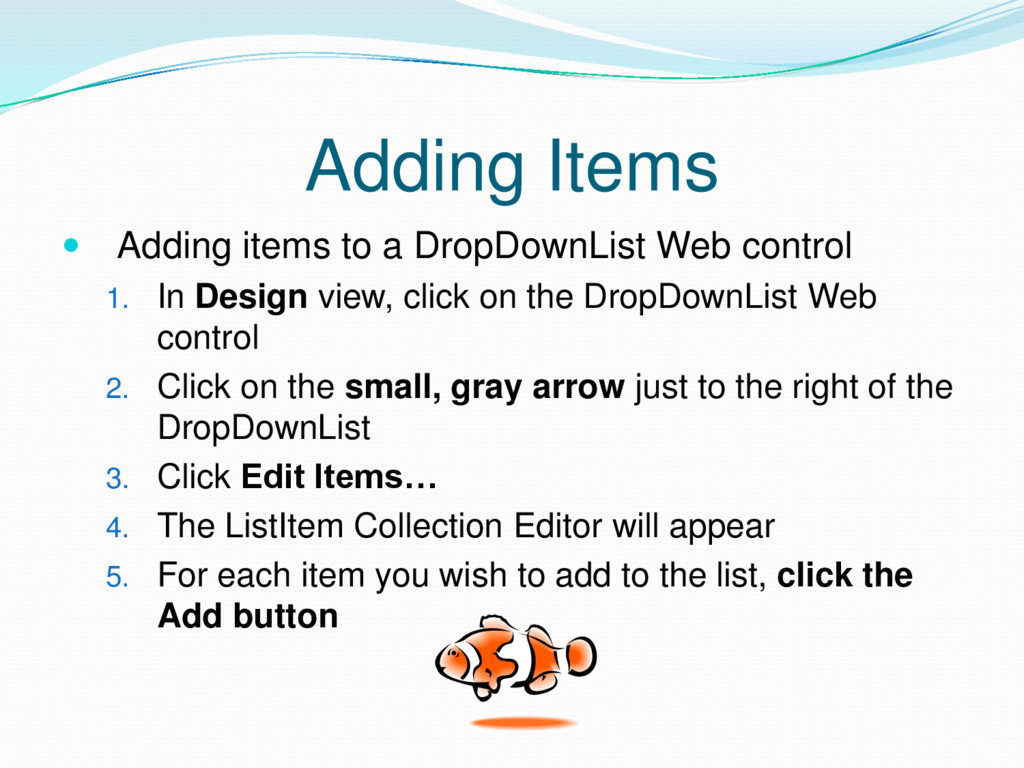
1. In Design view, click on the DropDownList Web control 2. Click on the small, gray arrow just to the right of the DropDownList 3. Click Edit Items… 4. The ListItem Collection Editor will appear 5. For each item you wish to add to the list, click the Add button
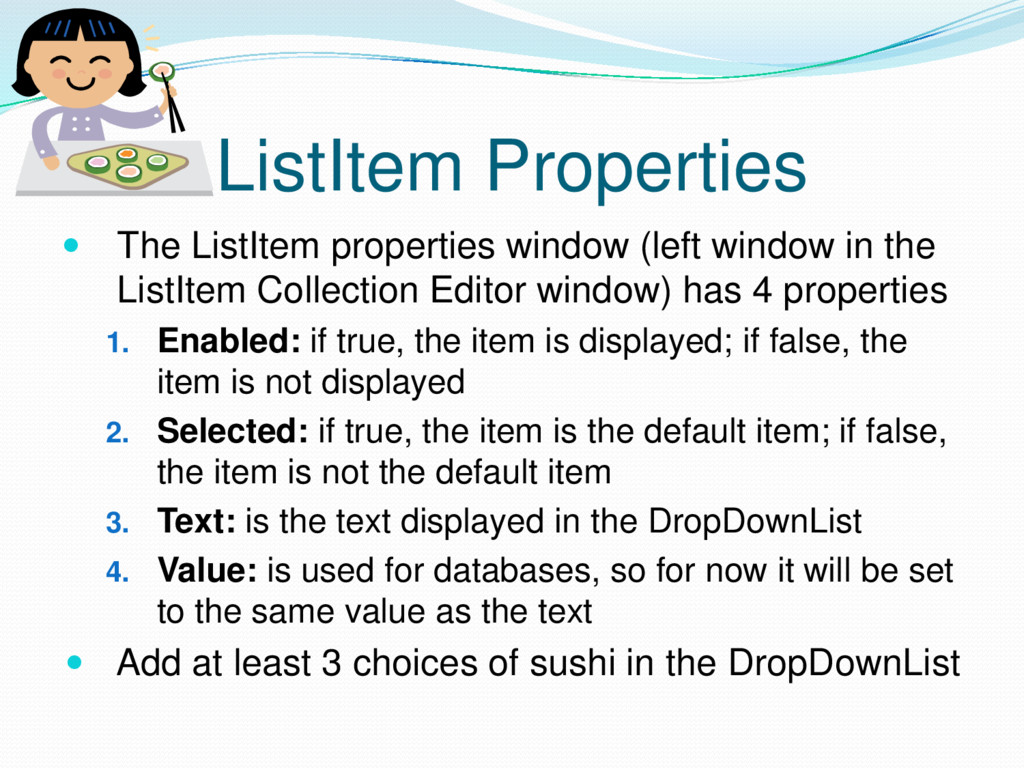
the ListItem Collection Editor window) has 4 properties 1. Enabled: if true, the item is displayed; if false, the item is not displayed 2. Selected: if true, the item is the default item; if false, the item is not the default item 3. Text: is the text displayed in the DropDownList 4. Value: is used for databases, so for now it will be set to the same value as the text Add at least 3 choices of sushi in the DropDownList
to see the HTML code that was automatically added to your web page Change the Text of the Button to an appropriate message, such as “Click me” Also add “Assignment 9” to your web page in the h1 element, and “Part 1” in the h2 element Go back to Design view, double-click on the Button to create a Button_Click method in the Visual Basic file
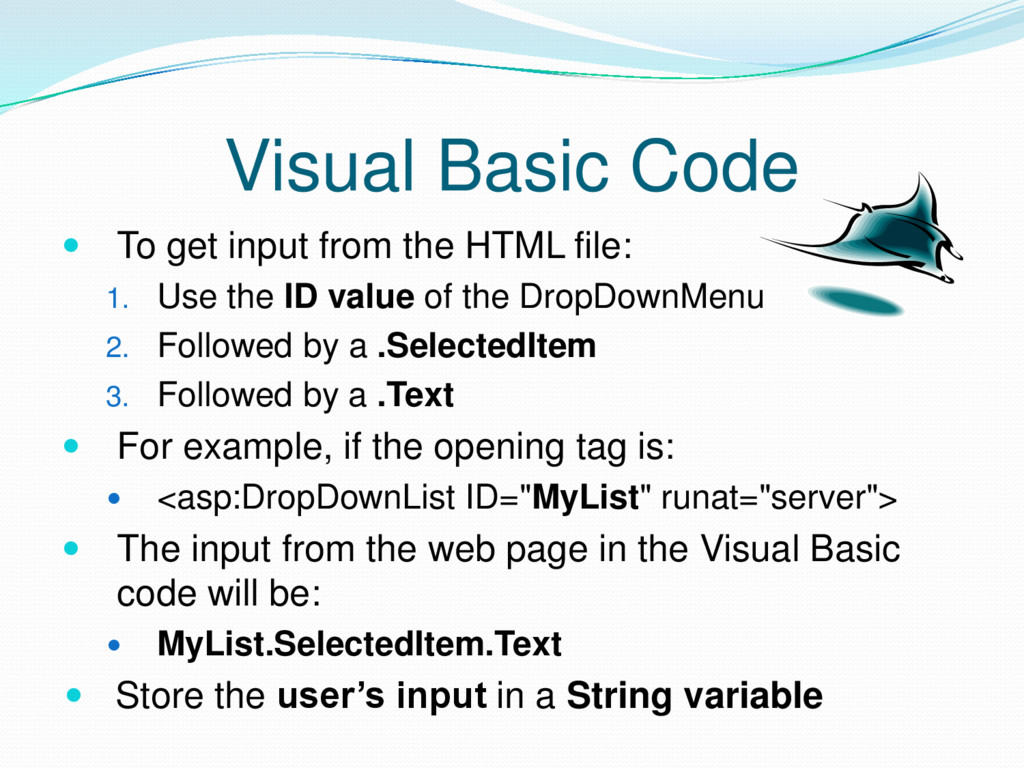
file: 1. Use the ID value of the DropDownMenu 2. Followed by a .SelectedItem 3. Followed by a .Text For example, if the opening tag is: <asp:DropDownList ID="MyList" runat="server"> The input from the web page in the Visual Basic code will be: MyList.SelectedItem.Text Store the user’s input in a String variable
page, add the following inside the <form> element 1. Type a question 2. From the Toolbox window, drag and drop several RadioButton Web controls to the web page, 1 (one) for each answer to the question 3. From the Toolbox window, drag and drop only 1 (one) Button Web control to the web page 4. From the Toolbox window, drag and drop only 1 (one) Label Web control to the web page
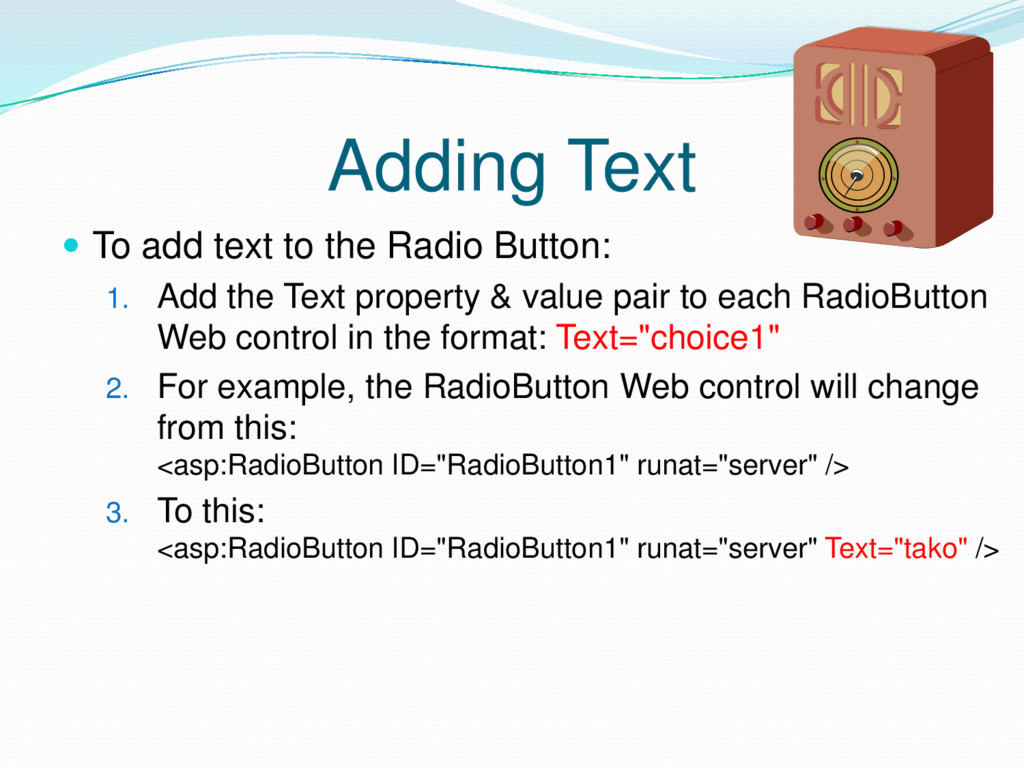
1. Add the Text property & value pair to each RadioButton Web control in the format: Text="choice1" 2. For example, the RadioButton Web control will change from this: <asp:RadioButton ID="RadioButton1" runat="server" /> 3. To this: <asp:RadioButton ID="RadioButton1" runat="server" Text="tako" />
Buttons are in the same group Radio Buttons in the same group are mutually exclusive Mutually exclusive means that only 1 (one) Radio Button can be selected If we try to click on another Radio Button, the other Radio Buttons are deselected
so that only one radio button can be selected at one time: Add the GroupName property & value pair to each RadioButton Web control, using the same name for Radio Buttons in the same group in the format: GroupName="sameName" For example: <asp:RadioButton ID="RadioButton1" runat="server" Text="tako" GroupName="sushi" /> <asp:RadioButton ID="RadioButton2" runat="server" Text="toro" GroupName="sushi" />
the Button Click event handler method to your Visual Basic file: 1. In the HTML file, click on the Design view 2. Double-click on the Button to create the Button Click event handler method
you need to use if statements and the Checked property to determine which RadioButton was clicked Therefore, you will need 1 (one) if-statement for each RadioButton to get input from each button The Checked property is a Boolean Checked will be set to True or False, depending if the user clicked the RadioButton or not In each if-statement, you need to see if the Checked property is True or False
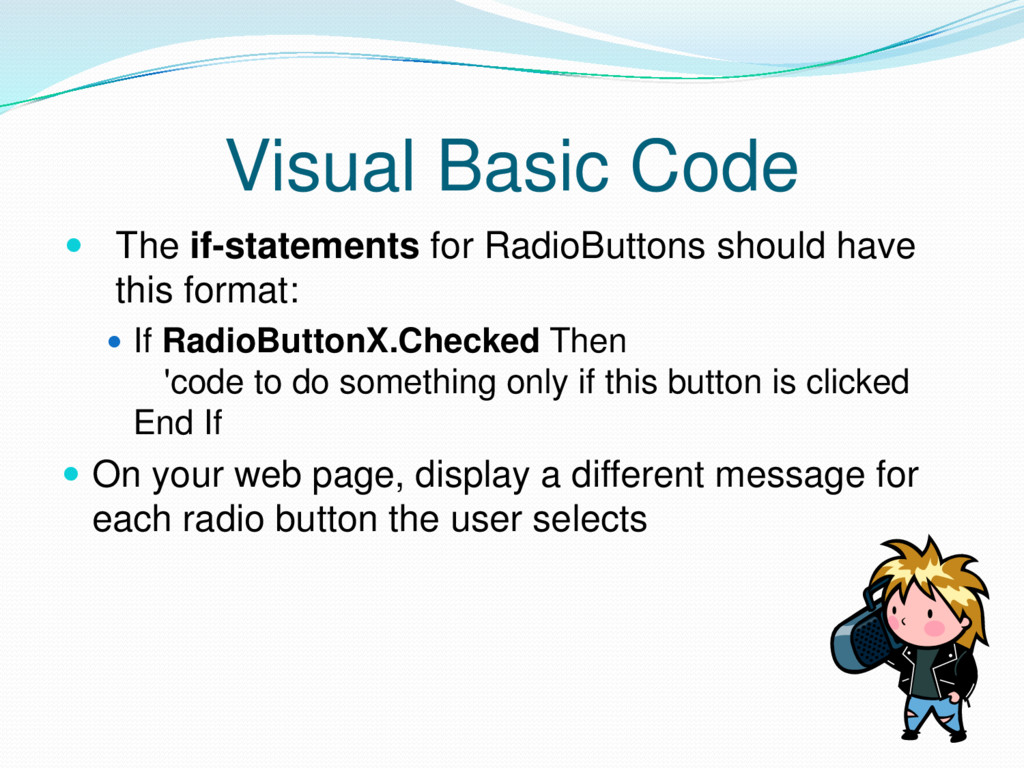
this format: If RadioButtonX.Checked Then 'code to do something only if this button is clicked End If On your web page, display a different message for each radio button the user selects
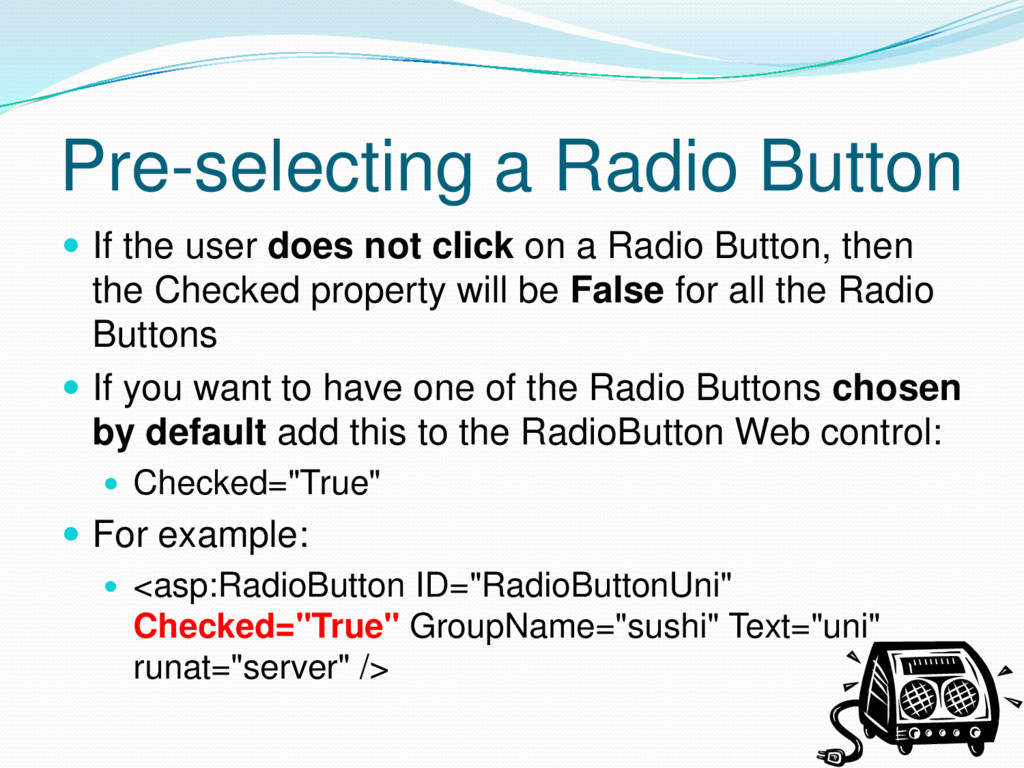
click on a Radio Button, then the Checked property will be False for all the Radio Buttons If you want to have one of the Radio Buttons chosen by default add this to the RadioButton Web control: Checked="True" For example: <asp:RadioButton ID="RadioButtonUni" Checked="True" GroupName="sushi" Text="uni" runat="server" />
add the following inside the <form> element 1. Type a question 2. From the Toolbox window, drag and drop several Checkbox Web controls to the web page, 1 (one) for each answer to the question 3. From the Toolbox window, drag and drop only 1 (one) Button Web control to the web page 4. From the Toolbox window, drag and drop only 1 (one) Label Web control to the web page
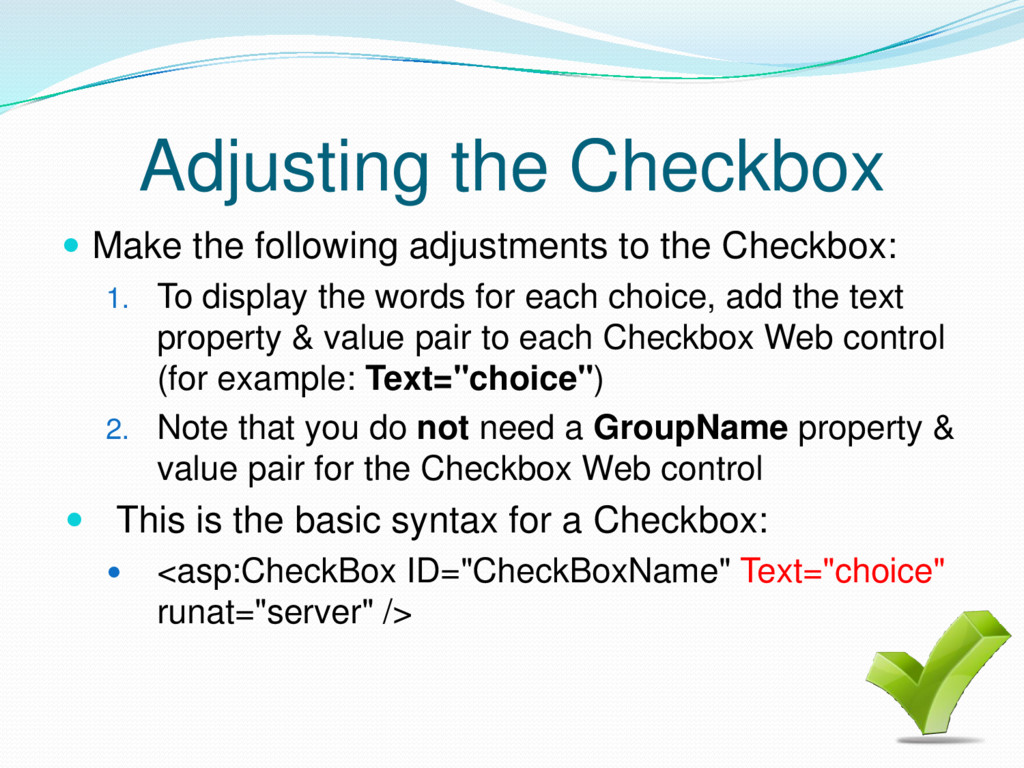
Checkbox: 1. To display the words for each choice, add the text property & value pair to each Checkbox Web control (for example: Text="choice") 2. Note that you do not need a GroupName property & value pair for the Checkbox Web control This is the basic syntax for a Checkbox: <asp:CheckBox ID="CheckBoxName" Text="choice" runat="server" />
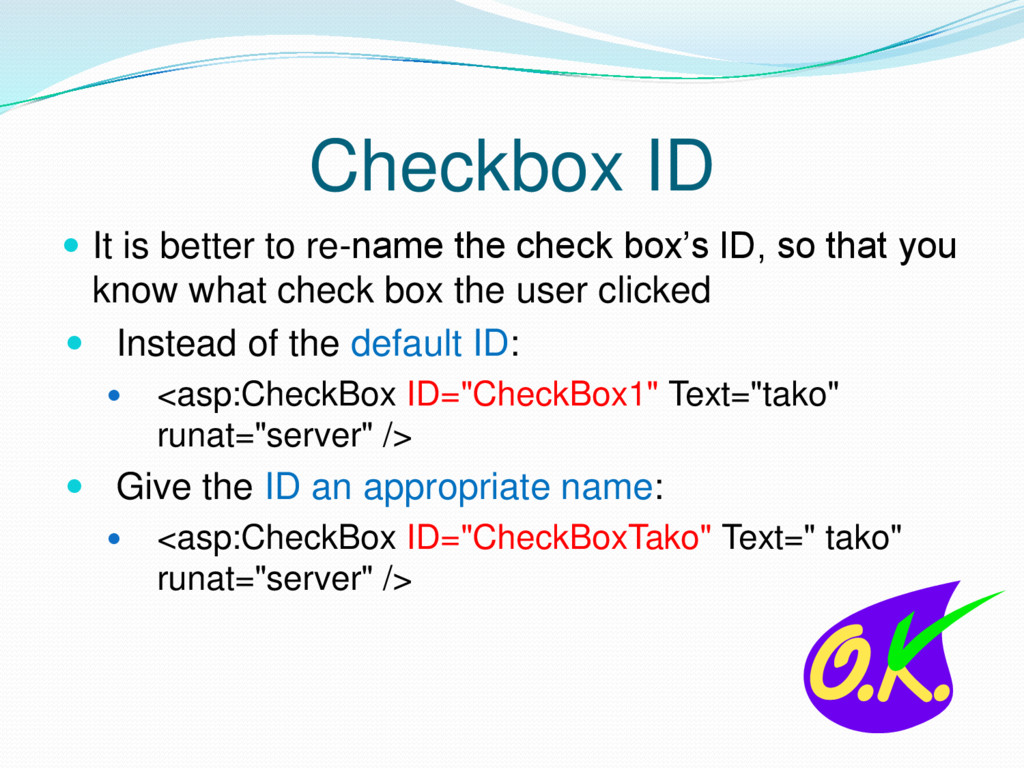
box’s ID, so that you know what check box the user clicked Instead of the default ID: <asp:CheckBox ID="CheckBox1" Text="tako" runat="server" /> Give the ID an appropriate name: <asp:CheckBox ID="CheckBoxTako" Text=" tako" runat="server" />
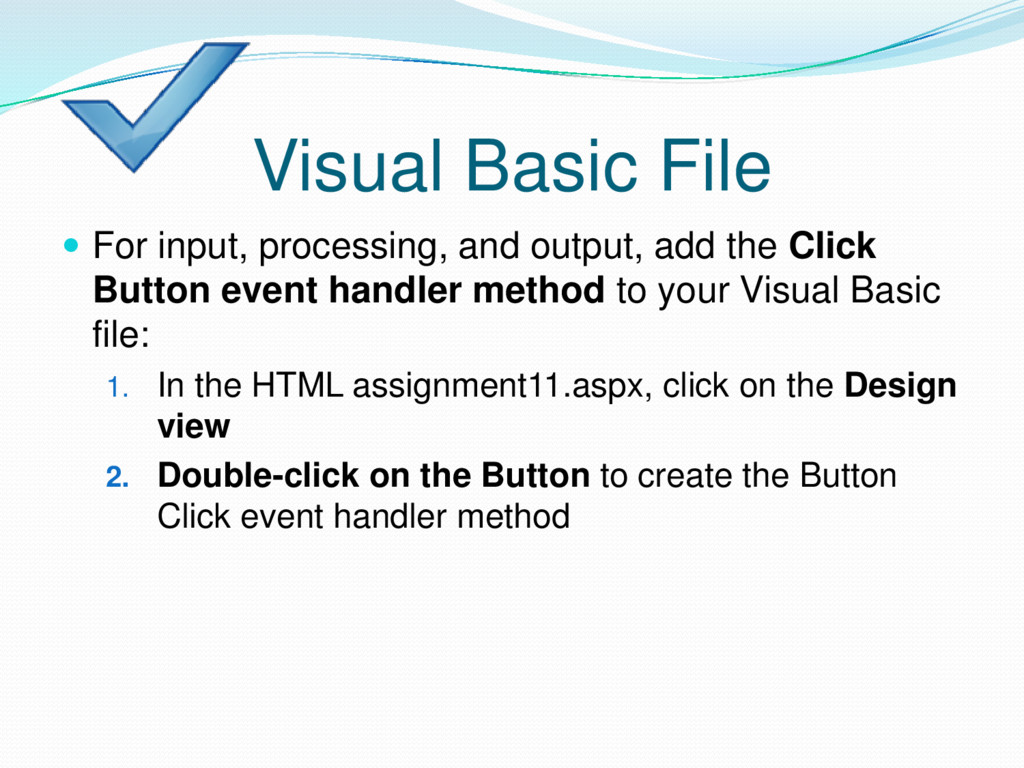
the Click Button event handler method to your Visual Basic file: 1. In the HTML assignment11.aspx, click on the Design view 2. Double-click on the Button to create the Button Click event handler method
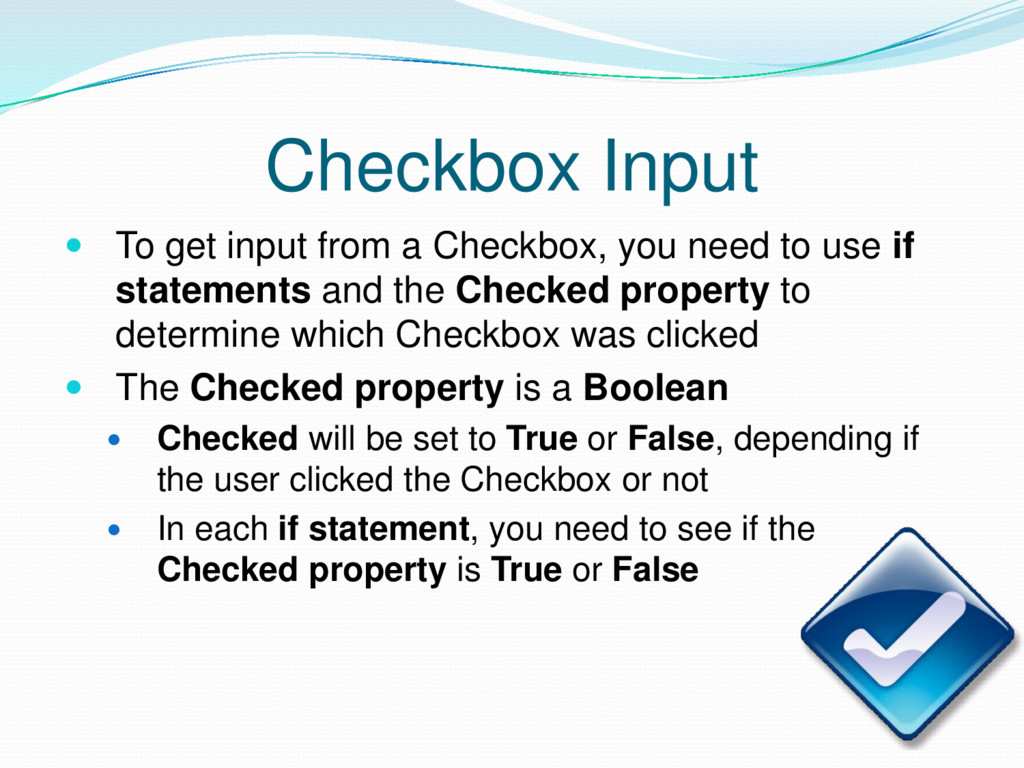
need to use if statements and the Checked property to determine which Checkbox was clicked The Checked property is a Boolean Checked will be set to True or False, depending if the user clicked the Checkbox or not In each if statement, you need to see if the Checked property is True or False
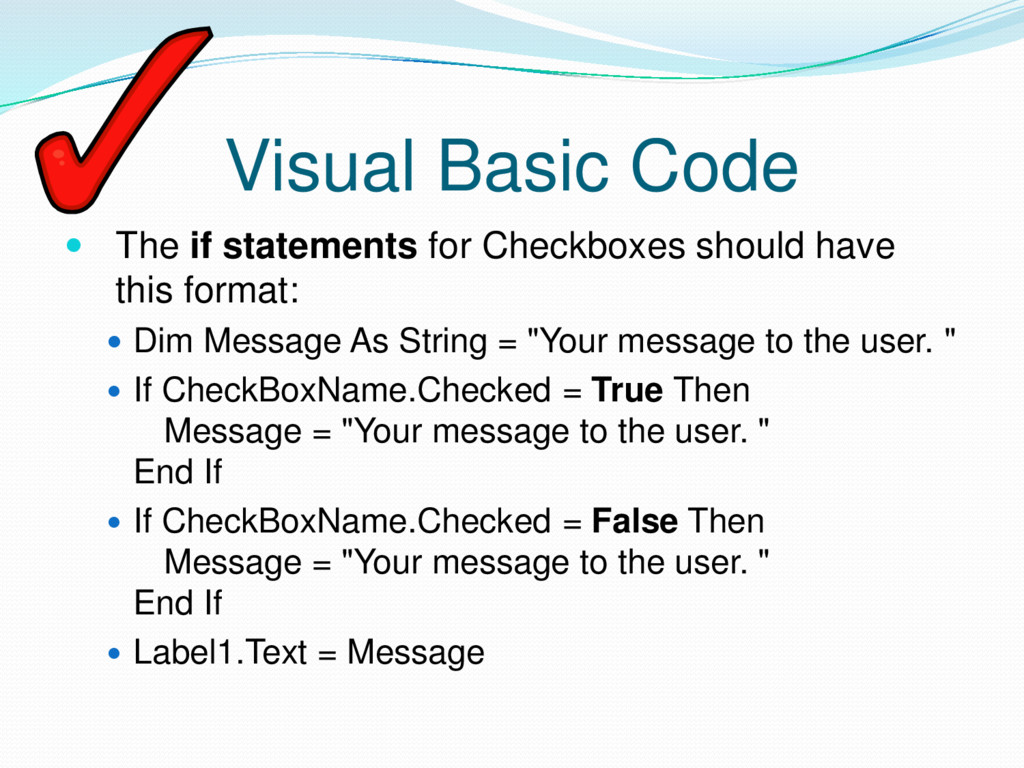
have this format: Dim Message As String = "Your message to the user. " If CheckBoxName.Checked = True Then Message = "Your message to the user. " End If If CheckBoxName.Checked = False Then Message = "Your message to the user. " End If Label1.Text = Message