Upgrade to Pro — share decks privately, control downloads, hide ads and more …

How to Customize Clip art Using PowerPoint

Nan Shastry
November 02, 2011

How to Customize Clip art Using PowerPoint

Learn how to customize clip art using just the tools found in PowerPoint

Nan Shastry

November 02, 2011
Tweet

More Decks by Nan Shastry

Other Decks in How-to & DIY

Transcript

  1. In this lesson… • You’ll learn – how to customize

    clipart from the Microsoft Gallery and change it to your own specifications using only the tools found in PowerPoint. • You need PowerPoint 2007 or PowerPoint 2010 versions for this tutorial.
  2. Scenario • In this scenario, we are going to assume

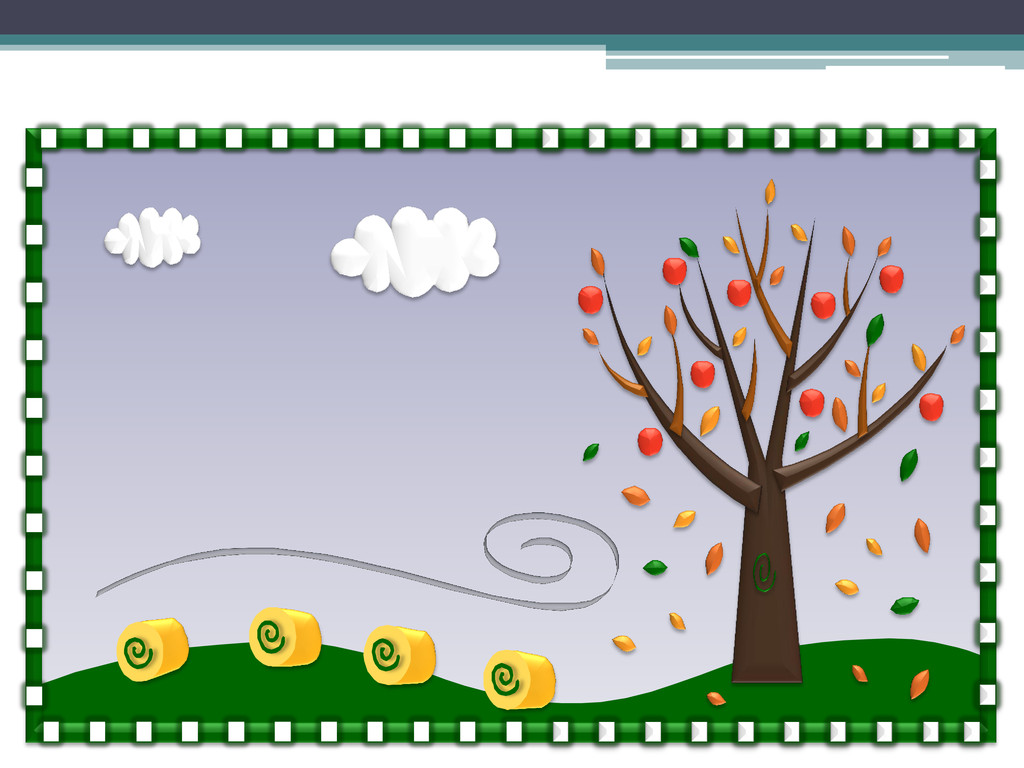
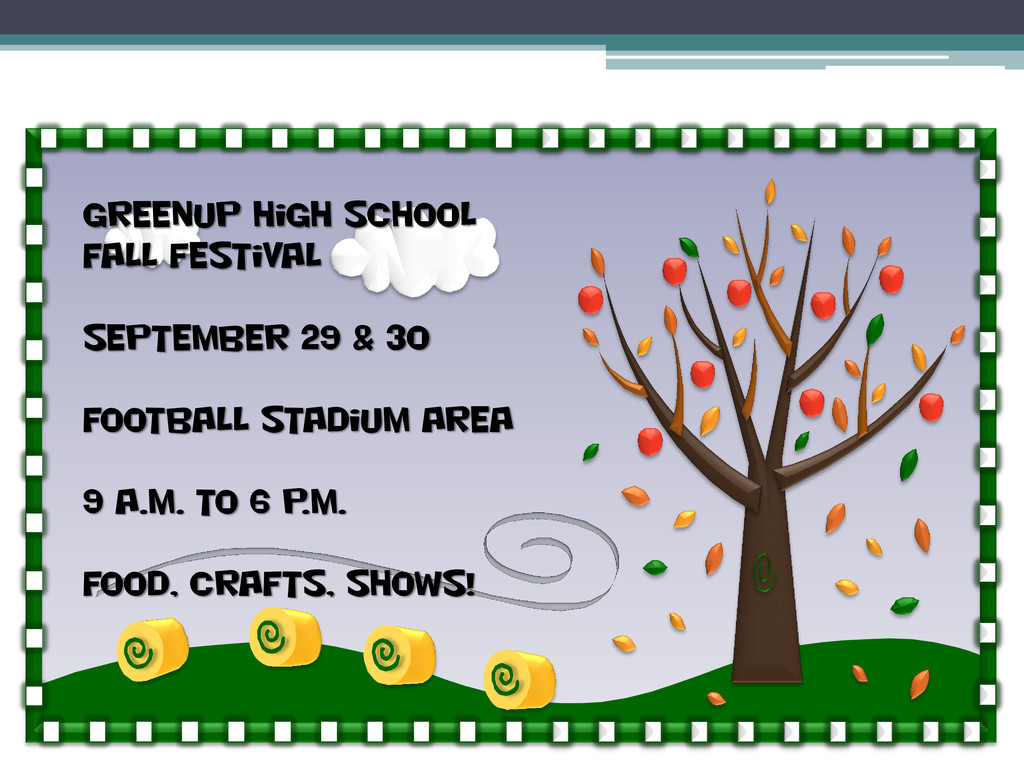
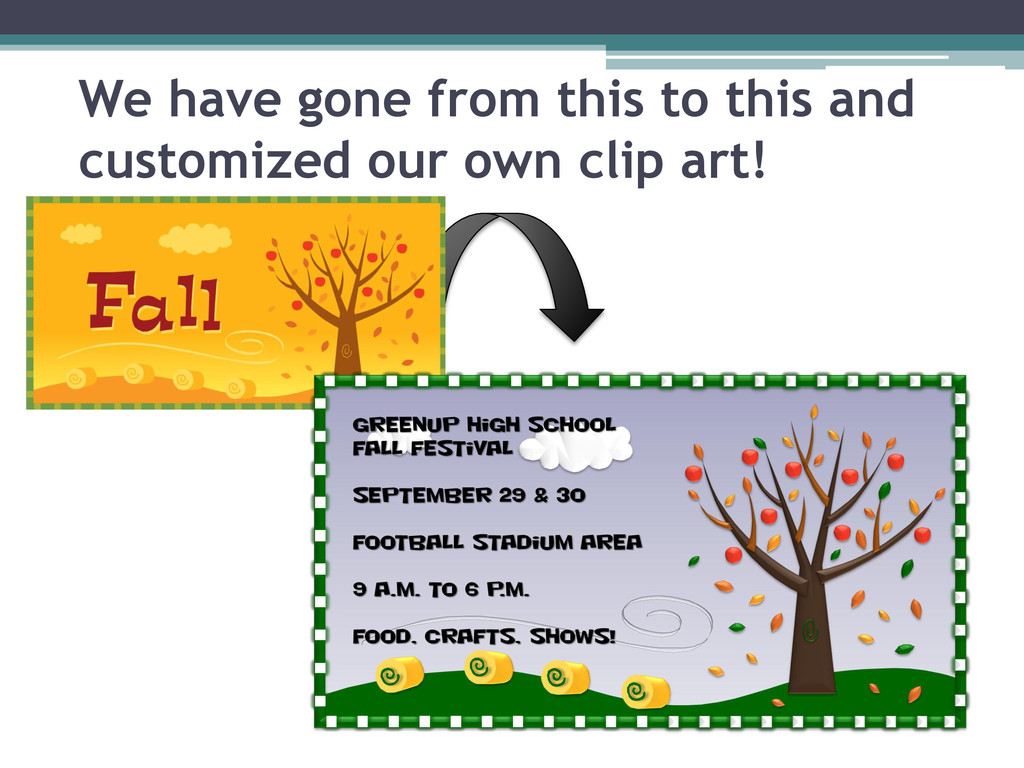
    that we are in an organization that needs to create posters for a Fall Festival. • We are going to need something that looks like our school colors and add some text and dates.
  3. Step 2: “UNGROUP” to convert Right- click on the picture

    you have chosen. Choose: Group, then submenu: Ungroup. Choose “Yes”.
  4. EXAMPLE OF UNGROUPING “ONCE” Dotted line around whole pic means

    it stays pretty much intact. Solid line around “areas” allow you to change individual items.
  5. First, we’ll get rid what we don’t want…To do this,

    click on each element of the clip art you want gone to highlight it, and delete it.
  6. Now, we’ll change the colors using the same method: click

    on each element you want to change, go to the Format menu and choose a different shape fill or shape outline color. For example…
  7. Finally, add your text in any font you choose, but

    remember San Serif fonts (those without the “Squiggly lines” and the cleaner lines are easier to read by all!
  8. Greenup High School Fall Festival September 29 & 30 Football

    Stadium Area 9 a.m. to 6 p .m. Food, Crafts, Shows!